Uncharted 4 puzzles solutions guide, from zodiac symbols to pirate portraits
How to complete all of the puzzles in A Thief's End and prove your intellect
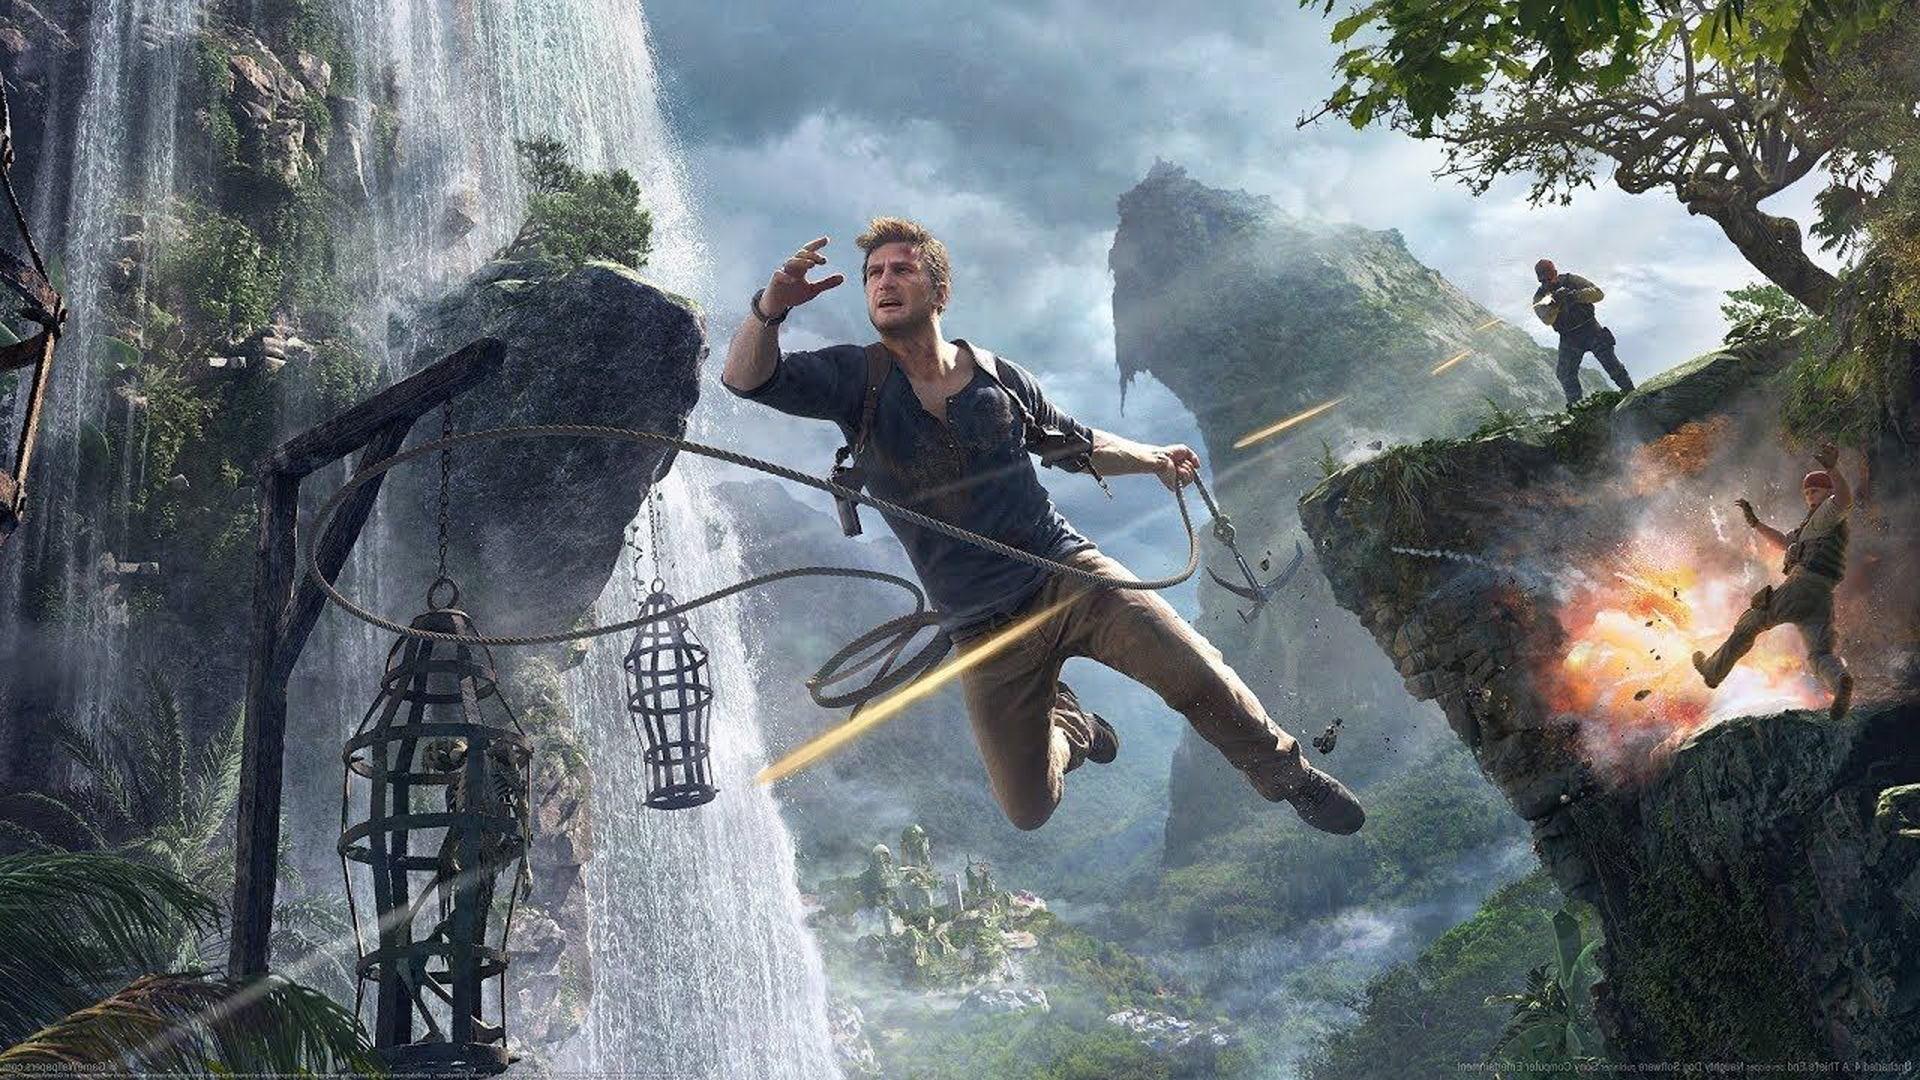
Uncharted 4 puzzle solutions can help any brow-beaten adventurer sort their way through the traps, tombs and treasures laid about A Thief's End. Whether sorting codes, rolling rocks, or manipulating the various elaborate thousand-year old devices that fill pirate tombs, Drake has to exercise a certain amount of brainpower between gunfights as he navigates Uncharted 4's puzzles on his way to grand golden prize. With Uncharted 4 now part of the PS Plus Collection games list, it’s time to dig out your best compass and practice your quips, because with the Uncharted 4 puzzle solutions laid out below, you can enjoy Nathan Drake’s final adventure frustration-free!
Uncharted 4 tips | Uncharted 4 treasures | Uncharted 4 rock cairns | Best Uncharted Games | Games like Uncharted | Uncharted 5
Chapter 2 – Zodiac Symbol Puzzle
Chapter 2: Infernal Place – Zodiac Symbol Puzzle
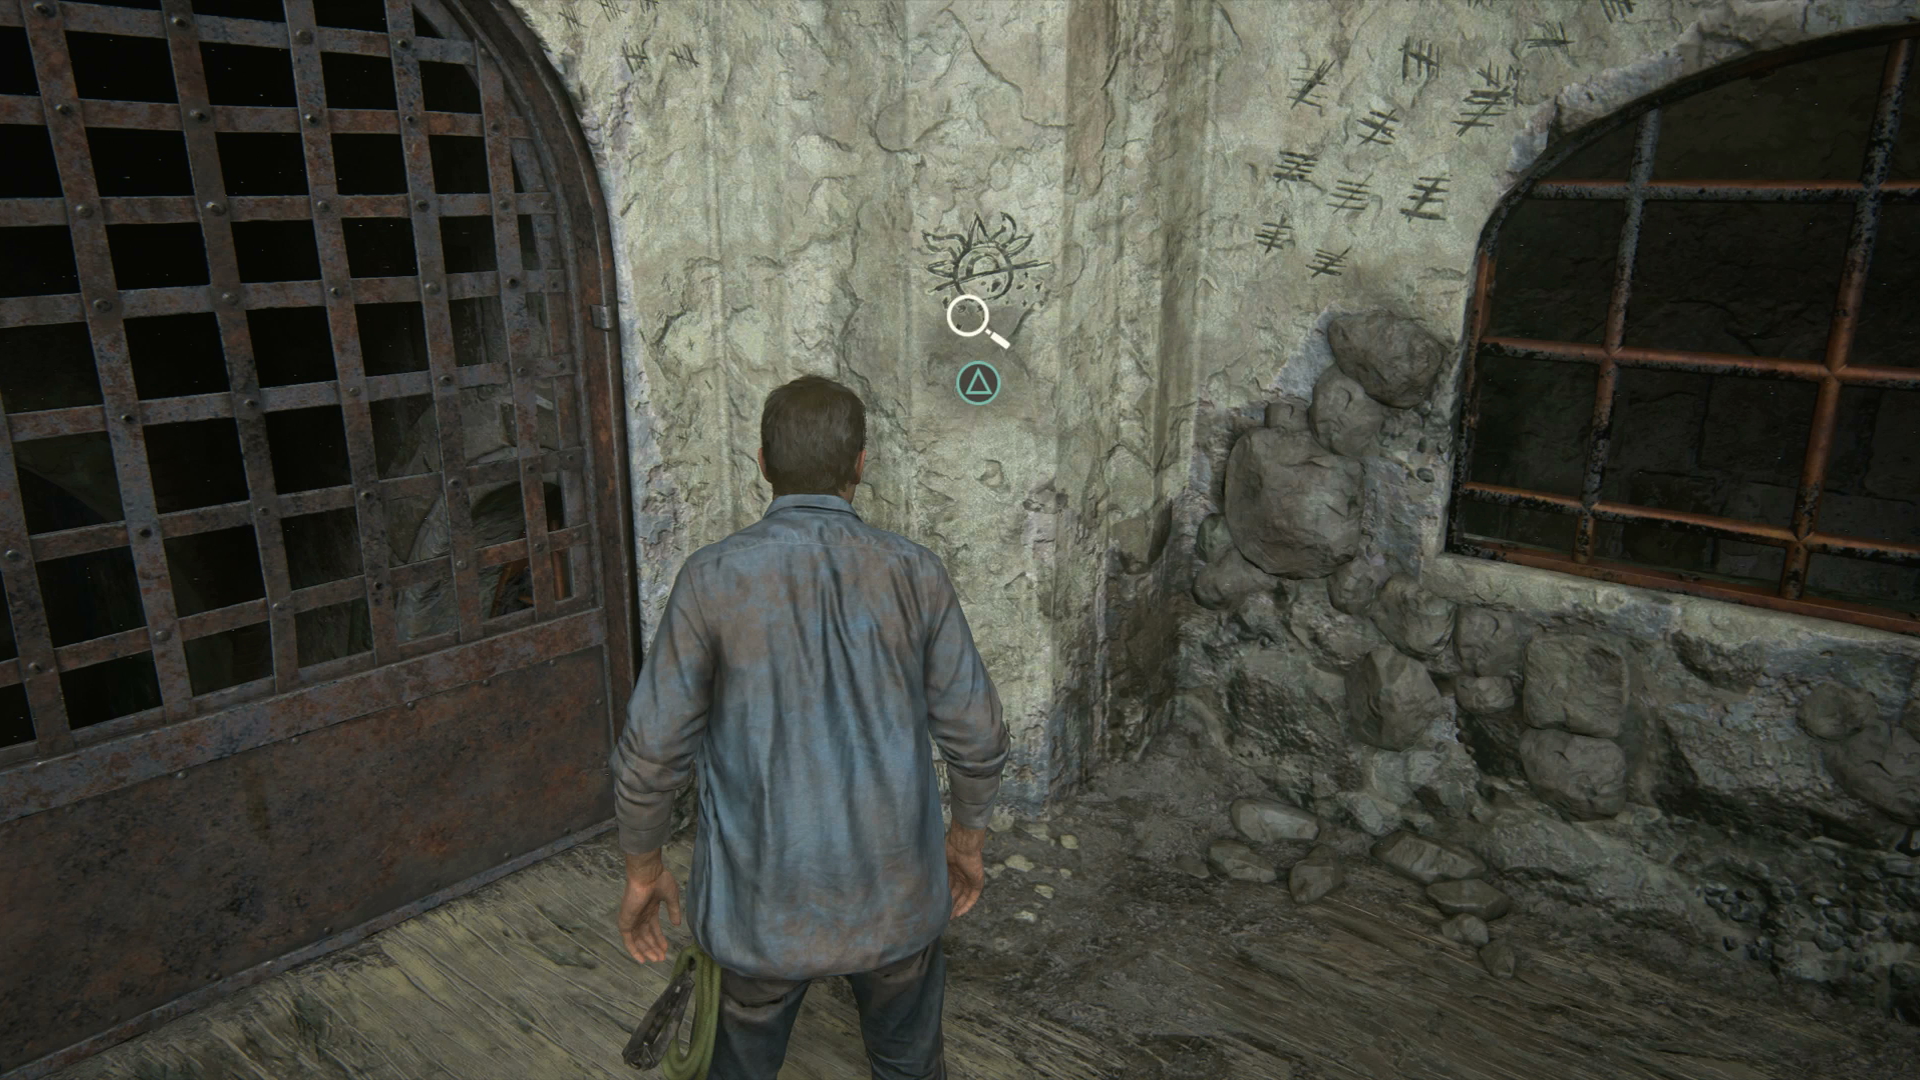
Once you've completed the climbing sequence and arrived in Joseph Burnes' cell, you'll need to interact with the sun and moon symbol on the wall by the large door to get started with the Zodiac Symbol puzzle.
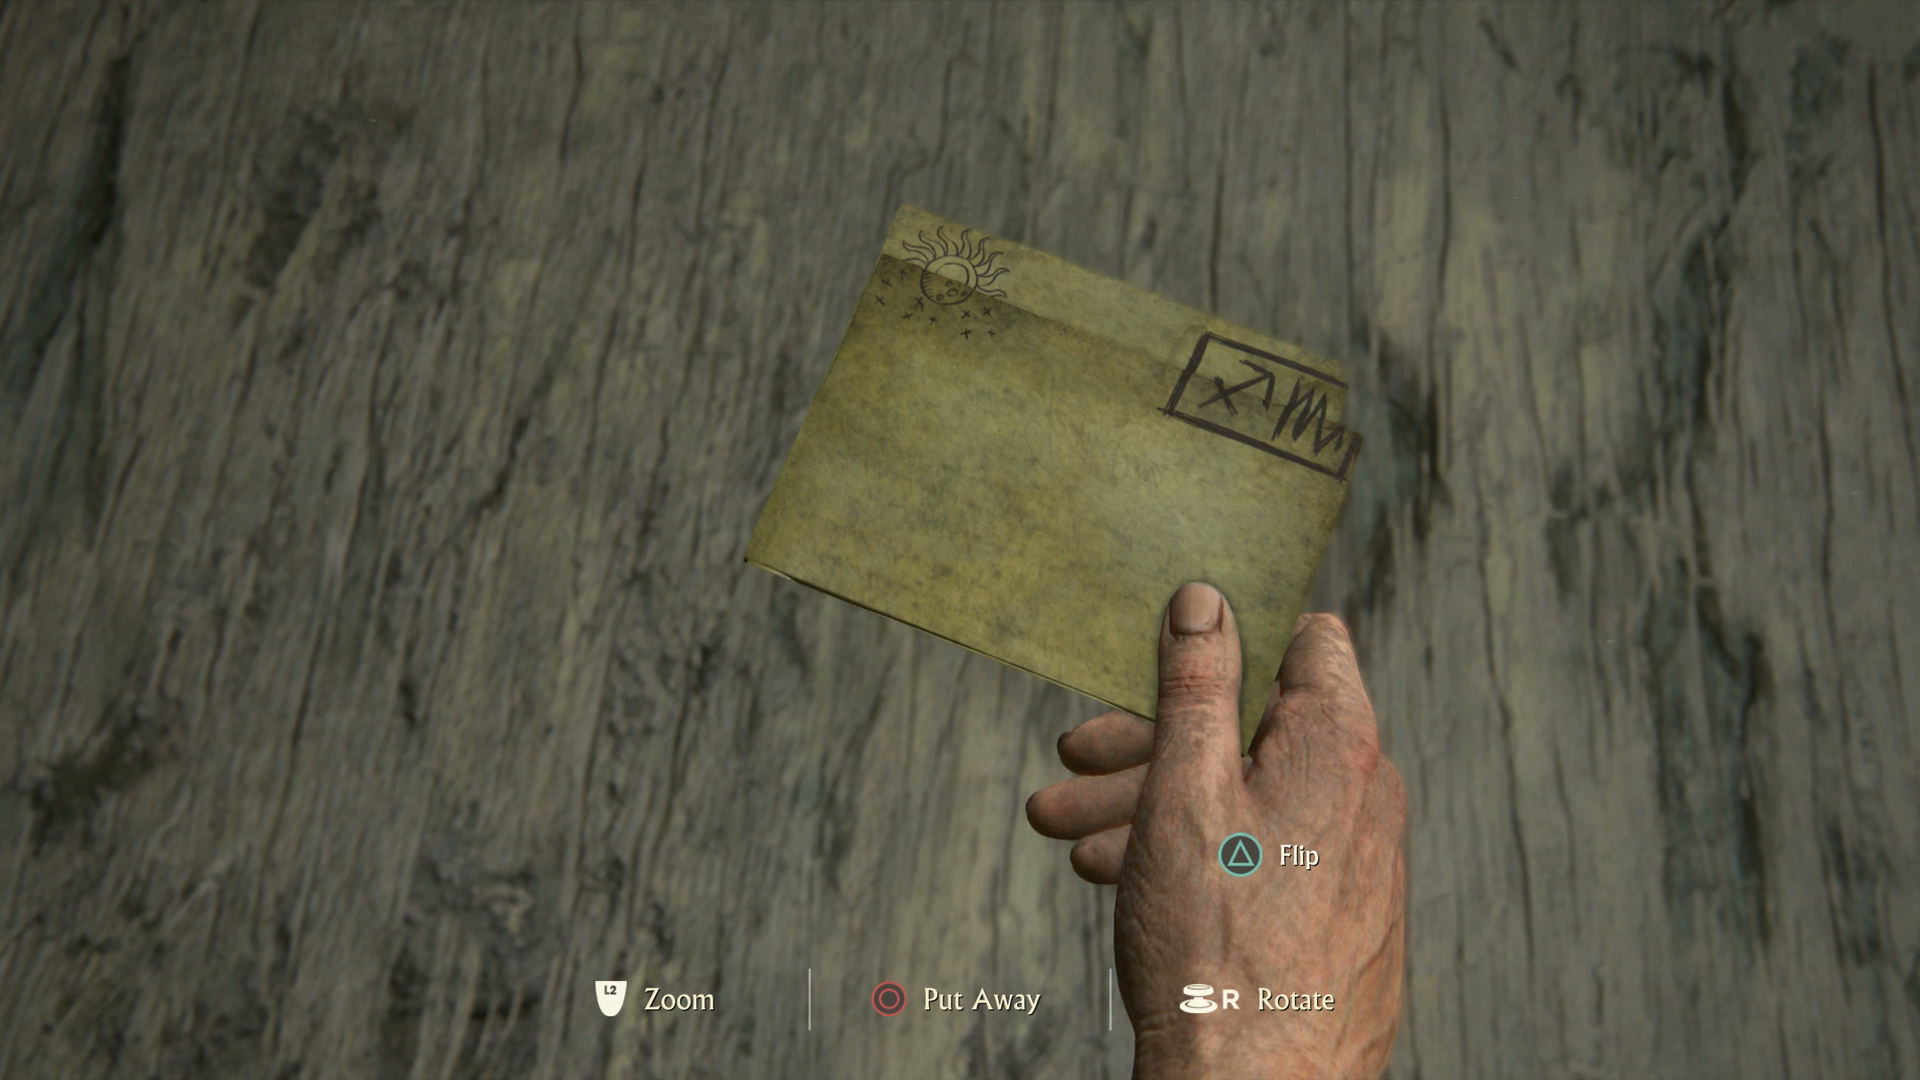
This will lead to you taking out Joseph Burnes' letter for closer inspection, so follow the prompts to Flip it twice before you Fold it to reveal the solution for the puzzle in the top right corner of the document.
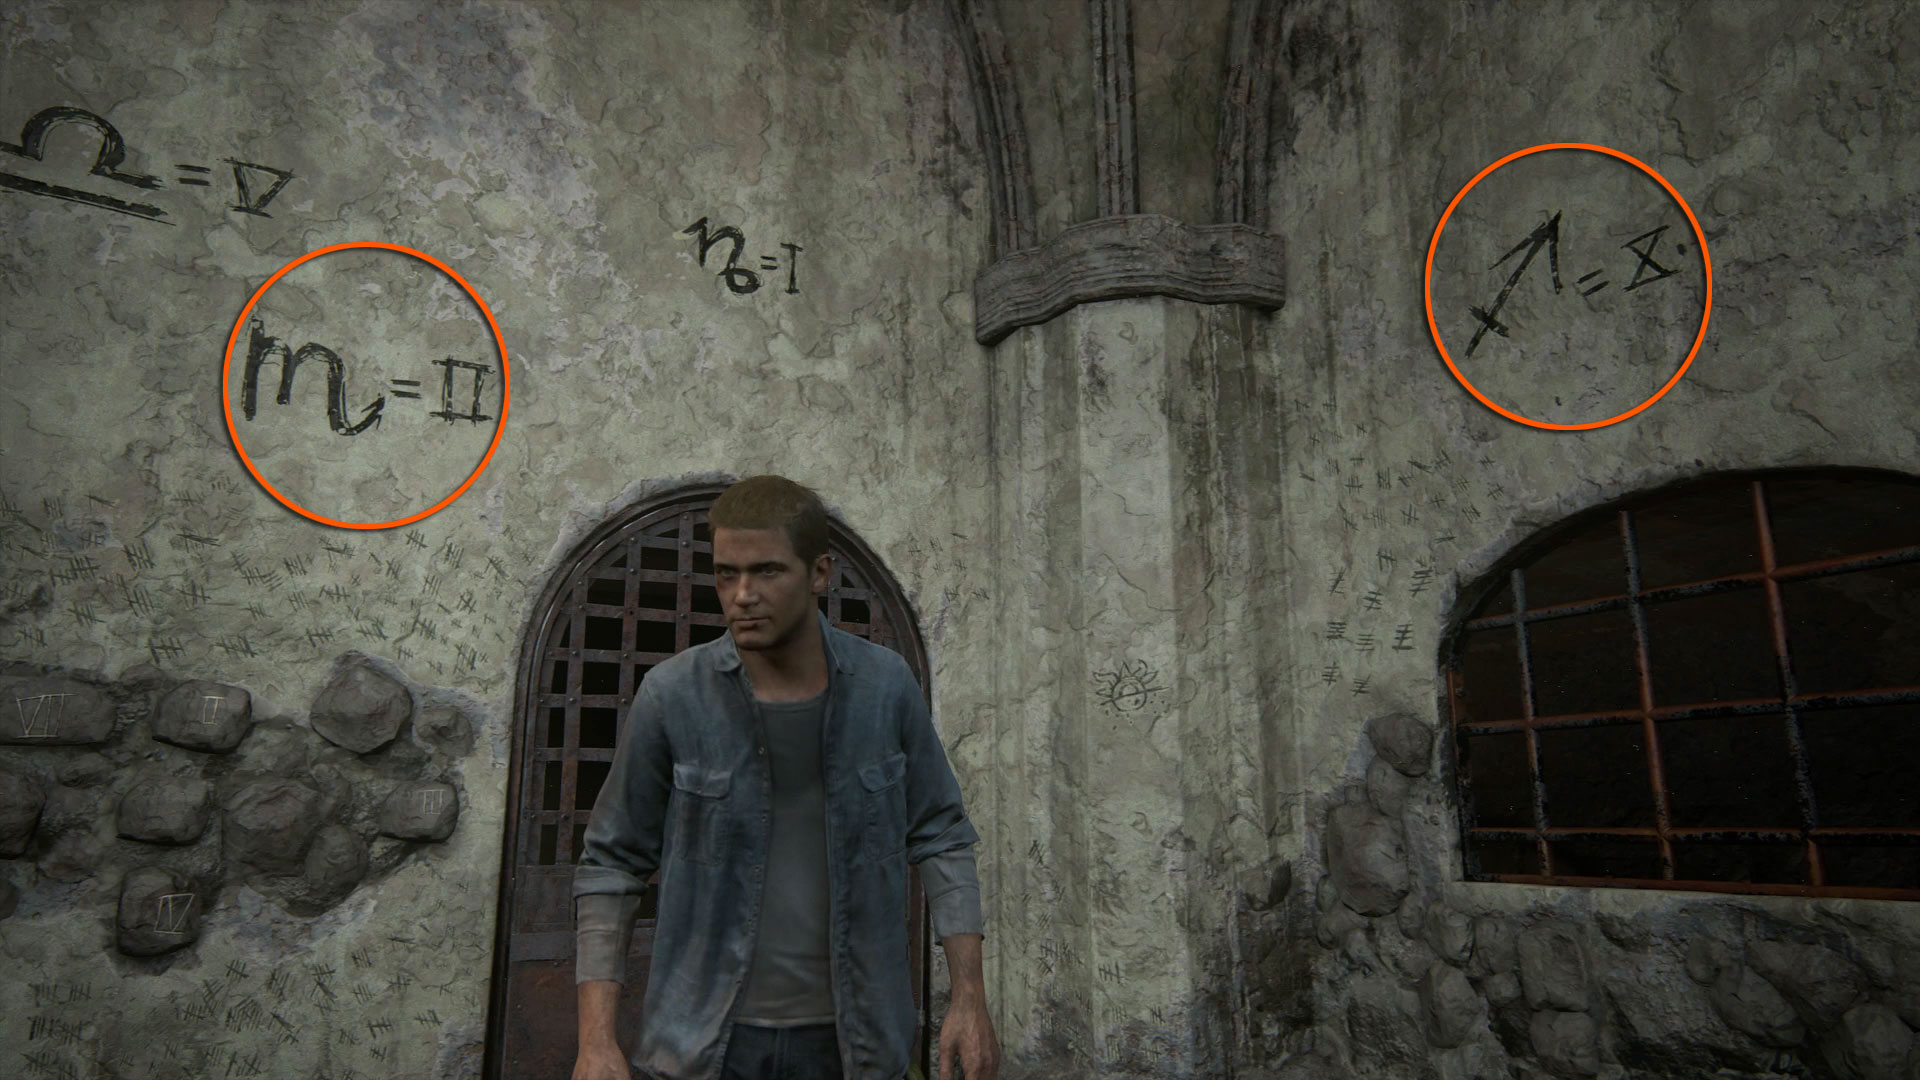
By folding the letter, you've created the Zodiac Symbols for Sagittarius and Scorpio, so the next step is to find those two symbols on the wall. Handily they're both nearby and are marked with the Roman numerals X and II, translating to 10 and 2 respectively.

Add 10 + 2 and you get 12, or XII in Roman numerals, so turn around and look for a brick marked with XII. You'll find it on the rear wall directly underneath the drawing of a compass. Interact with that brick and you'll find the cross to bear, allowing you to move on with the adventure.
Chapter 8 – Henry Avery's Grave Puzzle
Chapter 8: The Grave of Henry Avery – Henry Avery's Grave Puzzle
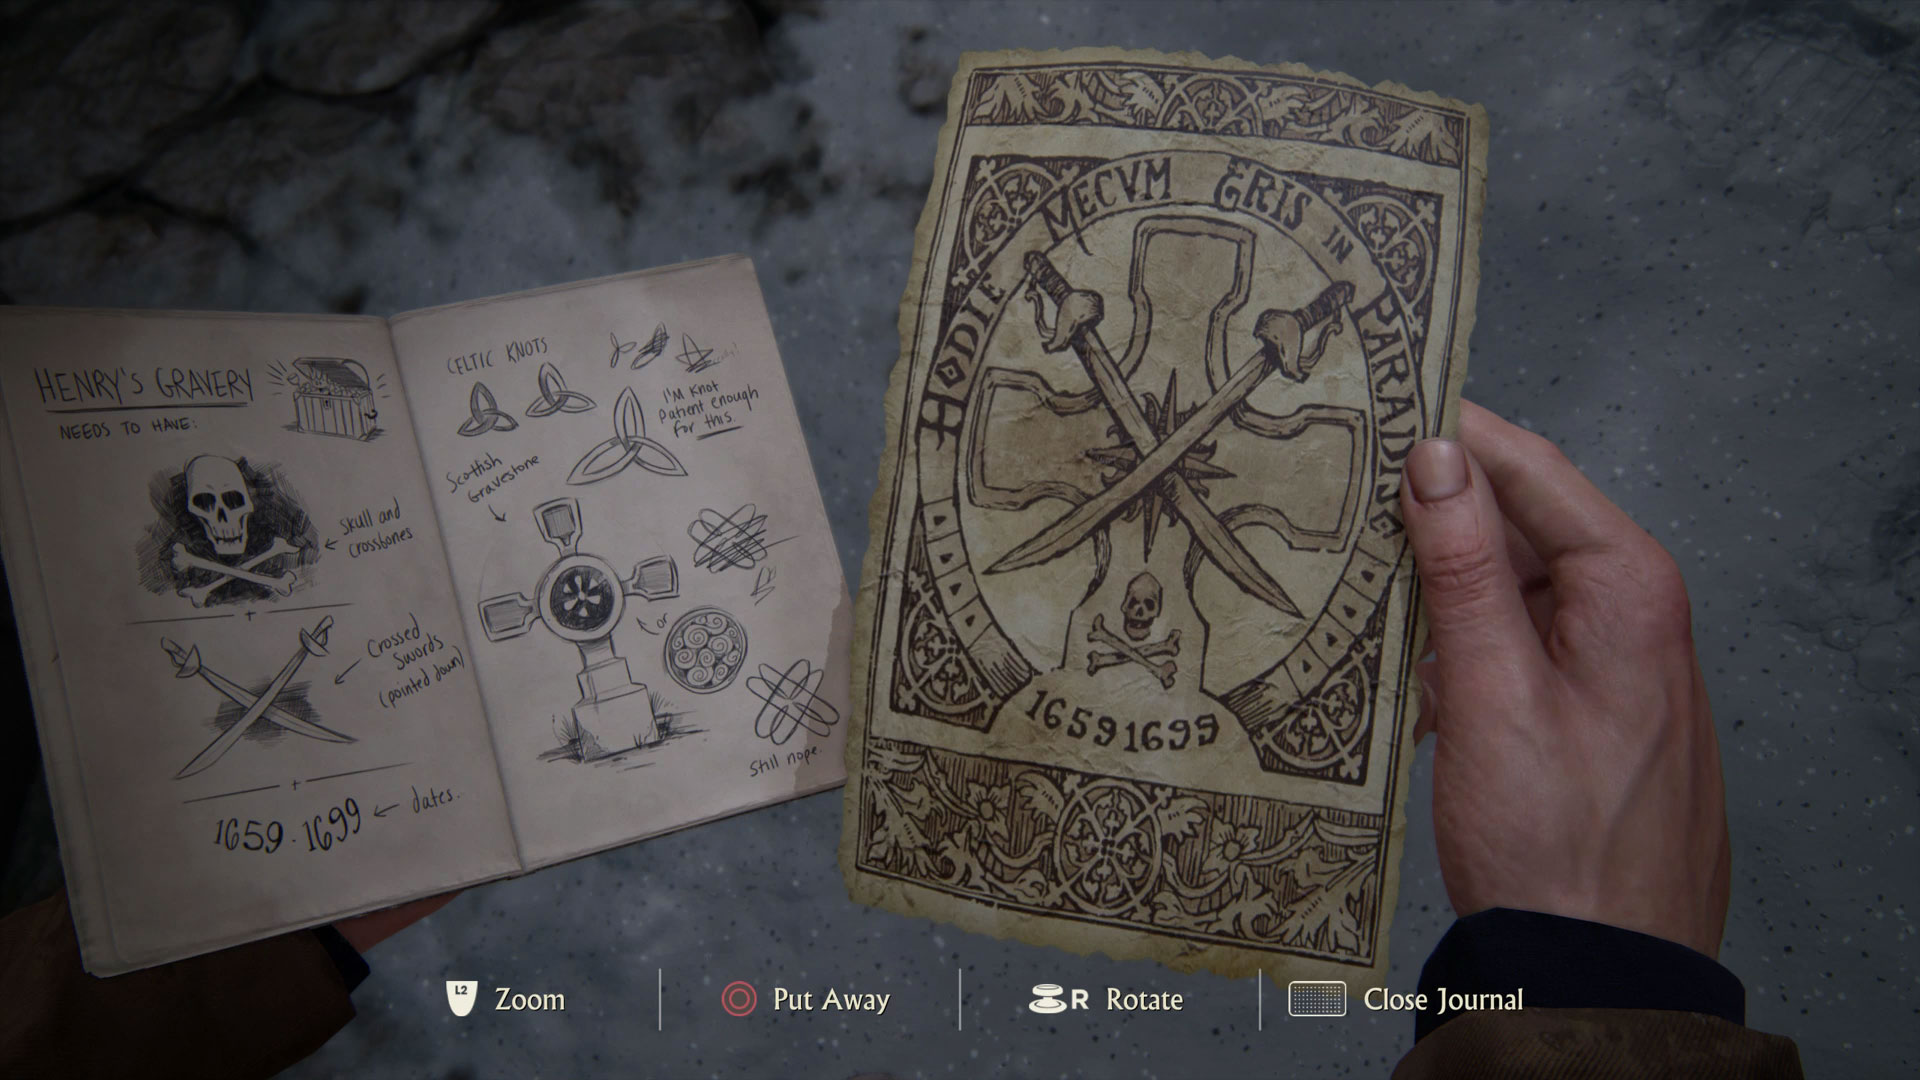
After a lot of climbing and sliding, you'll eventually arrive in the graveyard and need to seek out Henry Avery's grave. Take a look at Drake's journal for some clues to identify it, including the requirements for it to have a Skull and Crossbones, Crossed Swords (pointed down), and the dates 1659-1699.
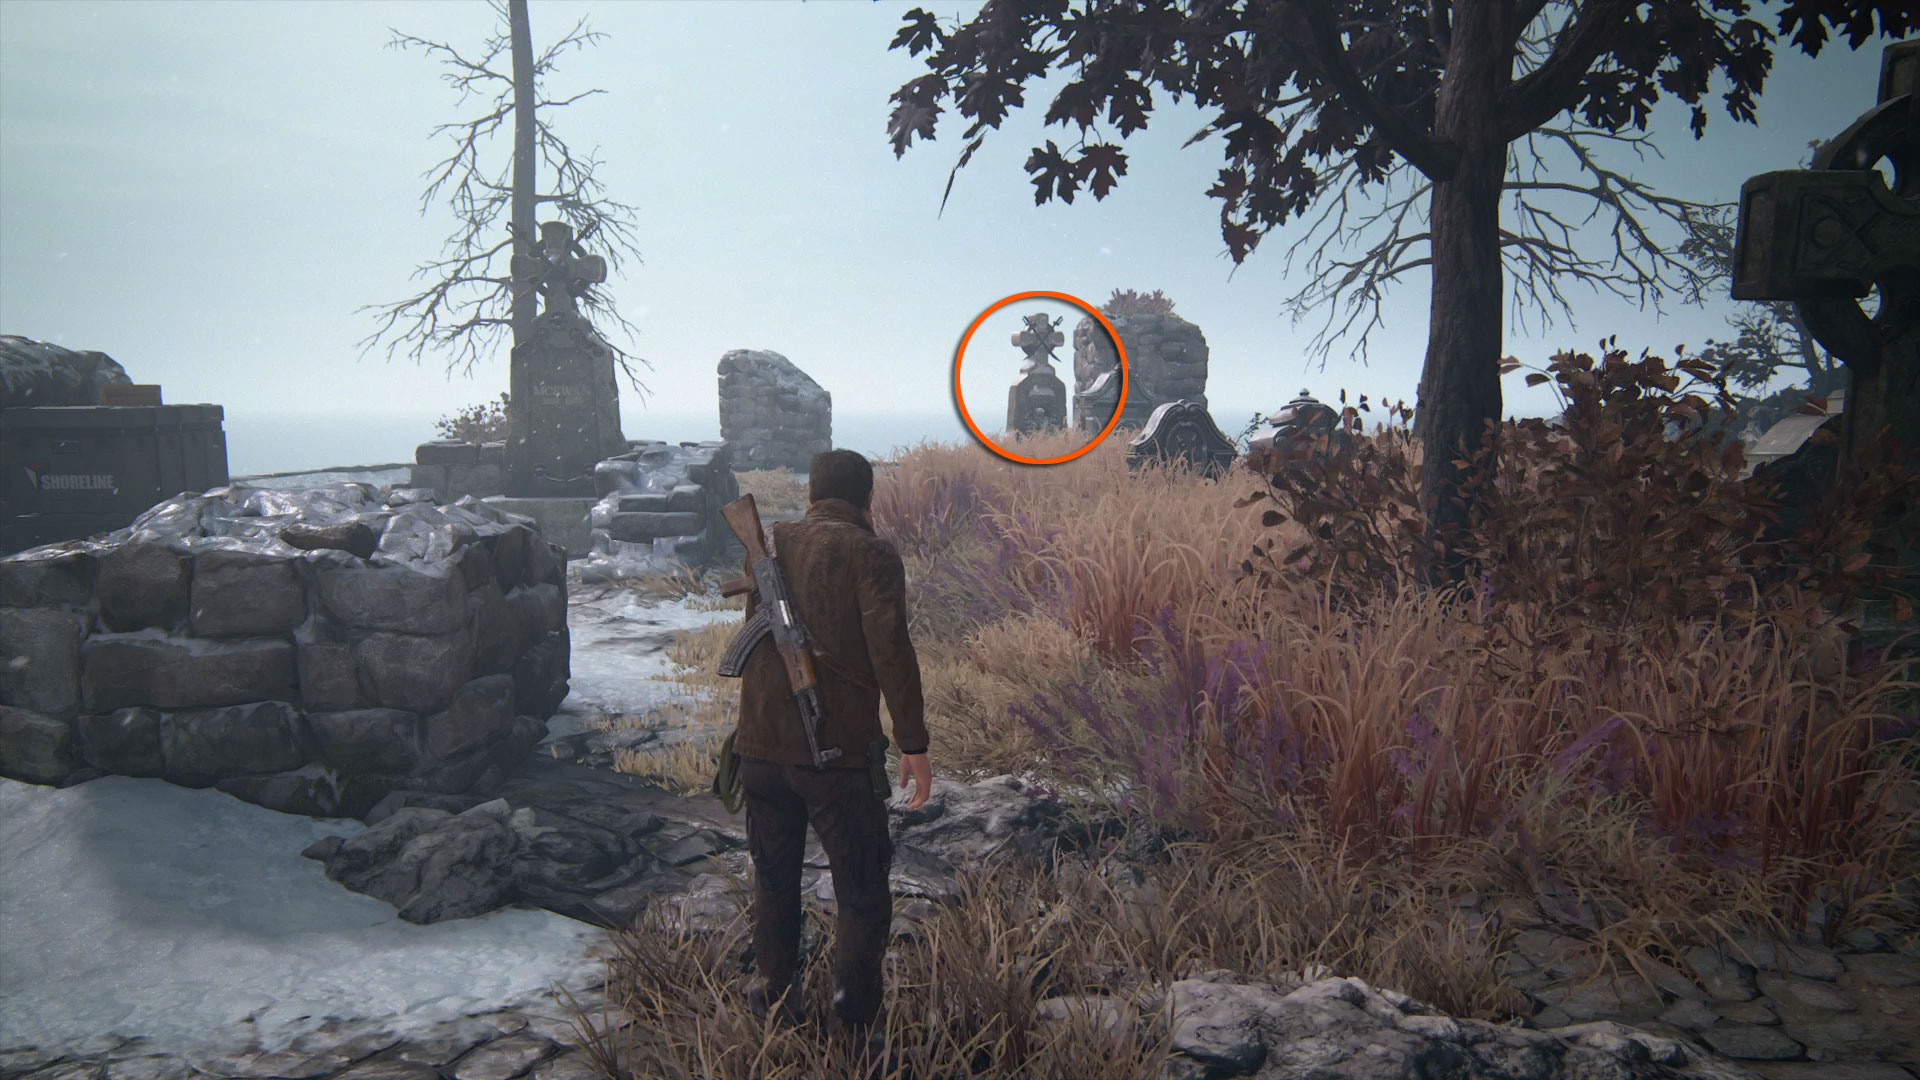
Keep going straight forward through the graveyard towards the cliff edge, and you should see Avery's grave come into view.
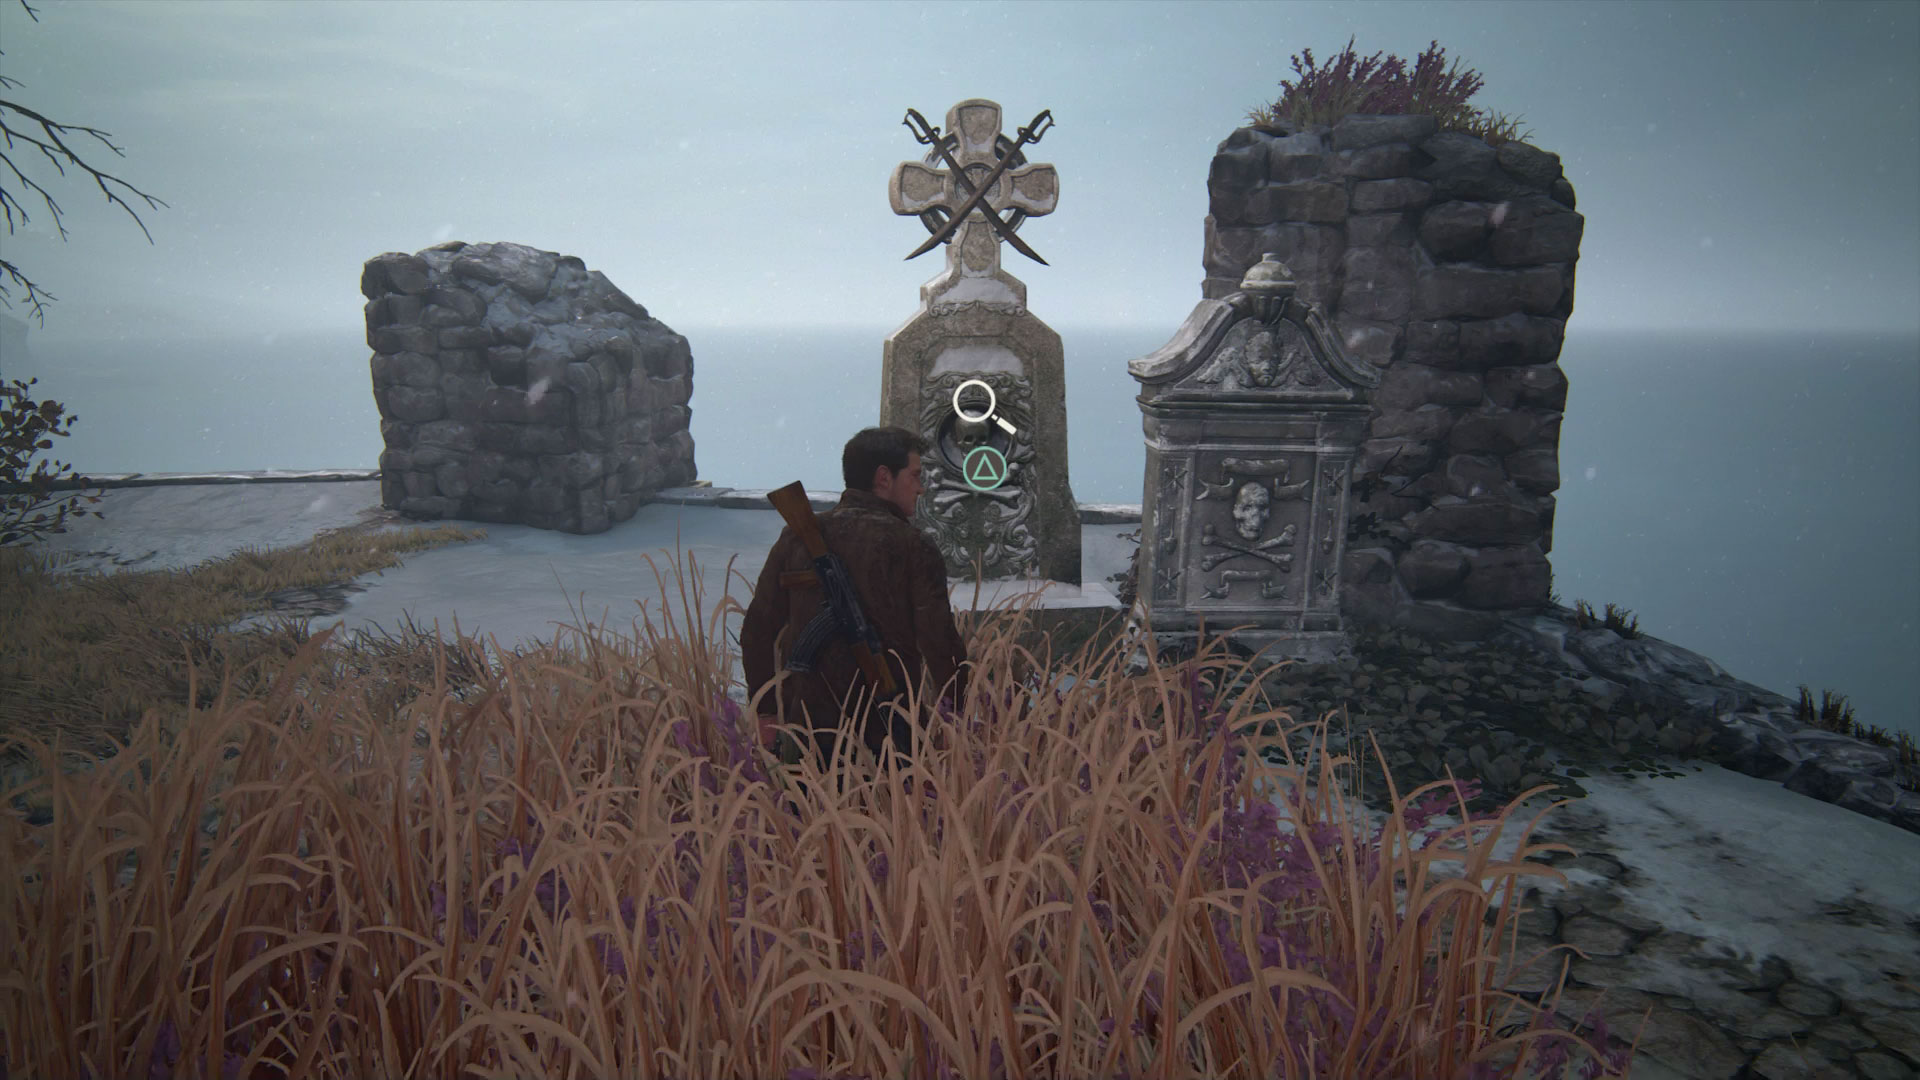
Approach the grave and interact with the skull mounted on it to find the secret passage, which leads to the next puzzle in this chapter.
Chapter 8 – Crucifix Statue Light Puzzle
Chapter 8: The Grave of Henry Avery – Crucifix Statue Light Puzzle
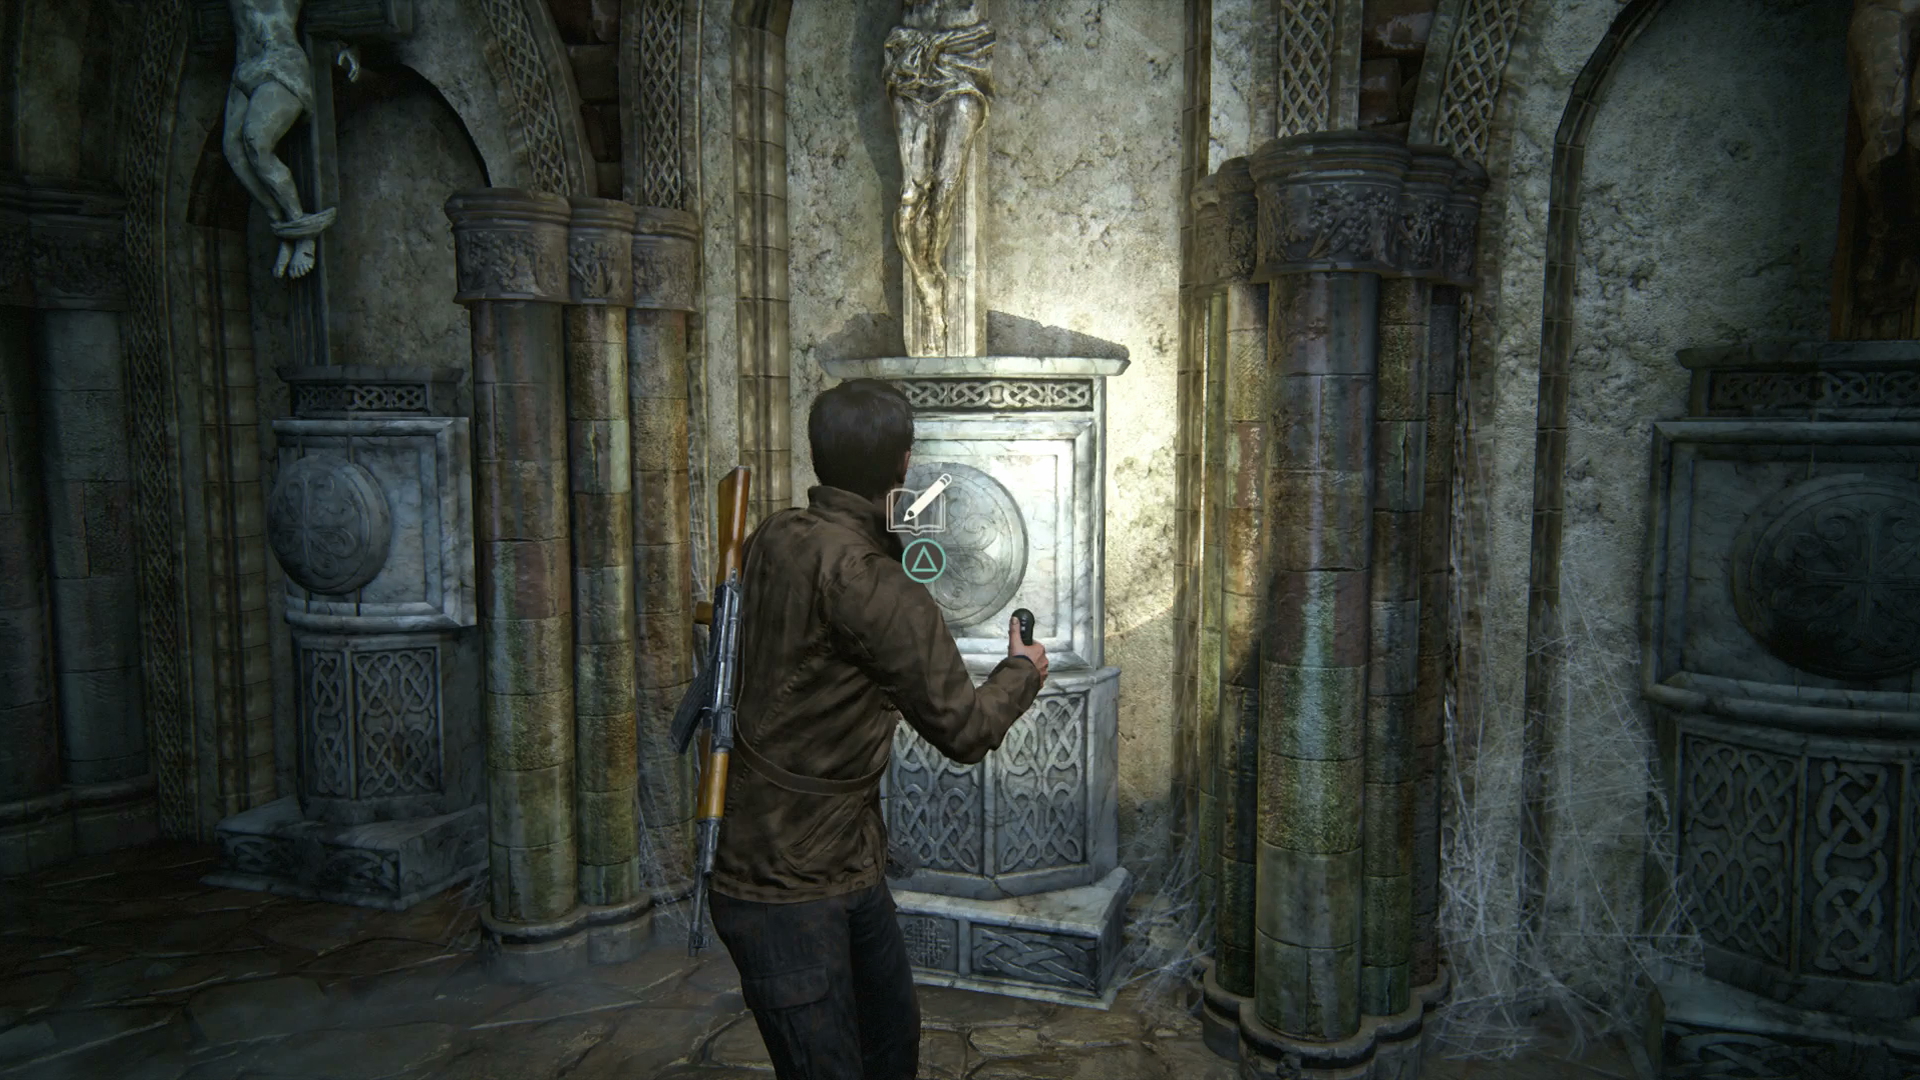
Once you're down in the crypt, follow the paths around and down until you find three crucifix statues. To start the puzzle, you need to interact with the plinth under the Jesus statue in the middle.
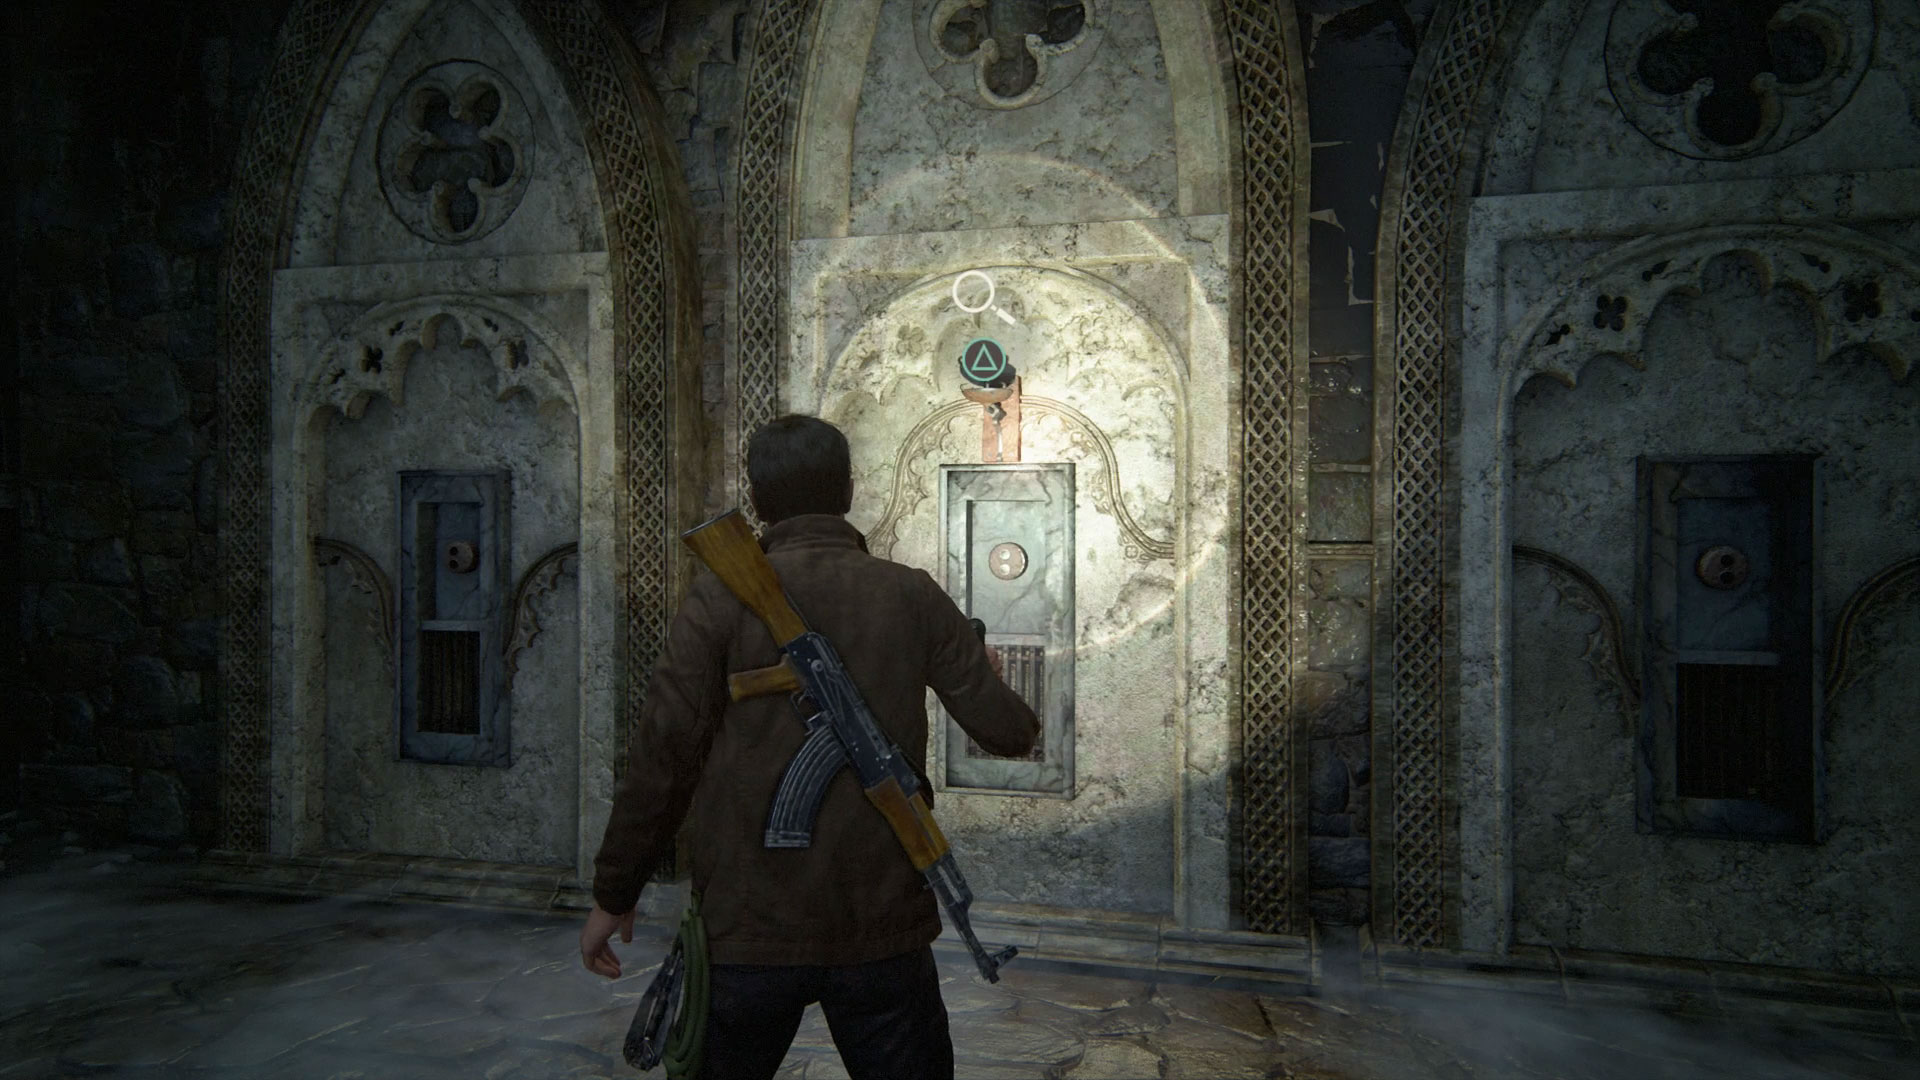
Next, go around to the back of the crucifix statues and interact with the lamp in the middle to light the puzzle up.
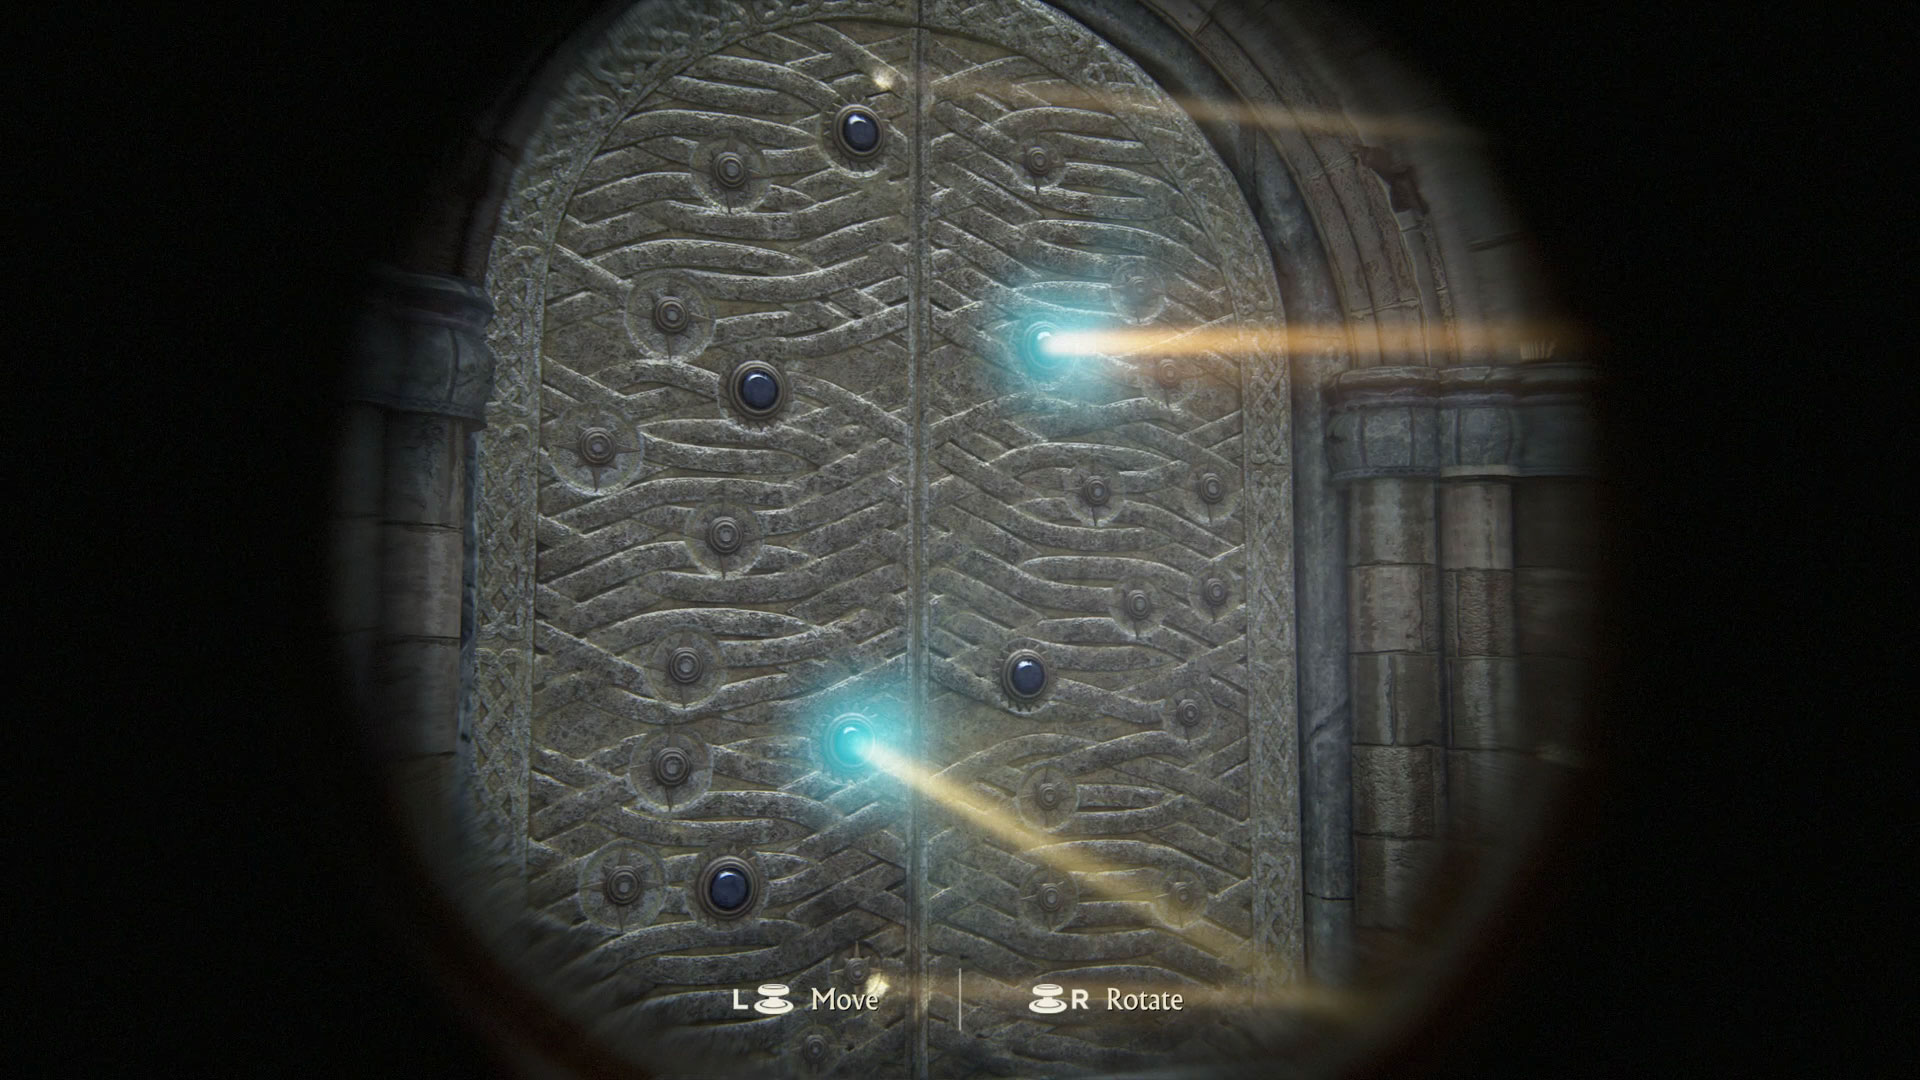
To solve the puzzle, you need to go around to the front and interact with each of the crucifix statues to move the two beams of light they shine so they trigger the sensors on the doors. Working from left to right, use the first statue (Dismas) to light the top right and bottom middle targets.
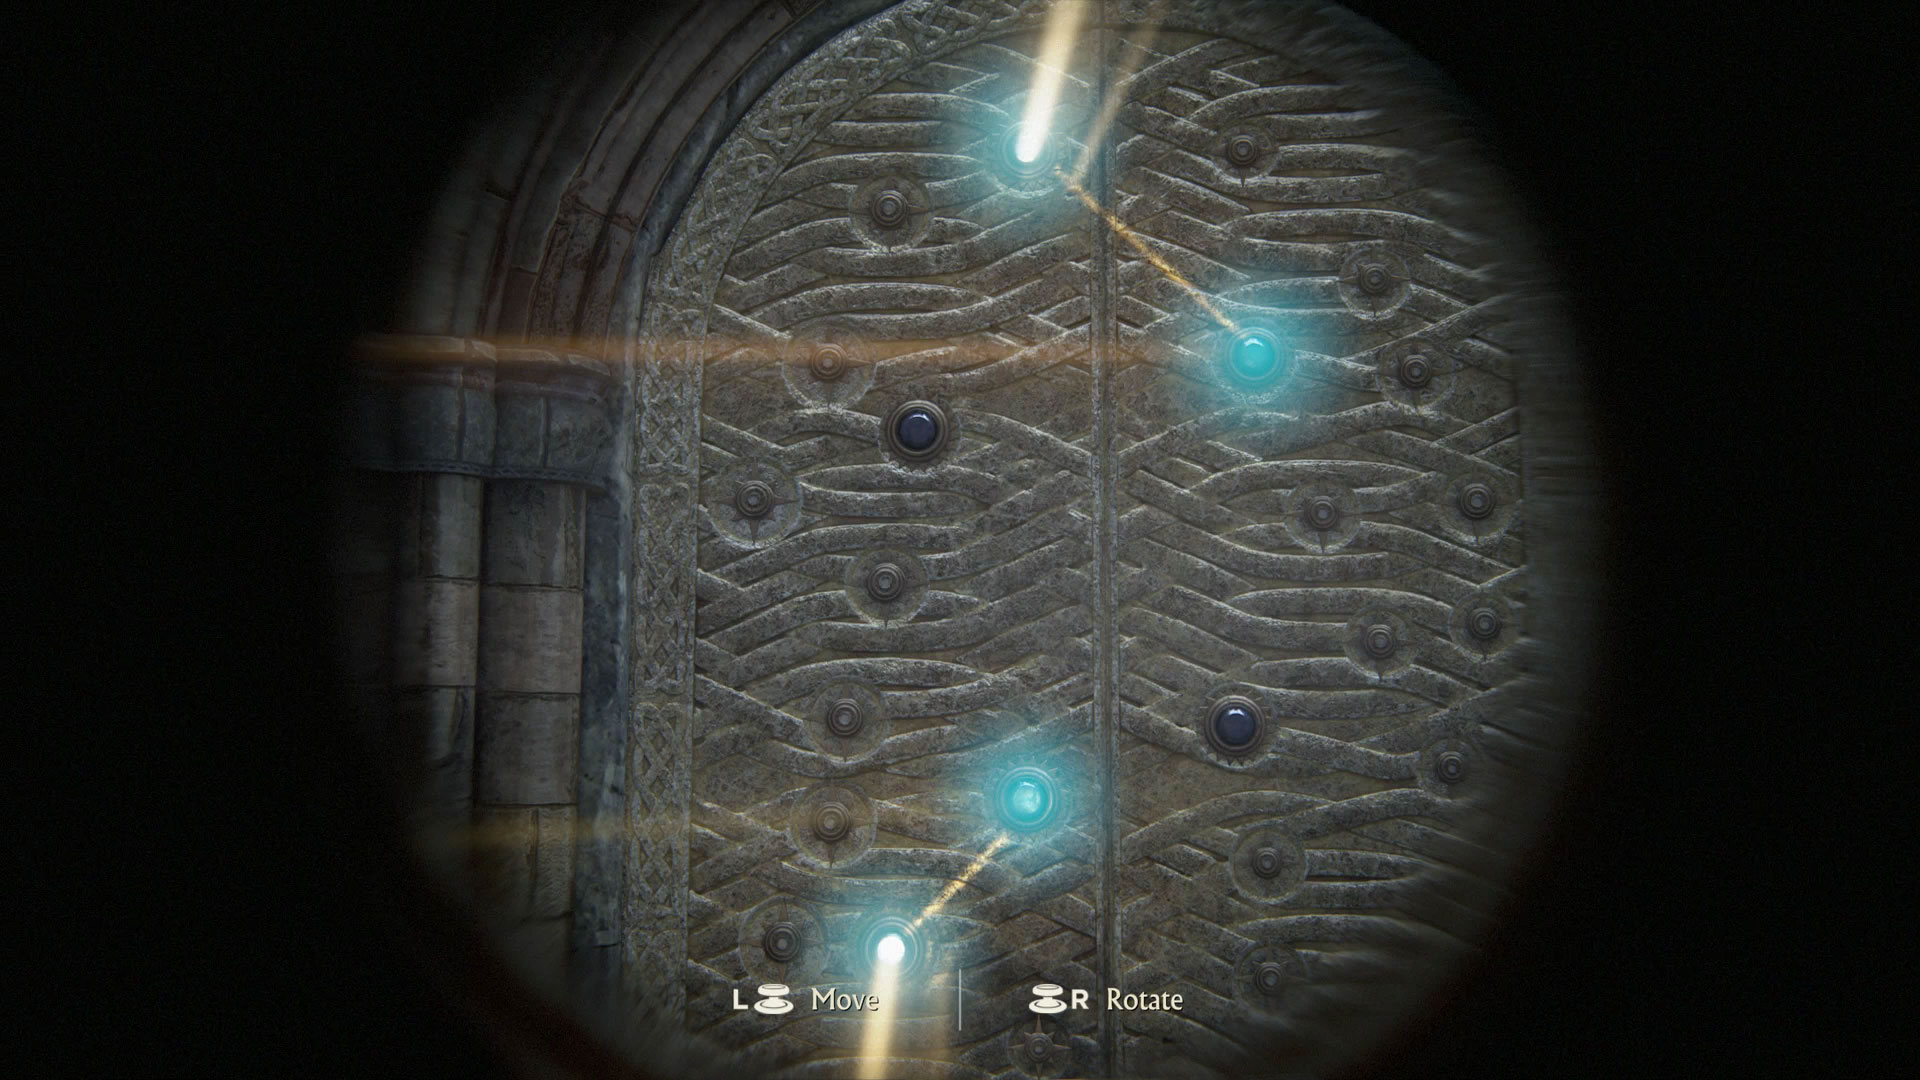
With the second statue (Jesus), tag the top middle and bottom left targets.
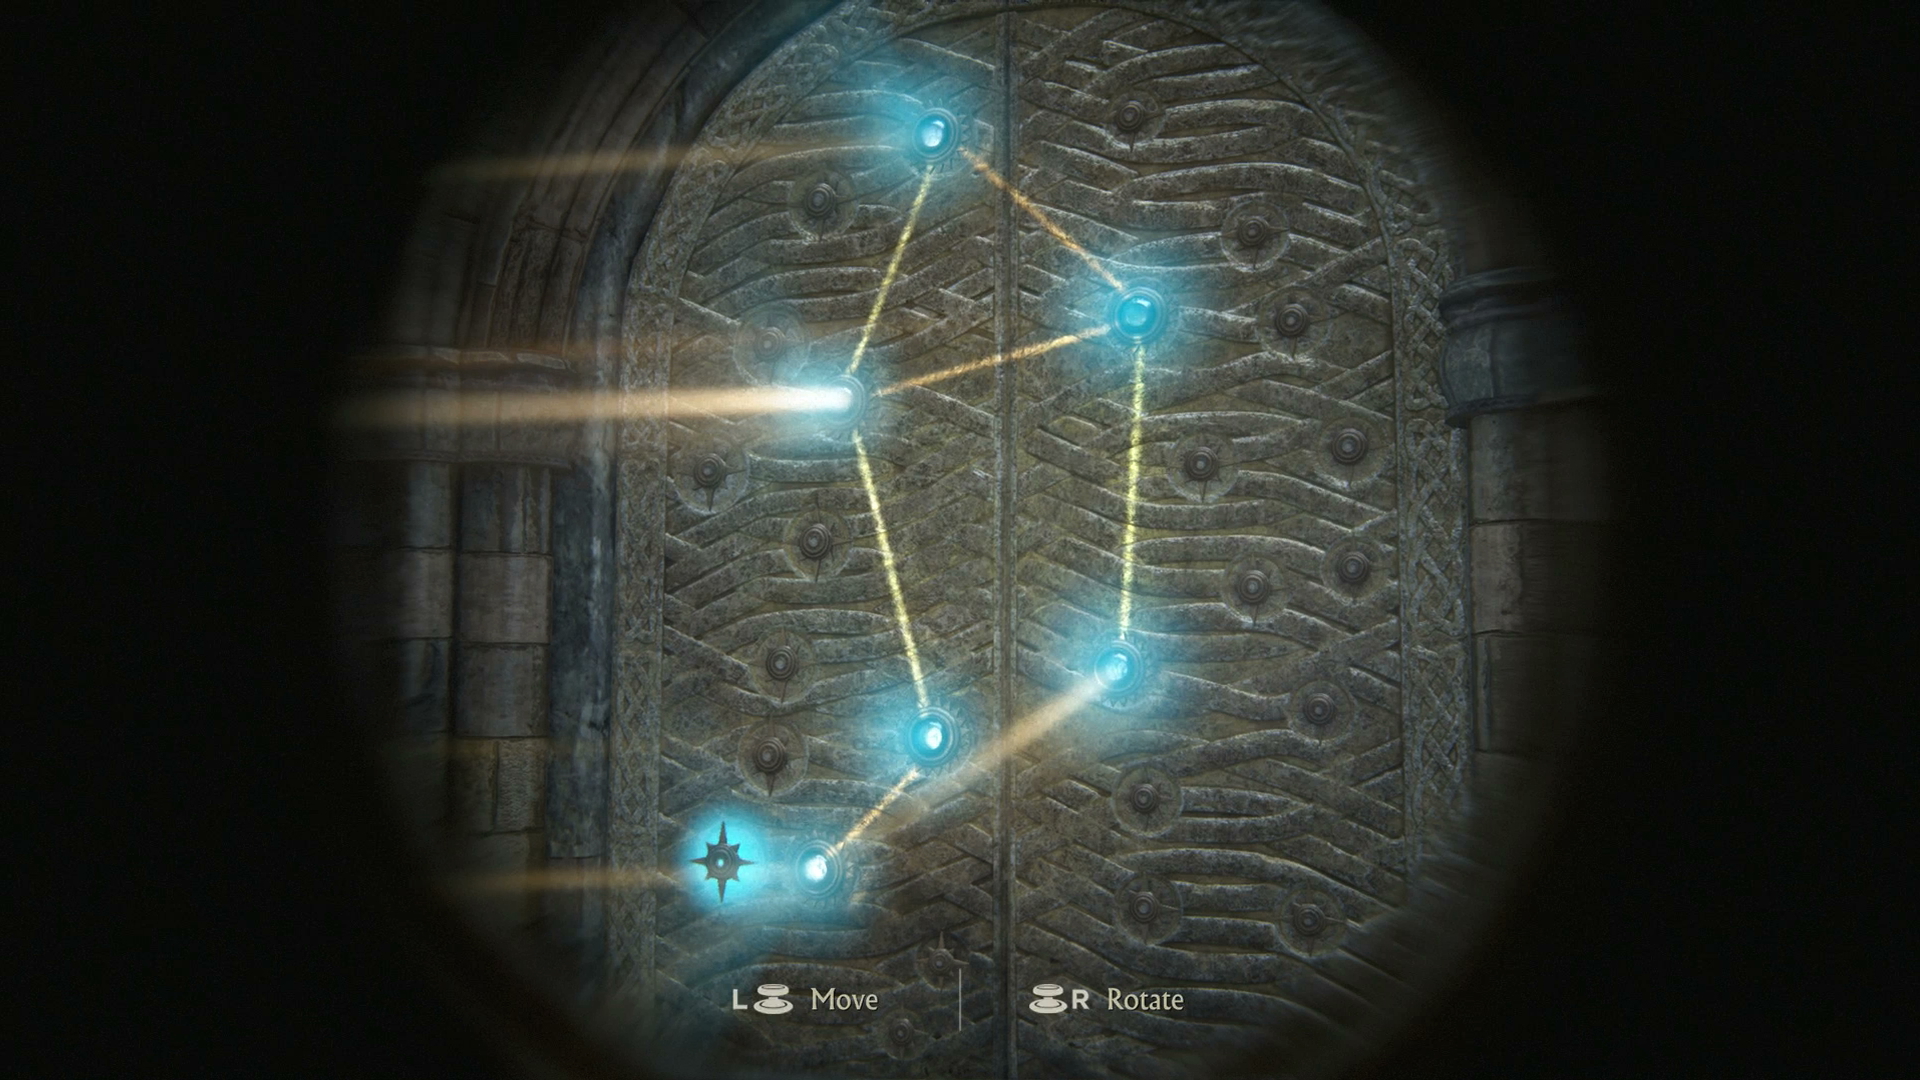
Use the third statue (Gestas) to ping the top left and bottom right targets, completing the Libra constellation and activating the door.
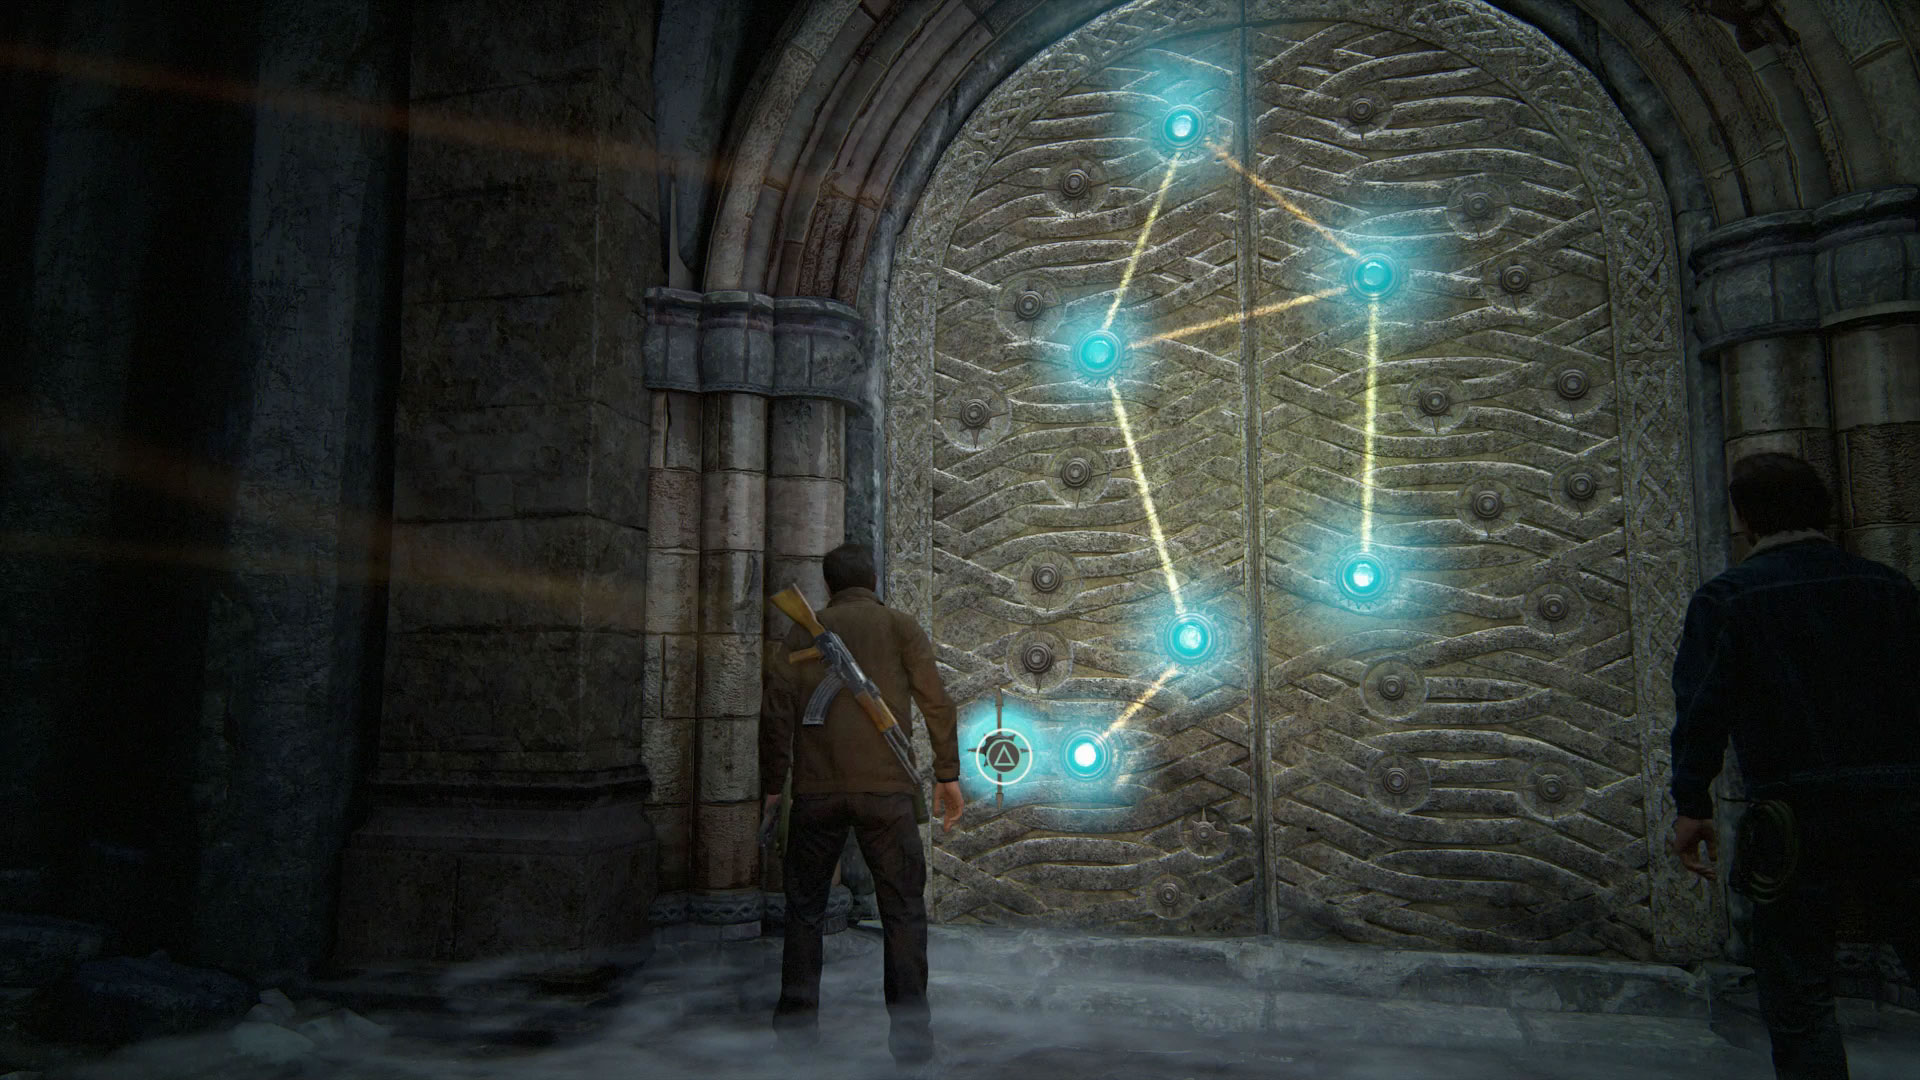
You'll automatically exit the puzzle now it's complete, so go to the door and interact with the highlighted lever to open it and move on.
Chapter 9 – Cross Wheel Puzzle
Chapter 9: For Those Who Prove Worthy – Cross Wheel Puzzle
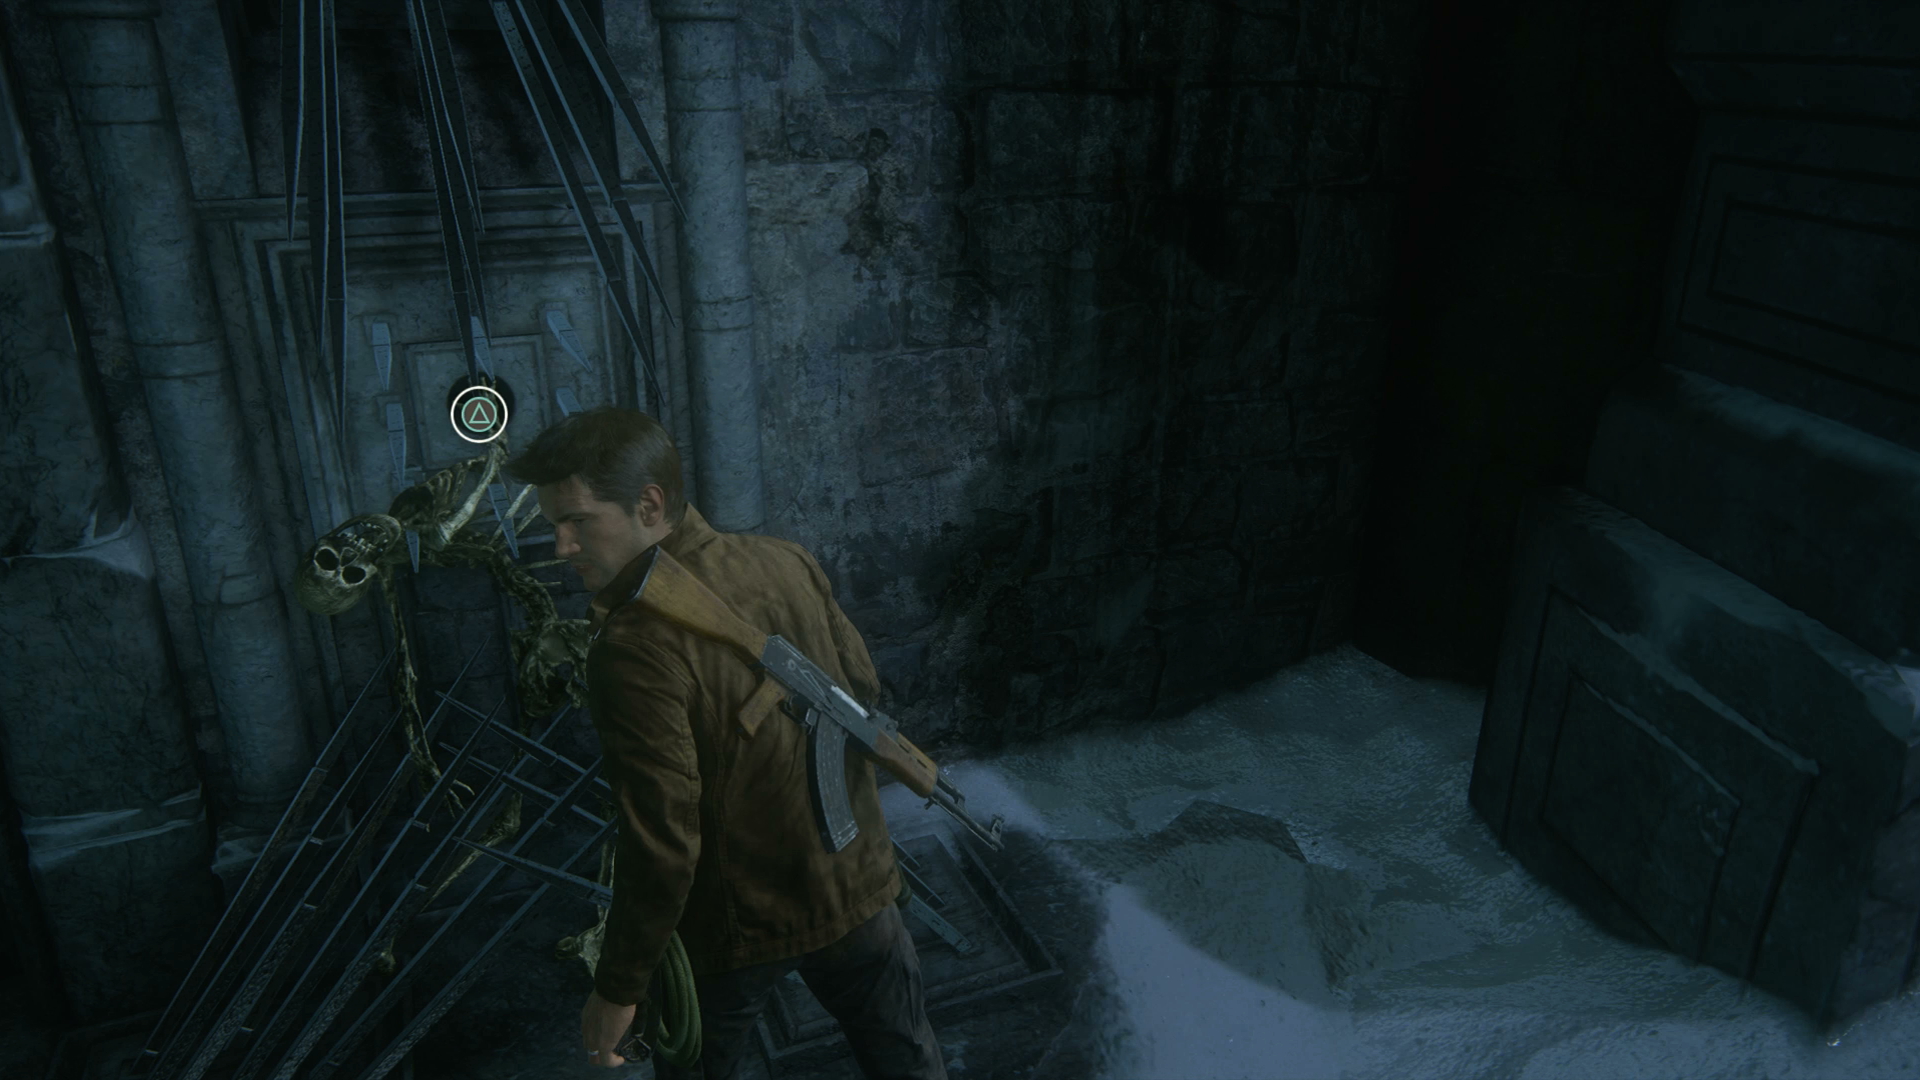
Early in the chapter, you'll be sealed in a room with an imposing looking contraption. To start the puzzle, interact with the lever to the left which currently holds the skeleton of a previous unsuccessful adventurer. Don't be like them.
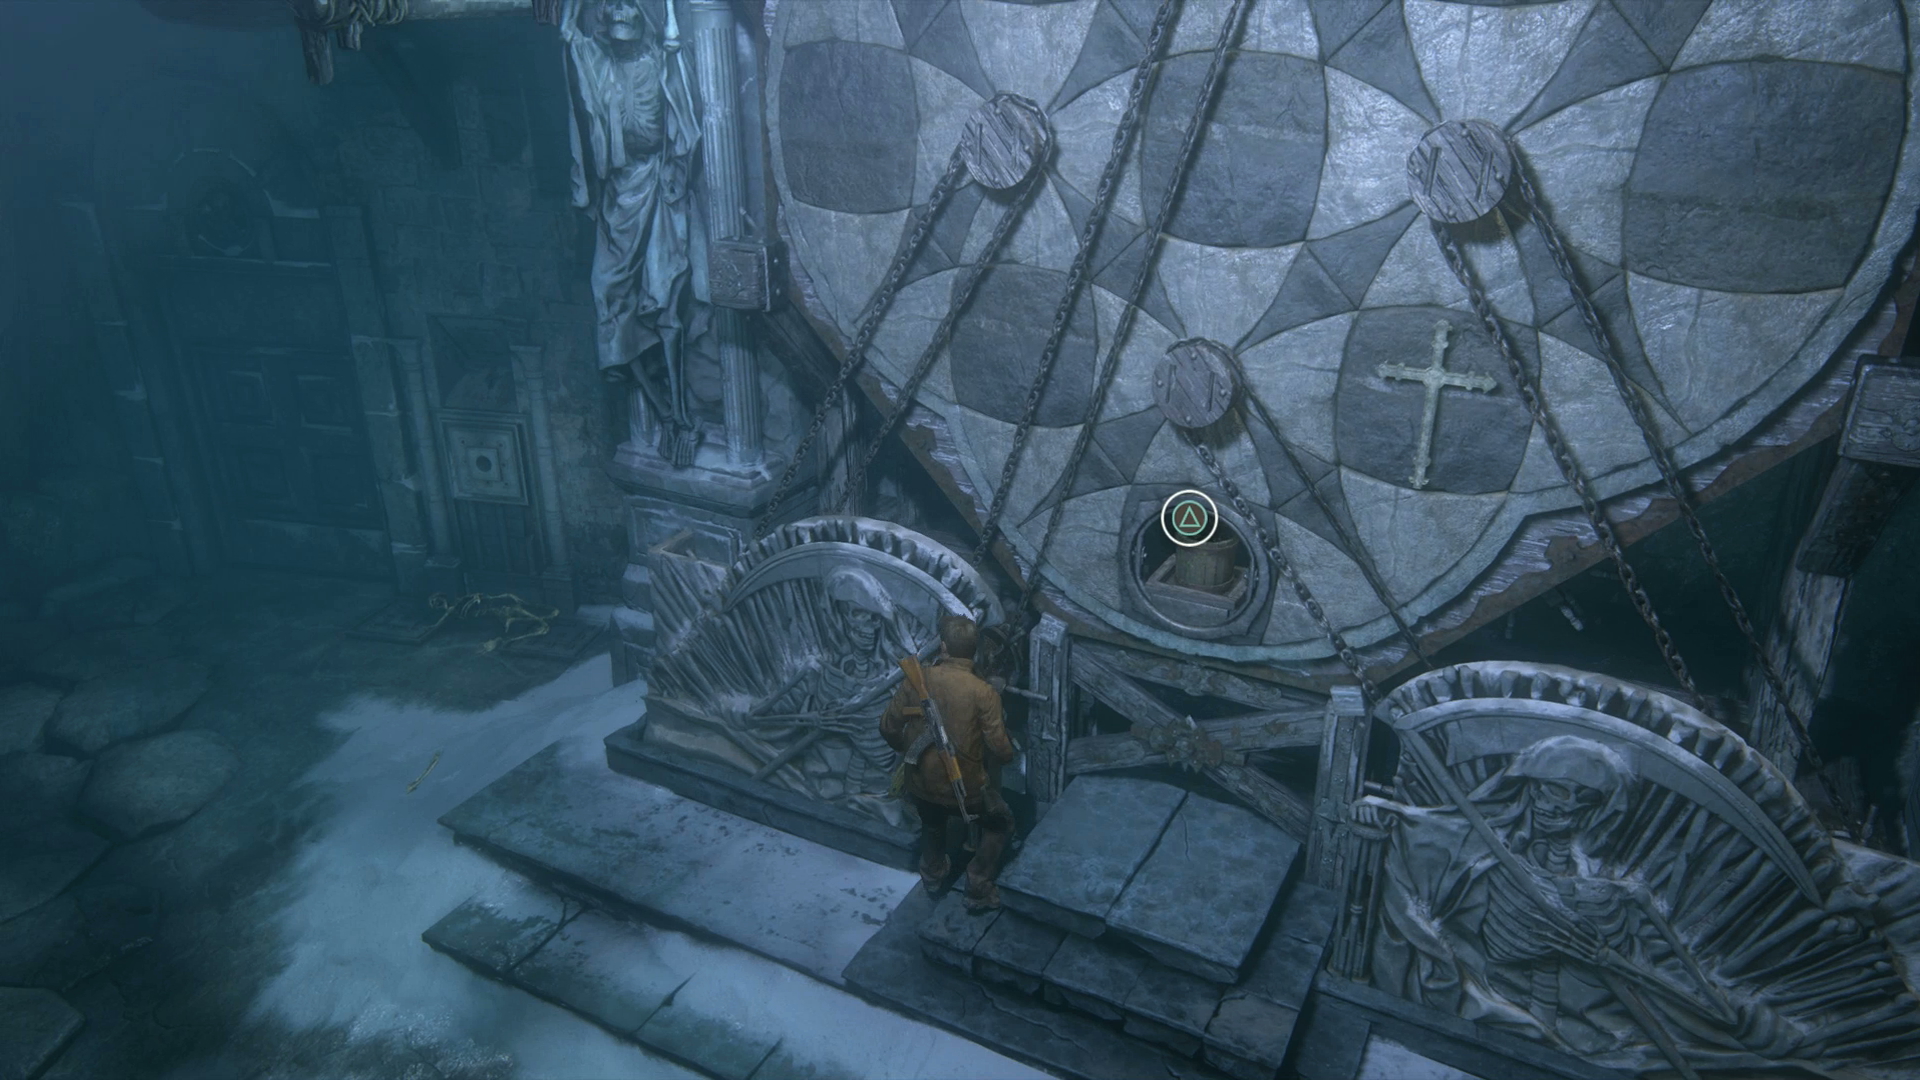
This will reveal a bucket at the bottom of the mechanism, so collect it then head down to the pool on your left to fill it with water. Hand it up to Sam and he'll place it in the wheels, triggering a new journal entry.
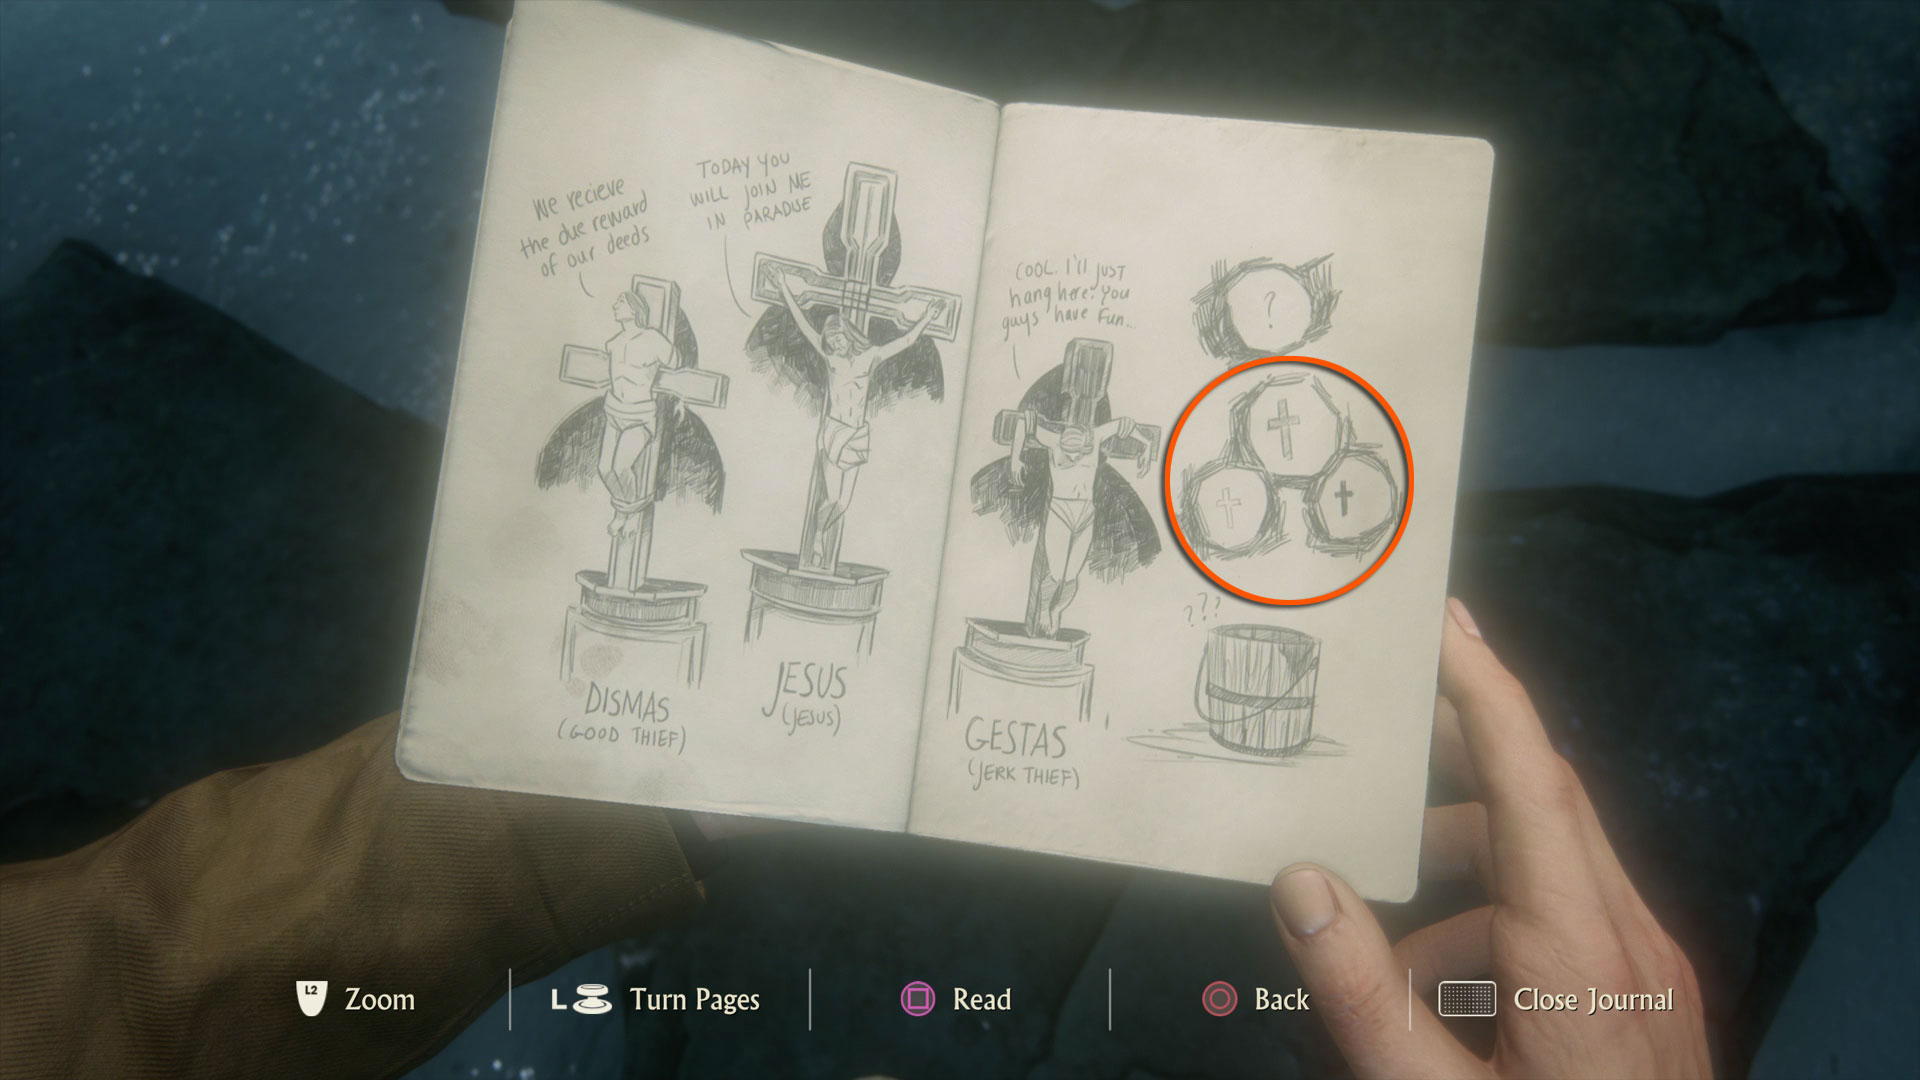
Examine the journal entry, and you'll see the solution to this puzzle with the white cross on the left and the black cross to the right.
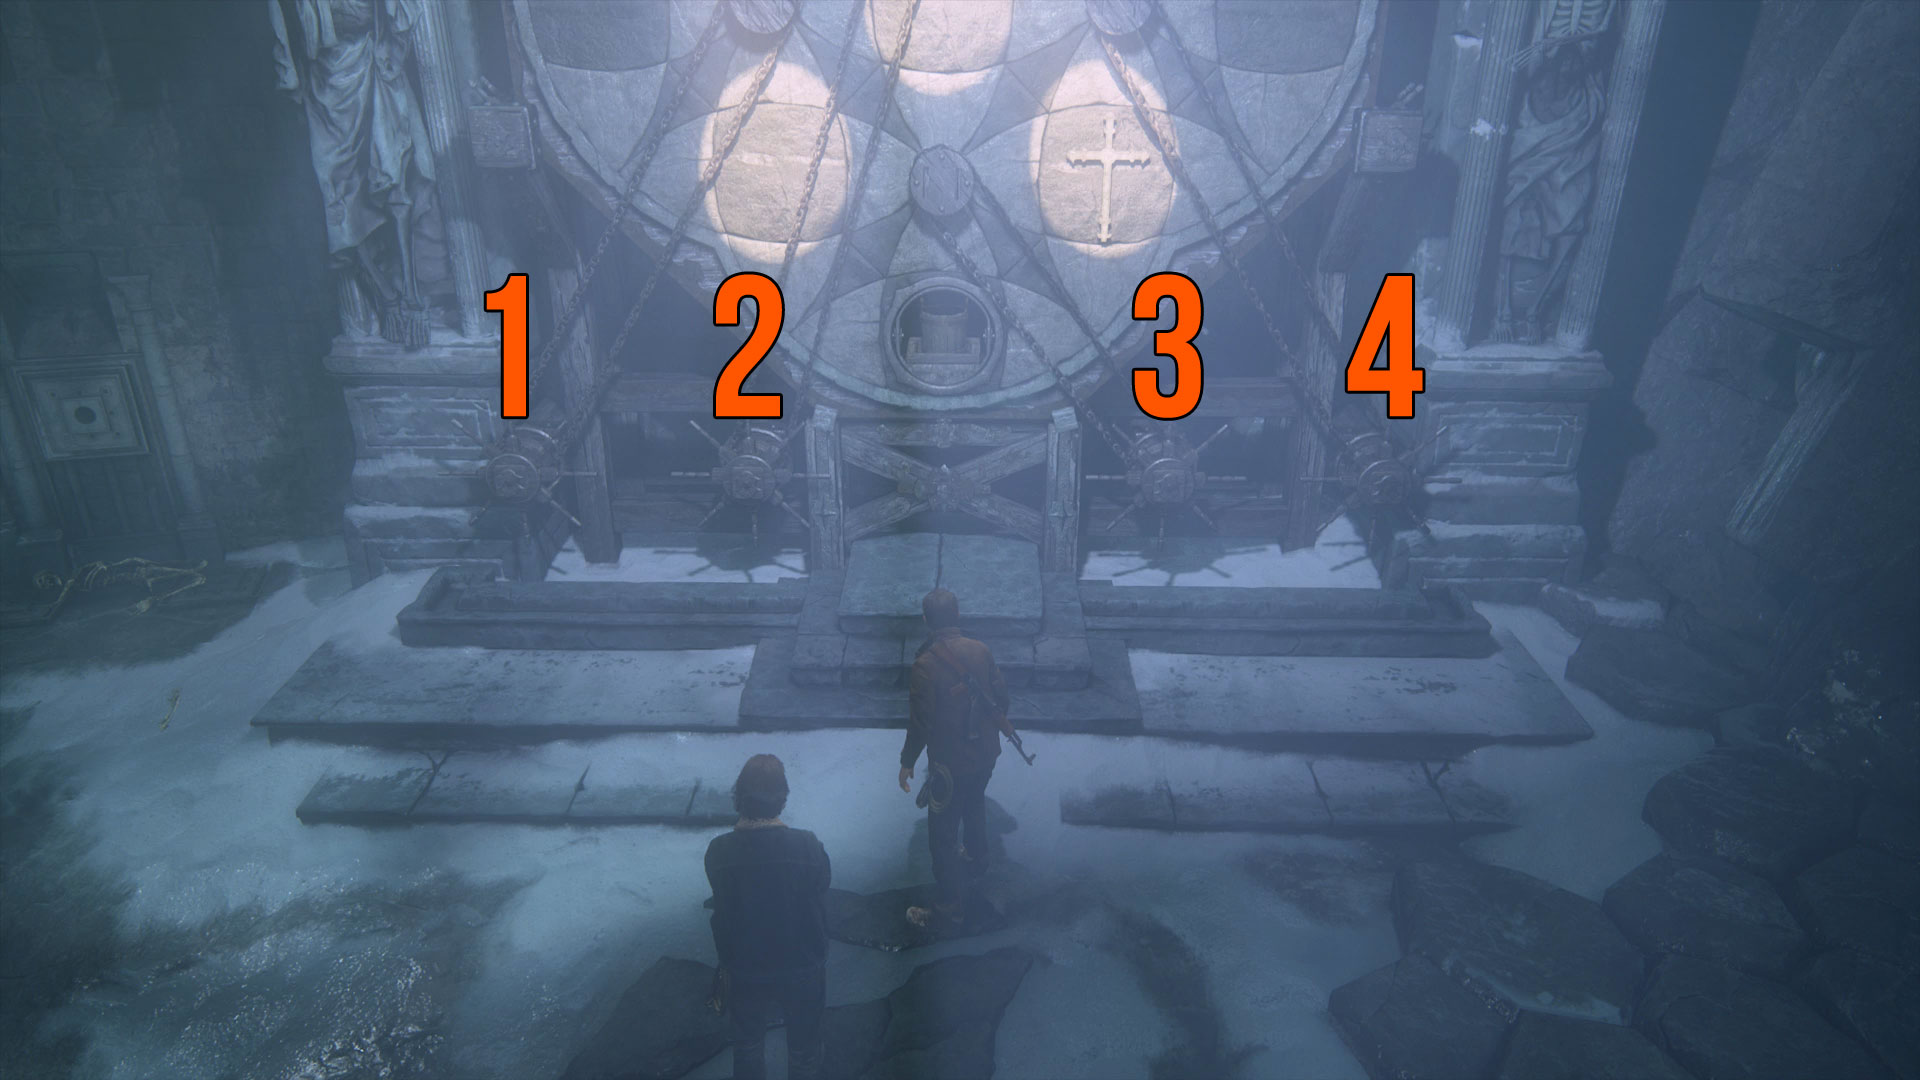
We've numbered the dials from 1-4, and by turning them you'll rotate the puzzle wheels into position. Turn the dials in the following exact order:
- Dial 1: One turn right
- Dial 3: Two turns left
- Dial 4: One turn right
- Dial 2: One turn left
- Dial 4: Two turns right
- Dial 3: One turn right
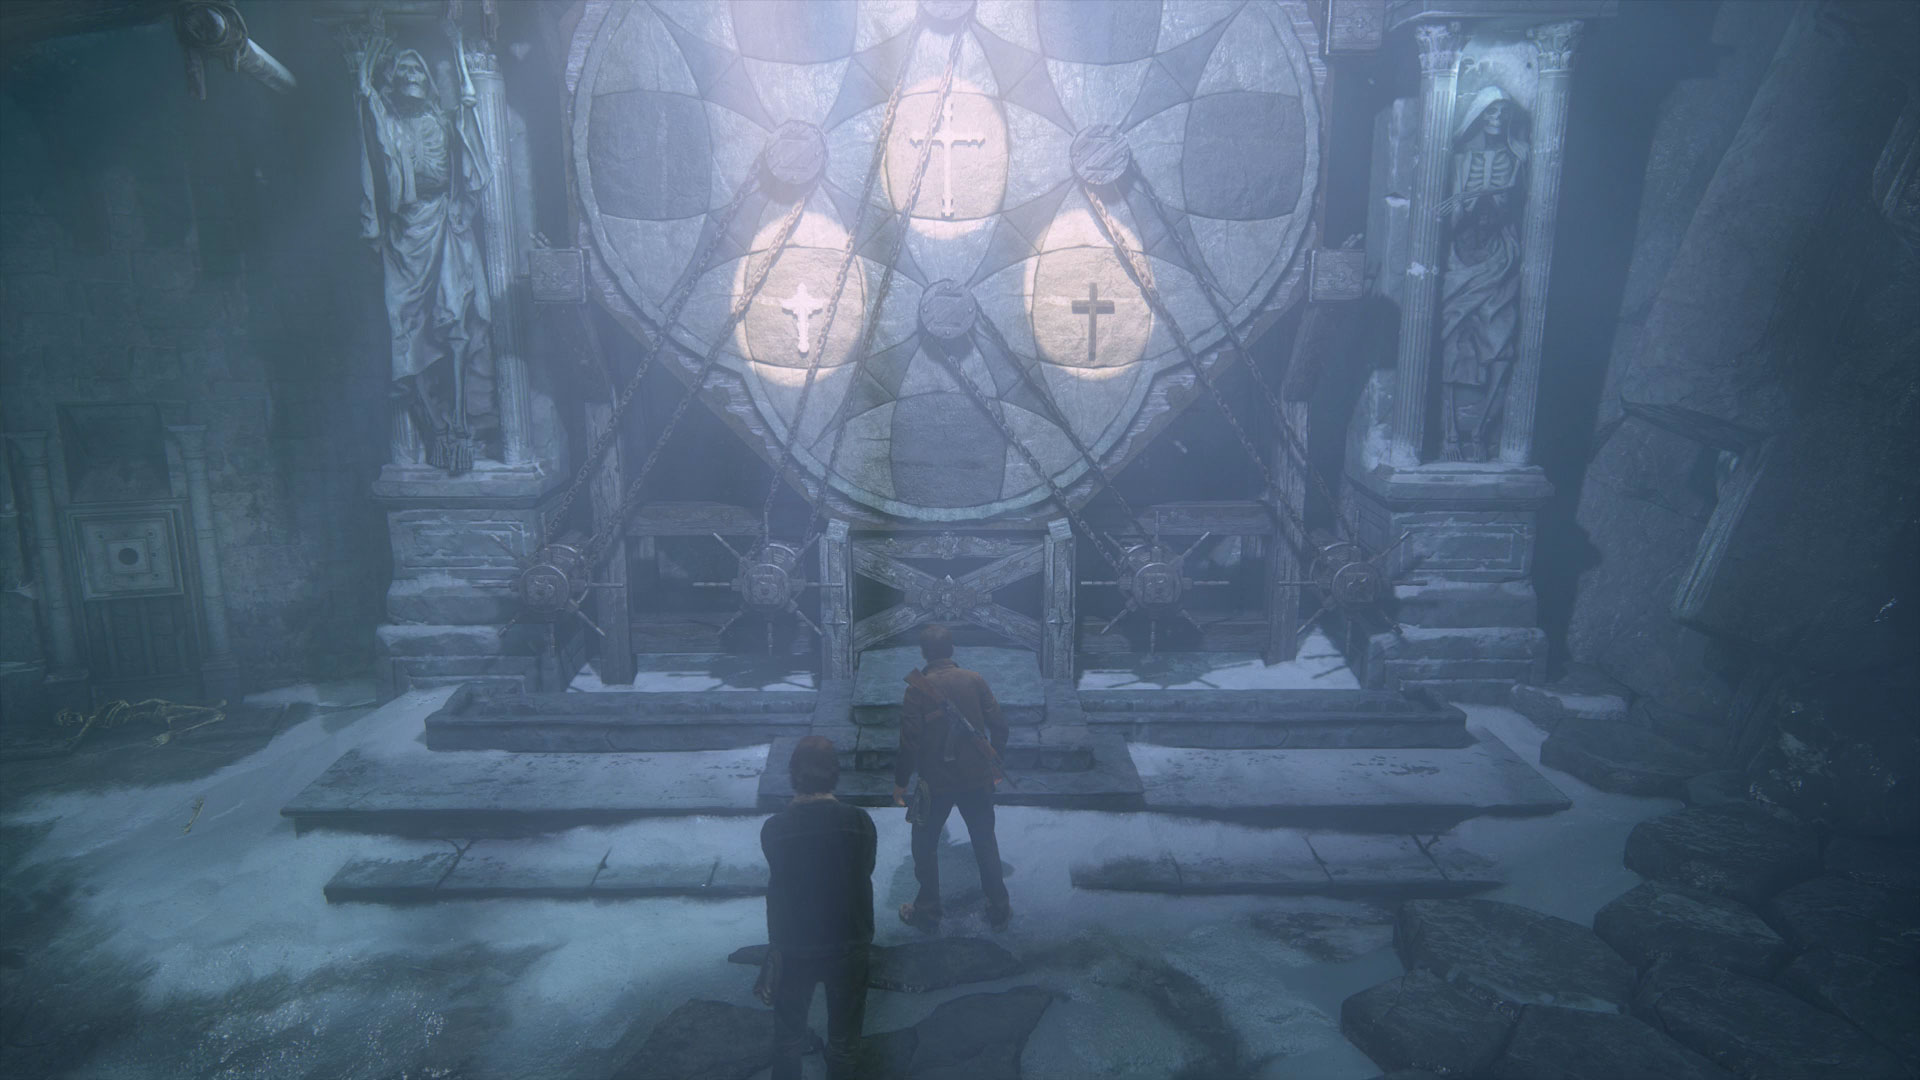
You should now have the completed solution, as shown above. Pull the lever to the left of the puzzle to open the door and exit the area.
Chapter 11 – Clock Tower Puzzle
Chapter 11: Hidden in Plain Sight – Clock Tower Puzzle
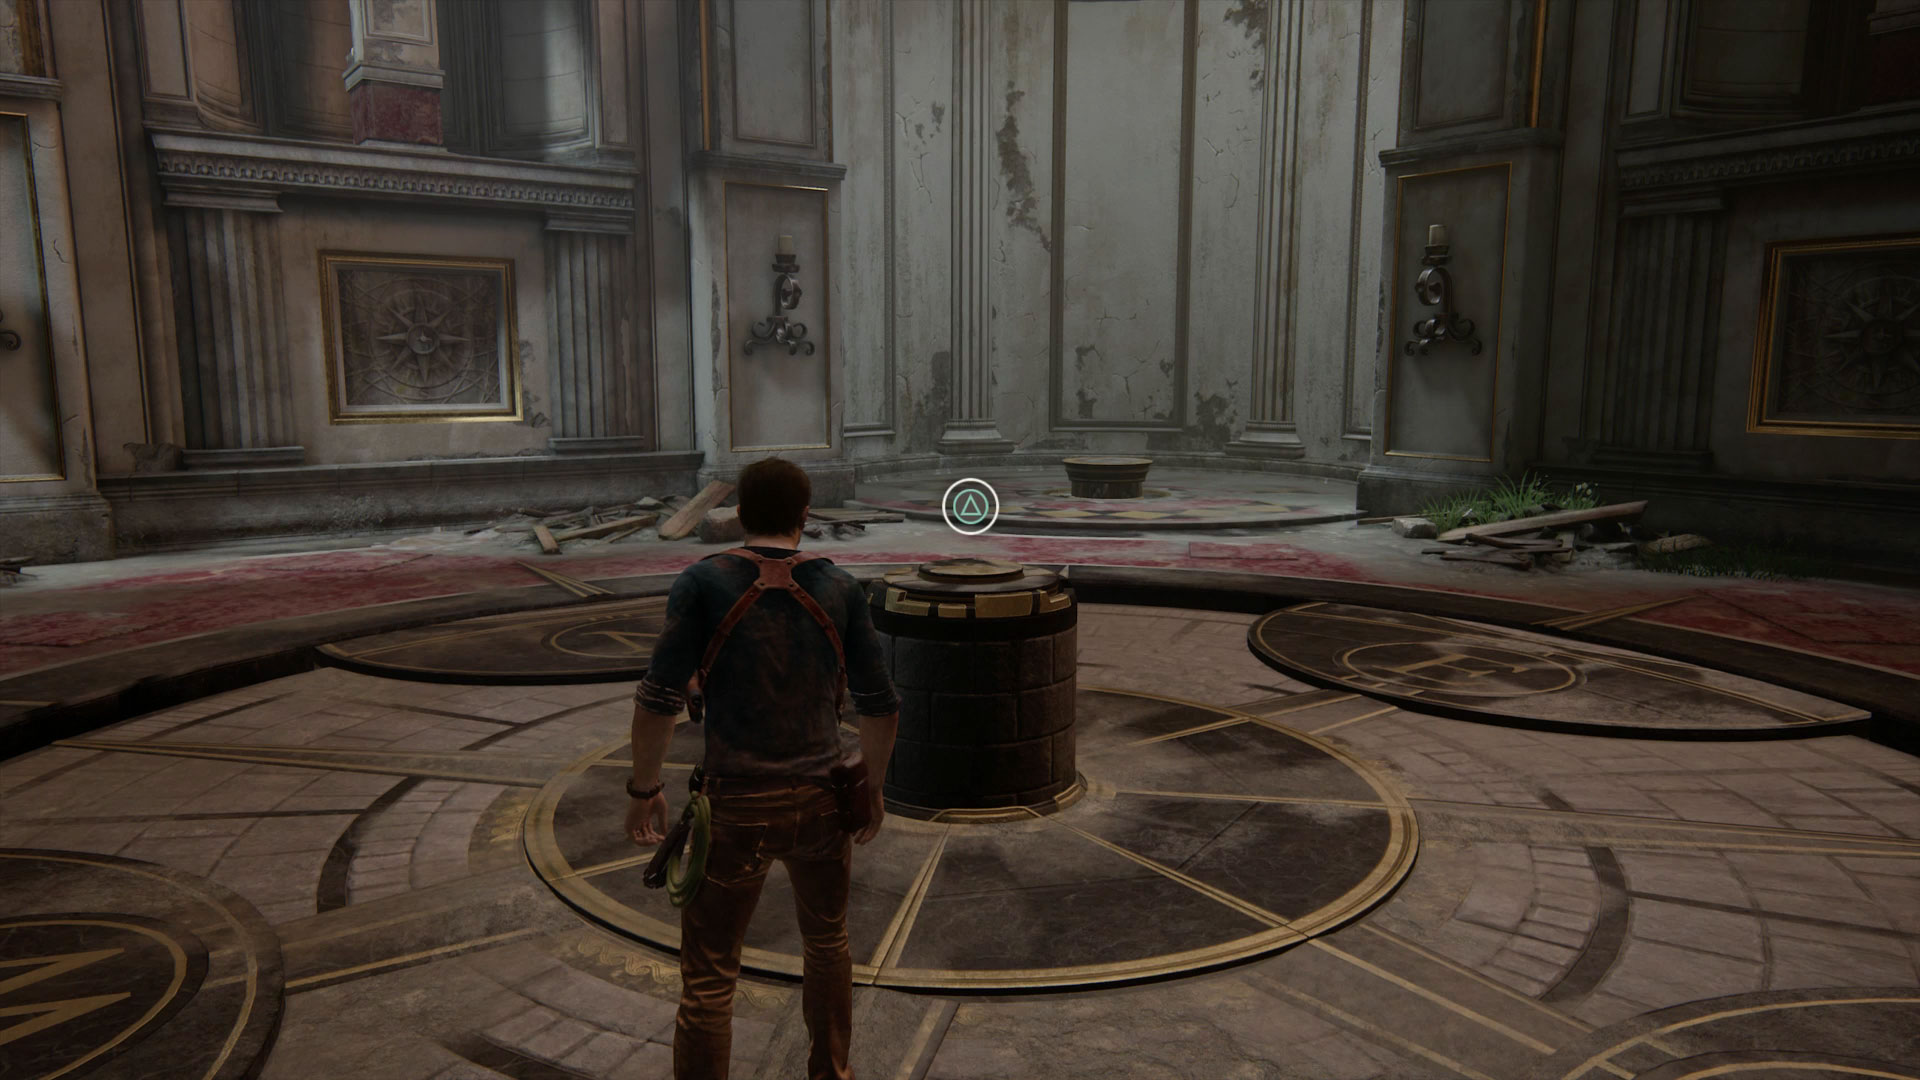
Once you've worked your way inside the clock tower, head up the stairs and through the doors to find the puzzle mechanism. Inserting the coin you found earlier into the central plinth will get things moving and update your journal.
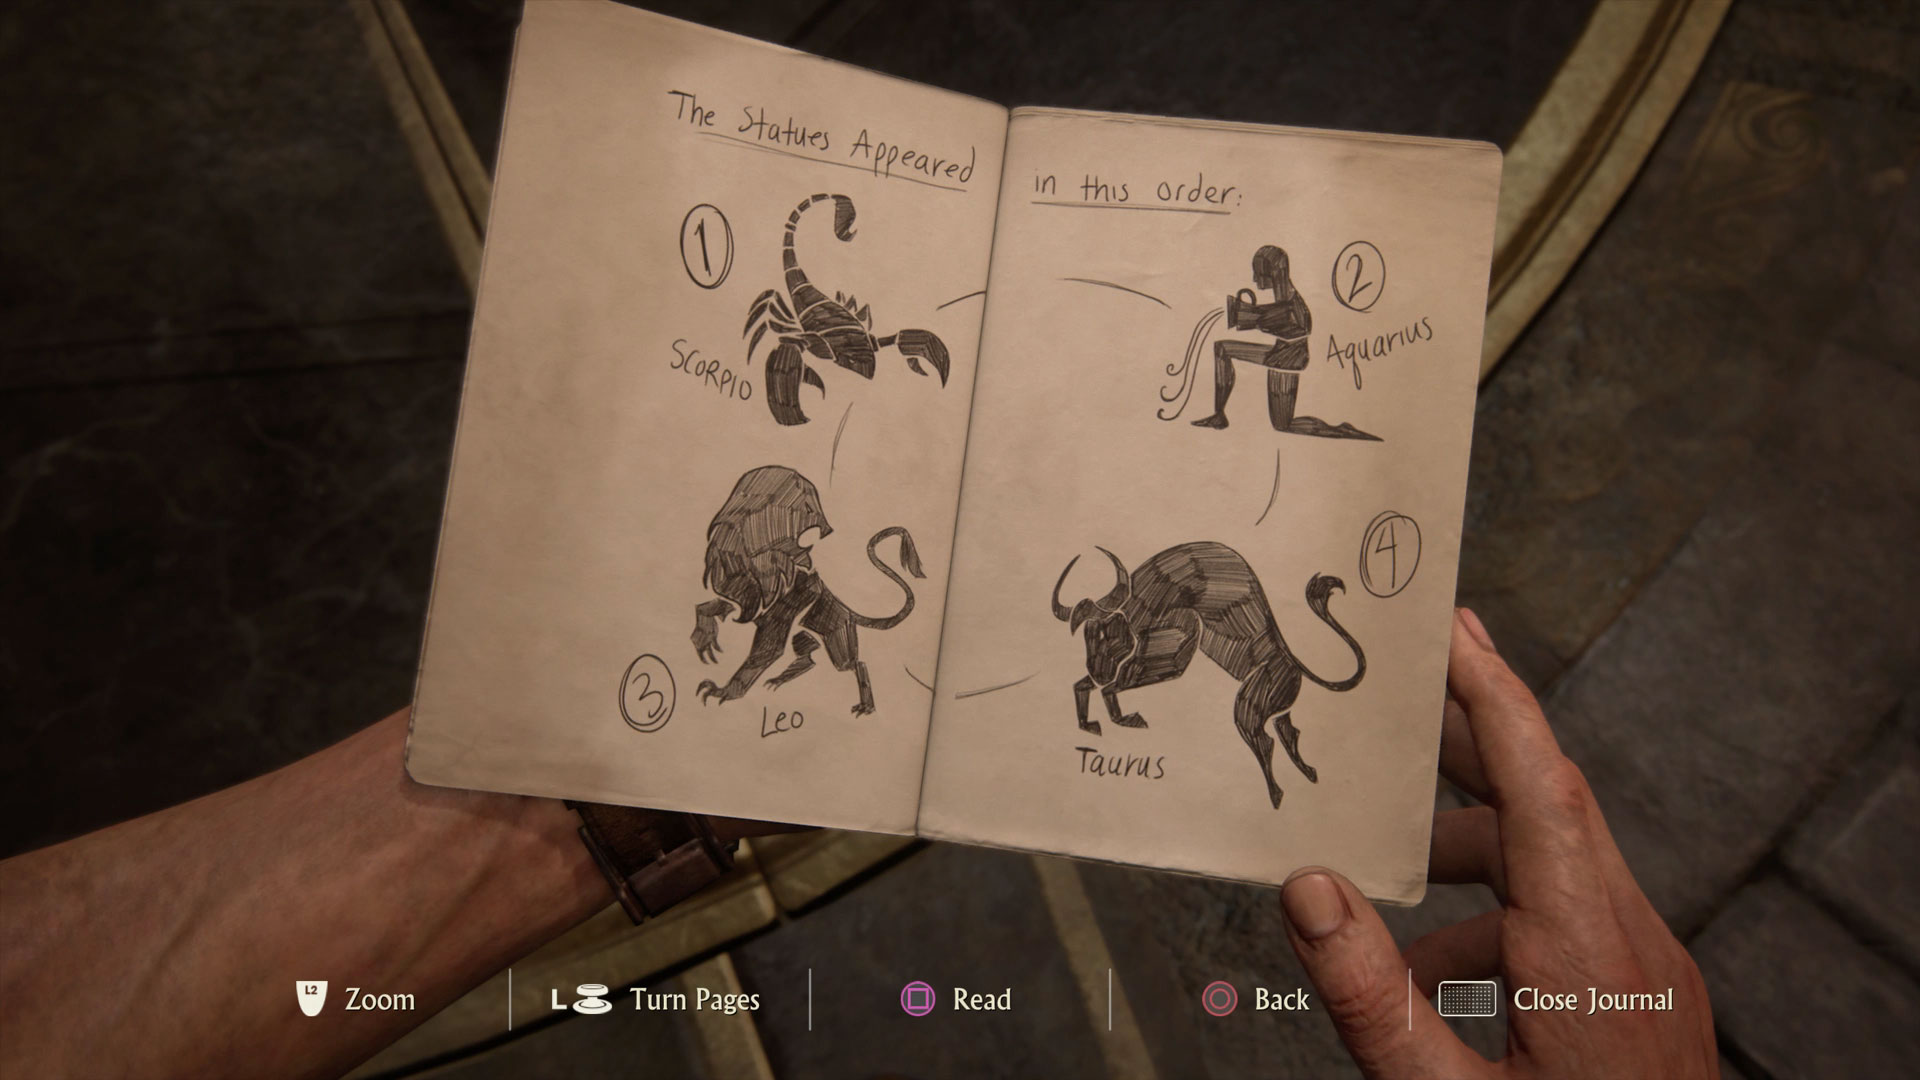
Inspect your journal for confirmation of the order in which the statues appeared, as follows:
- Scorpio
- Aquarius
- Leo
- Taurus
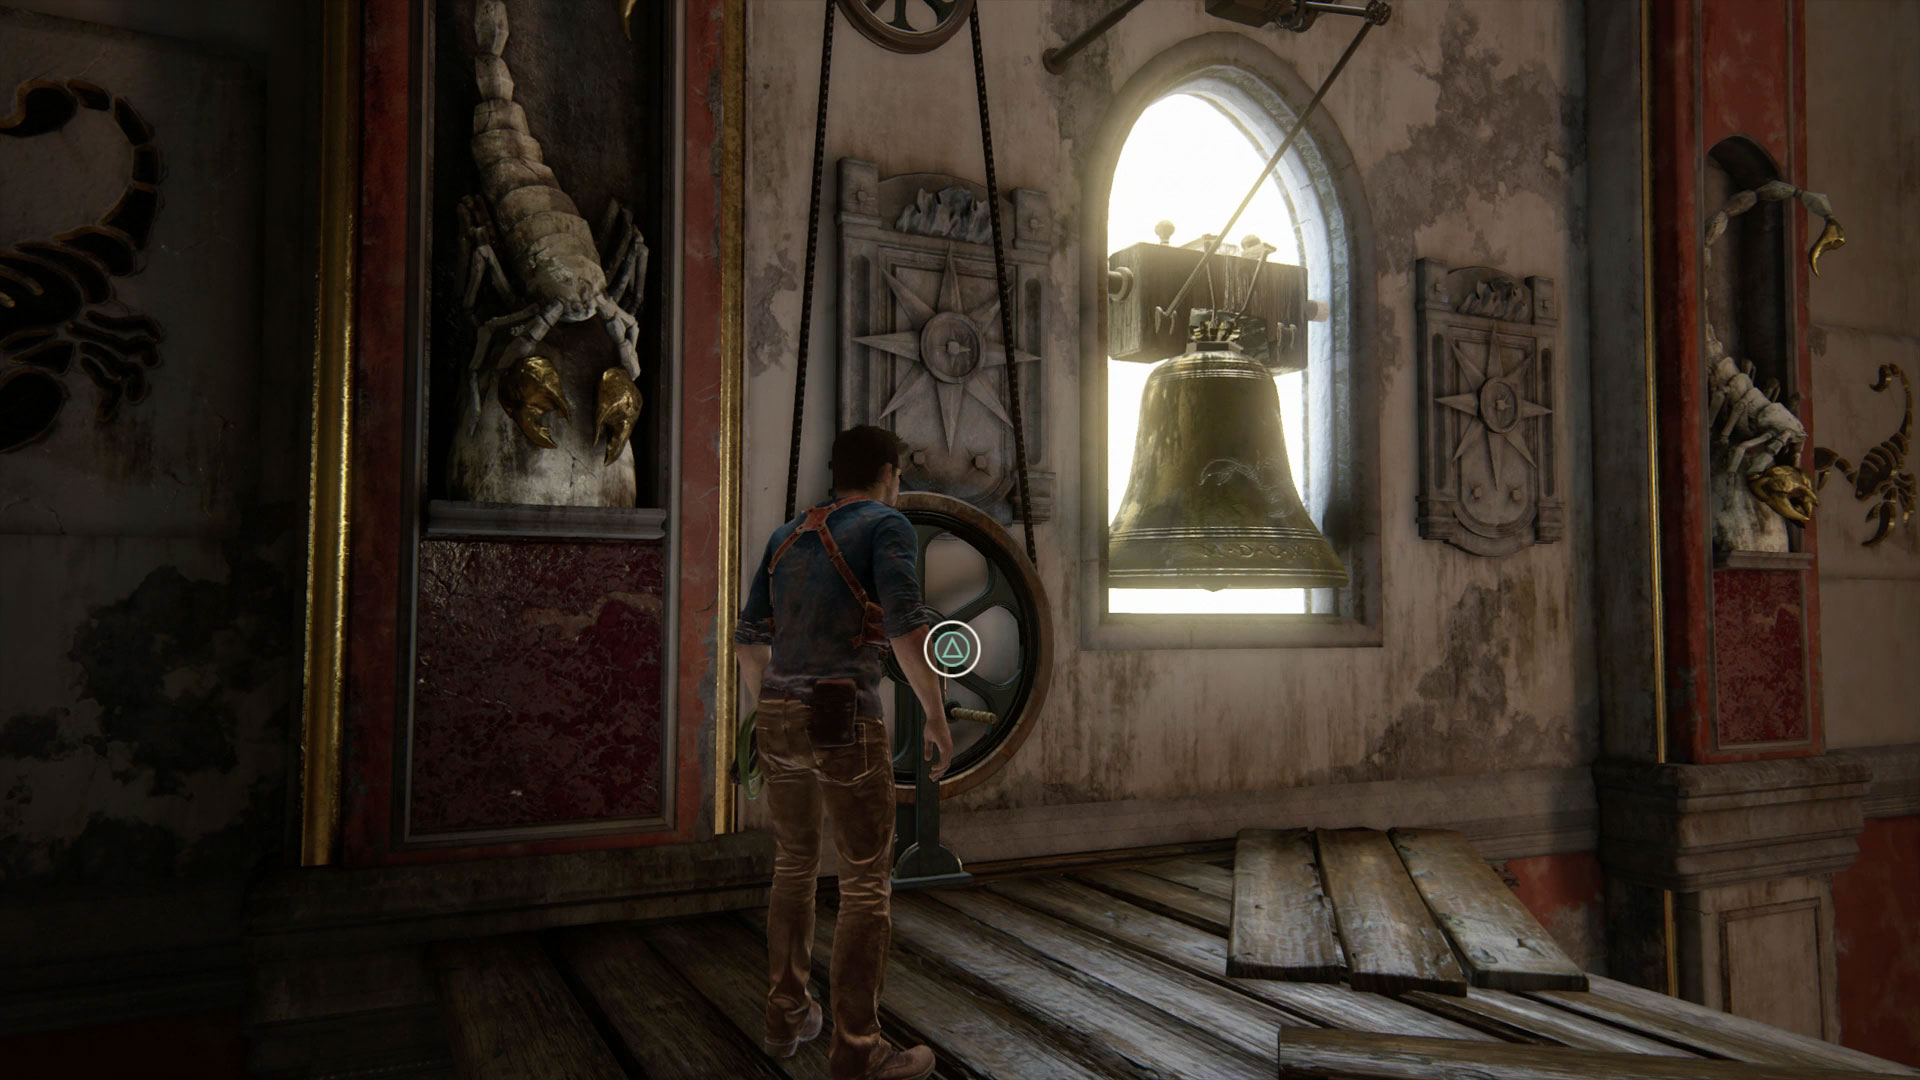
First up, you need to ring the Scorpio bell. Climb upwards through the tower, using the pendulums and turning cogs until you reach the Leo bell. Ignore that for now, and climb up the next set of cogs to find the Scorpio bell.
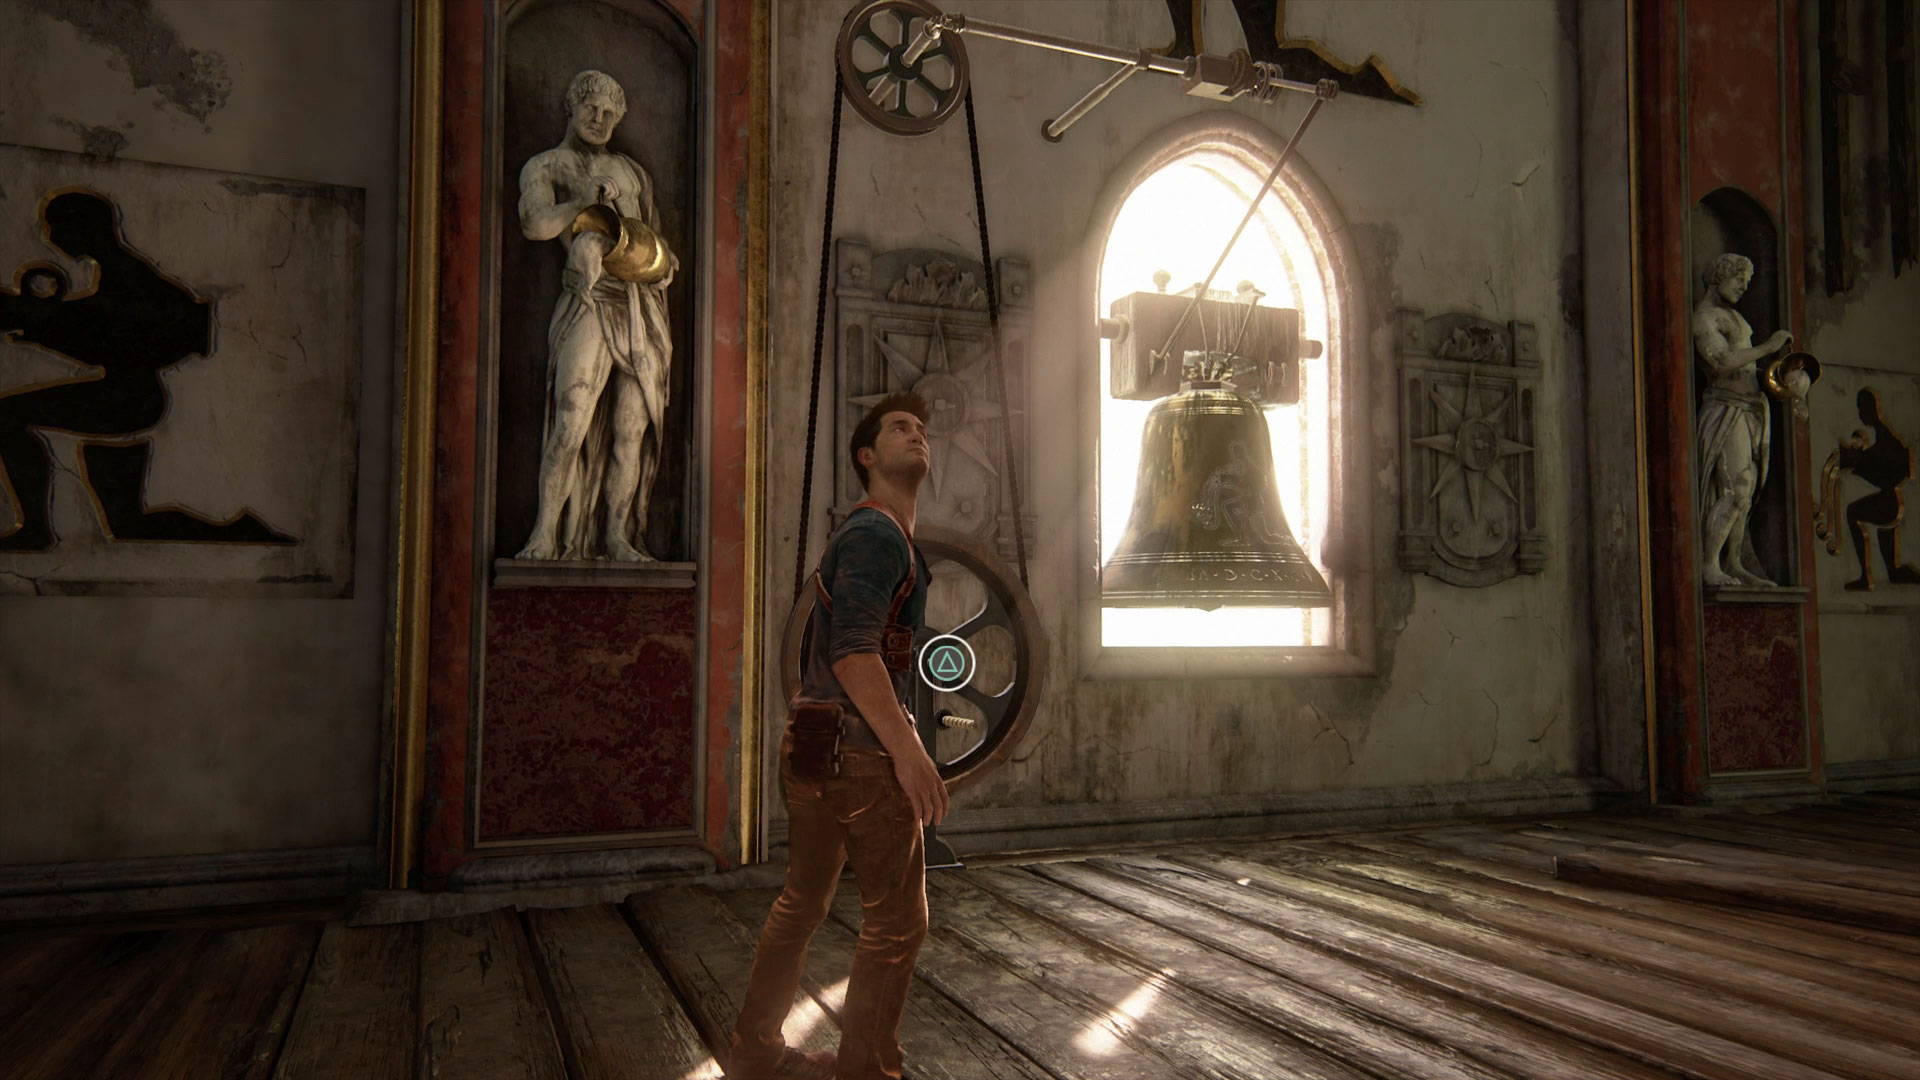
Next, you need to ring the Aquarius bell, which helpfully is close by. Turn around then drop down the two large cogs below you to the Aquarius bell platform.
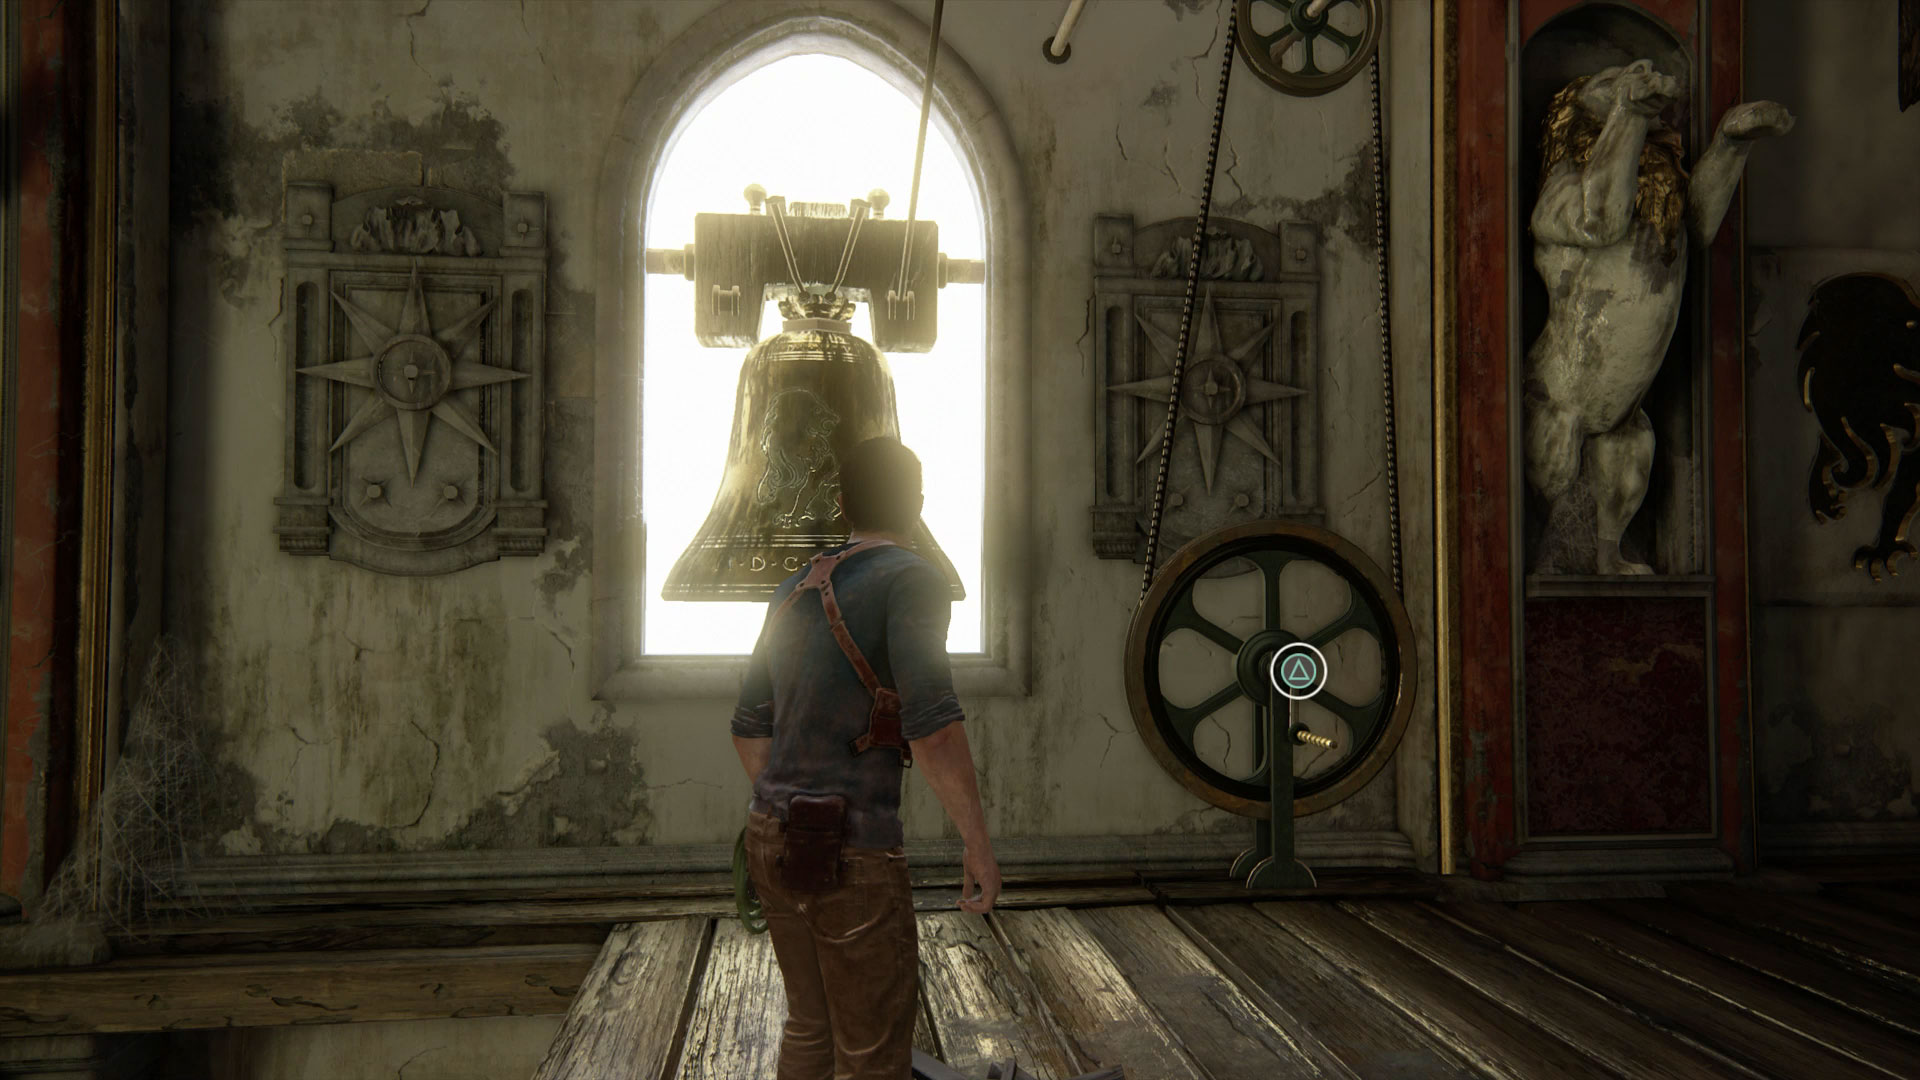
Ringing the Leo bell is next, so jump through a hole in the huge cog at the end of the platform to reach a pendulum, then climb round the back to a ledge. You need to pull the pendulum down then jump to hang from the ledge, before grabbing the pendulum again on its way back up and using the momentum to reach the Leo bell platform above.
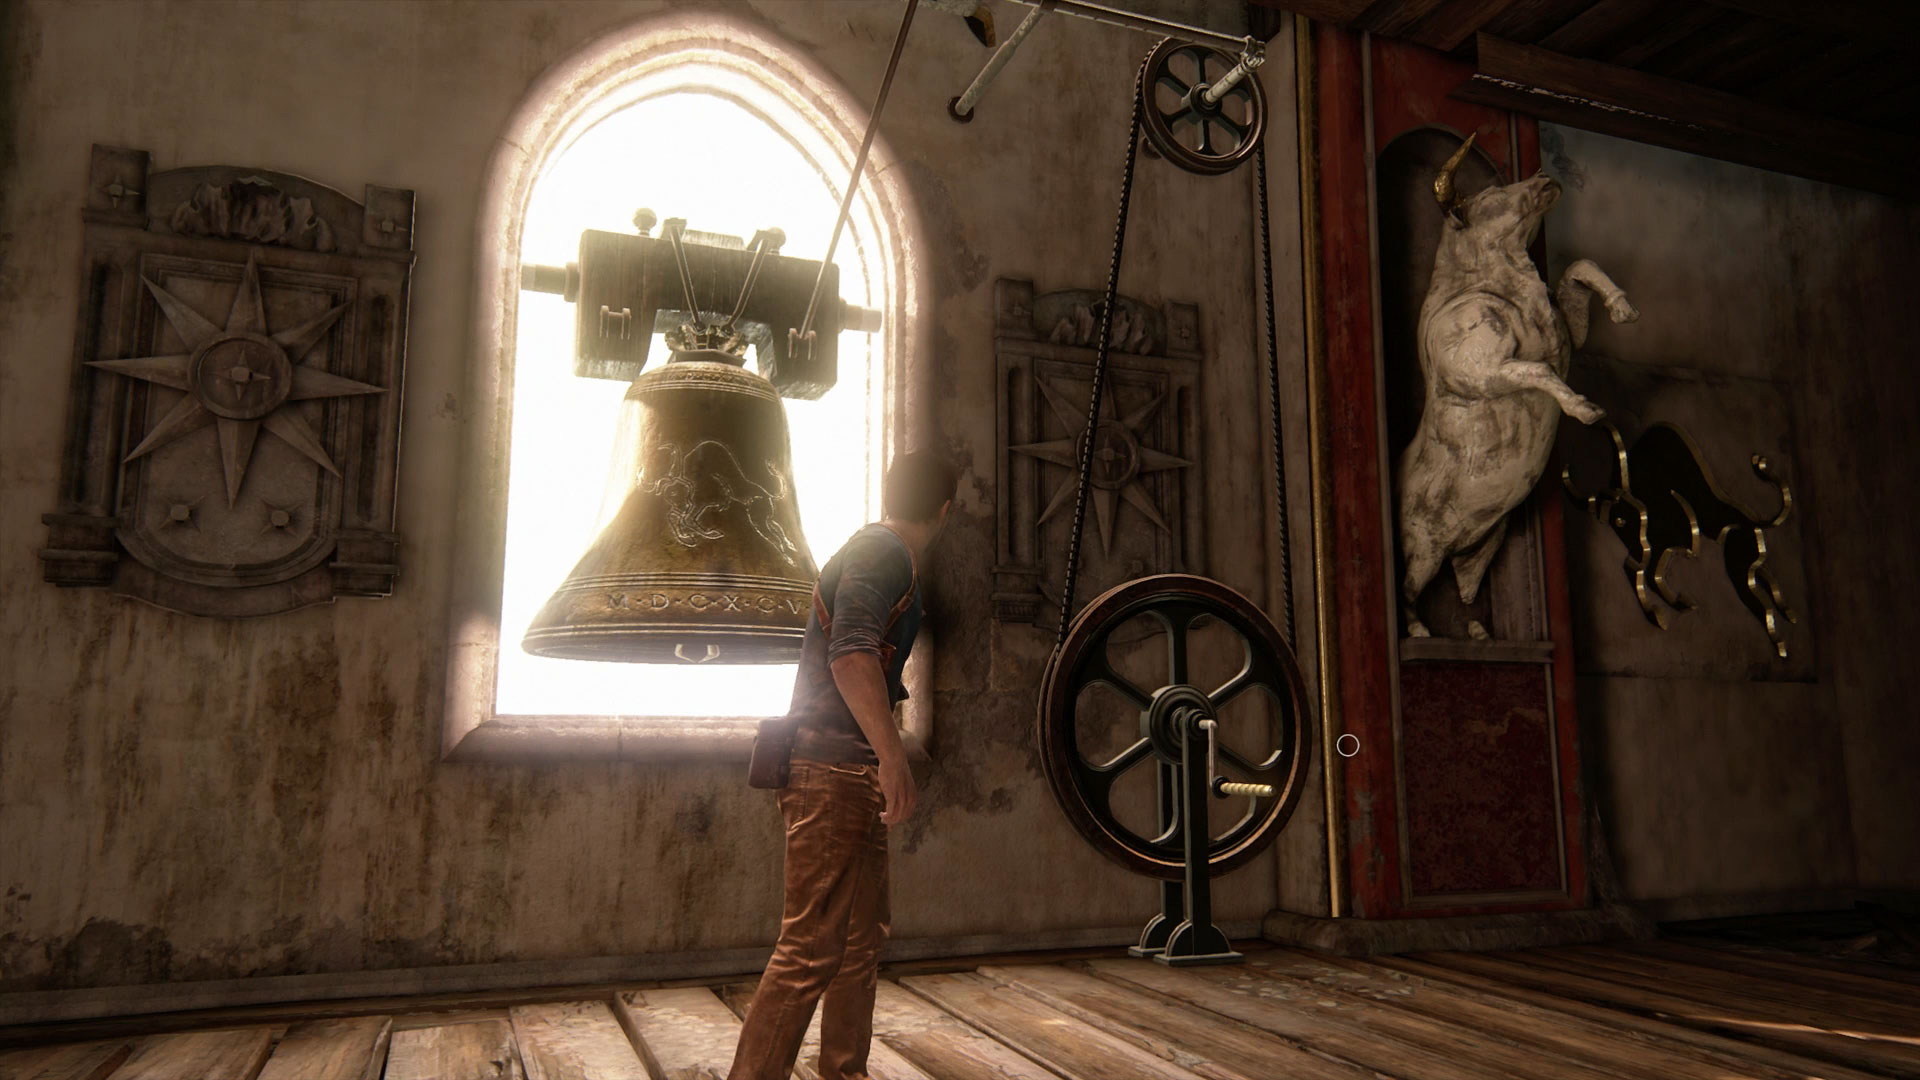
Lastly, you need to ring the Taurus bell to complete the set, so start by climbing the three smaller cogs behind you. Next, work your way up the side of the two larger cogs, before jumping across to the pendulum. You can then climb around to the other side of it and leap to the Taurus bell platform.
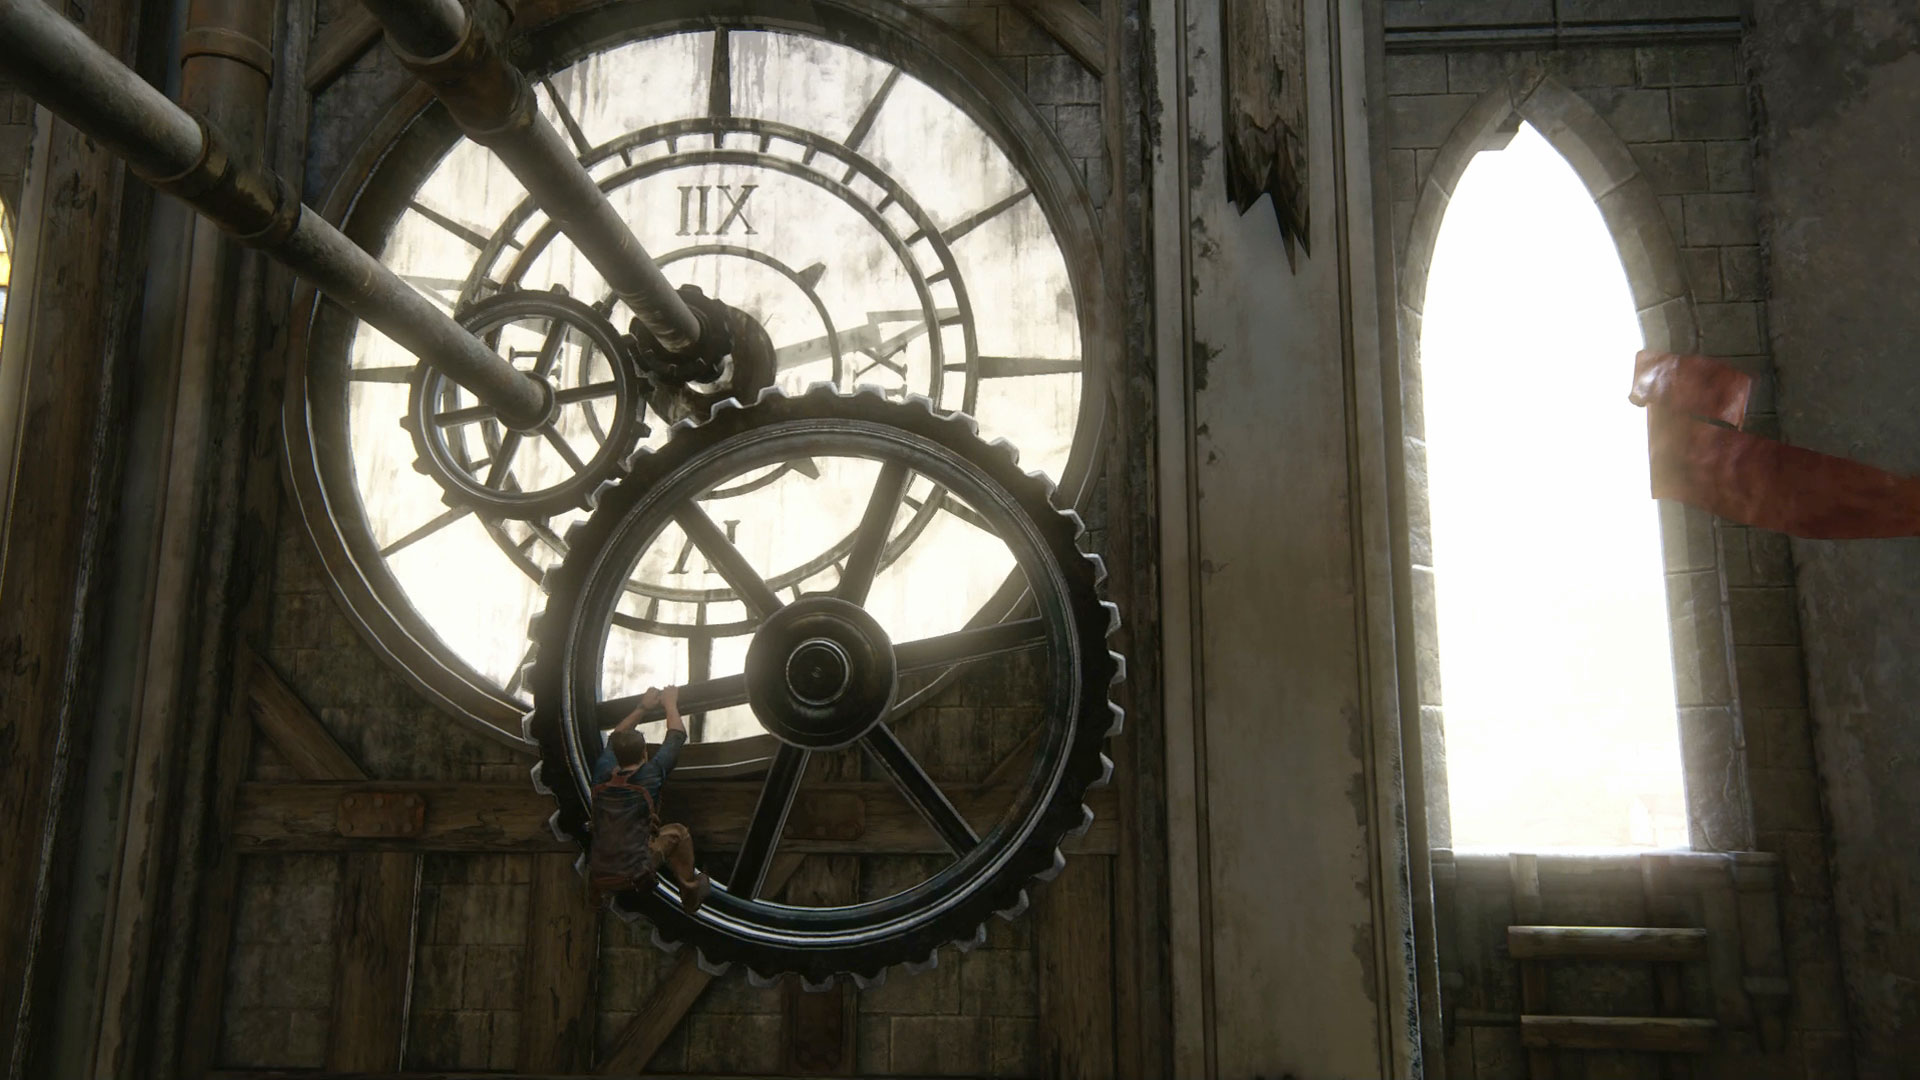
With all four bells rung, you now need to reach the top of the tower. Head up the stairs that lowered down, swing across the gap, then pull the level to briefly stop the giant spinning cogs. Quickly climb up the side of the cog, before jumping to the platform where you'll find another cog you can turn by climbing on it. This moves the minute hand of the outside clock face, so turn the cog left (anticlockwise) until the minute hand is roughly horizontal. You can then exit through the window and climb across the clock face to reach the other side.
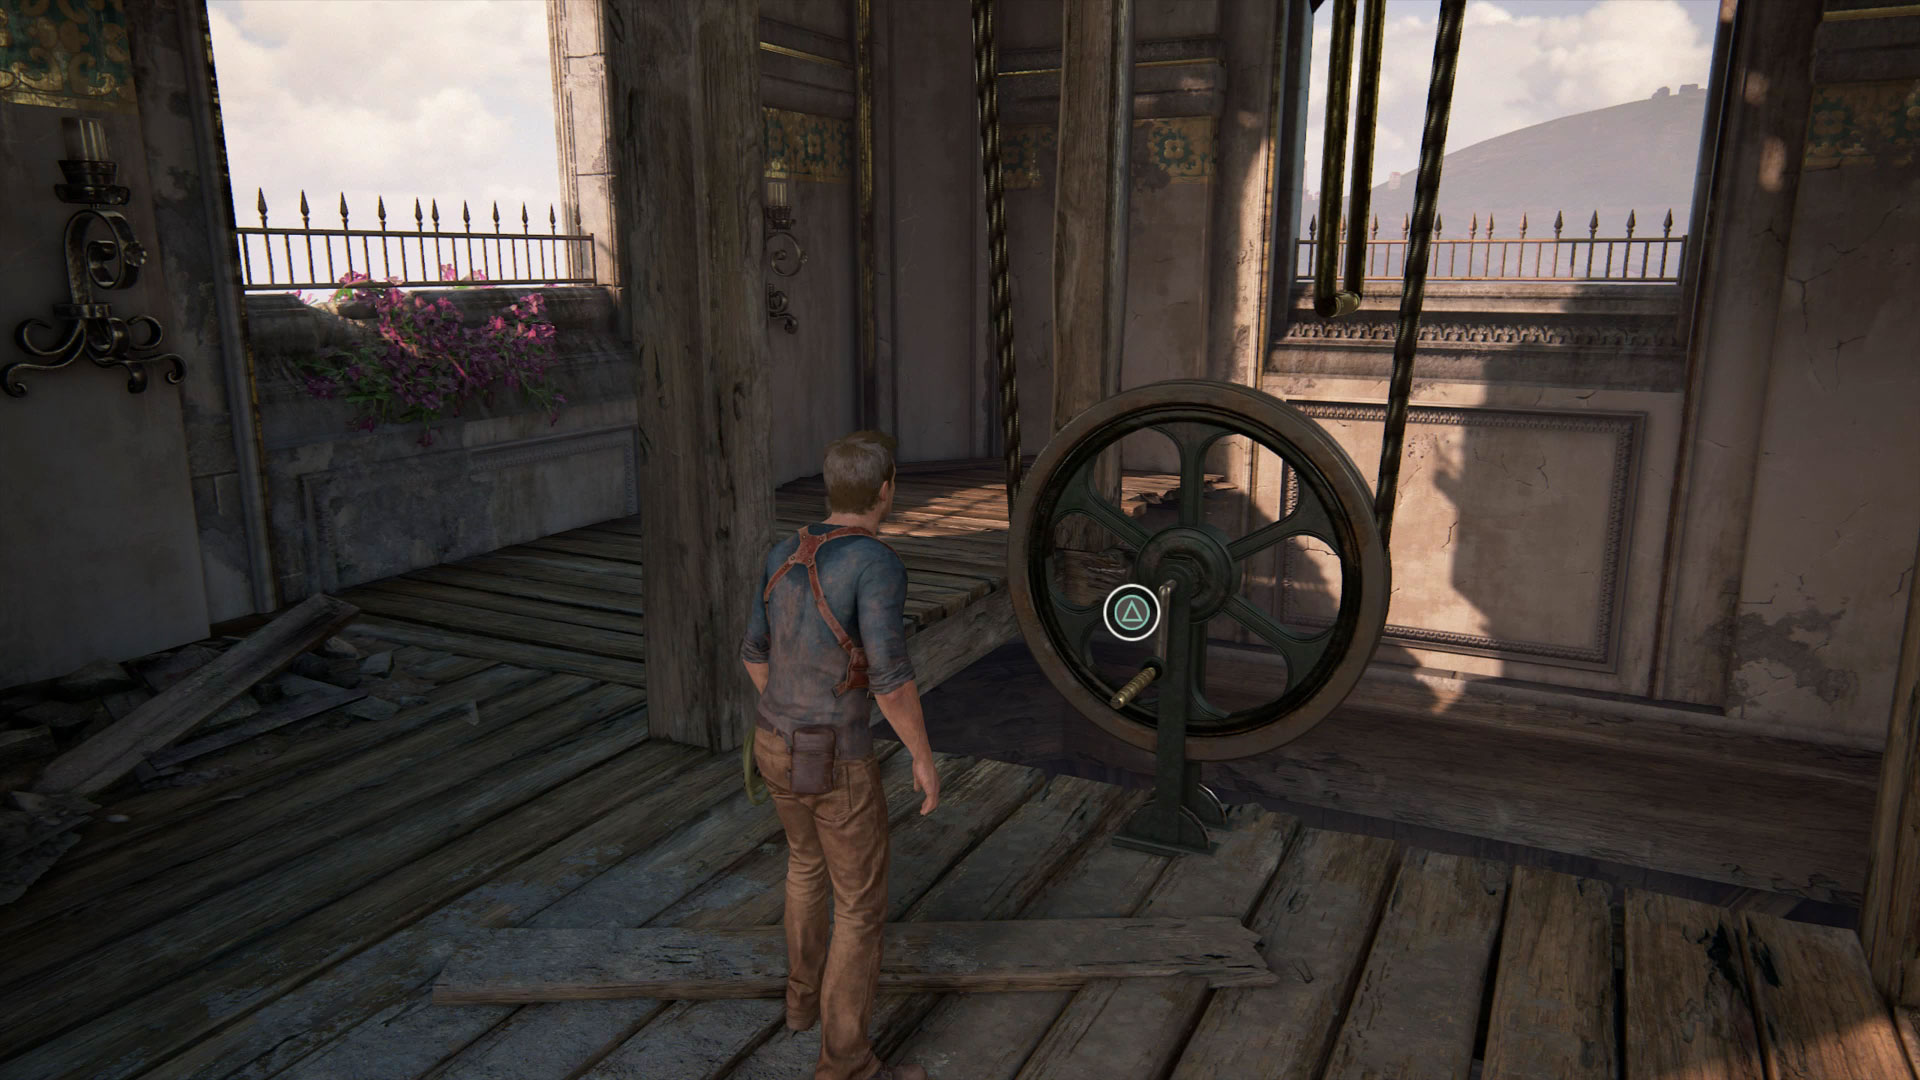
Continue climbing upwards to the top of the tower, where you can ring the giant bell (at the second attempt) to complete this puzzle.
Chapter 11 – Founders Wheel Puzzle
Chapter 11: Hidden in Plain Sight – Founders Wheel Puzzle
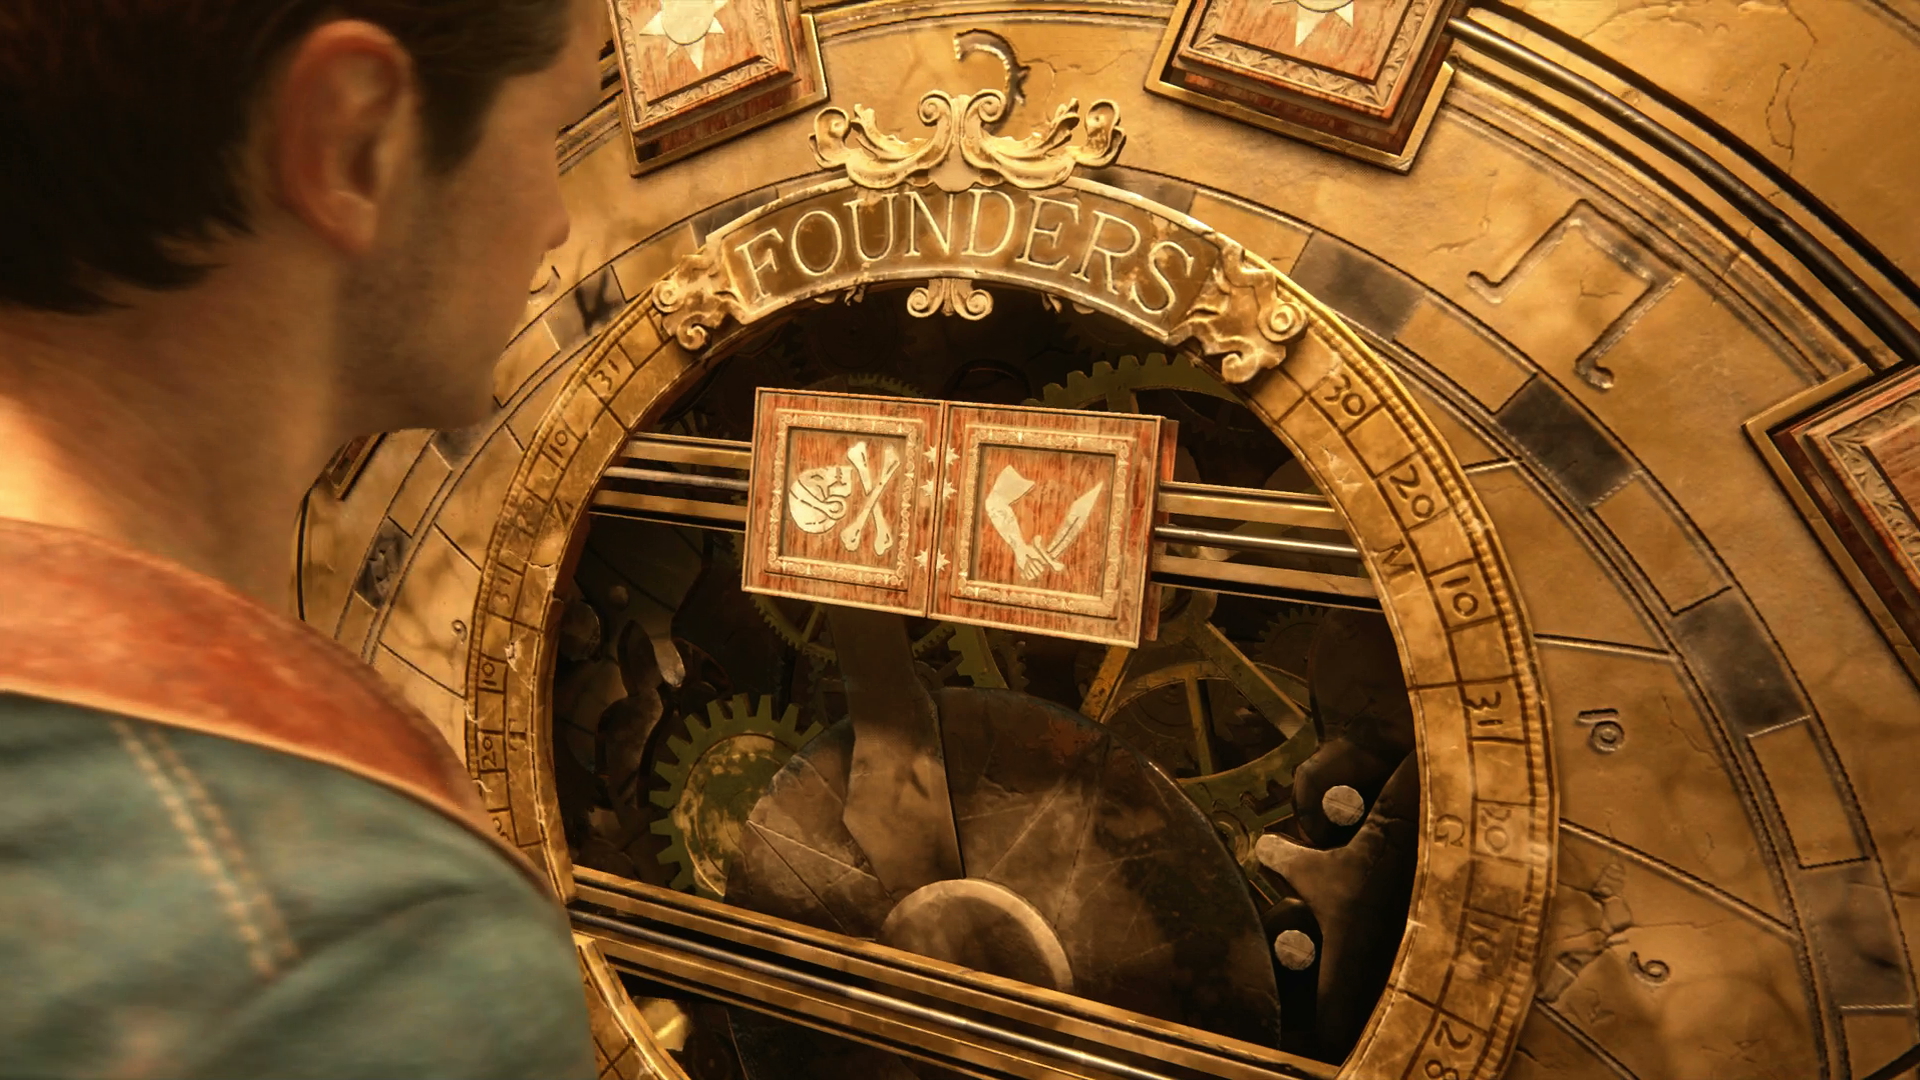
Down below the clock tower you'll immediately discover the Founders Wheel puzzle, and this one is going to take a bit of work. To get started, you need to match up the dots down the side of the two panels:
- Skull and Crossbones: Rotate left
- Sword: Rotate right
This will open the first side room, where you'll need to inspect three paintings to find the hidden panels.
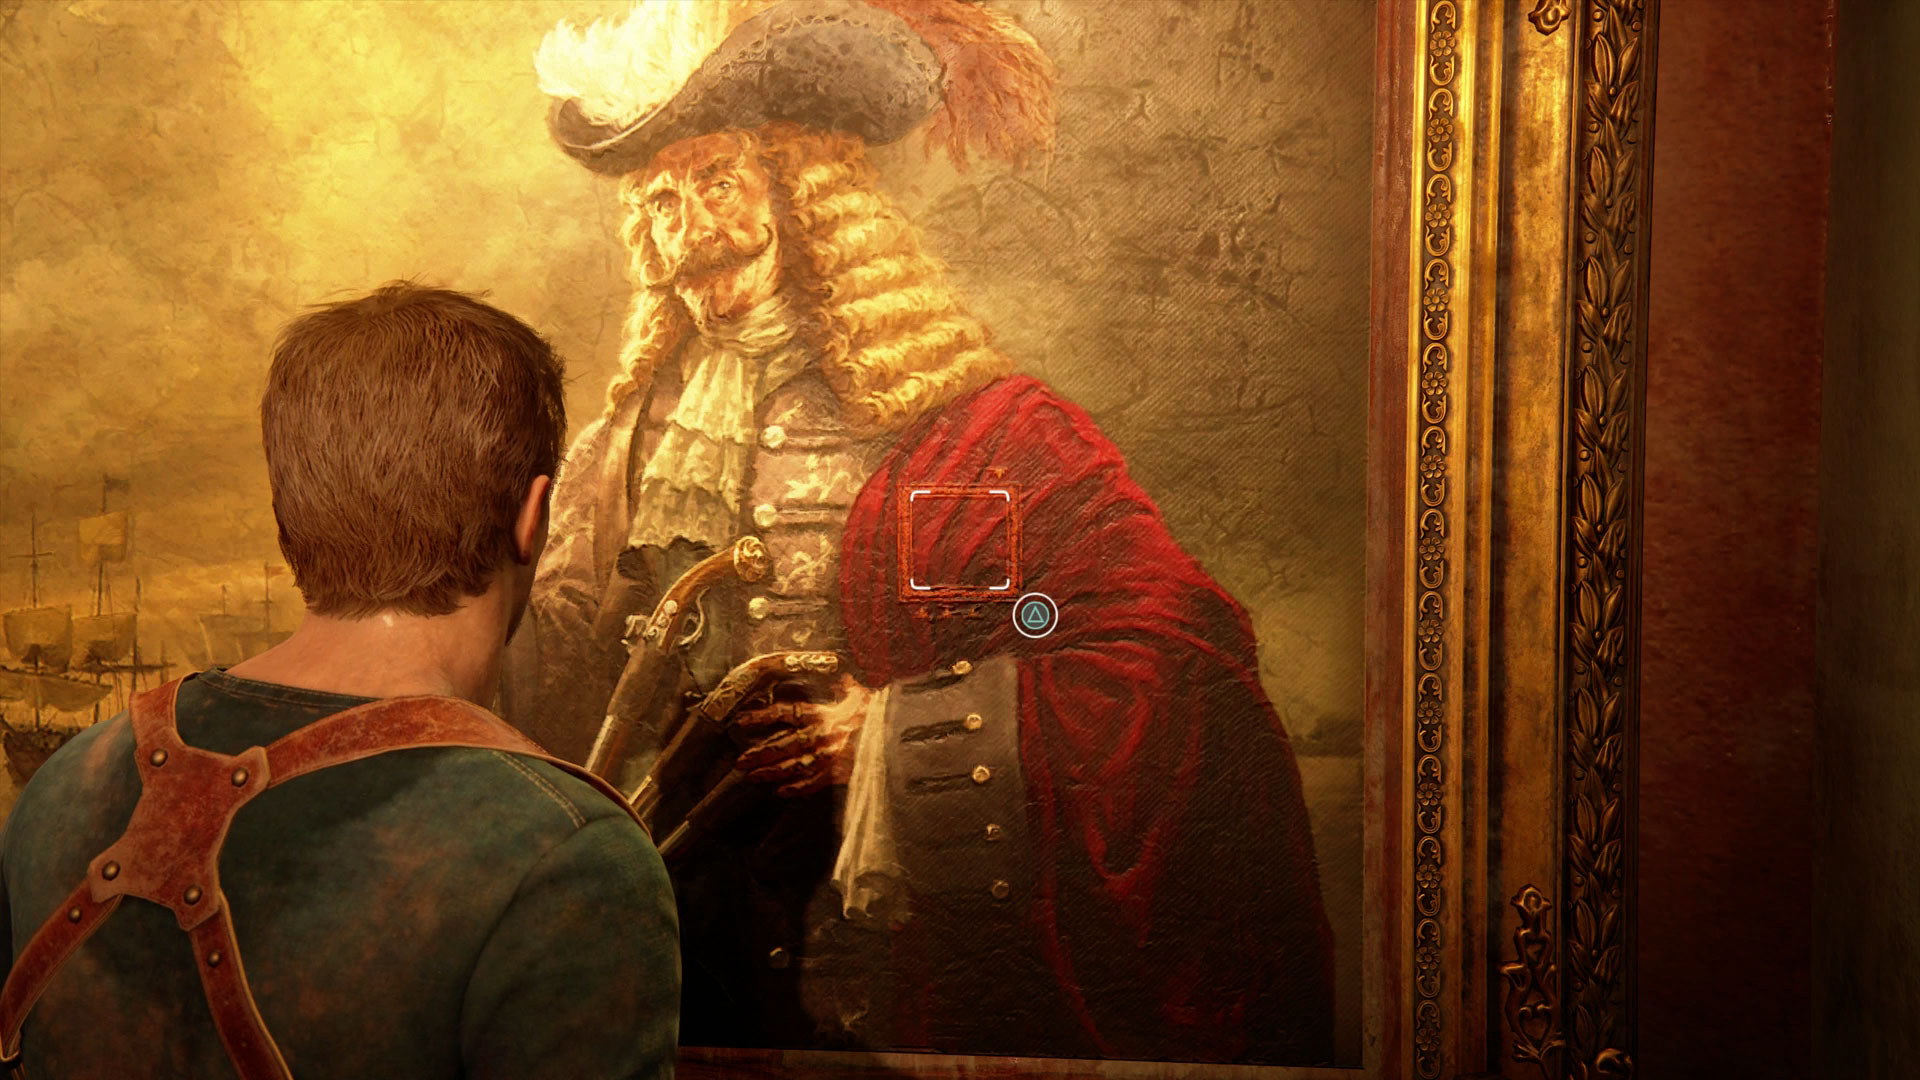
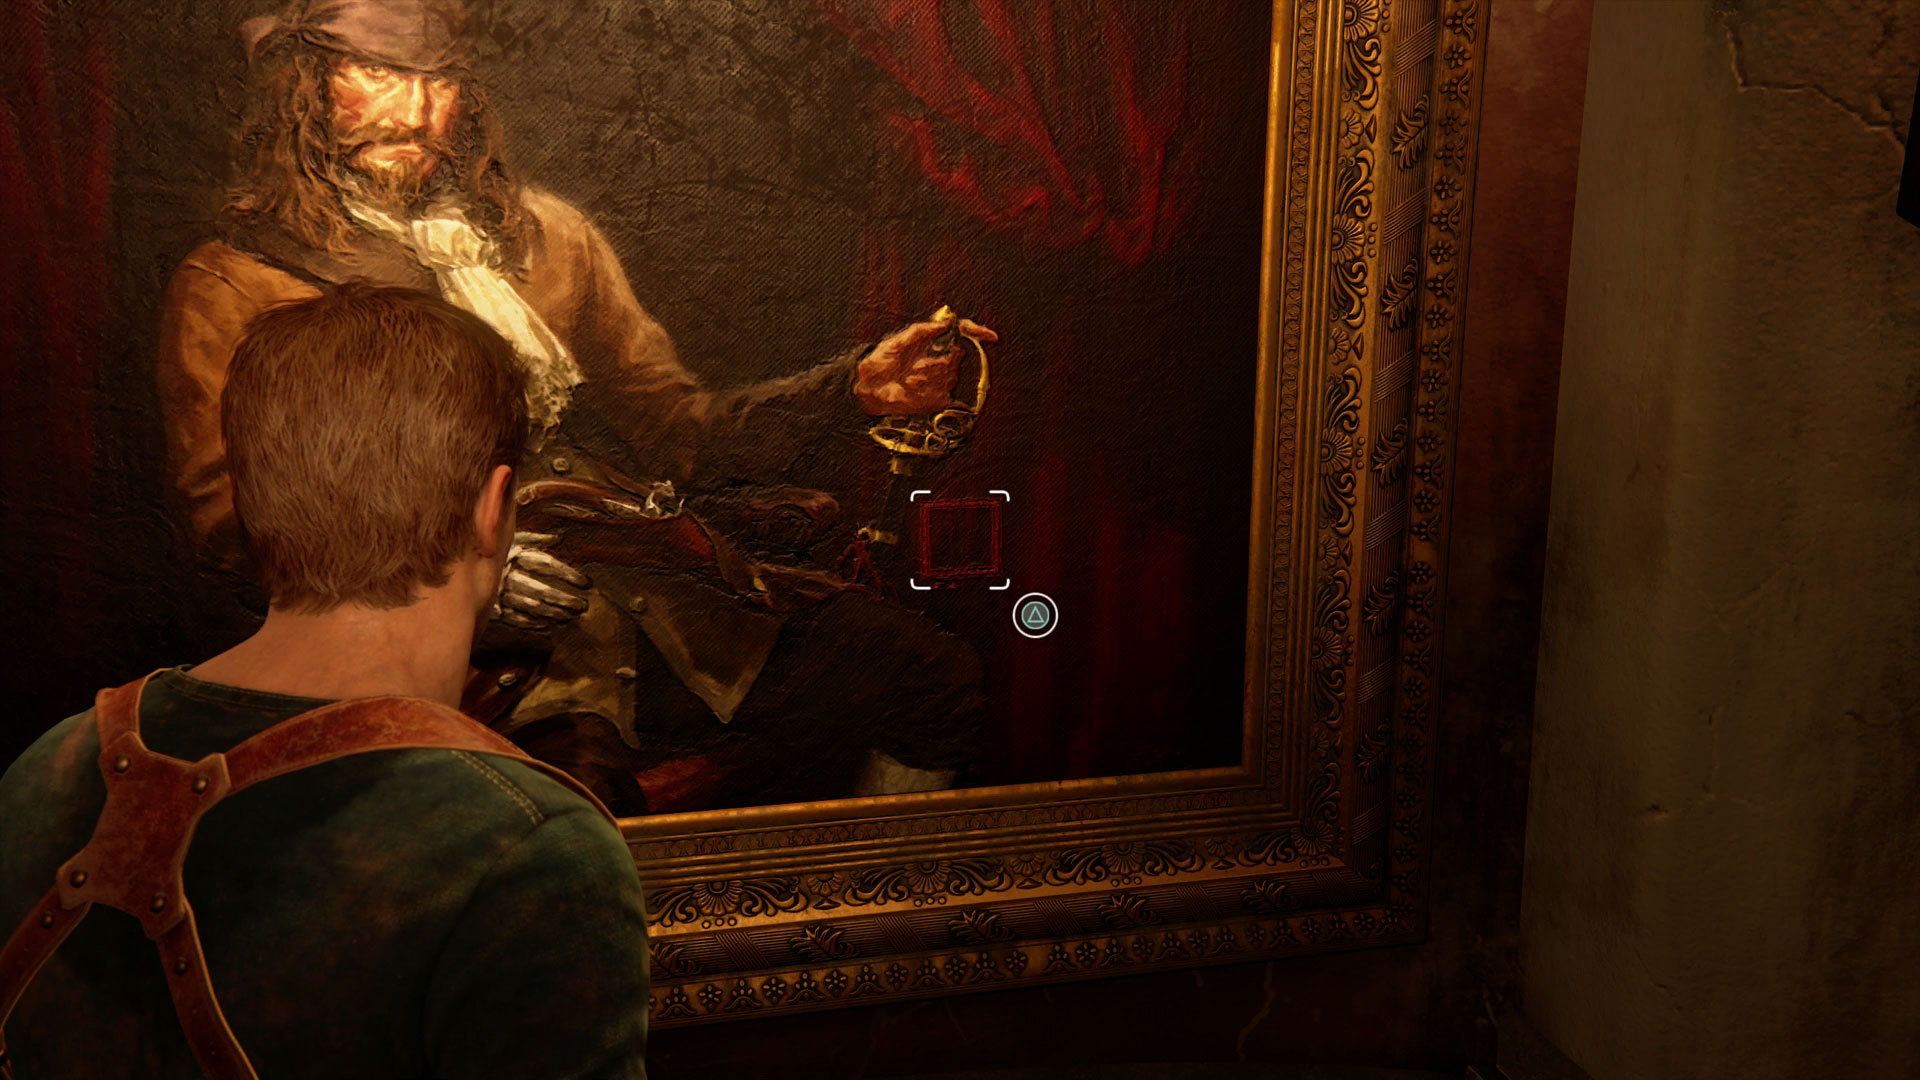
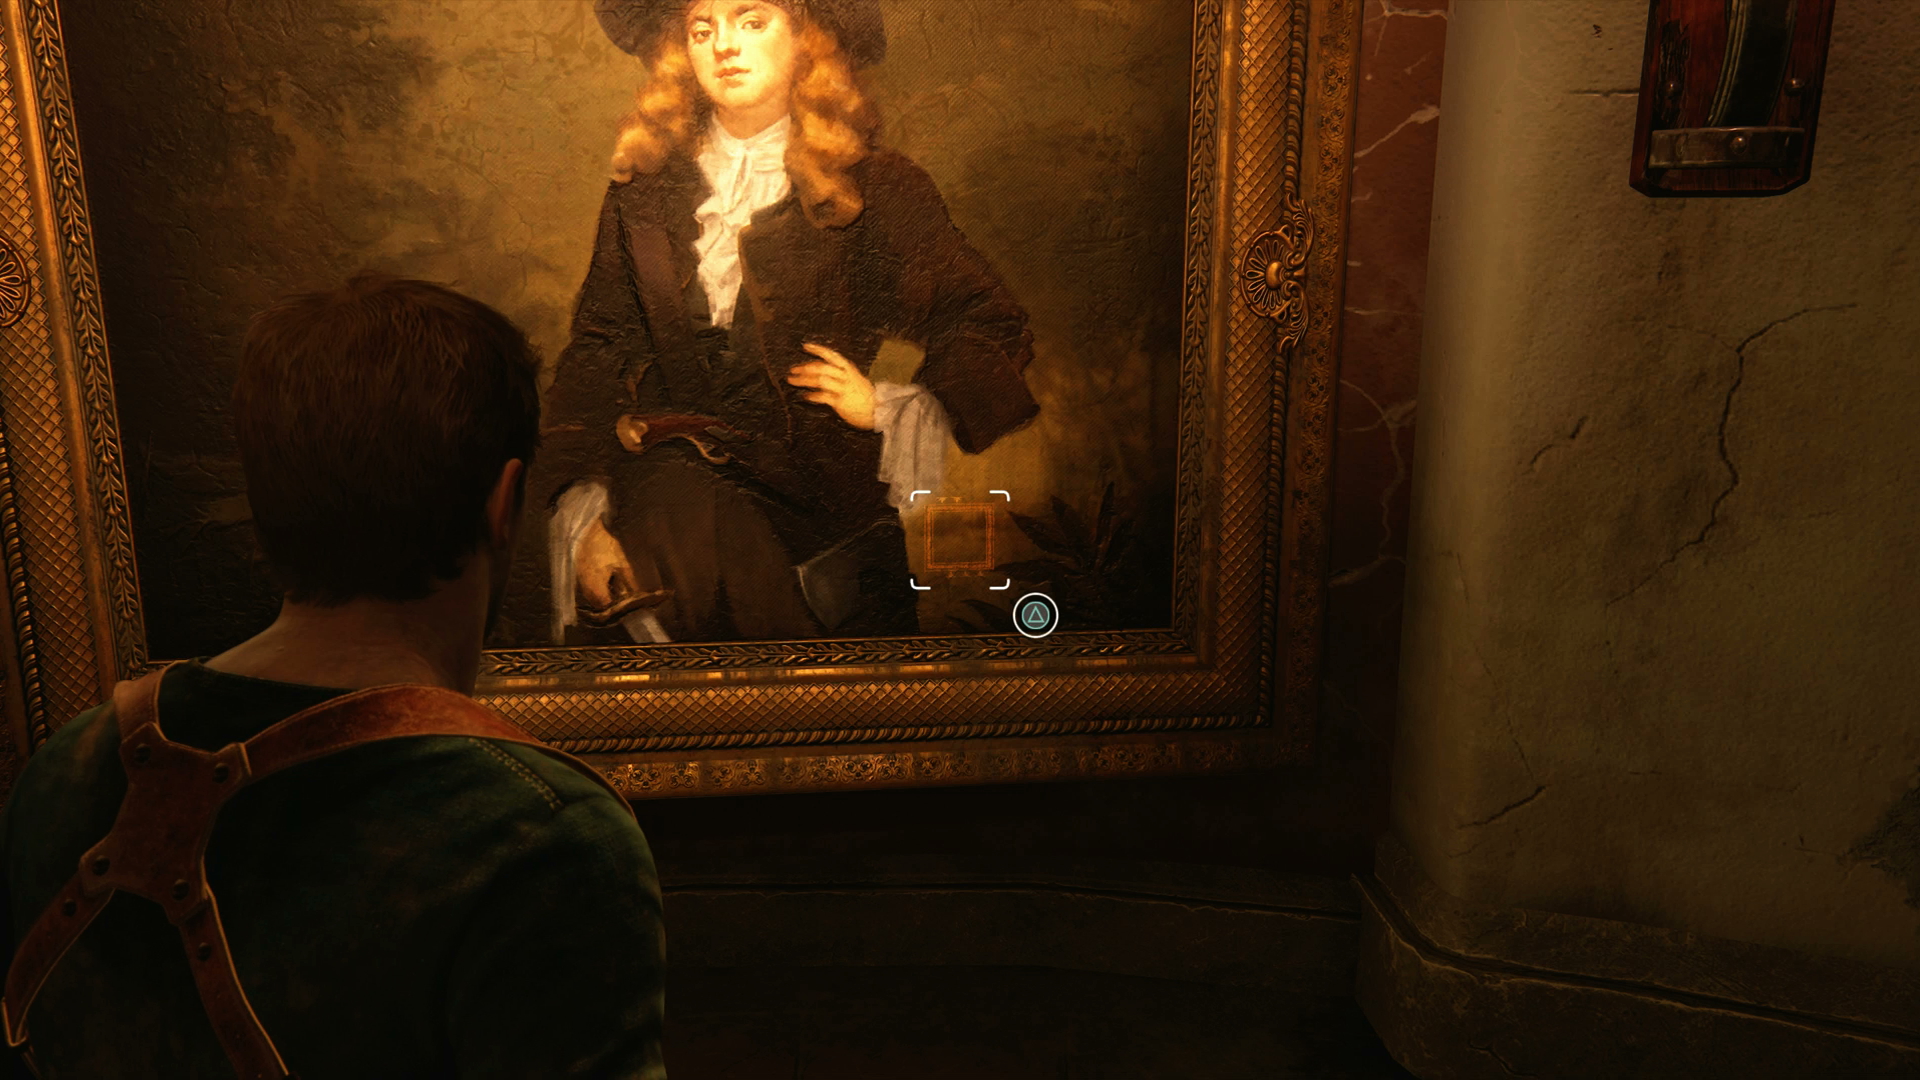
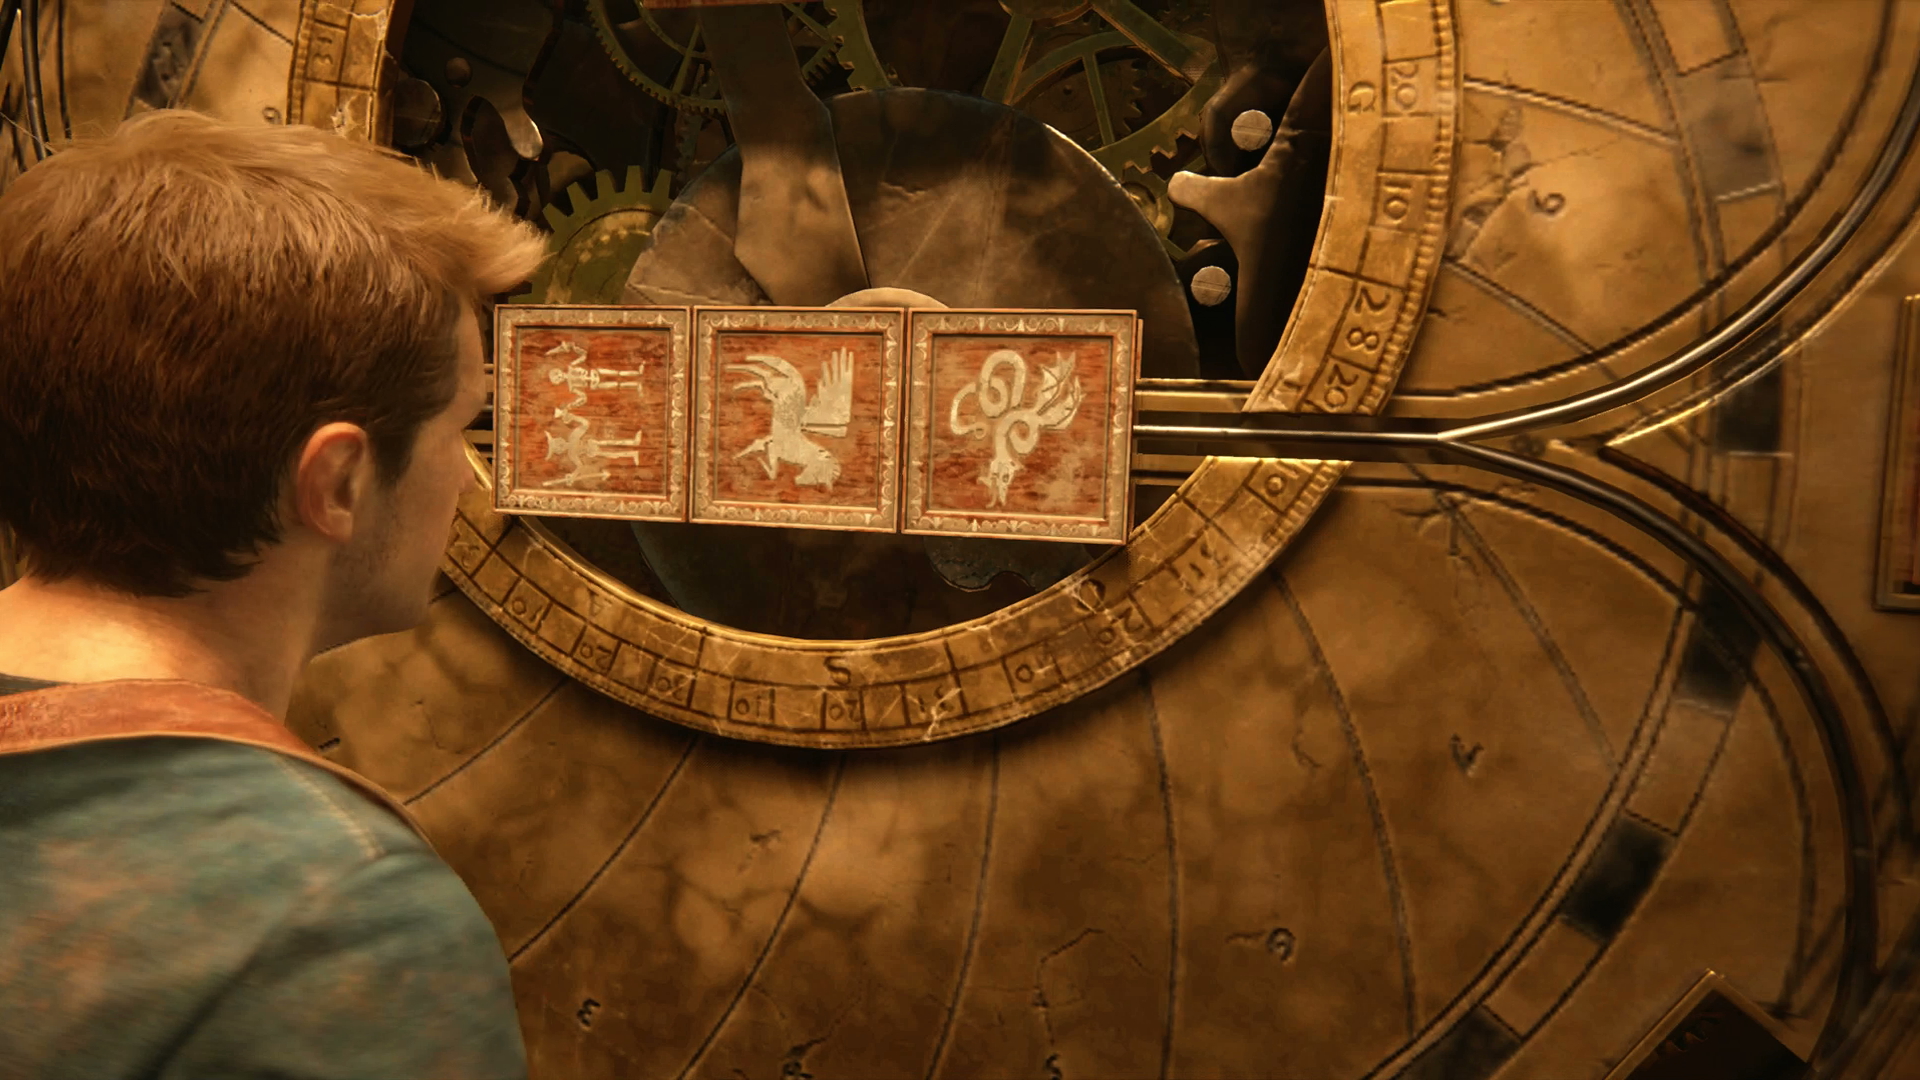
You can then match up the three panels as follows:
- Skeletons: Rotate left
- Pegasus: Rotate right
- Serpent: Rotate right
This opens up the second side room, where there's another three paintings to inspect for hidden panels.
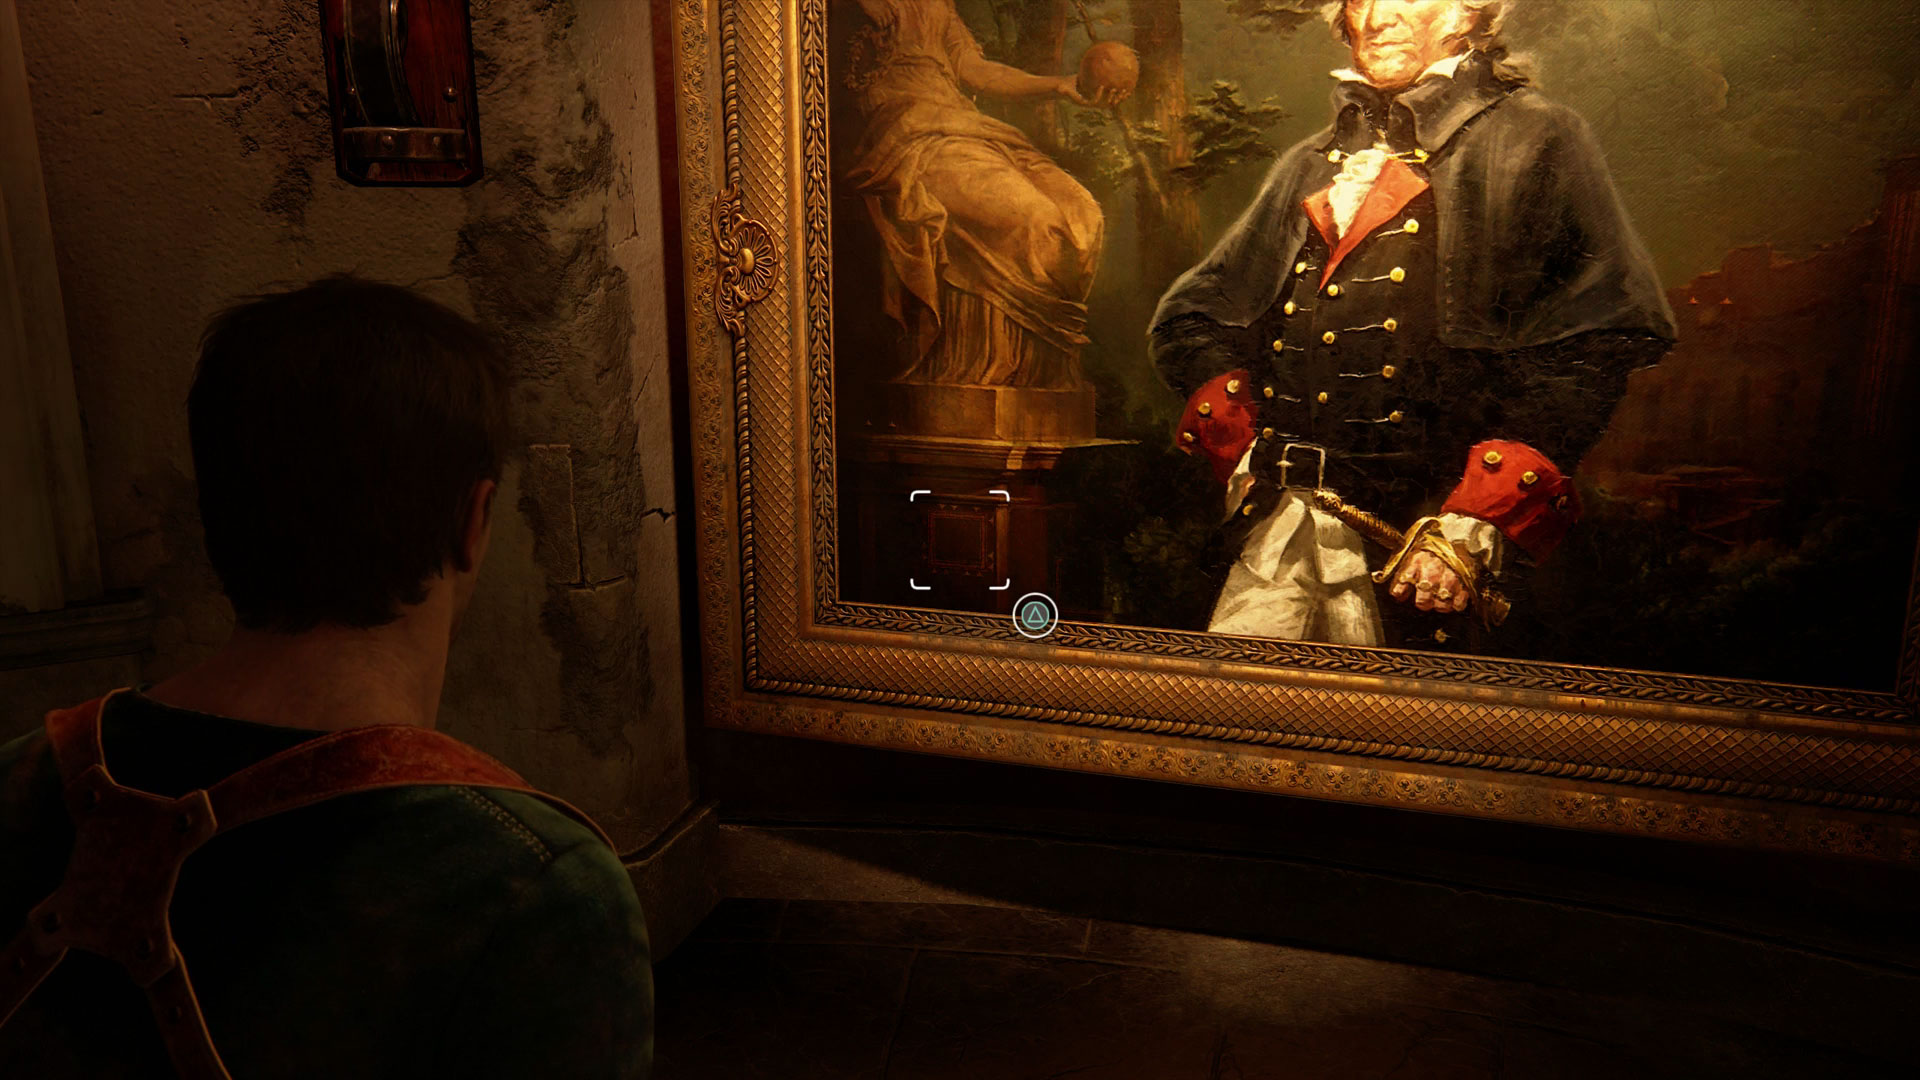
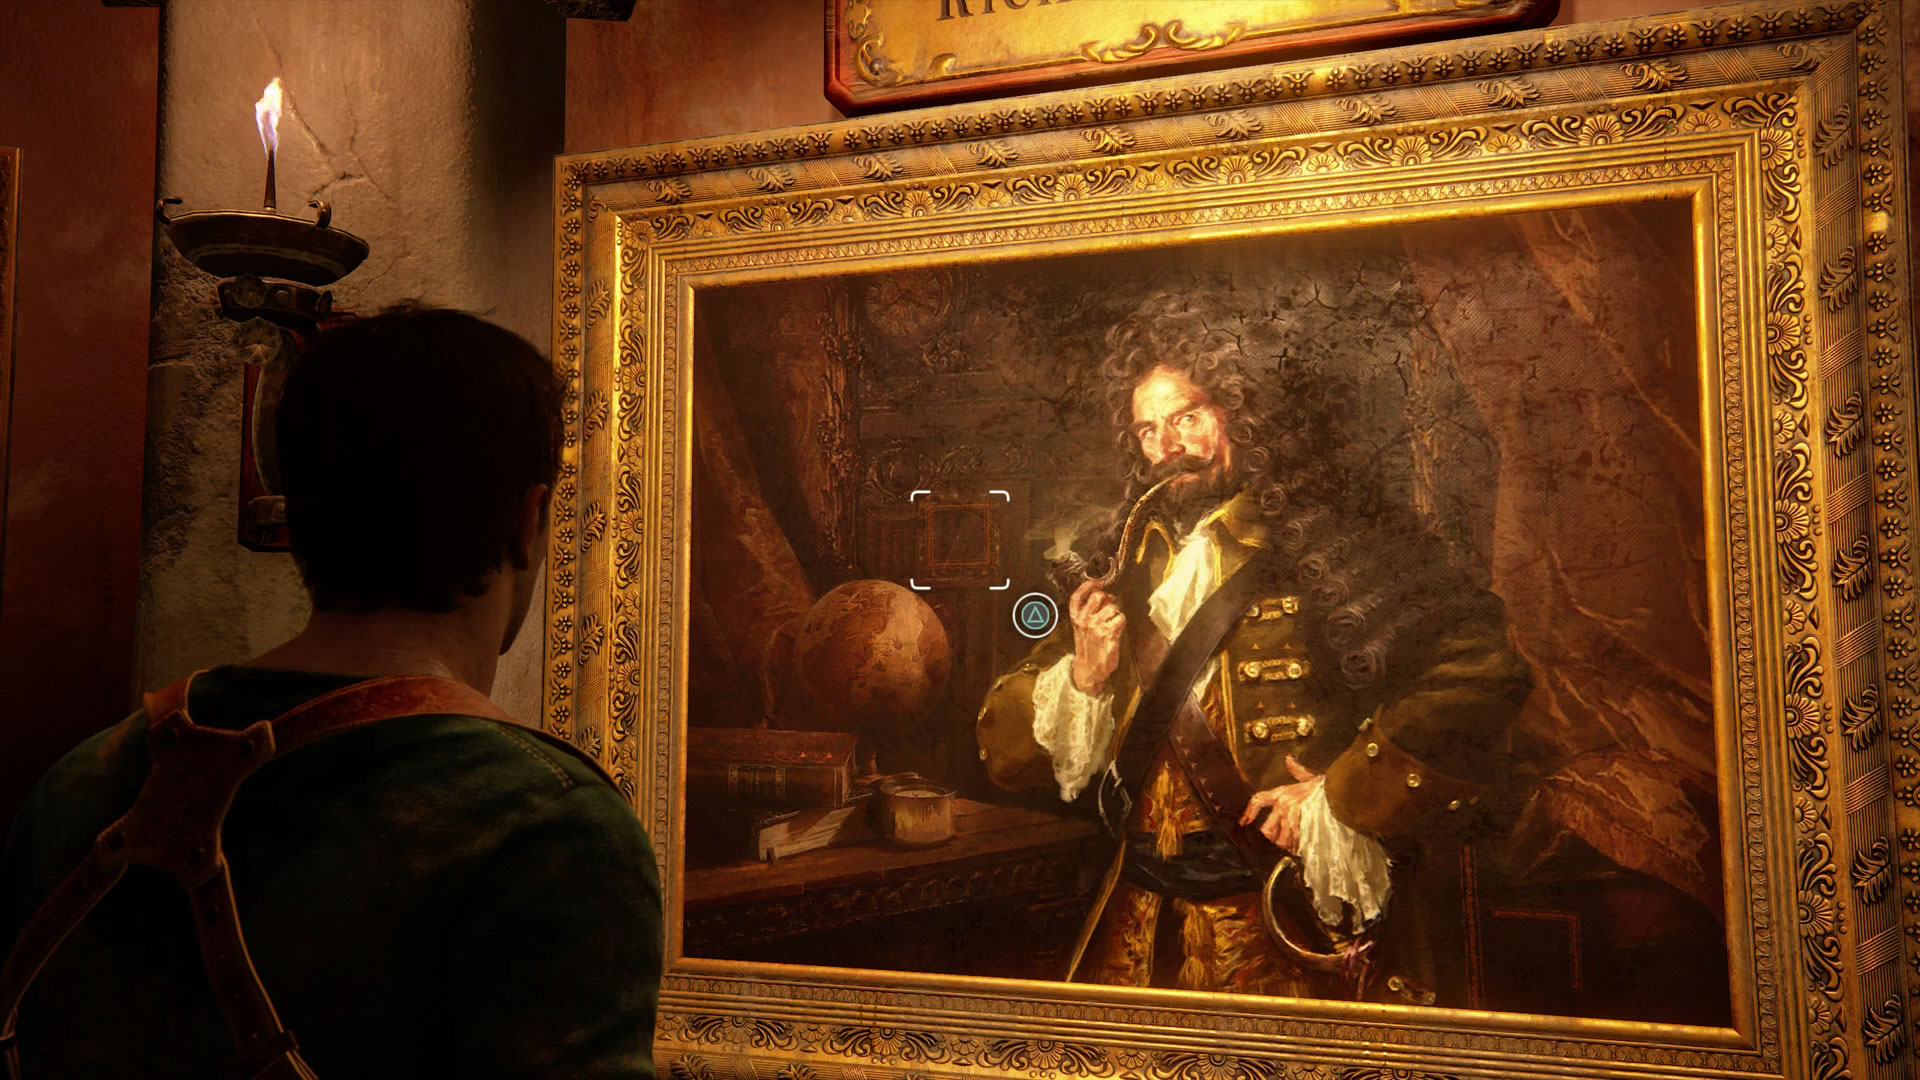
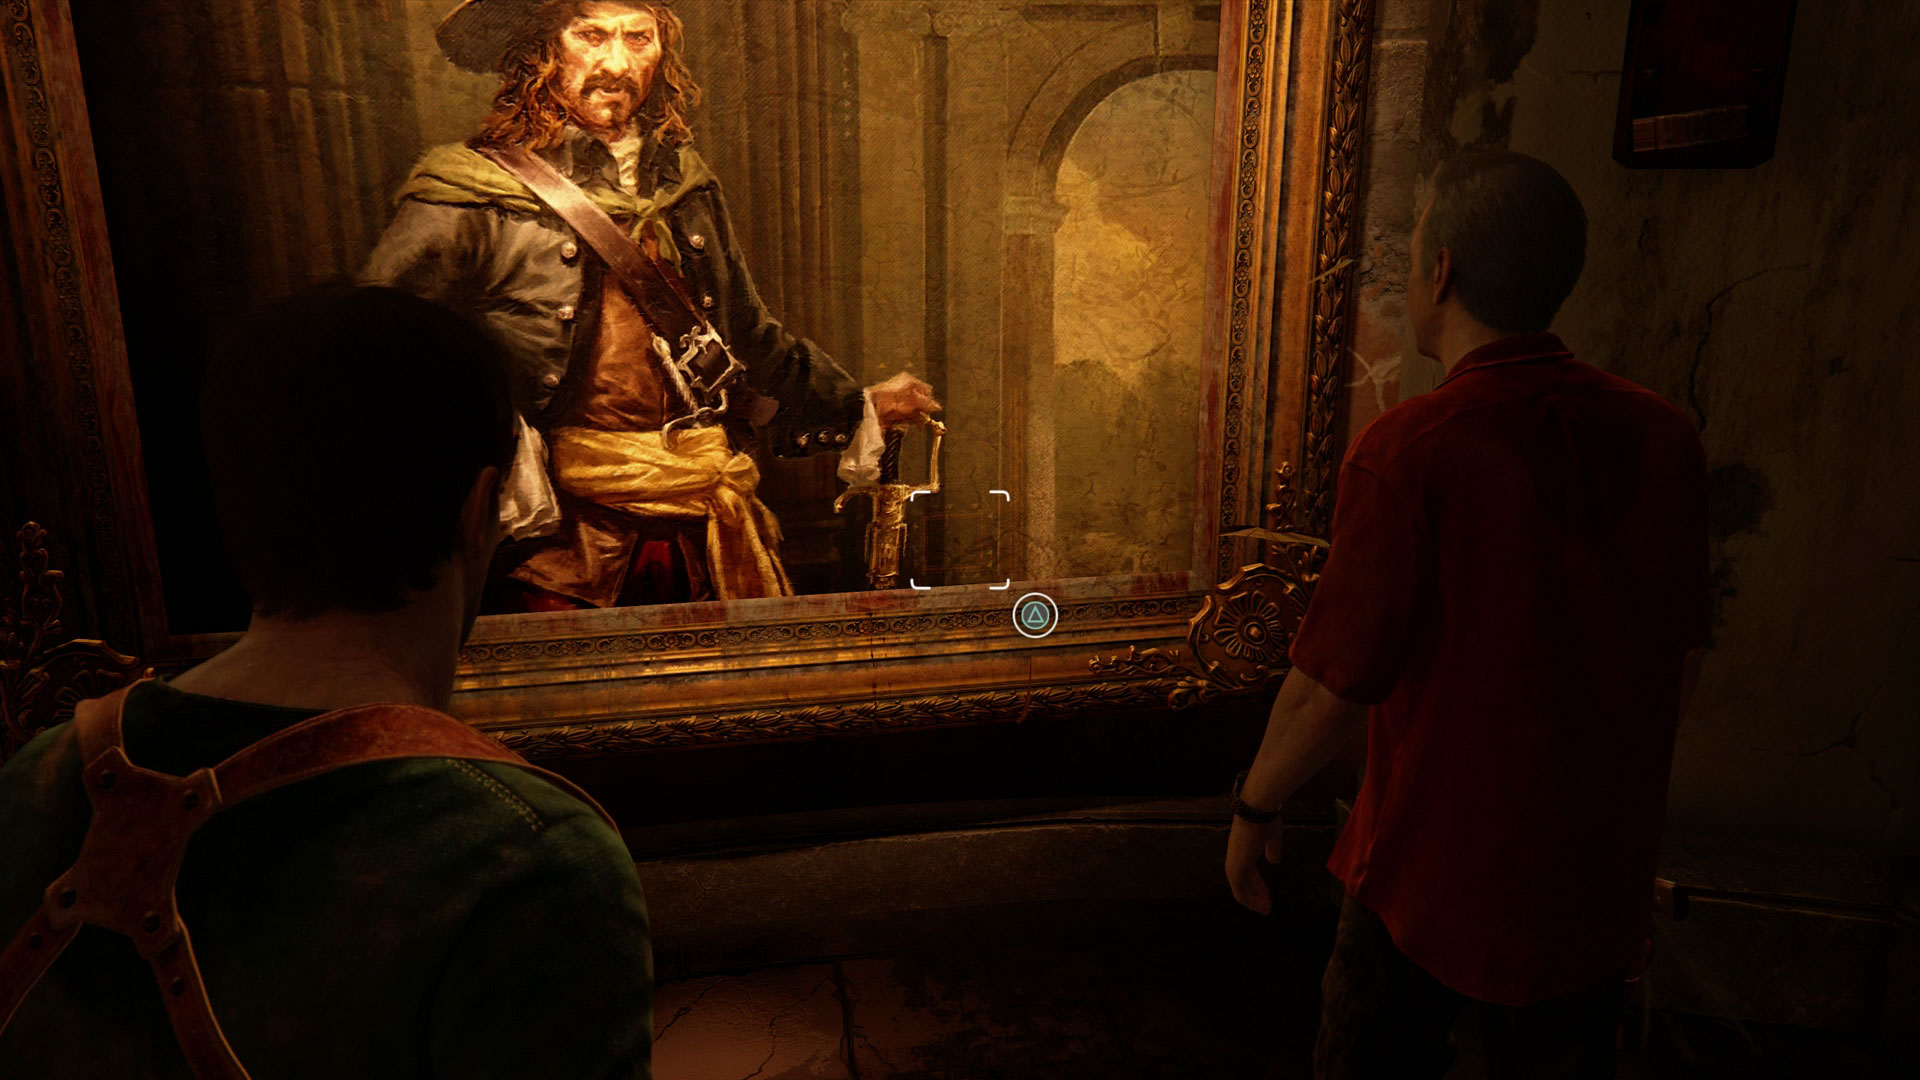
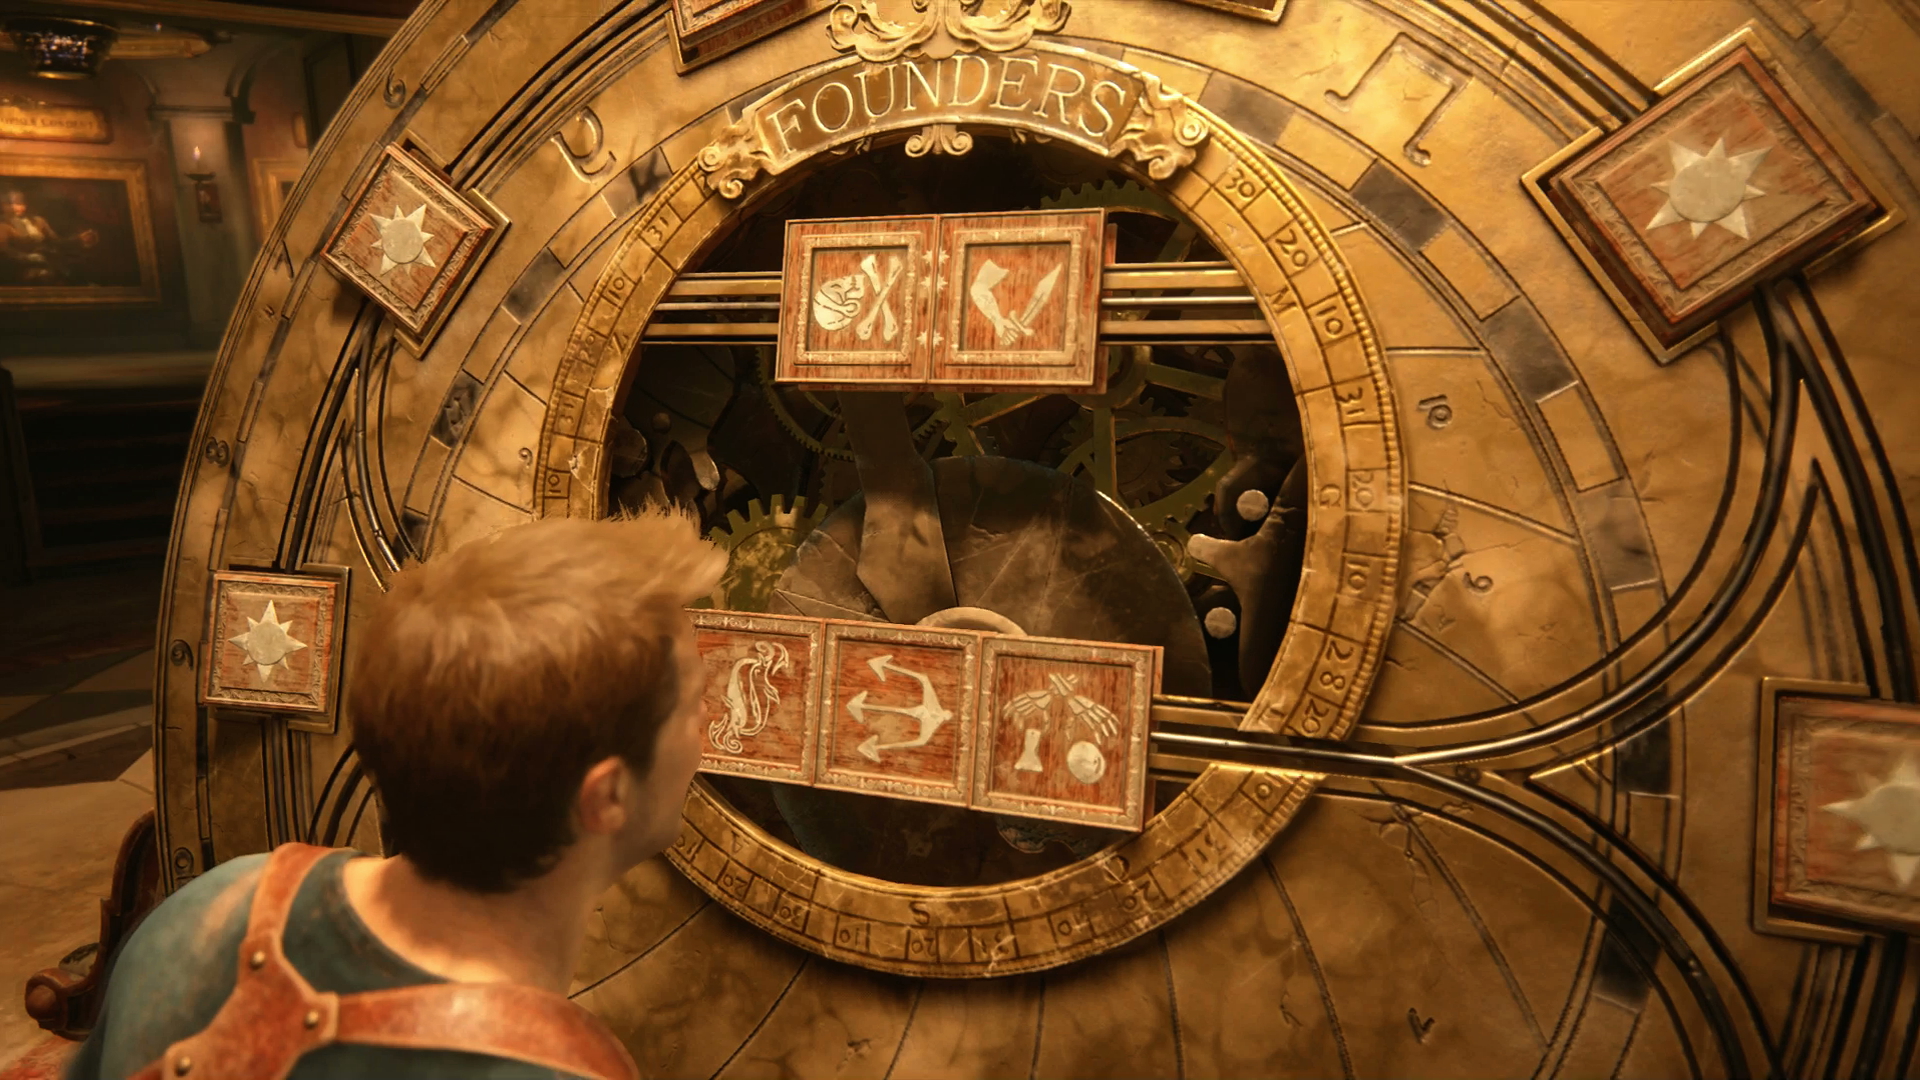
You can now match up the next three panels as follows:
- Dolphins: Rotate right
- Trident: Rotate left
- Skeleton hands: Turn upside down
This opens the third and final side room, which contains four paintings with hidden panels to find.
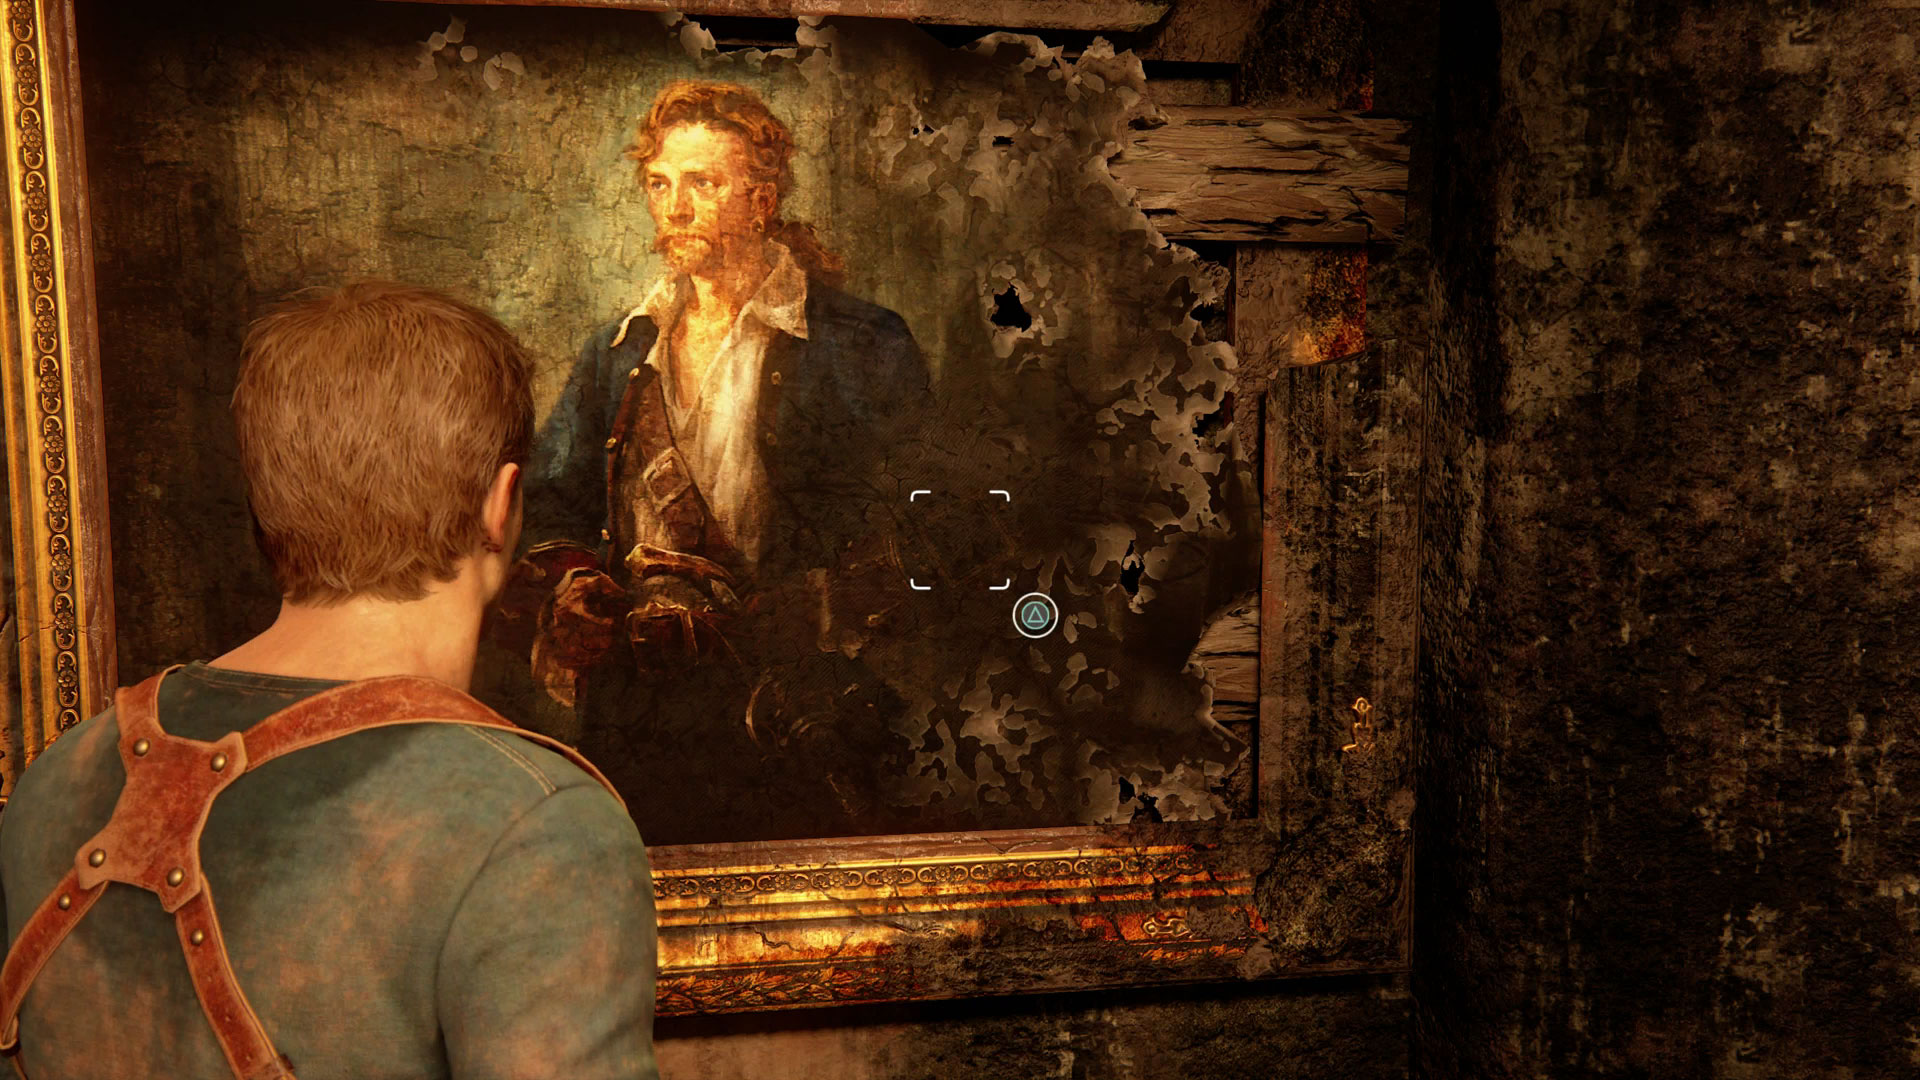
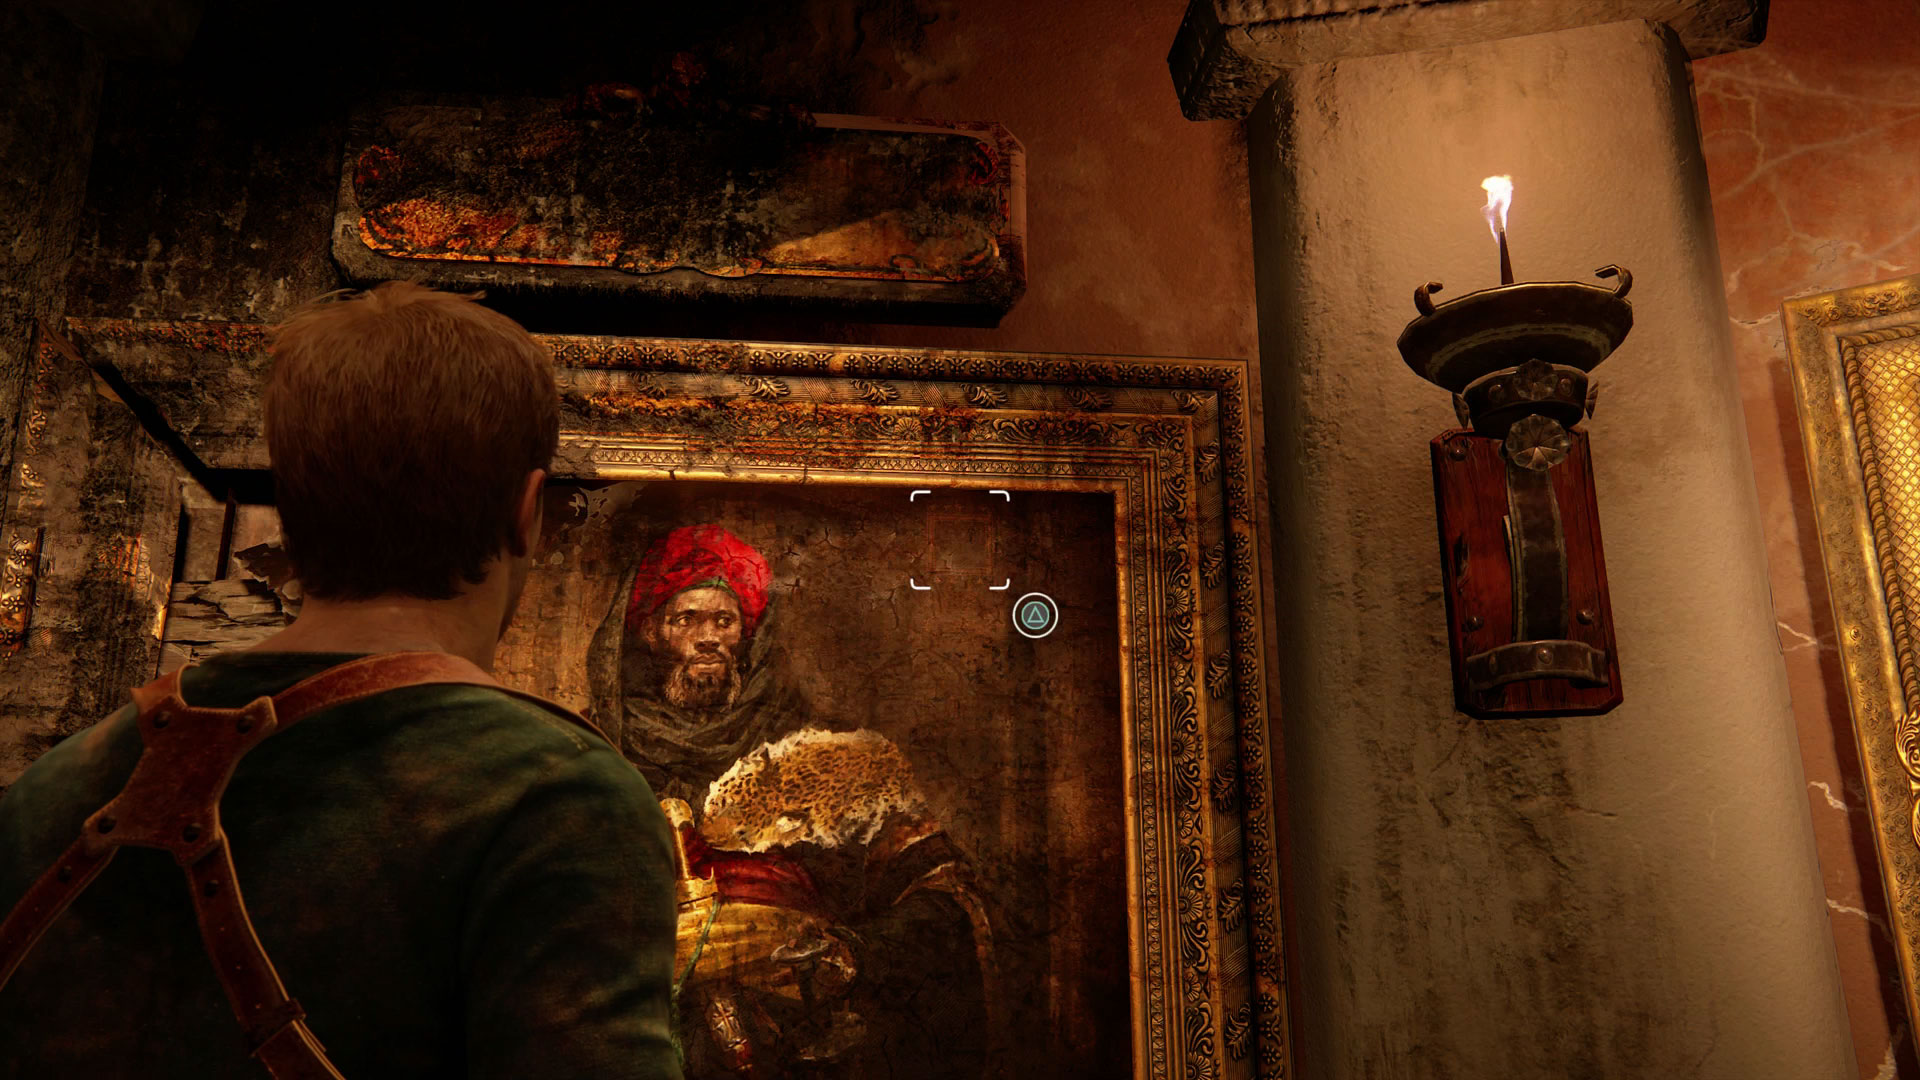
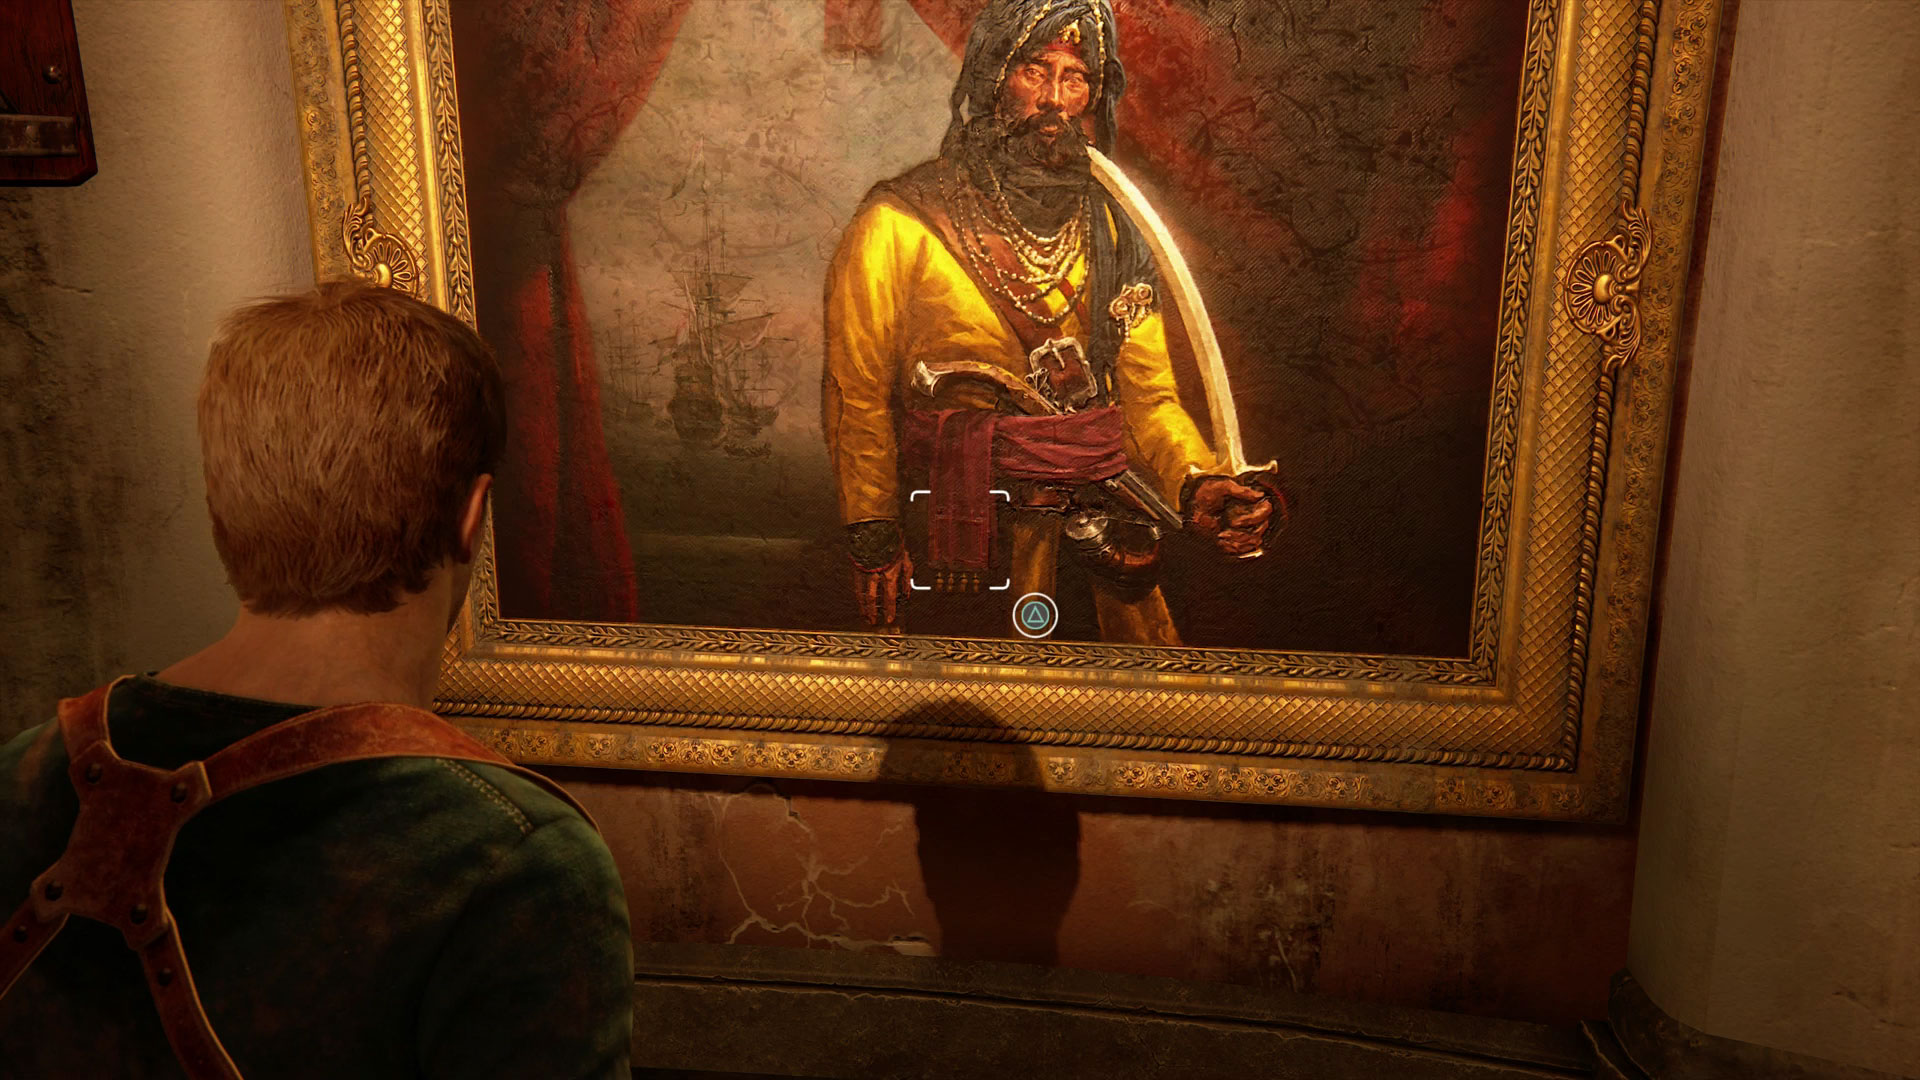
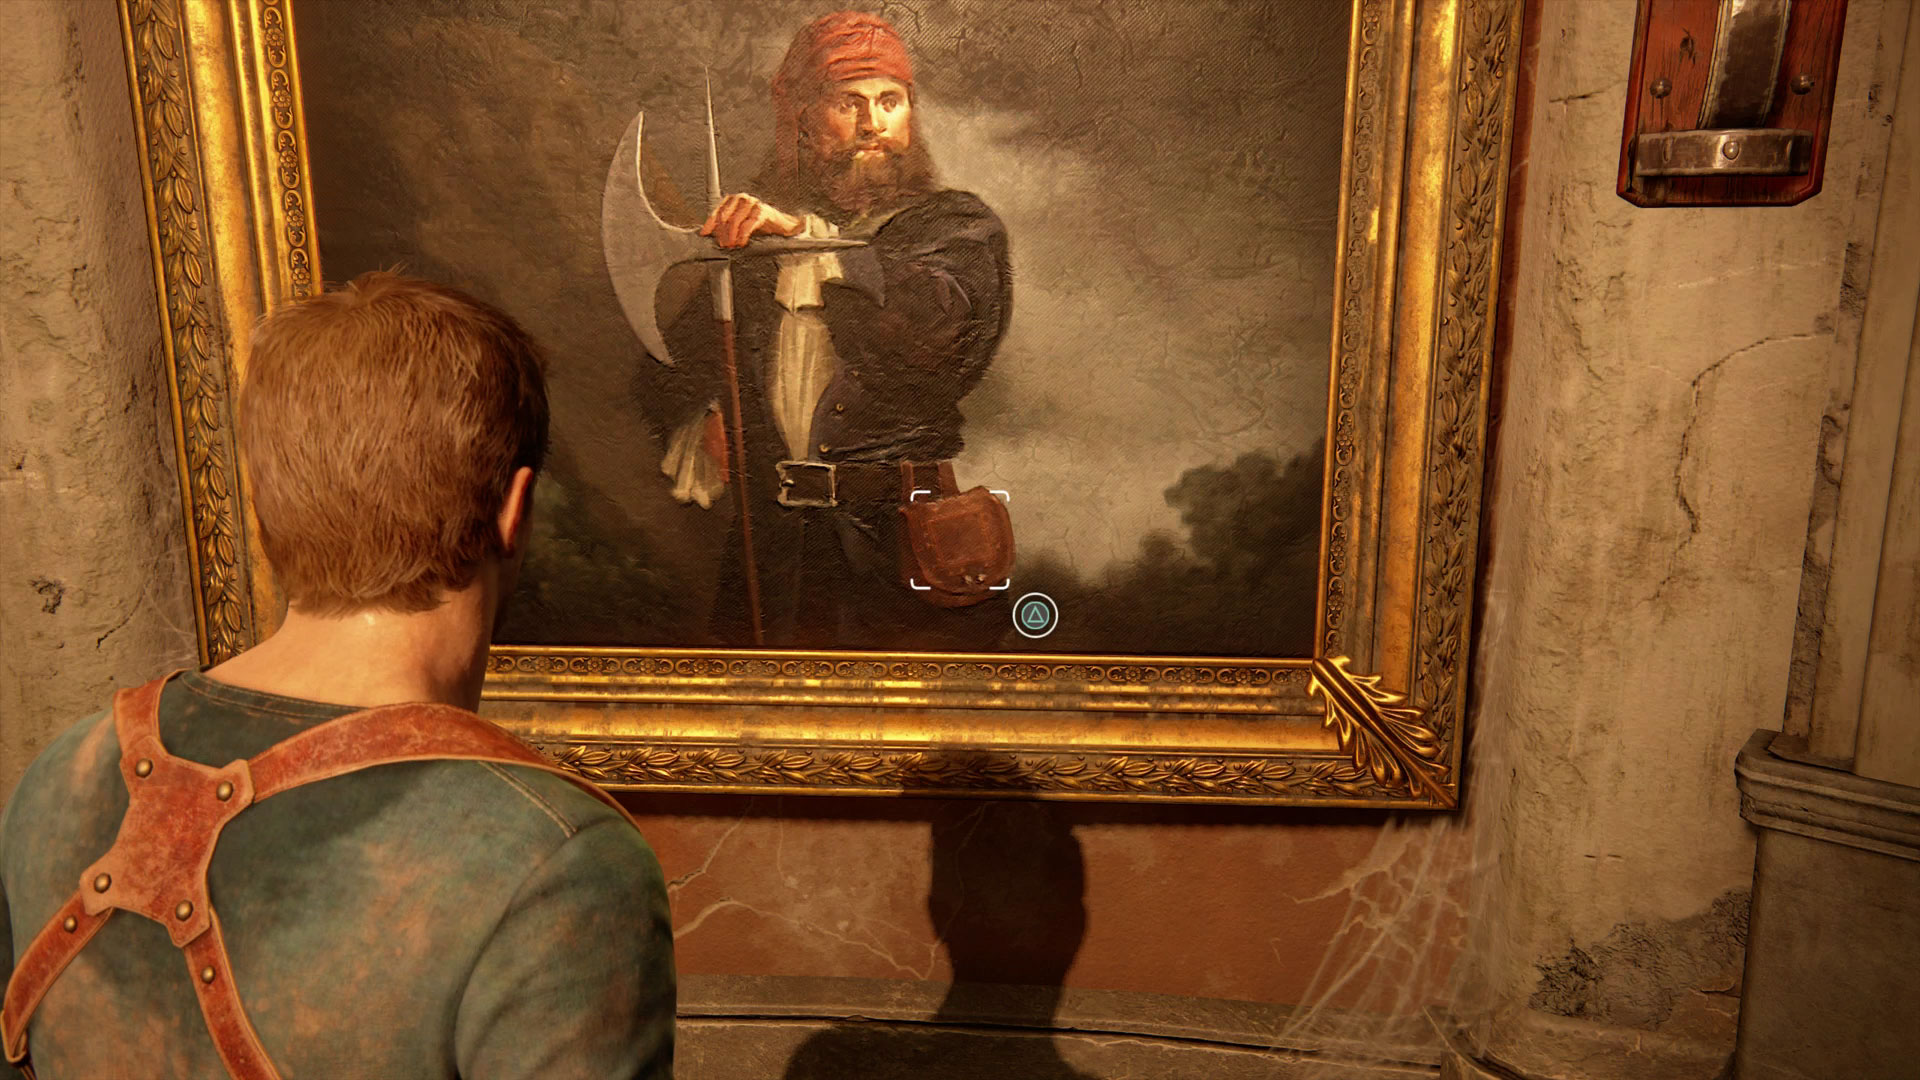
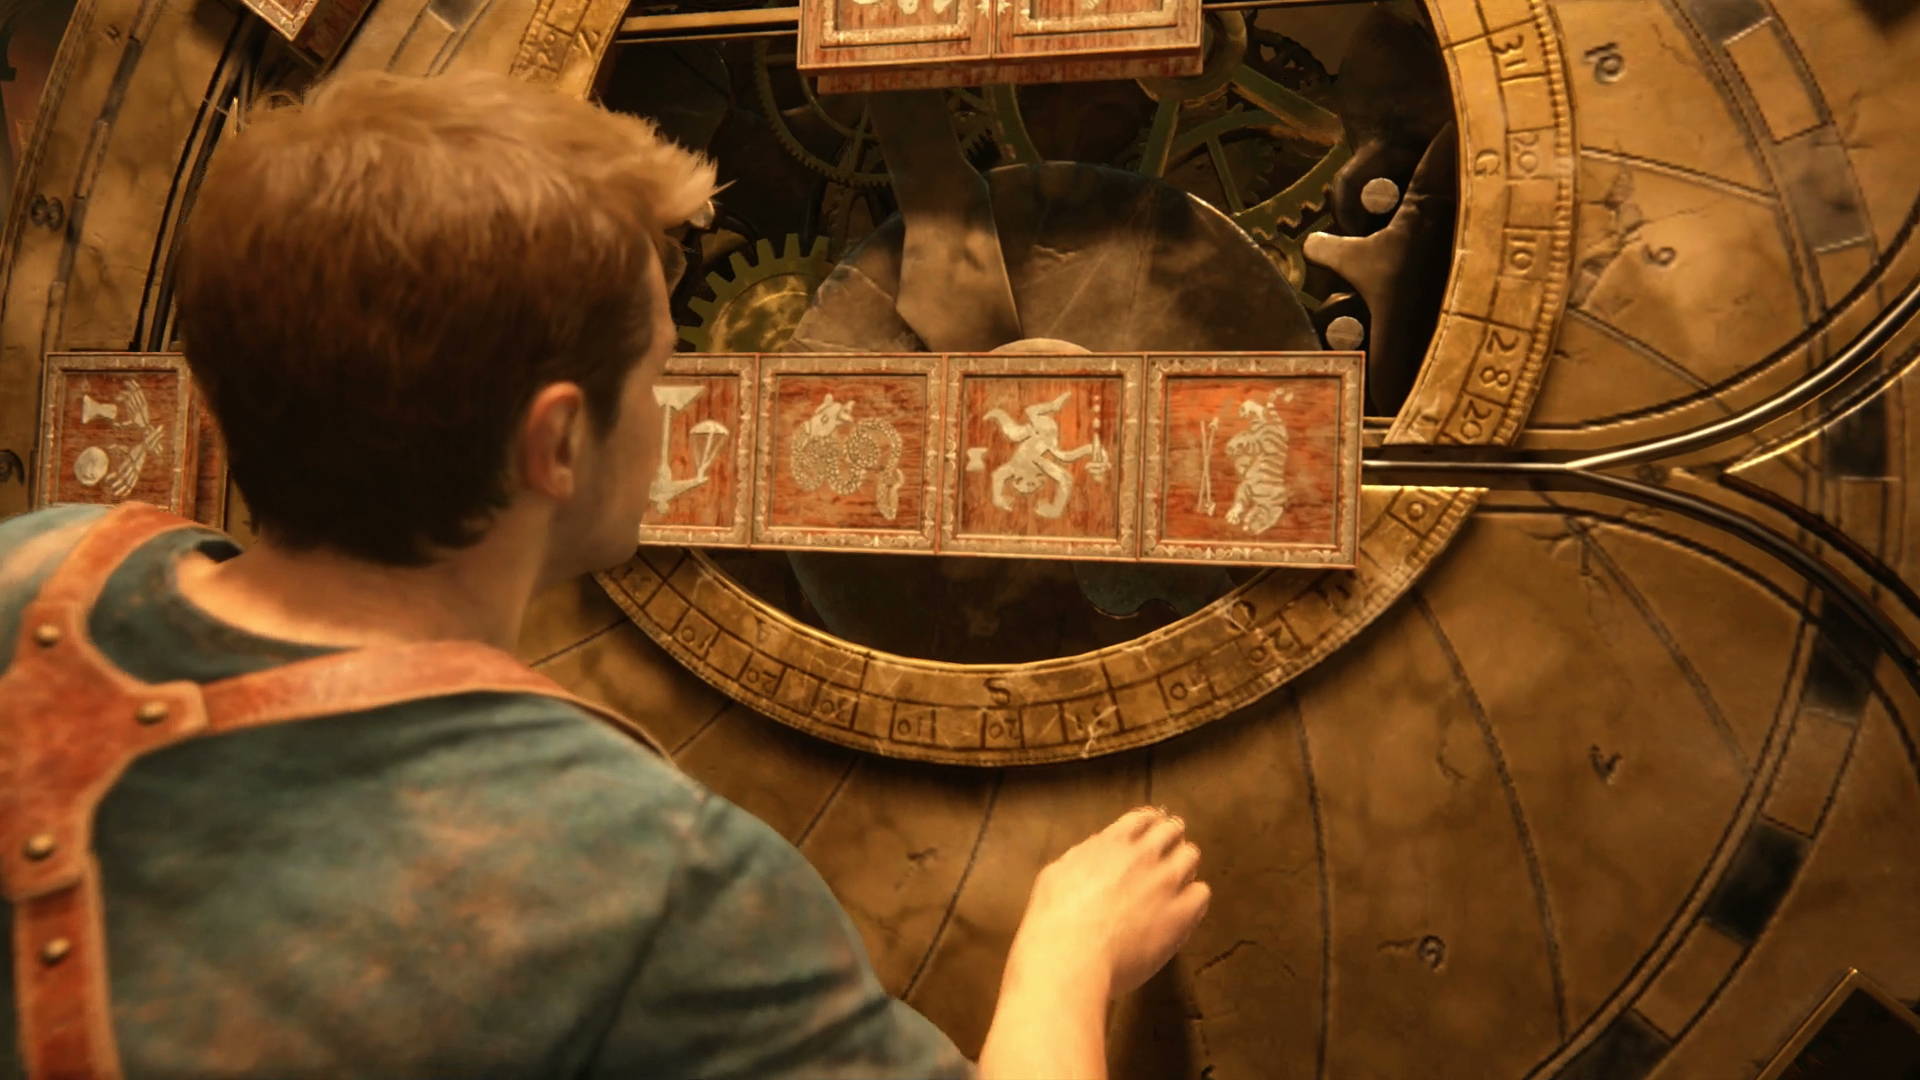
It's now time to match up the last four panels as follows:
- Scales: Turn upside down
- Serpent: Rotate left
- Monkey: Turn upside down
- Tiger: Rotate right
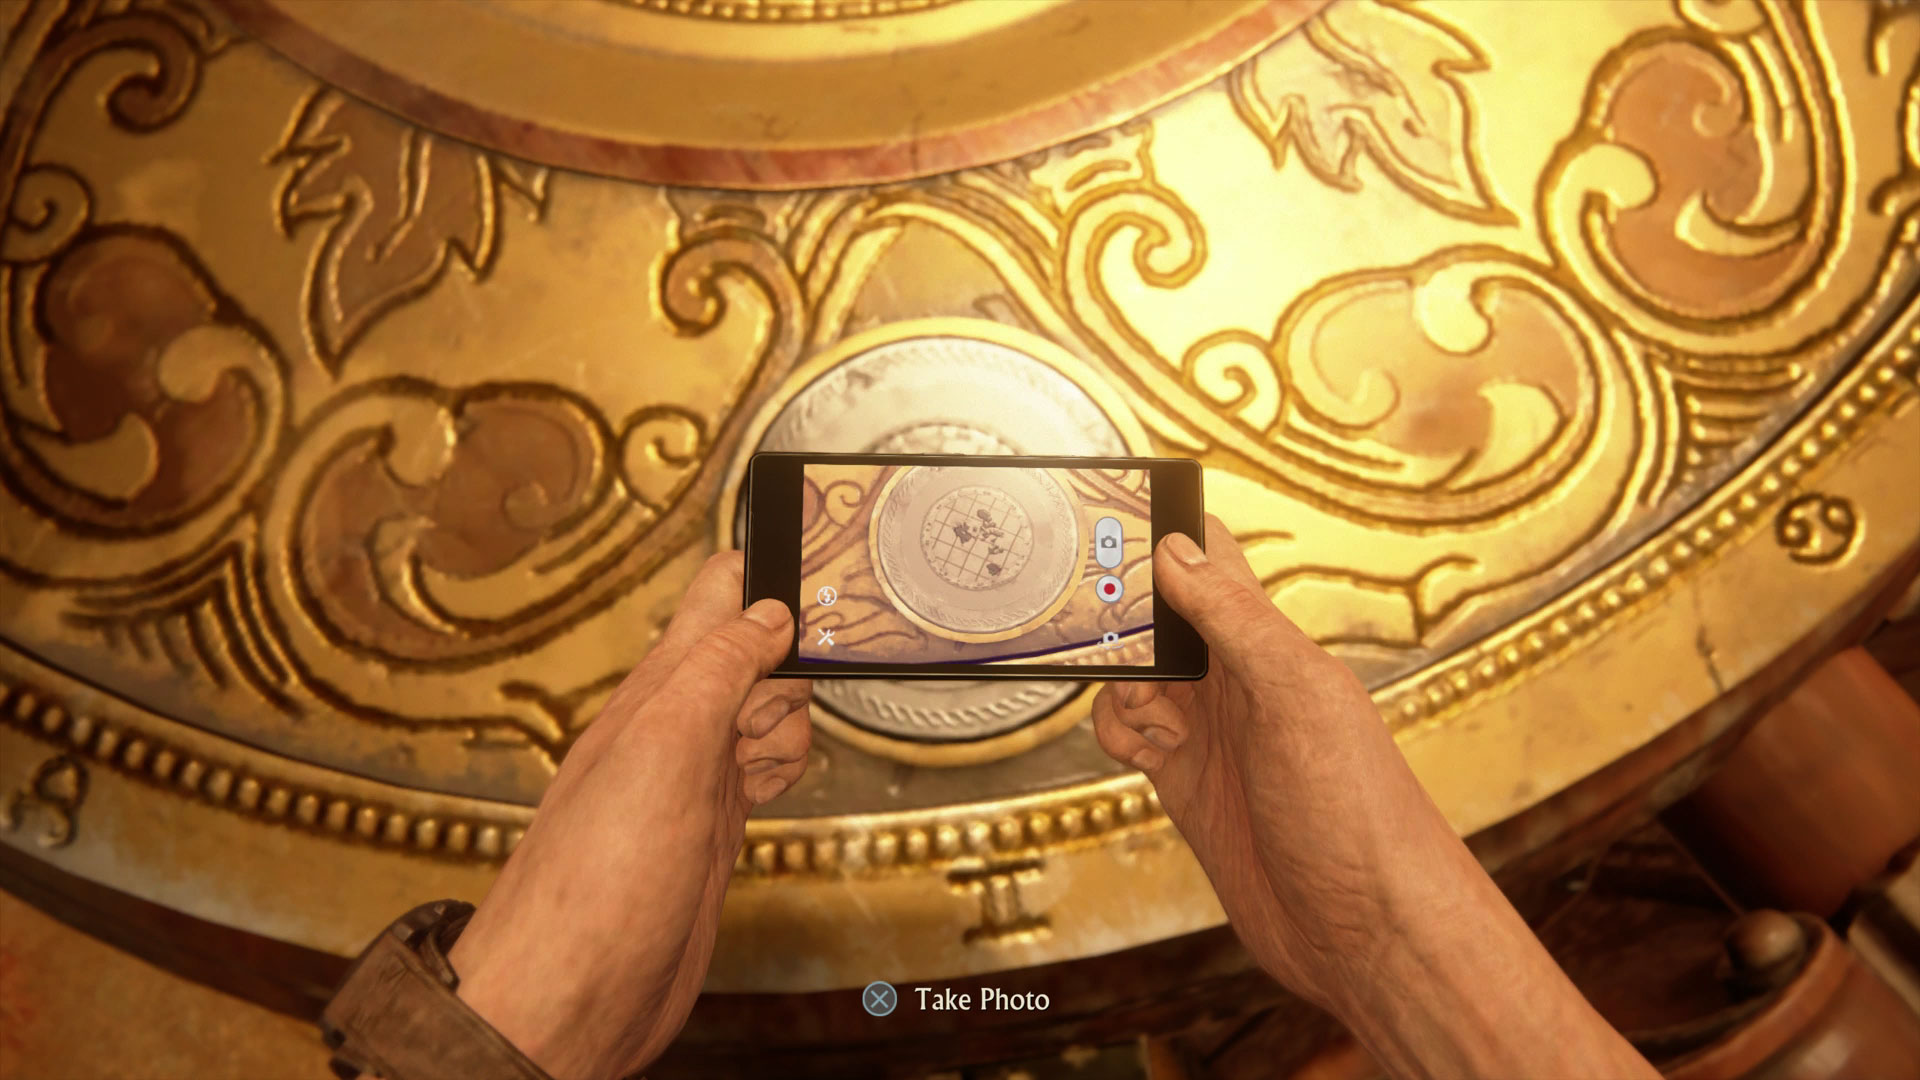
Wrap things up by taking photos of all three discs, and you're done.
Chapter 12 – Wheel Light Puzzle
Chapter 12: At Sea – Wheel Light Puzzle
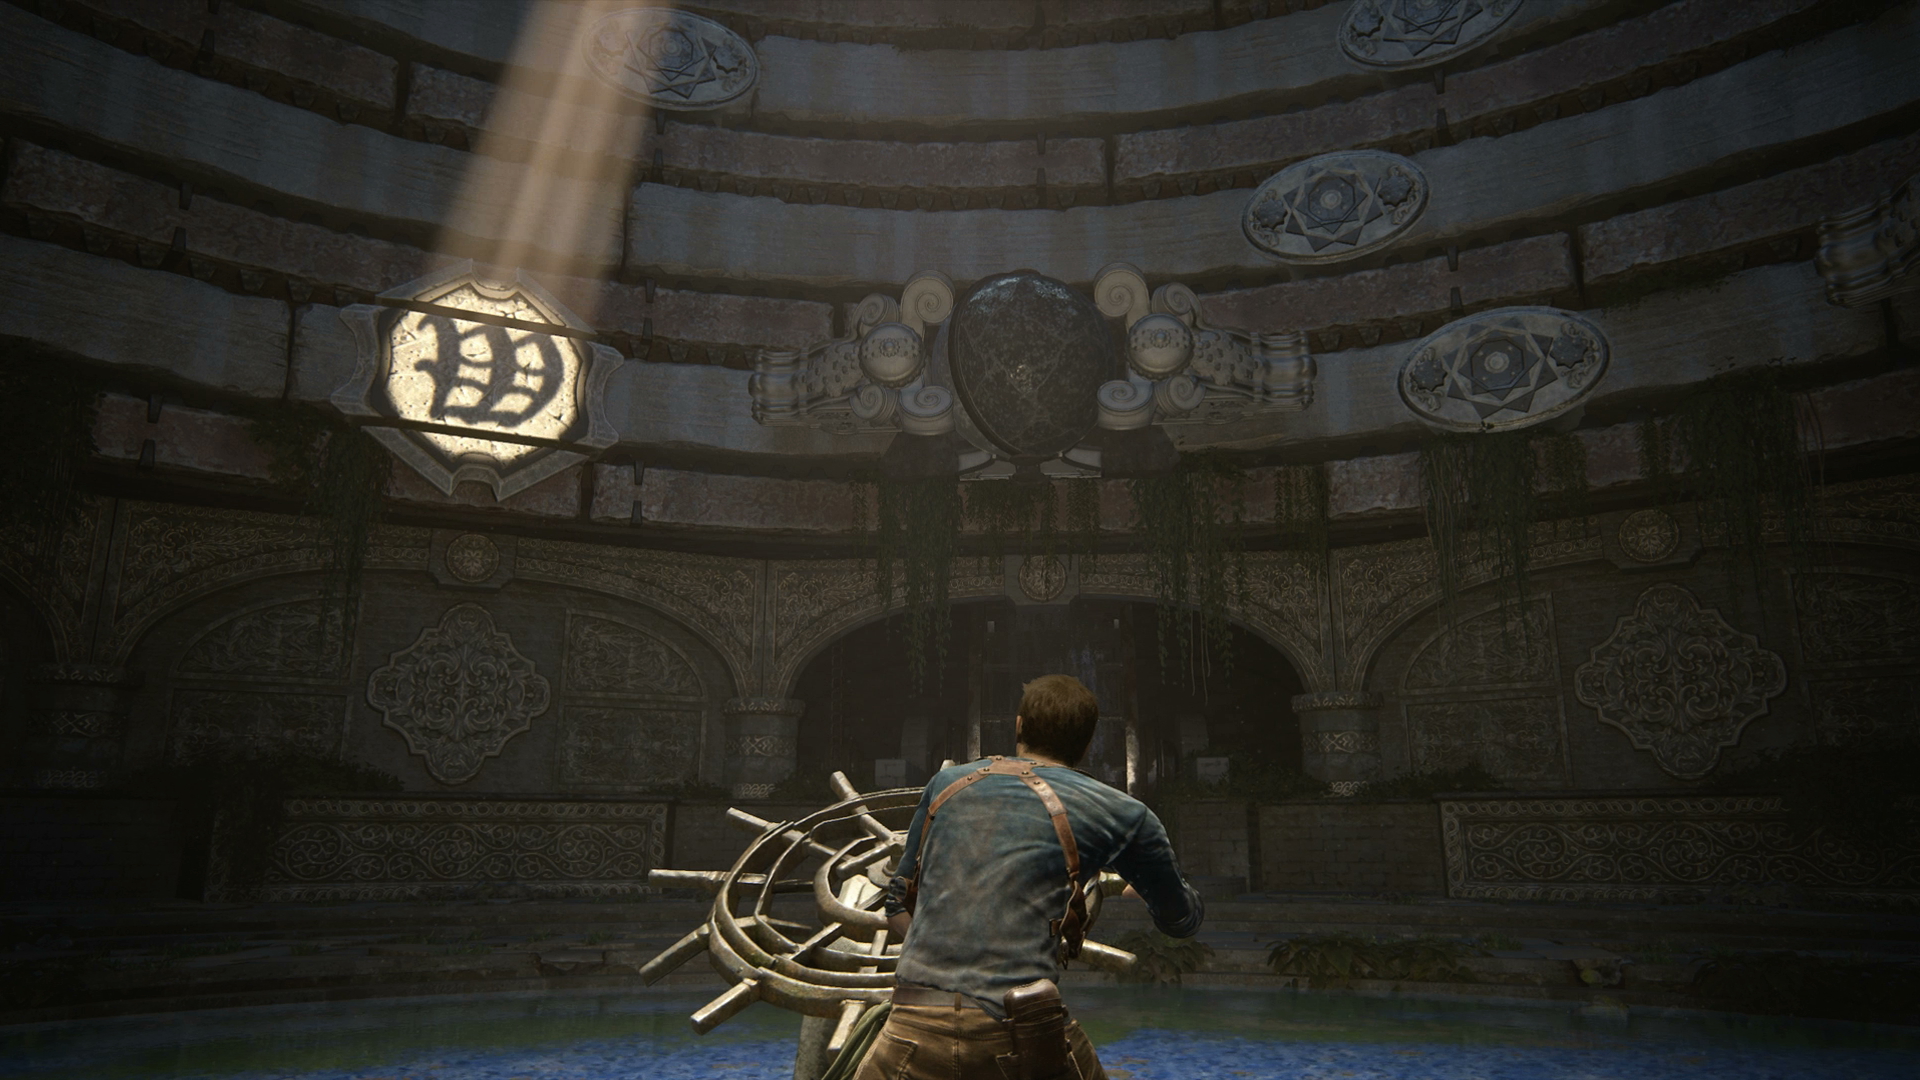
After much exploring you'll eventually arrive in a puzzle room with a ship's wheel in the middle, which is used to move the spheres on the tracks above, and rotate them when they move over the marked zones so clamps around them unlock. You need to match the designs on the spheres to the lights that shine on them, and we'll show you how.
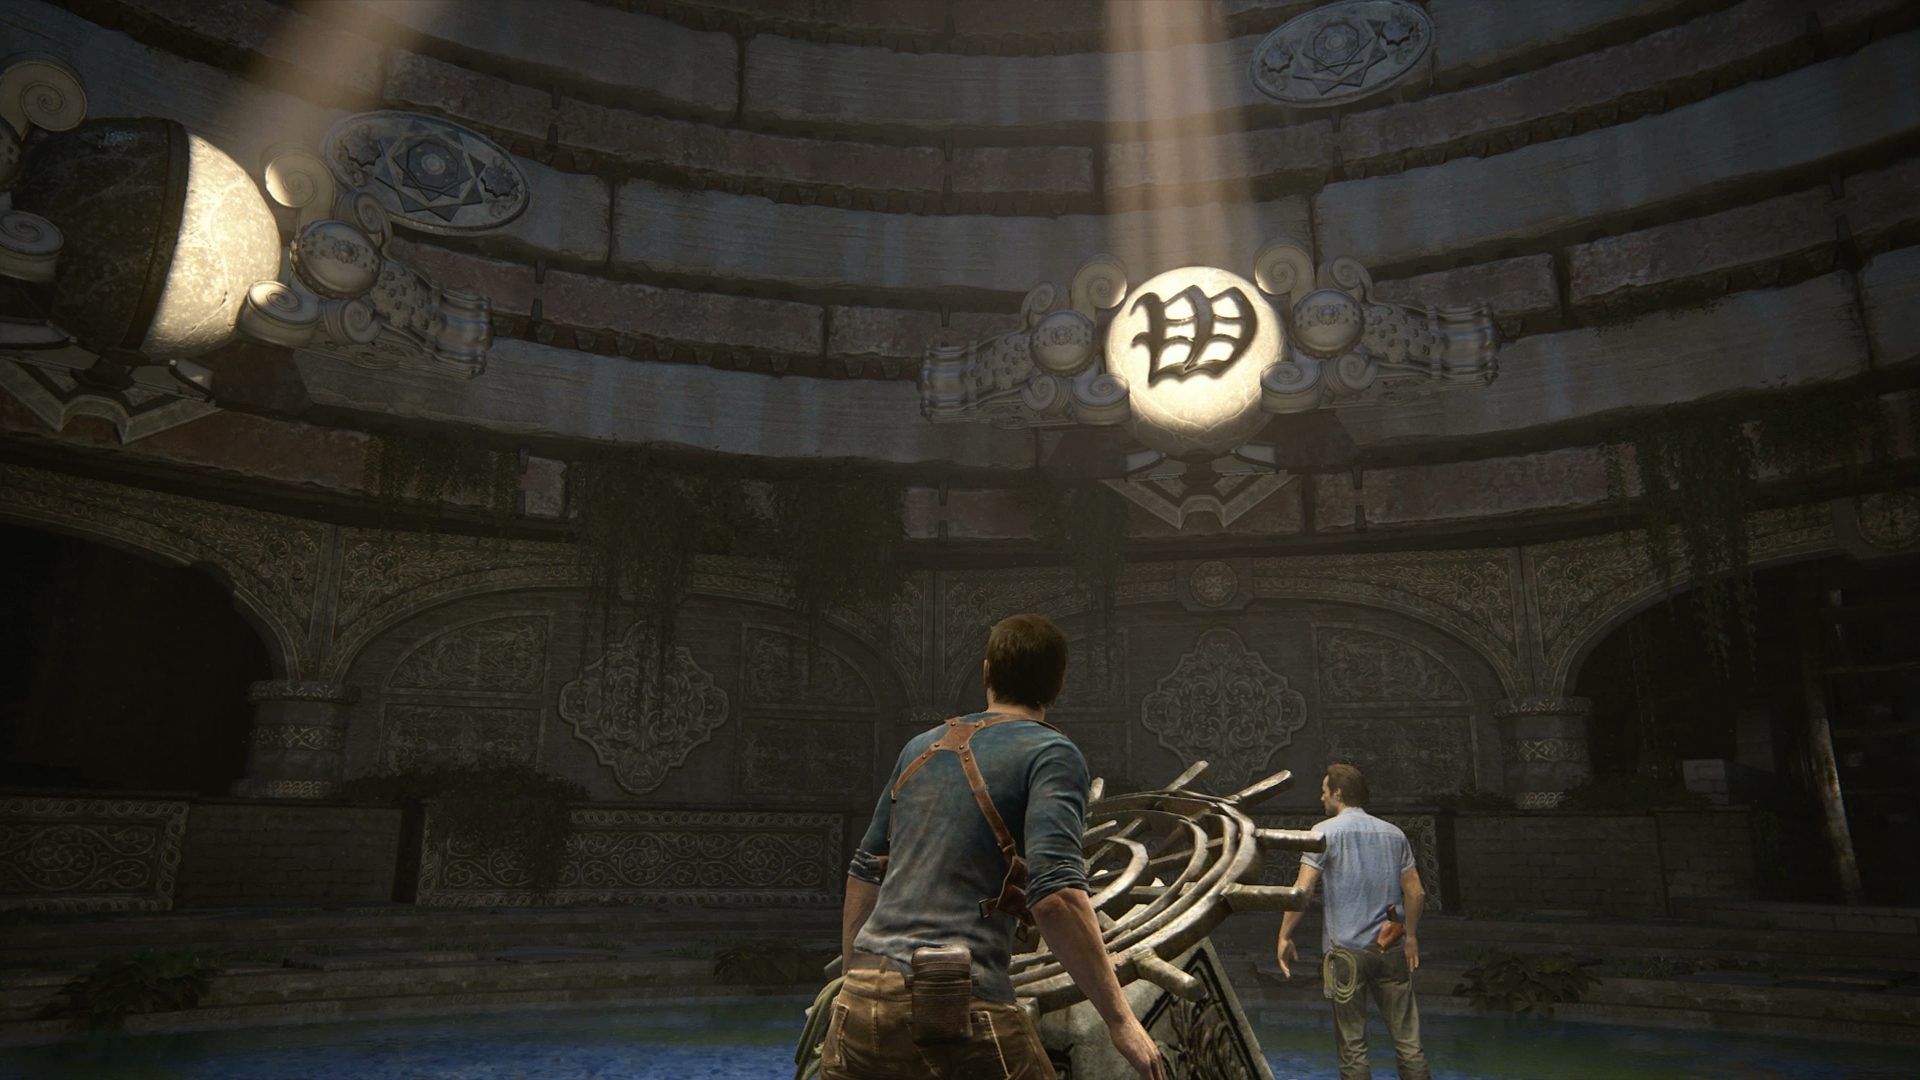
To complete the first row:
- Move right until the left hand sphere can be rotated
- Rotate three times
- Move left until the right hand sphere can be rotated
- Rotate six times
- Move left until the spheres enter the lights
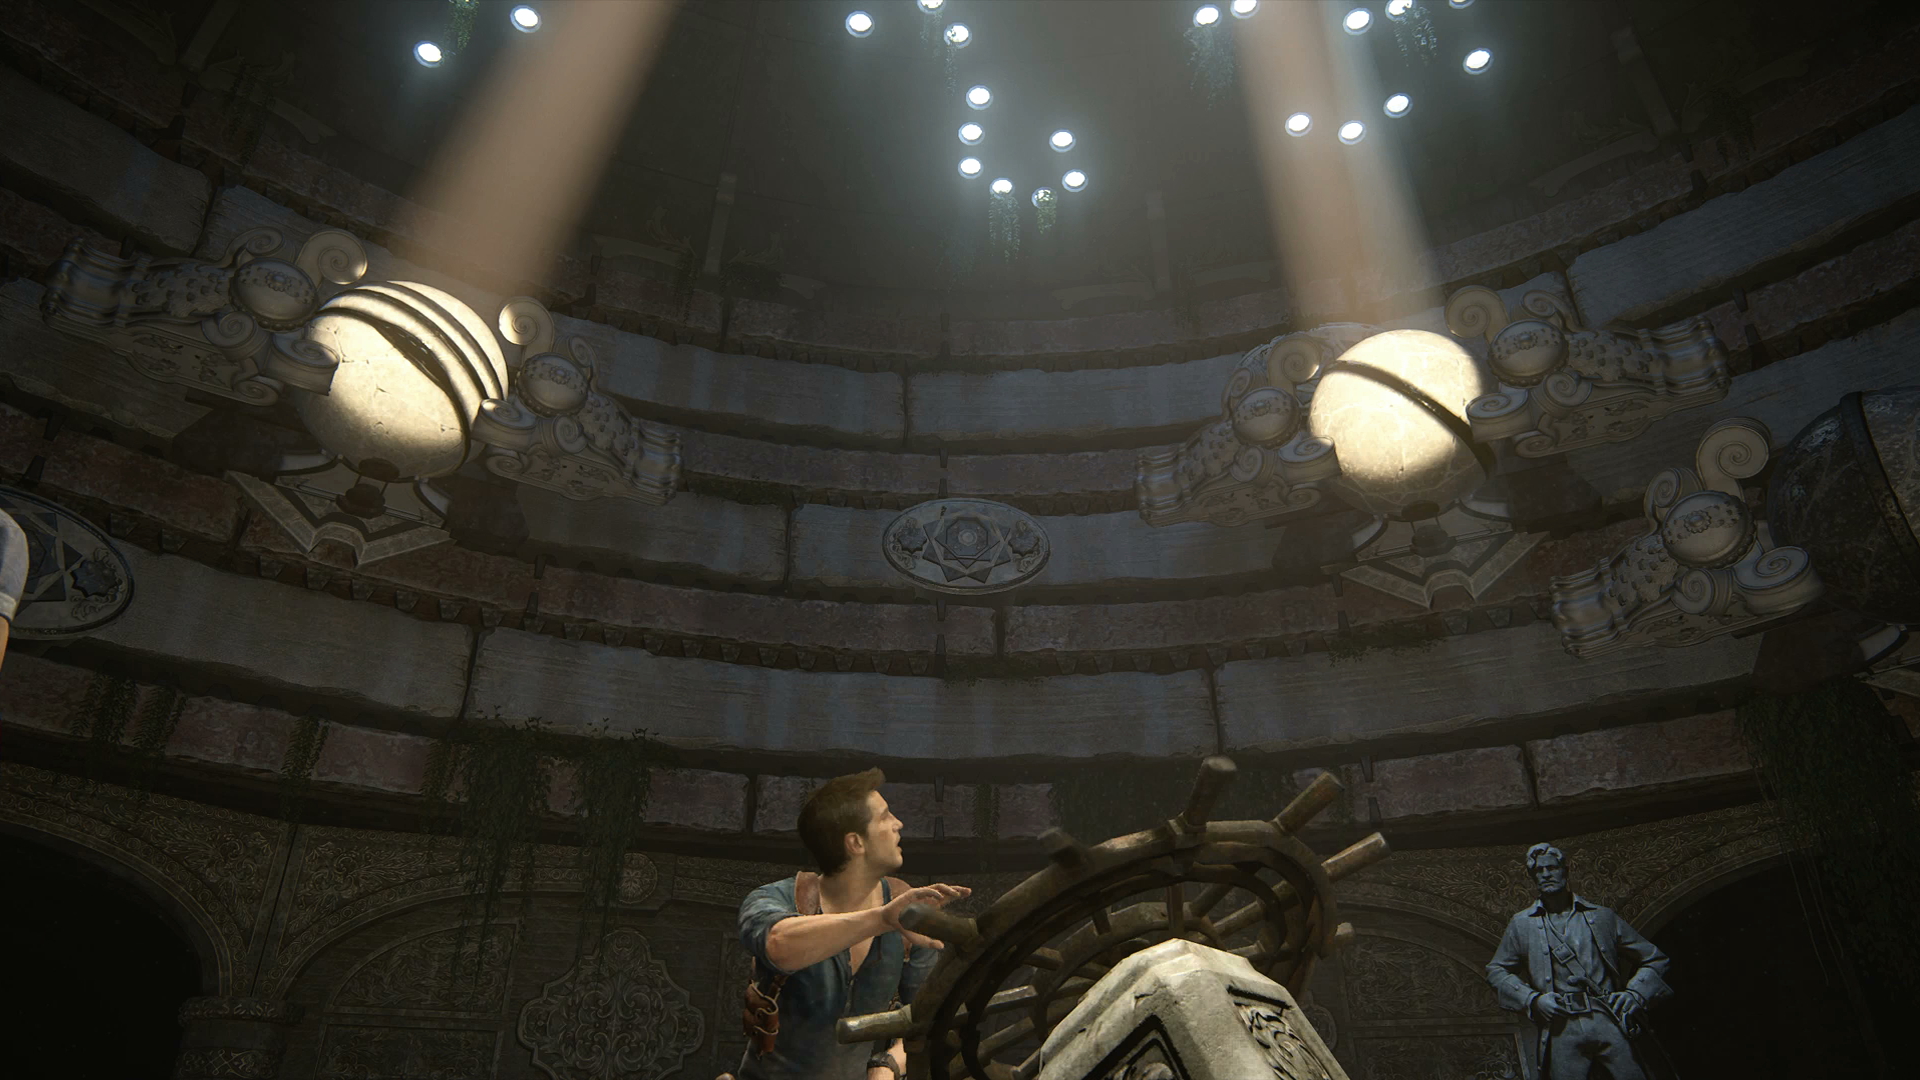
To clear the second row:
- Move left until the right hand sphere can be rotated
- Rotate two times
- Move left until the left hand sphere can be rotated
- Rotate four times
- Move left until the spheres enter the lights
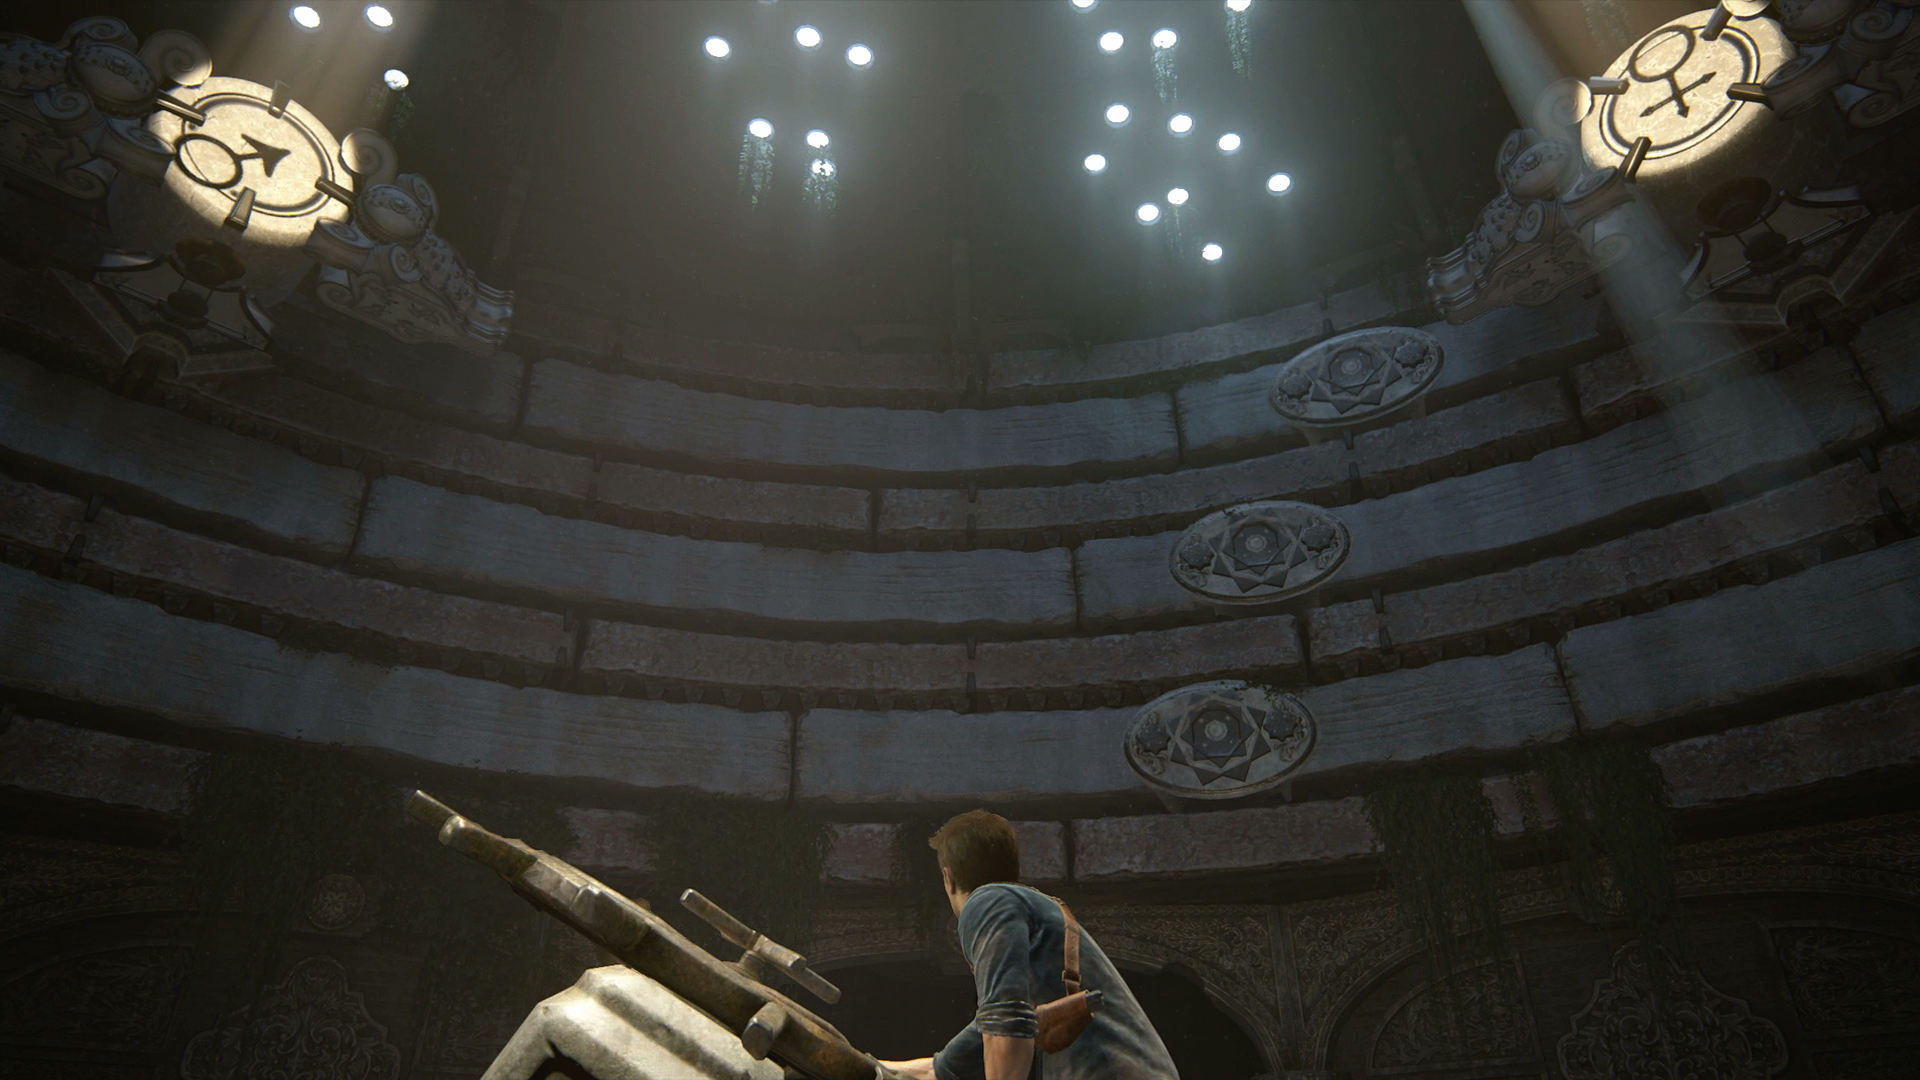
To finish the third and final row:
- Rotate four times
- Move right until the right hand sphere can be rotated
- Rotate six times
- Move left until the spheres enter the lights
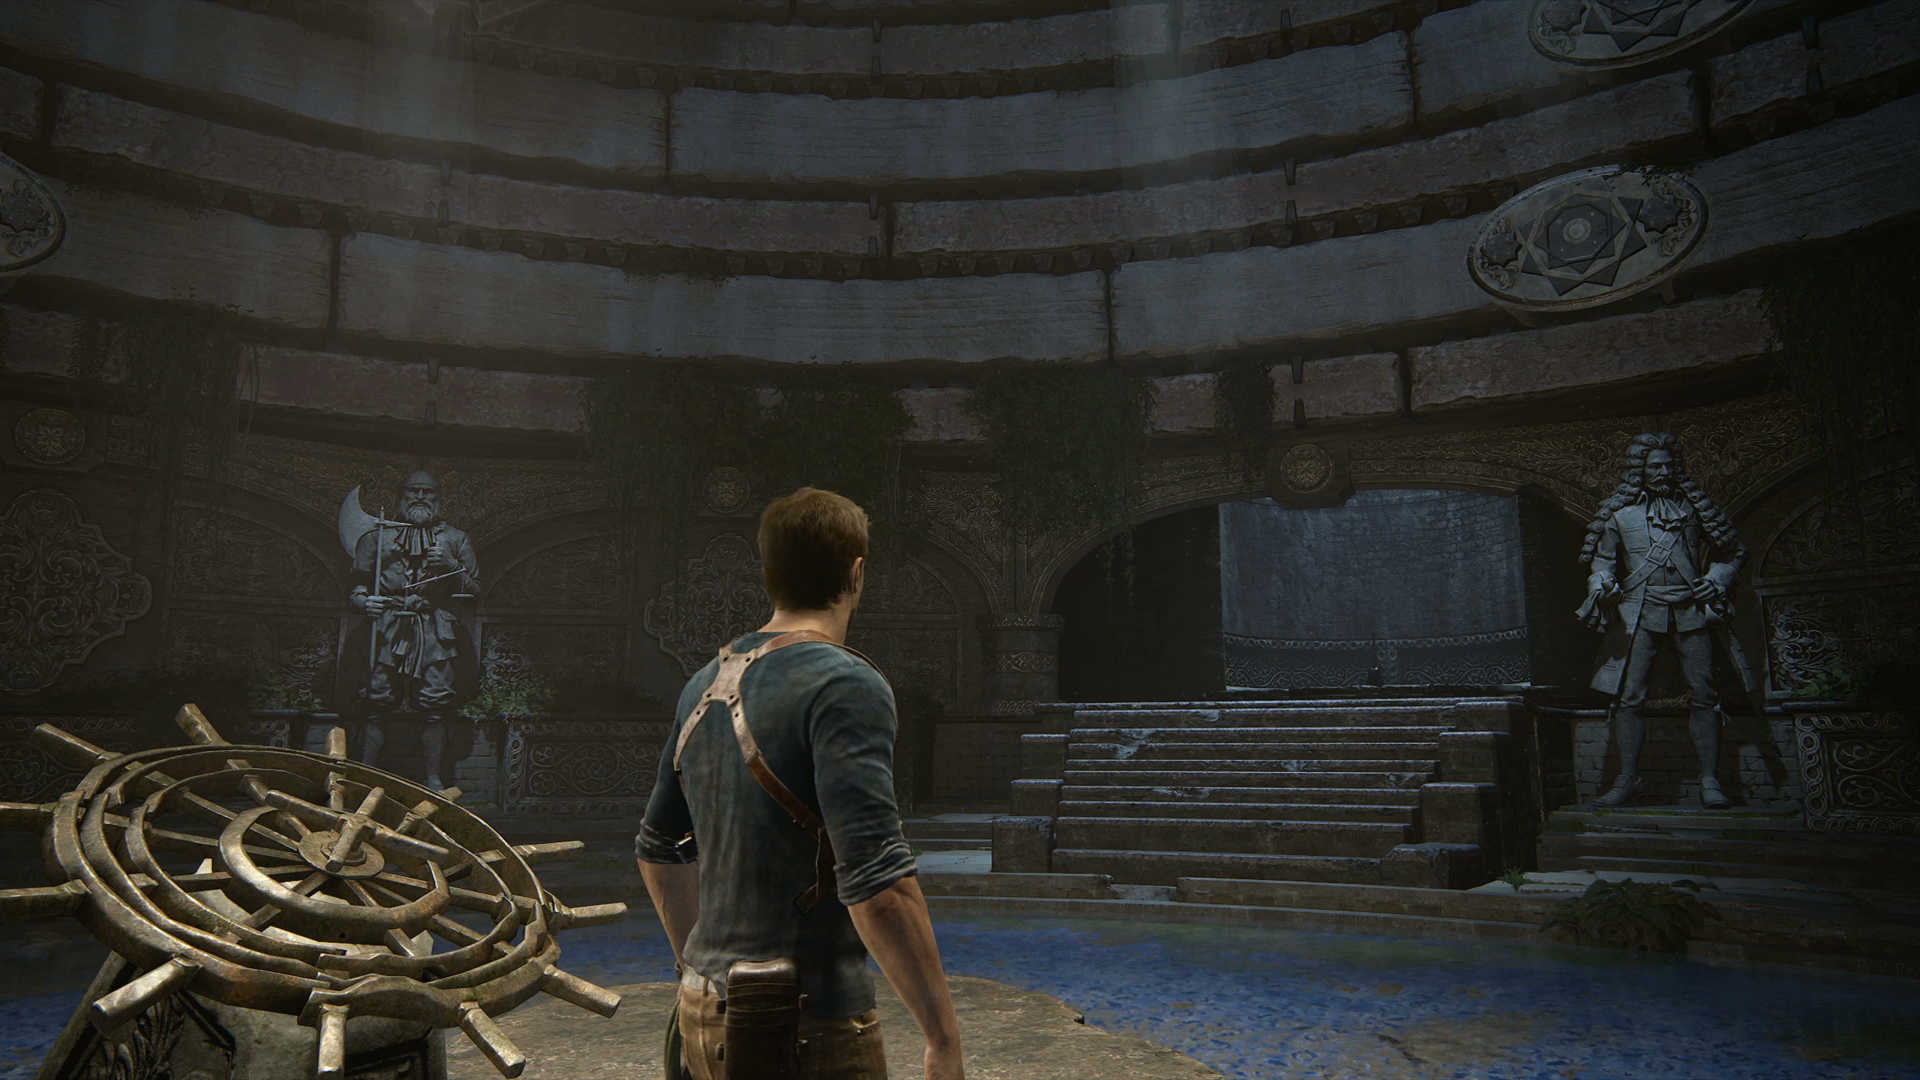
With all three rows completed, a doorway will open to your right so you and Sam can continue on your journey.
Chapter 19 – Platform Maze Puzzle
Chapter 19: Avery's Descent – Platform Maze Puzzle
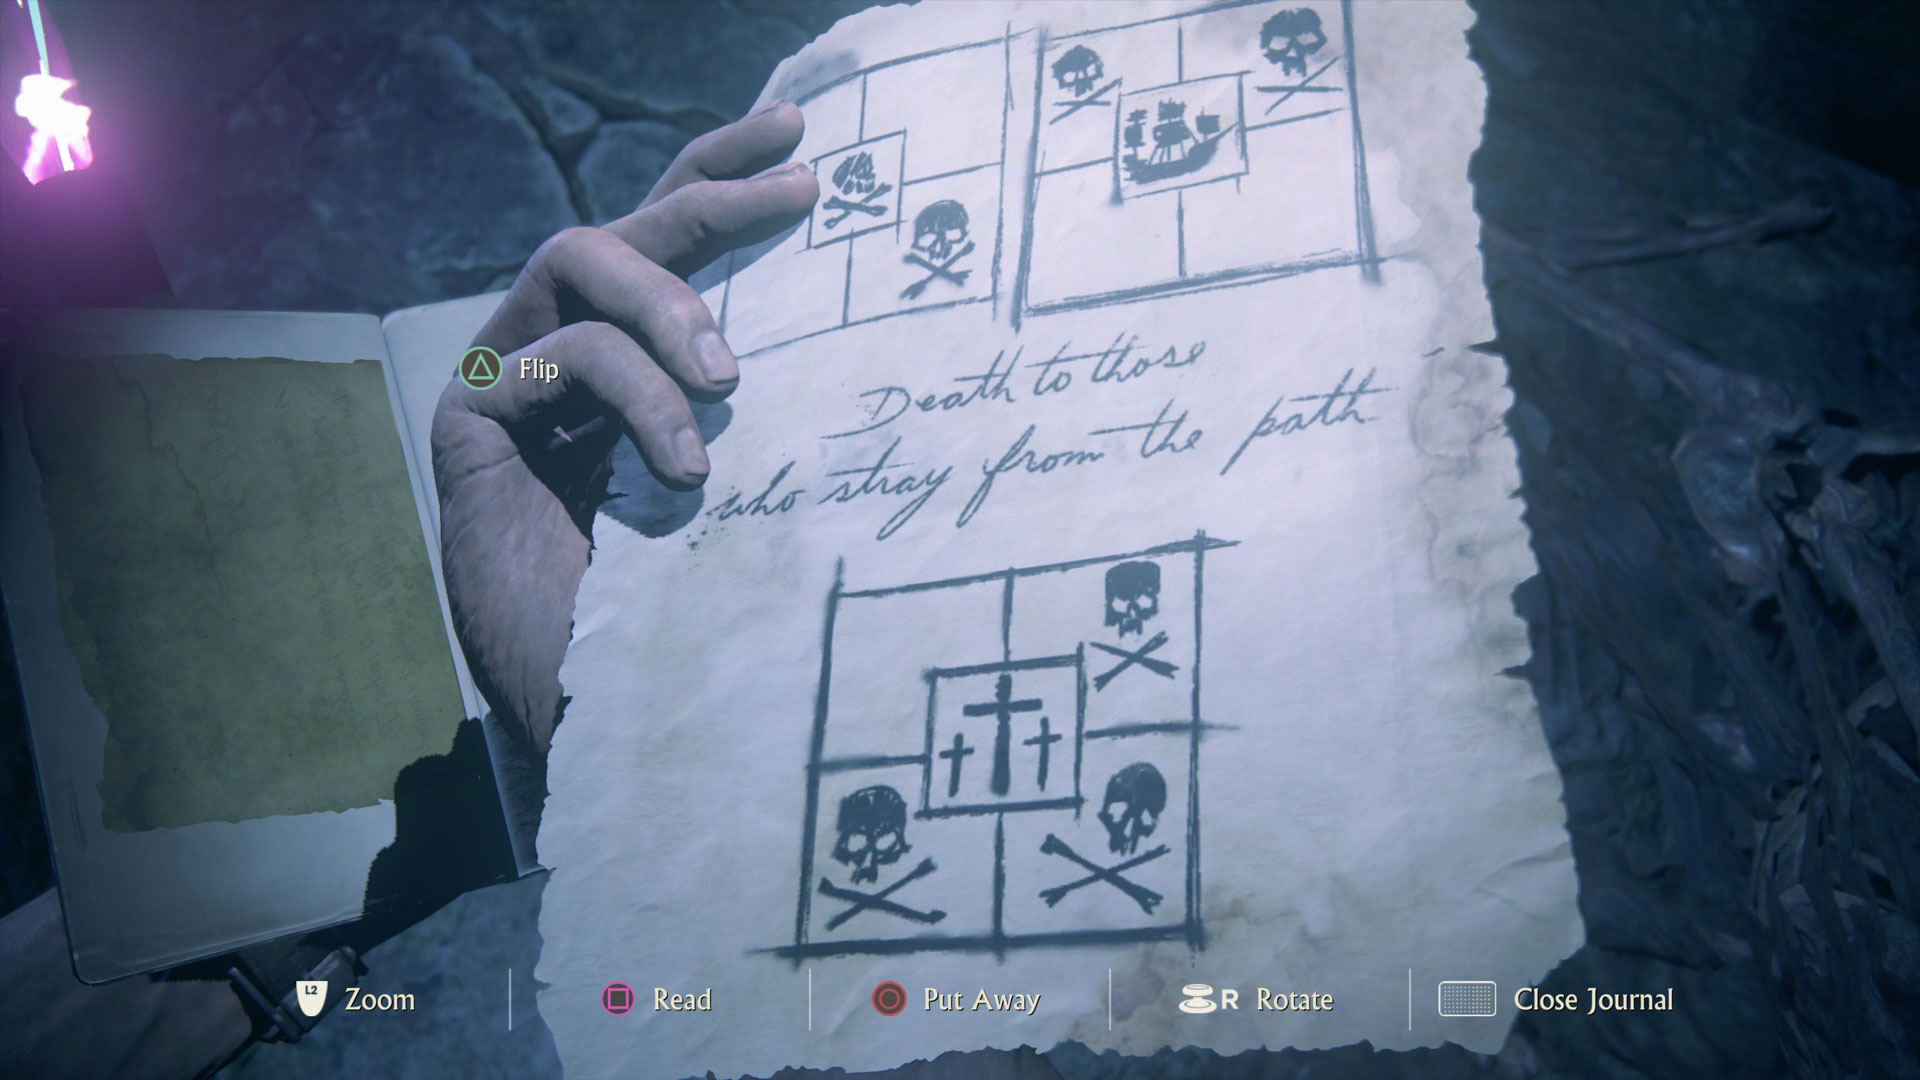
As you work your way through the catacombs, you'll find a letter from Captain Thomas Tew. Flip it over for a set of diagrams, that will help you navigate the upcoming platform maze.

When you reach the platform maze, pay attention to the symbol in the middle of each grouping of four tiles. As importantly, you also need to consider which direction each symbol is facing.
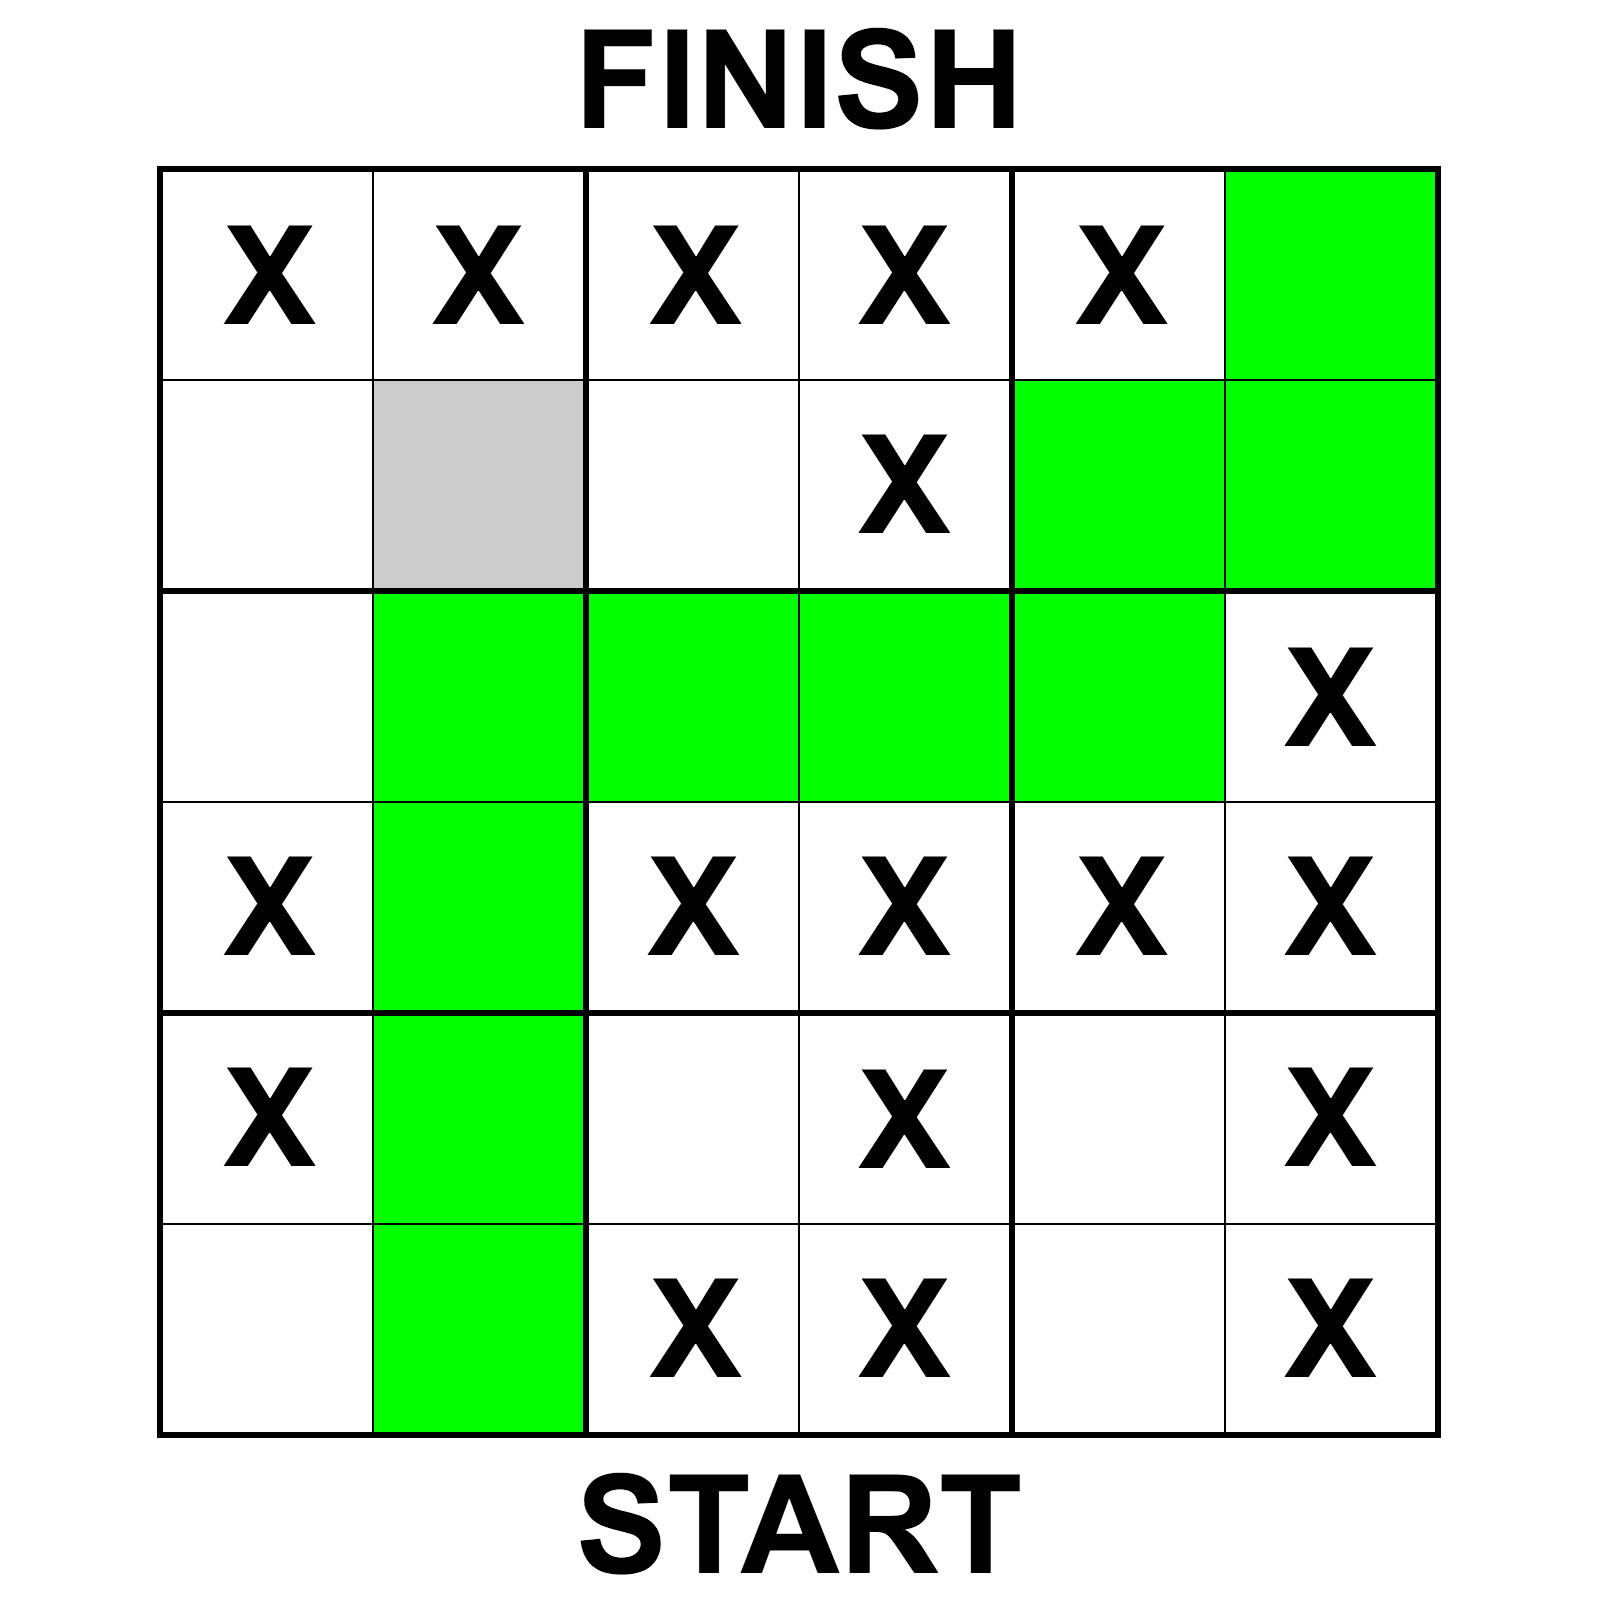
Coordinating the orientation of each symbol with the diagrams on the back of Tew's letter, you can piece together the above plan of a route through the maze while avoiding any of the skull platforms that lead to certain death.
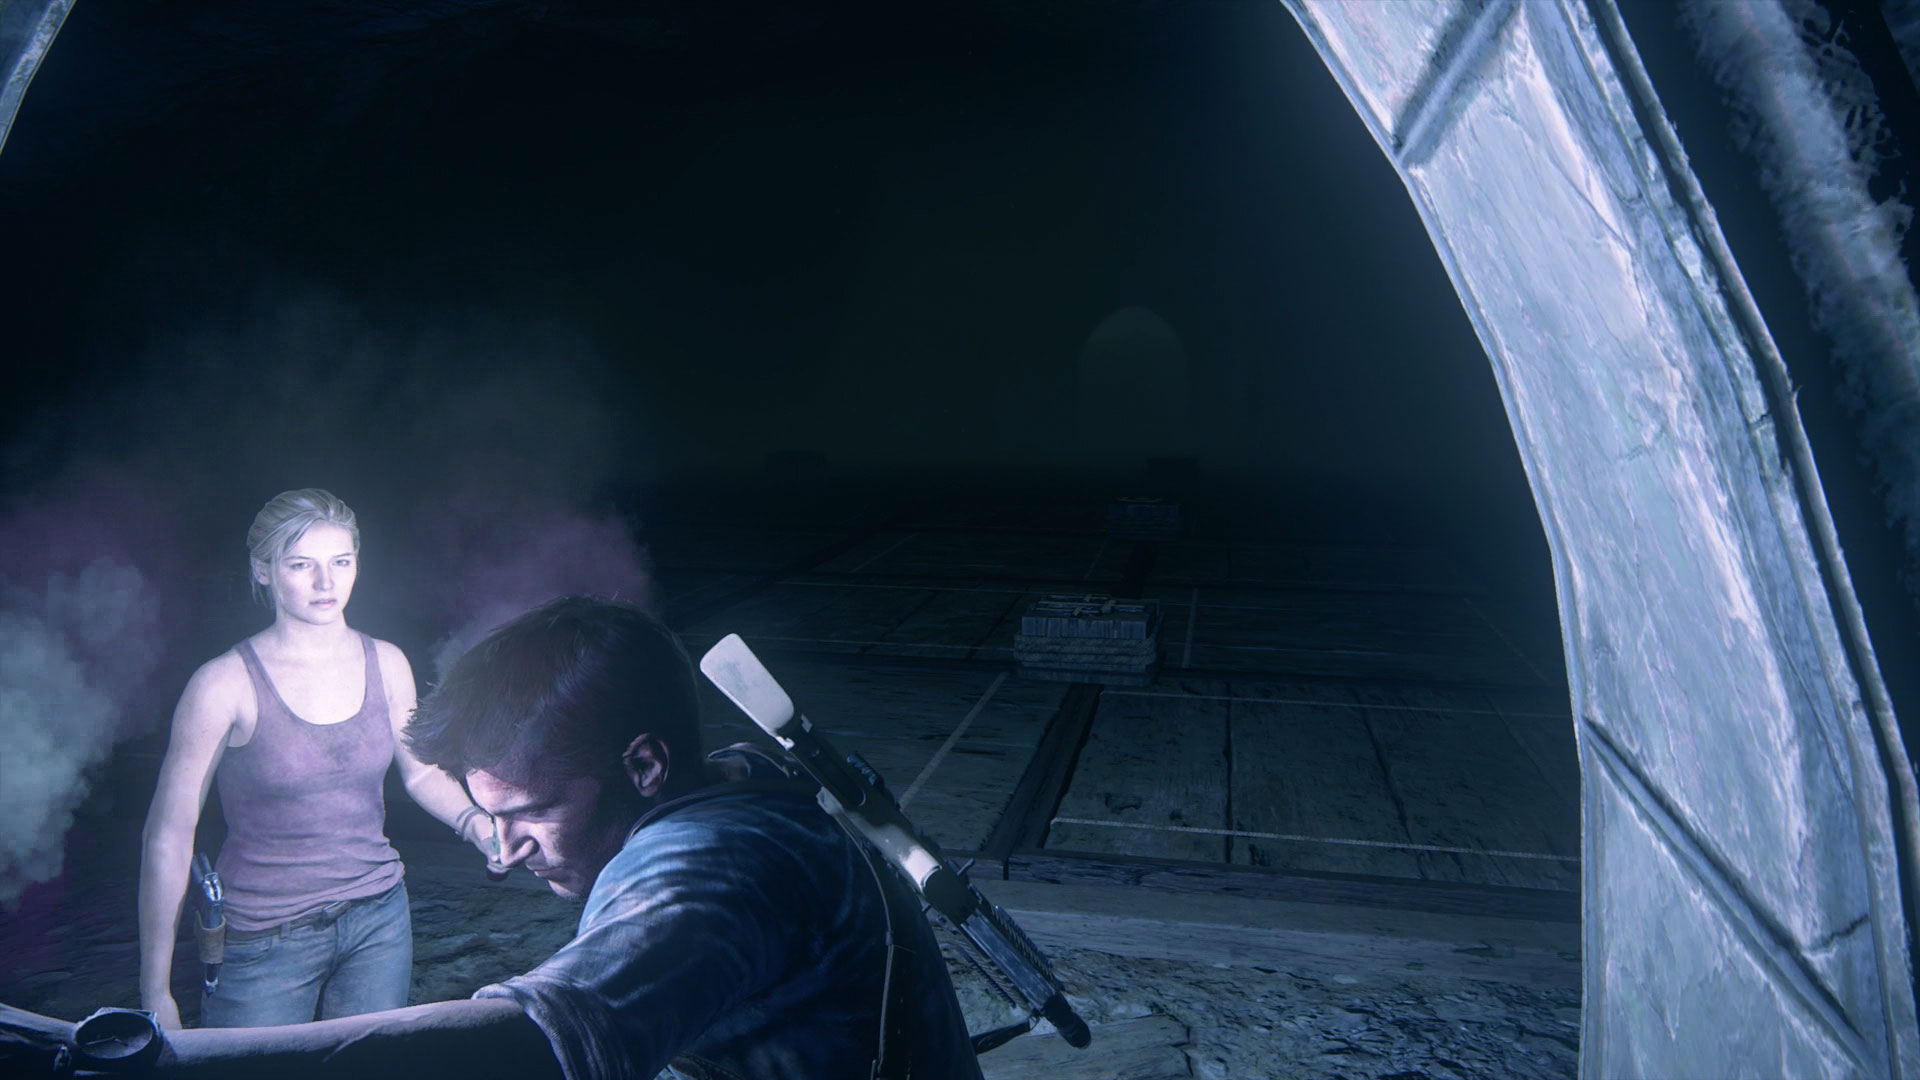
Follow the green route to the far side, and you'll have completed the final Uncharted 4 puzzle – now go forth and finish your adventure.
Weekly digests, tales from the communities you love, and more

Iain originally joined Future in 2012 to write guides for CVG, PSM3, and Xbox World, before moving on to join GamesRadar in 2013 as Guides Editor. His words have also appeared in OPM, OXM, PC Gamer, GamesMaster, and SFX. He is better known to many as ‘Mr Trophy’, due to his slightly unhealthy obsession with amassing intangible PlayStation silverware, and he now has over 800 Platinum pots weighing down the shelves of his virtual award cabinet. He does not care for Xbox Achievements.


