Borderlands 2 side missions guide
Get out and explore Pandora, one job at a time
Sanctuary
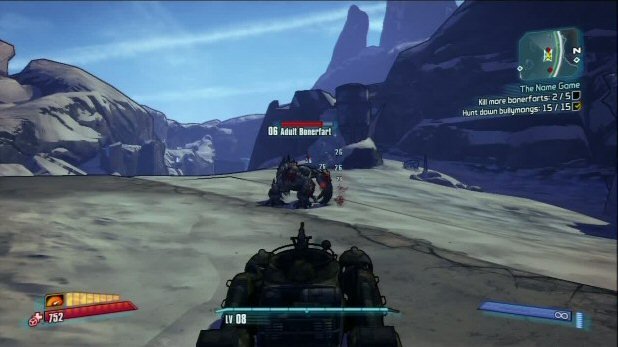
The Name Game
Experience: 791 XP
Money: $111
Gear: Handy Coach Gun/Junked up Explosive Shield
Talk to Hammerlock in the Moxxi’s and he will ask you to head out to the Three-Horns Divide to kill some Bullymongs. Simply exit out of Sanctuary and drive to the green circle on your map. Once there, look for Bullymongs to arrive and then kill 15 of them—preferably with the gun on your car to make things easier. You will also need to smash 5 different piles of rubbish. Once you have that completed, Hammerlock will contact you and tell you that he has decided to call them Primal Beasts and now wants you to kill a few more of them with a grenade. Toss a grenade at one of them to complete this and then you will be contacted again. Now they will be called Feravores and you will need to shoot the projectiles that they toss at you. Once again, simply shoot 5 rocks that they throw and he will finally decode to call them Boner Farts. Kill 5 Boner Farts and Hammerlock will give up on the name and tell you to return to Sanctuary to complete the quest.
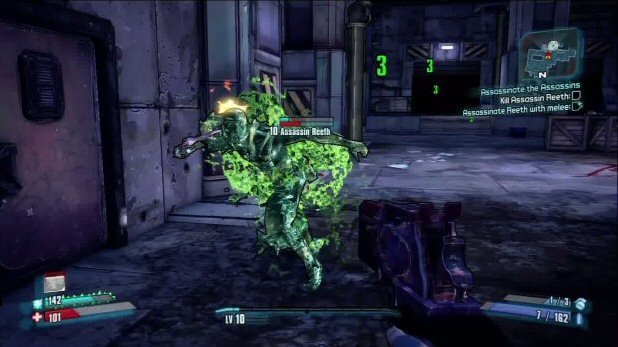
Assassinate the Assassin’s (Undiscovered)
Experience: 791 XP
Money: $165
Gear: Elegant Aegis/Fervid SubMalevolent Grace
In Sanctuary, go to the bounty board and there will be a mission there from Roland who needs your help. He will tell you that there are Hyperion spies dressed as bandits. You will now need to travel to the Three-Horned Valley and enter the building at The Frostsprings to enter the Southpaw Steam and Power building. Once you are inside, continue through the building and eventually you will come to some Pyschos and Nomads. Behind them will be Assassin Wot.
For a bonus, you will need to kill him with pistol. Once Wot is down, you will need to find two more assassins: Assassin Oney, who you will need to kill with a sniper rifle for the bonus, and Assassin Reeth who you will need to kill with a melee attack. Next up, kill Assassin Rouf with a shotgun and keep in mind that while you need to finish off the assassins with a certain attack, you can wear them down with any gun you like. Just make sure to finish them off with the required attack.
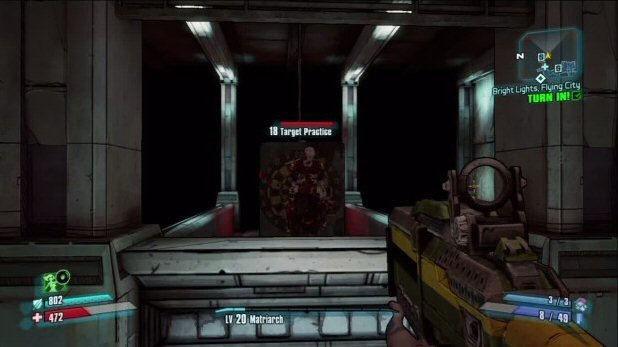
Rock, Paper, Genocide: Fire Weapons!
Experience: 395 XP
Money: None
Gear: None
Once you talk to Marcus in the Sanctuary Store, he will tell you to meet him in the firing range. Walk down the hallway to the right of the store front and there will be a marauder on a target. Use the gun that is now in your inventory (if you don’t already have a gun that fires flames) and kill him. Talk to Marcus again and you will need to repeat the same thing a couple more time with the different gun types.
Rock, Paper, Genocide: Shock Weapons!
Experience: 395 XP
Money: $22
Gear: None
Repeat the previous mission with Marcus in the firing range.
Rock, Paper, Genocide: Corrosive Weapons!
Experience: 395 XP
Money: None
Gear: None
Repeat the previous mission with Marcus in the firing range.
Rock, Paper, Genocide: Slag Weapons!
Experience: 316 XP
Money: $99
Gear: None
Repeat the previous mission with Marcus in the firing range.
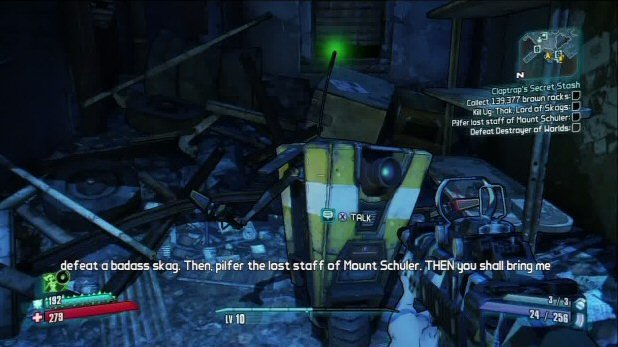
Claptrap’s Secret Stash
Experience: 115 XP
Money: $139
Gear: None
Simply turn around after talking to claptrap and open the door behind you to find Claptraps stash. You can now use the stash to keep weapons that you are not ready to throw away or that you are not quite leveled up enough to use.
Do No Harm
Experience: 578 XP
Money: $139
Gear: None
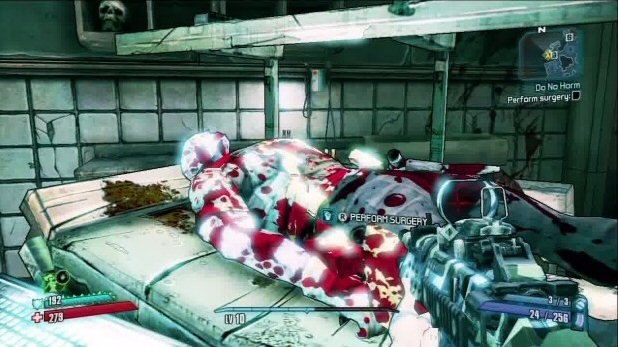
Talk to Zed in his medical building and he will ask you to help out with an operation. Agree and then punch the body on the table. Pick up the eridium shard that comes out and take it to Tannis in the Command Center HQ. Simply talk to her and you will complete the rather short and easy quest.
Medical Mystery
Experience: 791XP
Money: $55
Gear: None
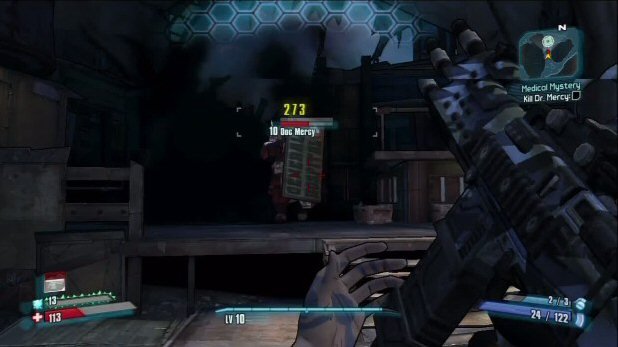
For this mission, you will need to go to Three Horns Valley to find Doc Mercy to see what is making holes in victims. Go to the east of the Happy Pig Motel and you will find Shock Fossil Cavern. Enter it and Doc Mercy will come out to say hi after you have laid waste to the rest of the bandits there. Take him out and grab the eridium weapon from the ground. You will have yourself a fancy new E-Tech weapon that does some serious damage.
Medical Mystery: X-Com-municate
Experience: 791 XP
Money: None
Gear: Rapider Spiker
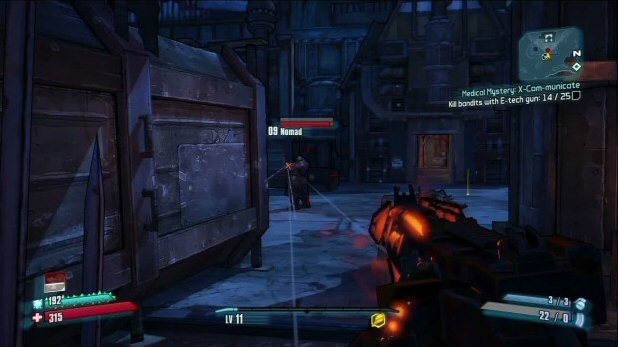
Once you have dispatched Doc Mercy and talked to Zed, he will want you to test out the new weapon. Simply find some bandits and kill 25 of them with it. Nothing too challenging with this mission, but sure is fun!
Mighty Morphin’
Experience: 1820 XP
Money: $196
Gear: Filler Bandity Smig
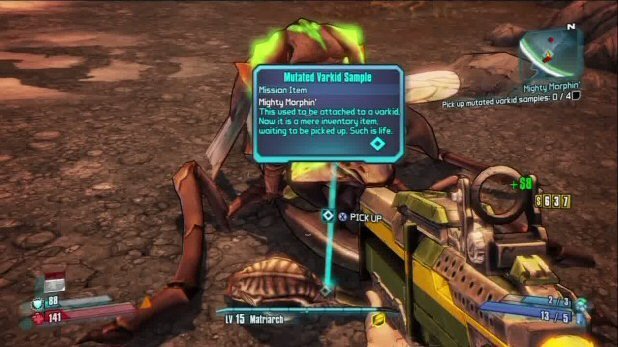
This mission can be a little bit tough if you are not prepared. To start it, talk to Hammerlock in MoXXXi’s bar and he will give you an injector. Now head out from Sanctuary, and go to Three Horns Divide and then north to Tundra Express. When you enter, look for the Varkid just in front of you and wait for them to land and transform into Adult Varkids. They will come to attack you first, but of you wait a bit, they will eventually stick their head in the ground and a bulbous sack will grow from them. When they do grow, walk up to them and press X/Square to inject them and they will then transform in Mutant Badass Varkids. Now you will need to kill them and pick up a sample of their body. Repeat the same thing 4 more times to other Varkids.
Splinter Group
Experience: 1820 XP
Money: None
Gear: Duble Bareld Roksalt
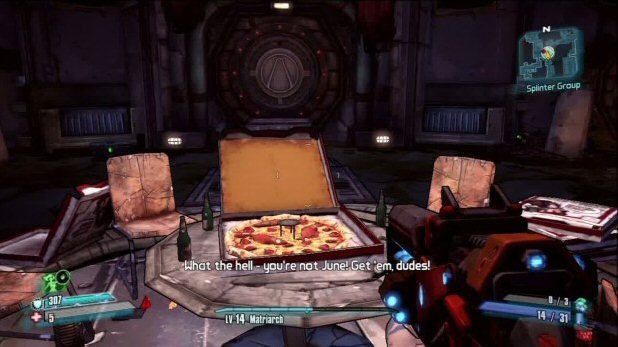
Talk to Tannis in the Command HQ and she will tell you of a group of 4 mutated creatures that have escaped to the Bloodshot Stronghold. To lure them, you will need to bring some pizza to their sewer lair. 4 mutated creatures that like pizza and live in a sewer. Sounds familiar! Take the pizza off table in Moxxxi’s and then head to the Bloodshot Stronghold.
Follow the waypoint marker to the side of the main area and jump into the water below to go through the tunnel that leads to the mutant’s area. Once you hit the checkpoint, climb the ladder on the left and continue forward to another ladder on the left. Now you will see the buzzer that you need to use just down the corridor. Reach it and then drop down in to the sewer opening to deliver the pizza. Place it on the table and then kill the 4 enemies –Mick, Ralph, Dan, and Lee--as they appear.
Cult Following: Eternal Flame (Undiscovered)
Experience: 791 XP
Money: $791
Gear: Explosive Spike Shield/ Defered Projectile Convergence
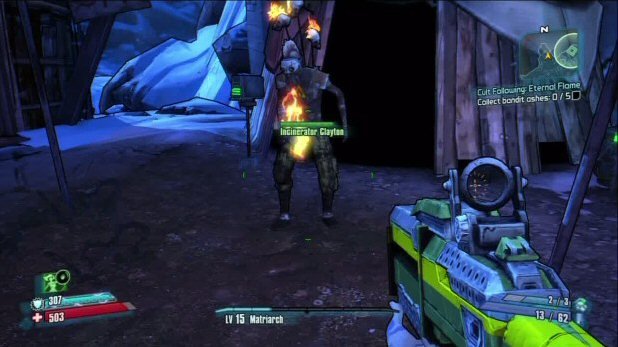
Talk to Lilith in the command HQ and she will want you to keep an eye on the cult that was worshipping her. Head to Frostburn Canyon and make your way to the Incinerator Camp.
When you reach the camp, speak to Incinerator Clayton and he will ask you to burn 5 bandits and collect their ashes. Simply head over to the camp a few steps to the east and take out 5 bandits there. When they are downed, pick up the ashes they leave behind. Once you have 5 of them, return to Clayton to complete the mission.
Cult Following: False Idols
Experience: 1757 XP
Money: $69
Gear: None
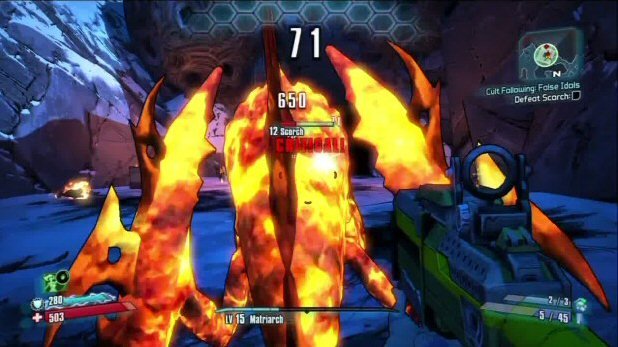
Seems Clayton is a little upset that others have started to follow a new god named Scorch and he wants you to take care of it. Make your way all the way to the south of Frostburn Canyon and you will come across Scorch who is a large Fire Spiderant. Thankfully it’s not all that hard to take down, so give it a couple shots and then return to Clayton to finish up the quest.
Cult Following: Lighting the Match
Experience: 1157 XP
Money: $69
Gear: Dandy Jericho
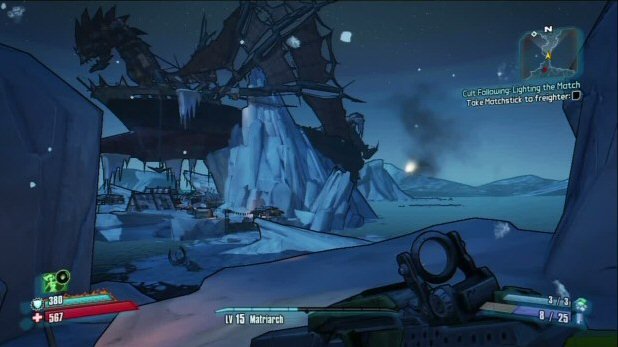
Once you finish talking to Clayton, open the outhouse next to him and grab Matchstick who is hiding inside. Now you will need to take him down to the Soaring Dragon—the dragon shaped freighter in the Southern Shelf that Claptrap took you to earlier in the game. Fast travel to the Southern Shelf and continue going west and then north from Liar’s Berg. Make your way around to the east side of the harbor and follow the ramps to the top of the ship. It can be a little tricky to get to the top of the ship, but keep your eyes open for the ramps that will take you upwards. When you reach it, you will need to place Matchstick under the dragon’s mouth. Once he is hanging from the chain, pull the lever to set him ablaze and then make your way back to Clayton to turn in the quest.
Cult Following: The Enkindling
Experience: 1736 XP
Money: None
Gear: Flame of the Firehawk Shield
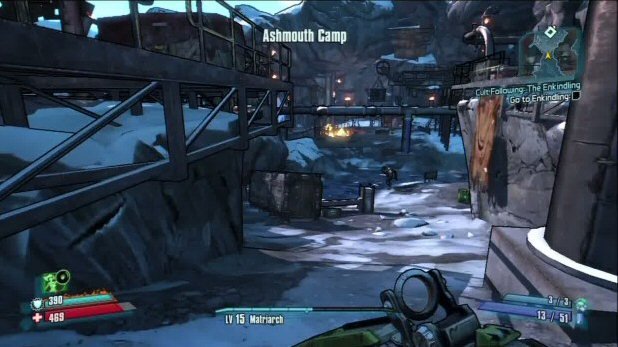
To kick the mission off, you will need a gun that does fire damage and will also need to light three effigies ablaze. Once you have shot all three, make your way to The Enkindling. To get there, you will need to go through Blisterpus Camp (just east of the Incinerator Camp) to the Blacktoe Cavern and follow it through to the Ashmouth Camp. When you arrive at the Ashmouth camp, go to the large fire in the center and talk to Incinerator Clayton there. He will ask you to pull a lever, and once you do, all hell will break loose. Kill everyone in the area as Lilith arrives. Once everyone is down, return to Sanctuary and talk to Lilith to end the mission.
In Memoriam (Undiscovered)
Experience: 1363 XP
Money: $156
Gear: Head Customization
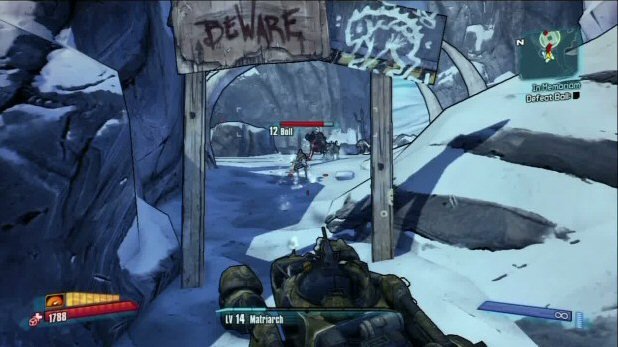
Travel to Three Horns Divide and drive to the objective marker to meet Boll. Drive your car to the entrance gate and mow him down along with the skags that appear. Once he is down, grab the ECHO recorder and now you will need to grab three more. Drive to the south a little to the first waypoint and clear it out of enemies. To find the next recorder, you will need to shoot the hanging anchor and drop it to the ground.
Grab the recorder off it and then drive to the far north waypoint. Once at the swampy area, go to the green flashing steam valve on the small pump and turn it to make some trash come blowing out. Grab the ECHO recorder from the ground and now make your way to the third and final waypoint to the southern part of Three Horns Divide. When you reach it, there will be a set of large pipes where the ECHO recorder will be on top of. You can either ump off the nearby cliff to land on the pipes or climb the broken ladder on the east side of the pipes. Once you are up, walk over to the catwalk where the chest is. Grab the ECHO off the wall and then return to Lilith in Sanctuary to complete the mission.
Safe and Sound
Experience: 3208 XP
Money: $346
Gear: Miss Moxxxi’s heart breaker
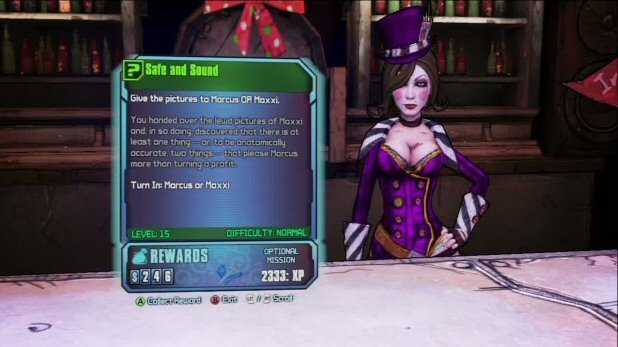
After you talk to Marcus in his gun store, he will tell you that his safe was left behind at the hole where Sanctuary was. He will ask you to return there and go to the Caustic Caverns to retrieve it. Once you arrive, go to the east side of the area to find a large creature named Blue. To defeat it, shoot the crystals on its legs to take it down. Once it has fallen, pop open the chest on its back to see what it was that Marcus had lost. Oh my. They are pictures of Moxxxi. Grab the pictures out of it and Moxxxi will give you an offer to return them to her instead of Marcus. Return to Sanctuary and choose who you want to return the pictures to for your reward.
Won’t Get Fooled Again
Experience: 1305 XP
Money: $165
Gear: Fine Law
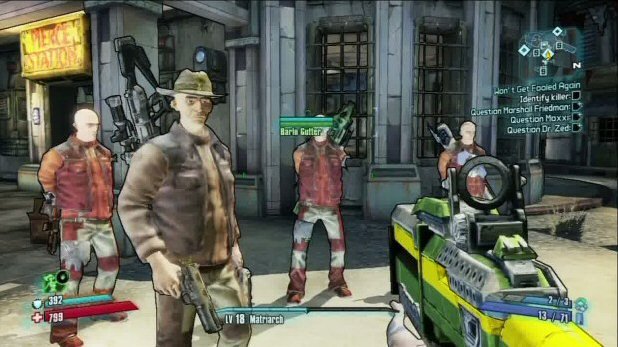
For this mission, Talk to Marshal Friedman in the Sanctuary streets where there are 4 men in handcuffs lined up, and you will see that Justin MacReady is dead on the ground. It’s up to you to figure out which one of the Gutter quadruplets—Barlo, Ennis, Hark, Shin-- it was that shot him. You will need to question Moxxxi, Friedman, and Zed to get info on what they know of what happened. Listen to what they say and then return to the scene to accuse the killer. You would think that it’s the brother with the shield, but if you look at Justin’s hands, they form the type of weapon that was used; a sniper rifle from Barlo. Accuse him and talk to Friedman to finish the quest.
The Good, the Bad, and the Mordecai
Experience: 967 XP
Money: None
Gear: Moxxxi’s Endowment
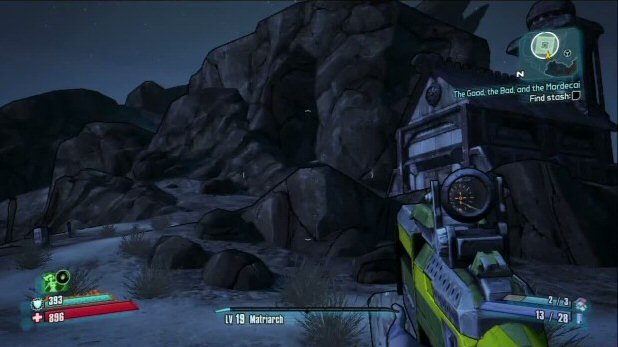
After accepting the job on the bounty board in Sanctuary, make your way to The Dust and to the waypoint at the Goose’s Roost to the west. Make your way through it to find a dead body underneath a sheet of metal. Pry the metal off his body and listen to the ECHO device beside him. Now you will need to make your way to the Friendship Gulag to the northwest and enter it to try and find Carson. Go to the far side where his cell is and pry open the bars to enter. Grab the ECHO recorder off the ground and listen to it to find out where the stash is.
Now you will need to exit the gulag and make your way to the northeast part of The Dust, at the top of Boot Hill. To get there, go behind Ellie’s garage and then run through Bug Gulch. When you get to the far side of the gulch, stick to the left and follow the path to the top of the hill where the church and graveyard is. Look for the grave in front of church and search there to reveal the chest. Once it is exposed, Mobley will come out of the church and a Hyperion guard named Gettle will also show up. Take out the two of them and pop open the chest for your goodies.
The Cold Shoulder
Experience: 2333 XP
Money: $492
Gear: Custom Skin
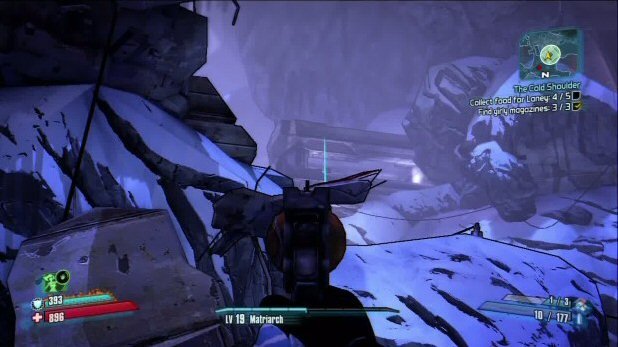
After talking to Scooter in his garage, he will need you to head to The Fridge to rescue his brain-washed girlfriend—and while there, grab him some porn mags. The magazines are optional, but you can find all three in the very first area. Two of them will be inside cars and the third will be on a table behind a radio. Once you have the optional stuff out of the way, you can now focus on the flowers needed. Continue forward to reach the Icemaw Grotto to the east and drop down to find the flowers and the pieces of food. The flowers are easy enough to find as they all to the sides of the area and easy to spot. As for the food, the 4 of the pieces of pizza will be in the center where the destroyed delivery truck is, but the 5th will be to the south of the wreck, high atop a piece of debris sticking out of the cliff face. You’ll need to go to the south of the area and then drop down on to the ledge to grab it. Once you have all the food, flowers, and porn, you will need to go find Laney near the entrance. Go to the waypoint and once she is done talking, her and her dwarves will attack you. Take them all out and the return to Scooter to complete the mission.
Slap-Happy
Experience: 3859 XP
Money: None
Gear: Target Octo
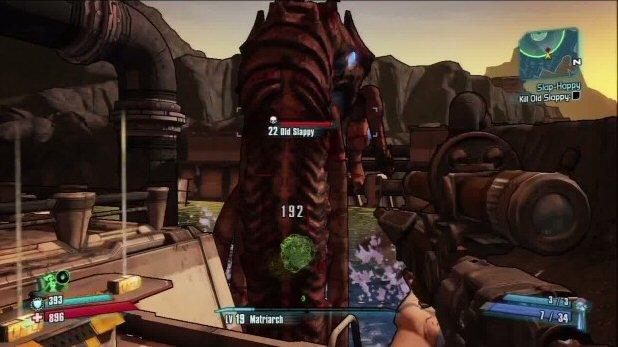
Talk to Hammerlock in Moxxxi’s and he will ask you to take revenge of the Thresher that took his arm. He will give you his robot arm and then you will need to go to the Highlands-Outwash with it. Once there, go to the Hyperion Extraction plant and hop into the water where Old Slappy will appear once you hang the arm on the pillar. As soon as Slappy appears, run to the ladder on the left that will take you up to the platform above. From here you can take pot shots at Slappy without fear of him even hitting you once. Keep firing, using the nearby crates for ammo, if needed, until he drops. Grab the loads of loot he drops and then grab Hammerlock’s arm from the pillar. Return to Sanctuary and speak to Hammerlock to complete this easy quest that could have been very difficult.
Hidden Journals
Experience: 2611 XP
Money: 4 Eridium
Gear: None
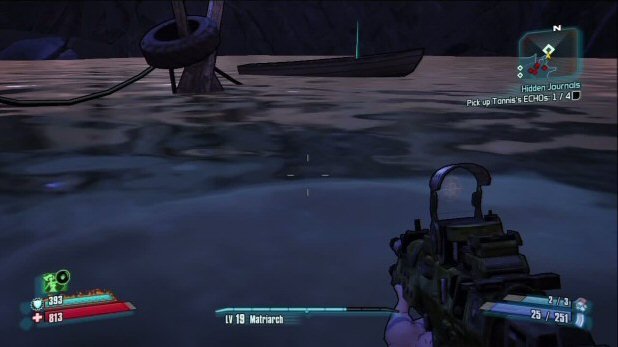
After you talk to Tannis in the Command HQ, she will ask you to recover 5 ECHO recorders for her. For the first recorder, go to the Highlands- Hyperion bridge and go east across the road to the Frothing Creek Mill. Beside the mill will be a wagon on 4 large tires with a bent barred door. Go to the rear of it and shoot the sacks that are holding the ramp shut. When you do, it will open allowing you to enter and find the first ECHO recorder, as well as a recorder that will start the Stalked by Stalkers Mission. For the second, go to the Highlands-Overlook and go east over Blake Bridge to Old Cranky’s Pond. Go through the area to the water on the far side and the recorder will be in a small boat.
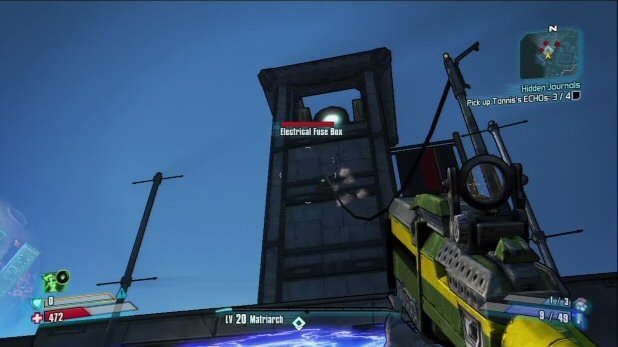
For the third recorder, go to the waypoint marker that is located at Aggregate Acquisition, and make your way through to the far end and go up the stairs on the right. Continue upwards and go across the bridge with the constructor. Make your way to the left side and drop down to the small room with the electricity covering the doorway. Shoot the fuse box above the door and then enter to get the recorder. For the final recorder that is under Blake Bridge, go down the stairs to the side of the bridge, and you will come to a small room across some broken girders. Cross the broken girders to get inside it and grab the recorder. Now simply return to Tannis with all 5 recorders to complete the mission.
Torture Chairs
Experience: 2858 XP
Money: $765
Gear: None
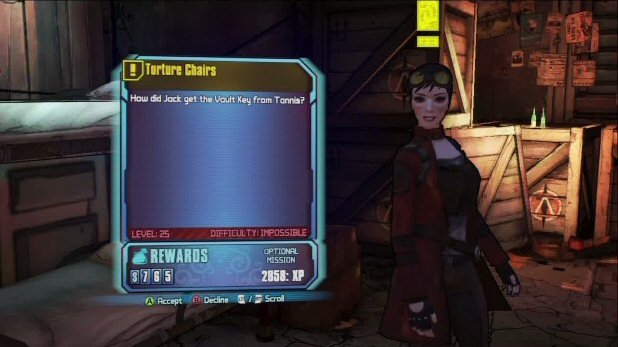
After completing Hidden Journals for Tannis, she will send you around Sanctuary to collect 5 more ECHO recorders These are rather easy to find and can be found in the following locations: One is in the dumpster to the left of Marcus’ gun shop; 1 is behind Claptrap across from his stash; One is in Zed’s operating room; one is in the pile of rubbish outside the side entrance to Moxxxi’s, and the final one can be right across from the entrance to Scooter’s Garage. Once you have all 5 and have listened to her story, return to her in the Command HQ to turn in the quest.
Weekly digests, tales from the communities you love, and more
Jeff McAllister is a freelance journalist who has contributed to GamesRadar+ over the years. You'll typically find his byline associated with deep-dive guides that are designed to help you scoop up collectibles and find hidden treasures in some of the biggest action and RPG games out there. Be sure to give Jeff a thanks in the comments while you're completing all of those tricky Achievements and Trophies.


