Borderlands 2 side missions guide
Get out and explore Pandora, one job at a time
Weekly digests, tales from the communities you love, and more
You are now subscribed
Your newsletter sign-up was successful
Want to add more newsletters?
Join the club
Get full access to premium articles, exclusive features and a growing list of member rewards.
Fink’ Slaughterhouse
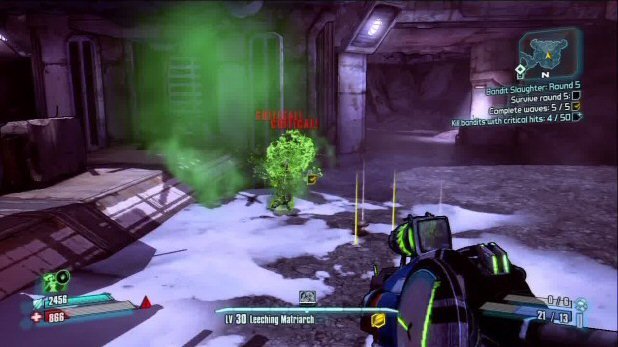
Bandit Slaughter: Round 1
Experience: 3208 XP
Money: 4 Eridium
Gear: None
For each of the 5 rounds of the Bandit Slaughter missions, you will need to enter Fink’s Slaughterhouse in The Fridge and talk to Fink. Once you do, you will then need to enter the arena and hit the switch on the center platform. For the first round, you will need to survive 3 waves of enemies. Just make sure you have loaded up on ammo and have your best guns and shields ready for the battle; preferably of the flame variety. The rounds can get long and running out of ammo can be an issue. To help you out a little, whenever Goliaths appear, shoot of their helmets so that they rage and go around the arena killing other enemies. In the later rounds, you will get swarms of Goliaths and it’s hilarious to watch them all raging around the arena. Once you have beaten all three waves, return to Fink to start the next round.
Article continues belowBandit Slaughter: Round 2
Experience: 2281 XP
Money: $1089
Gear: None
This time around, you will need to survive three waves of enemies in Fink’s Slaughterhouse.
Bandit Slaughter: Round 3
Weekly digests, tales from the communities you love, and more
Experience: 3208 XP
Money: 4 Eridium
Gear: None
This time around, you will need to survive three waves of enemies in Fink’s Slaughterhouse.
Bandit Slaughter: Round 4
Experience: 2659 XP
Money: $1366
Gear: None
This time around, you will need to survive four waves of enemies in Fink’s Slaughterhouse.
Bandit Slaughter: Round 5
Experience: 3603 XP
Money: None
Gear: Assault Rifle
For the final round, you will need to fight off 5 waves of enemies. Speak to Fink and claim your reward when you have beaten everything he has to throw at you.
Eridium Blight
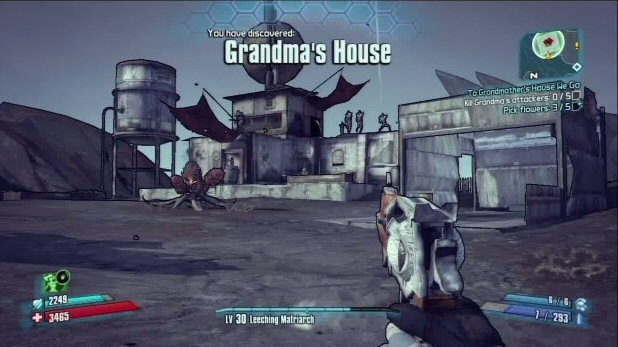
To Grandmother’s House We Go
Experience: 3063 XP
Money: $864
Gear: Customization
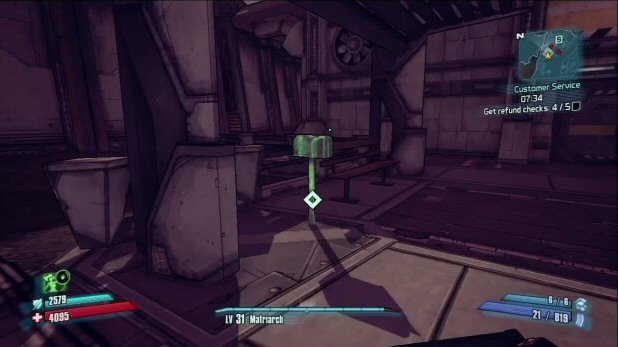
Customer Service
Experience: 3491 XP
Money: $1074
Gear: SMG/Grenade
At the Eridium Blight Bounty board, you will find this mission to hit up 5 mailboxes around the area. You will have plenty of time to reach all 5 and is much easier than the Arms Dealing mission. Start to the north in Mount Hellsfont and then work your way south. Once you have all 5, return to the bounty board to collect your reward.
Highlands
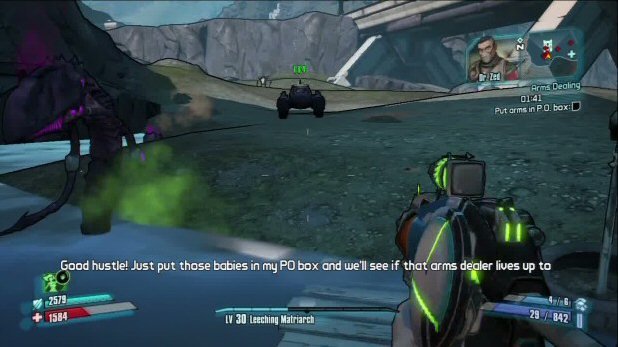
Arms Dealing
Experience: 1451 XP
Money: $154
Gear: Relic/Shield
You will receive this mission from the Overlook Bounty Board in the Highlands. For it you will need to go to 5 mailboxes and collect the arms inside them. You have a very limited amount of time to do it in, so to make things easier, I would suggest leaving a vehicle at the top of the hill, above Frothing Creek Mill, where the group of arms are. Then run back to the board to activate the mission and grab the first arm out of the mailbox near the Catch-a-ride. Once you have the first arm, then run down to the Catch-a-ride and teleport to the vehicle and grab the three that are in that area. The 5th and final on is under the Hyperion Bridge. Once you have all 5, you will then need to race back to Overlook and drop the arms in the postal box at the bounty board. Once you have done that, the mission will be over.
Sanctuary
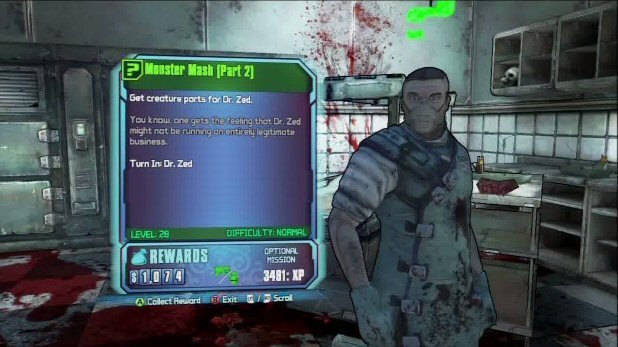
Monster Mash Part 2
Experience: 3491 XP
Money: $1074
Gear: SMG/Grenade
For the second part of Zed’s series of missions, you will need to collect 4 Rakk parts from Arid Nexus. You won’t be able to complete this mission until you have completed the story mission “Toil and Trouble” so that you can access the area. Once you have however, enter it and hop in a vehicle and drive to the waypoint and simply take down a few of the birds. Collect their parts and then return to Zed for a final clean up.
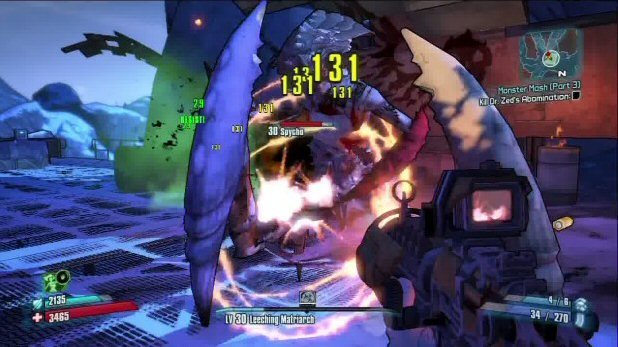
Monster Mash Part 3
Experience: 3491 XP
Money: $1074
Gear: SMG/Grenade
Now that you have helped Zed with his creations, he needs you to track them down and kill them. Head out to the Arid Nexus and go to the waypoint marker to find where the Skrakk’s are. Bring a vehicle, so that way you can just hop in the turret and take them down as they swoop in. Kill 20 Skrakk’s and then you will need to make your way to Frostburn Canyon. Once there, go to the waypoint marker and you will find Spycho. Take him down and then return to Zed to turn in the mission.
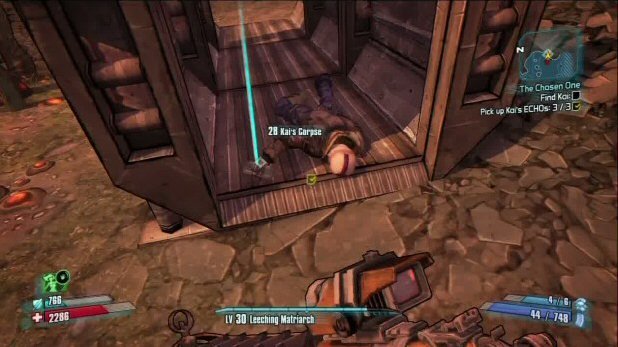
The Chosen One
Experience: 5716 XP
Money: $765
Gear: Rifle
Talk to Marcus in his shop and he will need you to track down Kai by finding three ECHO recorders in Sawtooth Cauldron. The ECHO recorders are optional and not necessary, but they are rather simple to grab on the way to finding Kai. Once you have all three, just follow the final waypoint marker to Kai’s body. Once found, head back to Marcus and turn in the quest to complete it.
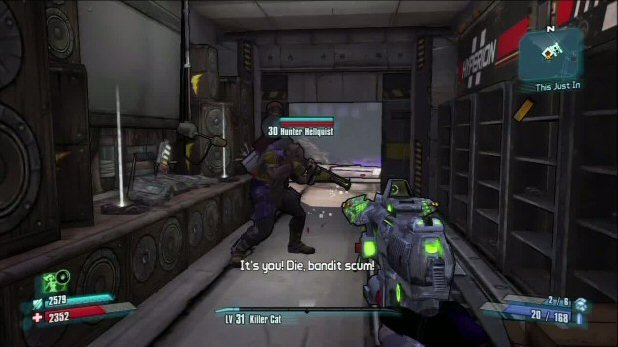
This Just In
Experience: 6983 XP
Money: 4 Eridium
Gear: None
Talk to Mordecai in the Command HQ after the Toil and Trouble story mission. Travel to the Arid Nexus and go to the Hyperion Truth Network tower which is just across from the fast travel station. Take the elevator up to the radio station and open the door. When you do, Hunter Hellquist will attack. Take him down and return to Mordecai to turn in the mission.
Sawtooth Cauldron
The Lost Treasure
Experience: 6983 XP
Money: $1074
Gear: Pistol
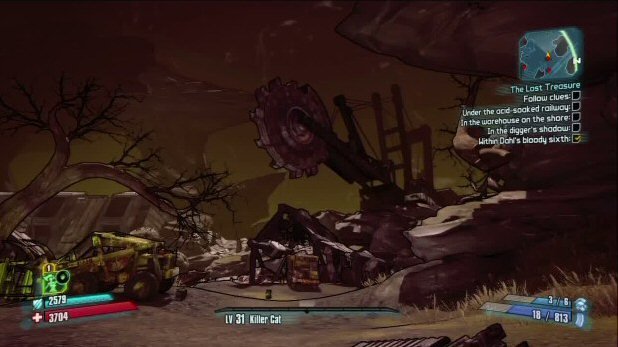
In a box atop the Sawtooth Stilts in Sawtooth Cauldron, you will receive this mission to track down a lost treasure from a cardboard box. To find the four pieces of the map, all you need to do is kill enemies. Kill them, and kill them some more. As long as you stay within the waypoint circle area, eventually bandits will drop pieces of the map. It can take quite a while for them to drop, but keep at it and eventually all 4 will appear. Once you FINALLY have all 4, you will need to follow the clues. They will take you to the Caustic Caverns and to 4 switches that you need to pull. One can be found under the broken bridge just to the right as you enter the area, in the Oozing Discharge.
The second can be found in the Infested Warehouse; to the right when you enter and all the way to the end where you will go outside. The third is underneath and across from the giant digger machine, shown above; and the final switch is located in Dahl Deep Core 06. Once you have pulled all 4 switches, head back to the mine cart entrance, just outside the Infested Warehouse and ride the lift there up to the Varkid Ramparts. Now all you need to do is go to the right and pull the lever found there to end the mission and get a sweet gun.
The Great Escape
Experience: 6983 XP
Money: 4 Eridium
Gear: None
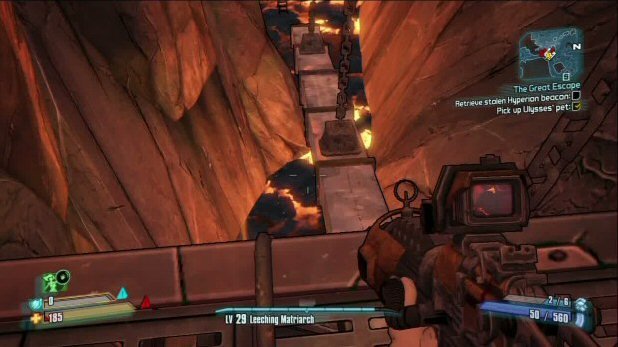
During the Toil and Trouble Story mission, you will need to get to the top of Inferno Tower via an elevator. When you reach the top, look across from the elevator for a ladder which will let you climb over the building there to find Ulysses who wants to get off the planet. To help him out, you will need to make your way back down to the Smoking Guanao Grotto to get the lunar beacon and his pet goldfish. The Lunar beacon is located in a pit, a few levels down, so just make your way to the waypoint marker and hop down to find it. Once you have the beacon and his pet, make your way back up to his location and place the beacon on the rooftop. Once Ulysses gets his wish, the mission will be complete.
Jeff McAllister is a freelance journalist who has contributed to GamesRadar+ over the years. You'll typically find his byline associated with deep-dive guides that are designed to help you scoop up collectibles and find hidden treasures in some of the biggest action and RPG games out there. Be sure to give Jeff a thanks in the comments while you're completing all of those tricky Achievements and Trophies.

 Join The Community


