Skyrim Daedric Quest guide
Our Skyrim Daedric Quest guide will get you all those nifty Daedric artifacts in no time
Weekly digests, tales from the communities you love, and more
You are now subscribed
Your newsletter sign-up was successful
Want to add more newsletters?
Join the club
Get full access to premium articles, exclusive features and a growing list of member rewards.
Azura – The Black Star
Starting Location: Azura’s Shrine
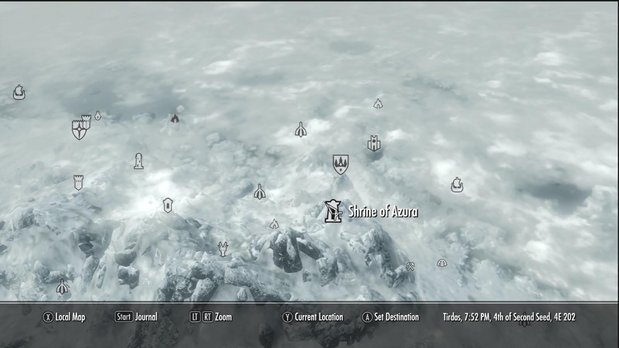
More likely than not you will be lead to Azura’s Shrine in the mountains south of Winterhold by hearing rumors in town about it. This puts a note into your miscellaneous quests section that will help guide you to it. If you don’t manage to get the quest then simply go to the above map location and speak to Aranea Ienith.
Aranea’s words lead you to the Mages College in Winterhold where Mirabelle Irvine or Tolfdir will point you to an Elf named Nelacar who lives at the inn in the town. You’ll either need to persuade, intimidate or bribe the information out of him to continue this quest. Once that’s done he reveals what must be done: a mage named Malyn Varen has corrupted Azura’s star and it’s up to you to retrieve it from his disciples. To do this we’re heading off to a place known as Ilinalta’s Deep, a sunken fortress into the lake far to the west of Riverwood.
Article continues below 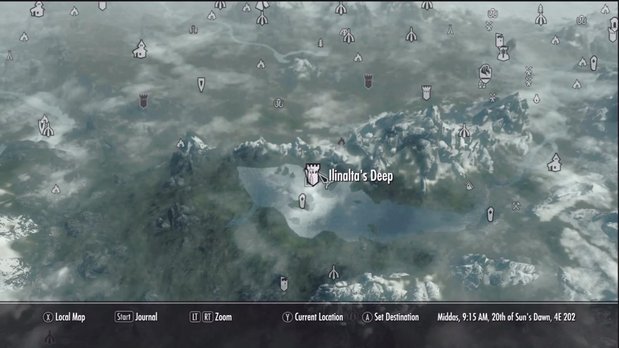
Ilinalta’s Deep is a pretty treacherous dungeon at low levels. It is full of Necromancers of various strengths as well as their undead minions which will provide much grief to low level characters. It’s simply far too easy to find yourself outnumbered as two Necromancers summon up skeletons, kill one and then find it revived by that second Necromancer. So long as you can kill the Necromancers before they do this then the dungeon shouldn’t be too rough although the higher level you are the better. The toughest Necromancer in here, the Arch Necromancer, but he isn’t very hard regardless of your level so don’t let those worries stop you.
Here you have a choice. Either bring Azura’s Star back to Azura and let her purify it back to its regular state or bring it back to Nelacar and keep it as a Black Soul Gem. If you bring it back to Azura you lose the Black Soul Gem aspect, allowing it to only capture non-humanoid souls but Aranea Ienith will join up with you as a follower afterwards. As she’s a powerful magic user who can sneak reasonably well and takes pretty good care of herself, that bonus may be more helpful than the Star itself to some people.
Regardless of your decision you must purify the star by clearing out Malyn Varen’s wretched soul from the device. This requires you to go into it and defeat him as well as three Dremora that he will summon up to assist. He basically just runs away while casting spells and the Dremora attack one by one so kill them as they appear then deal with him. He’s nothing too special at this point. With that done you can finally claim your reward – an infinitely reusable soul gem.
Boethiah – Boethiah’s Calling
Requirement: Level 30
Starting Location: Sacellum of Boethiah
Weekly digests, tales from the communities you love, and more
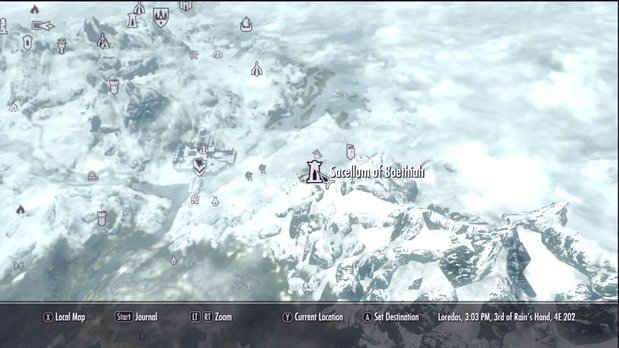
Boethiah the Deceiver is one of the wonkier Daedric Lords to work for in this title. Reaching her shrine is simple enough as it’s located up a mountain path east of Whitehelm, but once you get there things get rather fishy. You need to get yourself a follower, bring them here and then murder them. Yup. Gotta love the Daedra. On the bright side Boethiah isn’t all that picky about the sort of follower that you murder so it’s not necessary to bring your spouse here. It can be one of your Housecarl, someone beaten in a tavern brawl or just some merc that you pay to hire. Simply pick someone that you aren’t likely to ever bring on an adventure then lead them back to the shrine. Once there go to the Pillar of Sacrifice, ask your follower to do something for you and then direct them to the pillar itself. They’ll get sucked up against it so pick up the Blade of Sacrifice and deliver the death blow. This leads to madness.
Having survived that it’s time to go and kill Boethiah’s previous champion. While s/he tasks you with killing everyone at the locale with stealth, this isn’t necessary unless you wish to challenge yourself. It’s quite possible to just charge in and murder everyone in open combat; it’s not even acknowledged if you do it this way. So handle these enemies as you see fit, killing the Champion of Boethiah is incredibly hard to do by stealth, he’s just far too aware of sneaking and in a well lit room. Even invisibility might get sussed out.
Upon finishing the Champion off, Boethiah reappears and lets you keep the Ebon Mail as your reward for this duty. This armor is incredibly useful for allowing a little bit of stealth into the playthrough of someone using heavier armors.
Clavicus Vile – A Daedra’s Best Friend
Requirement: Level 10
Starting Location: Falkreath
Where most of the Daedric Quests start out in the wilderness or from a rumor you hear in town this one actually starts in Falkreath. The first time you try to enter the town a guard will ask you if you’ve seen a dog while coming into town – answer however you wish, you’ll be directed into town to speak with Lod. He offers you some money to find the dog for him as well as meat to attract it but that won’t be strictly necessary.
Leave Lod and head towards the quest marker. It leads you onto the road just outside of town where the dog will approach you. This lost mongrel, Barbas, is Clavicus Vile’s dog and he needs you to come to Clavicus’ shrine to settle a disagreement between himself and his master. It all sounds simple enough but upon agreeing you have to trek across the lands to Haemar’s Shame. The trip is simple enough but since Barbas absolutely must attack every hostile he comes across it’s a kind of aggravating experience traveling with him. Be ready to run up and murder every enemy in sight to keep this mutt moving.
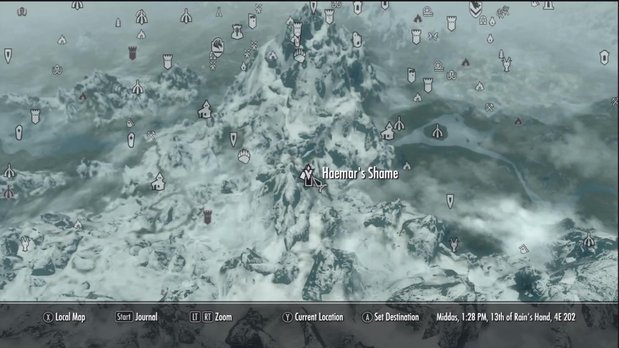
Haemar’s Shame is basically the cover for Vile’s Shrine so you’ll have to fight through the enemies infesting this location. Luckily this is one of the easier dungeons featuring a number of leveled vampires that die pretty quickly. They’re not especially hard to fight, drop decent loot and if you have a follower it won’t take you very long to clear the dungeon and speak to Clavicus Vile himself via his shrine. Be sure to choose the “Reunite with his dog” as your wish to continue the quest. Then it’s off to Rimerock Burrow to retrieve the Rueful Axe.
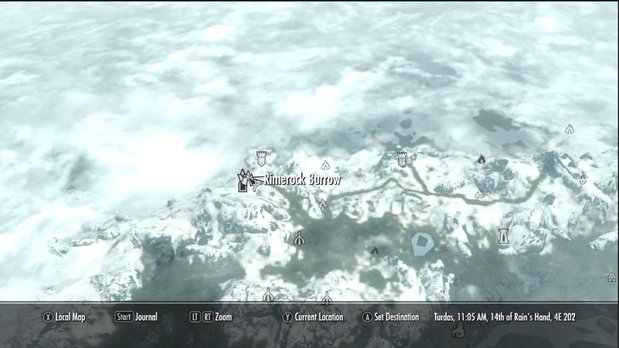
This is another very easy dungeon with only the mage who stole the axe, Sebastian Lori, as any real threat. Kill everything in your path and get the axe so you can return to Clavicus Vile.
At your return Clavicus Vile offers you a deal – kill Barbas and you can keep the Rueful Axe. This is a bad deal as the axe is not Vile’s Daedric Artifact and while it may be useful it doesn’t count towards achievements or anything and you can make a better weapon with enchantment. Simply wait until Barbas resolves the whole situation after your refusal. The Masque makes your speechcraft better, improves prices and magicka regenerates quicker.
Jump to Section:
Azura
Boethiah
Clavicus Vile
Hermaeus Mora
Hircine
Malacath
Mehrunes Dagon
Mephala
Meridia
Molag Bol
Namira
Peryite
Sanguine
Sheogorath
Vaermina
Current page: Azura, Boethiah, Clavicus Vile
Prev Page Introduction Next Page Hermaeus Mora, Hircine, MalacathDaniel is a freelance games journalist, but is also the Editor-in-Chief at Gaming Excellence.

 Join The Community


