Silksong Savage Beastfly boss fight weaknesses, guide and strategy
Use our tips to beat the Savage Beastfly in Silksong with ease
Weekly digests, tales from the communities you love, and more
You are now subscribed
Your newsletter sign-up was successful
Want to add more newsletters?
In Silksong, the Savage Beastfly boss in Hunter’s March can feel like a huge difficulty spike if you stumble into it early. Unlike many early boss encounters you'll experience in Hollow Knight Silksong, this one forces you to bait its many charging attacks while you simultaneously contend with the extra enemies it summons to the fray. This fight will feel overwhelming at first, but it becomes much more manageable once you get a handle on how this immense insect attacks.
Note that the Savage Beastfly in Hunter’s March is a completely optional boss fight. Also, the reward for defeating it is only helpful if you’re interested in giving Hornet an especially aggressive playstyle. If you really feel stuck on this fight, consider coming back after you’ve acquired more upgrades. Otherwise, here’s everything you need to know to put an end to this big ol’ Beastfly in Hunter’s March.
How to prepare for the Savage Beastfly in Silksong
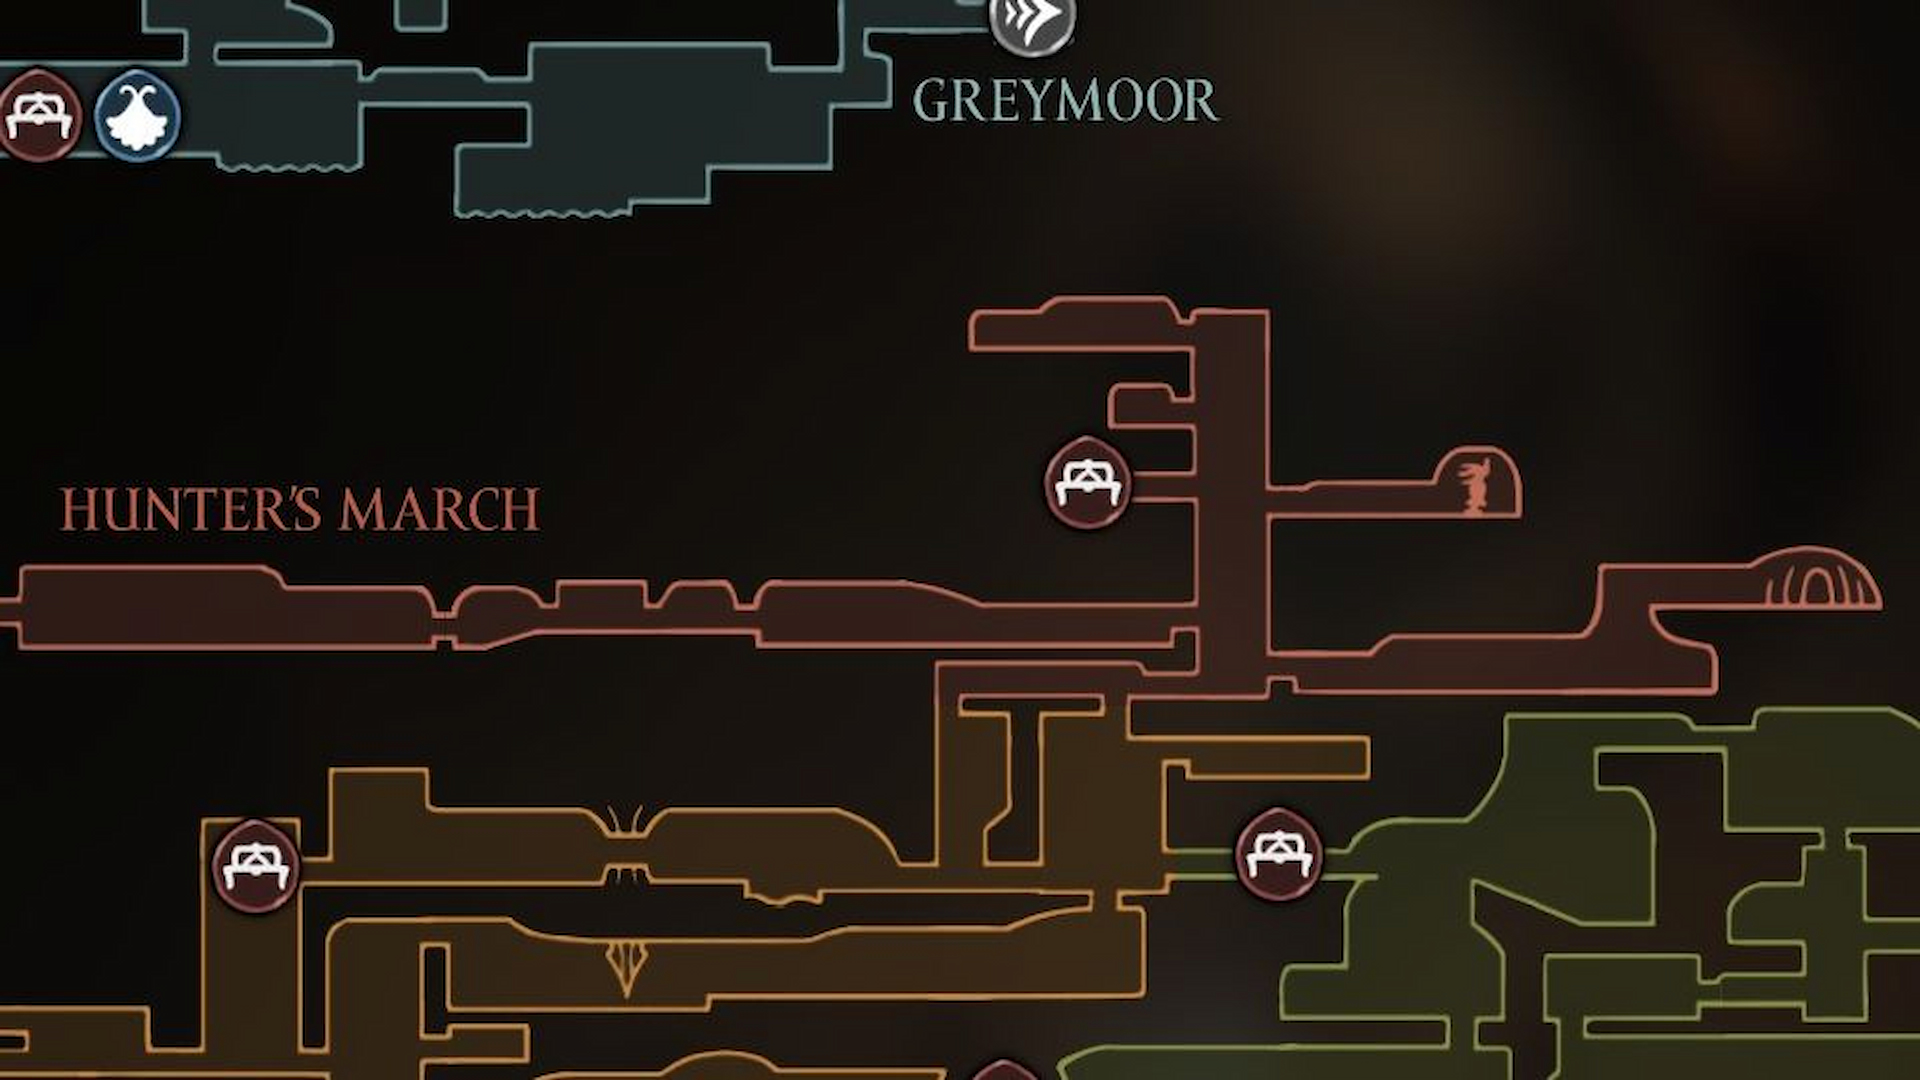
Before you seriously attempt this boss, make sure you’ve unlocked the bench in Hunter’s March (location pictured above). If you’ve been here before but don’t have the bench unlocked, you probably got trolled by the trap that cruelly triggers if you take a seat for some well-needed respite. To turn this trap into a normal bench where you can save and heal, walk left through the wall and trip the switch on the roof of the secret room.
This is the closest save point to the Savage Beastfly you’ll find, and even here it’s a small hike to get back to the boss if you lose. Watch out for the Skarr Stalker that’s keeping guard ahead of the boss chamber, as it’s waiting to catch you in a trap that will lock you in a cage if you step over it (it’s right underneath Hornet in the picture below). Jump and airdash over the trap, and then do another jump and airdash over the enemy as it’s getting on its feet to avoid taking damage. Don’t bother fighting this bug, as it’s way more trouble than it’s worth.
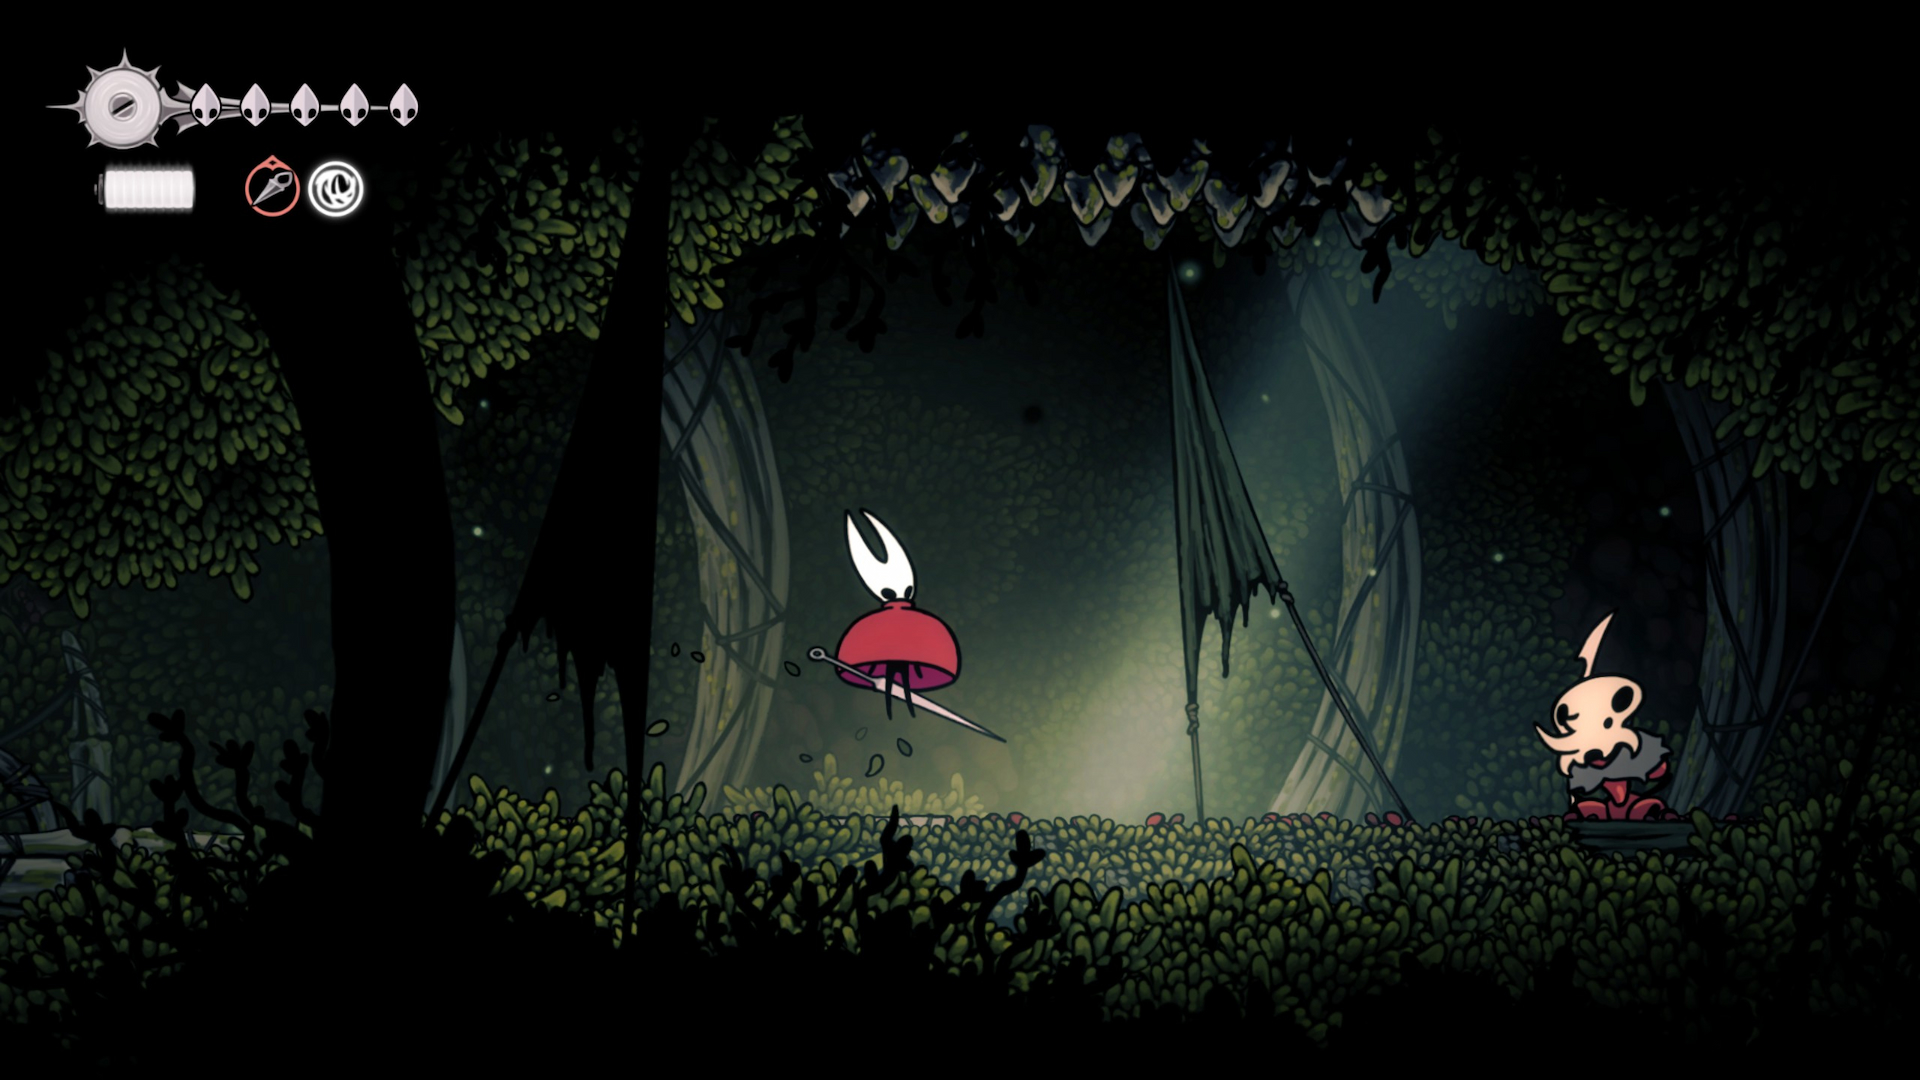
As far as your build and necessary upgrades go, absolutely make sure you have the Swift Step upgrade that lets Hornet dash (you can already see how it’s helpful!). The Reaper Crest comes in handy big time, as the wide arc of the downward strike will help you easily squeak out several extra hits during the fight. Finally, the Thread Storm Silk Skill is a major boon, since it will help you take out the boss’ summoned minions as quickly as possible.
Savage Beastfly attacks and tips
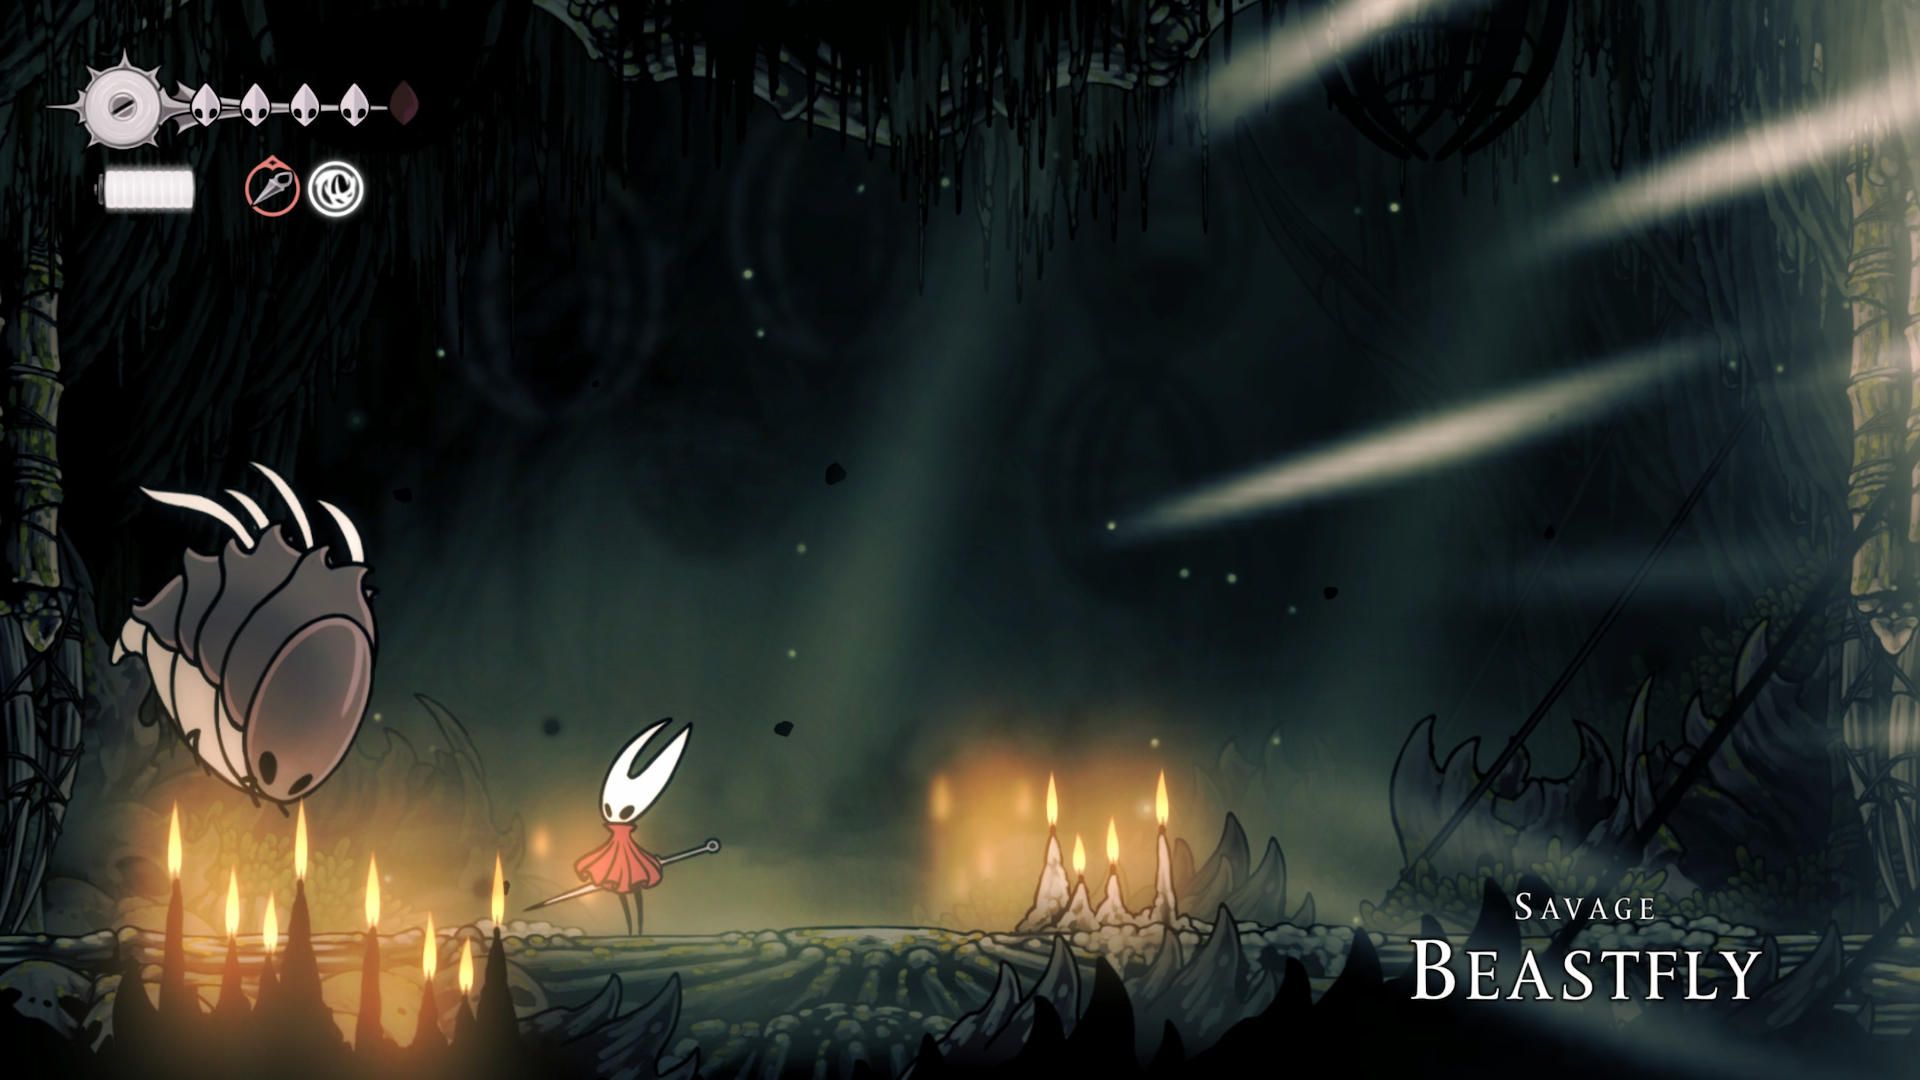
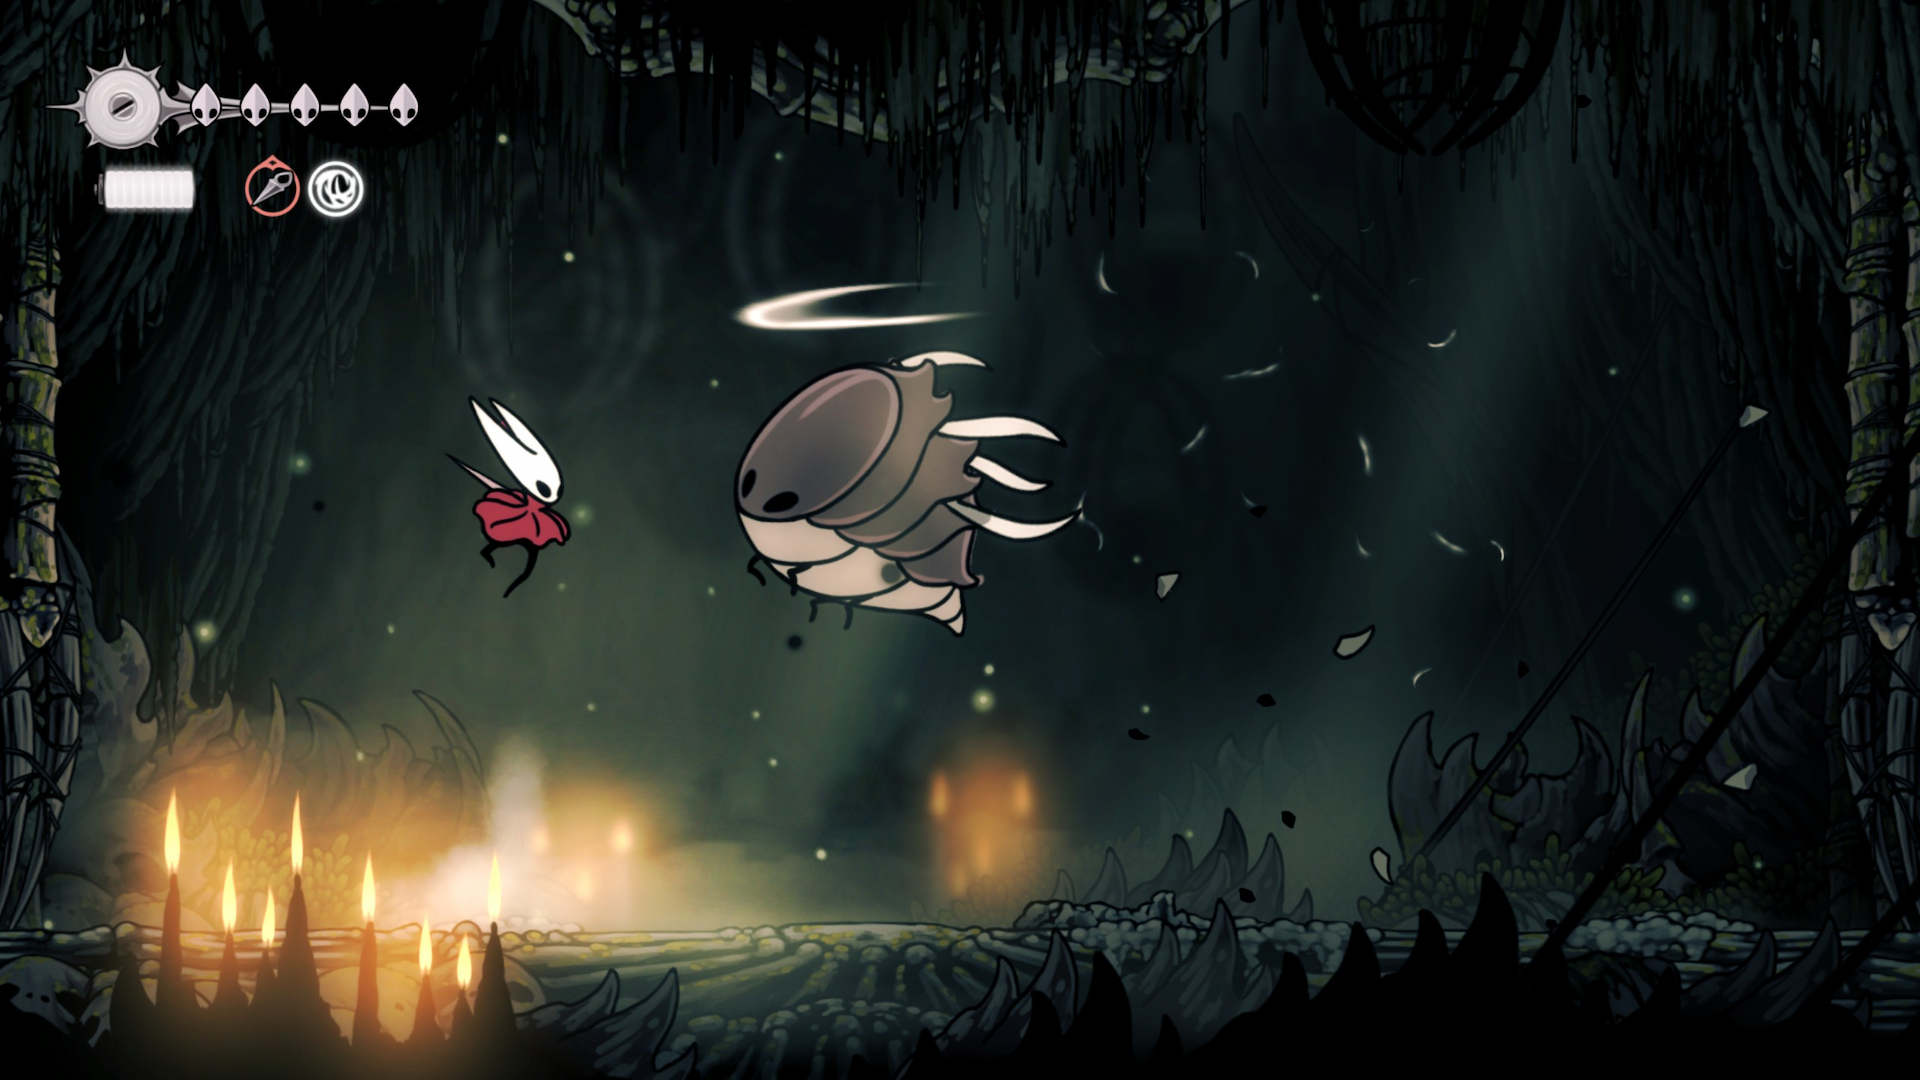
First of all, the Savage Beastfly won’t necessarily notice you the second you enter the room. Take this opportunity to charge at it and get a few hits in before it turns around and stuns you with its scream. Avoid taking damage as its recoils from smacking its own head against the wall.
As chaotic as this fight can feel at first, the Savage Beastfly mainly alternates between two attacks: A horizontal charge, and a vertical charge. The trick is to wait for the boss to commit to either attack first, and then sneak in easy hits as you dodge. Here’s how to handle these moves:
Weekly digests, tales from the communities you love, and more
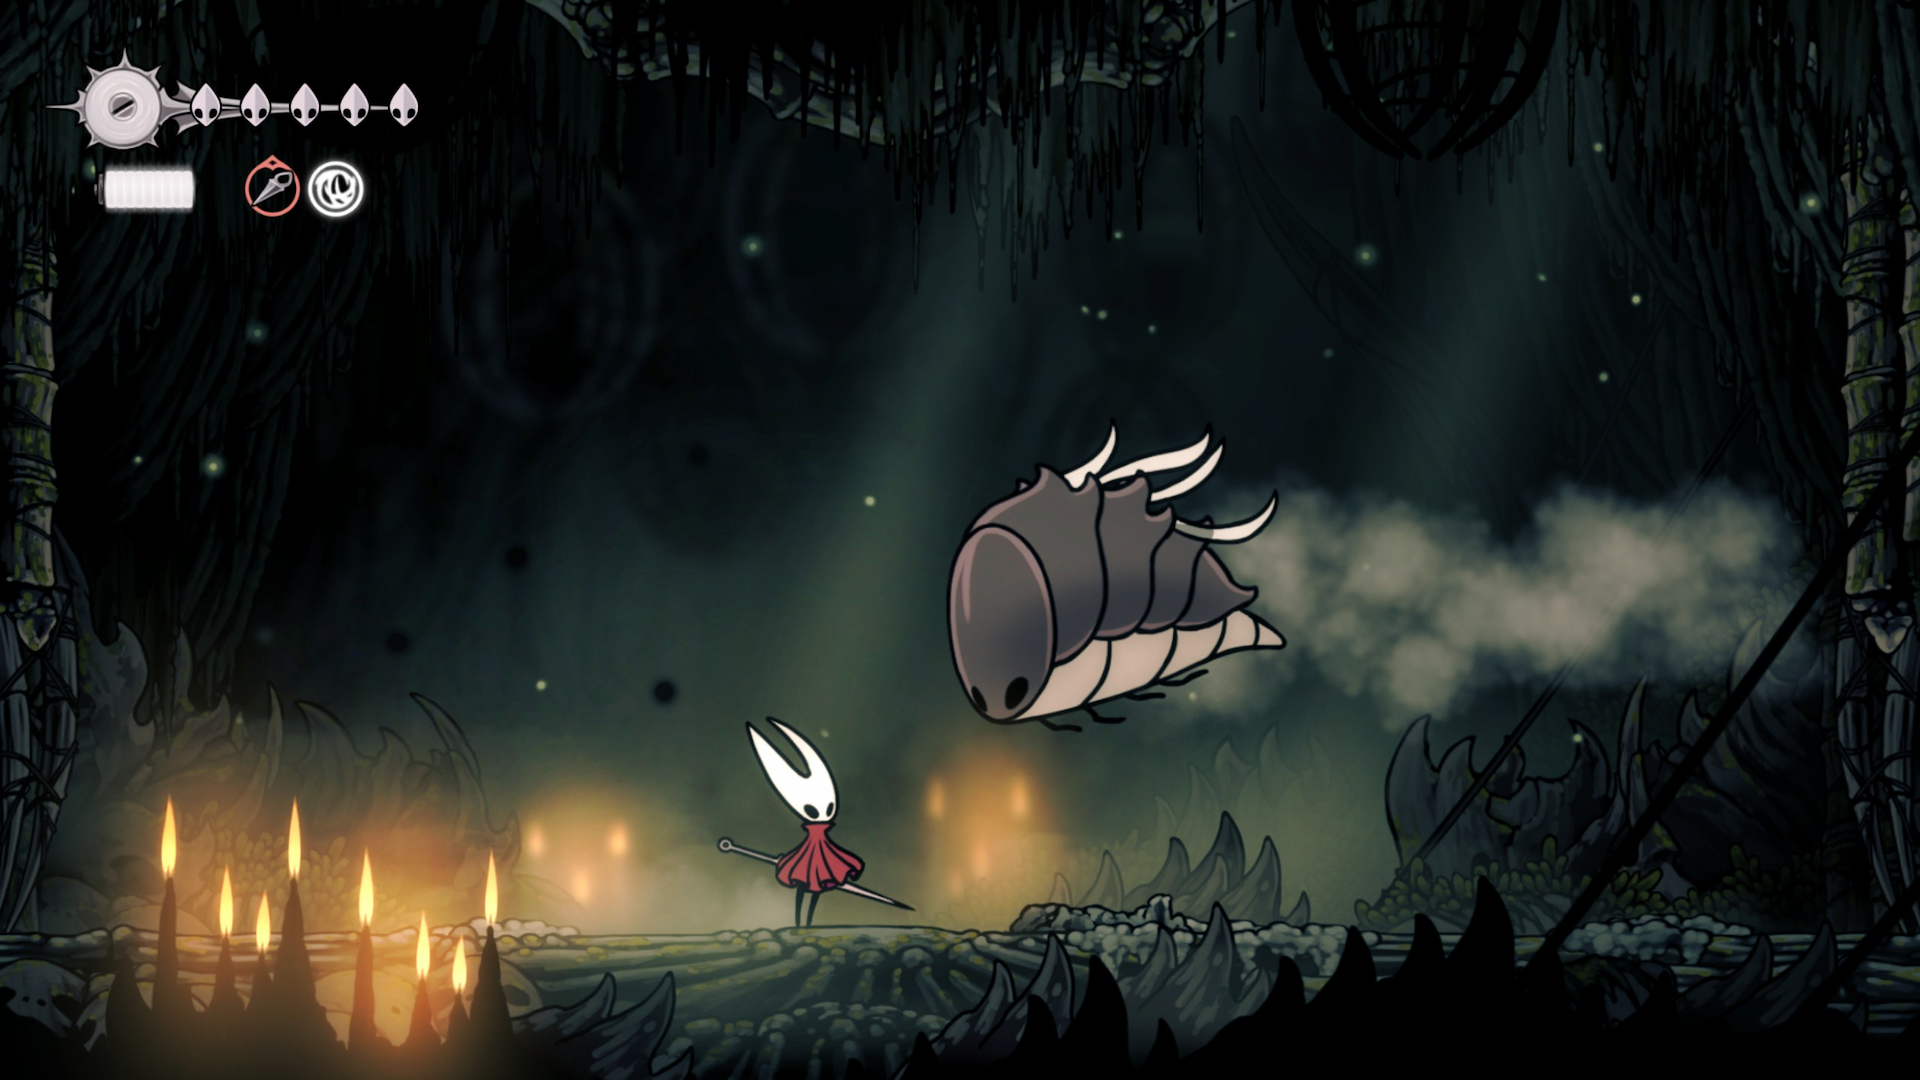
- Horizontal Charge: If the Savage Beastfly flies to the left or right side of the arena, it’s getting ready to use its horizontal charge attack. After it spends a couple seconds to line up with your Y axis, it will rush straight ahead until it either passes you by or crashes into the wall. If the Savage Beastfly does smack into a wall, the attack will immediately end. Otherwise, it will use this attack three times in total before using another move.
- Counter: To easily handle this, avoid jumping and keep Hornet on the ground to bait the Savage Beastfly downward. If it gets close to the ground before dashing towards you, you can jump over the boss and use a downward attack to get an easy hit in. If it starts to charge above Hornet, just wait for it to pass over you and strike upward to attack it instead. In the event that you’re midair and the Savage Beastly is dashing towards you, dash downward to get out of harm’s way.
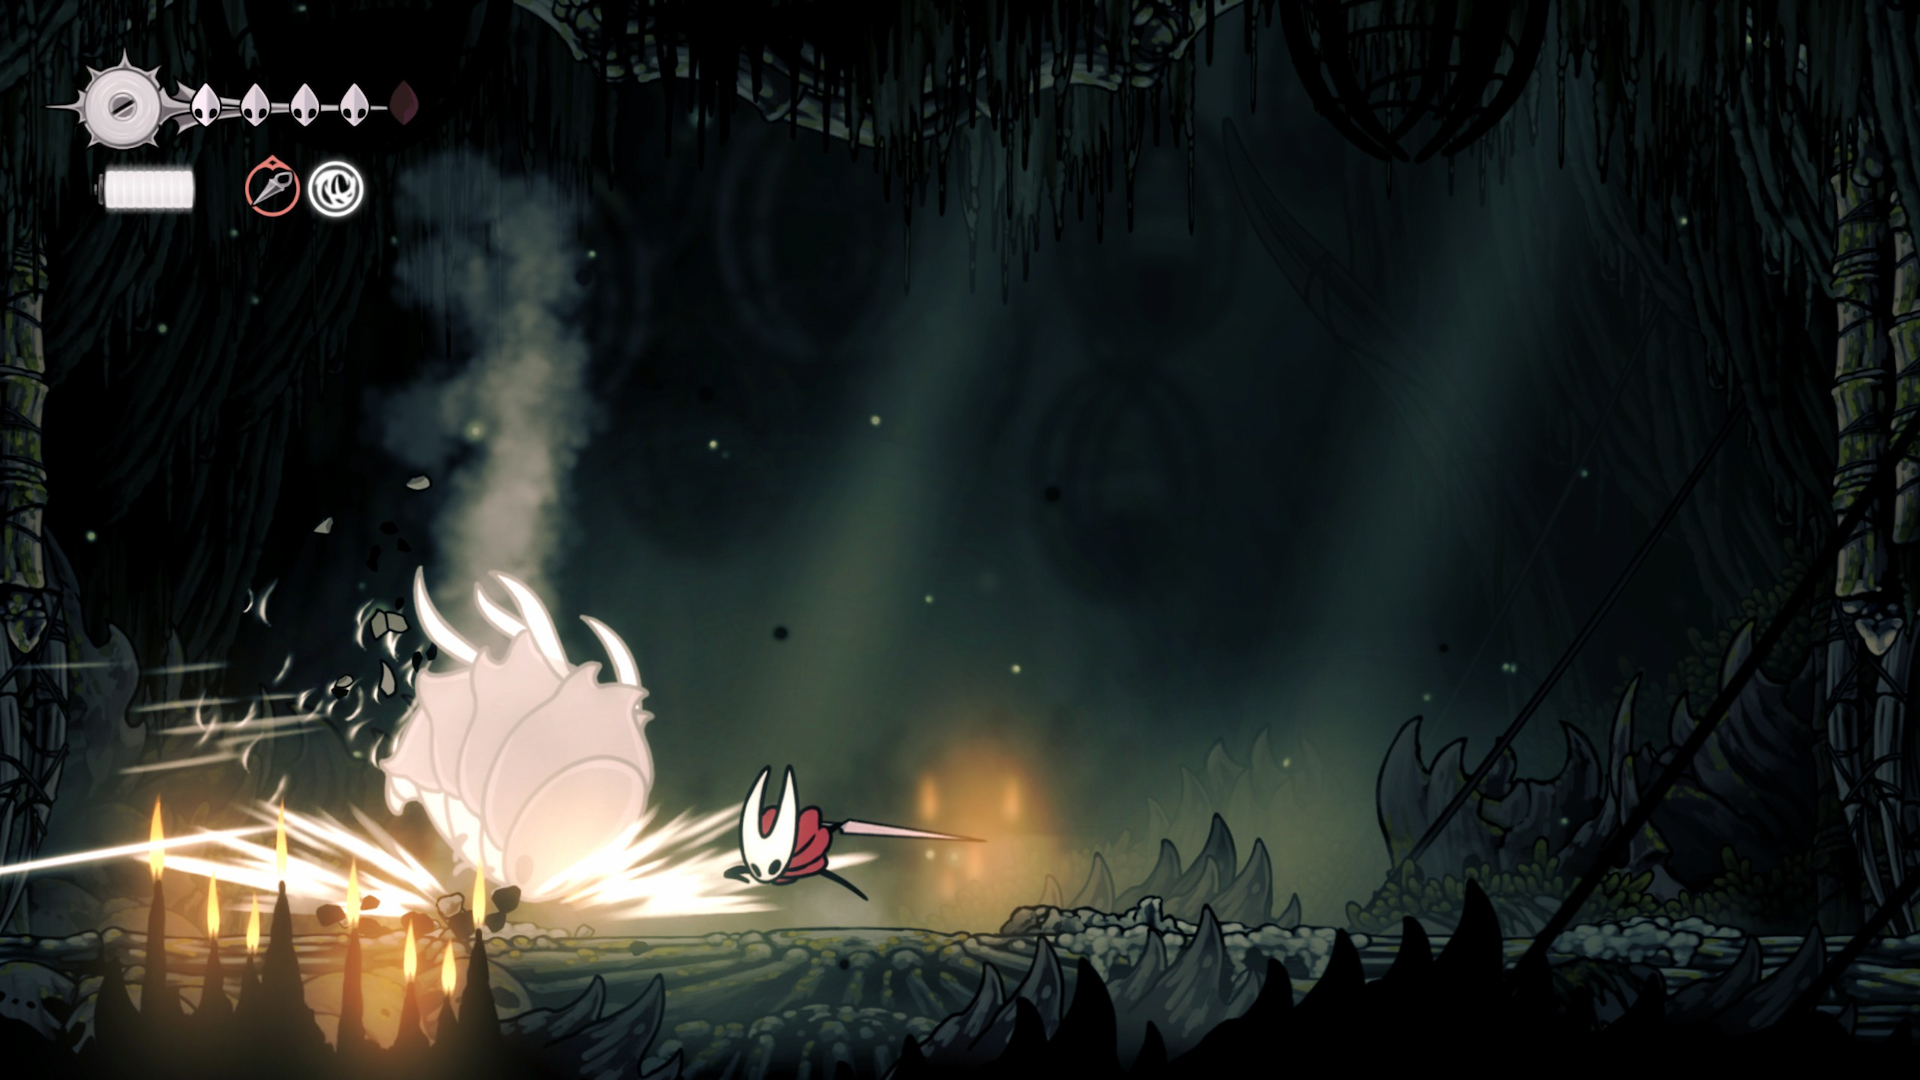
- Vertical Charge: Similar to the Horizontal Charge, the Savage Beastfly will fly above you and take a second to line up with your X axis before crashing down right into the floor. It will always use this attack three times in a row, so make sure to stay on your feet.
- Counter: To best handle this attack, simply step out of the boss’ way once it starts to charge downward. Right before it smacks the ground, whack it with your needle for an easy hit. Repeat this for all three charges.
- If you need to heal, you should have a generous opening to do so after the Savage Beastfly’s third vertical charge.
How to handle the Savage Beastfly’s minions
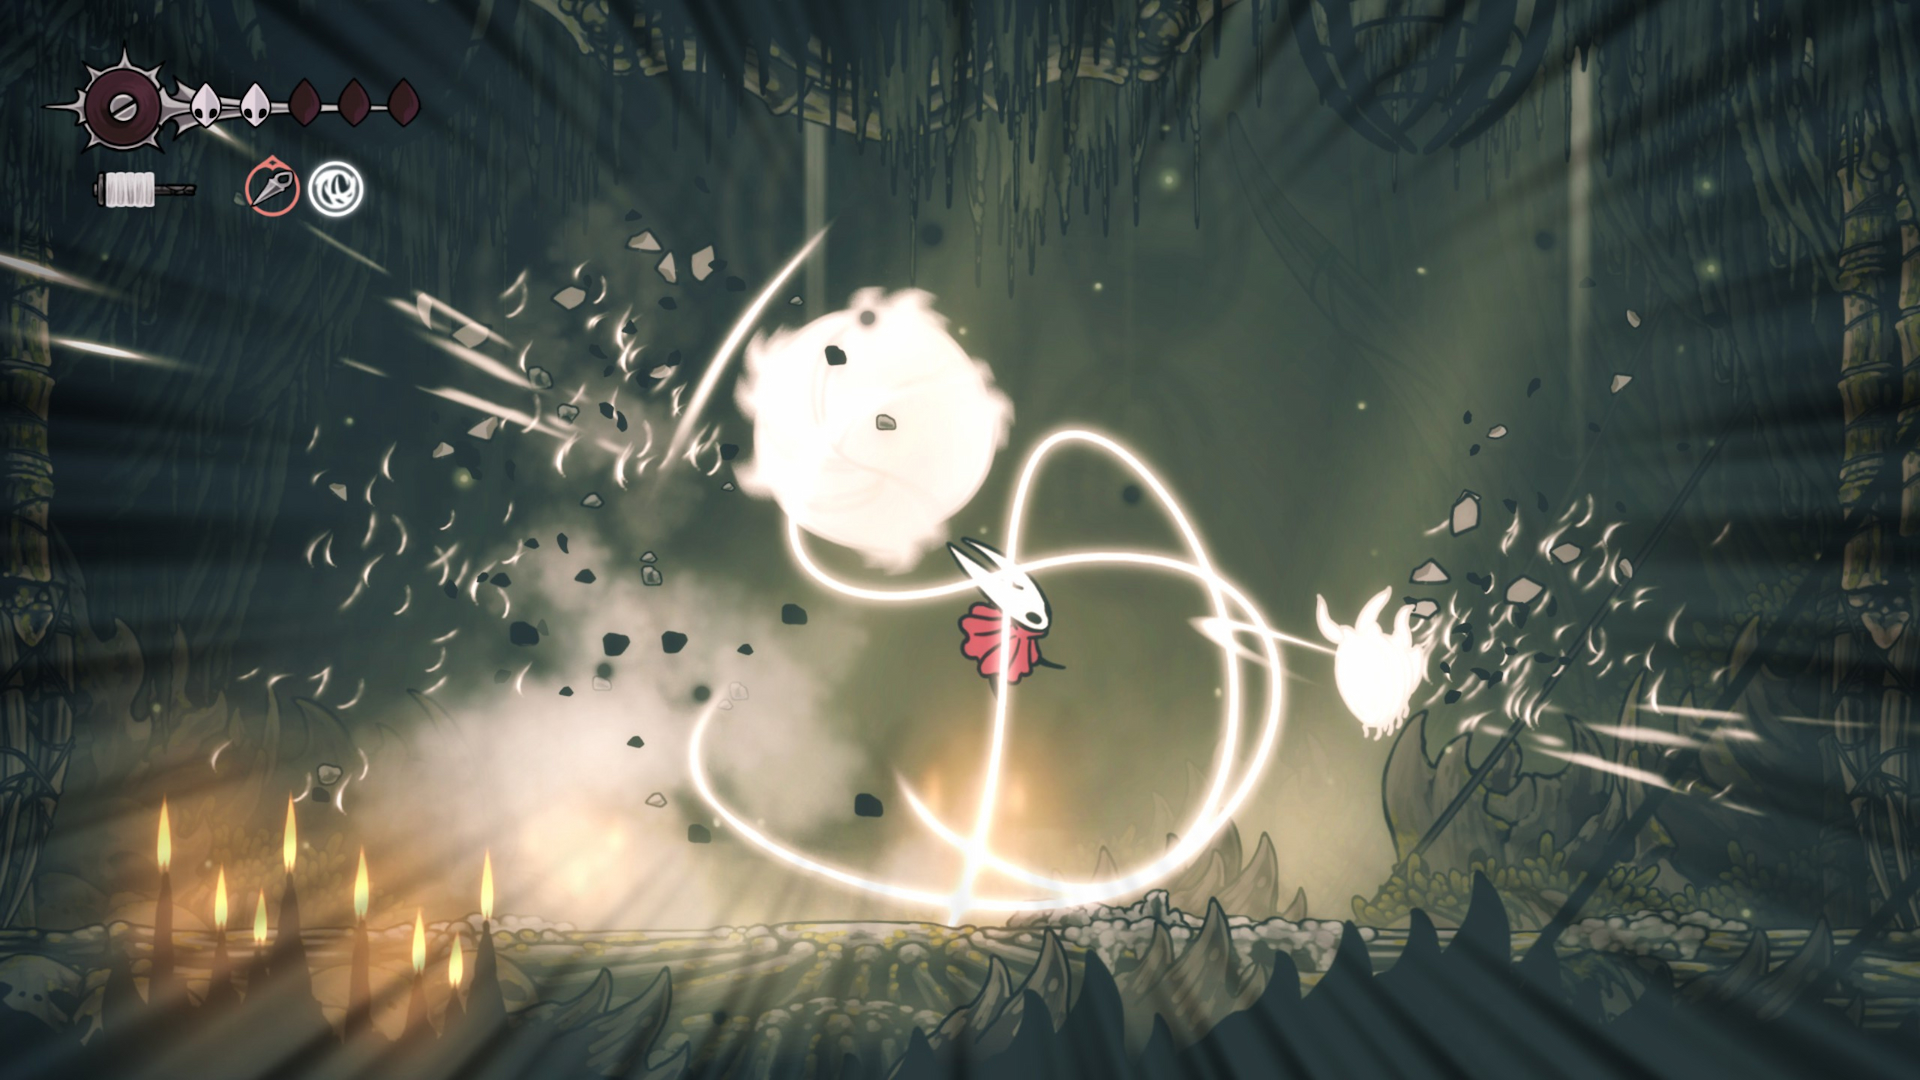
As you damage the Savage Beastfly, it will eventually let out a loud scream. You’ll see dust coming from the roof, which telegraphs where one or two cages are about to fall. Make sure to step out of the way, and extra foes will appear out of the cages once they hit the ground.
This can get visually overwhelming fast, as you now have to contend with these extra foes while the Savage Beastfly returns to using its charge attacks. Take out these minions ASAP, but don’t panic. Focus your needle whacks on these enemies while keeping an eye on which attack Savage Beastfly is charging. Wait for the Savage Beastfly to finish using either of its attacks, and then use Thread Storm on as many minions as you can. Savage Beastfly will keep summoning minions as the fight goes on, so just keep taking them out as they come.
Savage Beastfly can potentially kill its own minions with the vertical charge attack. Unfortunately, this is hard to line up on purpose, so don’t plan your battle strategy around this happening. Consider it a lucky break if a minion gets knocked out by friendly fire, but otherwise take it upon yourself to clear the field.
The key here is to be aggressive and take any openings you can get to attack. If you’re having trouble with the Savage Beastfly’s attacks, deliberately stay in the first phase of the fight to practice dodging. It doesn’t seem to summon any minions until it’s taken enough damage, so get a feel for its two primary moves before contending with how busy the second half of the fight gets. Once you get the timing down on when it’s vulnerable, you’ll have a better handle on how to fight it alongside its minions.
Savage Beastfly Rewards
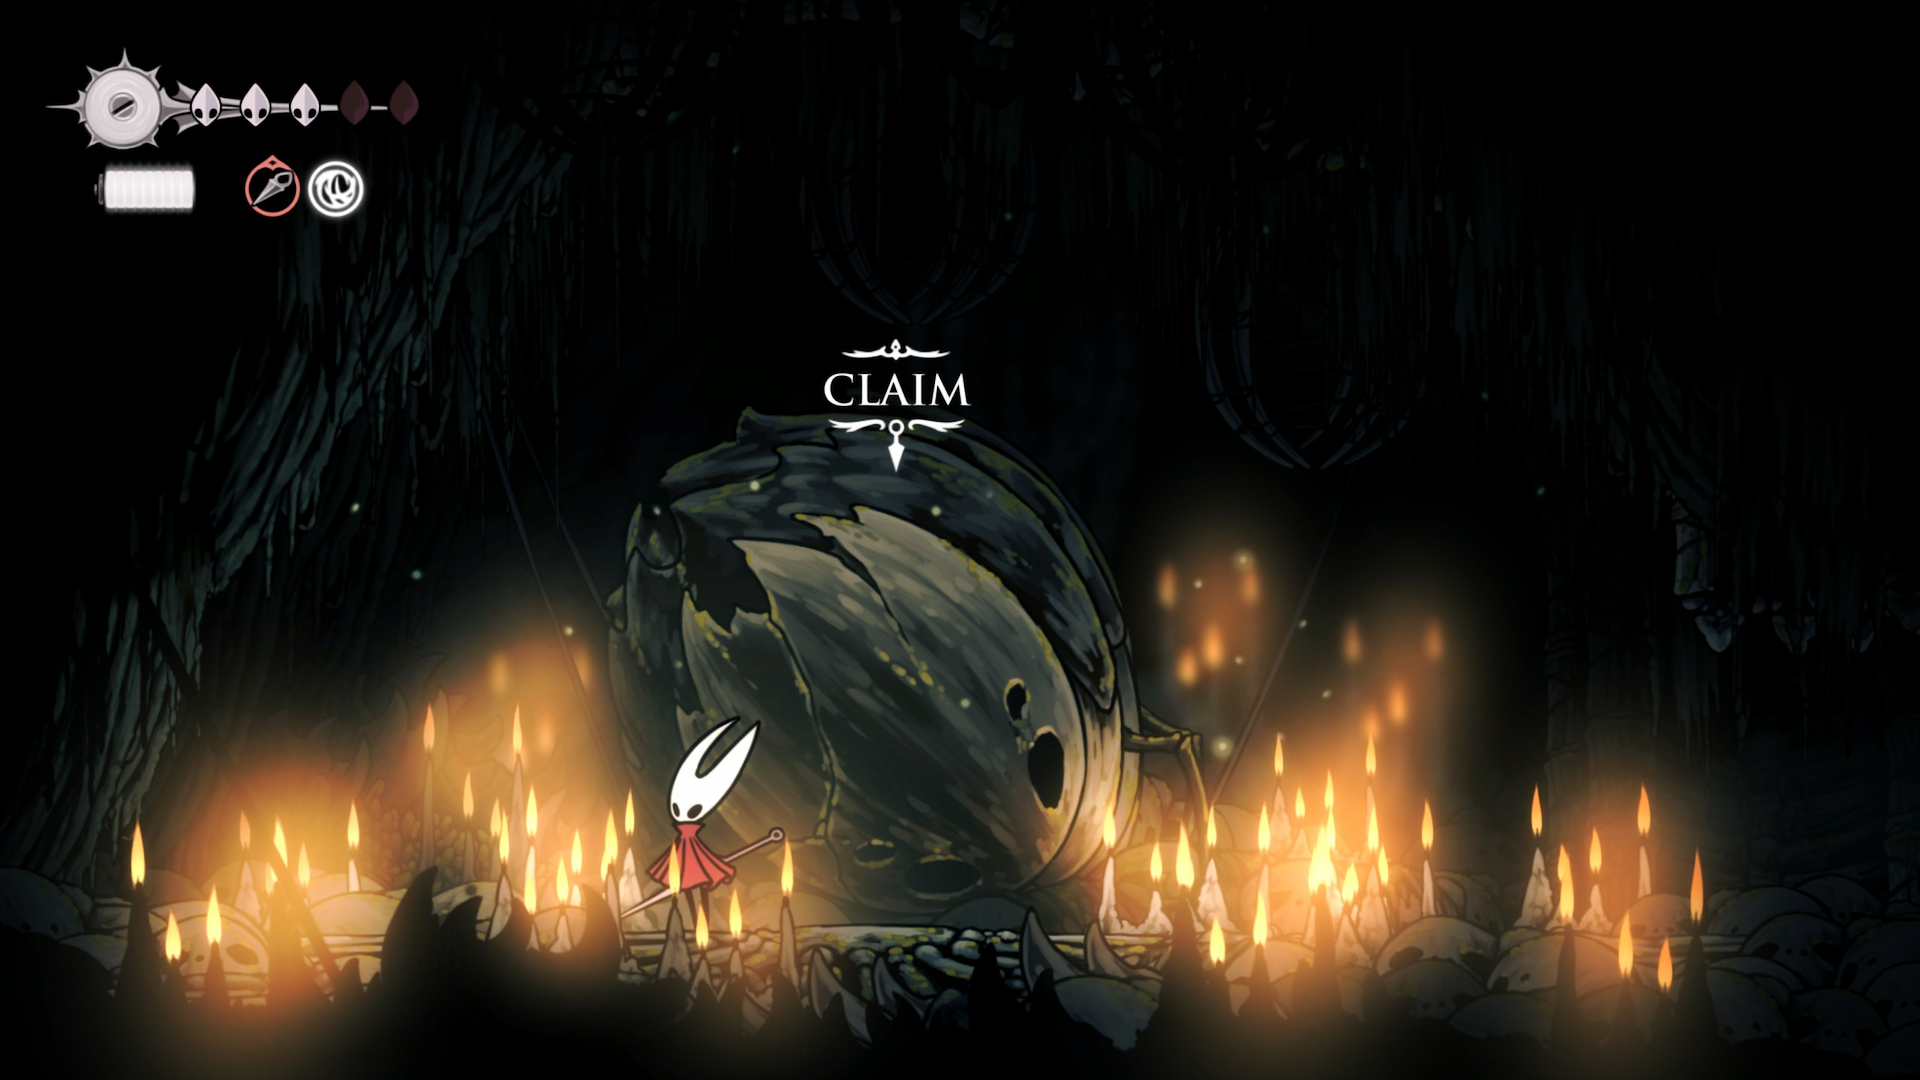
As a reward for your valiant efforts, you’ll acquire the Beast Crest. This gives Hornet a quick, short-raged attack and a downward strike that sends her spinning forward. It has two red slots for tools by default, with two yellow slots that you can unlock using Memory Lockets. There are no blue slots here though, so take that into consideration if you can’t live without your Druid’s Eye.
© Gamesradar+. Not to be reproduced without permission.

Timothy (you can call him Tim) has been writing professionally for over a decade, and he’s waxed poetic about his favorite videogames on the internet for even longer. He chased his dream of writing about games until he became the Guide Editor for Destructoid, nowadays you can find him on Kotaku, PC Gamer, and now GamesRadar+. He will try just about anything, but he’ll throw himself headfirst into RPGs, action games, platformers, and most things retro.
Tim’s greatest interest is in writing features that analyze the games we play and unpack the ways we get invested in them—whether it’s with a unique story or just really fun game mechanics. When he’s not writing, you can catch him reminding everyone to play more Ys.
You must confirm your public display name before commenting
Please logout and then login again, you will then be prompted to enter your display name.
