How to get Elevator Clearance in Borderlands 4 Recruitment Drive
Here's how to take down Splashzone and get elevator clearance in the Borderlands 4 Recruitment Drive mission
The Borderlands 4 Recruitment Drive mission tasks you with killing Ripper boss Splashzone and getting clearance for an elevator, but it's expectedly difficult, and not just because you have to stand Claptrap's company. Once you've completed the tutorial and escaped to freedom, you're pretty much dumped into gameplay, without much in the way of handholding, and it's not the greatest start for beginner Vault Hunters.
So, to help you get through this opening mission, I've explained how to complete every step of the Borderlands 4's Recruitment Drive mission, including how to get elevator clearance. And if you're this early in the game make sure you grab some Borderlands 4 Shift Codes to get some good loot to start you off.
1. Take Claptrap's Tour and Find the Ripper Bases
After you've given Claptrap the bad news about Arjay, he'll shake off the grief and give you a tour of Crimson Resistance HQ. You'll then be tasked with trying some hot dogs, so open up the grill and find out that, uh, those aren't hot dogs. Pick up the "Hot Dog" mission item anyway, and Claptrap will start to complain about Rippers further up the beach.
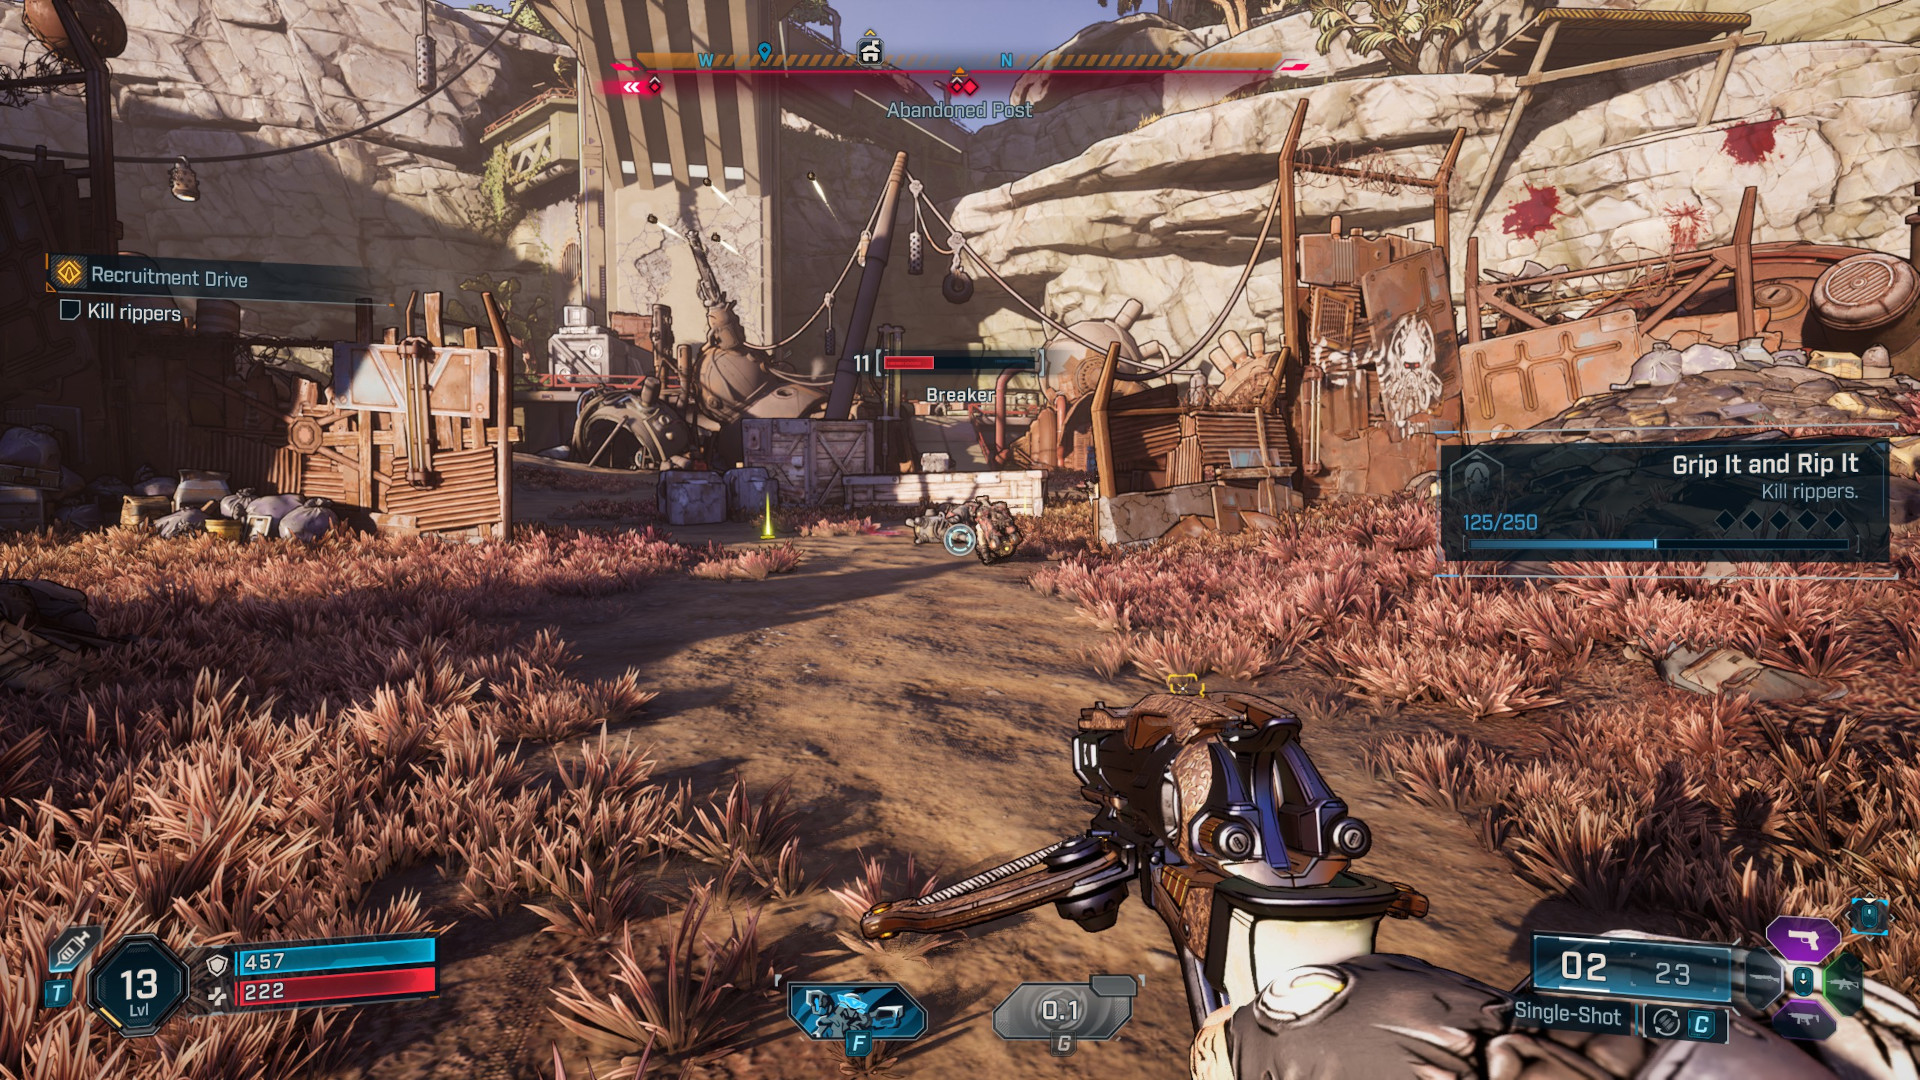
Follow Claptrap, and you'll see a Ripper attempting to fly, unsuccessfully. A little further ahead is a Ripper base, which you'll need to clear out. It's not a difficult encounter, but there may be a badass enemy in the mix. Once you've dealt with that, loot any containers in the base and there are also some in front of the elevator to ransack.
Now follow Claptrap up to the elevator which is out, so you're going to need to get a Glide Pack to get to the top. Guess who has the Glide Pack? If you guessed Rippers, you'd be correct!
Getting to the Ripper base isn't too difficult. Go back down the ramp by the elevator and head east towards the waypoint. You'll encounter some Manglers to deal with and a nearby Kratch if you want some extra XP. Then follow the path and you'll find a climbable surface with rusted machinery looming over it. Scramble up the wall, kill the manglers, and you'll be in the base.
2. Clear the second base
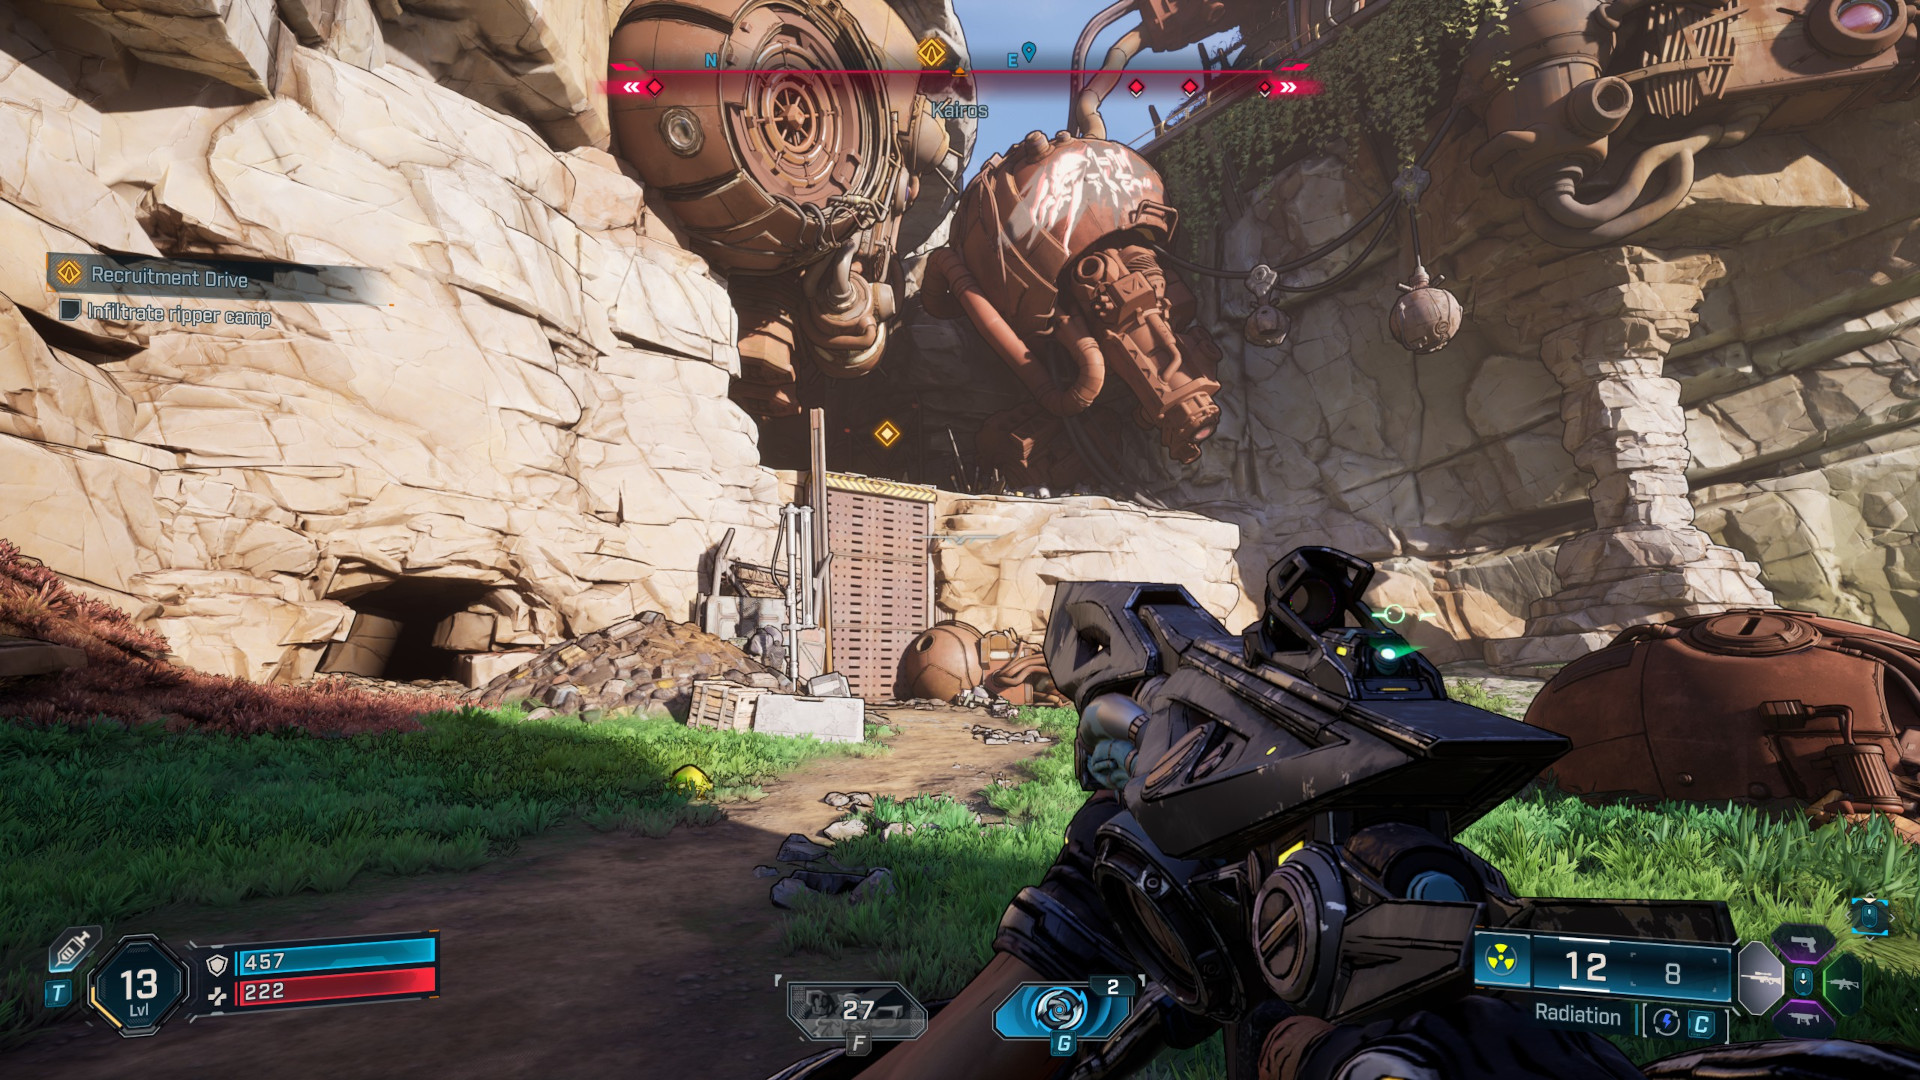
Once you've cleared and looted the first area, follow the duckboards into a second area. Clear it, loot it, then go up the stairs to the east. Look up and you'll spot a grappling point which you can use to get across the chasm in front of you. You'll be immediately ambushed by enemies both in this area and from above, on top of the surrounding cliffs. Climb up the wall, deal with any leftover enemies and you're on the home straight. Use the nearby vending machine to sell any junk and stock up on ammo, then make your way over the bridge, jumping over the collapsed section. Now it's time to meet Splashzone.
Weekly digests, tales from the communities you love, and more
3. Defeat Splashzone in Borderlands 4
Splashzone trips a lot of people up here. Armed with a hammer and a bad temper he can be tricky, especially as the area you fight in is pretty small. Splashzone doesn't have a shield or armor, so, as we outlined in our Borderlands 4 elemental damage guide, incendiary weapons are the order of the day. This will burn through his health bar like a hot gun through butter.
If you don't have an incendiary weapon, the arena has a fire barrel in its western corner. Stand on this side of the arena and kite Splashzone towards you. He should follow, allowing you to deal a big chunk of incendiary damage from the barrels. Focus your fire on Splashzone, but keep an eye on his minions as while he only does melee damage, it's easy to get distracted and take a boatload of ranged damage from the other Rippers.
Once he's dead, Splashzone will vomit out a huge array of loot, and a Ripper Chest key. Grab any loot that you want and the key, then loot Splashzone's chest. You'll find a Glide Pack inside. Grab it and try it out by holding down the jump button to glide. Head back towards Claptrap and you'll immediately see a red chest on your left, which you should take the chance to loot. Make a few gliding leaps and you'll be back by the Broadcast Tower in no time.
4. How to get elevator clearance in Borderlands 4
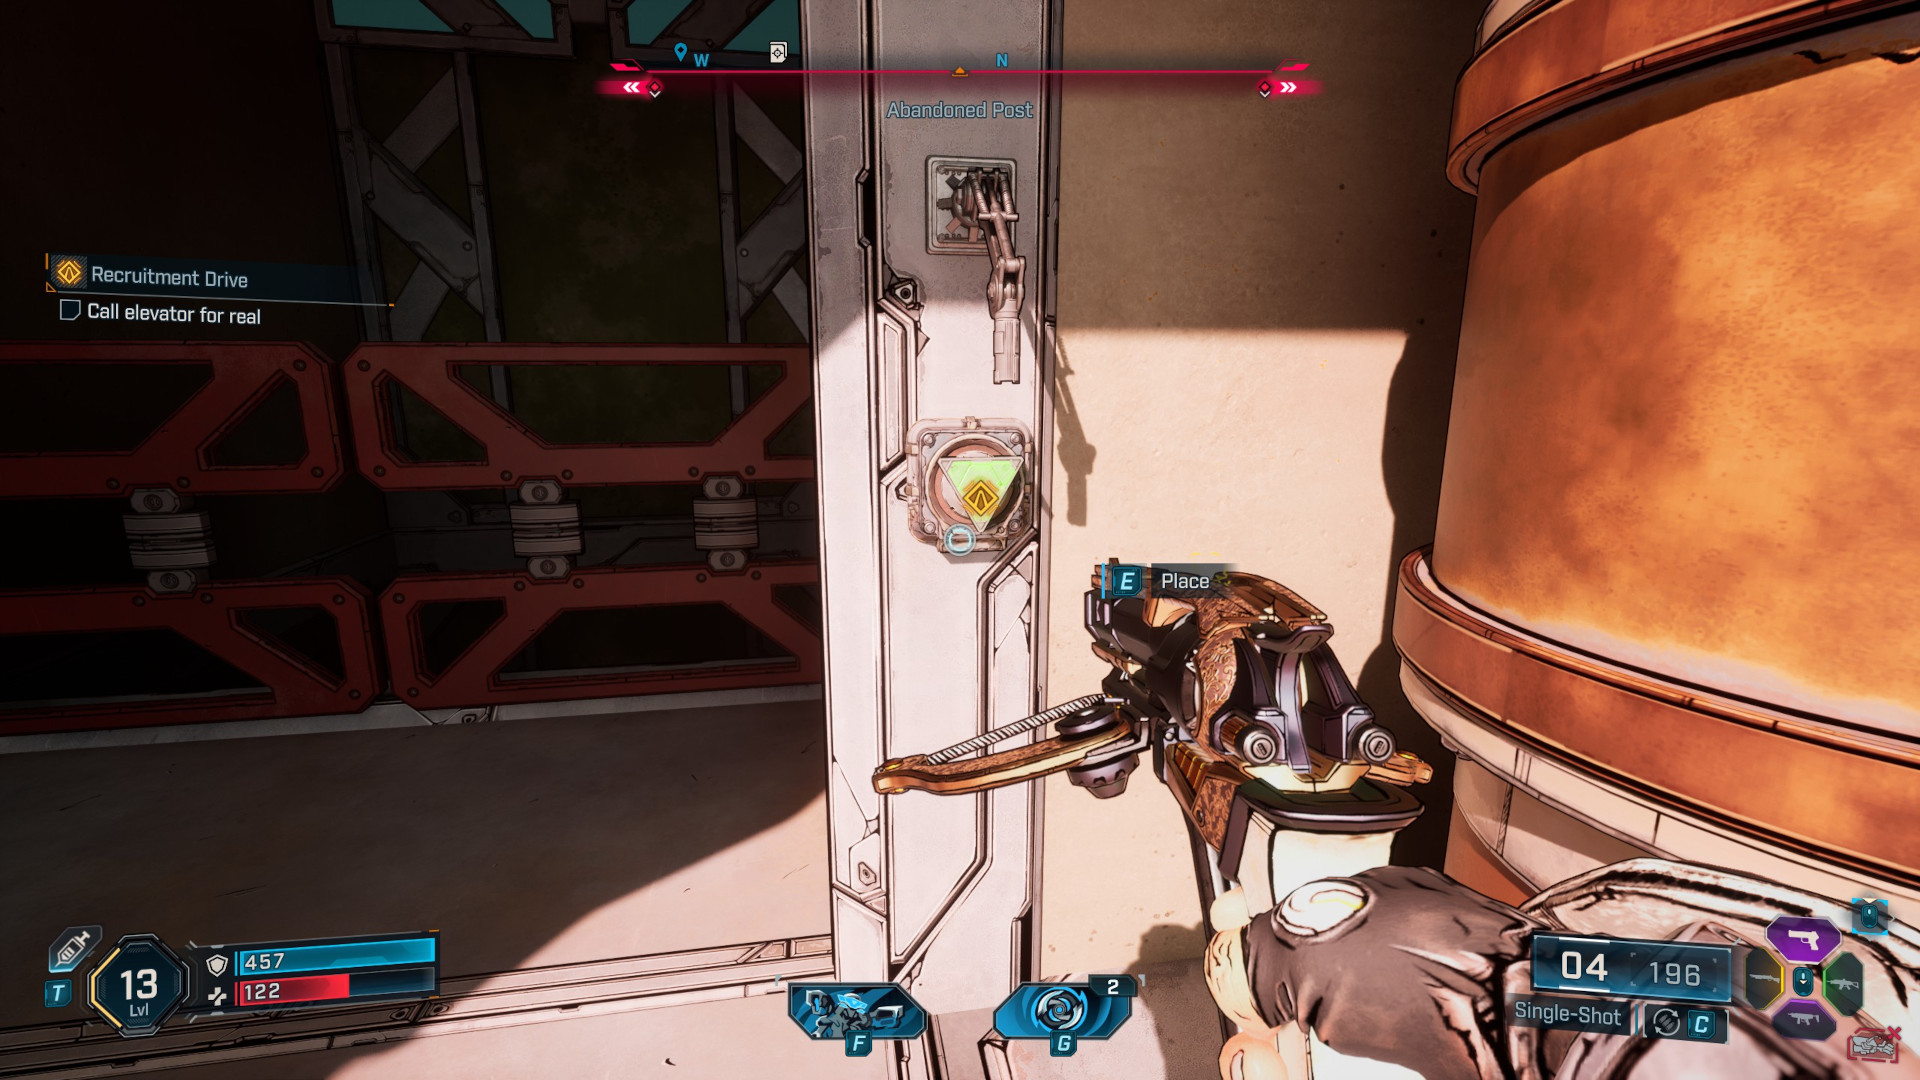
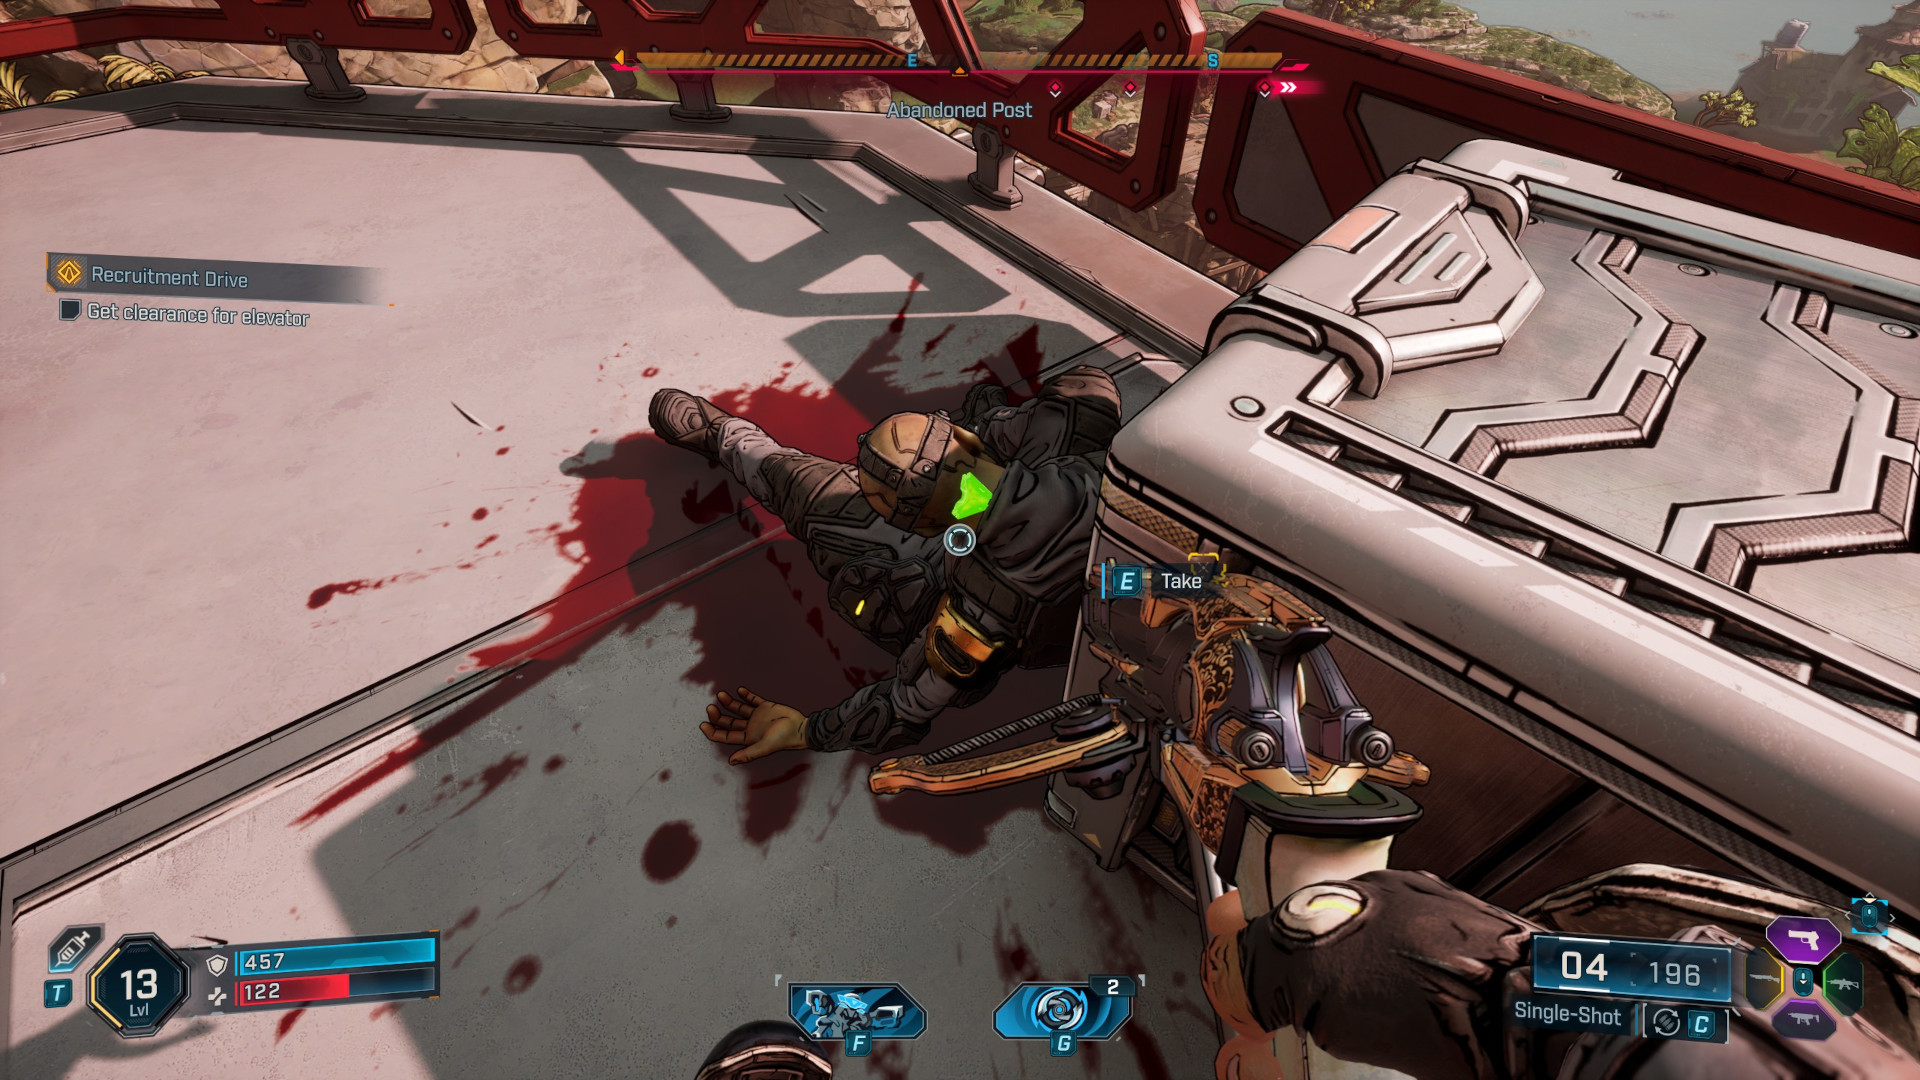
To get Elevator Clearance in Borderlands 4 use your Glide Pack to reach the Broadcast Tower. You'll wind up right next to it, with a climbable wall in front of you. Climb up, deal with the Manglers and go around the tower and use your grappling hook to leap up onto the next climbable wall. The elevator won't work and you'll need to get clearance, with the only clue being that it's on one of the dead Order guys. You won't find anything until Claptrap tells you that the elevator's button looked like a bolt.
The human Order soldiers will now have the bolts on the back of their neck highlighted, so hit the action button and grab one. Place the bolt in the button and call the elevator.
There's only one last bit of the mission left, broadcasting a message of hope. Claptrap will try to open the door, but it'll start to freak out. Give it a punch, then follow him in. The datapad with the codes you need will be on the left, right in front of you as you come in. Grab it and then use the console to capture the outpost. Use the button to start Claptrap's broadcast and enjoy. Once you've chatted a little more with Claptrap, you'll be done with Recruitment Drive!
While this can be a tricky starting mission, there are many others to complete as you play, such as the Borderlands 4 Meat is Murder side quest. Check out Borderlands 4 tips for some general pointers too.
© GamesRadar+. Not to be reproduced without permission.

Ever since getting a Mega Drive as a toddler, Joe has been fascinated by video games. After studying English Literature to M.A. level, he has worked as a freelance video games journalist, writing for PC Gamer, The Guardian, Metro, Techradar, and more. A huge fan of indies, grand strategy games, and RPGs of almost all flavors, when he's not playing games or writing about them, you may find him in a park or walking trail near you, pretending to be a mischievous nature sprite, or evangelizing about folk music, hip hop, or the KLF to anyone who will give him a minute of their time.
You must confirm your public display name before commenting
Please logout and then login again, you will then be prompted to enter your display name.
