The best Red Dead Redemption 2 settings
Tweak these settings for graphics, gameplay, and performance
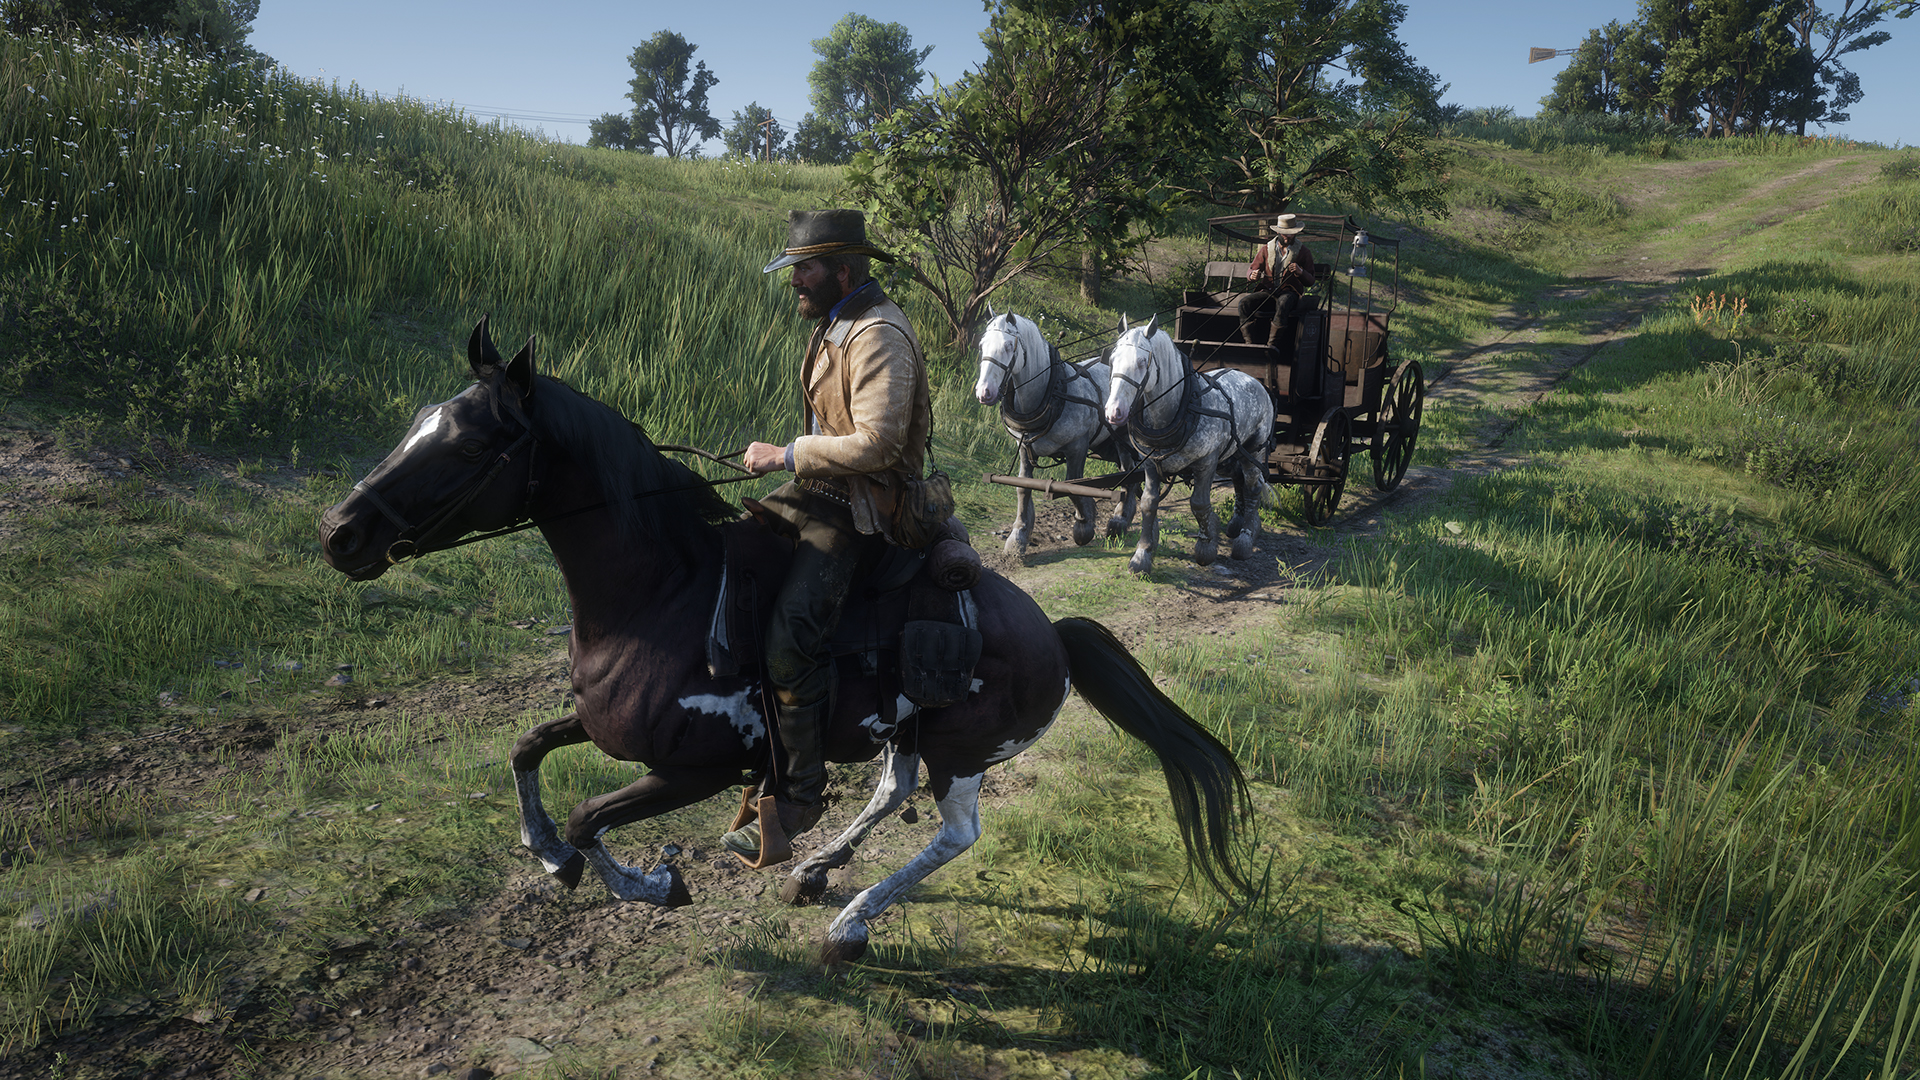
Finding the best Red Dead Redemption 2 settings will help you to have the best experience, as you go full cowboy and explore the Old West. Don't think that this guide is just limited to PC players though, as there are plenty of settings to tweak on PS4 and Xbox One as well that can make things better for you in Red Dead Redemption 2, though naturally there are a lot more graphics options and performance tweaks you can play around with on the PC version.
Many of the gameplay changes which can be made in the Red Dead Redemption 2 settings apply to all versions of the game, while PC players may want to try and lock in graphics and performance options – such as the Red Dead Redemption 2 HDR settings – before you start playing. After all, applying the best Red Dead Redemption 2 settings will help to make one of the best games of all-time look and run like a dream while you adventure through the wild wild west.
The best Red Dead Redemption 2 settings to improve gameplay
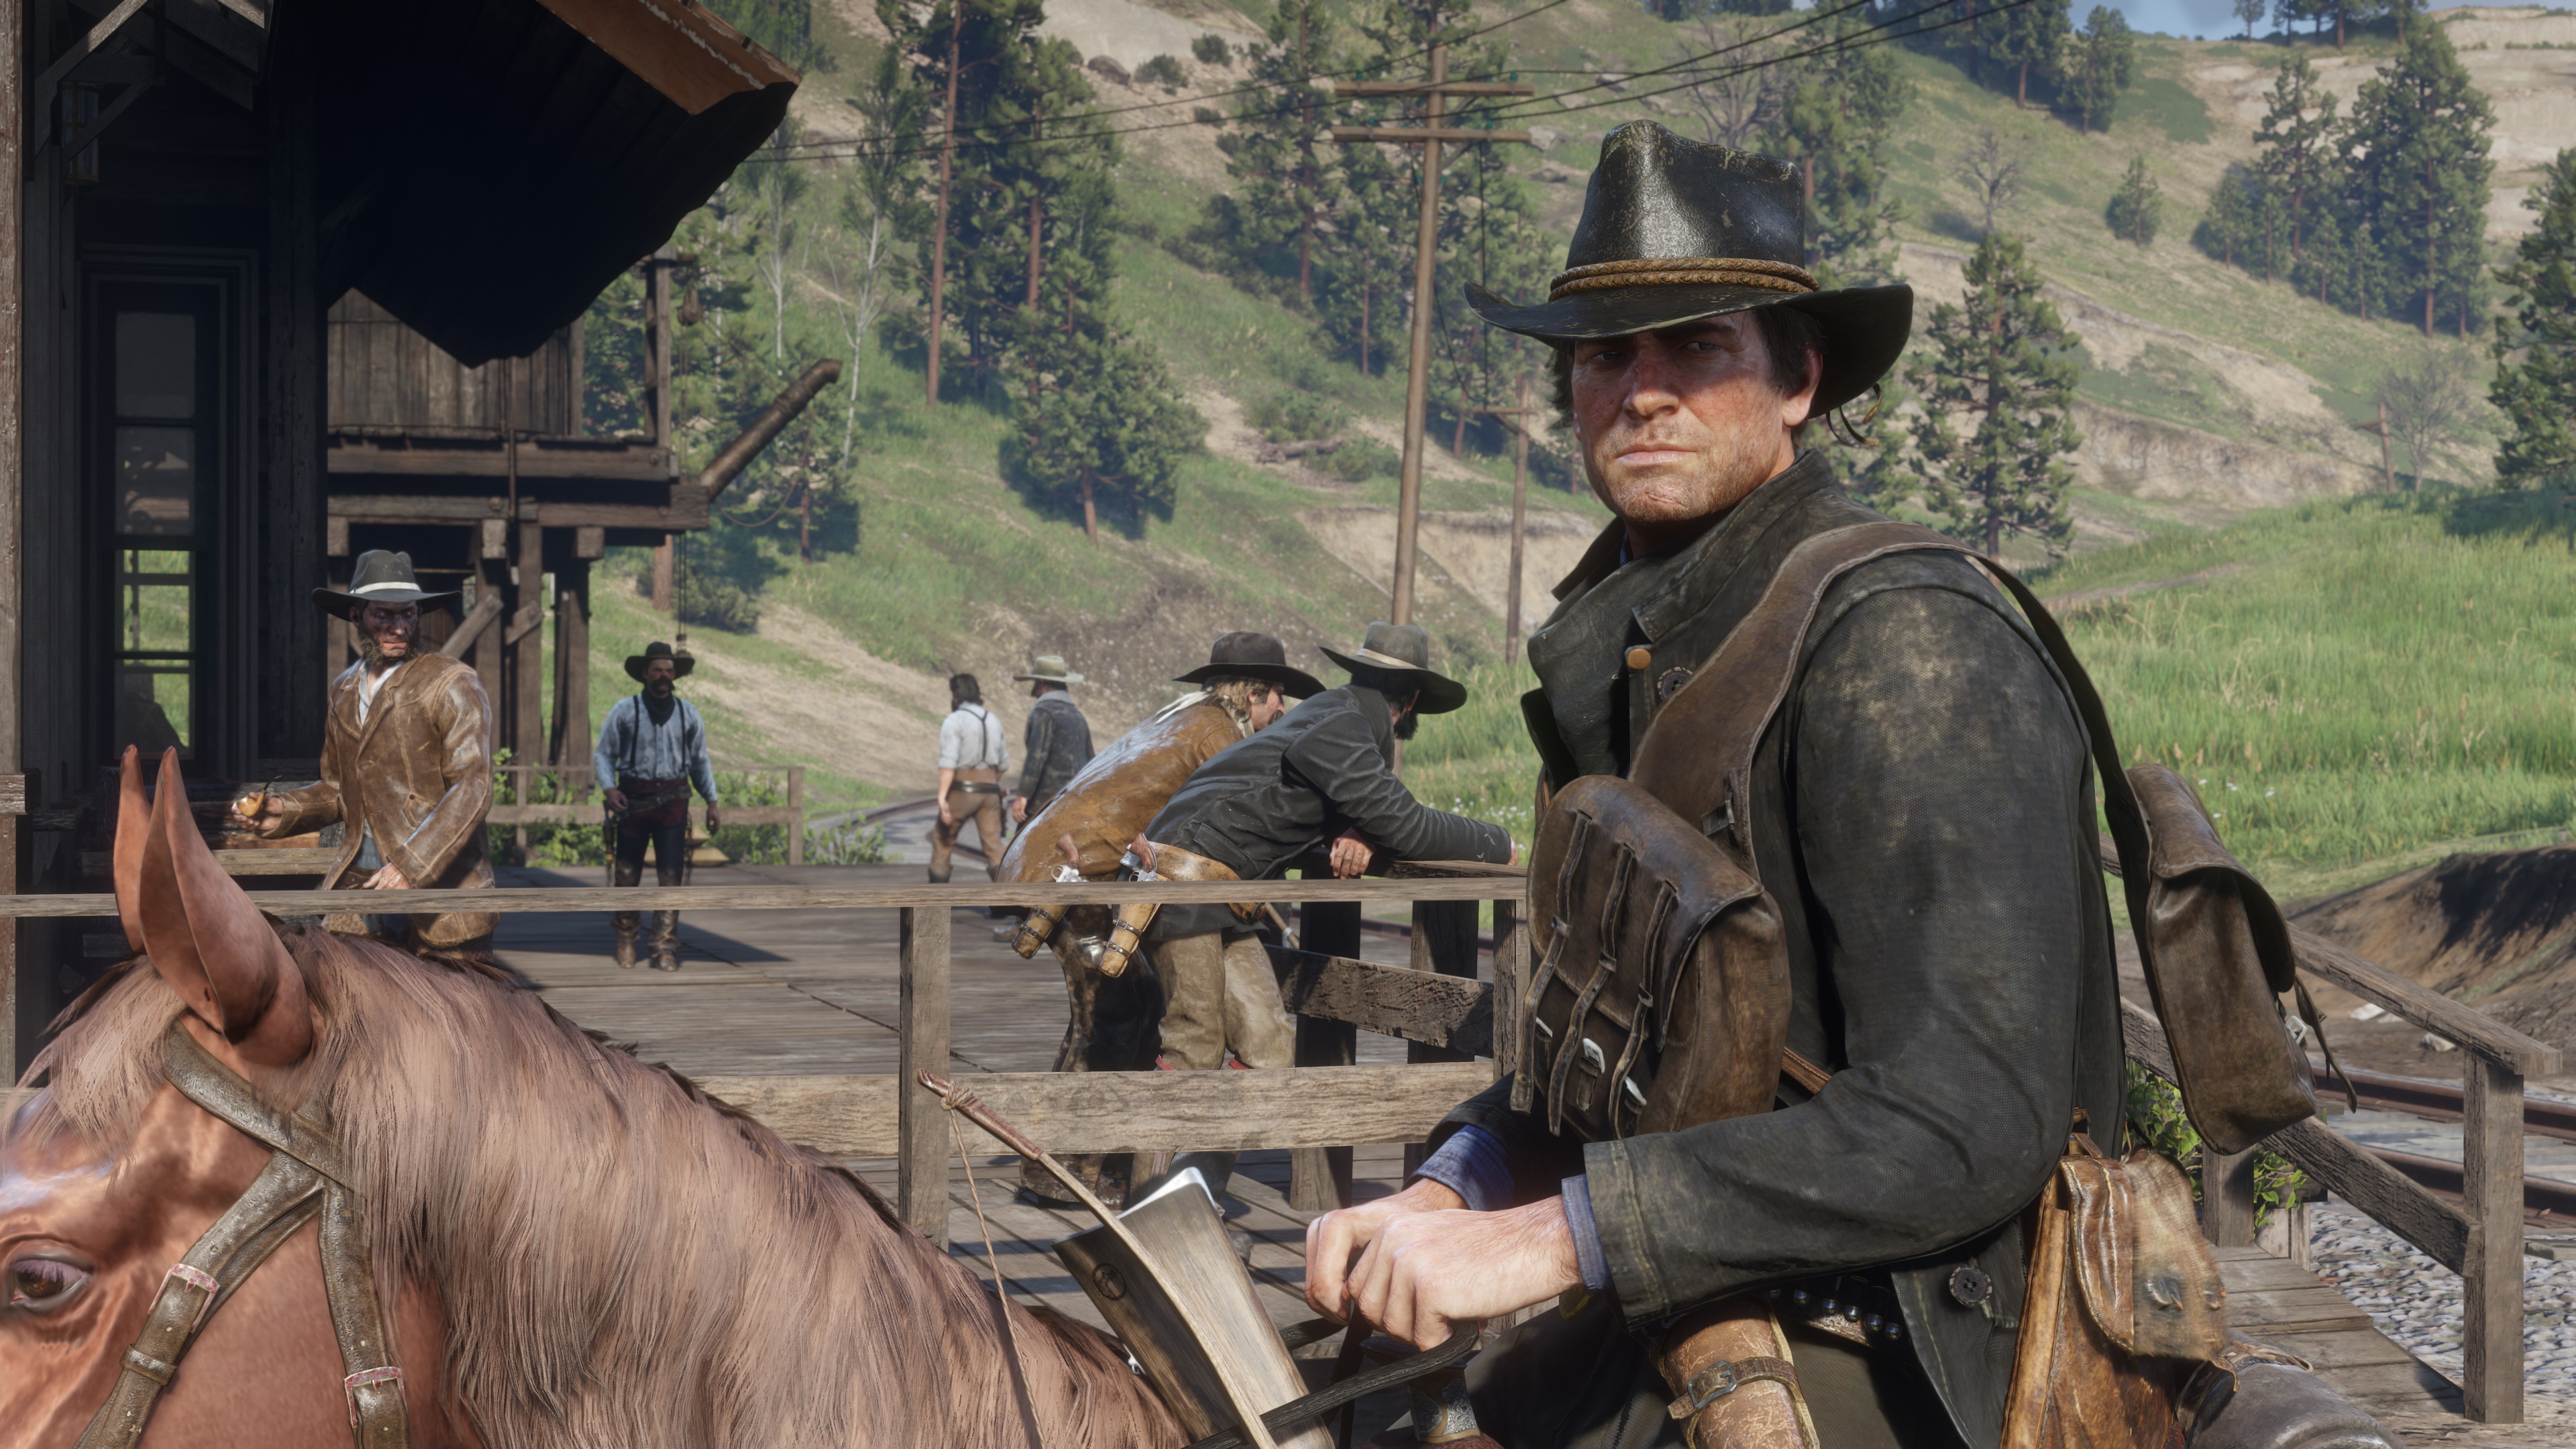
Before we get into PC-specific graphics tweaks, here are some quick and easy changes you can make to gameplay settings to ensure Red Dead Redemption 2 is that bit easier to play on both rigs and consoles alike.
- Turn on ‘toggle to run’ – Save yourself the mild hassle of holding down the run button to make your outlaw’s sprints less tedious on your fingers with this time-saver in the controls menu.
- Enable HDR – If your screen supports it, make sure to enable HDR from display settings. RDR2 boasts some of the most striking use of this contrast-boosting tech you’ll ever find.
- Use free-aim for on-foot action – Arthur’s lock-on modes are a bit sticky, so switch to free-aim from the controls menu to give you more agency over where the cowboy’s bullets land. It’ll make you a more accurate gunslinger. Promise.
- Use lock-on for horse shootouts – Keep the lock-on for mounts/vehicles set to normal. Trying to manually place shots on horseback is tougher than performing open heart surgery with a spatula.
- Enable first-person auto-centre – Find and enable this option from camera settings to make it easier to target enemies on horseback while playing in first-person.
- Turn on tap assist – Give your digits a break and cut down on button bashing by enabling ‘tap assist’ from the controls menu. The ‘x2’ setting works best, letting you open chests much more quickly.
- Juggle your HUD options – Switch between the normal mini map, expanded viewpoint for extra guidance, stripped down compass view, or ditch the HUD entirely if you want to test your navigational wits for the most immersive experience. You have plenty of options.
- Give standard FPS controls a shot – This is a subjective switch. Still, we find switching from standard controls to ‘standard FPS’, which switches run from X/A to a click of the left stick, feels more natural.
Basic Red Dead Redemption 2 PC settings tips
Holy hell does this Red Dead Redemption 2 have all the graphics settings on PC. Rockstar gives you a ludicrous number of options to tweak, with 16 basic visual settings and a frankly nuts 21 separate quality presets. How we miss the days of high, medium and low.
Rather than go for traditional presets, Rockstar opts for a customisable slider which you can drag to hit those 21 quality levels. These presets are split between seven scales for ‘Favour Performance’ if you want the highest framerate, seven for ‘Balanced’, and a further seven settings dedicated to ‘Favour Quality’ for those after the most attractive outlaw experience. With Balanced, the game globally adjusts your settings to best match your PC’s hardware level. You can also use the in-game benchmarking tool to experiment with settings to see how they affect your framerate – press R3 is you’re using an Xbox controller on PC. Keeping up so far? Lovely.
Red Dead Redemption 2 PC performance settings
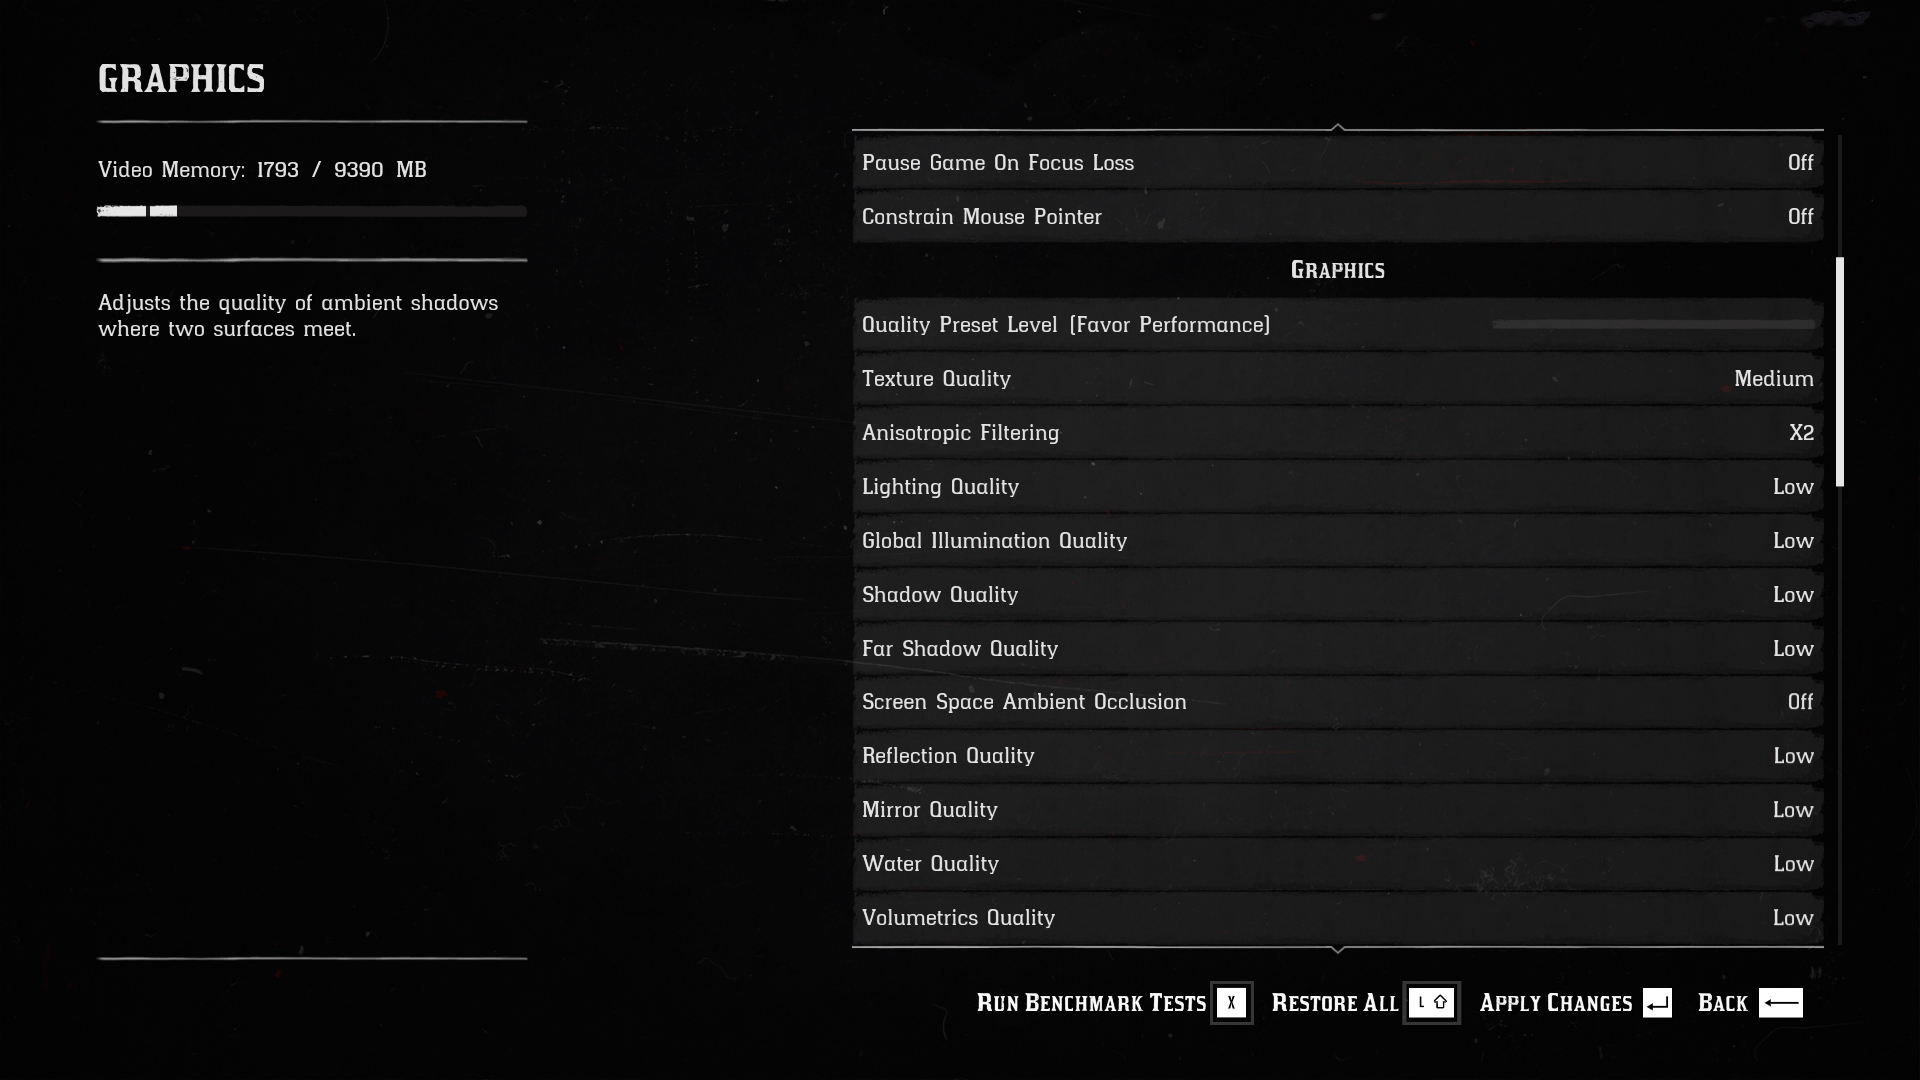
If you want to squeeze the smoothest framerates out of RDR2, focus on the Favour Performance option. The second and third lowest slider presets are what you want if you’re running the Western on Rockstar’s recommended graphics cards – the Nvidia GeForce GTX 1060 6GB and AMD’s Radeon RX 480 4GB.
If your GPU is a little long in the tooth and you’re hoping to hit 1080p at 60 frames per second, sacrifices need to be made. Generally, almost every setting should be set to low, though there are a couple of fps killers you’ll want to disable entirely. Screen Space Ambient Occlusion is the most expensive graphical setting and should be switched off asap. After that, it’s a good idea to disable Anisotropic Filtering, or have it at ‘x2’ at a push. To claw back further frames, disable all types of Anti-aliasing, though you may be able to get away with the inexpensive FXAA.
Red Dead Redemption 2 PC visual settings
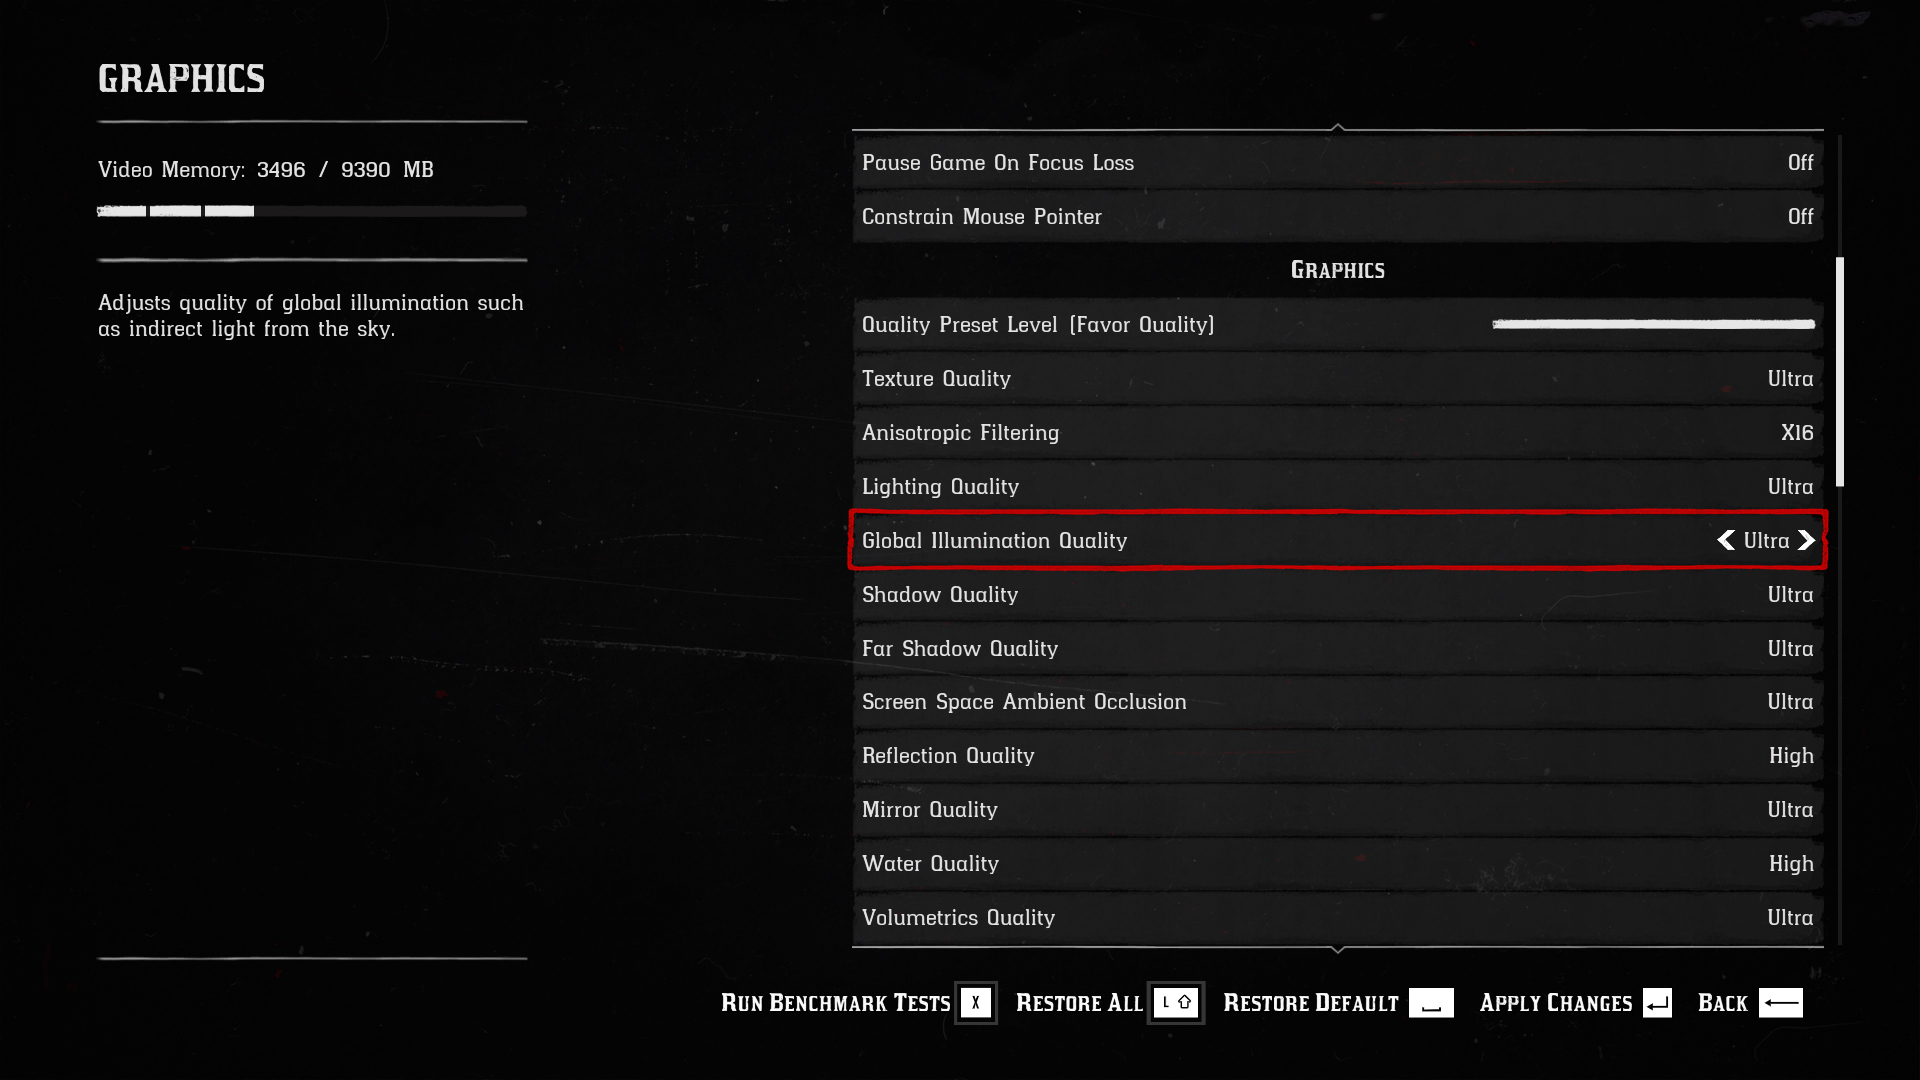
If you’re looking for all the cowboy graphical bells and whistles, and are determined to hit 60fps in Red Dead Redemption 2 at 1080p, you’re going to need a serious GPU. If you’re fine with a 30fps framerate cap though, and can accept the outlaw action is going to dip below that target on ageing rigs, you can make Arthur’s Wild Wild quest look super pretty on a variety of PC hardware.
Focusing on the ‘Favour Quality’ preset isn’t actually all that taxing when it comes to VRAM usage. Bump everything up to this option’s top slider values and you’re looking at less than 3.5GB of memory use. With any GPU above Nvidia’s midrange 1060 graphics card, you should have more than enough horsepower to handle Morgan’s fancier visual features.
To make RDR2 as pretty as possible, several settings should be prioritised above all others. Perhaps the biggest is Screen Space Ambient Occlusion. SSAO adjusts the quality of ambient shadows and should be set to either medium or high to give the game an extra filmic look. While more subtle, Anisotropic Filtering should also be whacked up to ‘x16’ – it makes textures look smoother when viewed from off angles.
Texture Quality is the last biggie and should be set to high or ultra… although only if your graphics card has VRAM to spare with the latter. Oh, and when it comes to anti-aliasing, choose the TSSA high option over any MSAA setting. This way you still eliminate jaggies without slaughtering your FPS.
Red Dead Redemption 2 PC low settings
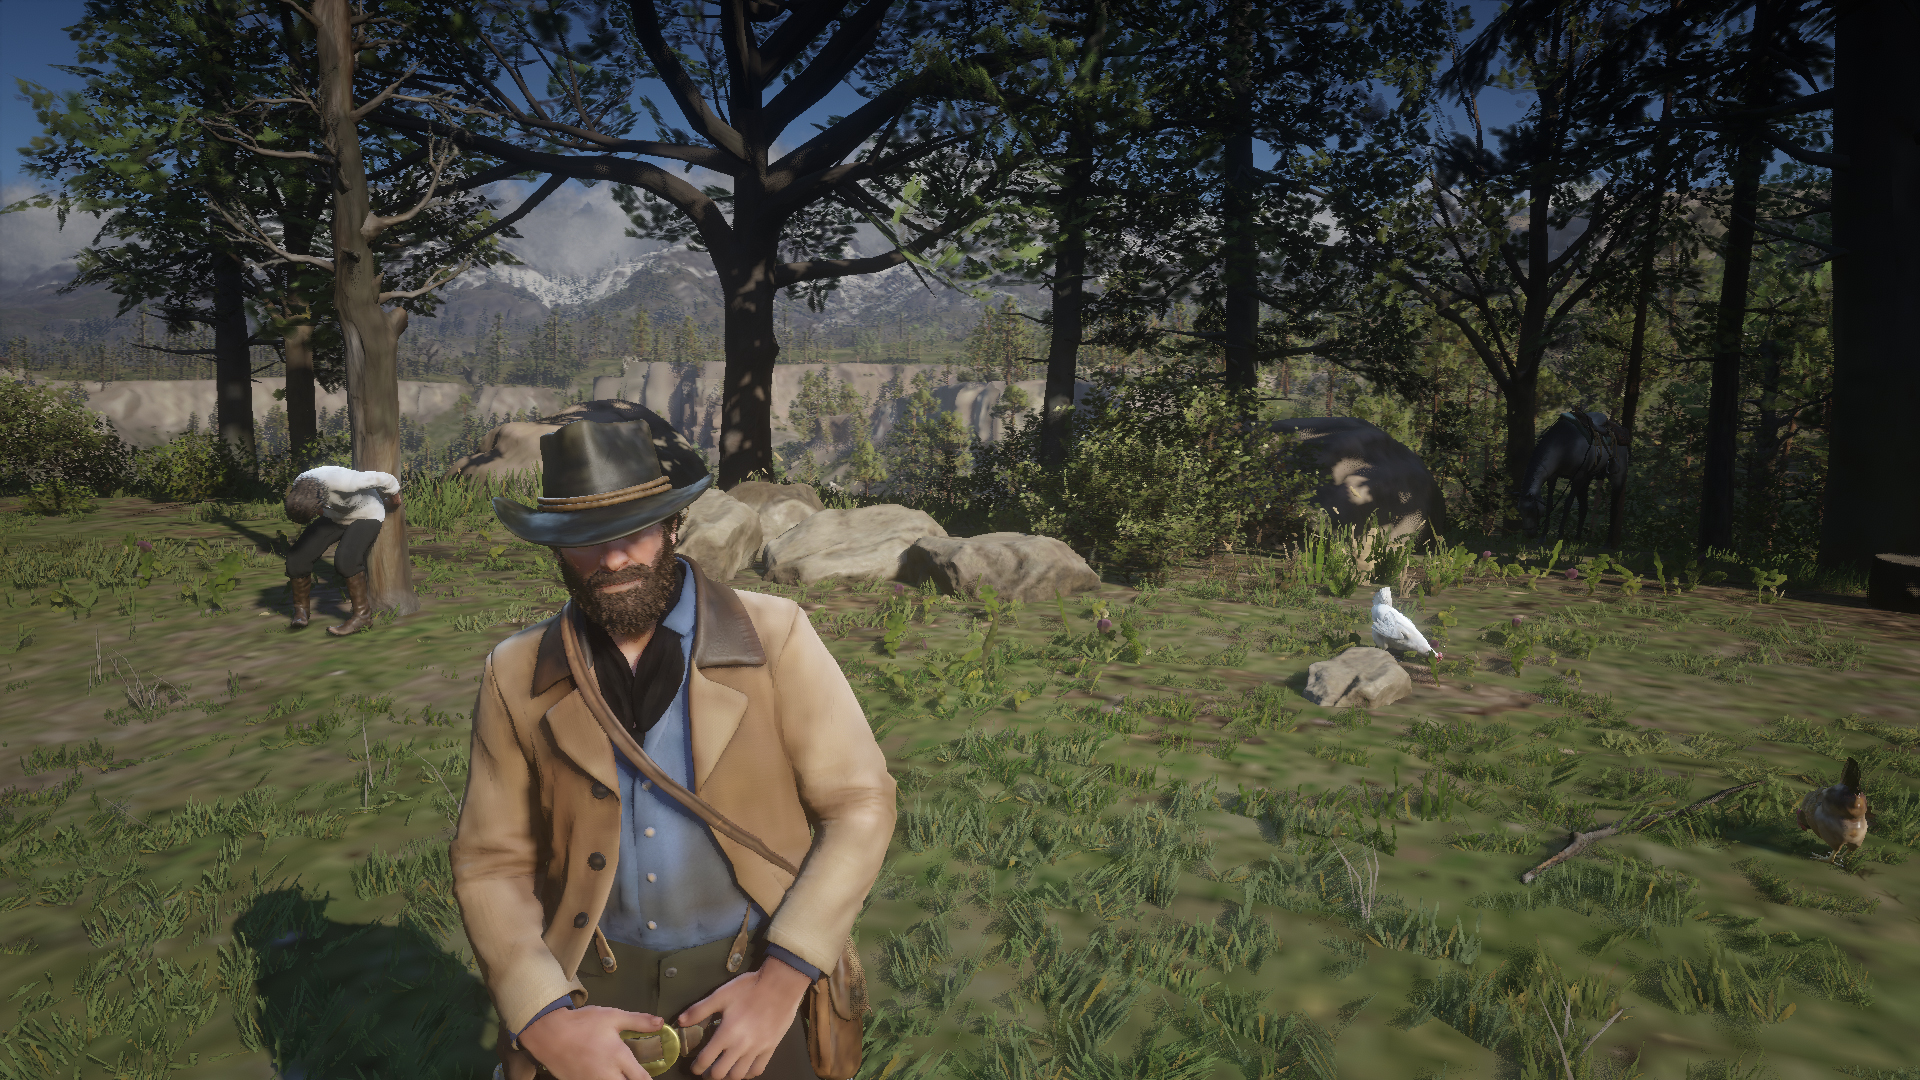
For those with ageing PCs, you can pair back visual quality and claw back as many frames as possible by dialling down the following settings...
- Texture Quality – This setting can butcher your fps if set too highly. On ultra, it will cost you near 4GB of virtual memory alone. Unless your rig rocks an impressive graphics card and CPU, we’d set this to medium or preferably low if your gameplay is stuttering.
- Global Illumination – This affects the quality of indirect light from the sky. Unless you have Terminator eyes it’s a pretty subtle effect, and an expensive one when it comes to performance. Get this switched to low.
- Volumetrics Quality – Unless you’re really partial to eye-alluring fog, you should turn this setting to low. It affects the quality of clouds but comes with a performance hit that’s just too expensive for older PCs.
- Screen Space Ambient Occlusion – Probably the most draining visual setting in the game. While lowering it leads to a flatter, less rich image, cutting this to low will claw back considerable frames.
- Shadow Quality – Though not as fps-draining as the above settings, you should still dial this and Far Shadow Quality to medium if you find Arthur’s adventures are stuttering.
Red Dead Redemption 2 PC high settings
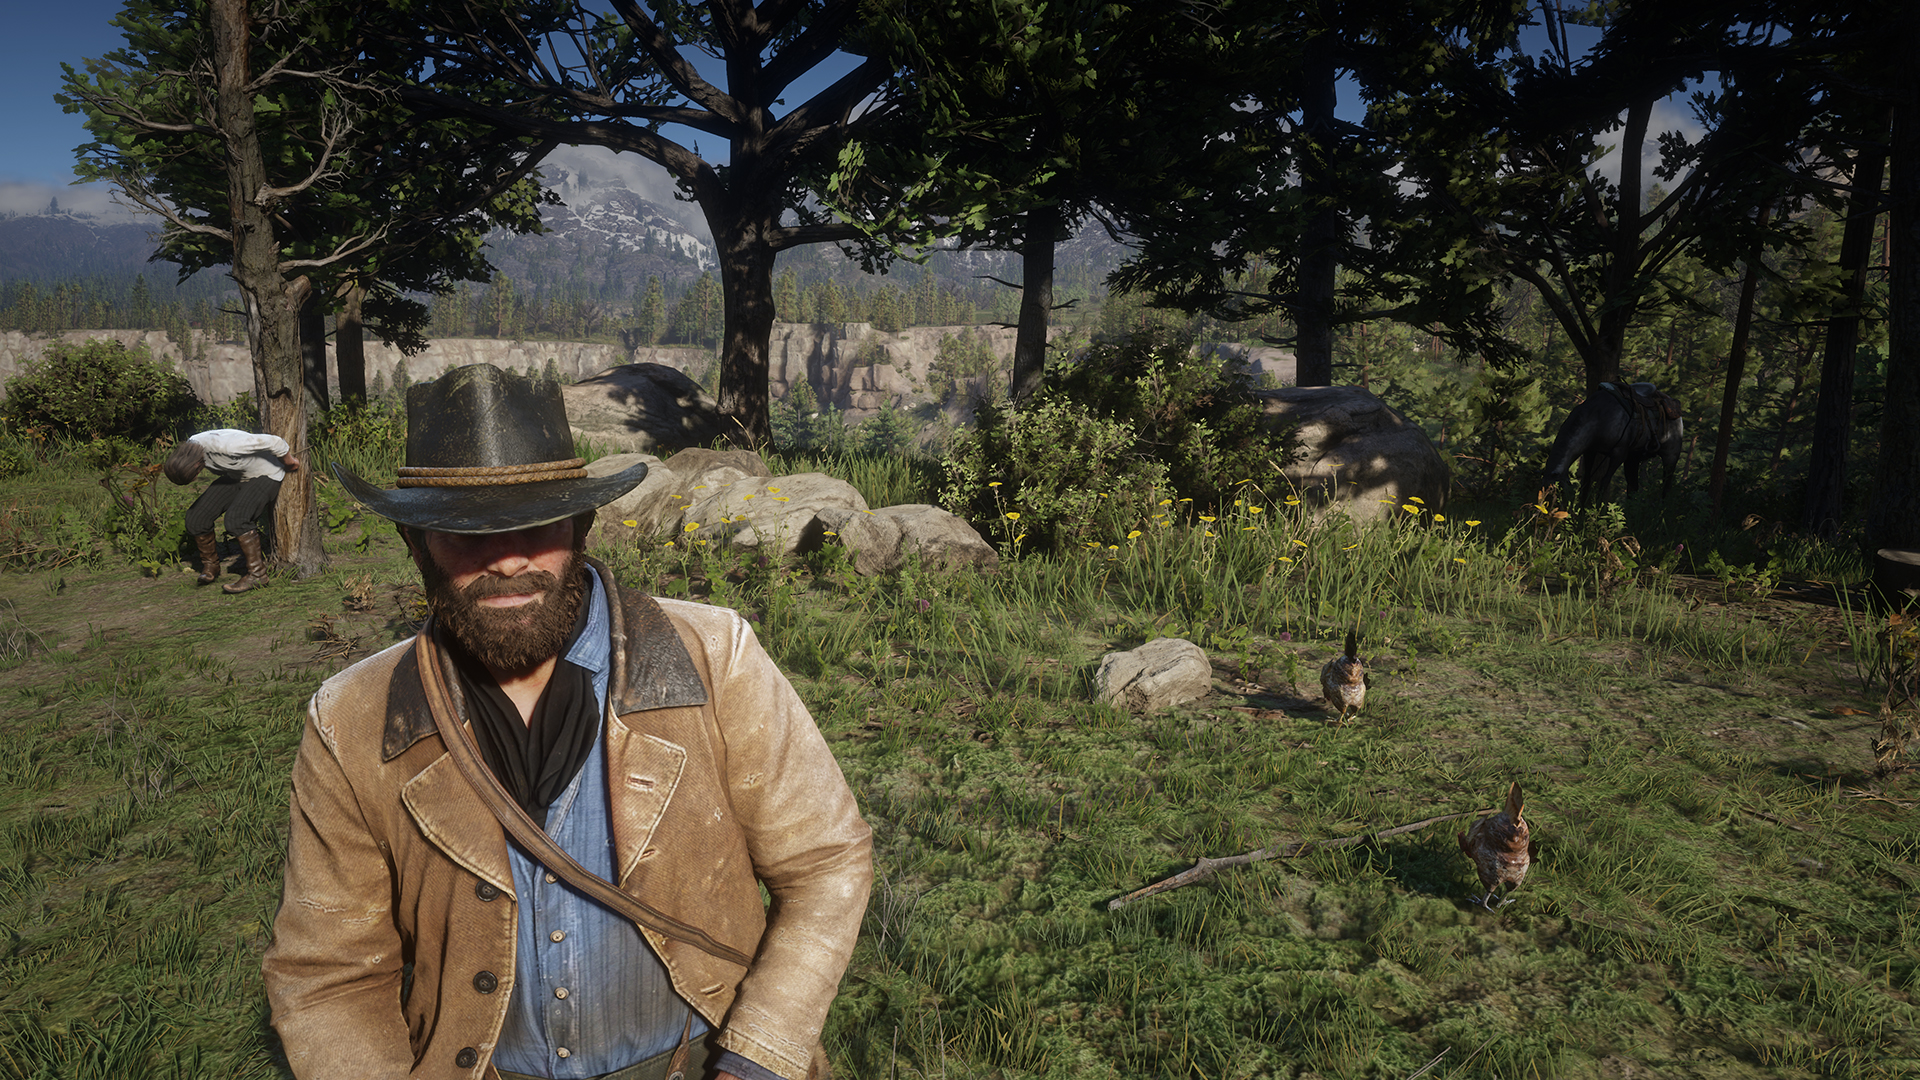
If you want Morgan’s Western to look its absolute best, here are the most important graphics settings you should ramp all the way up…
- Texture Quality – For an experience that’s noticeably sharper and more detailed than even the amazing Xbox One X version of RDR2, turn this setting to ultra.
- Tessellation Quality – Not available on the console versions, this setting adds geometric detail to trees and patches of snow, mud and water. Set it to high or ultra for the muddiest mud you ever did see.
- Unlocked Volumetric Raymarch Resolution – Talk about a mouthful. This lives in the Advanced Graphics settings, which are locked by default. Open them up, and switch this on to allow volumetric rays from RDR2’s skies to scale to your monitor’s resolution. It’s an eye-grabbing feature if you’re playing at 4K.
- Full Resolution Screen Space Ambient Occlusion – This is another feature designed for folk playing at higher resolutions. If you’re monitor is 1440p or above, enable this feature to render higher res ambient shadows.
- TAA – More effective than FXAA and far less expensive than MSAA, this is the best anti-aliasing solution for people who want a smooth, film-like image. It’s not that much of a drain on GPU resources, so switch it to high.
Red Dead Redemption 2 tips | Red Dead Redemption 2 cheats | Make money fast in Red Dead Redemption 2 | Best Red Dead Redemption 2 weapons | Red Dead Redemption 2 best horse | Red Dead Redemption 2 Legendary Animals | Red Dead Redemption 2 Legendary Fish | Red Dead Redemption 2 treasure maps | Red Dead Redemption 2 100% completion
Weekly digests, tales from the communities you love, and more

David has worked for Future under many guises, including for GamesRadar+ and the Official Xbox Magazine. He is currently the Google Stories Editor for GamesRadar and PC Gamer, which sees him making daily video Stories content for both websites. David also regularly writes features, guides, and reviews for both brands too.
