-
 NewsOblivion multiplayer "coming soon," claim creators of platform that gave Black Myth: Wukong the same co-op treatment
 -
-
 NewsSkyblivion delayed to 2026 as devs behind the unofficial Oblivion project made using Skyrim's engine say their "initial goal" of launching this year "is no longer possible"
 -
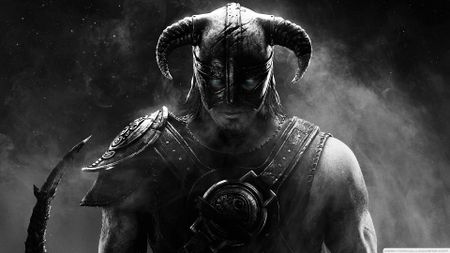
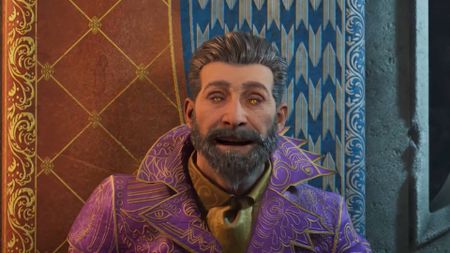
 NewsTodd Howard told Bethesda designers that "humor has no place in games," a rule they didn't follow in RPGs like Elder Scrolls: Oblivion and Morrowind: "If Todd doesn't catch it..."
 -
 News"The great Todd Howard says that great games are played, not made," according to Bethesda's Pete Hines, so Elder Scrolls devs changed Oblivion combat three times and no one spoke about it
 -
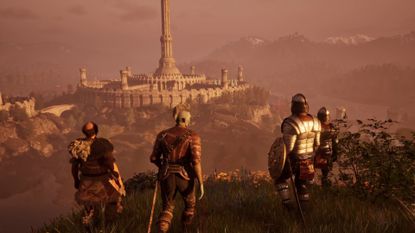
NewsAfter 13 years, the fan-led Oblivion remake developed in Skyrim's engine – Skyblivion – is right around the corner: "Recent developments made us come closer to a potential date announcement"
-
 NewsI hope you like the tamer fantasy of Oblivion and Skyrim: lore master of 29 years says Todd Howard "gravitates not towards the weird stuff" and doesn't expect Morrowind-grade weirdness from The Elder Scrolls 65 Comments
 -
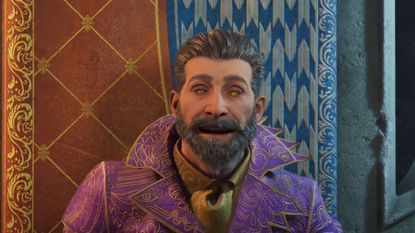
NewsSkyblivion isn't another Oblivion Remastered – lead says "we still have something to offer" as the project's devs have "more or less redesigned every aspect" of Bethesda's original RPG
-
 NewsBethesda-approved Skyblivion is suddenly more than just an exciting remake – it's a poster child for a potential game-changer for mods: one-click modding on GOG
 -
 NewsOblivion Remastered lets you wipe out entire taverns of NPCs with ease, and I don't know how I missed this playing the original RPG for 19 years
 -
 NewsIt took Oblivion Remastered a single week to become the third best-selling game of 2025 behind Assassin's Creed Shadows and Monster Hunter Wilds12 Comments
 -
 NewsThis Oblivion Remastered Easter egg is forcing me to confront a difficult truth about early 2010s meme culture: It was never funny, actually10 Comments
 -
 News19 years later, Todd Howard is still a secret NPC in Oblivion Remastered, and he'll call you a bastard if you piss him off
 -
 NewsBethesda celebrates Oblivion Remastered by watching 19-year-old documentary about the making of the original, and Todd Howard says "this is gonna be really f***ing awkward"
 -
 NewsAs Oblivion Remastered introduces new fans to Bethesda's iconic 2006 RPG, ex-Elder Scrolls dev admits the level scaling system "was a mistake" eventually fixed in Skyrim
 -
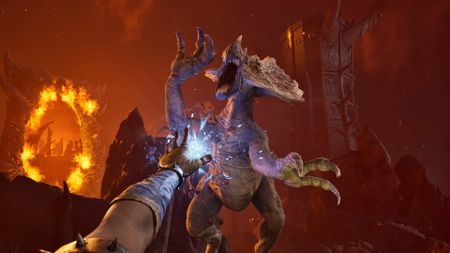
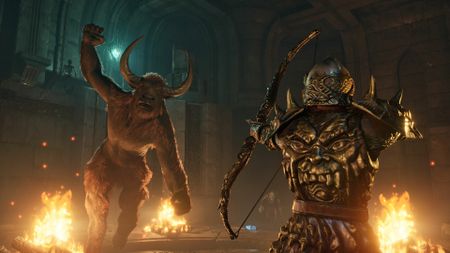
NewsOblivion features warring goblins as one quest designer thought turning a side quest's gimmick into a whole thing "wouldn't be a lot more work," but looking back he's not sure if that was "actually true"
-
 NewsOblivion Remastered added a spell from Skyrim that's basically "a magical trail of breadcrumbs" pointing to quests and objectives
 -
 LiveEverything announced for the Oblivion remaster - all changes and improvements confirmed so far
 -
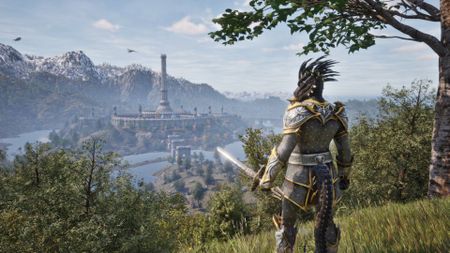
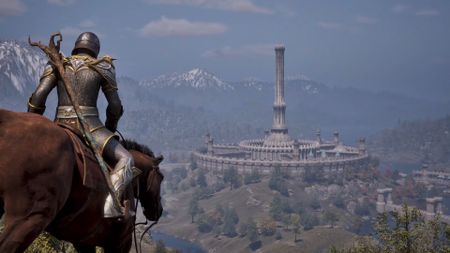 NewsThe Elder Scrolls 4: Oblivion Remastered revealed: it's $50, out today, on PC and Xbox Series X plus PS5, and already in Game Pass
 -
 NewsWhy wait? Oblivion fans have already made their own remaster in Doom, and it features one too many adoring fans for my liking
 -
 NewsAs the Oblivion remaster looms, fans hope the original RPG's viral goofiness makes it through unscathed
-


