Splatterhouse pictures of Jen guide
Take a break from covering everything in the area with gore and collect all the pictures of Rick's girlfriend Jen
Nudity and violence go together like chocolate and peanut butter. Splatterhouse definitely has its share of peanut butter and thanks to the torn up naughty pictures of herself that Ricks girlfriend Jen leaves behind, the game also has its fair share of chocolate. Since no one should be denied the visual of computer generated boobs, we have put together this guide to help you complete your album of images.

Throughout the game some of the boobs photo pieces are right in your face and hard to miss, like Hooters, while there are some that are hidden behind some rather tricky puzzles, like a regular date. Not all of the pictures are of the naked variety– as a man named Willie dressed up as Santa once said, “They can’t all be winners.” Of course that doesn’t matter because it’s all about the achievements and trophies and not the actual images. Right? Maybe not.
Chapter One: Satan%26rsquo;s Masque
Piece One:
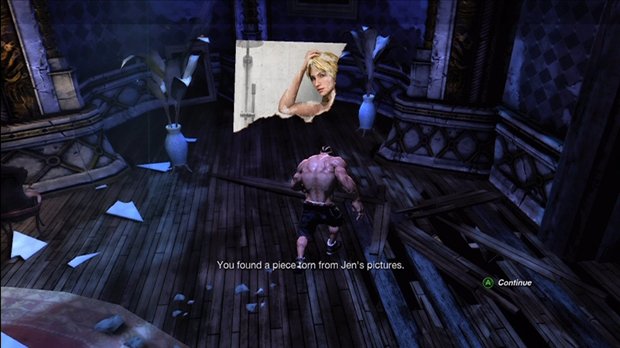
After your first encounter with some creatures apart from the first room, a door will open to a blue room and a statue will move to smash against the wall. Go to where the statue was and the first photo piece will be on the ground there.
Piece Two:
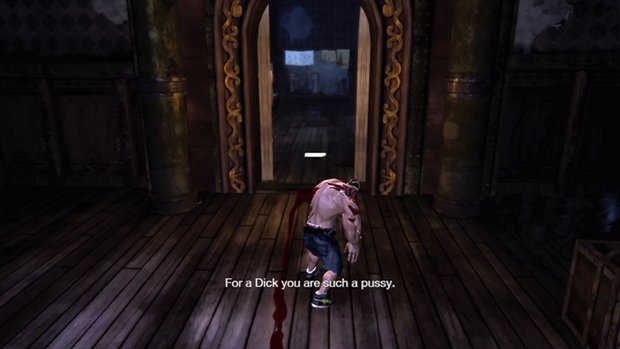
After the cut scene where you get your arm torn off, head into the opening which leads to the doctors room and there will be a piece of the photo laying on the ground in the doorway.
Piece Three:
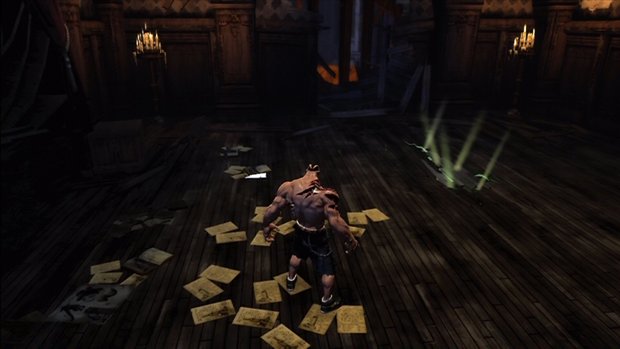
After the beating of the test tube creatures, you will head through a door and up some stairs. Make a right into the next room and there will be some green lights shining through the floor that you can break through. Before you do, grab the photo piece that is on the ground to the left of the lights.
Piece Four:
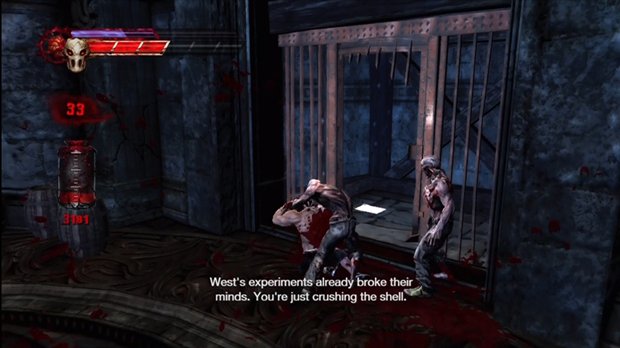
When you run into some more of your “friends”, a couple of them will come out of a cell on the right hand side.Inside the cell they come out of will be the final piece.
Chapter 2: The Doll That Bled
Piece One:
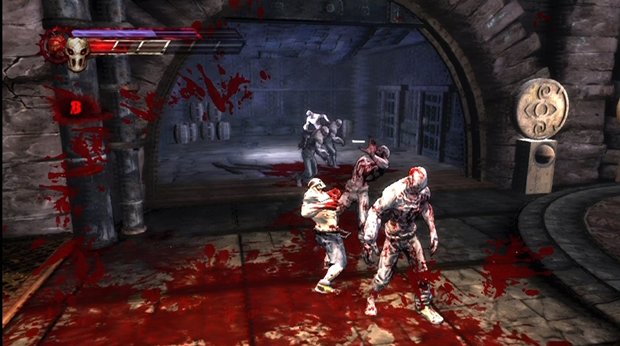
For some reason this one was the most easily missed piece for the entire chapter.When you enter the room with the creatures in the tubes at either end of the room, there will be two eyeball symbol stands in the center of the room, one with an eyeball marking and one will a “S” marking.Go to the left of the eyeball marker and turn the valve at the end of the room.It will open a door allowing you to enter a room to kick some ass as well as find a piece of picture on the floor.
Piece Two:
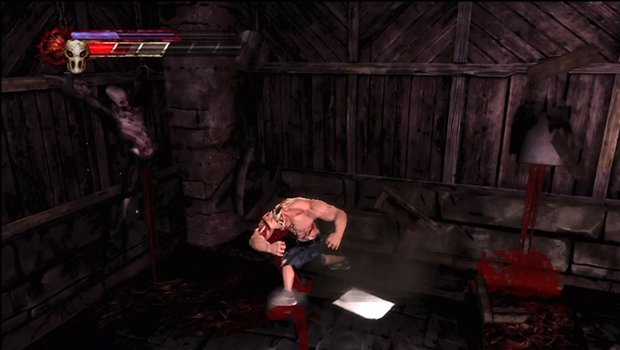
A rather easy one to find if you like smashing boxes.Once you pass the side scrolling part of the chapter, you will come to a room that has two large gate doors that you need to lift.When you open the one of the left of the room, kill the enemies inside and then smash the crate at the back corner to find a picture piece.
Piece Three:
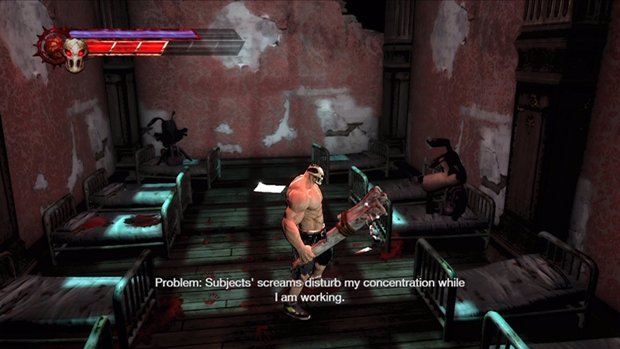
You will come to a dead end room that has the needed door blocked. In this room there will be two doors on the right hand side that lead to two small rooms. In the second doorway on the right hand wall, you will enter a room with beds and a creature.Take him out and find the photo in there.
Piece Four:
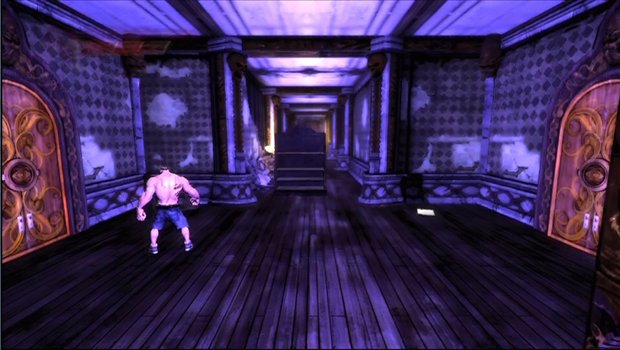
You will come to a hallway where a short scene will show the Tron creatures get smooshed by some moving dressers. Once you make your way to the corridor where the furniture is moving, use the side openings to let the objects pass. In the first recess to the right, you can find the final photo piece of the chapter here.
Chapter 3 %26ndash; The Shadow of the Abyss
Piece One:
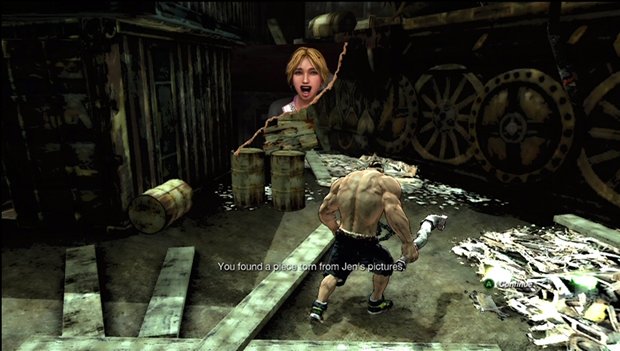
A rather easy one to find on the ground. At the start of the chapter, simply head to where the creatures appear from and go around the corner to the left.In front of a large vehicle that is blocking your path will be the picture piece.
Piece Two:
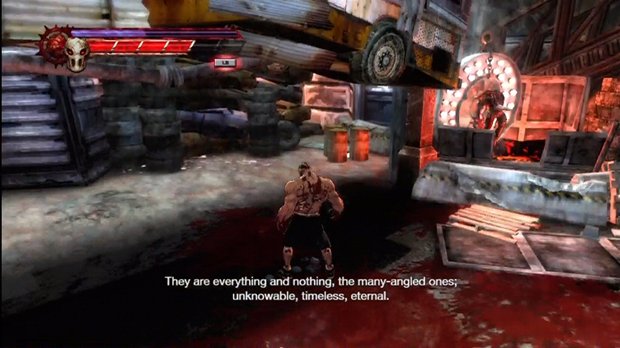
After some finagling, you will come to a bus that needs to be moved.After impaling two creatures on the spikes to each side of it, the bus will raise up. Head under the bus to proceed but before going all the way, go to the right while still under it and you will find some barrels that are hiding the photo piece there.
Piece Three:
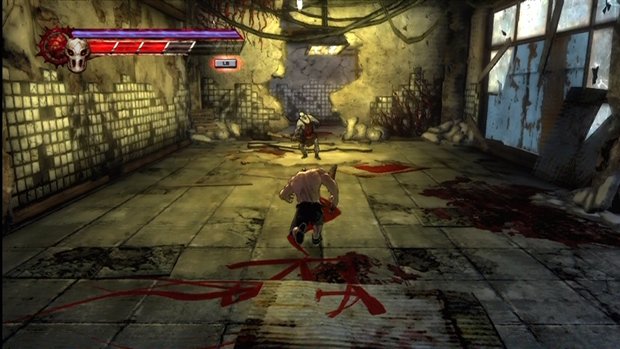
Once you make your way across the collapsing rooftop sequence-the one filled with tension, suspense and cheap deaths- you will launch across to another building. Once inside there, a cleaver wielding creature will bust through a wall to come and say hi. Take him down and then enter the hole he made and make a right. Here you will find the next piece.
Piece Four:
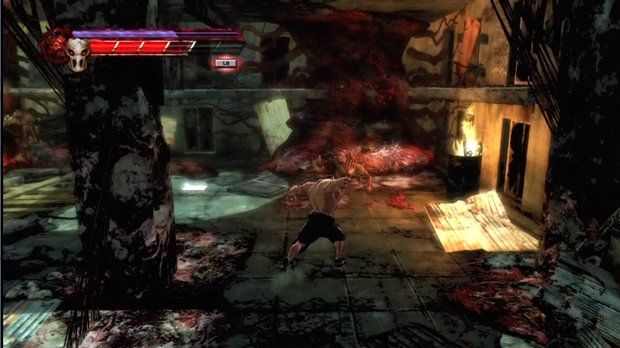
The fourth and final piece for this chapter is located in the room where you first encounter the octopus looking Aegis. After the scene with him, look for the piece under the platform he is standing on.Once you grab it then you can knock out the platform from under him and get yourself some Calamari.
Weekly digests, tales from the communities you love, and more
Jeff McAllister is a freelance journalist who has contributed to GamesRadar+ over the years. You'll typically find his byline associated with deep-dive guides that are designed to help you scoop up collectibles and find hidden treasures in some of the biggest action and RPG games out there. Be sure to give Jeff a thanks in the comments while you're completing all of those tricky Achievements and Trophies.
