COD: Black Ops Rezurrection DLC guide
In space, no one can hear you scream on your headset
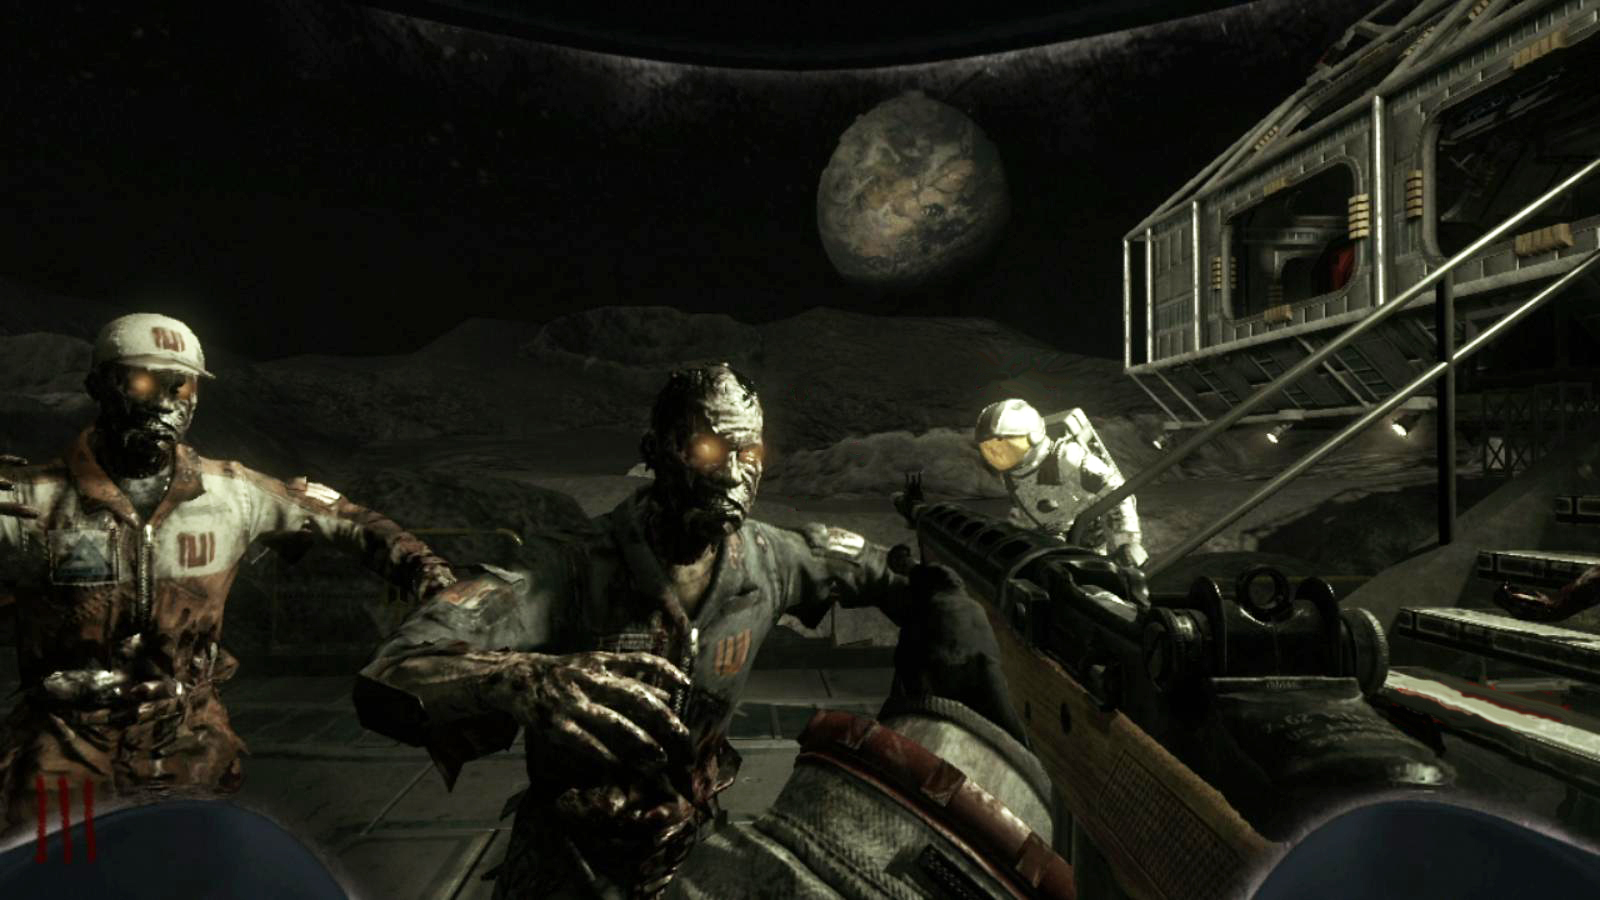
In a low-gravity, non-atmospheric environment, zombies should be less threatening, slower, and easier to kill, right? In theory, maybe. But zombie anatomy research is an under-funded and often ridiculed branch of science, so there’s plenty we don’t know. In this final Black Ops DLC pack, the undead are taking the fight to the moon, and they’re as hungry for brains as we’ve ever seen. We’ve got this massive lunar level covered as well as quick walkthroughs of the four “re-mastered” zombie maps. So put on your space helmet, grab your assault rifle, and get ready to kill some freakin’ space zombies!

Moon
At the start you’ll find yourself on Earth, just outside Hangar 18. The giant teleporter in front of you is your goal, but you can rack up some serious points by taking out as many zombies as you can as quickly as you can. Remember that it only takes one melee hit to kill at the start. Be careful though - once the alarm goes off, the zombies will become stronger (no more one-hit kills) and faster (they all run). Stand on the teleporter along with any allies you may have and warp to the moon! Don’t forget to grab the spacesuit once you do.
Above: How to nab some juggernog before teleporting
If you’re feeling bold, you can rack up enough points in on Earth to buy a perk from the machine near the teleporter before heading to the moon. The perk is either a speed cola (green machine) or juggernog (red machine). You want the latter, so restart the level until you see red. The trick is to kill as many zombies as you can before the alarm goes off, then run around in circles as the undead chase you. At first it will be difficult to avoid their deadly fingers, but after a short while they will all line up as they run after you. This is when you can use a cooked grenade to obliterate your rabid followers for a good amount of points. This is not at all easy, but having juggernog right off the bat is well worth it.

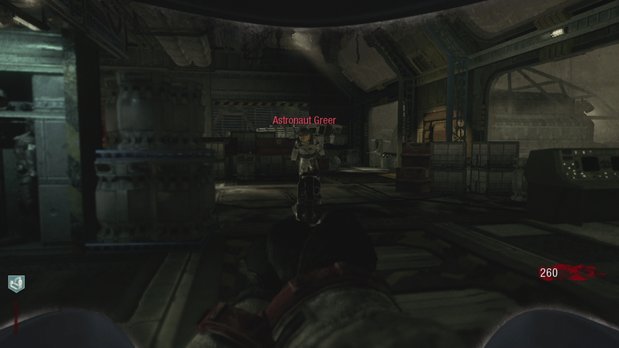
One of the first things you’ll notice is the wandering astronaut. He’s about as slow as a real spaceman, but get too close and he’ll grab you and execute a strange headbutt that will hurt (but not kill if you’re at full health), warp you to another portion of the level, and force you to drop a perk. You can blow him up with a few headshots for a measly 60 points, but he’ll always respawn. However, any zombie caught in the blast radius will be taken out. Killing the astronaut is a situational judgment call, and can be either worthless or life-saving.
In the first room, there are two doors that can be opened. Opening one automatically unlocks the other, and they both lead to the same outside area. You should have enough points to forego the Olympia and the M1 for now.

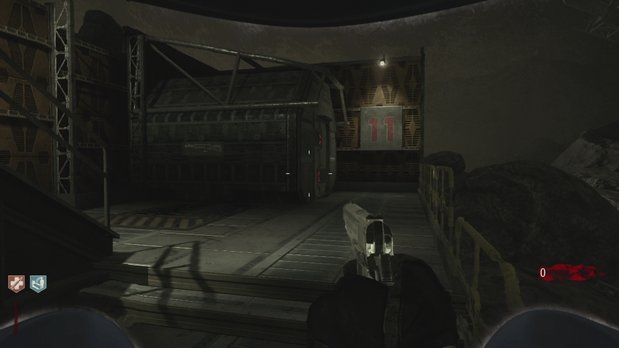
From this outside area, you’ll have the option of tunnel 6 or tunnel 11. Both paths eventually lead to the same area via an equal number of doors, and both contain a valuable SMG along the way, so there’s no real advantage to choosing one over the other. Including the door you choose, it will cost you about 3000 points to reach the central area, which contains the Stakeout shotgun and often, the mystery box. If the box is not here, it may appear later in the level on the moon’s surface.
Weekly digests, tales from the communities you love, and more


