Bloodborne The Old Hunters bosses are a challange. This is the DLC that has it all. Feral dogs, violent giants, insane orphans, peculiar entities from the voids beyond the cosmos… there’s a lot to take in if you aren’t fully au fait with your Bloodborne lore. The strange terrors that occupy the Hunter's Nightmare are a dangerous and deranged bunch, and if you’re going in blind, chances are you’re going to get punished.
The bosses you’ll encounter in the DLC are the most dangerous inhabitants of this grave new world. As you’d expect from a game this vicious, each of them can undo you in one or two fell swoops. Luckily, though, they all operate on predictable patterns and most of their attacks can be countered or avoided. Here’s everything you need to know about finishing off these ghoulish, monolithic entities.
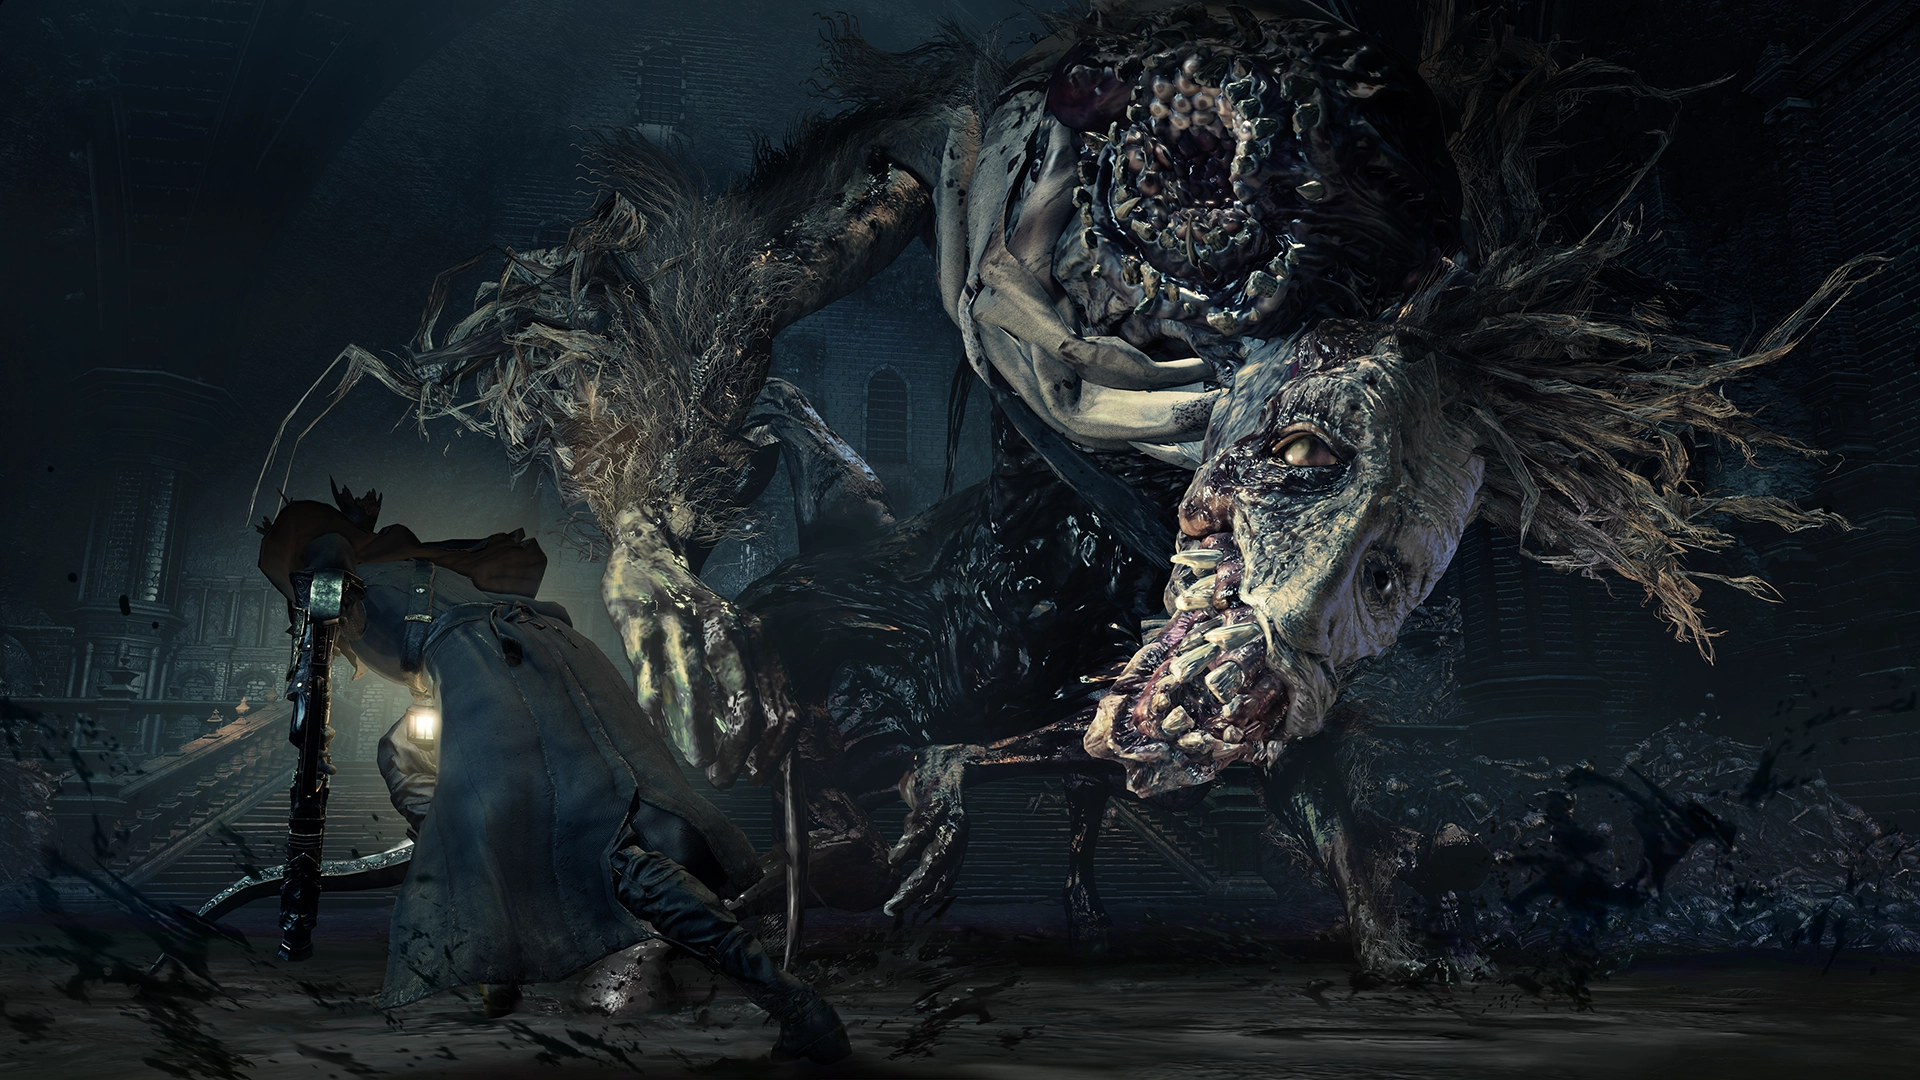
Ludwig, the Accursed/Ludwig, the Holy Blade

You've heard of Ludwig from the various Hunters of Yharnam, but you'll come face to face with the accursed man near the Nightmare Church. He's not a pretty sight. Ludwig is a very tough boss: his horse-like shape means he can gallop around, leap into the air, and still attack you with his claws. The battle will start with a pouncing attack, so be prepared to immediately roll away. You should also keep the battle in the open area - the stairs will trap you and make the camera freak out.
Ludwig's attacks consist mainly of swiping combos, so you should dodge around him, then try to get a in hit during the interim. His charging attack can be avoided by sidestepping, and if he starts stomping all over the place, keep your distance. When he leaps into the air, keep dodging to avoid damage when he eventually lands. But do not attack from the rear, as he'll kick you in defence.
Ludwig's other attack is a white beam that shoots from his second head. This is actually the easiest move to dodge, simply by moving the same direction as the beam. Ludwig is no slouch, but persistence is key.
Oh, and once you get him down to 50% health, he evolves. The second stage of the fight sees Ludwig on his hind legs, brandishing his signature sword. Believe it or not, this stage is slightly easier - his attacks are far more predictable.
His sword combos are telegraphed, and fairly easy to dodge by getting right up against his legs. He also has an area-of-effect blast, so when you see him hold the sword with the point facing the ground, get clear. He may also fire diagonal beams from the sword, and these are easily sidestepped; if he throws a horizontal beam your way, you'll have to time your dodge to pass through it. Finally, he may slam the sword into the ground and unleash energy toward you; keep dodging to the side to avoid the shock wave.
This is a long, gruelling fight, so don’t be ashamed to summon Old Henriette near the Nightmare Church lantern if you need help. Good luck!
Living Failures

The Research Hall is a strange place, but after moving the staircase and stepping into the garden, you'll meet its most vile residents: the Living Failures. This battle isn't particularly hard, though you'll have to juggle multiple targets. Each Failure can be defeated individually, but damage is dealt to the shared health bar on screen - you don't have to kill every one that spawns as long as you chip away that whole meter.
Some Failures will attack with high-damaging face plants and swipes, but these are easy to sidestep. The magic-users are another story, and there are three spells they can use. The first is a small homing ball, but this moves slow enough for you to outrun. The second is a hovering ball that fires homing crystals. These move faster, so be prepared to sidestep until they fade away. Finally, the Failures may raise their hands in unison, darkening the sky. When this happens, mash that dodge button and stay moving - meteors will crash down from above. This fight isn't too hard, especially if you focus on the magic-casters first. Pro tip: the sunflower will block most magic spells. Stay on your toes and focus on whittling down one foe at a time, and you'll be good to go.
Lady Maria of the Astral Clocktower

Beyond the Research Hall, past the Lumenwood Garden, is the true boss of this area: Lady Maria. Like you, she's a Hunter. That means you're in for a serious fight. As the battle begins, Lady Maria will attack with her blade in one hand, side arm in the other. Her slashes and charges can be avoided with simple sidesteps. Dodge the two-hit combo, then close in for a hit of your own. If she switches to a two-handed approach, watch out for her gliding attack. This can also be dodged with a sidestep.
At about 60% health, Lady Maria will stab herself and erupt in an area-of-effect attack. From then on, there will be a blood effect on each swing. This increases the range of her standard attacks, so be generous with your dodges. If she rises into the air, be ready to leap away when she slams into the ground, sending out some bloody shock waves. Lastly, Lady Maria may sheathe her sword and charge up. Be prepared to quickly dodge the energy beam she fires your way.
At around 40% health, Lady Maria will stab herself again, this time adding fire to her blades, on top of the blood. This increases her range even further, and raises her attack power. Use the same strategy, but be extra wary of taking damage.
Lady Maria can be taken down with some smart dodges, so don't get too discouraged. And for the record, she's also very east to stun with your side arm.
Orphan of Kos

The Fishing Hamlet is truly unique setting for Bloodborne, but it's not a pleasant place. Here you'll find the final boss of The Old Hunters: the Orphan of Kos. The Orphan's weapon isn't really an axe - the fleshy part extends like a whip. As such, you have to be careful when dodging, as it has a pretty big range. For his basic combos, you'll have the most luck dodging to your right (his left) and chipping away at his side or rear. Make sure he's finished swinging before you close in, and be prepared to step back to avoid his backward leaping attack.
He may also leap into the air for a slam attack; just keep your distance to avoid damage. If he spawns a purple orb in his hand, stay back and let him throw it into the ground. The air around where it lands will erupt in energy, so make sure you're at a safe distance.
At 50% health, the Orphan will power up, and he'll start to glide around and use altered attacks. His basic slashes and charges remain the same, but he'll gain a new slamming combo. If he starts this, keep your distance until he calms down, or zip under him as he moves forward. In general, it's much easier to dodge his attacks if you stay pressed up against him. That may sound counter-intuitive, but it works.
During this stage, he may also leap into the air and fire off several of those area-of-effect orbs. When he's up, keep moving to avoid the splash damage. Finally, he may charge up and call in lightning waves from the water. To avoid this, dash back toward the fog door: the lightning will disperse by the time it reaches you.
The Orphan of Kos may be the ultimate boss of this DLC, but he's not invincible. Be smart with your dodges, don't get greedy with your attacks, and you'll come out on top.
Laurence, the First Vicar

You don't have to fight this beast to complete The Old Hunters, but if you've obtained Laurence's Skull, you can enter the chapel at the top of the Hunter's Nightmare and take him on. Laurence, the First Vicar won't be too happy to see you. Remember the Cleric Beast? This fight is like that, but on steroids. Laurence uses simple swiping and slapping combos, best avoided by dodging directly under the claw to get behind him. The catch is that his attacks do heavy fire damage - you can be taken out with just two to three hits.
He may also slam his claw into the ground, getting it stuck. When this happens, back away or get behind him: he'll rip the claw free, causing fire to erupt around him. He may also leap into the air, either off screen or still in your field of view, so be ready to sidestep when he lands. This part of the fight really isn't too bad as long as you're smart with your dodges and attacks. He leaves himself wide open after most of this combos. And watch yourself when he falls over, as he will still flail around and try to attack you.
When his health hits about 40%, Laurence will topple over and lose his bottom half, forcing him to crawl around on his torso, fire leaking out behind him. This part of battle is very tricky. Dodging around him means taking damage from the fire, and he'll keep attacking with swipes. Your best bet is to chip away a hit or two at a time in between his swipes. He may slam his hands and crawl toward you, or spit up fire onto the ground. In both cases, you should just stay back.
Laurence might hit hard, but he leaves himself open for attacks. Keep pressing, and you'll be able to take down this twisted clergyman.


