Splinter Cell Conviction Deniable Ops Guide
Sneak and shoot your way to victory with these surefire tips
Weekly digests, tales from the communities you love, and more
You are now subscribed
Your newsletter sign-up was successful
Want to add more newsletters?
Join the club
Get full access to premium articles, exclusive features and a growing list of member rewards.
First Stage
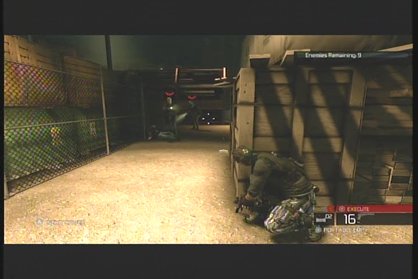
Above: Preparing to Execute
This stage is going to basically be four or five minutes of chaos. There aren’t many good places to hide, all of the enemies are right on top of each other and since it’s a wide open area they can see you from pretty far away. You’re going to have to alert them to your presence while using hit and run to pick them off. Then when you can lure three of them to you M&E them to cut the numbers down. Just be careful and stay mobile.
Second Stage
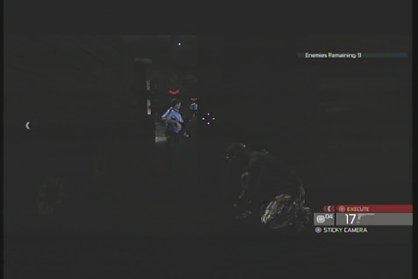
Above: If you’re lucky they line up for you.
A fairly simple but boring stage, you’re going to have an easy time sniping each and every enemy but they will eventually catch on and start patrolling in groups. It’s at this point you will have to take each enemy on one at a time. If you’re lucky the random spawning will place enemies at points where they either group together often for a M&E or stay far apart so you can pick them off easier.
When you’re in the garage areas take note that you can climb on top of the vehicles and over most of the walls. They don’t extend all the way to the ceiling so you can actually climb up those walls and hang out up there to kill enemies from above or to simply have a better vantage point.
Weekly digests, tales from the communities you love, and more
Third Stage
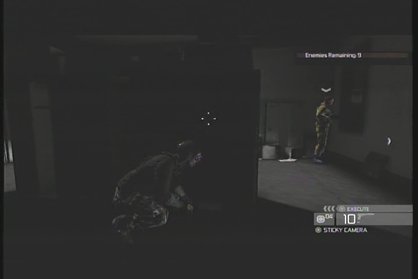
Above: Clearing out the upper level.
Open the door in front of you and use Sonar to find the nearest enemy. They will often be in the room straight in front of you. Pass through each of these rooms, taking out the enemies as you go until you’ve cleared all of them out. This will allow you to handle the lower room without worrying about being spotted.
There are usually two enemies in the upper rooms, four in the room below, one in the small room just past that and three in the room beyond. Make good use of Mark and Execute since it can be hard to recharge it with all of the enemies in such close quarters. If possible try to conserve an M&E for the final room. The enemies are usually all over each other here, and it’s nearly impossible to take them out one at a time. Getting two out of the three of them in your line of fire will make this end incredibly fast.
Fourth Stage
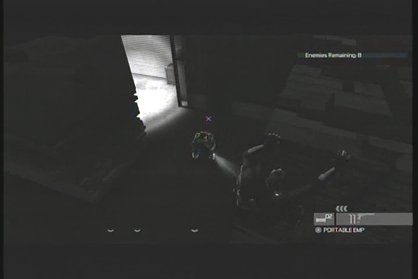
Above: Thank goodness they don’t look up.
This area can be incredibly exciting and a bit on the annoying side depending on how things go. If you can remain undetected it quickly becomes a game of cat and mouse as you stalk the soldiers through the lumber yard. Should you be detected, you’ll be trying to avoid being spotted by them while getting opportunities to pop them with an M&E in between running for your life.
From the door into the lumber yard if you look to the left there is a ledge you can climb up onto. Most of the enemies will not notice you up here so if you’re being pursued you can hunker down up there, crouching, and trying to get a good shot on the enemies.
Fifth Stage
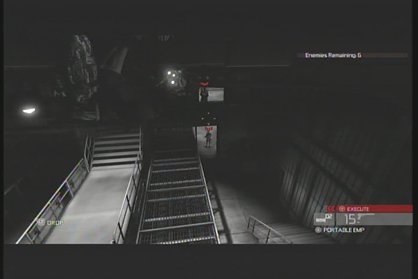
Above: A perfect point of view.
From the door into the level there’s often an enemy to your right that can be popped off right from the beginning. Now take stock of where the enemies are located as there are often a number of them that can see you from there. Cross the upper level and enter the door to find another enemy hanging out inside of the office. Get in, kill him and then deactivate the turret.
From there you can easily move into position to deal with the rest of the enemies in this area. Leave the office from the side door and you will find a pipe. You can use this to cross to the far side of the area. There are usually three enemies you can see from here, two in the upstairs room and one in the downstairs. From the pipe you should be able to pick off one of the guys on top and the one on the bottom. Now climb down, make your way to the upper level and kill that poor schmuck.
Once again, since you have the higher ground it should be no issue for you to run around and take out the remaining enemies without even needing to get too close. If you have a Mark and Execute you can easily use that here to pick off the final foe.
Daniel is a freelance games journalist, but is also the Editor-in-Chief at Gaming Excellence.
 Join The Community


