Splinter Cell Conviction Deniable Ops Guide
Sneak and shoot your way to victory with these surefire tips
Weekly digests, tales from the communities you love, and more
You are now subscribed
Your newsletter sign-up was successful
Want to add more newsletters?
Join the club
Get full access to premium articles, exclusive features and a growing list of member rewards.
First stage
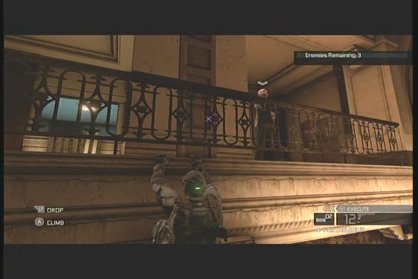
Above: Taking the pipe route.
• When on the outside you have two means of entry, a pipe along the wall and a door that leads into the first floor. The pipe will almost always allow you to kill an enemy with a melee attack, an important start since it will net you the ability to Mark and Execute. From there it’s basically up to you as to which method of entry to use.
Article continues below• As tempting as it may be, do not, under any circumstances, drop the giant chandelier on the enemies that are standing beneath it. It will kill the two that are talking, but then ten more will be called in as reinforcements. The tradeoff just isn’t worth it unless the ones you kill are the final enemies in the first part of the level.
• Most of the enemies walking around on the upper level have very set routes that they will follow and are very predictable. If you learn them well enough you can climb along the railings inside of the building and clamber over to get some melee kills, allowing more Mark and Executes. Even if their pattern is disturbed by finding a dead body or seeing you destroy a light, they will eventually get on a slightly modified pattern.
• The last enemies will quite often retreat to a set position near the far door. You can very easily look down from over them, mark them and then take them out with no fear of them seeing you. If you’re having a hard time getting them both in frame for a kill, jump over the railing and hang on to it, for a good set up.
Second Stage
Weekly digests, tales from the communities you love, and more
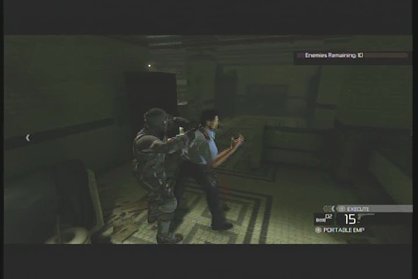
Above: Start this off right.
• It is very important to start this one off properly. Try to move forward as quickly as possible, shoot out the light if you must and then open the door into the next room. If you don’t do this fast enough the guard will sometimes hear the lights being shot out through the closed door and go on alert. If he goes on alert then there’s a chance that the two up ahead go on alert. It just makes the area more complicated than it needs to be.
• The only other hard point is the large room with only one door that comes at the end of the hallways. Here there are a number of enemies patrolling the room, a few in another room at the far side, and all the bright lights you probably don’t want to deal with. For this room it’s best to have the ability Mark and Execute, set off an EMP and then run into the room. From here you can try to use the Mark and Execute to take out the two patrollers and then move on to the others.
Third Stage
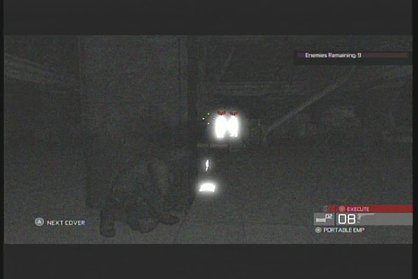
Above: An easy kill.
• This level starts off very much in your favor. There is a guard in the very next room who is easily caught with a melee attack from behind. Once he’s out of the way, slip forward and watch the next room. There’s a guard on the ground and one on the upper level that should be marked ASAP. Every so often they will meet up at the back of the first floor for a quick chat – this is your opening. Quickly move forward and execute them to clear the area.
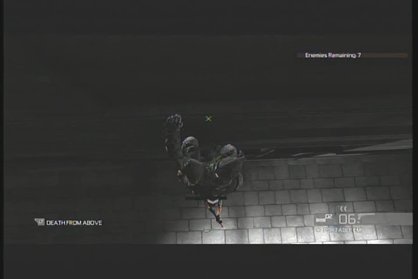
Above: One down, six to go
• Going outside on the other hand can be a bit on the tricky side. It’s very easy to get noticed here and have reinforcements flood the area. One of the guards will often put his back near the wall, sneak over him and kill him before climbing the nearby pipe again. From here you should be able to Mark and Execute two of the guards leaving just one last one to deal with. The rest of them are in the building across from you and are easy kills.
Fourth Stage
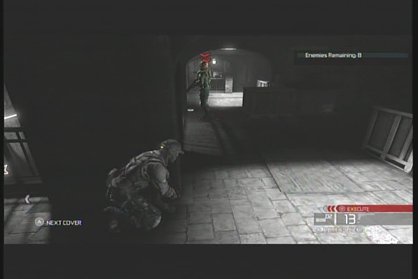
Above: Position yourself for a clean kill.
• Luckily this one is super easy. When you open the door into the first room with enemies, you can easily grab the nearest soldier, taking him out and getting your Mark and Execute back if needed, sometimes he will even be standing in front of the door itself. This allows you to bash it open, smashing him right to the ground with one fell swoop. Often, after he falls, two soldiers will come to investigate him and put themselves right in range for you to kill them from the safety of the doorway.
• With those two dead, grab the soldier that patrols to the left side of the area, taking him out and getting another Mark and Execute. Sneak towards the bright area in the middle and try to get two more of the enemies here with your ability. That leaves only four enemies. They will usually leave their heads wide open to sniping so feel free to just pop ‘em in the head to clear the stage while hanging around on the upper level.
Fifth Stage
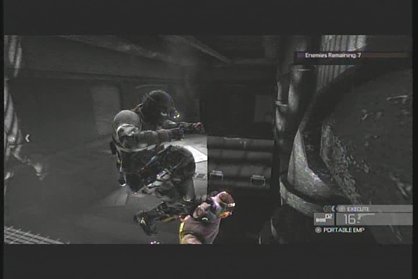
Above: One down and plenty to go.
• Of the first three enemies in this stage, one is easily grabbed for a melee kill and the other two can be easily sniped off with a headshot if you’re careful and have bought some weapon upgrades.
• There is a long hallway with a soldier in it, you can use the pipe to get up on top of him and use a death from above to take him out if you need the Mark and Execute. Otherwise just pop him in the head.
• The only real hard part of this level is the next room since there are usually four or five enemies still in there as well as a turret. If you’d like to make your life easier you can use a Sticky Cam to draw an enemy or two out of the room and take them out before dealing with the rest of them as you see fit. You can also mark the enemies using Sonar, use an EMP to disable everything, and then rush the room to execute all of the enemies. There is a turret control in the small room at the end of the hallway though, disable that by shooting the car which will distract the enemies allowing for easier kills.
Daniel is a freelance games journalist, but is also the Editor-in-Chief at Gaming Excellence.
 Join The Community


