Monaco: What's Yours Is Mine walkthrough
Complete walkthrough and guide
CHAPTERS 1-8
Chapter 1: The Prison Break
CoinsStreet Level: 30Tunnels: 7Cell Block: 10
Main Objective: Escape!
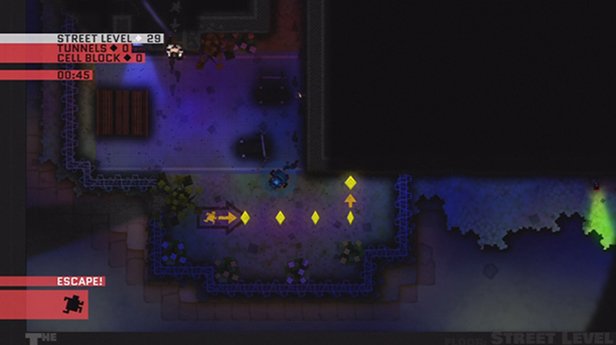
This being the first mission, there are no real tricks to completing it without missing all of the coins. You’ll want to use the Locksmith as the only thing that will slow you down is opening the doors. It’s simple and straight forward, but if you are going for speed, then make sure to cut your corners tight and ignore the alarms.
Chapter 2: Hijack at the Hairpin
CoinsRoute Moyenne Corniche: 30Monaco Railway: 60Shoreline: 16
Main Objective: Rescue The Mole
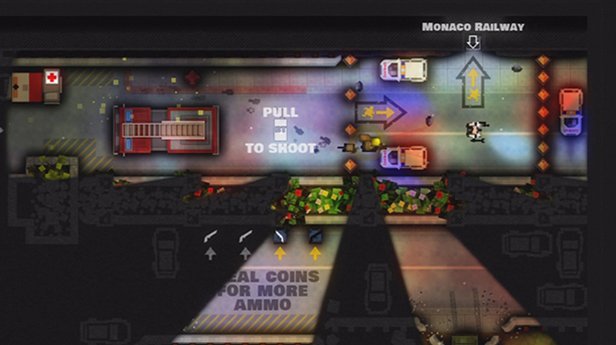
Now that the first mission is down, it’s time to actually get into the gameplay for realsies and get some more teammates. This mission will have you rescuing The Mole, a character who can break through walls. Choose the Pickpocket as the monkey will help you grab the scattered coins in the Railway area much easier. To start, go to the left and up and follow the road to the right. Take the stairs to the Monaco Railway.
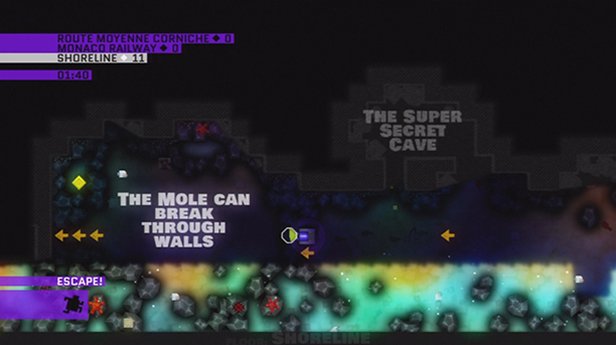
Make your way to the far left side, making sure to grab all the coins at the top and in the small alley ways. When at the far left side, go down into the train and go right. Once at the end, go up through the freight train and then back down to the Shoreline. This next section is easy and fast as all you need to do is grab the Mole and then the remaining 16 coins. Break your way through the stones to reach the far room on the left and then exit.
Chapter 3: The Lebanese Embassy
CoinsMain Office: 21Second Level: 40Street Level: 32
Main Objective: Steal Passport 1/1
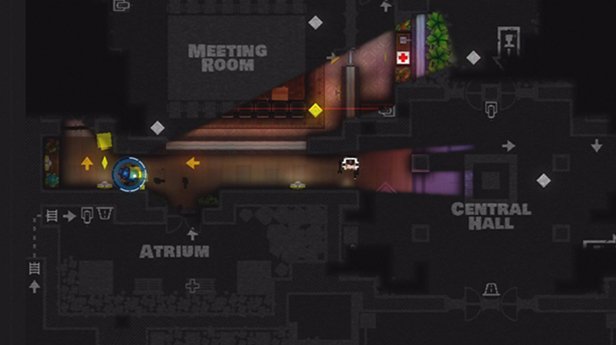
For this mission, choose the Locksmith and then head to the left as soon as the mission starts. Make your way through the bushes into the house and then continue north through the Atrium, Meeting Room, and Back Lot. Go south through the Central Hall and then right, avoiding the lasers and then north to the Second Floor staircase. When you reach it, you should have collected all the coins on the Street Level. As you arrive on the second floor, use the computers there to deactivate the laser beams and head south and make your way back around to the top collecting all the coins on the way.
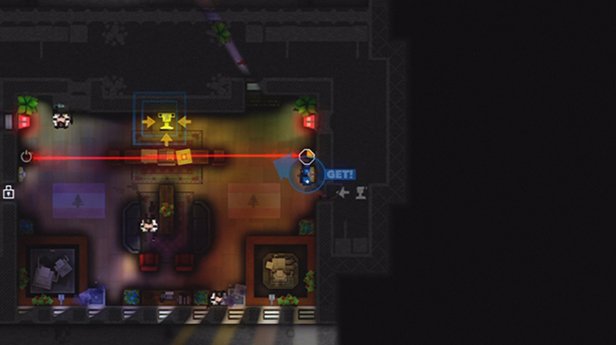
Once all the coins in the Archives have been collected, go left to the Study and Library and collect the coins in this area. Once you have all the ones in sight, you should still need about 7 more. Ignore those for now and head up the ladder to the Main Office. When you reach it, go north in the main hallway and make a lap around the Ambassador’s Office to get to the far side. Enter the office and deactivate the beam and grab the passport. You should have all the coins on this floor by now, so if you missed one, be sure to grab it and run back to the stairs to get down to the Second Floor.
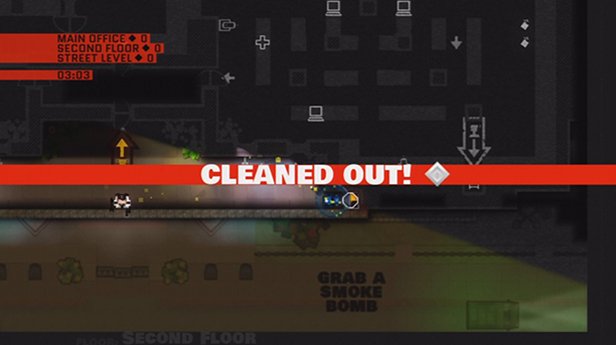
When you reach the Second Floor, go due south and climb the ladder there that will take you out to the balcony. Out here you will find the remaining coins needed as you make your way to the far right side. Climb the ladder there to get back inside the house and go to the far north right corner to reach the stairs going to the Street Level. From here, simply run to the Central Hall and exit through the doors to the south. Run to the car and escape with the goods.
Chapter 4: Banque Albert
CoinsStreet Level: 59Underground: 65
Main Objective: Steal Bank Notes 1/1
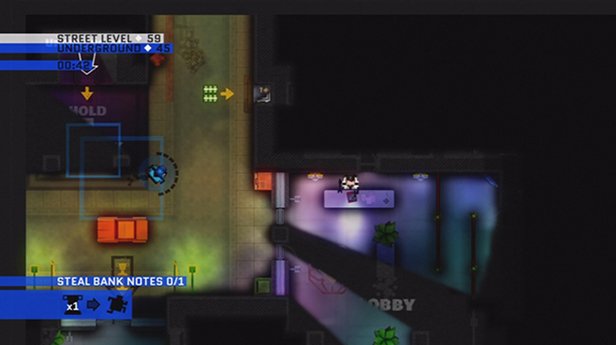
Choose the Mole and make your way to the far left from the beginning of the mission. Be sure to grab the three coins from the three civilians hanging around there. Go up the escalator and grab a disguise and make your way north to the ticket booth and then up the stairs to the Street Level. Once on the street, go to the right to get the stack of bills, the safe directly to the right of it, as well as the stacks in the two offices to the left of the lobby. Grab those and then get the two cash registers in the lobby behind the counter and the safe in the room above the lobby and to the left of the break room.
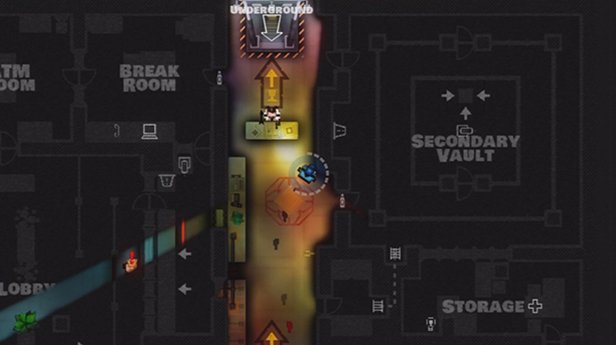
Once you have those large stashes, go to the right and enter the secondary vault to find another safe that needed pillaging. Pop it open and then make your way to the bottom of the screen where the restrooms are. There is usually a coin or two in there that can easily be missed. Go back up to the stairs leading to the Underground behind the guard in the center. Once you arrive, you’ll need to get the large stack of cash in the Bank Security room in the center. Clean up the lone coins in the hallways once you have it and then go to the far right, to the upper Counting Room to find a few more stacks of cash in here that you need to grab.
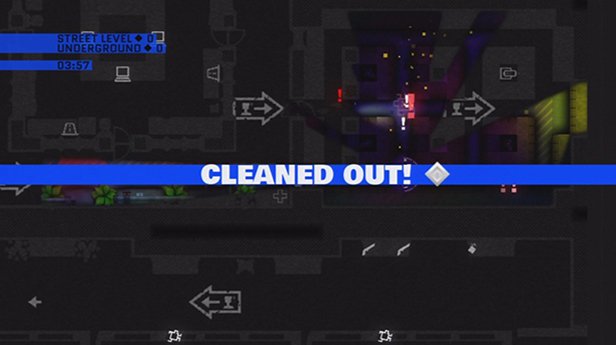
Once you get those, enter the room below it which is the Main Vault to find the Bank Notes treasure as well as 7 more stacks of cash you need to grab. Pick them all up and you should have the mission cleared out if you nabbed all of the loose coins. Now go to the south wall and break through to reach the car on the other side and escape!
Chapter 5: Manoir Moucharder
CoinsThird Floor: 28Second Floor: 38First Floor: 50
Main Objective: Rescue the Gentleman
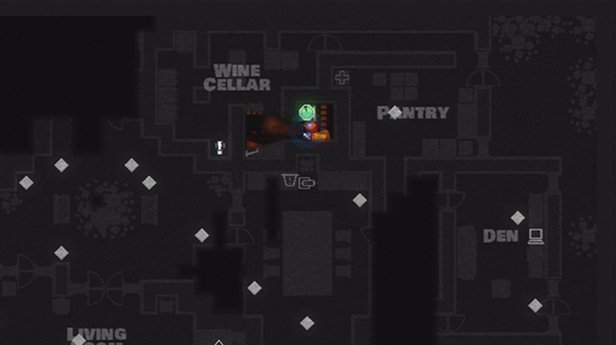
For this mission, you start in the house garage and are offered bandages that can heal you should you need it, and chances are you will. Pick the Locksmith and then exit the garage and make a right to go to the bottom of the screen. Continue to the right grabbing the coins on the outside of the house,, and up the right side. Enter the door at the top that leads to the pantry and once inside, go through the small hallway at the top that leads to the Wine Cellar. Once in here, deactivate the laser beam and then pop open the safe in the corner. Once you have the good there, make a clockwise circle through the Living Room, Kitchen, Guest Room, and Den to collect the loose coins scattered about.
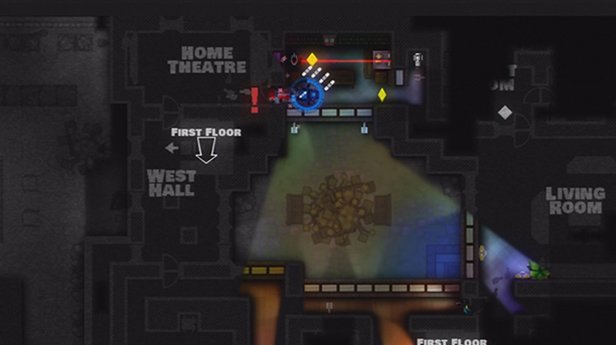
You should have about 4 coins left on the first floor, but we’ll get those on the way out as they are near the exit. Now that you are on the Second Floor, go left to the Ballroom, up through the West Hall, the Home Theatre, and then right to the Library. In here there will be another safe that you will need to pop open for a whole lot of coins. Once you have the safe, go to the far right of the floor and go south through the bedrooms to clean up the rest of the coins. Be sure to check the restroom on the far right as a lone coin is usually in there. Now head due north to the stairs leading to the Third Floor.
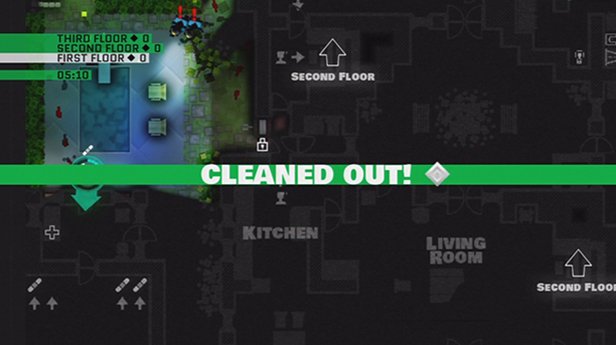
Now you can rescue the Gentleman who is located on the far right on this floor, but I suggest getting the rest of the coins first so that you can get through the needed doors quicker. There is a stack of bills in the northwest office that can be easy to miss, as well as a few coins in the study, just to the northwest of the floor entrance. Once you have all the coins on the floor and the Gentleman, book it back to the main stairs and again just a few steps to the left to get on the stairs to the first floor. Now that you are back on the main floor, run to the left to the Kitchen and then exit to the backyard where the remaining few coins will be. Grab them and then go south to the garage to escape!
Chapter 6: Le Port De La Condamine
CoinsBridge: 10Second Floor: 10Street Level: 38Docks: 56Sea Level: 20
Main Objective: Escape!
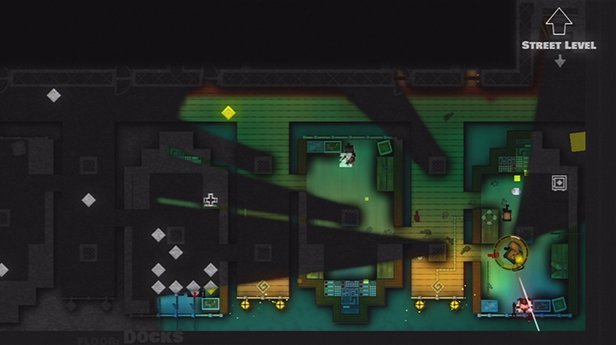
The first part of the mission is rather easy to get through quickly using the Pickpocket. Collect the few coins scattered around the area after picking up the crossbow and then hit the ladder to get to the docks. When you first arrive, go south and to the second boat on the left. Tranq the dog there and then enter the boat on the right. Shoot the guard there without alerting the bird and then rob the safe there. Next up grab all the coins on the boats, including the three from the civilians at the bottom, and then head north to the maintenance tunnels. Work your way right to left, clearing out all the coins, again the monkey make this much easier. Once you have them all collected go to the door at the very top on the left.
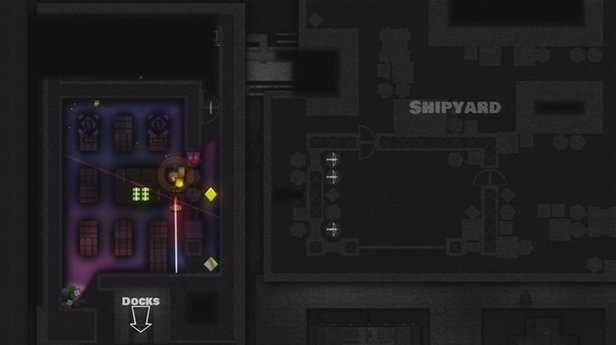
Now that you are on sea level, use the computer and work your way past the lasers, ignoring the coins for now. When you reach the bottom, pop the safe in the engine room and then use the light bulb to turn off the power. Run north collecting the coins and then go up the ladder on the left to the docks. Make your way past the next set of lasers and go through the door on the left at the bottom. Move past the beams there and go up the ladder to the Street Level. Take out the two guards there and collect the coins here. Go up the narrow passage on the left side and grab the coins and stack of bills while avoiding the spinning lasers. Go through the passage on the right and follow it up to the stairs and you should have all the coins collected for the street level now.
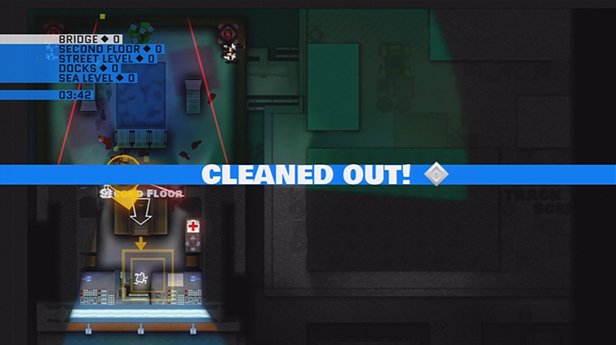
Now that you are on the second floor, avoid the beams and tranq the guards there. Collect the coins and head to the ladder in the south center to reach the bridge. Now that you are in the last area, go to the room at the north and there will be two beams and a guard. Wait for the beam to move and then collect the coins and head back to the far south to escape with all the coins.
Chapter 7: Scorpion and the Frog
CoinsBridge: 5Second Floor: 5Street Level: 53Docks: 41Sea Level: 53
Main Objective: Escape!
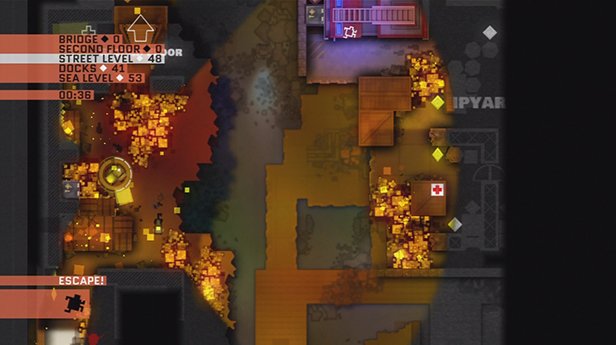
As you start, choose either the Locksmith or the Pickpocket to use. The Locksmith helps with the few safes but the Pickpocket’s monkey really helps in the maintenance tunnels. You will now need to do the opposite of the previous mission by escaping the now burning boat. For the bridge section, it is rather quick and easy as all you need to do is go north and then south through the locked doors. I preferred to take the smoke bomb as a power-up as there are a ton of enemies and shooting them doesn’t help much. On the second floor, just run quickly north to the next ladder, grabbing the coins on the way. As you hit the second floor, go to the left side and grab the coins and the safe there. You will burn as you pop the safe, so as soon as it’s done, grab the health pack at the top or use your power up.
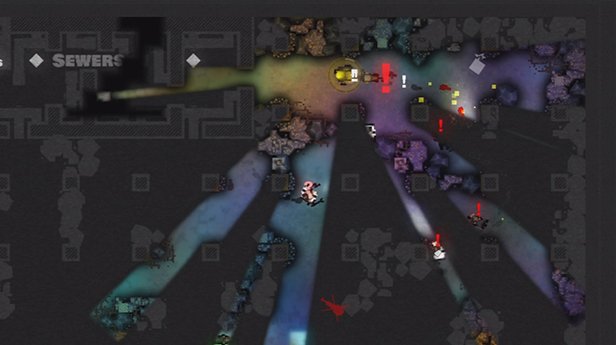
Go through the door at the bottom to get to the docks while sneaking past the guard there. Now that you are at the docks, it gets a bit trickier. Go north and collect all the coins you see and make your way north to the Sea Level ladder. As you reach it, start on the left side and be sure to check behind the water spouts for coins, as well as the very bottom and the far right corners. The coins love to sometimes appear there. Clean out the room and the safe at the bottom in a clockwise fashion and then exit through the door at the top which will take you to the Docks. If you get caught here, there are a ton of guards and dogs that will chase you, so lead them around behind you as you collect coins to not have to worry about them. Once there head south to clear out the boats of their coins and the stacks of bills on the two far right boats.
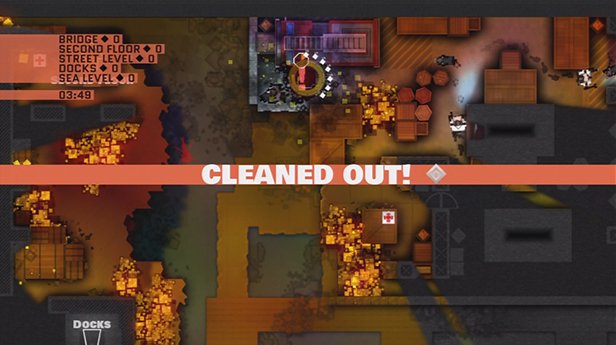
When they are clear, head north to the maintenance tunnels and work your way from left to right clearing them out. When you get all the coins in there, the docks should be cleared. Go to the ladder on the far right to go to the Street Level. Now all you will need to do is clear out this last area, there will a lot of coins scattered about, but the only real tricky one to spot is the safe that is located right beside the fire truck that you use to escape at the top left. When you have only ten coins left to get, run for the exit, pop the safe, grab the coins, and then leave.
Chapter 8: Centre Hospitalier
CoinsHelicopter Landing Pad: 10Psycho Ward: 56Infirmary: 53Street Level: 49
Main Objective: Rescue the Hacker
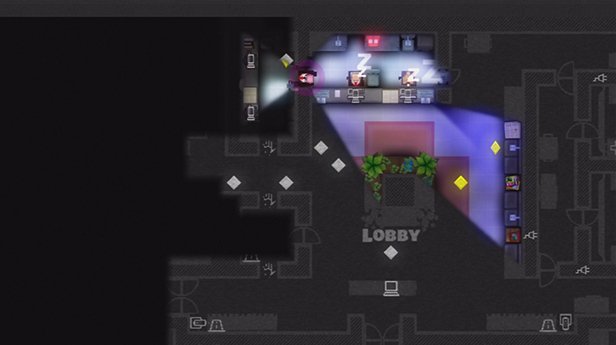
From the get-go of this mission, use The Cleaner and grab all the coins in the starting area and to the right in the ambulance parking. From there, enter the hospital and go room to room, from right to left cleaning up the coins. On the far side in the pharmacy, be sure to clear out the cash registers and to get the safe from the room below the back offices, to the left of the lobby. Once you have gotten all the coins, head for the Infirmary ladder in the northern left corner. You won’t be coming back here, so make sure you collect them all before leaving.
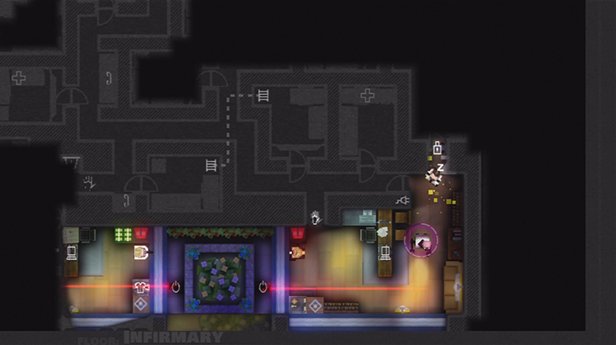
In the Infirmary, the only real tricky spots for getting the coins will be the safe in the lower far right corner, and the stack of bills in the lower center office. Collect the rest of the coins from around the floor and then grab the stack of bills by using the computer to knock out the laser beam and then go to the far right office to get the safe. Once you pop it and grab the rest of the coins, immediately go directly north to the ladder that will take you to the Psyche Ward where the hacker is. Like the floor before, make your rounds collecting the coins you can and be sure to get the few from the civilians in the small rooms.
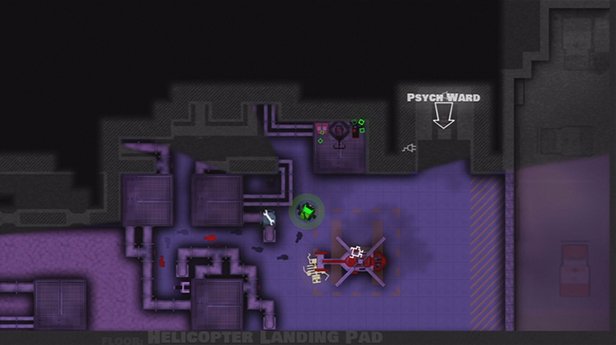
Once you have cleared out the surrounding rooms of the Hacker, turn off the power using the light bulb to the south and then run in and grab the hacker. Run out the left side of his cell and wait for the laser beams to fade before making your way south. You can now collect the few remaining coins from the Mental Ward and then head to the Helicopter Landing pad just south of where you entered the floor. When you reach the roof, either take out the lone guard there or just go to the left side and turn of the power. Collect the rest of the coins and then use the helicopter to escape!
TABLE OF CONTENTS
THE LOCKSMITH'S STORY
- Page 1: Introduction
- Page 2: Chapters 1-8
- Page 3: Chapters 9-16
Weekly digests, tales from the communities you love, and more
Jeff McAllister is a freelance journalist who has contributed to GamesRadar+ over the years. You'll typically find his byline associated with deep-dive guides that are designed to help you scoop up collectibles and find hidden treasures in some of the biggest action and RPG games out there. Be sure to give Jeff a thanks in the comments while you're completing all of those tricky Achievements and Trophies.


