Legend of Zelda: Twilight Princess Walkthrough
A step by step guide to Link’s epic adventure through Hyrule and beyond.
Lakebed Temple
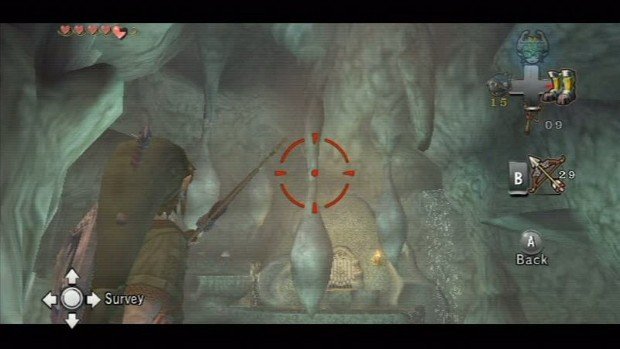
When you enter the temple, there will be two chests in the main room; one with arrows and one with bombs. A little foreshadowing for what’s in the next room. Go up the stairs and pull on the handle hanging to open the doors and enter the next chamber. Combine your bombs and arrows and shoot the columns hanging from the ceiling. When all of the large ones are down, walk down the ramp and go through the next door. At the end of the bridge will be a Lizalfo to take down, so give it a few swipes and continue through the next door and follow the stairs down. Go to the right all the way and on the right side will be an opening where you can grab a gold handle and turn the stairs. Make your way up and go to the left to find a pot that has Ooccoo in it. Let him out and then head back to the right side. You’ll come to another opening where you can pull the gold handle again, so do so and then drop and follow the stairs down. Before going through the door ahead, go to the right to find a chest with the dungeon map in it.
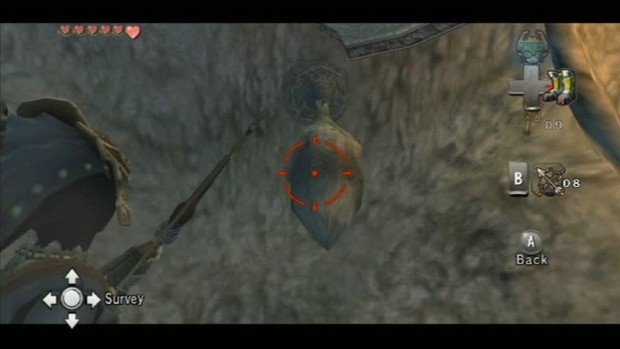
Now go through the door at the bottom of the stairs. When you enter, go through the tunnel on the right and combine the bombs with arrows and shoot the stalactite above and cross to the center. Grab the vines and climb to the right and repeat again on the next stalactite. Wait for it to be even with you and then hop across to the chest. Grab the small key and head back across and enter the large chamber with the staircase again. Go up and head to the left to find the locked door and go through. At the end of the bridge, enter the next room and go to the right to find a chest of bombs. Go to the right now and shoot the stalactite above and climb up to the vines. Once up on the ledge, grab the gold handle and jump down and enter the door there. Go across the gear floor and enter the next door and make your way left to find another small key. Head out of the room and across the gears and through the door. Go to the left and blow up the boulder there and enter the next door. Shoot an arrow at the bubble creature and then use the key on the door to the left. Go through and hop down the large drop to find some pots. Climb up the vines on the far side and then make your way around the circular path leading up.
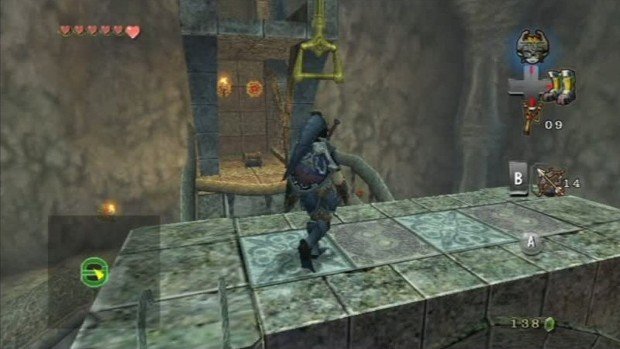
Once at the top, grab the bombs from the chest and then climb up the ladder on either side of the bridge arch. Pull the gold handle there and the water will start to flow. Jump in it to ride it down and then go to the center platform and grab the second handle there. It will open another flood gate in the next room, so make your way there and then enter the gear room that will now be turning. To make things faster, drop through the opening in the gear floor room and then make your way to the top of it to get on the now rotating platforms. Hop off on the first ledge, to the north and grab the key out of the chest and then make your way out to the rotating platforms again and get off at the west platform. Drop down in the water with your iron boots and blow up the stone at the far end. Continue through and when you exit the water, kill the few fish and then look at the ceiling.
Article continues below 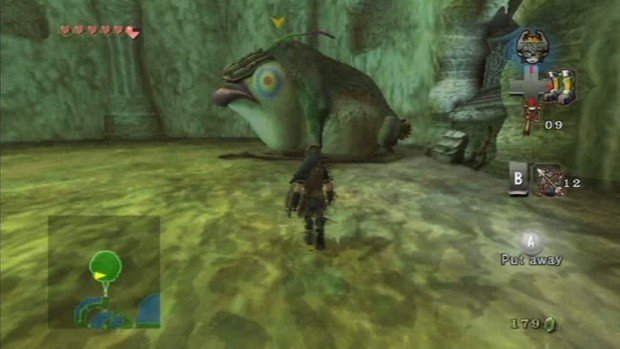
When the large fish drops down, kill all its children and roll out of the way when it launches into the air. When it lands, then slash at its tongue. Repeat that a few times and eventually it will explode and leave a chest behind giving you the clawshot. Use the claw on the gold plate above the door and go through to the main staircase room. Now you can use the clawshot to get on top of the glass structure in the center to find a piece of heart. Make your way down to the platforms around the edge and use the clawshot on the gold plate on the ceiling to pull down a switch. It will then turn the stairs again and allow the water to flow down them. Go through the door at the bottom of the stairs and through the water mill to enter the next room with round platforms. Clawshot over to the left and drop down on the platform blow to get some bombs out of the chest there. Continue to clawshot across to the vines and enter the door at the far side. In the next room, shoot down the stalactite and hop across when it raises. Clawshot up to the gold plate on the other side to open the gate and again to the next door above the short wall and enter to find two bubble creatures. Grapple up to the vines above the opening on the left and enter the next room with the circular path leading upwards.
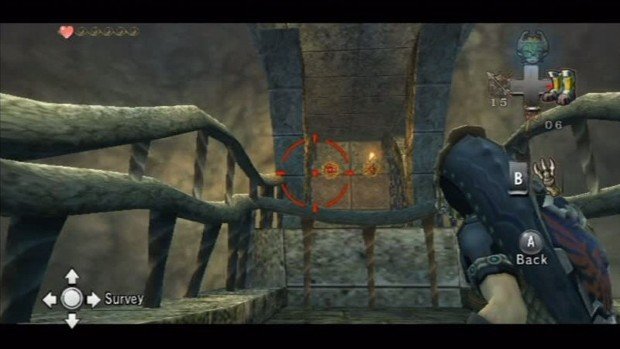
When you reach the top, like the previous chamber with the same set up, climb the ladder to find a handle. This time however, you can grapple over to the chest and receive the compass within. Slide down the water and again when at the bottom pull the gold handle in the center. Now exit the chamber and go to the left doorway and through the water mill. Enter the room with the spinning gears and go below them to enter the door with the overhang above it. Once inside, jump in the water with the iron boots on and blow up the boulder in the far corner to open a passage. Swim through and up and you will come to a room with an opening in the floor and a gold plate above it. Clawshot the gold plate and then lower yourself down through the opening. Open the chest there to get the Big Key and then you will need to make your way back to the main chamber with the staircase. When you reach it, you will now be able to reach the large door with the big lock. Go through it and there will be an opening in the center of the chamber. Drop through and then equip the iron boots for another long drop. Once you finally hit the bottom, the boss battle will begin.
Boss: Twilit Aquatic Morpheel
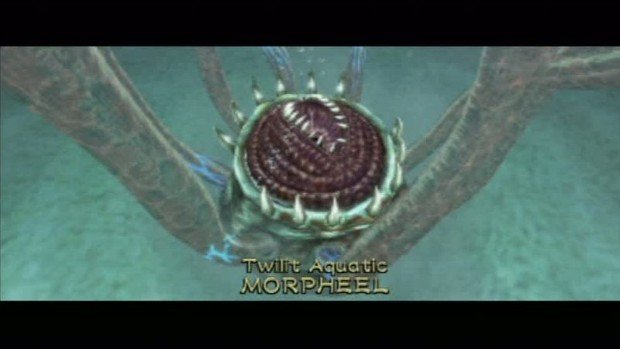
Once you finally get to the boss, you will see an eyeball floating through the tentacles. Hover near the ground and use Z-targeting on it. When it is in range, grapple it to pull it towards you and then hack at it with your sword before it rolls away. Repeat this three times and then the creature will swim out of its hole and around cavern. Simply swim up and wait for the beast to come to you. When it gets close, again target the eyeball above its mouth and grapple it. You will get drawn towards it and then be able to slash at it. Again, repeat this three times and the might fish will fall for good.
Weekly digests, tales from the communities you love, and more
Jeff McAllister is a freelance journalist who has contributed to GamesRadar+ over the years. You'll typically find his byline associated with deep-dive guides that are designed to help you scoop up collectibles and find hidden treasures in some of the biggest action and RPG games out there. Be sure to give Jeff a thanks in the comments while you're completing all of those tricky Achievements and Trophies.

 Join The Community


