Escape Academy Rival Room walkthrough
Solve all the puzzles in To the Finish and beat Gillian in Escape Academy
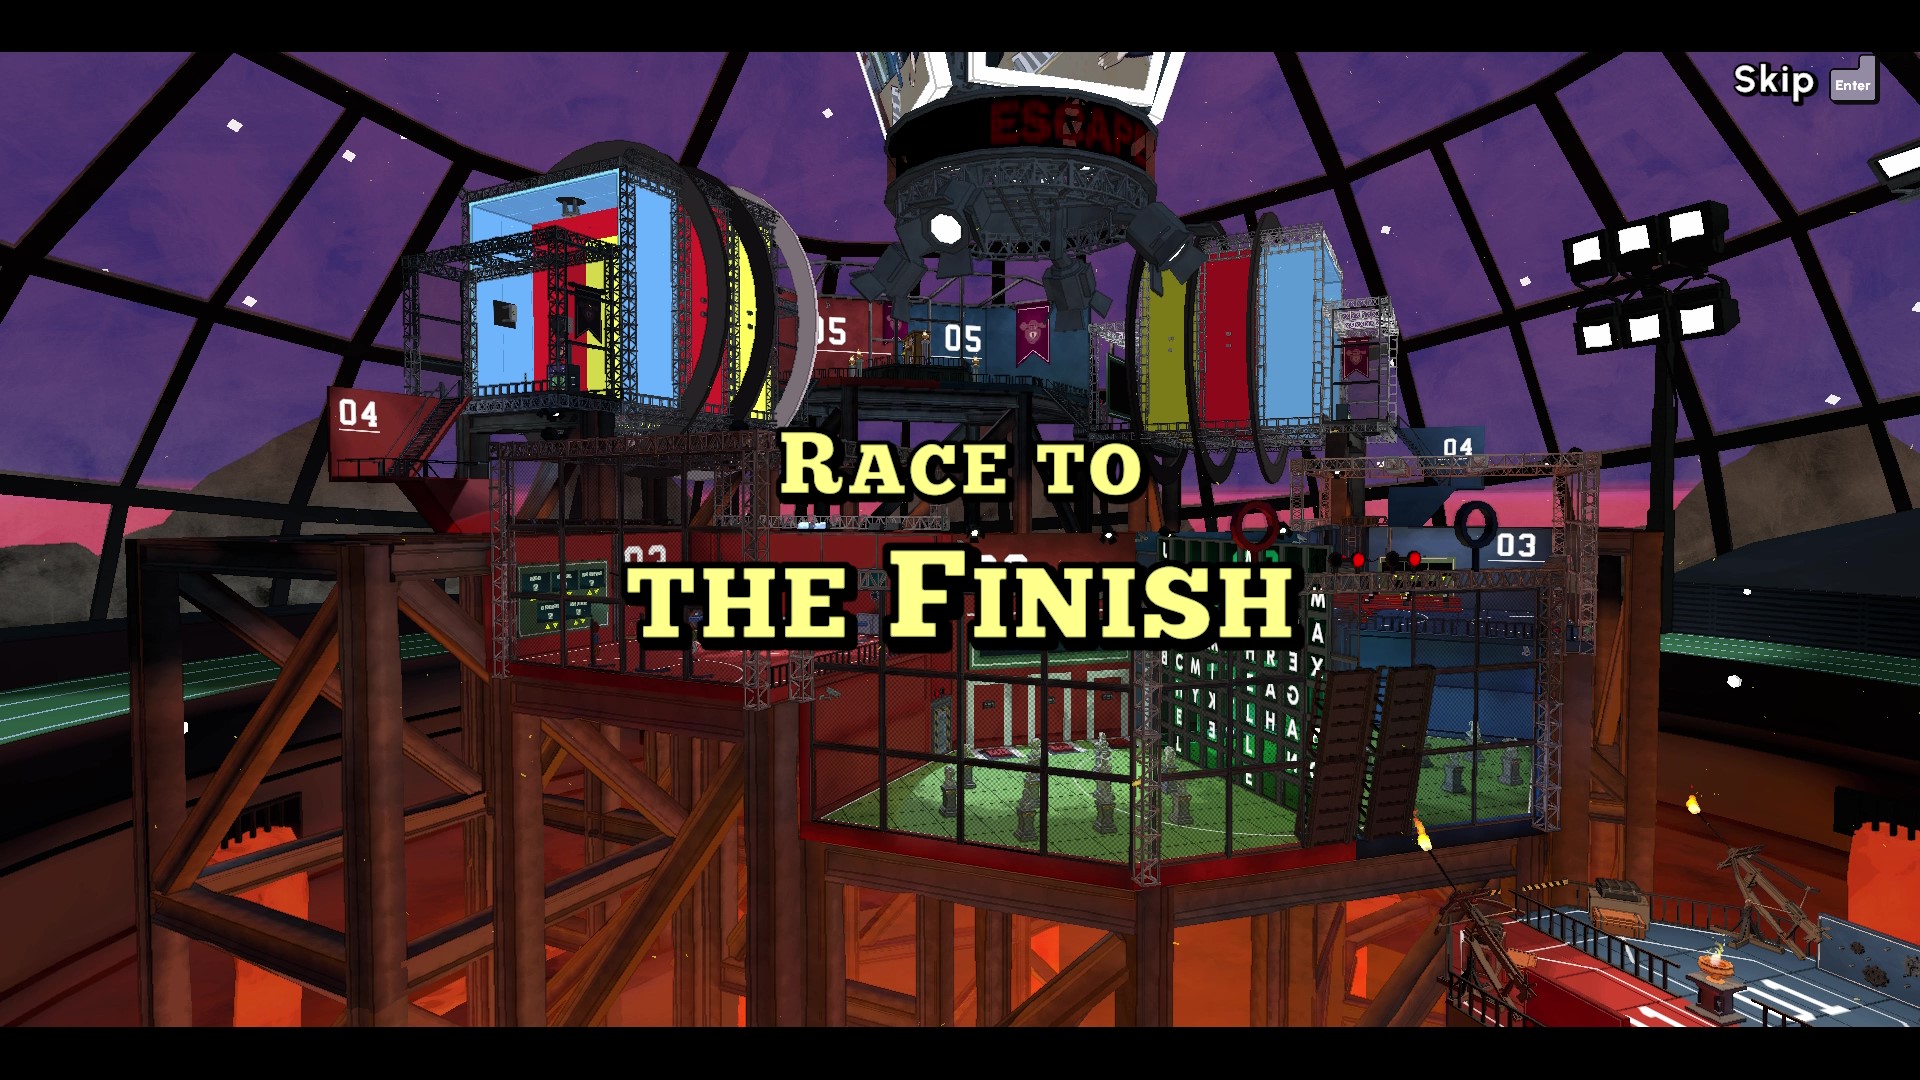
The Escape Academy Rival Room level, known as To the Finish, is one of the most challenging in the game, as the player doesn't just have to solve the puzzles, but beat Gillian, who's also racing to complete them. The Rival Room is a sequence of linear challenges based around various memory, mathematical and logic challenges, combined with a little applied lateral thinking - basically a test for everything you've learned so far. And while the tasks start off manageable, some of the later ones are a lot, lot harder. Fortunately, we've put together a full walkthrough for players to use, with everything you need to know on how to beat the To the Finish Rival Room and beat Gillain in Escape Academy.
How to beat the Escape Academy Rival Room
The Escape Academy Rival Room, from what we can tell, is designed to feel a lot more tense than it actually is. The player is able to see Gillian's progress on the course over, and she'll often pull ahead out of sight, making you understandably nervous - but we don't think she can win unless the standard mission timer actually runs out, so presumably she gets an enormous early lead and then spends twenty minutes stumped on the last puzzle.
With that in mind, anybody who wants to try and beat the Rival Room without our walkthrough below should try not to panic - as mentioned in the Escape Academy water level and Thresher puzzle, "Fear will slow your mind." You probably won't get anywhere by just mashing buttons, so stop and take a second to think and do the formulas in your head… or use our walkthrough if you're really stuck, that works too.
1. The Gears
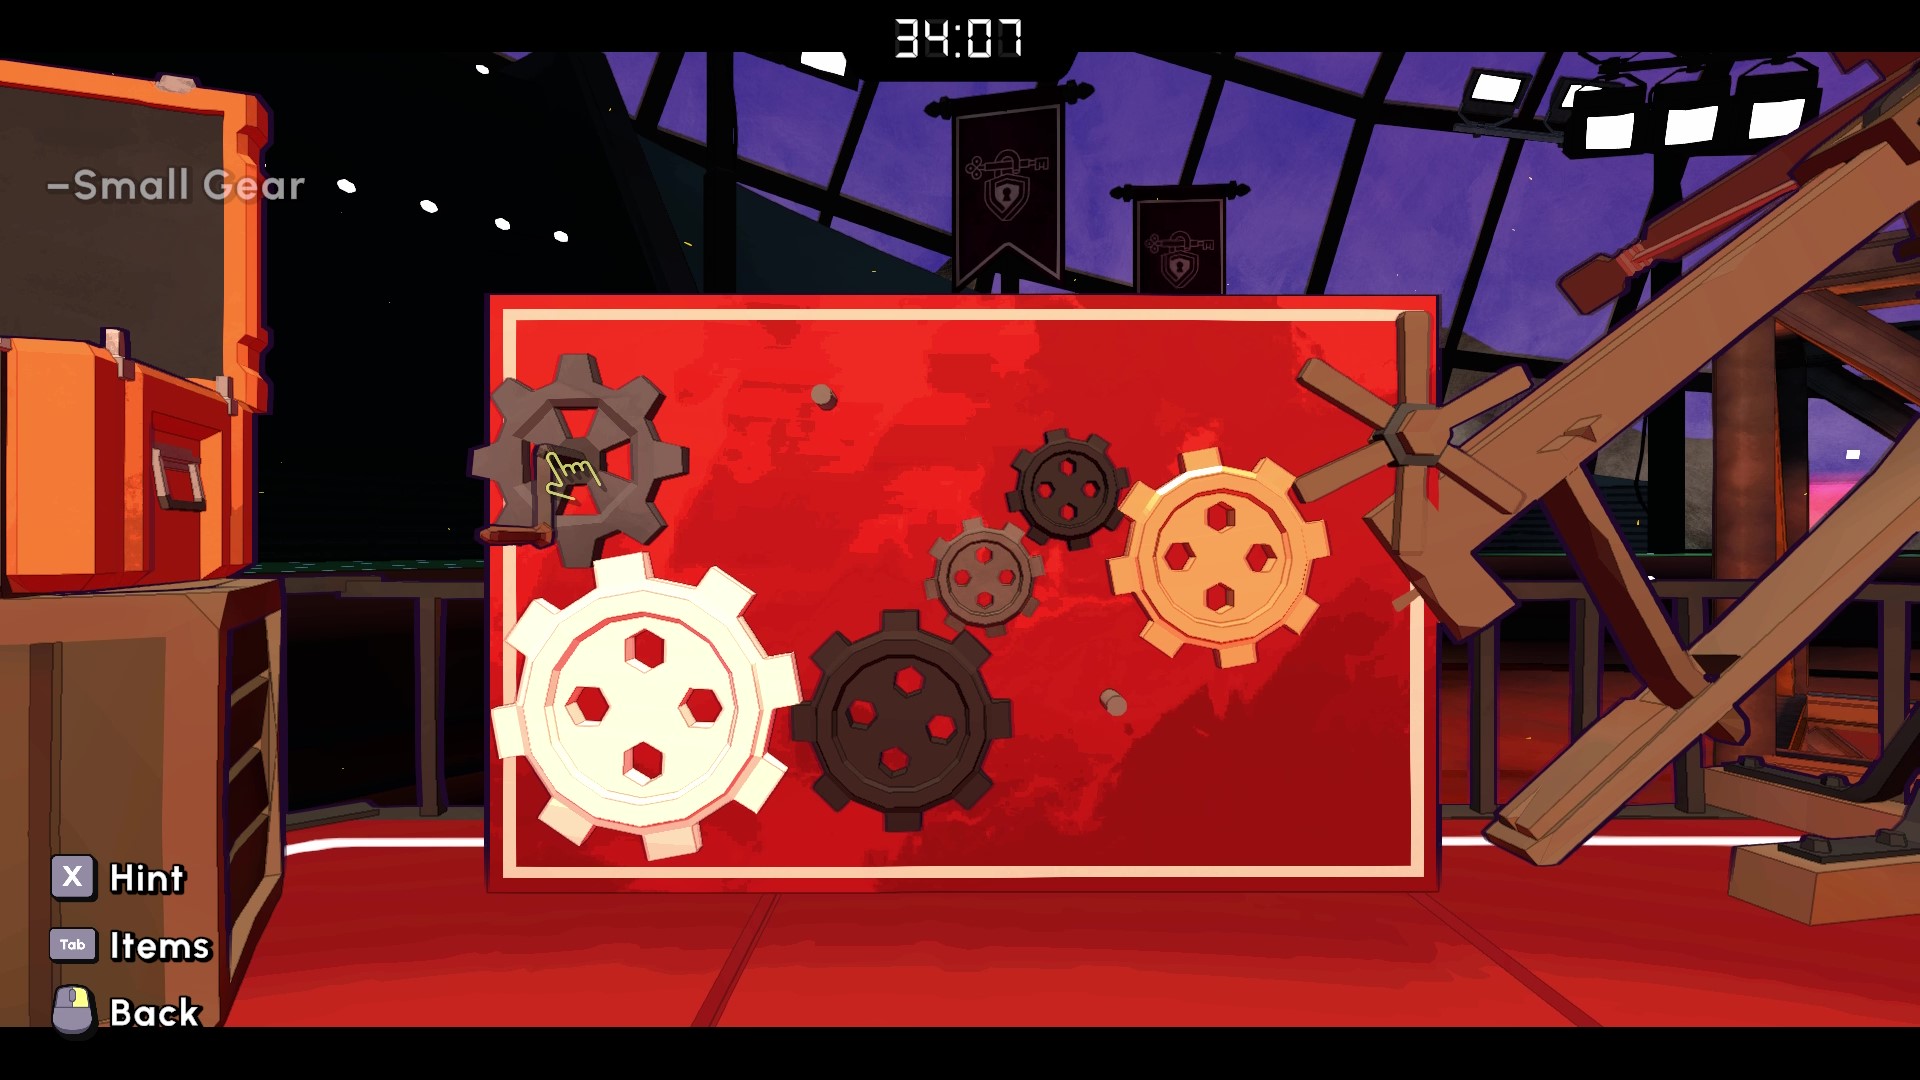
The first puzzle in the Escape Academy Rival Room is a short, simple and comparatively easy one about placing different sized gears on a board so that turning the lever on the left spins the mechanism on the right. Here's the process:
- Get the Large Gear from the orange box left of the board.
- Get the Medium Gear from the orange box to the right of the board.
- Get the Small Gear from the wardrobe to the left of the first box.
- Place the Large Gear on the bottom left peg, the Small Gear in the centre peg between the two fixed gears, and the Medium Gear on the far right.
- Spin the handle on the left to open the door and escape.
2. Which 3 can you both see?
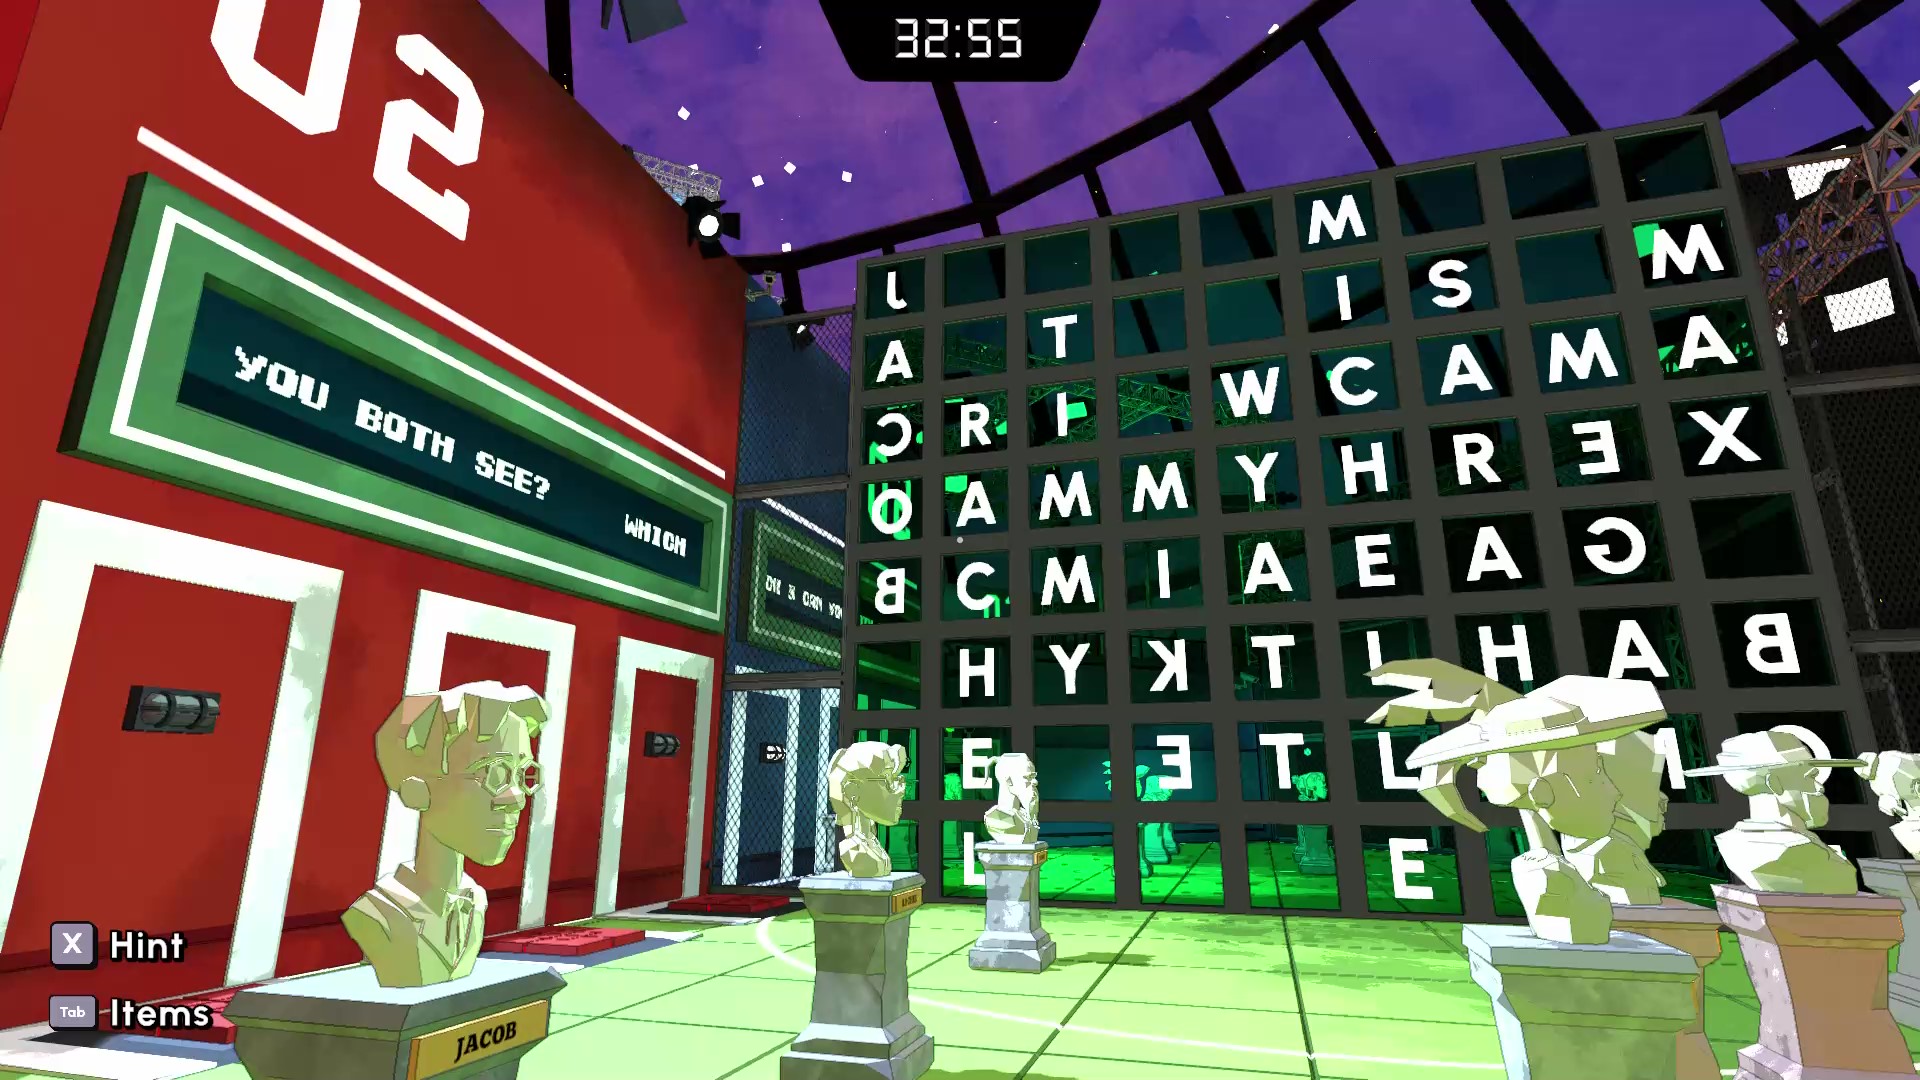
The next puzzle in the Escape Academy Rival Room is more of a lateral thinker - a riddle, of sorts. There'll be about a dozen busts of former escapologists around the room, each one named. Separating you and Gillian is a glass wall with all the names written on it horizontally - but they're reflected for you, looking at them from the back. A display asks "Which 3 can you both see?"
The answer is TIMMY, WYATT and MAX. The puzzle is about perspective - all their names still read legibly even when reversed and looked at from behind, as you're doing. Push those three busts onto the red panels at the back to open the door and move on.
3. The weights and scales
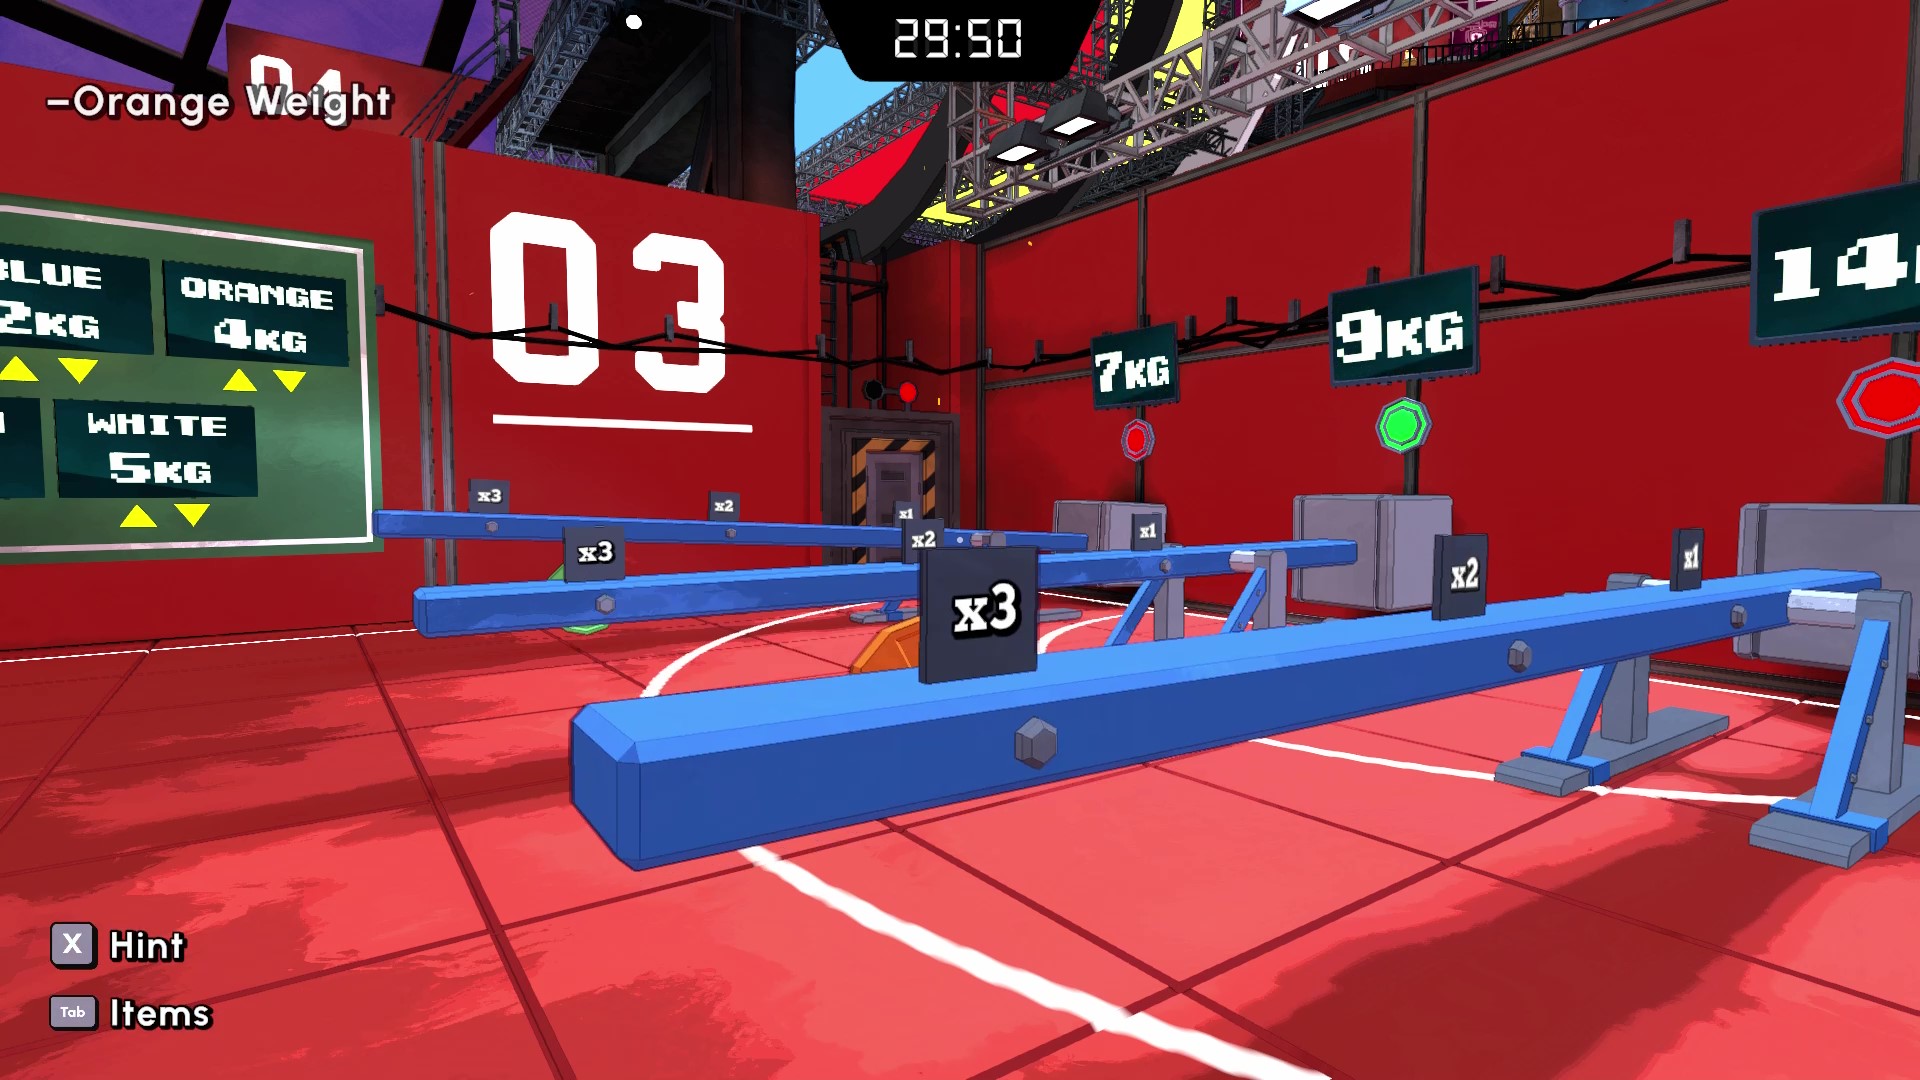
The third puzzle in the Escape Academy Rival Room is split into two halves - first you have to work out the comparative weight of the five… er, weights, by simply balancing them against each other on the scales provided and entering the figures into the green screen on the wall. For those who won't wait, here are the weights' weights.
Weekly digests, tales from the communities you love, and more
- Red: 1KG
- Blue: 2KG
- Orange: 4KG
- Green: 3KG
- White: 5KG
It's not a million miles away from deducing the key patterns in the Escape Academy Breakout and Serial Numbers mission. Either way, once that's sorted out, you're given access to three seesaws with target weights on each one - 7KG, 9KG and 14KG. Each seesaw also has three pegs on it, that are labelled "x1", "x2" and "x3" respectively. If you couldn't guess, putting the weights on those pegs increases their total weight on the seesaw. So if you put the White 5KG weight on a x3 peg, it'll add 15KG to the total weight on the seesaw. You also need to complete all three simultaneously - so with that in mind, the solution is as follows:
- 7KG: Place the White 5KG on x1, and the Red 1KG on x2.
- 9KG: Place the Green 3KG on x3
- 14KG: Place the Orange 4KG on x3, and the Blue 2KG on x1.
This done, the next door should open, taking you to level four.
4. The Spinning Rings, Colours and Shapes
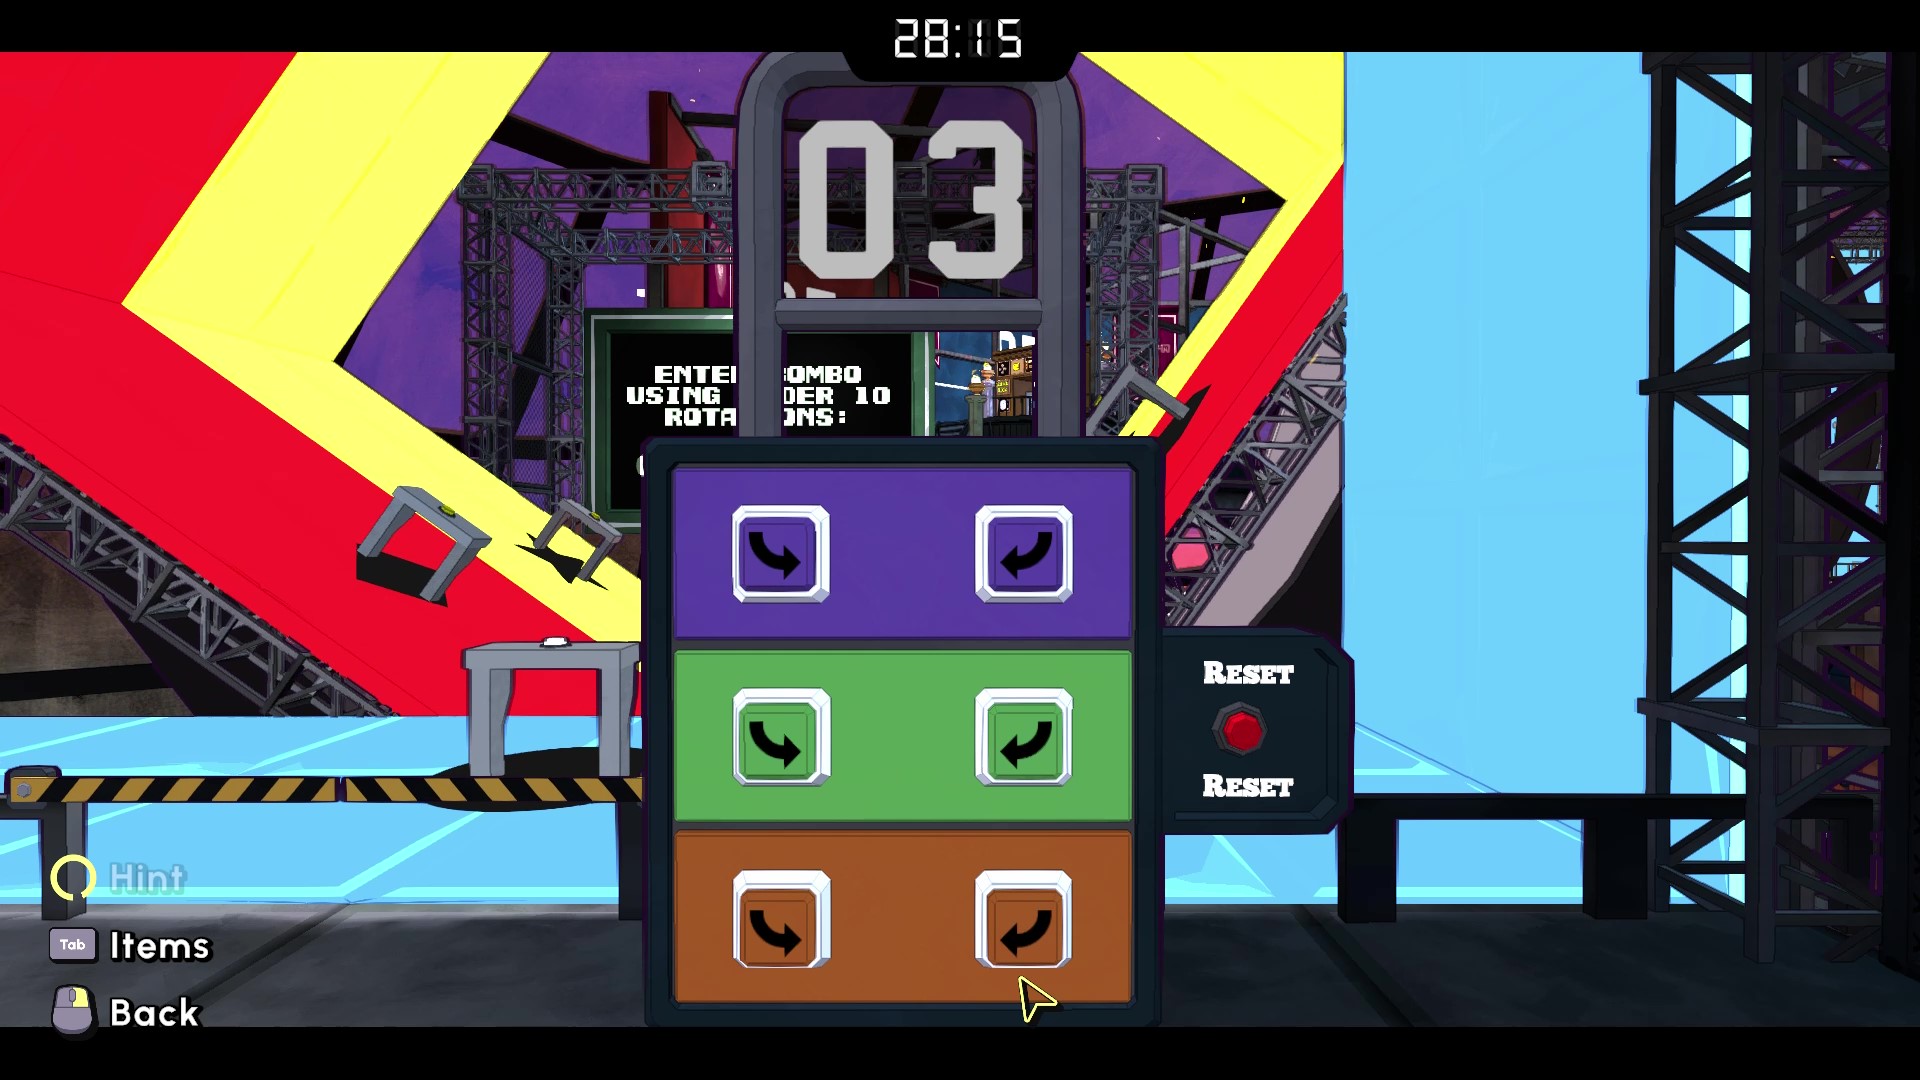
This is probably one of the roughest puzzles in Escape Academy, and certainly the worst in the Rival Room. The player is confronted with three rings that they can rotate in groups with an obscure six button panel, and have to spin them in such a way that they can press the buttons on their various surfaces in a certain order, and do all that in nine button presses or less. It's horrifying, and very likely the puzzle that caused you to look up this walkthrough - and lucky for you, we've got a solution.
- Left purple button.
- Left green button.
- Go out onto the ring and trigger the Circle.
- Left orange button.
- Left orange button again.
- Go out onto the ring and trigger the Spade, then trigger the Club.
- Right green button.
- Right purple button.
- Go out onto the ring and trigger the Triangle.
- Left green button.
- Go out onto the ring and trigger the Square.
- Right green button.
- Go out onto the ring and trigger the Diamond, then trigger the Heart.
With this now done, head onwards through the door to the final section.
5. Double-Sided Safe puzzles
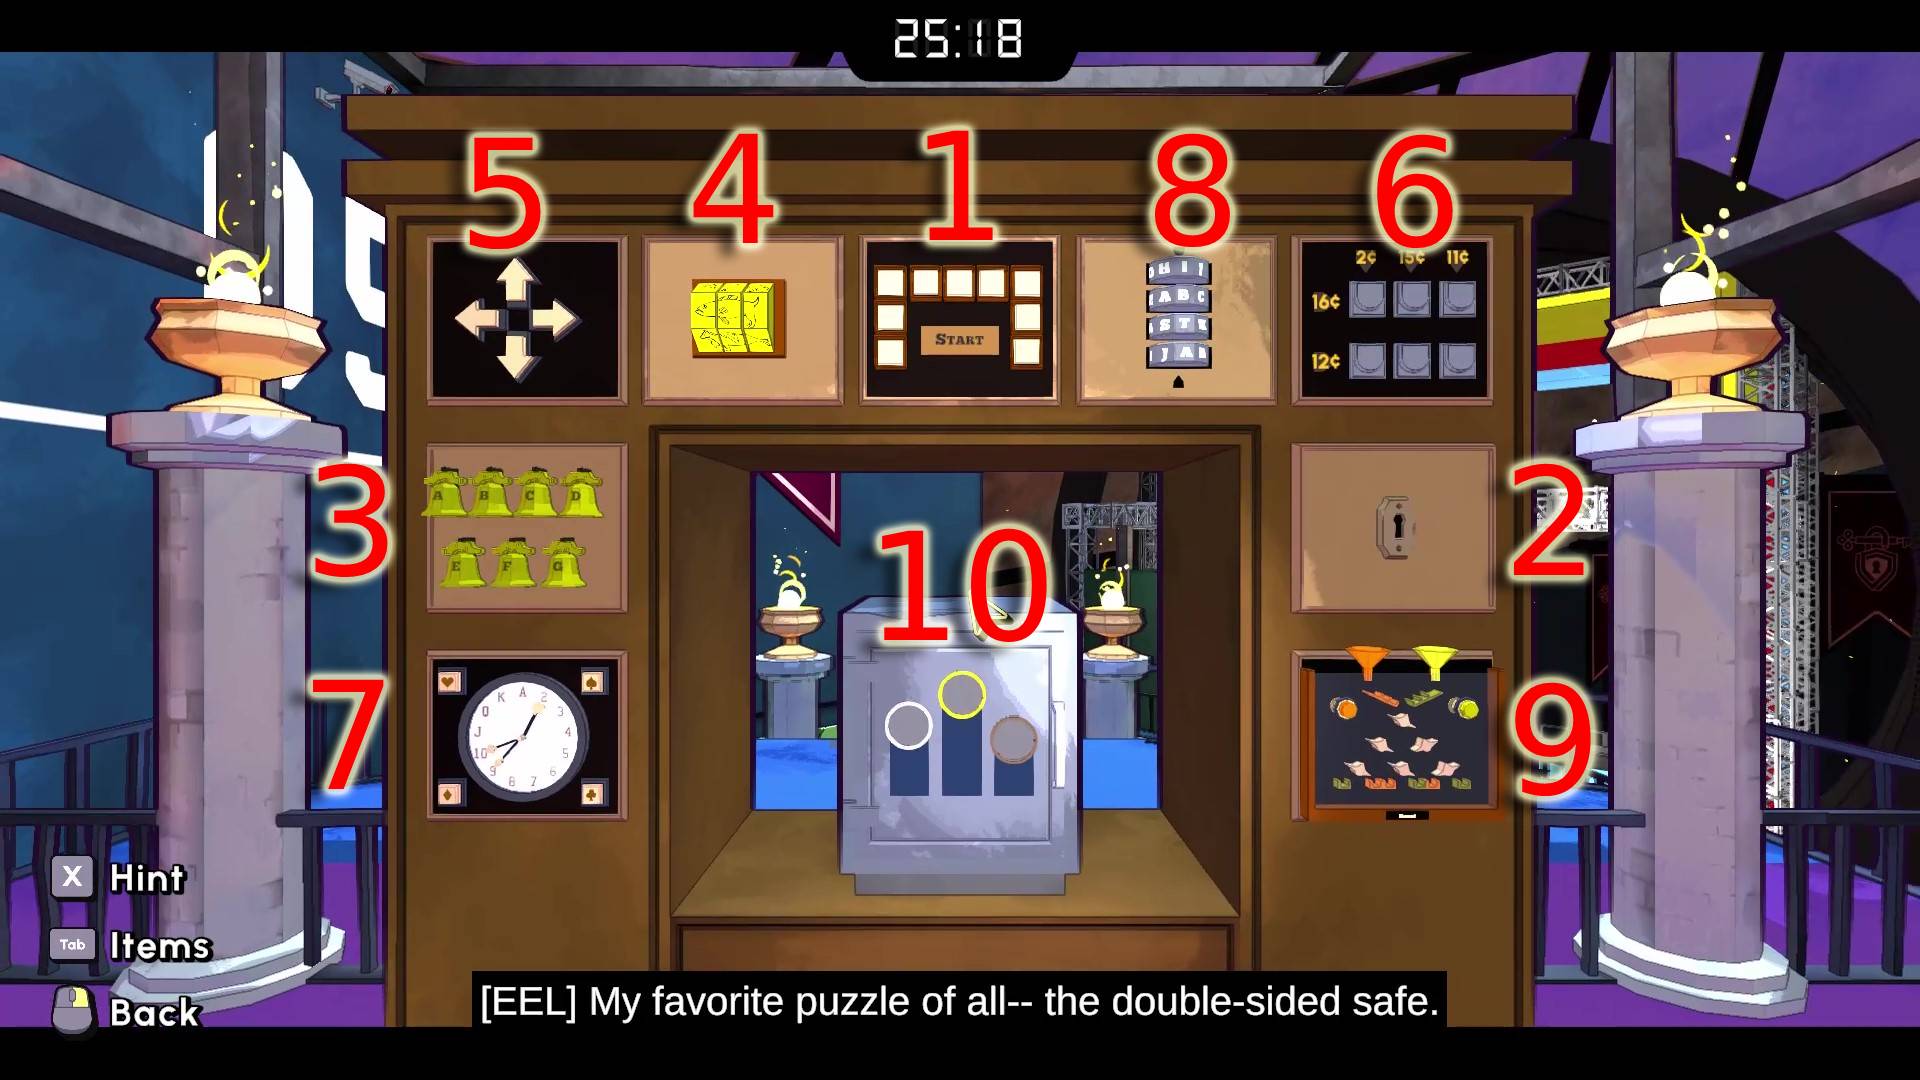
The final puzzle in the Escape Academy Rival Room, the double-sided safe is exactly what it sounds like - a safe that both of you are trying to open from doors on either side. To open it, you'll need to get three medals that you press into its door, gained from the puzzle boxes framing it. Each puzzle is fairly manageable on its own, though knowing where to start can be a little tricky, and after those damn button rings you might not have much time left. We've arranged the order of how to complete them above, as well as how to beat them below - just find the corresponding number and work from there.
- Start with the box labelled start, appropriately enough. The tiles spin and turn black when you touch them - poke the tiles so the pattern matches the puzzle layout around the safe (so black in the middle, the corners, and at the ends). This'll give you a Cabinet Key.
- Take that Key, and use it to unlock Puzzle Box two. Hardly a puzzle, though inside is a note that says "Ring The Bells My Dear,” with G, E, A, E, and D underlined.
- To go box three and ring the bells in the order G - E - A - E - D. The box will open and reveal a Bronze Medal, as well as a note telling you that you'll escape "when pigs fly".
- Go to the dial on puzzle box 4 and spin the head and legs to those of a pig, then make the central dial one with wings. It'll open the box and there'll be a pattern of arrows inside.
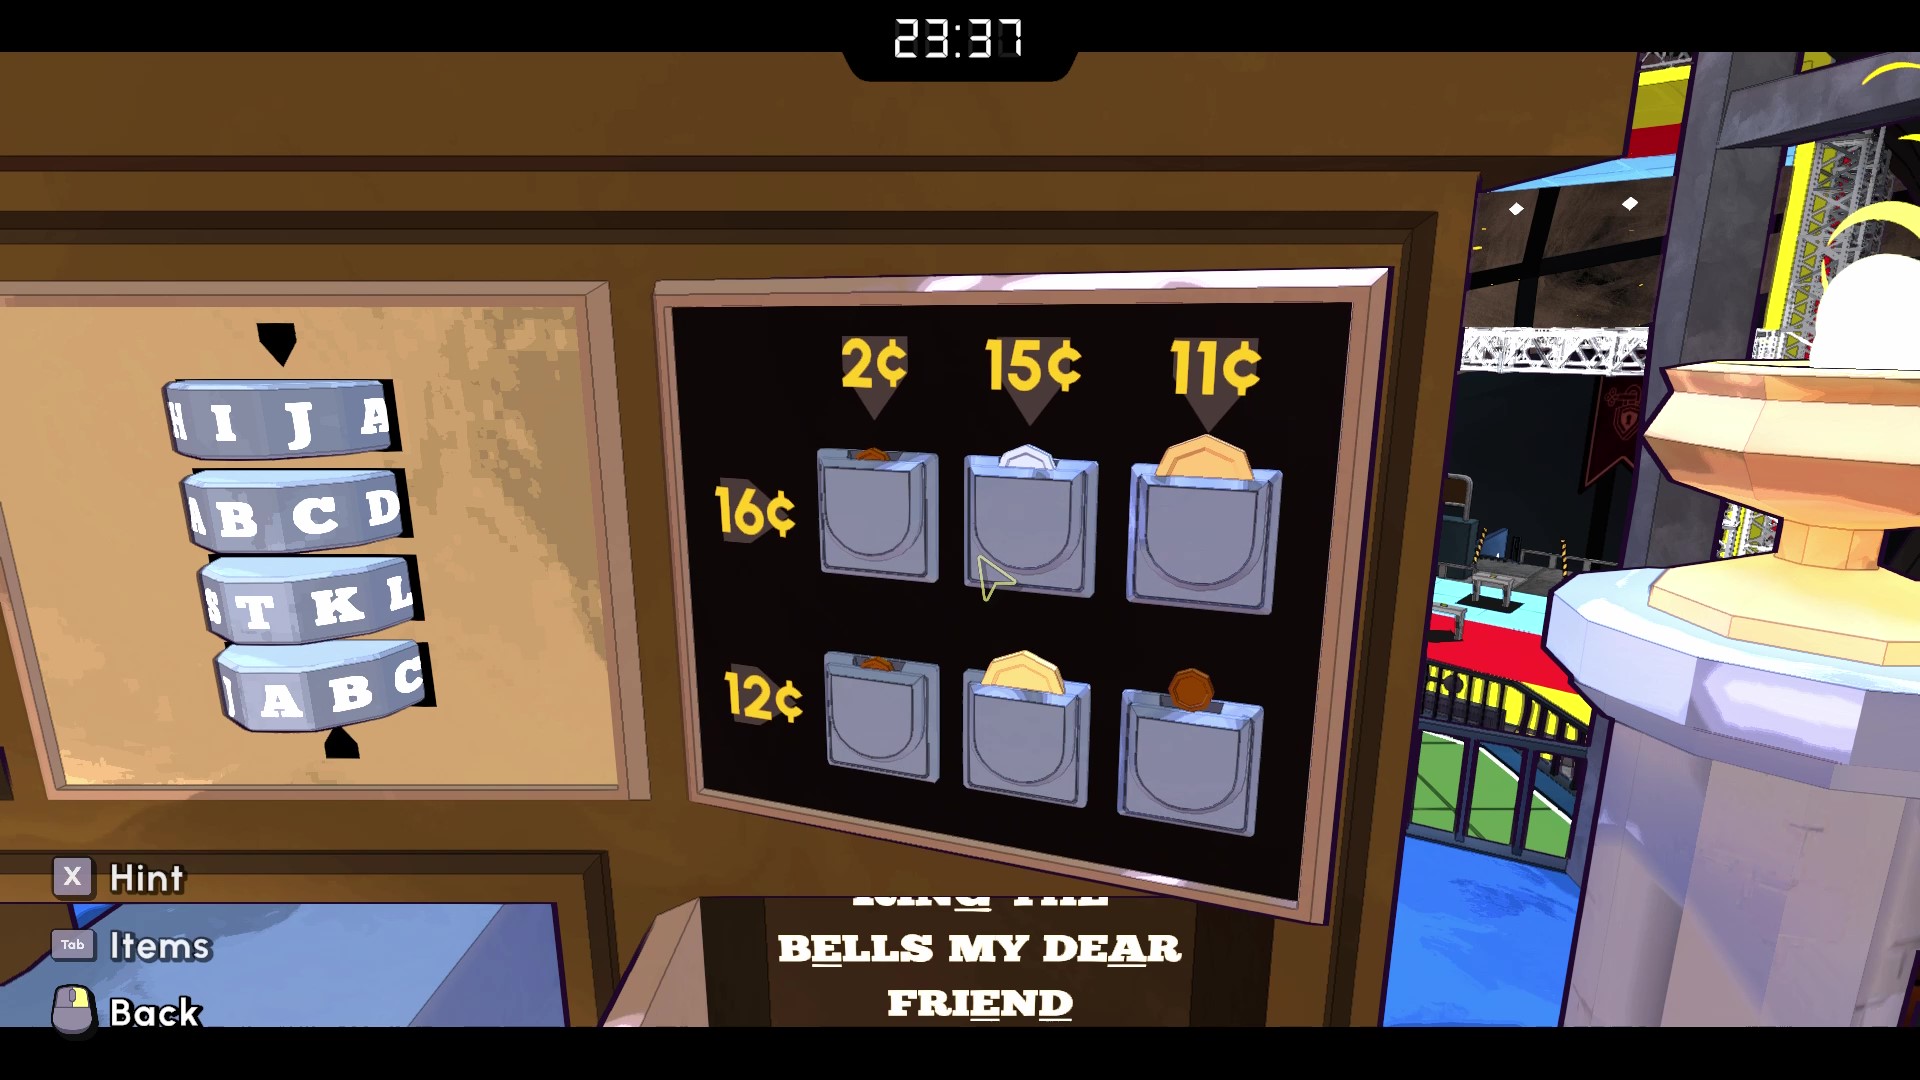
- Use the pattern to open box 5 - it's up - right - up - left - down. The box will open and grant you coins of 1, 5 and 10 Cents.
- The coins will open box 6 and get you four playing cards if you place them in the slots that add up to the total. The solution is (going from left to right and down):
- 1 Cent - 5 Cents - 10 Cents
- 1 Cent - 10 Cents - 1 Cent
- Go to the clock on box 7 - each of the four hands on the clock has a playing card suit marked on it. Pressing the button of the same suit on the clock moves the respective hand, and the cards tell you what to set them to. The solution is Clubs: 3, Diamonds: Queen, Spades: 7, Hearts: King. The door should pop open and give you the Silver Medal, as well as the word Bane.
- This is hardly tough - go to box 8 and spin it to the word Bane. Inside is a box of marbles.
- Use the marbles on the funnels in box 9 to set them up. Now you need to trigger either the orange or yellow marble dispensers so that they roll down into cups of the matching colour (so orange marbles fall into the orange cups etc), but each time you drop one, it turns the levers and changes the trajectory of the one afterwards. For that reason, drop them in this order: yellow, yellow, orange, yellow, orange, orange. This'll give you the Gold Medal.
- Take all three medals and place them in the corresponding slots in the Double-Sided safe to open it, take the trophy, and win the Rival Room.

Joel Franey is a writer, journalist, podcaster and Very Tired Man with a BA from Brunel University, a Masters from Sussex University and a decade working in games journalism, often focused on guides coverage but also in reviews, features and news. His love of games is strongest when it comes to groundbreaking narratives like Disco Elysium, UnderTale and Baldur's Gate 3, as well as innovative or refined gameplay experiences like XCOM, Sifu, Arkham Asylum or Slay the Spire. He is a firm believer that the vast majority of games would be improved by adding a grappling hook, and if they already have one, they should probably add another just to be safe. You can find old work of his at Eurogamer, Gfinity, USgamer, SFX Magazine, RPS, Dicebreaker, VG247, and more.

 Join The Community


