StarCraft II Tip: How to get the 'Aces High' achievement
Tips and tricks to help you hold out against Kerrigan without relying on the Xel'Naga artifact
Before the last mission, you'll need to decide between taking on one of two missions to improve your standing in the final battle. Side with Tychus, and you'll eliminate the threat of Nydus Worms. But we strongly recommend that you heed Warfield's advice and remove the threat of Zerg air units by selecting the 'Shatter the Sky' mission.
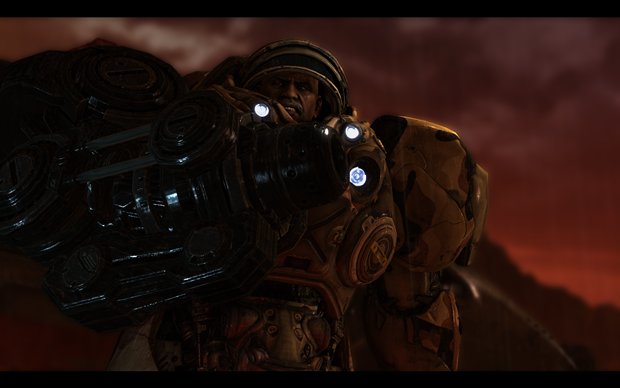
Above: Some men listen to their heart. Warfield listens to his amazing mechanical arm, which is telling him that Mutalisks and Brood Lords pose the bigger threat
The first few minutes of the mission are crucial. Start producing SCVs and summon your first M.U.L.E. to completely saturate your mineral line. Begin building Tech Labs on your Baracks, Factory, and Starport immediately – and start constructing an additional Barracks. This will help you pump out marines faster so that you can begin filling all your extra bunkers, which you should start building now.
Send two or three SCVs to the west and northeast entries to your base to start building Bunkers. Meanwhile, you're going to want to pump out Marines to fill those Bunkers. You're also going to want to start producing Siege Tanks and Banshees. Start by positioning your Siege Tanks behind your Bunker lines and if you can, start building a few Perdition Turrets in front of your Bunkers.
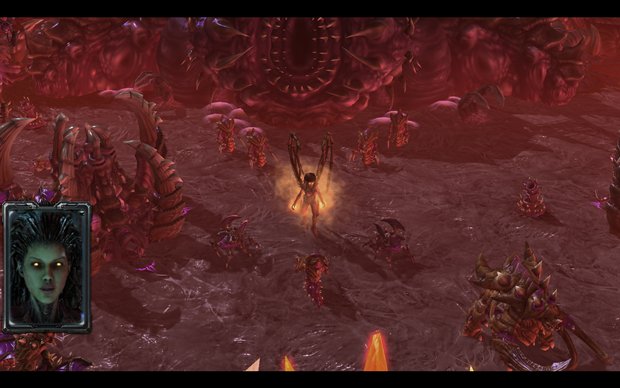
Above: Kerrigan has an area-of-effect attack that can wipe out squads of Banshees and Siege Tanks. Spread out your Banshees when attacking to minimize the risk of losing all your units
Nydus Worms will periodically erupt throughout the map. If left unchecked, these tunnels will start spewing out stronger Zerg units. So it's imperative that you eliminate them as fast as possible before you have armies of Ultralisks knocking at your door. This is where the Banshees come into play, due to their speed and cloaking ability, you can quickly send them out to destroy the Nydus tunnels. By the middle of the mission, you'll want at least two control groups of about 6-10 Banshees, so you can quickly destroy the worms erupting throughought the map.
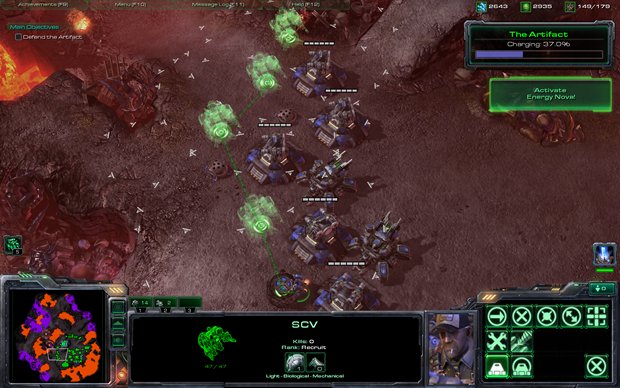
Above: You'll want Siege Tanks on the high ground around the artifact to support your Bunkers and Perdition Turrets. But don't forget about the small cliff on the far east end of your base
Kerrigan, the Queen of Blades will also appear periodically to harass your base. She is incredibly tough and can quickly destroy your Bunker line and Siege Tanks, ruining your defenses by the time the next wave of Nydus Worms emerge. Send your Banshees at her and have your Battlecruisers use their Yamato Cannons before she can reach your front lines.
This mission is all about micro-management. Using control groups and hot keys to manage your forces is so much faster than mousing through the menus to click on commands. Also, when holding down the shift key, you can queue up a chain of commands for any unit or group.
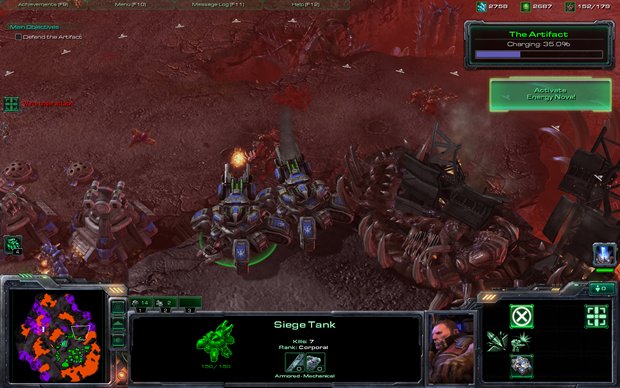
Above: The shift command is great for managing your SCVs. As you can see, we've quickly ordered one SCV to build multiple Perdition Turrets in front of our Bunkers
This is particularly useful for SCVs. With the shift command, you can order an SCV to build multiple Supply Depots, Bunkers, or Perdition Turrets quickly so you can turn your attention to other areas on the battlefield. It's also important to use the shift command on your Banshees when Nydus Worms erupt. Select your Banshees and hold down the shift key. Then, while holding the shift key, click 'A' (to attack command) and left-click on each of the Nydus Worms before right-clicking to return to your base. That way, your Bashees will move to destroy each of those worms before returning safely to your base for repairs.
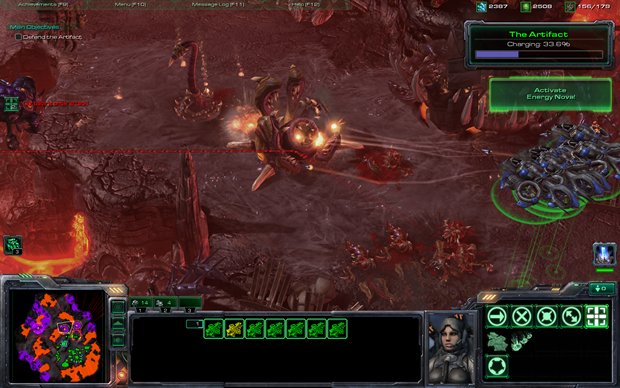
Above: See those red lines? After the Banshees destroy this Nydus Worm they will automatically move on to destroy the next one
As long as you can hold the line and continue to keep your army as close to 200/200 supply as possible, you should be able to hold out till the mission is about 80% over before relying on the artifact. But if you're still having trouble, here are a few final quick tips that may help.
Try saving when alerts pop up for incoming Nydus Worms and attacks from Kerrigan. If you reload, sometimes Nydus Worms will spawn in different locations that are easier to handle. Also, even on hard mode, Kerrigan will occasionally refrain from using her area-of-effect attack. Remember that you can use Stim Pack on Marines in Bunkers to help hold the line. Don't forget to research upgrades for your army. As you build up your forces, don't forget to keep building more Perdition Turrets around your Bunkers efficiently with the shift command.
Got any other tips? Let us know about anything we might have missed in the comments below. Good luck!
Above: Still having trouble? Your opening setup is extremely important. This video by CrimsinTheShaman shows you how to place your opening structures wisely to fortify your base
Sep 3, 2010


The most highly anticipated RTS of the decade doesn't disappoint
II
Why not swing on by and take a second look at things you might have missed?
So it's been 10 years since you played Starcraft? Better check out our walkthrough
Weekly digests, tales from the communities you love, and more


