The Legend of Zelda: A Link Between Worlds dungeon guide
Turtle Rock
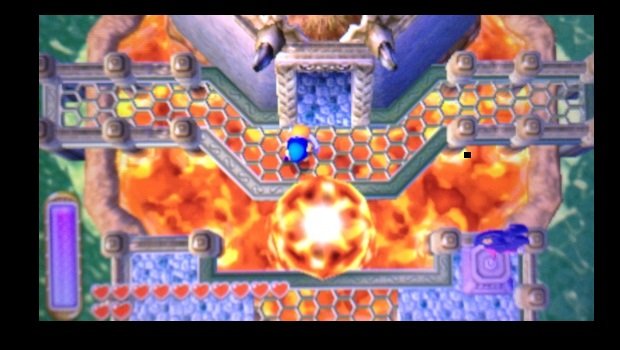
Start out by the using the Ice Rod to cross over the lava pool. Enter the massive room beyond.
In here are lots of seesaws, platforms, and doors. If you use the Ice Rod on a seesaw, it will hold its angle for a moment. Use this to take the first seesaw up and to the right. Follow the walkway, and make a left at the fork. Use the Ice Rod on the lava jet to create a bridge block to the central platform. Now use the Ice Rod on the four orbs above you to spawn a chest containing the Compass.
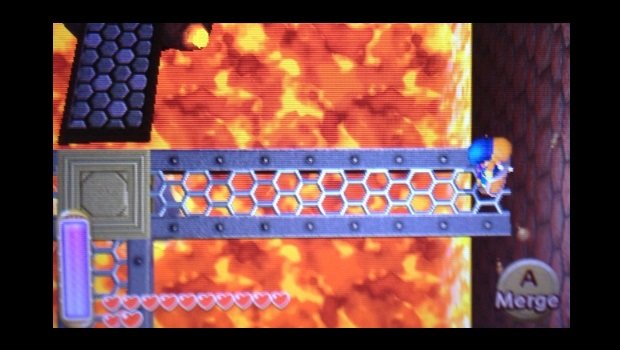
Next, cross east over the same walkway. Merge and move north to reach a ledge where a Small Key sits. Now merge and head south to the upper door in the southeast corner.
Up here is a teleporter. Use it, then use the next teleporter you spawn near.
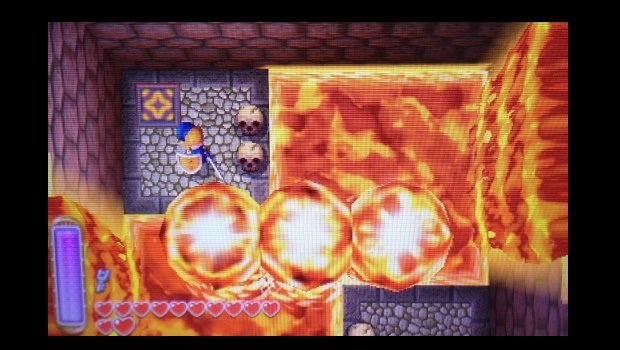
In this hidden room, use the Ice Rod to cool the lava jets that spurt up. Merge across the cooled blocks to find a dungeon exit. Out here are some fairies you can grab.
Now backtrack to the upper southeast ledge in the main room (where you reached the first teleporter). Merge and move clockwise to find a ledge with a Monster Horn, a Monster Tail, and Monster Guts. Drop to the ledge below and step onto the switch; head through the door that opens at ground level.
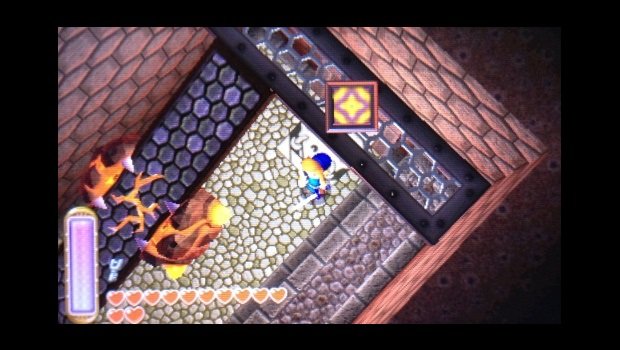
This room contains a huge seesaw. Tip it towards the ledge above where you entered, freeze it in place, then head up and step onto the teleporter. When you spawn, step onto the next teleporter you see.
This hidden room is just a twisting lava pool. Use your Ice Rod to create platforms to reach the exit door. Outside, you'll find a Piece of Heart. For more information on these, see our Piece of Heart locations guide.
Backtrack to the seesaw room that got you here, but this time drop off the high ledge and step onto the teleporter here. This takes you to a ledge with a Small Key. Grab it, drop down, and exit the room.
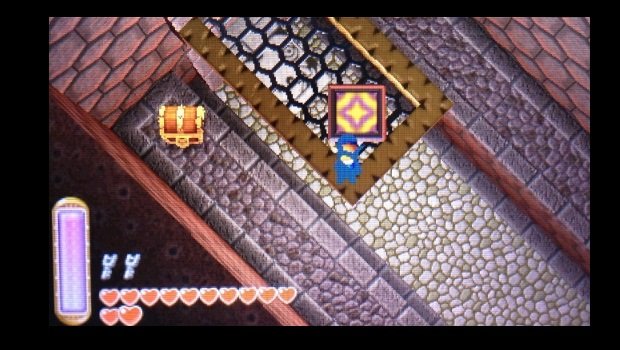
We've got a chest to grab before we move on. It's found in the southeast room - where the first teleporter was. Use the Ice Rod to take out the fire-spitting enemies on the upper ledge; this spawns a chest.
Now you need to make your way back to the teleporter above. On the other side, drop from the ledge and use the teleporter here. Now you can reach the chest for a Purple Rupee.
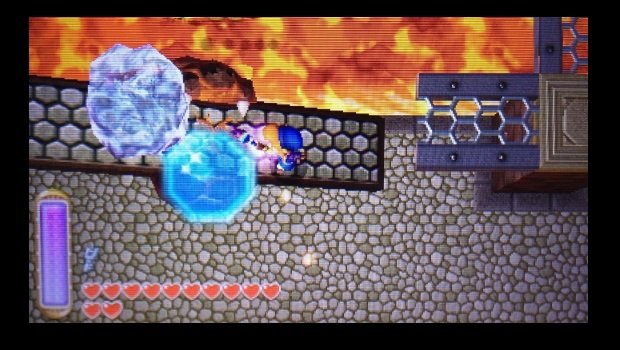
Now we're going to head back up the southern seesaw in the central room, again going to the right. Head back to the central platform, but this time, move to its left edge. Use the Ice Rod to cool the lava jets that rise here, then follow the path to a second seesaw. Freeze it in place, then follow it to reach a switch. This opens a door on the north end of the room.
To reach said door, return to the upper ledge where we grabbed the Small Key. Merge left to reach door, then head through to find a Purple Rupee inside a chest. Drop to the hallway below; a few ghost enemies will appear. Take them out - you may need to use the Ice Rod in some cases - to reveal a staircase, then head downstairs.
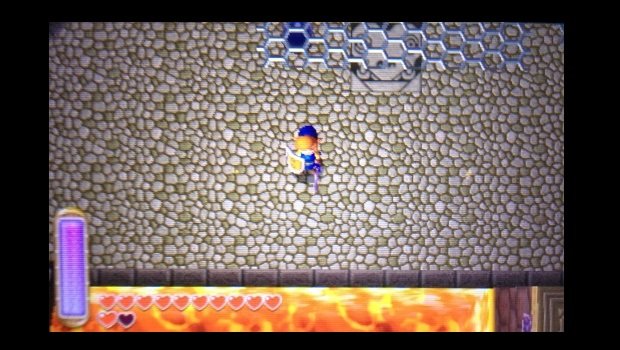
Take the hallway into another massive chamber. We'll start in here by entering the northwest door. (Also, note the Wizzrobes that appear throughout the room. Take all four out to reveal a big chest that we'll get to later.)
In here are several moving gargoyle statues, but these are red hot. Use the Ice Rod to cool them down, stunning them. Take them all out to spawn a warp portal, then return to the large chamber outside. This time, head through the northeast door.
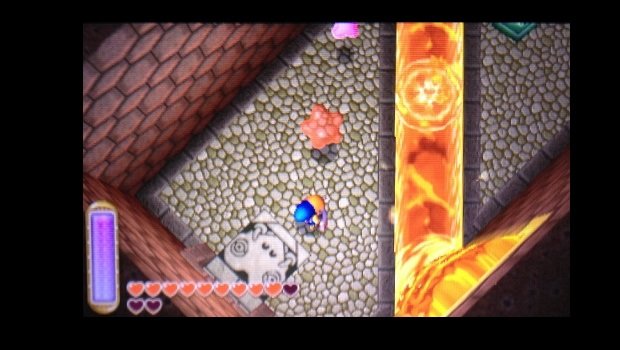
In here are a few enemies, an eye beam statue, and a Small Key. Use the Ice Rod to cross the lava stream, then quickly grab the Small Key. When the statue starts firing its laser, merge to avoid damage. Head back out to the central room.
Use the Ice Rod on the seesaws to the west to cross the massive lava pool to the locked door in the southwest corner. Use one of your Small Keys to pass through.
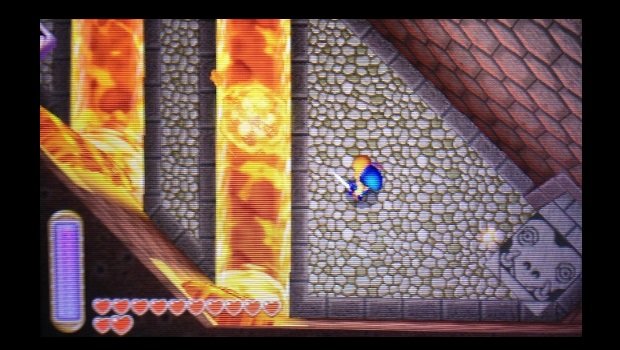
In here, use your Ice Rod to cross the lava streams. Bust up the skulls in the corner to reveal a switch; step on it to create a bridge in the lava pool in the central room.
Exit the room and cross that bridge. Use your Small Key to open the other locked door over here.
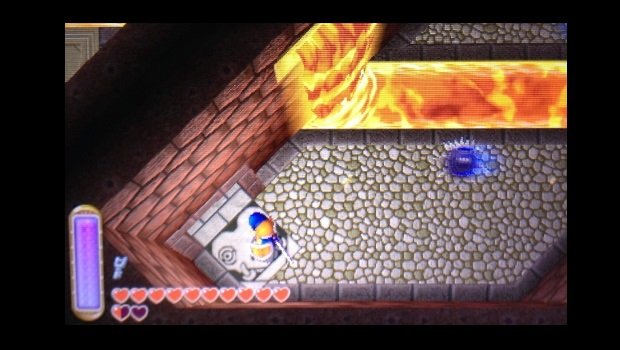
In this room are some moving spikes and a few lava streams. Cross over the streams with the Ice Rod, then bust up the skulls to reveal a switch. Step on this one to create a second bridge near the earlier one.
Exit to the central room, but don't cross your new bridge yet. Instead, starting crossing the seesaws to the north side of the room. Stop at the spinning fire, and look to your left. When the lava jets rise, cool them to reach the wall. Merge and move to the right. From this ledge, merge and move right again. Drop when you reach the locked door and enter the lower door here. In the room beyond is a chest containing a Purple Rupee. Grab it, then return to the central room.
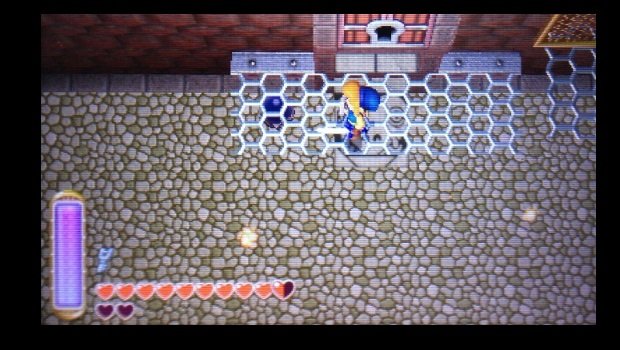
See that orb below? Drop down and smack it; this raises the ledge you just left. Follow the path your just took to the Purple Rupee chest, and it will now take you to the locked door. From this point, you can also reach the big chest you generated earlier - it contains the Hylian Shield. In either case, use your Small Key to pass through locked door over here, then open the large chest beyond for the Big Key.
Return to the central room. Take out the ghost to your right, then merge and emerge on the bridge piece here to create a shortcut. Now head to the second bridge in the southern part of the room. You can pass through the southernmost doorway here now.
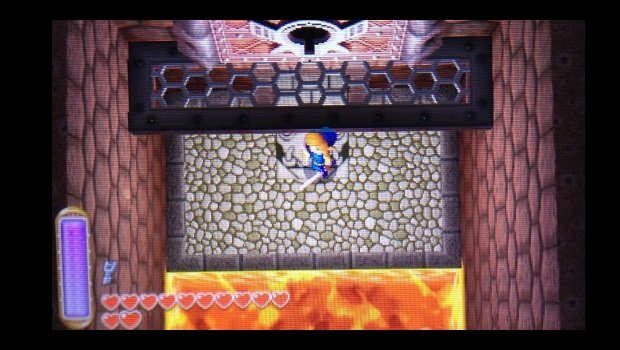
You'll see the boss chamber door upon entering; we're almost there. Merge to reach the metal platforms, then hit the orb to make the platforms continually rise. When they reach their new height, merge to reach the big door. Use your Big Key to pass through.
Move past the rolling spikes and bust up the skulls at the end of the walkway. Step onto the exposed switch, then take out the two ghosts that spawn. This opens a big drop to the boss chamber. Drop down when you’re ready.
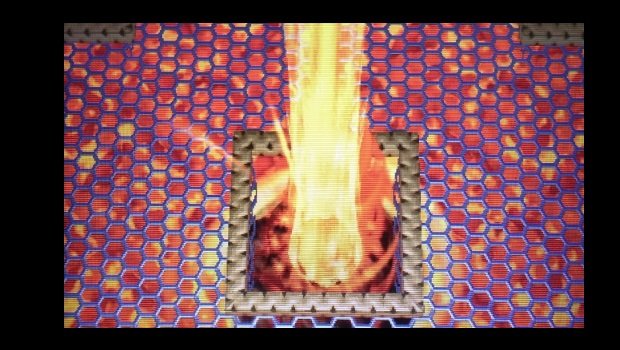
This boss is pretty easy to take down if you can avoid the lava jets that dot the area. Start by tracking the boss as he moves below the walkway. When he reaches an exposed area, drop ice onto it with the Ice Rod. After a few hits, he'll spew lava and chase you around; keep moving until he cools down, or hit him with the Ice Rod - if you can - to end the chase early.
After a few rounds, he'll hop up onto the grate and face you one on one. Slash at his exposed head, dodging his occasional biting attacks. When he enters his shell, back away to avoid the steam he's about to shoot. If he enters his shell and starts moving, keep moving to avoid the spinning attack. A few more hits on his exposed head, and this fight is over.
Weekly digests, tales from the communities you love, and more
Tony lives in Maryland, where he writes about those good old-fashioned video games for GamesRadar+. His words have also appeared on GameSpot and G4, but he currently works for Framework Video, and runs Dungeons and Dragons streams.
