Final Fantasy 7 Remake locked doors - how to open Corneo's vault
Here's how to open the locked doors in Final Fantasy 7 Remake
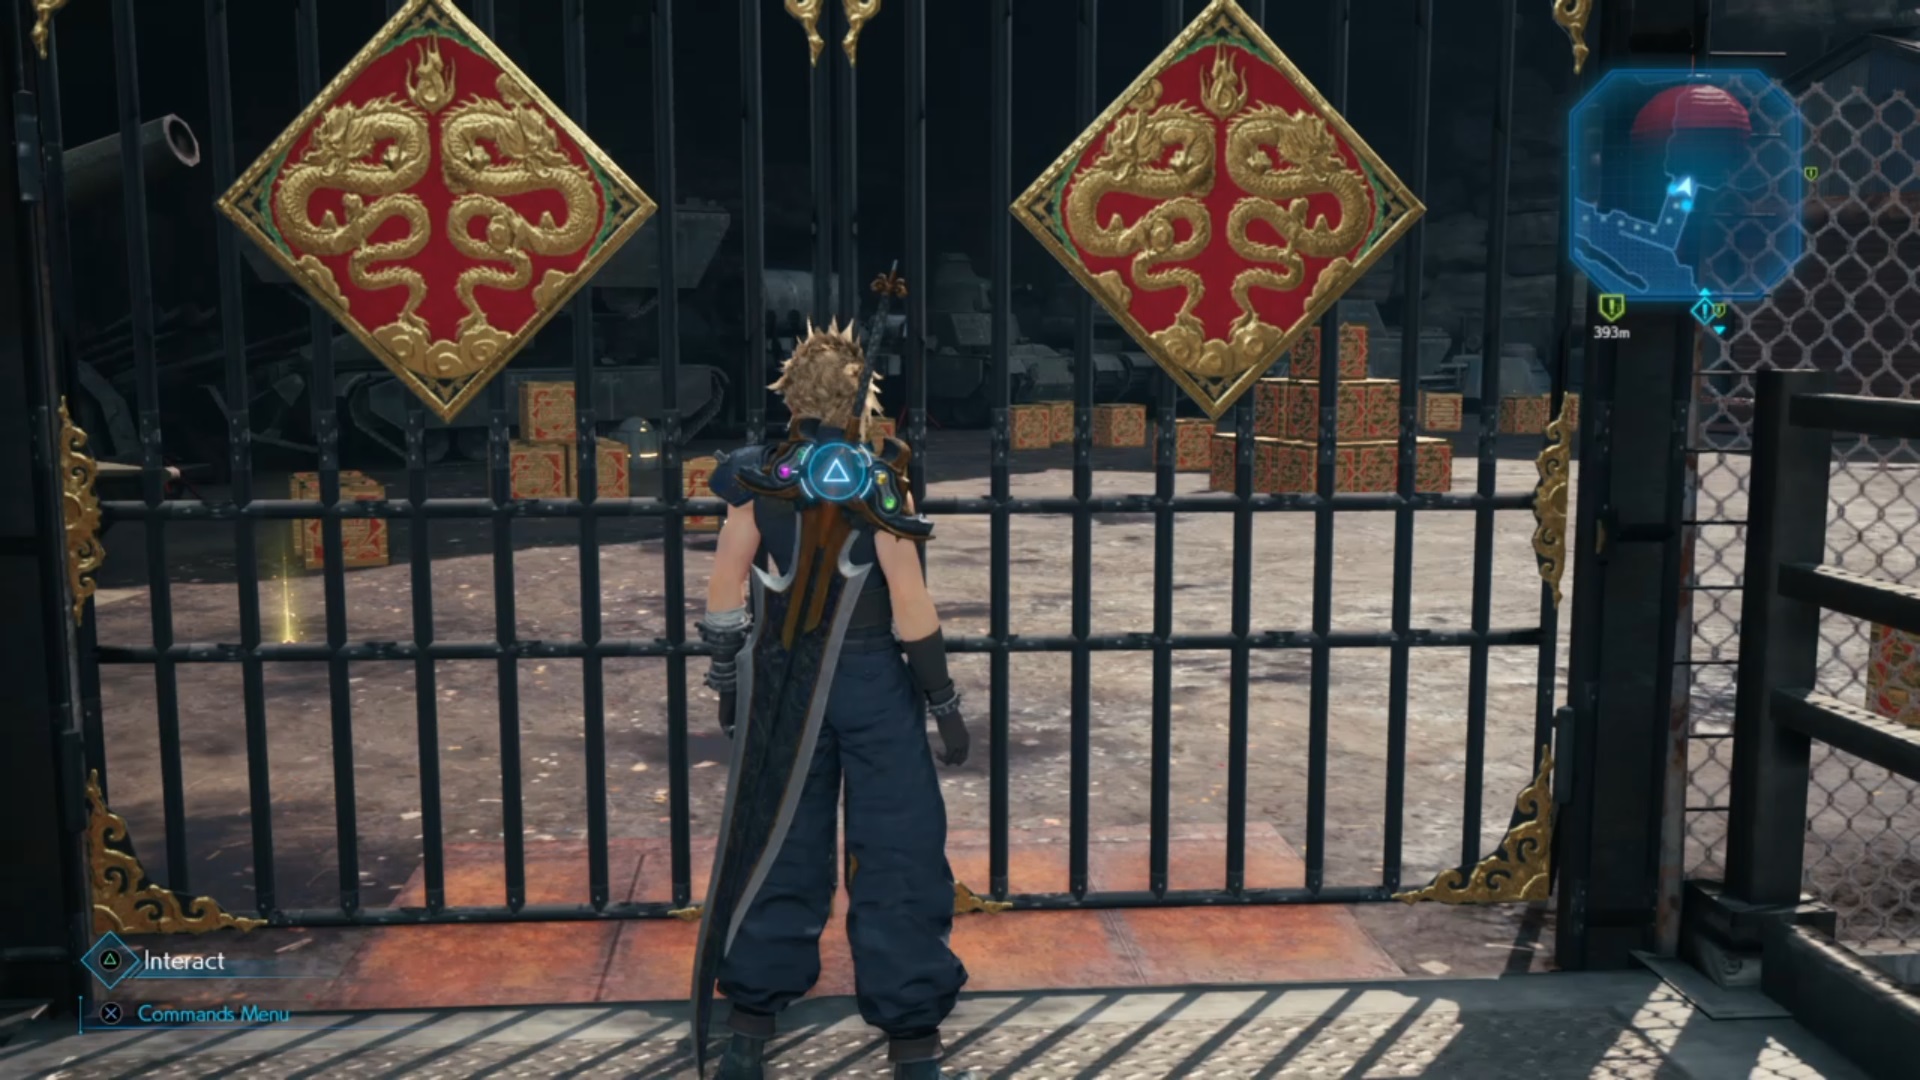
The Final Fantasy 7 Remake locked doors initially present you with an impenetrable barrier, which will probably leave you scratching your head about how to get through. You'll see that Corneo's vault, indicated by a golden dragon symbol, clearly has some enticing rewards within, but you won't be able to get at them until you locate the Corneo's Secret Stash quest. As none of this is very clear to begin with, we're here to explain how to find that mission, open the locked doors, and collect the goods on the other side.
You won't be able to access these doors until Chapter 14 of Final Fantasy 7 Remake, when the side quest Corneo's Secret Stash is given to you by Damon, the journalist you first meet with Aerith in Chapter 9. Damon can be found just outside of the little town near the road that goes towards Nuts 'n' Bolts Hill on the map. He tells you about a Shinra group who have been attempting to seize Coreno's assets, but someone stole the key to Corneo's secret vault. Damon believes this is linked to the Angel of Slums, and so he sets on you on the path to locate this key, which will eventually lead you to be able to access the Final Fantasy 7 Remake locked doors.
Final Fantasy 7 Remake tips | Final Fantasy 7 Remake differences | How long is Final Fantasy 7 Remake? | Final Fantasy 7 Remake ending | Final Fantasy 7 Remake heads or tails | Final Fantasy 7 Remake Materia | Final Fantasy 7 Remake Power of Music
Heading to the hideout
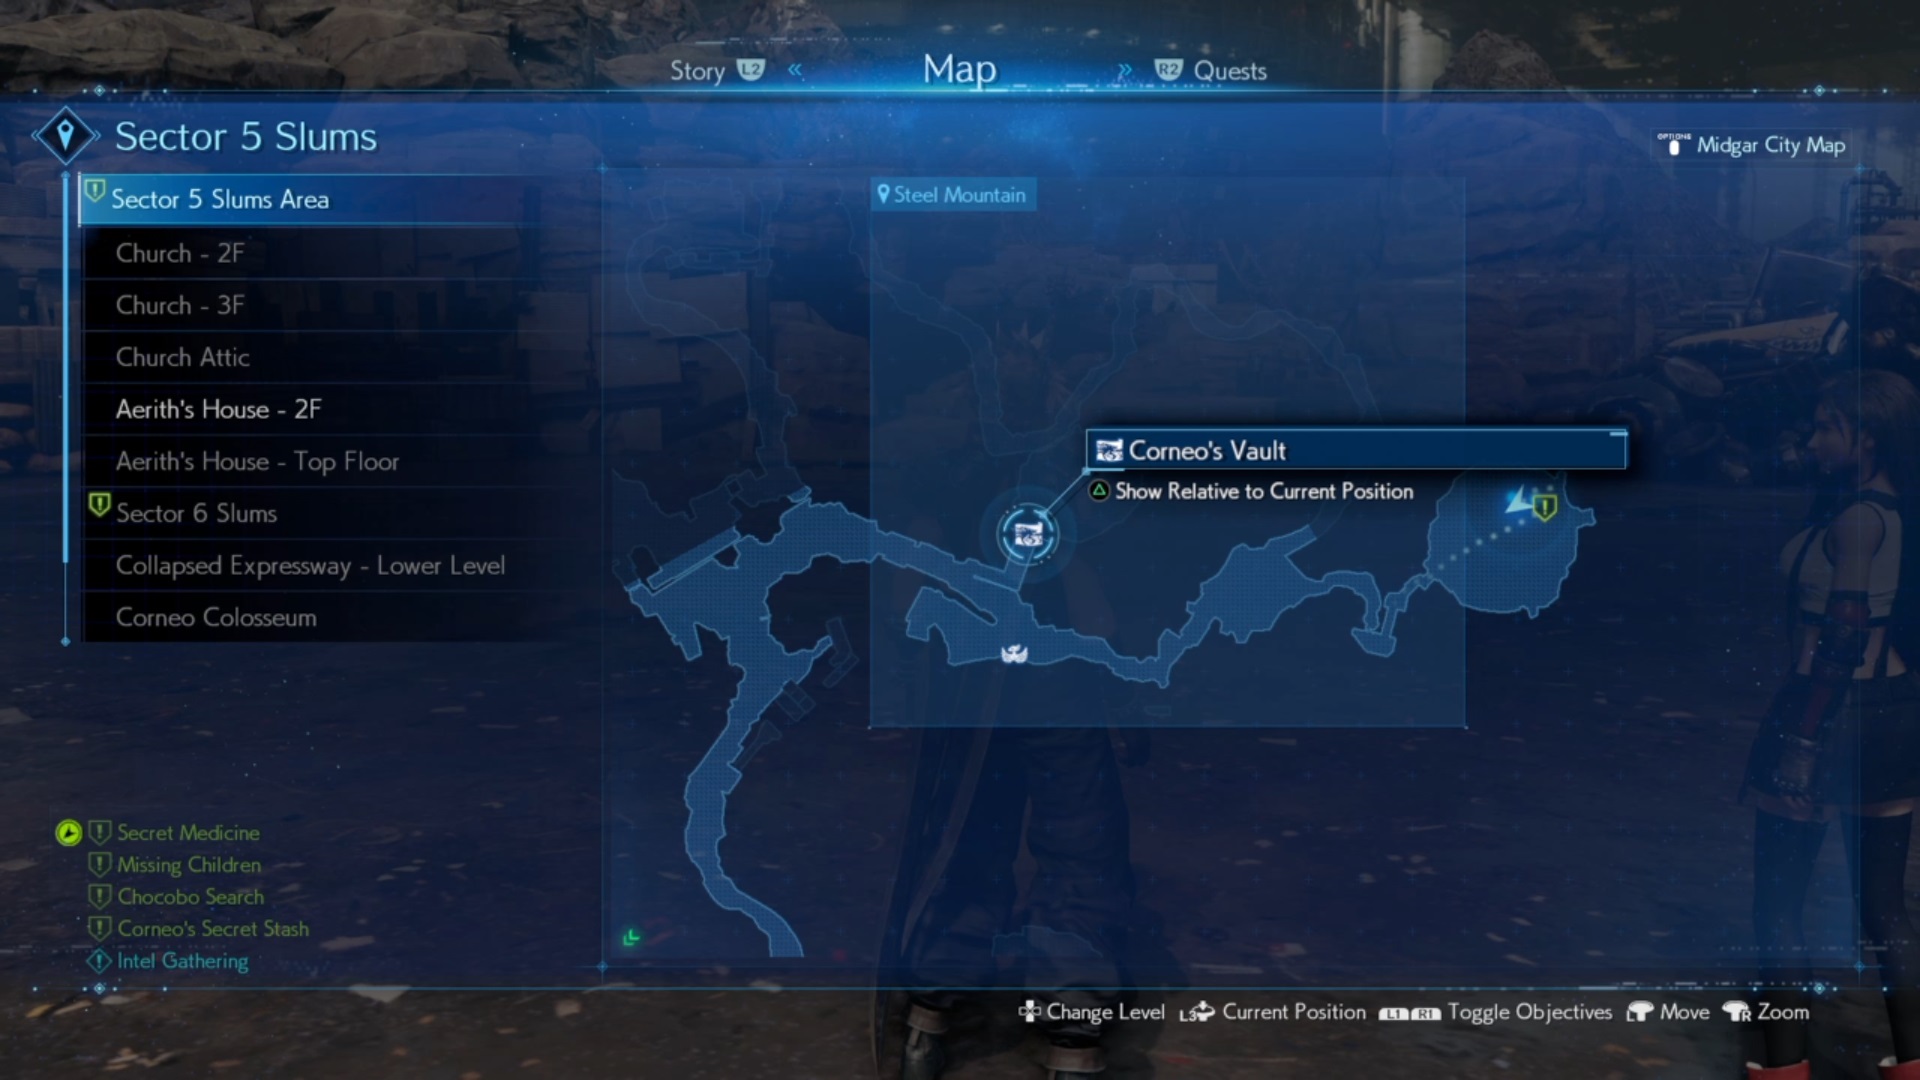
Once you have the quest, your first port of call is actually marked on your map. You need to head to the Angel's hideout in Lookout Point by heading through Nuts 'n' Bolts Hill and Steel Mountain. Do so by following the road to the right of Damon. Keep following the path straight ahead. You should go through a tunnel, where you continue to follow the same path to the left until you reach an enclosed area, where you can see a Chocobo if you've also picked up the Chocobo search quest. Continue to follow the path around, where you should see some stairs on the left hand side. These stairs lead to the location of one of the locked vaults, so it's good to bear in mind as you'll need to return here to open it.
For now though, head past the stairs and keeps following the path around, until you come to an area with a Smogger. Once you've defeated the enemy, take the path up on the right and climb up the ladder. Keep following the path around up through some stairs until you reach the hideout, where you should see Mirielle. Speak to her and be sure to also pick up the note just behind her which provides clues to the locations of all three of Corneo's vaults. Mirielle sends you off to go and find Kyrie.
Finding Kyrie
If you head back the way you came and return to the area where the Smogger may have respawned, head up the path on the left this time and follow that same path all the way back up until you reach a gap you can squeeze through. You should encounter some Ringmaws, Gorgers, and Hedgehog Pies as you follow the path. As you pass through the space, you'll hear red-haired character, Johnny. Johnny will tell that he's been robbed and informs you of the location of Kyrie, who can be found at the church where you originally met Aerith on Sanctuary way, which also starts the quest Tomboy Bandit that you need to complete in order to get the key to the vault. Head past the station platform and follow the path down Sanctuary way until you reach the church, and then speak to Kyrie.
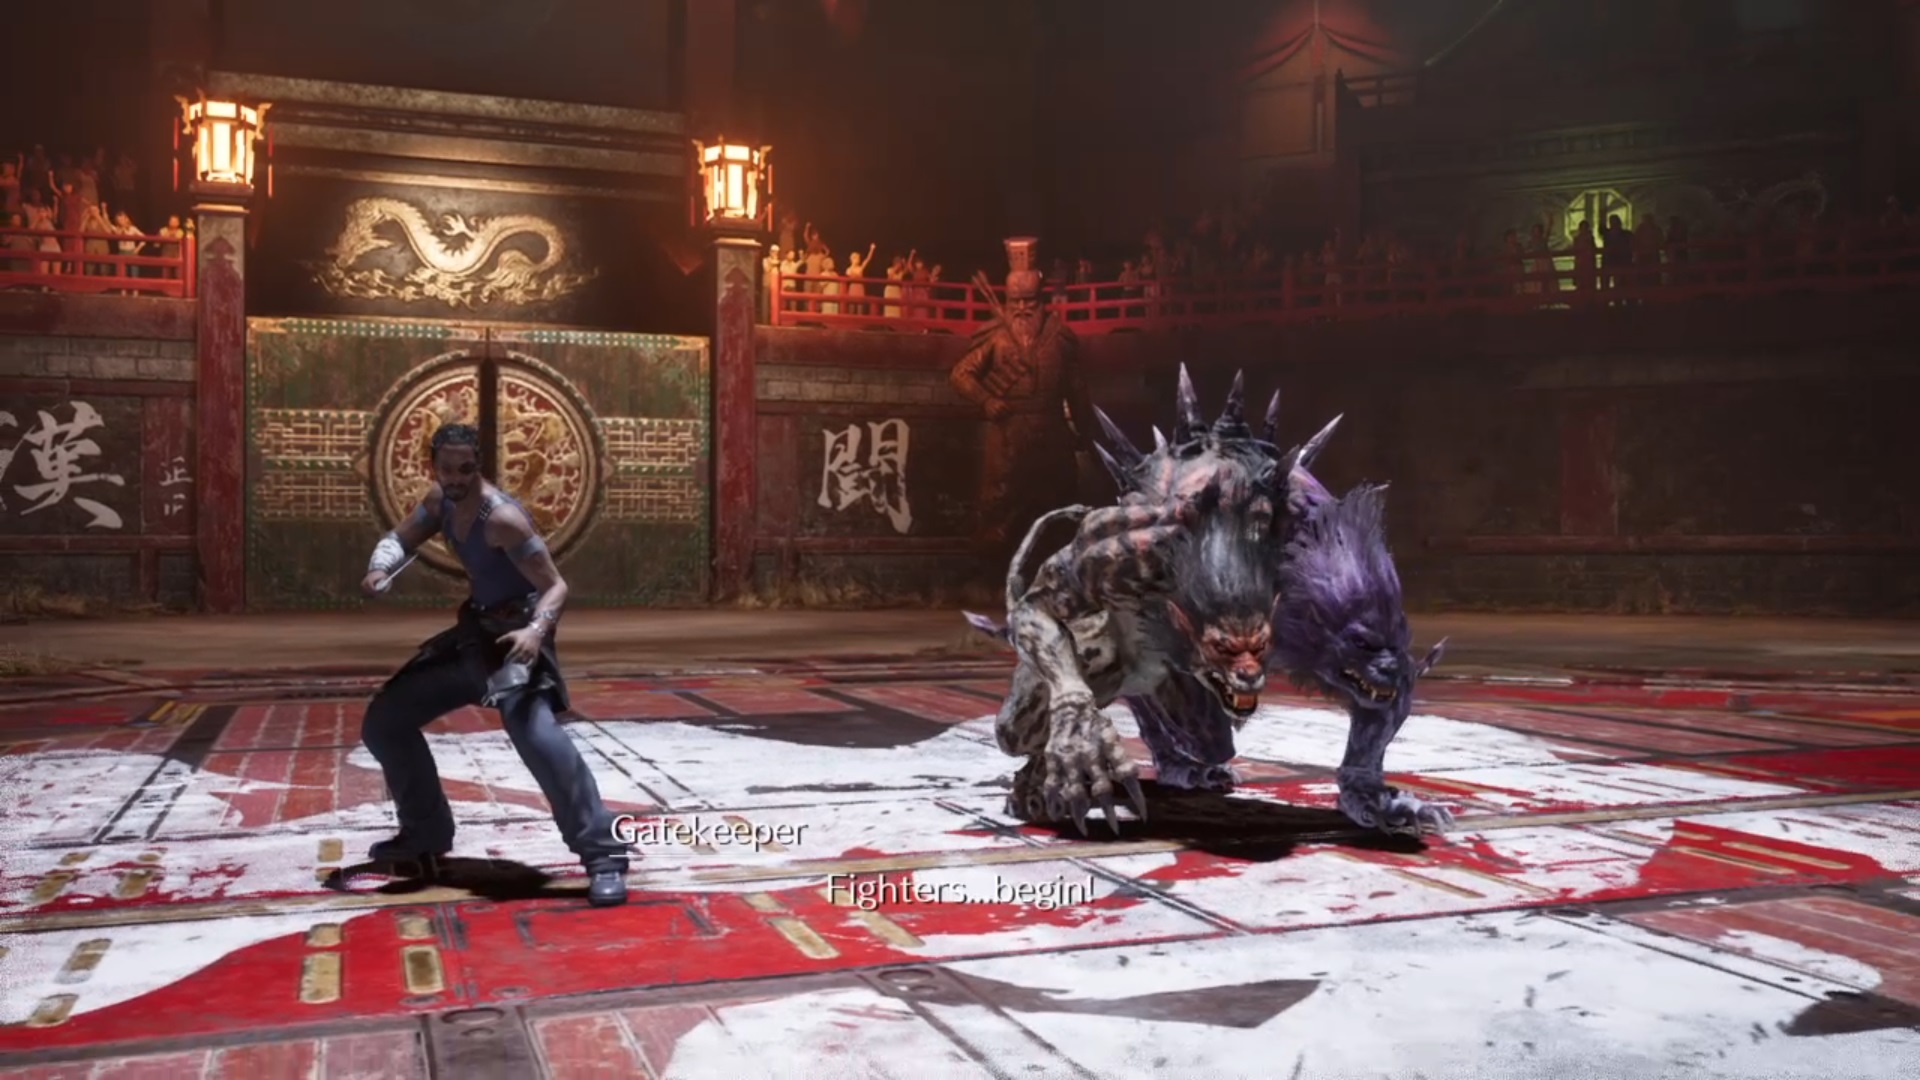
After speaking with Kyrie, you are going to want to head back to Wall Market to take part in a fight in Corneo's Colosseum on Kyrie's behalf. You can quickly fast travel there by hitching a ride with the Chocobo wagon using the signpost directly outside the church. In the Colosseum, select the special match where you'll once again be taking on the Beastmaster, except this time around he has a Hellhound in tow. The Hellhound is weak to ice spells so make sure you have an Ice Materia equipped and make use of your most powerful Blizzard spell. Once you've completed the match, you can immediately return to Kyrie in the church to get the key.
Opening the vaults
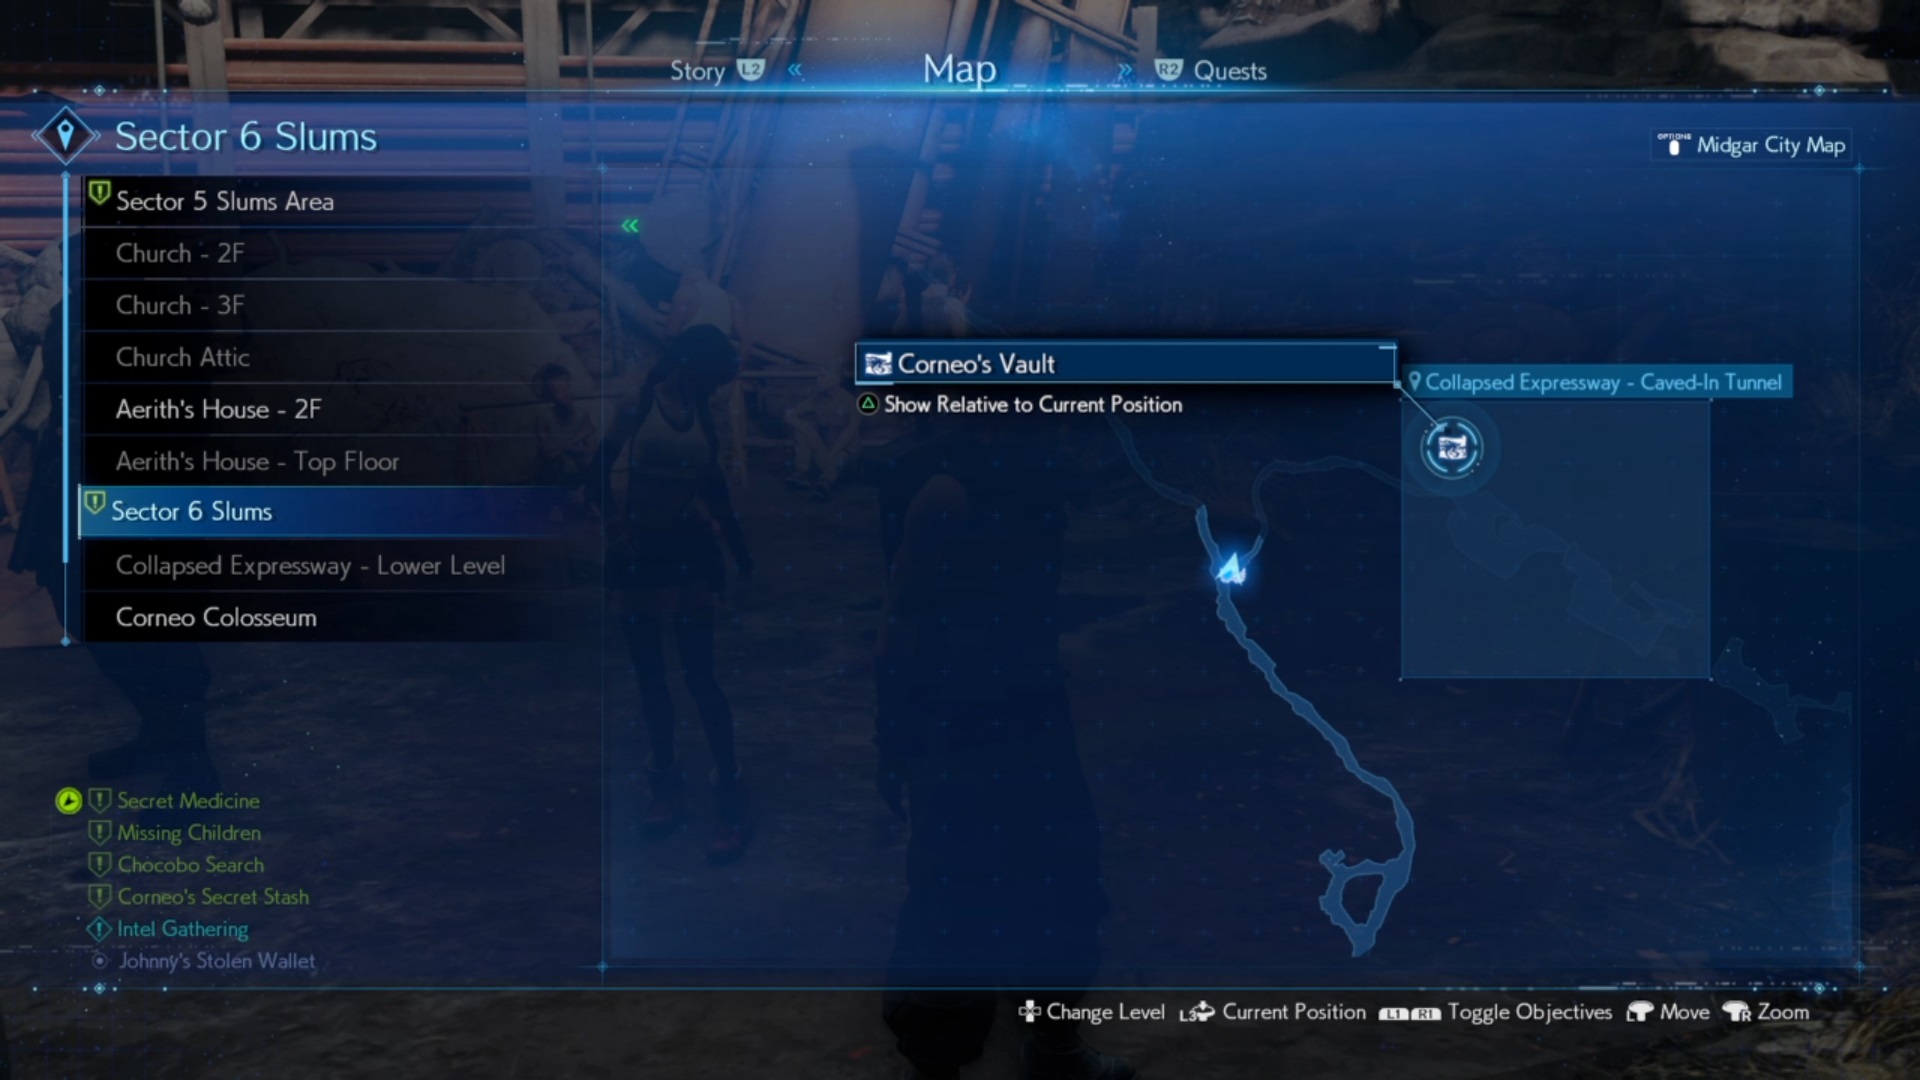
Now you have the key, all you have to do is actually make your way to the three locked door vaults and open them. Head out of the church and once again make use of the Chocobo signpost to travel to the "Collapsed Expressway - Entrance." Once you arrive, you're going to want to head right, and follow the path until you duck under the entrance to enter the collapsed tunnel. Once inside, turn to your left and there you'll find the first vault, where you can smash up all the boxes and loot the chests inside to get the stash.
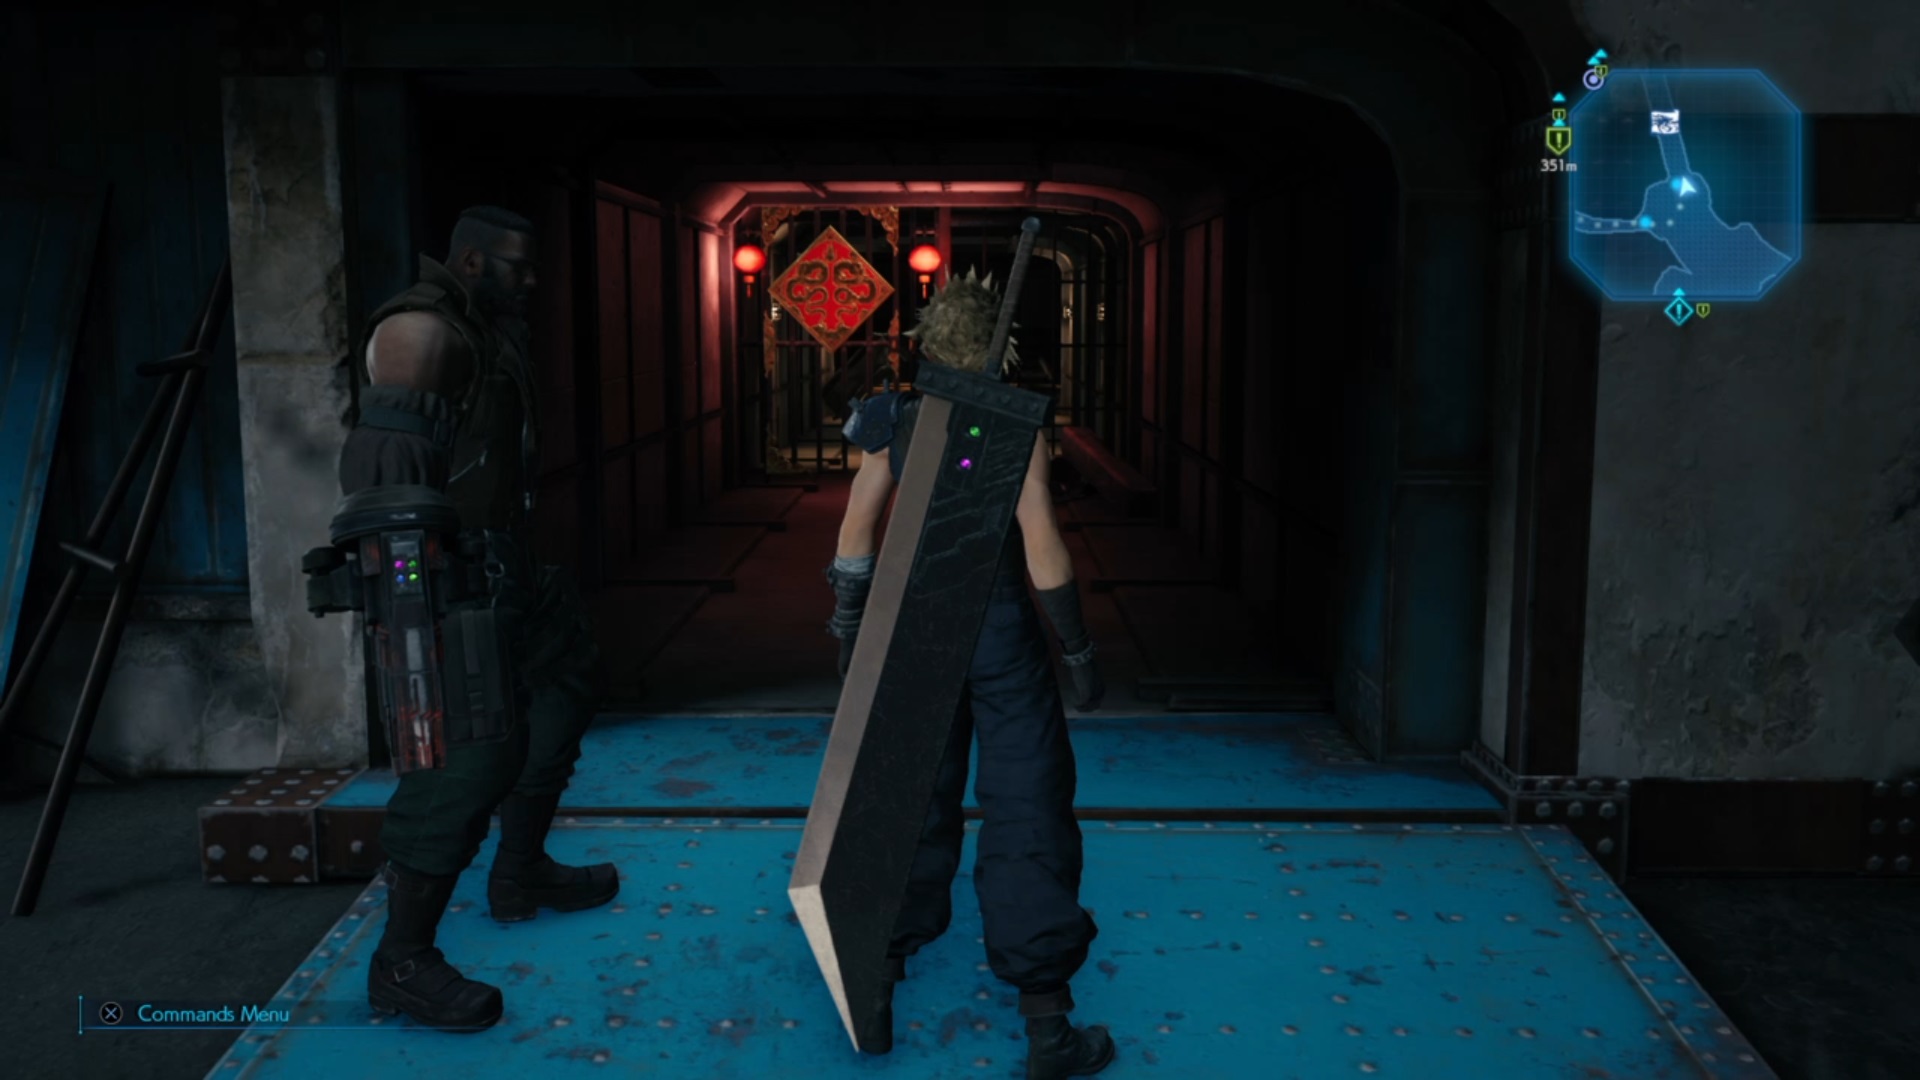
The next vault door takes you back to Steel Mountain and back up those stairs we mentioned previously as you were heading to the hideout. The quickest way to get there is to head back out of the collapsed tunnel and once again use the Chocobo express signpost, where you'll want to travel to "Sector 5 Undercity - Entrance." Once you arrive, make your way out of the town and head back towards the journalist, and follow the same path back to the stairs you took previously to reach the second vault.
The final vault is located in the sewers, and the only way to return there is to continue the main quest. Go to Wall Market and head to Don Corneo's place and enter his room up the stairs. Here you'll meet Leslie who asks you to head down into the sewers with him to pursue Corneo. Essentially you have to just simply follow the questline in order to reach the vault. During the quest, you'll end up having to chase after a mischievous Shoat. As you keep pursuing it, you'll face plenty of battles against Abzu Shoats. Once it finally stops and you battle it, continue to follow Leslie. Eventually, he'll say that Corneo is just ahead when you reach a ladder. You should see a power switch to the side of this ladder and you're going to want to switch it on.
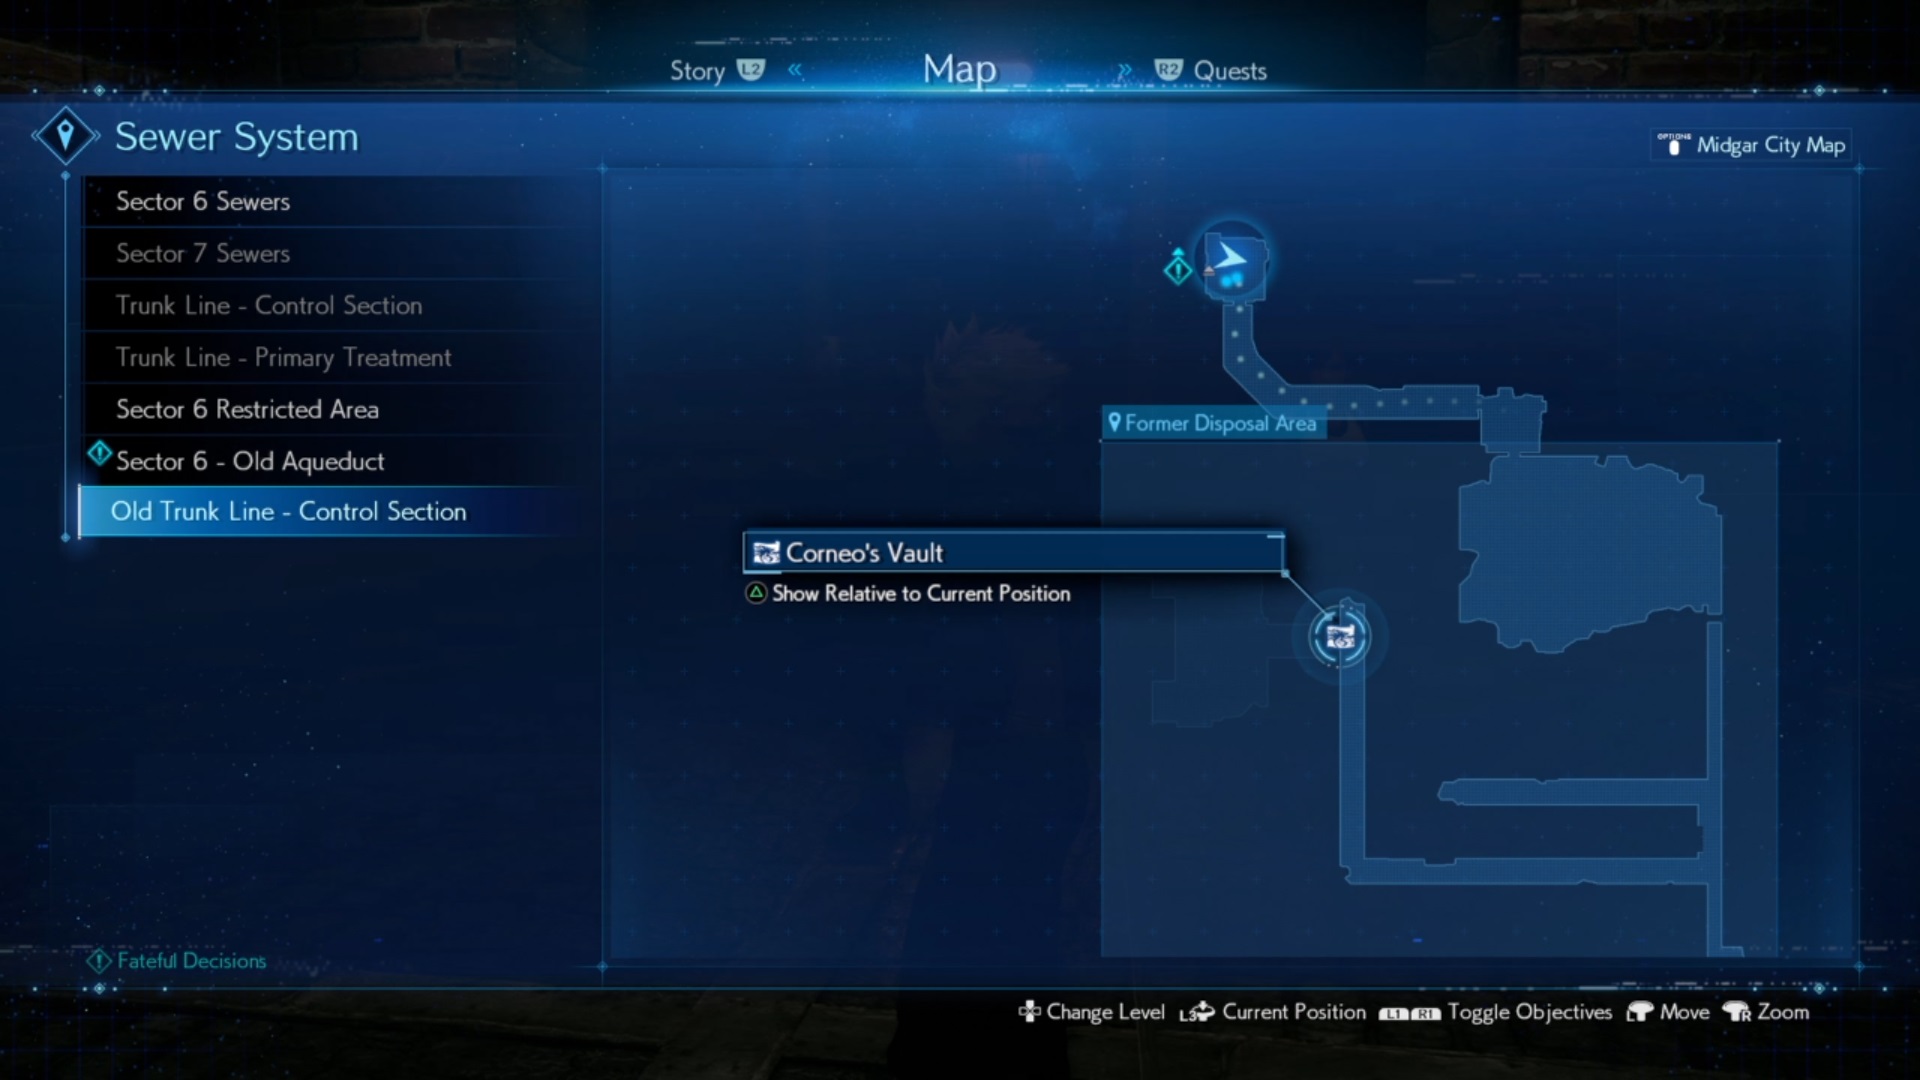
This drains the water from the Former Disposal Area, and you'll see a short cut scene that shows you the door to the final vault. This is where you'll want to double back from the ladder to the area you chased the Shoat and tried to close in on it. It should be quite clear from the map where you need to go. The final vault door is on the left-hand side of that area, but be prepared, as you'll have to fight a Sahagin Prince to get to the contents inside the vault. Using ice and fire spells here to stagger it is your best bet.
Once you've defeated the enemies and looted all of the chests and smashed up the boxes, you'll have to head back to the ladder and complete the main quest before you can turn in the side quest.
Weekly digests, tales from the communities you love, and more

I started out writing for the games section of a student-run website as an undergrad, and continued to write about games in my free time during retail and temp jobs for a number of years. Eventually, I earned an MA in magazine journalism at Cardiff University, and soon after got my first official role in the industry as a content editor for Stuff magazine. After writing about all things tech and games-related, I then did a brief stint as a freelancer before I landed my role as a staff writer here at GamesRadar+. Now I get to write features, previews, and reviews, and when I'm not doing that, you can usually find me lost in any one of the Dragon Age or Mass Effect games, tucking into another delightful indie, or drinking far too much tea for my own good.
