Final Fantasy 7 Remake tips - how to get the most out of Midgar
Setting off into Midgar? Here are seven FF7 Remake tips to get you started
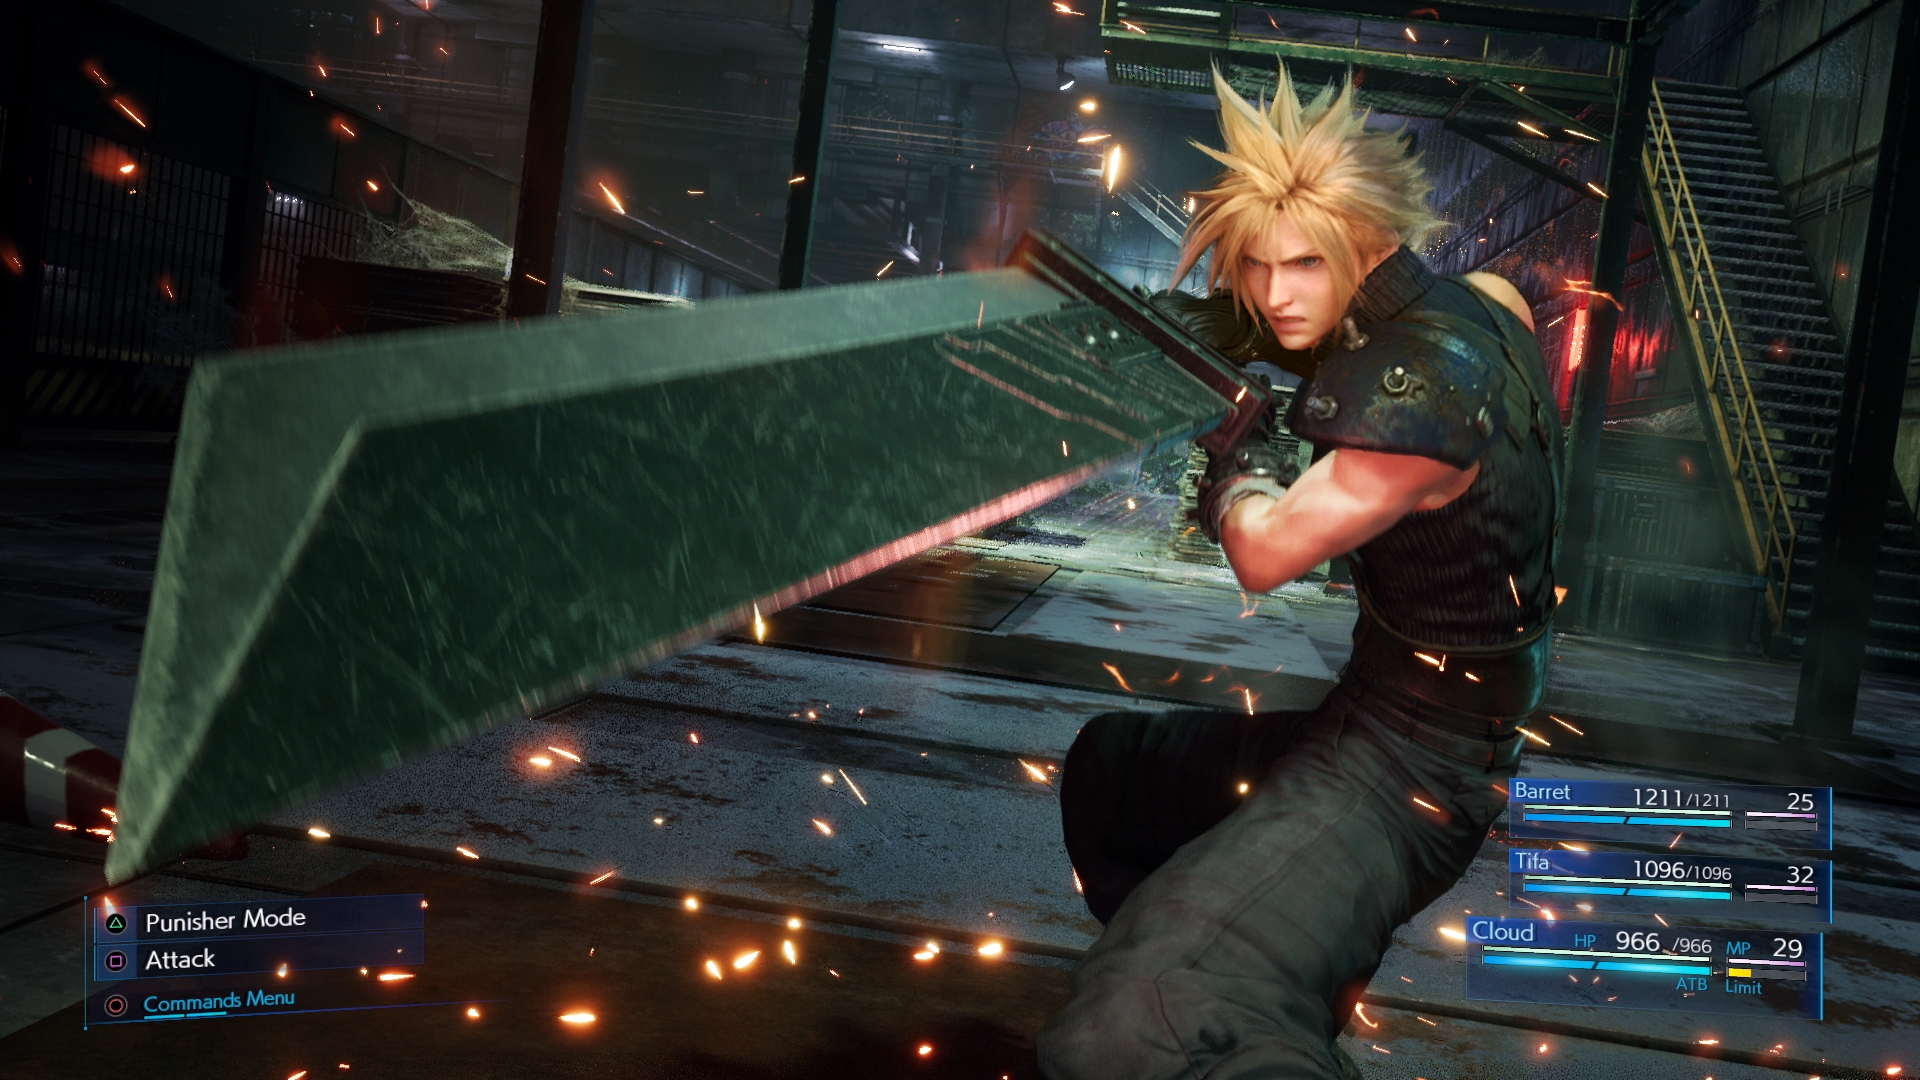
These Final Fantasy 7 Remake tips are designed to help you get into the updated version of Midgar, as whether you're an experienced FF7 player or a fresh recruit to the game, there's plenty of new stuff to pick through even though the setting is familiar. We want to make sure that you're getting the most out of your time with Final Fantasy 7 Remake, and that you don't end up getting stuck or miss out on anything important along the way.
From getting the most of your weapons to making them more effective in combat, to what to keep an eye out for as you progress through each chapter, these tips are a great place to start as you just get stuck into the expanded re-imagining of Square Enix's RPG. So without further ado, here are seven essential Final Fantasy 7 Remake tips to help you get started.
There are only some minor spoilers ahead.
Final Fantasy 7 Remake locked doors | Final Fantasy 7 Remake differences | How long is Final Fantasy 7 Remake? | Final Fantasy 7 Remake ending | Final Fantasy 7 Remake heads or tails | Final Fantasy 7 Remake Materia | Final Fantasy 7 Remake Power of Music
1. Smash every box you see
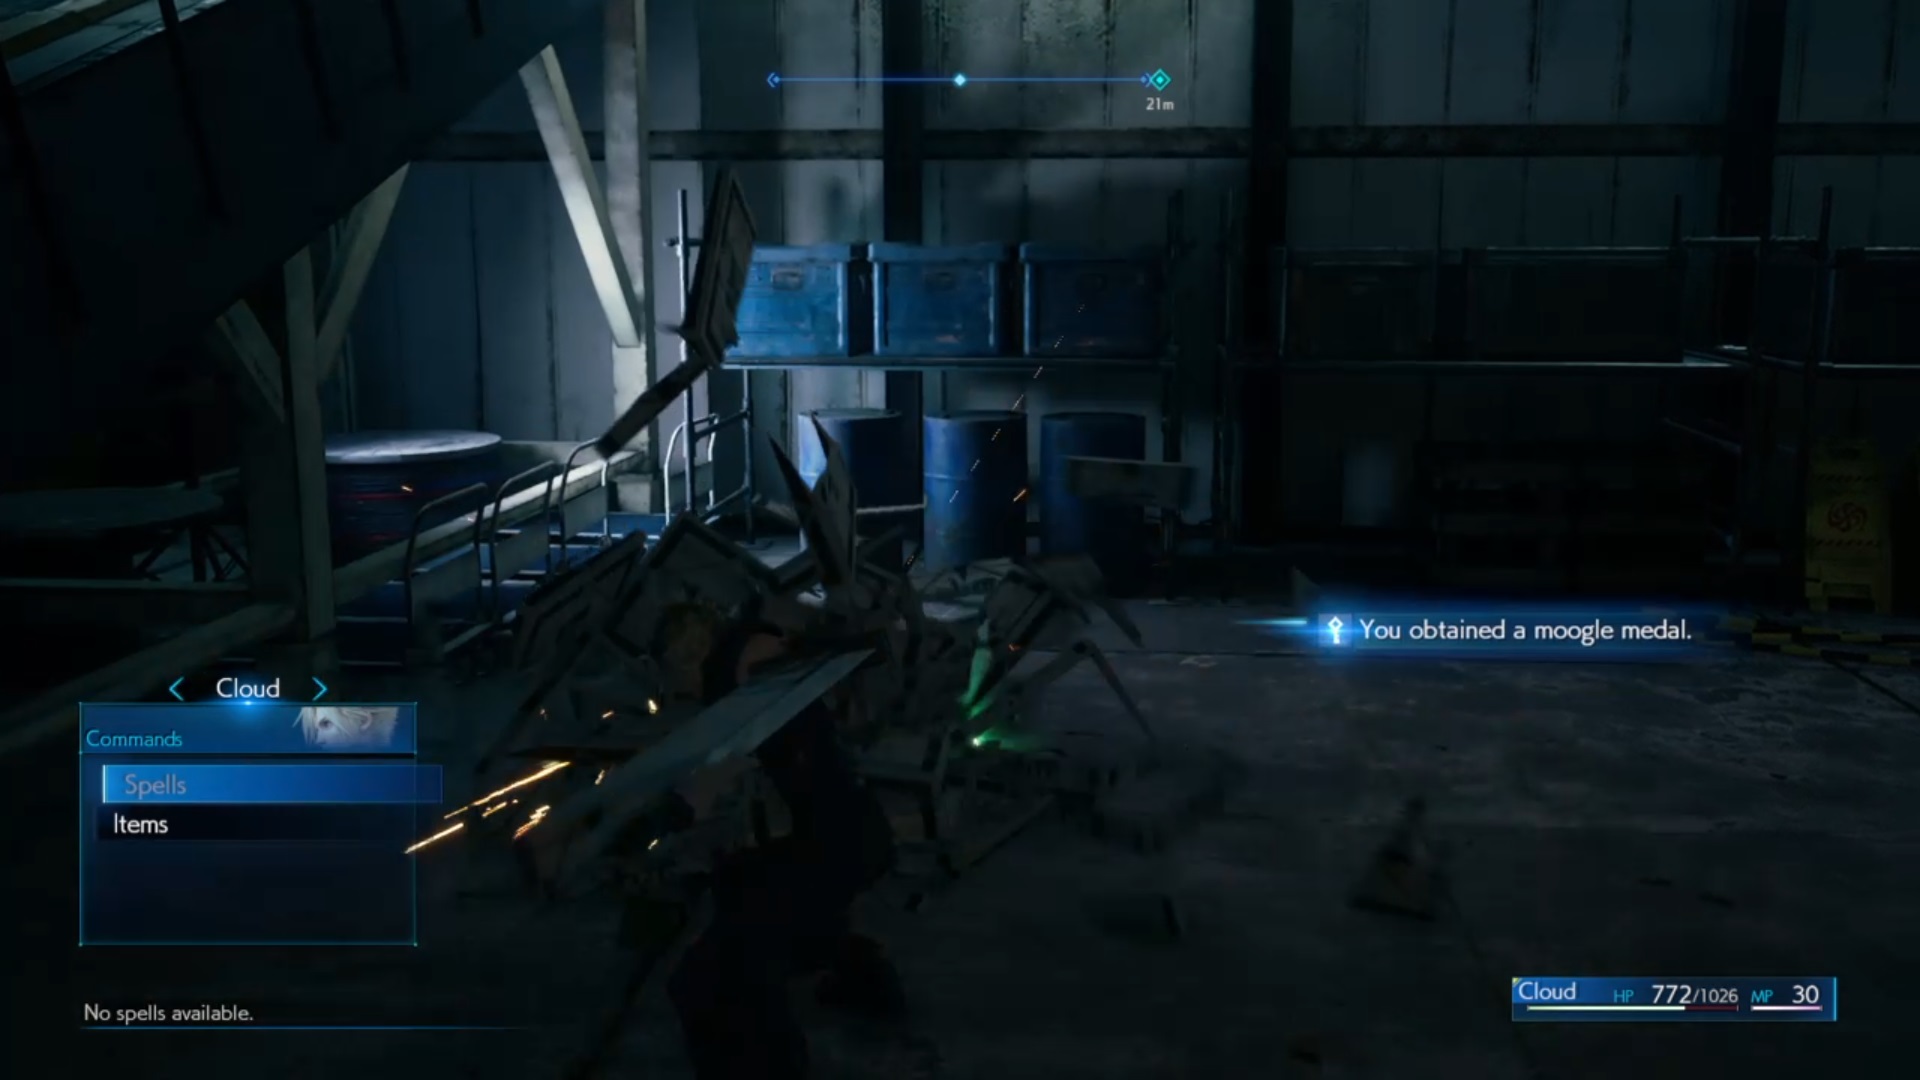
Right from the very beginning, after the first few fights you'll have, the game will put a prompt telling you about Shinra boxes that you can smash. You'll notice these boxes throughout the entire adventure, and if you ever spot any, be sure to smash them. Not only will they often have some MP you can recover, which enables you to perform moves and spells, but the boxes also contain Moogle Medals which will come into play later on. The more medals you can get a hold of, the better. I always quite enjoy smashing up boxes anyway, and happily, Final Fantasy 7 Remake rewards you for smashing lots of boxes, so keep an eye out for them along the way and make sure you leave no box unsmashed.
2. Doing side quests is worth the effort
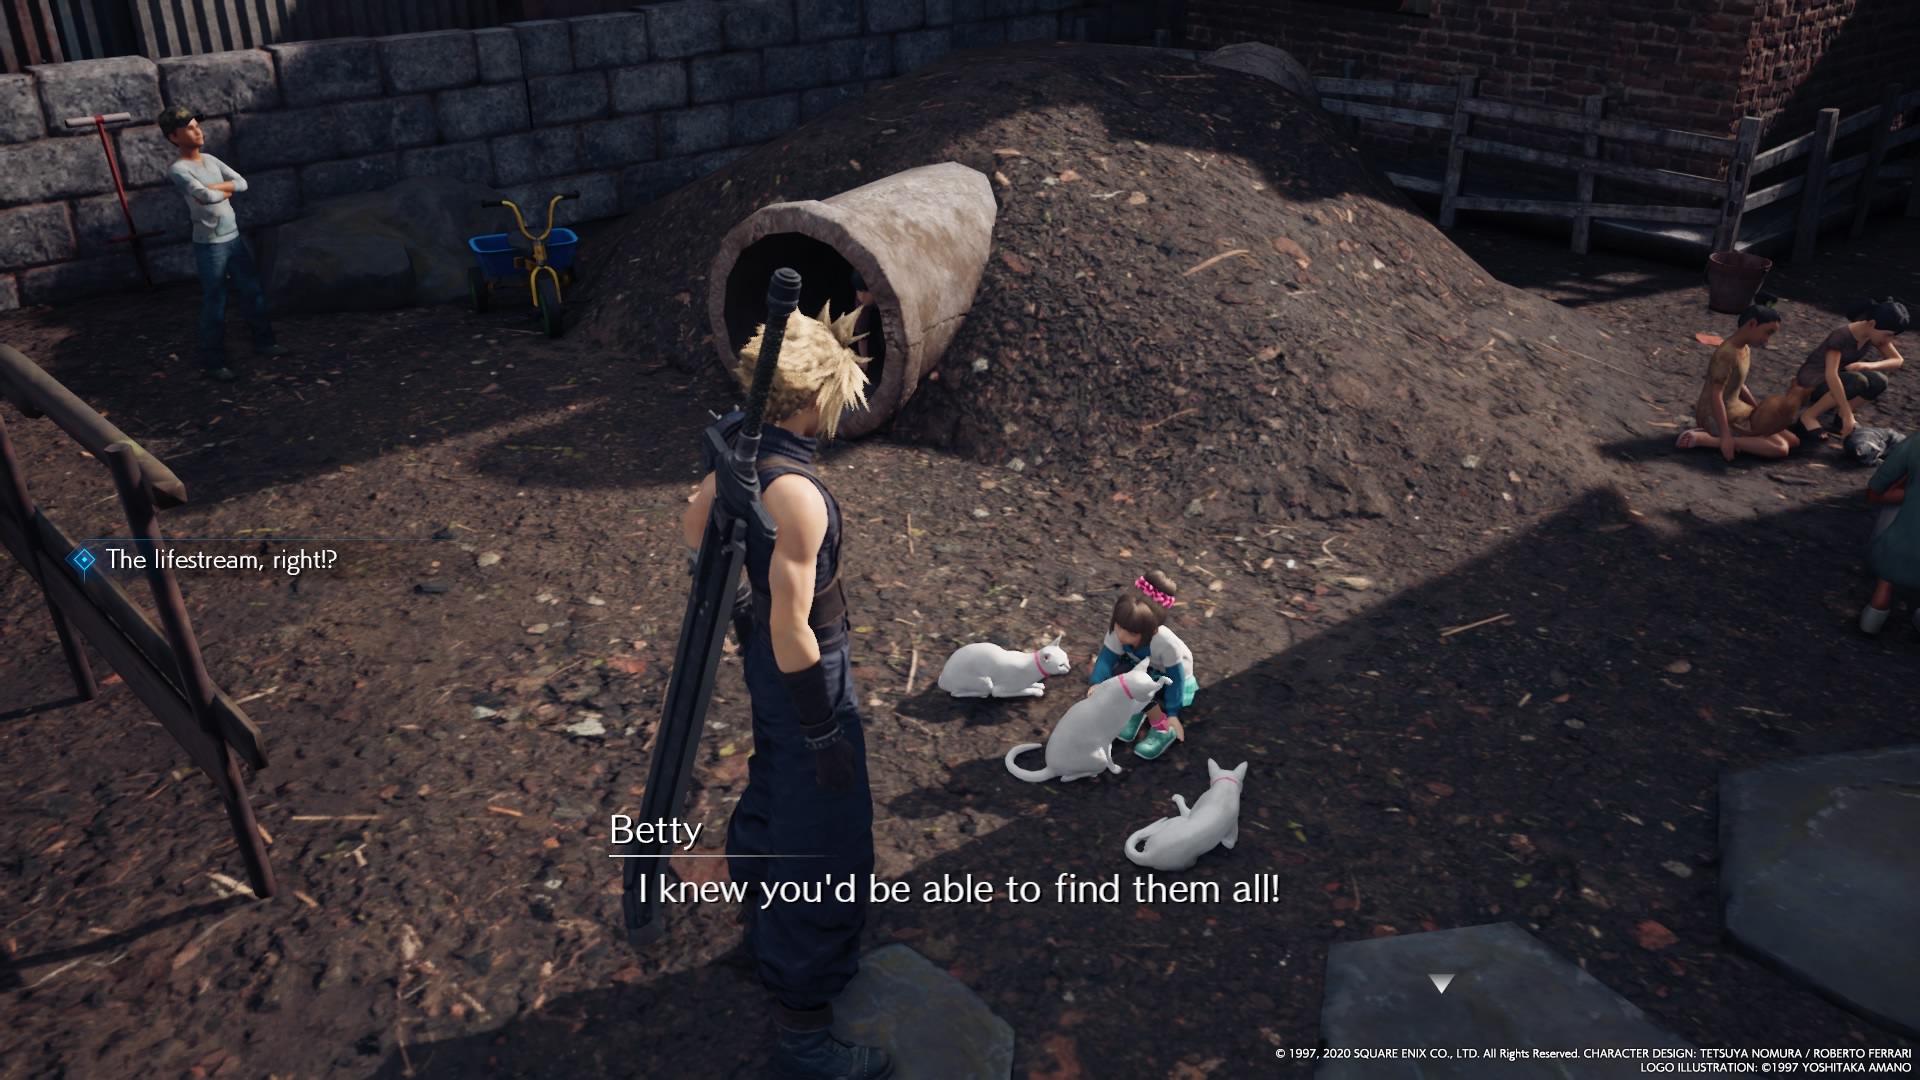
As early as Chapter 3, you'll come across side quests in which the residents of Midgar will enlist your help for various different reasons. It goes without saying that as with many an RPG, doing the side quests often rewards you and Final Fantasy 7 Remake is no exception. The difference is that the side quests are quite limited in the chapters that have them, but if you do all of them, you can unlock a special scene or discovery, and even get your hands on some useful materia and weapons. The game does allow you skip the odd jobs if you just want to keep making your way through the main story, but it's absolutely worth putting in the time to complete them if you can. They can even affect some of the main story elements further down the line.
3. Quest givers will give hints

A lot of the side quests are quite self-explanatory and you can usually work out where to go by checking out your map. Every so often though, it's not always immediately clear where you need to go. If you ever find yourself unsure, returning the quest giver is a sure fire way of getting a hint on the location of your goal. If there are multiple items or things to locate for example, talking to them multiple times will provide clues for each location your goal can be found. More often than not you're probably able to work out where to go from the quest line in the side quest menu, but it's a handy little trick to know if you really do get stuck.
4. Make sure you use different weapons
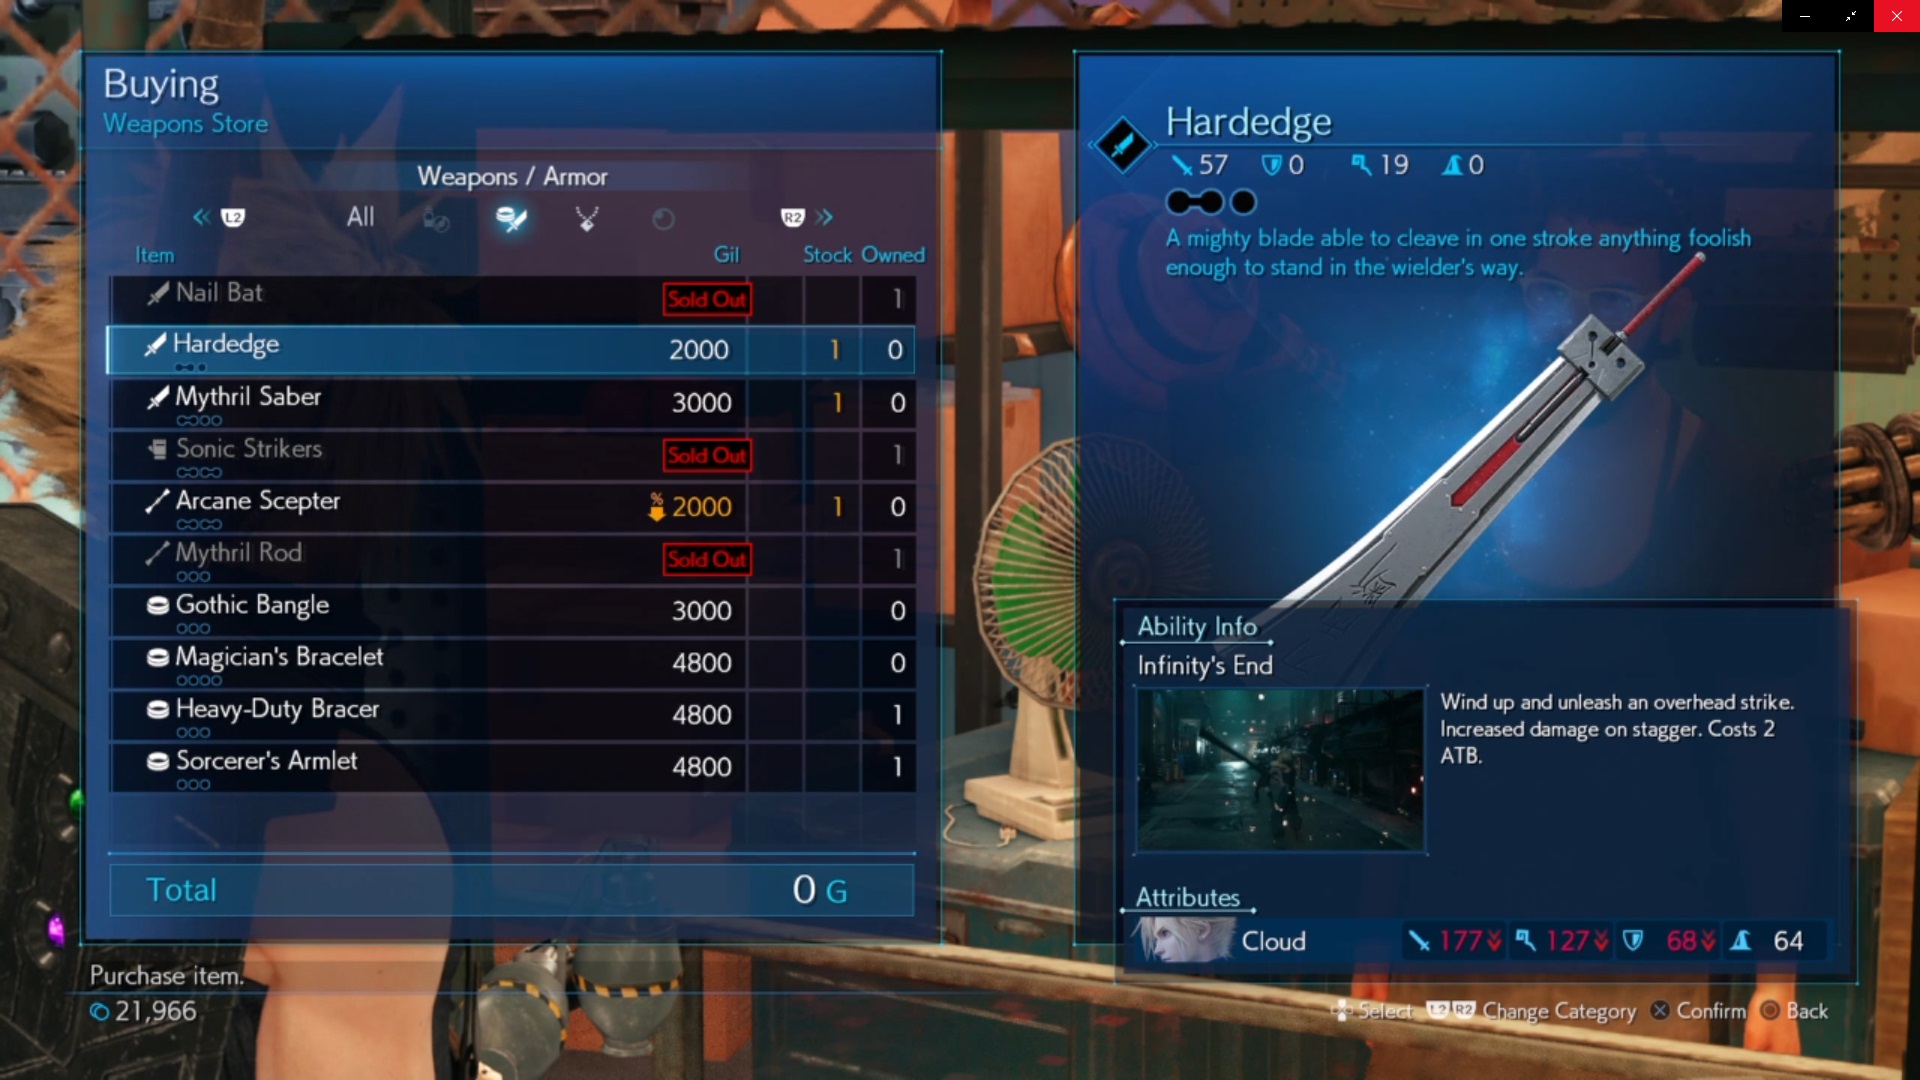
In Final Fantasy 7 Remake, you're given the ability to change up the weapons of each character. As iconic and as Cloud's trusty Buster Sword is, it is definitely worth swapping out your weapons whenever you stumble upon a weapon shop or gain a new weapon during your adventures. You'll notice when you equip a new weapon it will feature a unique ability for use in combat. The more you use the weapon's ability, the higher your proficiency in the skill will become. Once you reach 100% proficiency in a new weapon ability, that ability can be then used universally on every weapon for that character. So, for example, Cloud can equip a nail bat with the Disorder move. Once I'd gained 100% proficiency in that move, I could then use Disorder with any other weapon in Cloud's arsenal. It's definitely worth using as many different weapons as you can find to add to the move-set of every party member.
5. Keep upgrading your weapons frequently
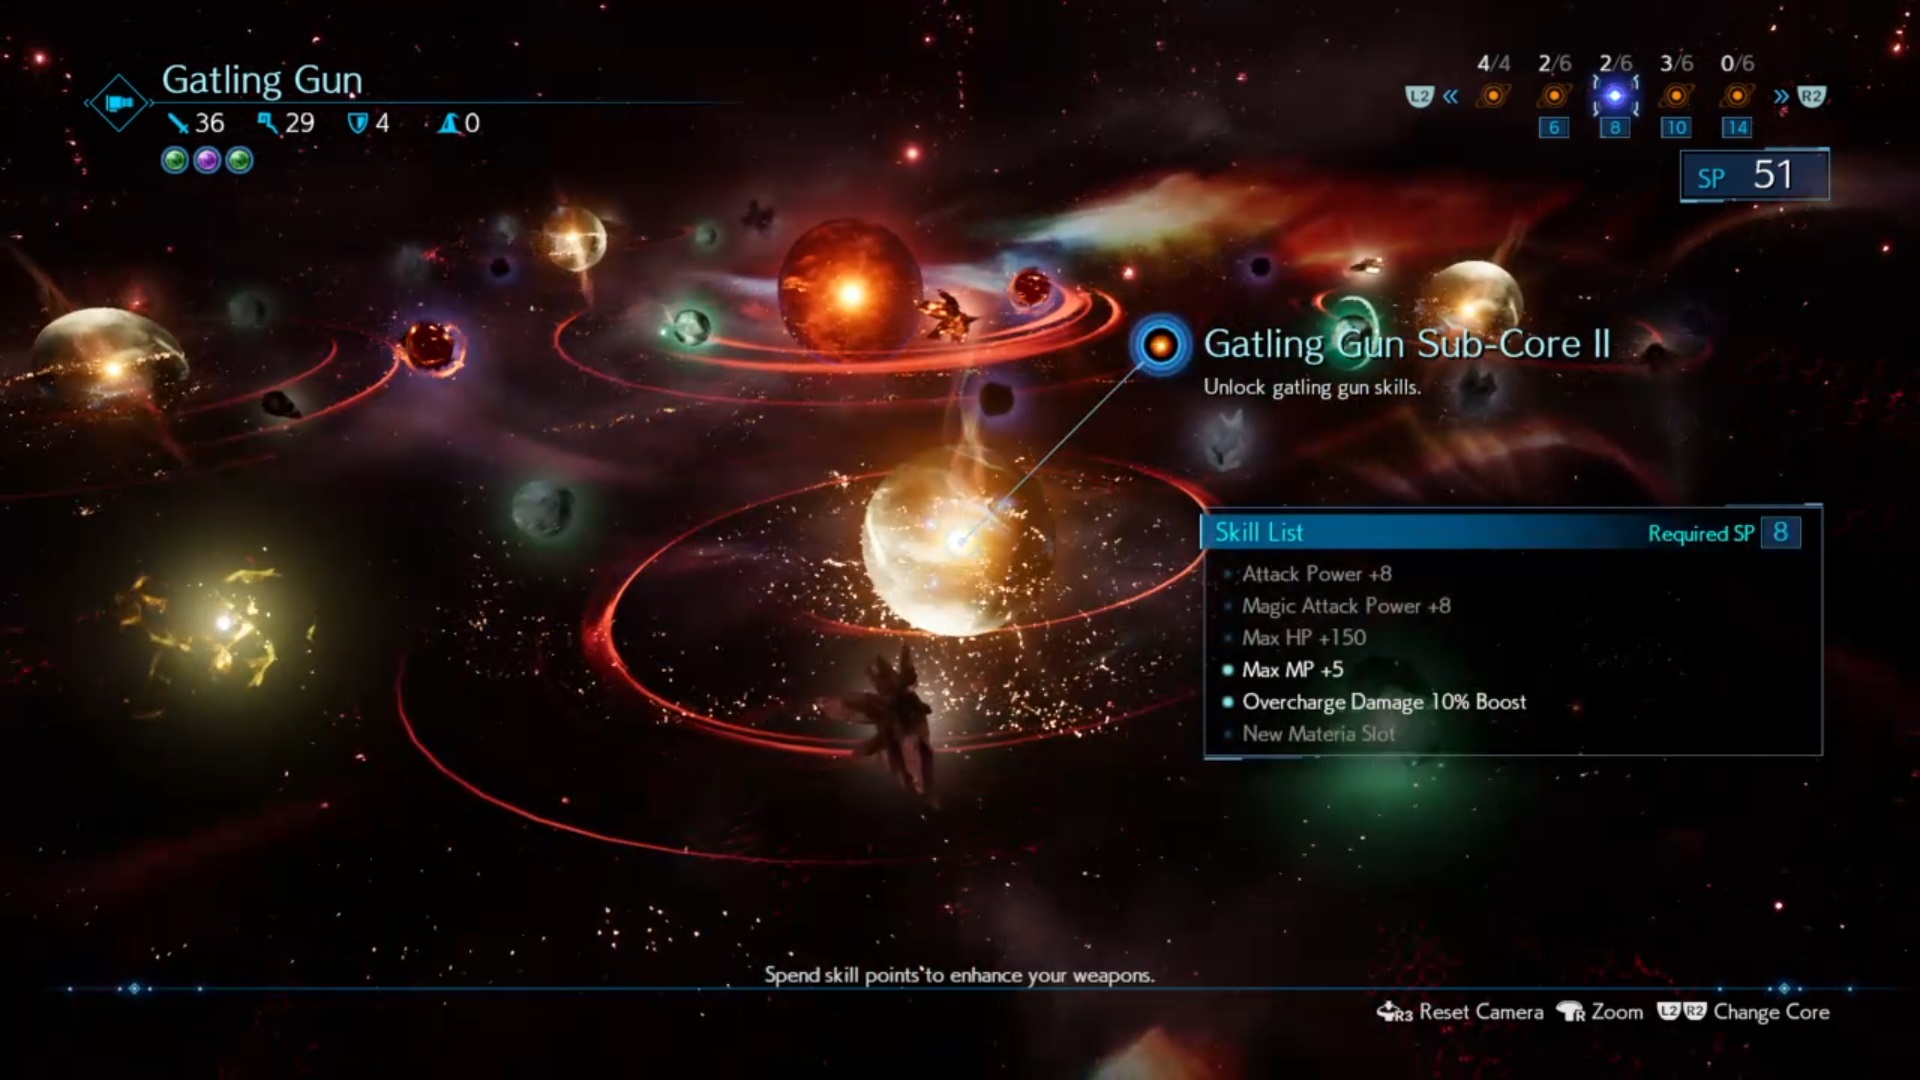
There's also a new weapon upgrade progression system that lets you enhance skills and fine-tune the fighting style of each character. As you level up, you'll SP (Skill points) that can be used to upgrade your weapons. Throughout the adventure, it's worth frequently checking your character's weapons in the Weapons and Equipment menu to see if you have an SP to spend on the weapons. As you can use a variety of weapons, each item will have its own upgrades that can enhance different strengths and fighting styles. Making sure you keep them as upgraded as possible will ensure you are as effective as you can be in combat with each character's weapon.
6. Use the Assess Materia as much as possible

In Chapter 3 you'll meet a young researcher by the name of Chadley who asks you to gather battle intel. He'll give you an Assess Materia, which is one of the most helpful Materia in the game. It's important to use this Materia as soon as you get it, so be sure to equip it immediately. I recommend putting it on Cloud's gear, as he's the one character who you'll be fighting with the most. During each fight, make sure you try to use the Assess skill in the combat menu to assess different enemies. This will pull up information about the foe's strengths and weaknesses, as well as their fighting habits and behaviour.
Not only does this help you from a tactical standpoint, but it also helps you unlock more Materia. The more you use it, the more battle intel you'll gather, and Chadley will then be able to use that intel to develop new Materia for you to buy and use from his shop. It's good to keep checking in with Chadley as you progress through the game and take a look at the battle intel requirements in your menu to see how you can continue to unlock more powerful Materia.
7. Always check the vending machines
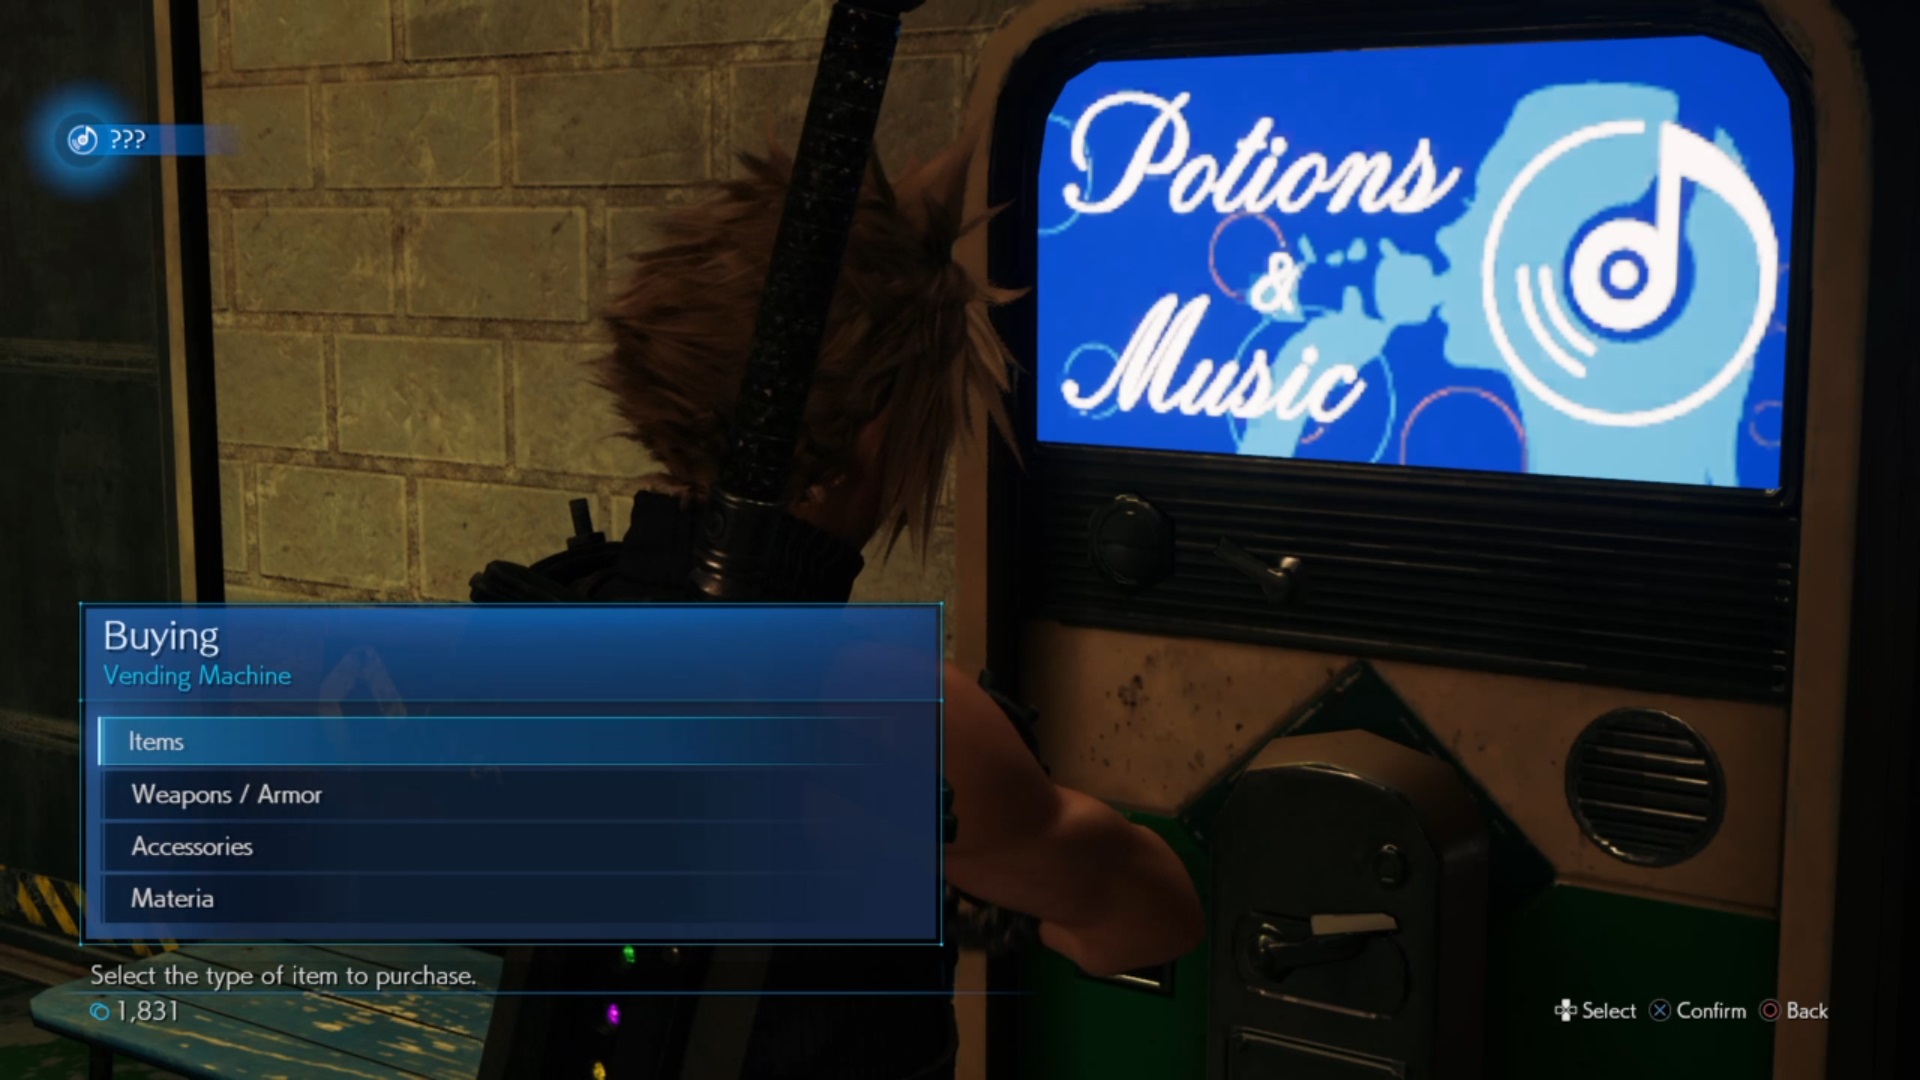
Throughout your journey in Midgar, you'll often come across a bench and vending machine. These little break areas are incredibly useful for restoring your party's MP and health, but it's a way for you to unlock music and get some items for a markdown price. At a lot of vending machines, you'll notice a certain selection of items can be got for next to nothing, so even if you're well supplied with healing potions, Ether, and curative potions, it's always worth checking every vending machine you see to get some freebies and unlock new tracks.
Weekly digests, tales from the communities you love, and more

I started out writing for the games section of a student-run website as an undergrad, and continued to write about games in my free time during retail and temp jobs for a number of years. Eventually, I earned an MA in magazine journalism at Cardiff University, and soon after got my first official role in the industry as a content editor for Stuff magazine. After writing about all things tech and games-related, I then did a brief stint as a freelancer before I landed my role as a staff writer here at GamesRadar+. Now I get to write features, previews, and reviews, and when I'm not doing that, you can usually find me lost in any one of the Dragon Age or Mass Effect games, tucking into another delightful indie, or drinking far too much tea for my own good.
