Assassin's Creed: Brotherhood Sons of Romulus Lairs guide
Complete every hidden Romulus lair in full synchronization with our complete walkthrough guide
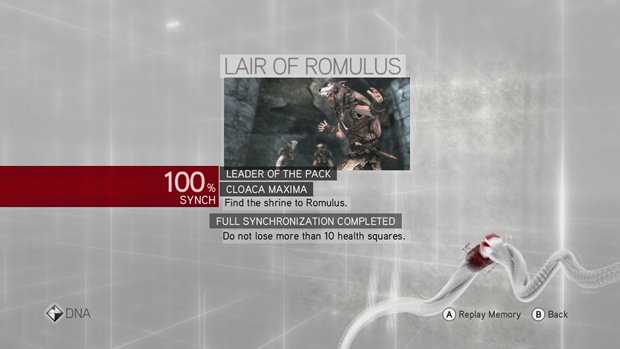
Full Synchronization: Do not lose more than 10 squares of health.
Available once DNA sequence 7 begins
The trickiest part of this lair may just be reaching the entrance. You’ll notice that you need to get through an archway tunnel opening underneath 3 wooden beams.
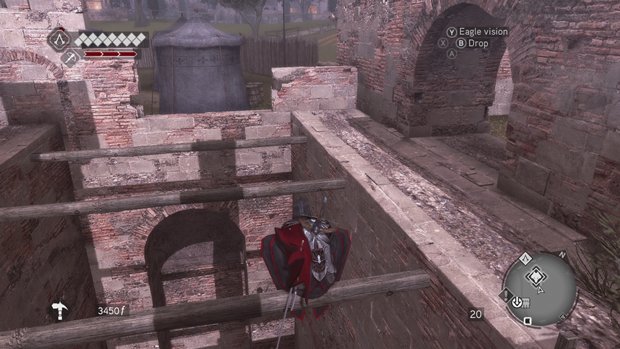
It’s not very clear that there are some ledges you can use. You’ll need to hang and drop down, making sure to hold the grab button as you fall so that you’ll catch the next ledge. Then use the climb leap (one of DaVinci’s upgrades) and hold grab to grasp the final ledge to your left.
Not losing more than 10 squares is easy enough; just be weary of the follower’s throwing knives. You’ll have to fight a lot of followers, so remember to always go for counter attacks whenever surrounded.
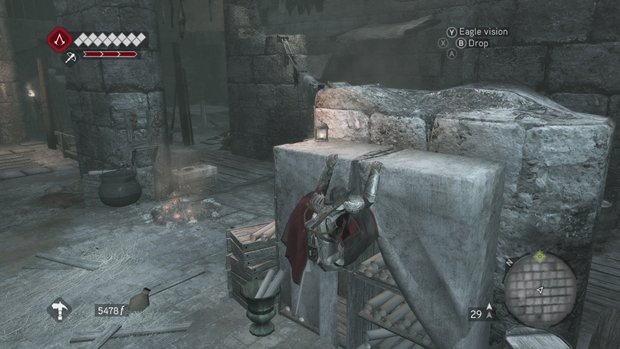
When you finally chase down your first target, you’ll find yourself in a room where one of the followers destroys the scaffold leading out. You’ll need to find the path that wraps around the room, and it begins with the cloth-covered shelves.
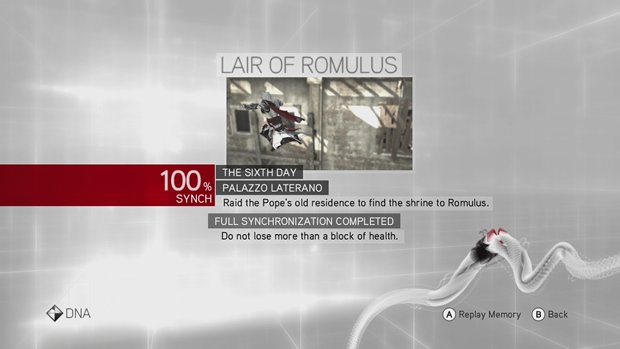
Full Synchronization: Do not lose more than a block of health.
Available once DNA sequence 7 begins
This abandoned church can be difficult to navigate, so we’ve covered the most head-scratching portions. There are no enemies here, so the only way to lose health (and your chance at 100% synchronization) is by falling.
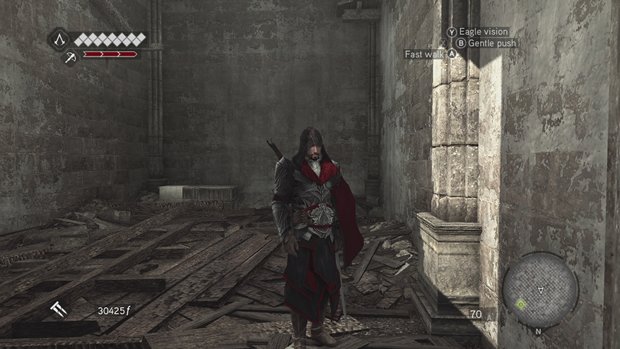
Begin your ascent with these small boxes resting against the wall of this dead-end hallway. Run up the wall and leap backwards to grab the beam.
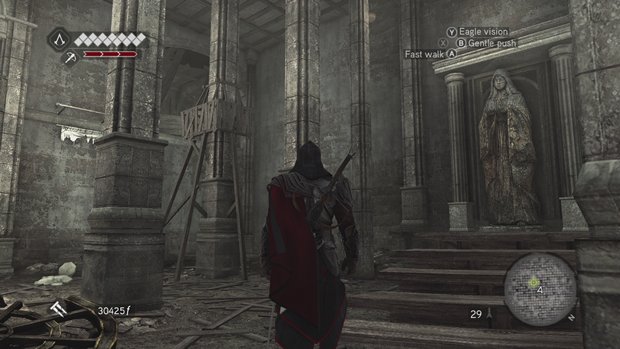
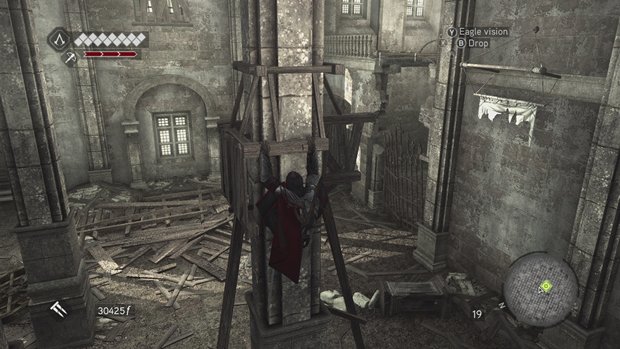
Soon after the portion where you leap across the chandeliers, you’ll be a room with a statue along the right wall. Climb up the statue and leap to the hanging pot on the left, making sure to hold the grab button as you fall in order to catch the planks that are wrapped around the column.
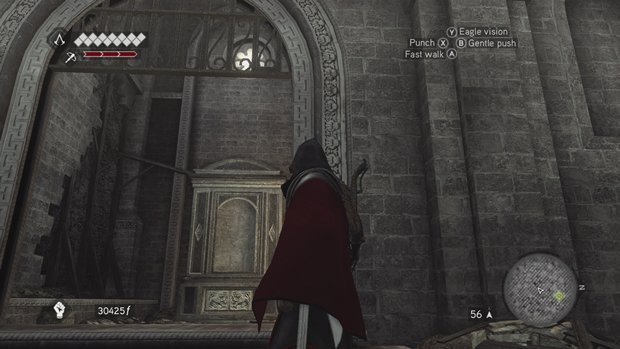
As soon as you enter the large, final room, climb down carefully and shoot the hanging sandbag to the left of the big gate. This will open up another gate nearby (seen above).
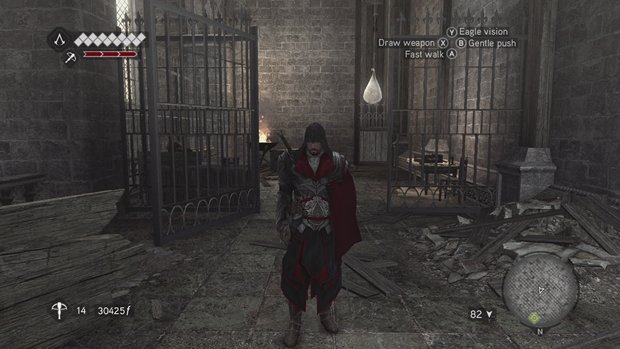
Once you’re on the second floor balcony, look to your right and shoot the sandbag.
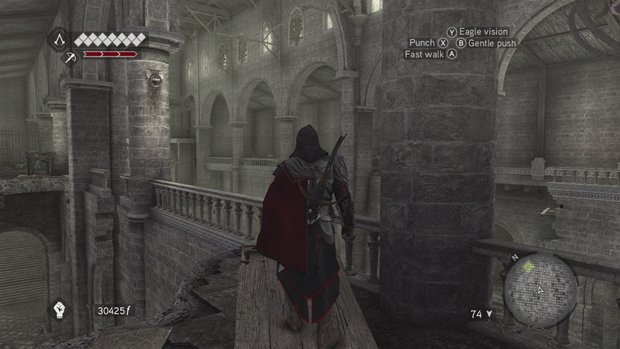
Now to the left, look for the small ramp made of wood. Walk across the railing and climb up to the ring attached to the column.
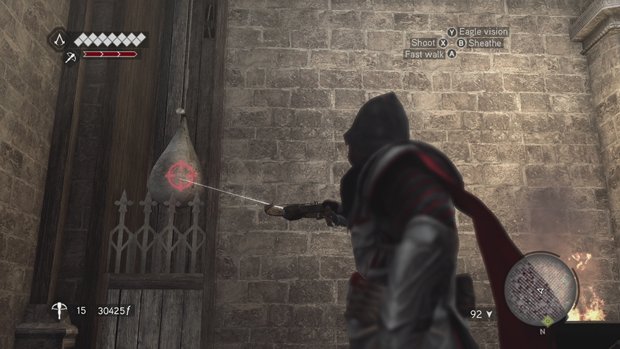
Trek across the rafters and climb down the large windows at the back of the church. When you get down to the balcony on the side opposite to the one you started, you’ll find an ammo crate and another sandbag to shoot. Shooting this sandbag will make the chandelier swing into the giant cross, which will fall over destroying the gate protecting the treasure.
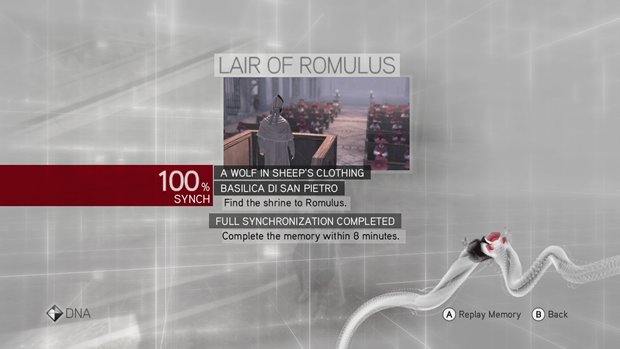
Full Synchronization: Complete the memory within 8 minutes.
Available once DNA sequence 8 begins. Compared to the last two speed runs, this one’s a breeze. The objective is to locate and chase down a cardinal. You can’t rush the first portion, just be patient and follow your target until he walks through the gate. After that, the action picks up and you get to chase the surprisingly nimble cardinal through the enormous basilica. Just a couple of things to keep in mind before you begin…
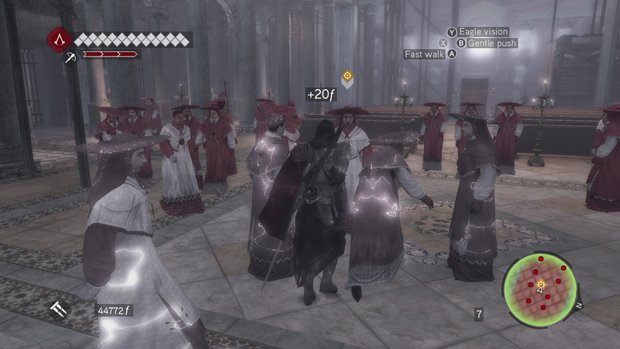
Be careful not to accidentally pickpocket any of the churchgoers during the initial segment. Holding A/X to fast walk between groups will also cause you to steal money from people, so it’s best not to use that while you’re trying to blend.
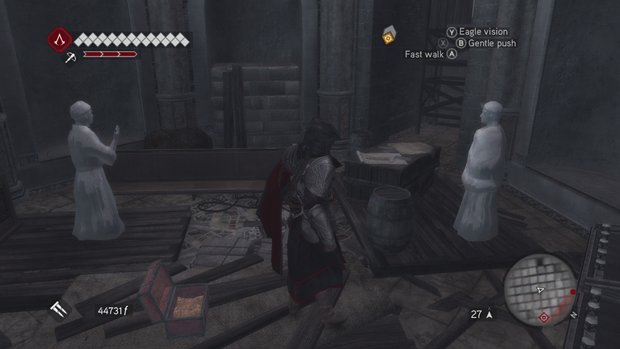
Above: The cardinal will actually wait for you when you fall to areas like this
Don’t panic if you fall (unless it’s to your death) because for many parts of chase the cardinal will simply wait for you to catch up before continuing his fruitless endeavor.
Having all 6 keys means you can finally access that armor that you could see but not touch since the beginning of the game. Head for the orange Romulus logo on your map, and look around the ruins there for a staircase leading underground.
While running through the lower parts of the tunnels, look for a broken section of high wall in this distinguishable room with the columns.
Above: Payoff baby!
Congratulations! You are now the proud owner of the Brutus Armor and Brutus Dagger.
Nov 17, 2010
Weekly digests, tales from the communities you love, and more
