


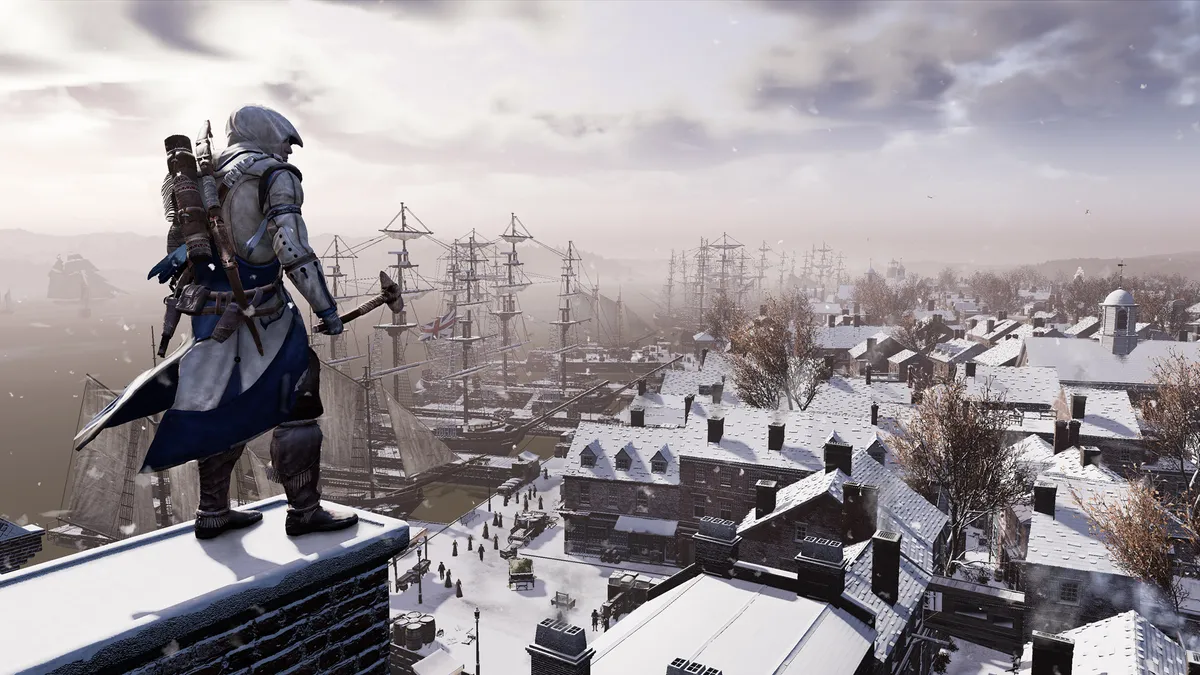
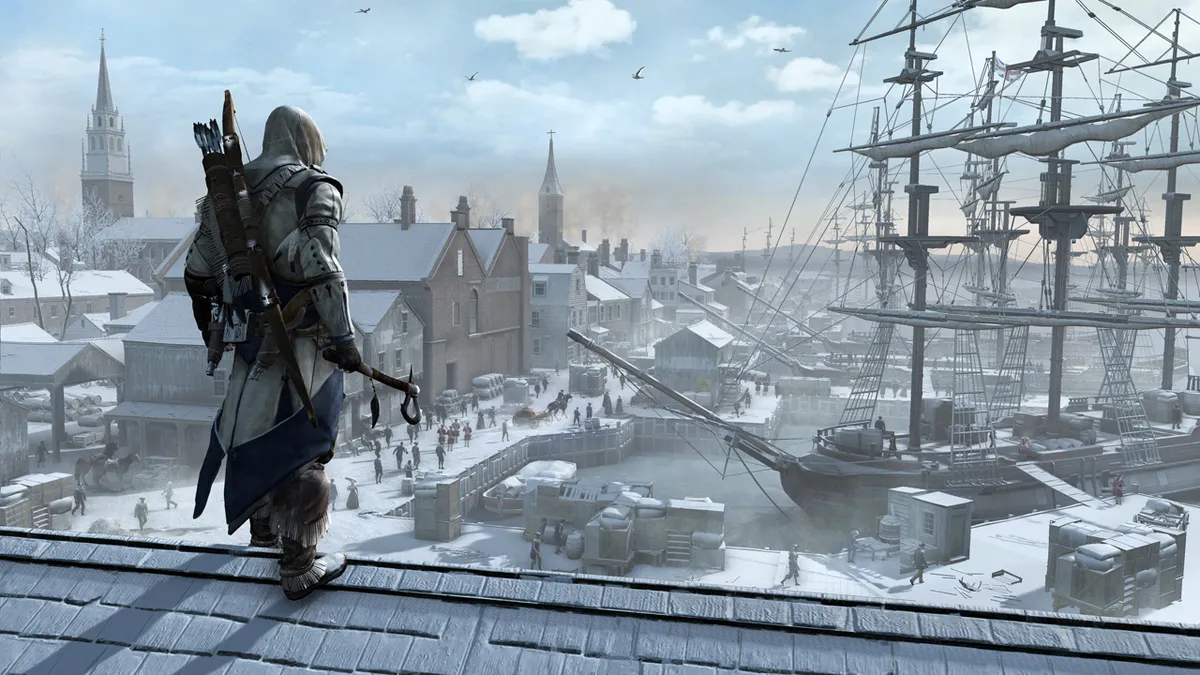
If you've played Assassin's Creed 3 then you'll know there are many activities you can undertake, in addition to working your way through the main mission memory sequences. We've put in the hours to see everything the game has to offer, so we can bring you advice on the best ways to get ahead. Whether you're hunting in the wilderness of the Frontier, engaging in naval battles on the high seas, or sending out recruits to take over the East Coast, our essential Assassin's Creed 3 tips will give you all the information you need to defeat your enemies and rise to the top.
- Assassin's Creed 3 Feathers locations guide
- Assassin's Creed 3 Treasure Chests locations guide
- Assassin's Creed 3 Homestead missions guide
1. Avoid Detection
There are a number of ways to remain undetected while moving around. The basic point to remember is that running and climbing while holding down R1/RT will draw attention to yourself, whereas using X/A to fast walk will allow you to move quicker without raising suspicion.
By approaching a group of two or more civilians you can blend in with them, which is represented by a white circle appearing above your head. You can blend with both moving and stationary groups, and as long as you remain in contact with them most enemies will not detect you. When you leave the group you still remain blended for a short time, allowing you to quickly switch to other cover without being spotted.
As with previous games there are plenty of hay piles and shelters to hide in, but there are now areas of low bushes that can be entered and used as cover. As with blending a white circle appears over your head when you are hidden, and as long as you remain crouched and don't run you can safely move around within the foliage.
By approaching a corner and walking into it, you can press against it and enter corner cover. Although you are not completely hidden in this position it does give you a good protected view of the area ahead and is useful for tailing and eavesdropping. By pressing Circle/B while in this position you can whistle to attract a nearby enemy, then hit Square/X to perform a stealth assassination and hide the body when they get close to investigate. Be wary of whistling when multiple foes are present as they may all hear you and approach together, blowing your cover.
2. Escape from Enemies
You'll know when an enemy begins to detect you by the Social Status Indicator (triangular icon) that appears over their head. First the icon fills with yellow to indicate they are suspicious of you, and simply breaking their line of sight is enough to evade attention. Once filled, however, the icon will begin to turn red, indicating the enemy is actively investigating you. At this stage you'll need to get out of sight and put some distance between yourself and them, as they will move to check your last know location. Once out of their sight the icon turns grey but remains visible to you, so you can track the enemy's position and stay hidden until they lose interest.
Should the SSI fill completely red you will be identified and forced to enter Open Conflict, represented by your Notoriety Meter (bottom left by mini-map) turning red. To leave this state you need to either fight and kill all attacking enemies or escape from them. The key to evading your pursuers is breaking their line of sight, at which point your Notoriety Meter turns yellow to indicate you can safely hide. Using your free running abilities to scale obstacles will gain you advantage, and if you're in a town then passing through open doors or windows will transfer you to the other side of the building and quickly put distance between you and your followers.
Once you are out of sight jump into cover such as a hay pile or cart and your Notoriety Meter will turn blue, indicating that you are now hidden and your pursuers are losing you. If any of them get too close while looking for you, you can always perform a stealth assassination from cover to get rid of them. After remaining concealed for a short amount of time your Notoriety Meter goes green, notifying you that the threat has now passed and you can safely exit cover.
Depending on what actions you've taken you may need to lower your Notoriety level, which determines how aggressive enemies will be towards you and is indicated by one, two or three crosses on your Notoriety Meter. Taking any of the following actions can reduce this level:
- Tearing down wanted posters reduces Notoriety by one level
- Bribing Town Criers for a small cost reduces Notoriety by two levels
- Bribing a Printer is the most expensive option, but completely removes your Notoriety

3. Win Every Fight
The key to succeeding in combat is mastering the use of the Circle/B button. By holding it down during a fight you will automatically parry most attacks, however by waiting and tapping Circle/B at the moment an enemy strikes at you will enter a slow-motion counter phase, where different button presses perform the following moves:
- Square/X - Kill: basic attack that will defeat most enemies in one hit
- X/A - Disarm: steal opponent's weapon if you're unarmed, otherwise they'll drop it
- Circle/B - Throw: knock enemy to the floor so they can be finished off with a single blow. Throw them from high ledges or into water for an instant kill
- Triangle/Y - Use Tool: special attack using your equipped tool, if an offensive weapon is selected this will instantly kill any enemy
Once you've successfully defeated an enemy, you can then start chaining further attacks into a Kill Streak. Use the left stick to aim towards the next foe, who will become highlighted, then press Square/X to add them to your streak. Continue adding enemies in this fashion, and as long as you aren't interrupted you can take out a whole group in one flowing move.
Later in the game you will face tough Officers who will resist your standard attacks, so press X/A first to swipe and stun them before following up with further blows. Alternatively, ensure you have a pistol or similarly offensive weapon equipped in the Tool slot then trigger the counter special attack described above.
Groups of armed enemies may form firing lines, indicated by a row of yellow markers appearing over their heads, and try to shoot you. When you see these forming up you have just a couple of seconds to grab a nearby foe by pressing X/A and use them as a human shield.

4. Hunt Like a Pro
Out in the Frontier the area is divided into hunting regions, which can be viewed from the Hunting section at the top of the map menu. Each of these regions is populated by four different types of animal, with the exception of the separate Davenport Homestead location that features seven animal types. In the Hunting section the animals found in each area are initially marked with ? but these are filled in as you identify clues and make kills.
When you begin hunting in an area look for clues, which are more easily identified using Eagle Vision, then analyse them to reveal the location of the animal on your mini-map so you can easily track it down. The approach you should then take to make the kill depends on the size and aggressiveness of the animal. A good way to catch animals of any size is to place bait near a bush or under a tree branch you can scale, then hide and wait for one to appear. Once they get close enough you can then perform an assassination to take them down effortlessly.
Smaller animals can be caught using snares, which should be placed near clue locations for maximum effect and can be made even more tempting by throwing bait over them. Move away from the snare once it's been set and wait for a notification that you've made a catch, but don't leave it too long before collecting your reward or the animal will have escaped or been stolen by the time you return.
You can normally hear the growls of larger aggressive predators before you reach them, at which point you can elect to climb into the trees and either shoot them with arrows/darts or air assassinate them. If you decide to tackle them face to face instead then be prepared for a short QTE button sequence to parry their attack and stab them. Although this can be a risky strategy, once you get used to QTE sequences this method can be used to take down tough animals quickly and efficiently.
The weapon used to take down an animal affects the quality of the pelt acquired from skinning them, which in turn determines the price it will fetch when traded. Using Pistols or Rope Darts will yield a damaged pelt that is worth a fraction of the pristine equivalent, which can be obtained by using Arrows or the Hidden Blade to make the kill. Once collected these can then be sold using convoys, with the most profitable items being Bear, Beaver and Elk pelts.
5. Get Around Quickly
Broadly speaking, the quickest way to move around is by using the map screen to Fast Travel between key location markers. This can be done within your current area, but once you unlock multiple areas you can also zoom out to the full East Coast map then zoom in to a different area and Fast Travel to markers there.
On foot while holding R1/RT to run, you can additionally hold X/A or Circle/B as you approach low obstacles to quickly vault over them without breaking your stride, which is useful when sprinting to a destination or evading pursuers.
Moving on foot when snow has fallen can be very slow, though you will walk/run faster if you stick to marked paths that also appear on the mini-map. Climbing trees where possible and running through the branches will also allow you proceed much quicker.
For travelling longer distances on the ground the best way to get around is by riding horses, which are often found near settlements and buildings. Later in the game you unlock the Horse Whistle tool, which can be equipped and used to summon a horse to your side immediately.

6. Upgrade Your Homestead
Keep an eye on your map for missions marked with the Homestead icon, as completing these will recruit new settlers to live on and improve your land. This will then open up further missions with each of these settlers, which should be completed to increase the number of items you can obtain from them.
The Accounting Book found in the Manor gives you access to the following options:
- Stockpile: allows you to buy items from settlers and shows what you currently own
- Crafting: use recipes or experiment with mixing artisans and resources to make new items
- Trading: put items into convoys that are then sold on for a profit
Recipes used for crafting can be unlocked in a number of ways. Some are received after completing main story missions, and others can be found by looting the Treasure Chests found in each area. Special recipes used to craft Benjamin Franklin inventions are discovered by collecting the floating Almanac pages in Boston and New York, with each completed Almanac unlocking a new recipe.
As soon as possible you should craft additional Land Convoy wagons and Land Convoy Capacity Upgrades, as these will allow you to trade more items at a time. If you haven't already found the recipes they are:
- Land Convoy: Woodworker + Oak Lumber & Oak Bark (bought from Lumberer)
- Land Convoy Capacity Upgrade: Woodworker + Pine Lumber & Kindling (bought from Lumberer)
You are then ready to start trading, so get those wagons loaded up. Once you've chosen the item to trade you'll need to select the merchant to send it to, and highlighting each one will reveal the potential profit to be had. Bear in mind you need to have visited the merchant's store at least once to be able to trade with them, so it's worth calling in at each one as soon as possible to give yourself more options.
Make sure you weigh up the travel time, risk and tax to make the most profitable decision. The tax rate is governed by how many Forts in the destination area remain under Templar control, so by taking these over as soon as possible you can increase your profits considerably. The greater the travel time the longer you'll have to wait to receive payment and the higher the risk the more likely it is your convoy will be attacked. If you receive a notification that your convoy is under attack then you have a limited amount of time to either travel to the area and defeat the hostiles yourself, or send in recruits from your Assassin's Guild using the Defend Convoy option that appears in the Guild menu.

7. Master Naval Combat
The positioning of your ship can be crucial to success during naval battles and where possible you should try and manoeuvre yourself so all enemy ships are to one side, making it easier to keep track of their threat and concentrate your firepower. Avoid approaching from the side of hostile ships as this leaves you open to their cannon fire, instead sail towards them at an angle then turn sideways when you are in shooting range.
Using Full Sail will allow you to travel much faster but you won't be able to turn as quickly, whereas Half Sail give you improved manoeuvrability at the cost of speed. Keep an eye on the wind direction indicator on the mini-map as you will travel much more quickly with the wind behind you, marked by the indicator showing green. If a rogue wind appears it can blow you considerably off course, so lower to Half Sail or No Sail until it passes to minimise the impact.
When firing the cannon holding down R1/RT will focus your aim, narrowing the target area and increasing the accuracy of the shot over longer range. When enemies are close this level of focus is not required, so simply press and release the button to get your shot off quickly. If you do find yourself in the middle of a group of enemies it's worth noting the cannon on each side of the ship fire independently, so you can shoot in both direction without waiting to reload.
The swivel gun has a much wider scope for aiming and is great for taking down small ships, but don't bother using it against large vessels unless you've already exposed a weak point as it won't have any effect. Hold down L1/LT to aim the swivel gun then release as the reticule turns red to land your shot, be quick though as you often only a short window of opportunity to hit your mark.
Pay close attention to the information shouted out by your crew members, as this can often provide invaluable advice on setting your course or warn of imminent danger. Be sure to brace by hitting Square/X when they announce incoming fire to minimise any damage taken.
By interacting with the book next to Harbourmasters you can purchase upgrades for your ship, and although these are expensive they will make subsequent naval encounters much easier. Initially you should invest in the Improved Rudder for greater manoeuvrability, plus the Extra Cannons and Piercing Rounds to increase the damage you can inflict on enemy craft.

8. Make Money Fast
There are a number of ways to make money, each with varying degrees of efficiency. Completing side missions such as deliveries and assassination contracts will provide a small income, as will tackling Couriers while unarmed so you don't kill them, but the sums involved are not substantial.
Locating Treasure Chests is a great way of making money as well as discovering other items and recipes, and the quickest way to find these is to buy maps from General Stores. Although this involves an initial investment, the amount you will obtain by opening all of the chests far outweighs the cost. By completing the Liberation missions in an area you will also receive a key that opens all the local Treasure Chests, allowing you to skip the lockpicking sequences.
While out in the Frontier, from time to time Templar convoys will appear along the main routes and these can be robbed for a tidy profit. Once you've located a convoy and taken care of the guards, simply approach the rear of the wagon and search it for a cool £750, or £1,500 if there's a second wagon present.
The best way to make money is by selling items via convoys from your Homestead. Once you've recruited settlers and acquired some recipes you can start crafting items, which sell for much more than the combined values of their individual parts. Trading pelts and other items collected from hunting via convoys is also very profitable, and as there is an unlimited supply of animals out in the Frontier you can earn as much money as you like if you're willing to put the time in.

9. Build Your Assassin's Guild
During Sequence 6 you encounter Stephane Chapheau and recruit him to your Assassin's Guild, which then opens up Liberation missions in Boston and later New York. By heading to the Liberation Missions section of the map screen you will see each city is divided into three districts, which contain challenges to complete that will transfer control of that area from Templar to Assassin.
The North and South Boston districts (Central is automatically liberated) each contain two types of Liberation mission, with the North, Central and South districts of New York having three different mission variations. Once you've completed three of each Liberation mission type in a district you will unlock a final mission for that area, where you assassinate a Templar leader using your contact's ability then recruit them into your Guild.
To select an ability hold down L2/LB and use the right stick to scroll through available options, then to carry out the action tap L2/LB in open play. The following contacts can be recruited and provide you with the listed ability once they join your Guild:
- Stephane Chapheau (Central Boston) - Assassinate: Kills targeted character then fights any nearby guards
- Stephane Chapheau (Central Boston) - Riot: Forms nearby civilians into an angry mob, drawing guards away from their posts to allow infiltration
- Duncan Little (North Boston) - Bodyguard: All available recruits follow behind you and assassinate any enemies who begin to investigate
- Clipper Wilkinson (South Boston) - Marksmen: All available recruits fire upon targeted character and other hostiles nearby
- Dobby Carter (North New York) - Lure: Steals from targeted character and causes them to chase after recruit, moving them away to another area
- Jamie Colley (West New York) - Ambush: Designates a circular area on the ground, with any hostile entering being attacked by an available recruit
- Jacob Zenger (East New York) - Covert Escort: Available recruits provide an escort while dressed in military uniform, allowing infiltration into forts and other restricted areas
When you don't expect you'll need their services you should be sending your recruits out on Contracts, as these will net you both money and items as well as XP to level up. Raising your recruits to higher levels not only improves their success rate on future contracts, but also unlocks additional weapons and fighting moves for when they join you in combat.

10. Achieve 100% Completion
You can check on your progress towards 100% completion at any point by accessing the DNA Tracker in the pause menu. Once you zoom in to a particular segment, you can then scroll up and down to check all the individual challenges required for it. The DNA Tracker is a handy reference tool as it shows all the side missions, activities and collectibles required for 100%.
When playing through the main story missions you should always be aware of the optional objectives, and try to complete as many of these as possible along the way. If you fail an optional objective you can always reload the last checkpoint and try again, which will save replaying the whole mission later.
Unless the optional objectives state otherwise, they don't all have to be completed in the same playthrough of a mission, so if you find it easier you can achieve them individually and they will stack. However, you do have to complete the entire mission and wait until you return to the menu for any additional progress to be saved.
You should initiate as many side missions as you can, as these stay active and by keeping an eye on your mini-map you can often clear multiple objectives in the same area, saving travelling time later on. Grab any collectibles you see as you go along, but don't focus too heavily on completing these sets until you reach the end of the main story as some items are not available until then. Maps can also be purchased from General Stores to display the locations of feathers, Almanac pages and Trinkets.

