Legend of Zelda: Twilight Princess Walkthrough
A step by step guide to Link’s epic adventure through Hyrule and beyond.
Forest Temple
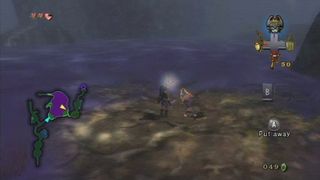
After talking to Coro to get the key to enter the Forest Temple, go through the gate and you will come back to the foggy area. Walk to the edge of the dock and the monkey you saved will appear and steal your lantern. Follow him into the fog and he will clear a path for you to the Forest temple entrance. Be sure to stick with him though as you’ll need to save him periodically from attacks and get your lantern back once you reach the far side. Follow the passage and just before you reach the temple entrance, you will meet a wolf who teaches you the Ending Blow maneuver to finish off enemies. Once you have learned it, burn the spider web to enter the Forest Temple and proceed forward to meet up with the monkey again. Let him out of the cage and climb up the vines to enter a room with a large spider in the center. Light the 4 pedestals with your lantern to raise the steps at the far end and finish off the spider. Open the chest to the left of the door to the north to find the dungeon map.
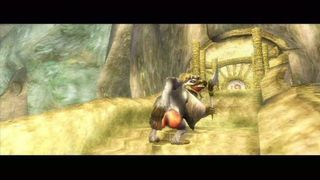
Go through the door and a scene will play with a boomerang throwing creature will destroy the bridge, causing you to go back to the previous room. The monkey will climb on a rope to the west side, so run and jump towards him and swing across to the door there. Enter the passage way and make your way to the right to find a Bombling. Hit it and it will blow a hole in the wall revealing some pots. Smash them and you will find the seriously creepy looking Ooccoo who can teleport you in and out of the dungeon whenever you please. Turn around and follow the passage through the spider web at the other end and hop cross the platforms to reach the north side. Here there will be a door with a couple of more platforms leading to the left.

For now, go through the door ahead of you and run across the wind-swept bridge to the next door. Go through and you will find a chest to the right. Grab the key out of it and head back to the room with the platforms leading to the left and to the locked door. Use the key on it and you will enter a room with another monkey in a cage. Run across the collapsing bridge and then go to the center of the room with the other monkey. Roll into the center pillar three times to knock the cage down, and you will now have two monkey’s following you. Make your way back to the main room of the temple where you fought the large spider and you the monkey’s will now swing you over to the east side doorway. Burn the spider web on it and then enter.
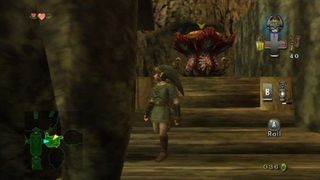
When you enter, take out the few plants and go up the stairs. Follow them around to a Bombling near an opening with a large plant underneath it. The goal is to hit the Bombling and then pick it up, tossing it into the large plant below so that it eats it as it explodes. It can be a little tricky and will take a few tries, but when you get it, a scene will play showing you did it. Hop over the gap where the larger plant was and go to the right to find a wall of vines. Climb up and you will come to a door. Go through and you will find a third monkey in a cage as well as a huge plant that swallows a key.
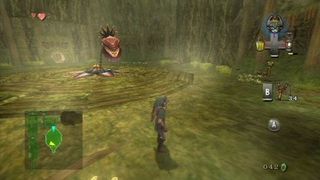
To defeat the large plant, simply sidestep its lunge with its head and then slash at it. Once you have hit it enough, the head will disappear. Once it does that, grab one of the Bomblings at the rear of the room and toss it into the remaining plants opening. Once the bomb goes off, you’ll get the key and can then free the monkey. Go back into the previous room now and toss a Bombling off the walkway to the left and it will get eaten by a plant guarding a chest. Across from that gap, there is also a large stone that you need to destroy with a Bombling to reveal a door to the adjacent room. Once the large plant below is destroyed, use a bomb to toss in front of the wall to break it and go through to find the fourth monkey at the far end.
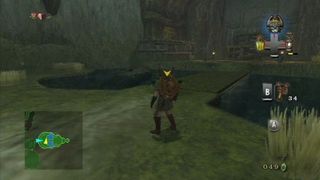
Make your way down the stairs on the left or right and roll into the two pillars to drop a chest and a pot. Grab the key out of the chest and then you will need to cross a bridge with creatures under the platforms. To get across, just run to avoid the moving blocks. Using Z targeting seemed to help the most, but sometimes they would just appear underneath you anyways. Once you get to the far side, light the two pedestals to raise two platforms that will allow you to reach the cage. Climb up once you have and then kill the large spider in the way. Use the key once it is dead and free the monkey. On your way back out of the room, climb the vines on the south side of the room to find a chest the holds a red rupee.
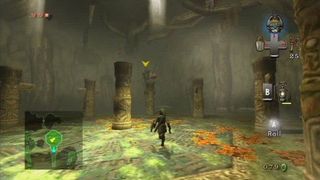
Now make your way back to the main room and then go to the north where you found the boomerang throwing, red-assed creature previously. Use your monkey army to swing across the large gap and then enter the door at the far end. Once inside, you will need to face off against the baboon as he tosses his boomerang around. Wait for him to throw it and then roll into the pillar that he is standing on. When the boomerang returns, it will knock him down giving you a chance to hit him. Do so three times and he will run away leaving you with the Gale Boomerang. To exit the room, use the boomerang on the fan above the door three times and the bars will finally lift. Once outside, go to the left and use the boomerang on the fans atop the bridges. Cross over to reach another monkey in a cage and use the boomerang to free it.
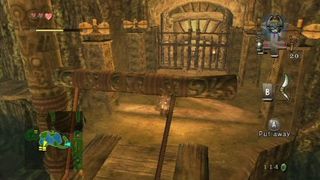
Now head back to the central room and use the boomerang on the chest that is hanging from the ceiling. When you open it, you will get the compass that shows where the rest of the chests and monkeys are for the Forest Temple. To complete the dungeon, you don’t necessarily need all the remaining chests, but you do need all the remaining monkeys. The one chest that you do need however is in the room the west of the main central room, with the gates in the corner. To get to this chest, you will need to turn the fans atop the pillars with the boomerang in a certain order to open the gates. The order is northwest, southwest, northeast, southeast. Once you hit them in that order, the gates will open and you will receive “The Big Key.”
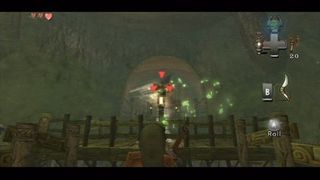
For the three remaining monkeys, you’ll need to head to the northern part of the Forest Temple. Enter the cross shaped room and spin the bridge so that it is facing east and west. Go through the door on the east and there will be a few large spiders in there will some webs on the floor. Burn the web covering the hole to the left of the open hole with vines and drop down it. You’ll land next to a monkey cage down below. Smash it open and set the poor little guy free. The next is located north and east of the cross shaped room. Once you enter the room, you’ll see that you still need two more monkeys. Make your way to the right of the room and turn the two bridges to get over there. Once there, pluck the spiders off the vines and climb up and over to reach the top.
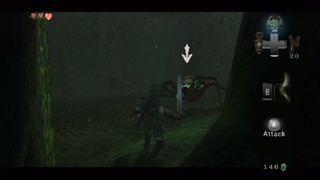
Go through the door at the top and then clear out the plants. To the right side will be a large plant that you need to drop a bomb into, so use the boomerang on the Bombling on the light side to grab it and then toss it at the large plant so that it gets gobbled up. Hop across to the chest and you will receive a small key that you can use to open the locked door in the cross-shaped room. Before leaving for it however, grab another bomb and then toss it at the boulder above the vines. Once it breaks—and it make take a few tries—climb up and then grab another bomb to use on the boulder at the far wall. Once it blows, another monkey will run free and you can head to the locked door in the cross-shaped room. Once inside, make your way to the right side of the room and go through the tunnel in the rear. Kill the spiders and climb the vines to reach the top. Use the boomerang on the fans atop the pillars to open the gates and the last monkey will be free. Now head back to the monkeys gathering room and they will line up to let you cross the large chasm. When you enter the next room using the Big Key, you will then have to face off against the first real boss.
Boss: Twiit Parasite Diababa
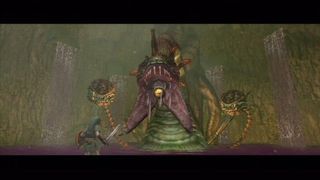
To defeat this boss, you will need to use your Boomerang to first target the Bombling and then target the large Baba head. Do it to each and when they submerge, a larger third head will appear. Now the baboon who you received the boomerang from will appear and swing back and forth with bombs. Target his bombs as he goes and then target the main head so that the bomb travels from baboon to head. When the bomb goes off, the head will come crashing down in front of you. Strike the eye ball when it does and it will retreat again. Repeat the process again and you will finally defeat it.
Sign up to the GamesRadar+ Newsletter
Weekly digests, tales from the communities you love, and more
Jeff McAllister is a freelance journalist who has contributed to GamesRadar+ over the years. You'll typically find his byline associated with deep-dive guides that are designed to help you scoop up collectibles and find hidden treasures in some of the biggest action and RPG games out there. Be sure to give Jeff a thanks in the comments while you're completing all of those tricky Achievements and Trophies.
