-
 GuideDragon Ball Legends codes (June 2026) for free Chrono Crystals to spend in the Shop
 -
-
 GuideAll free Monopoly Go dice links (June 2026) for free dice and more
 -
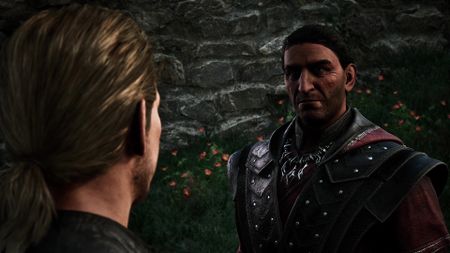
 GuideWhat should you do first in the Gothic Remake?
 -
 GuideFortnite Sprites explained and how to level up your collection
 -
 GuideAnime Reversal codes (June 2026) for free Rerolls and Gems
 -
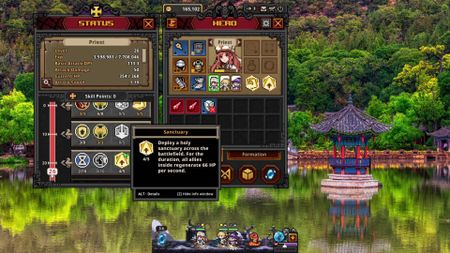 GuideBest Task Bar Hero builds and formations for the early-game
 -
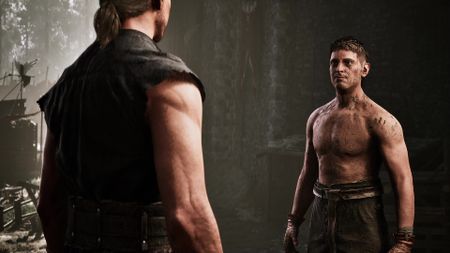
 GuideHow to learn Magic from Torrez in Gothic 1 Remake
 -
 GuideHow to unlock Scatty's Chest in Gothic Remake
 -
 GuideWhat does Mud do in Gothic Remake?
 -
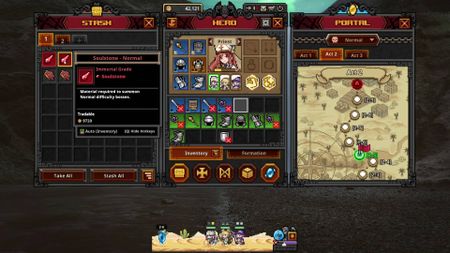 GuideHow to get and farm Soulstones in Task Bar Hero
-


