9 Returnal tips to help you survive the terrors of Atropos
Follow these Returnal tips to hold back the horrors and find some kind of truth
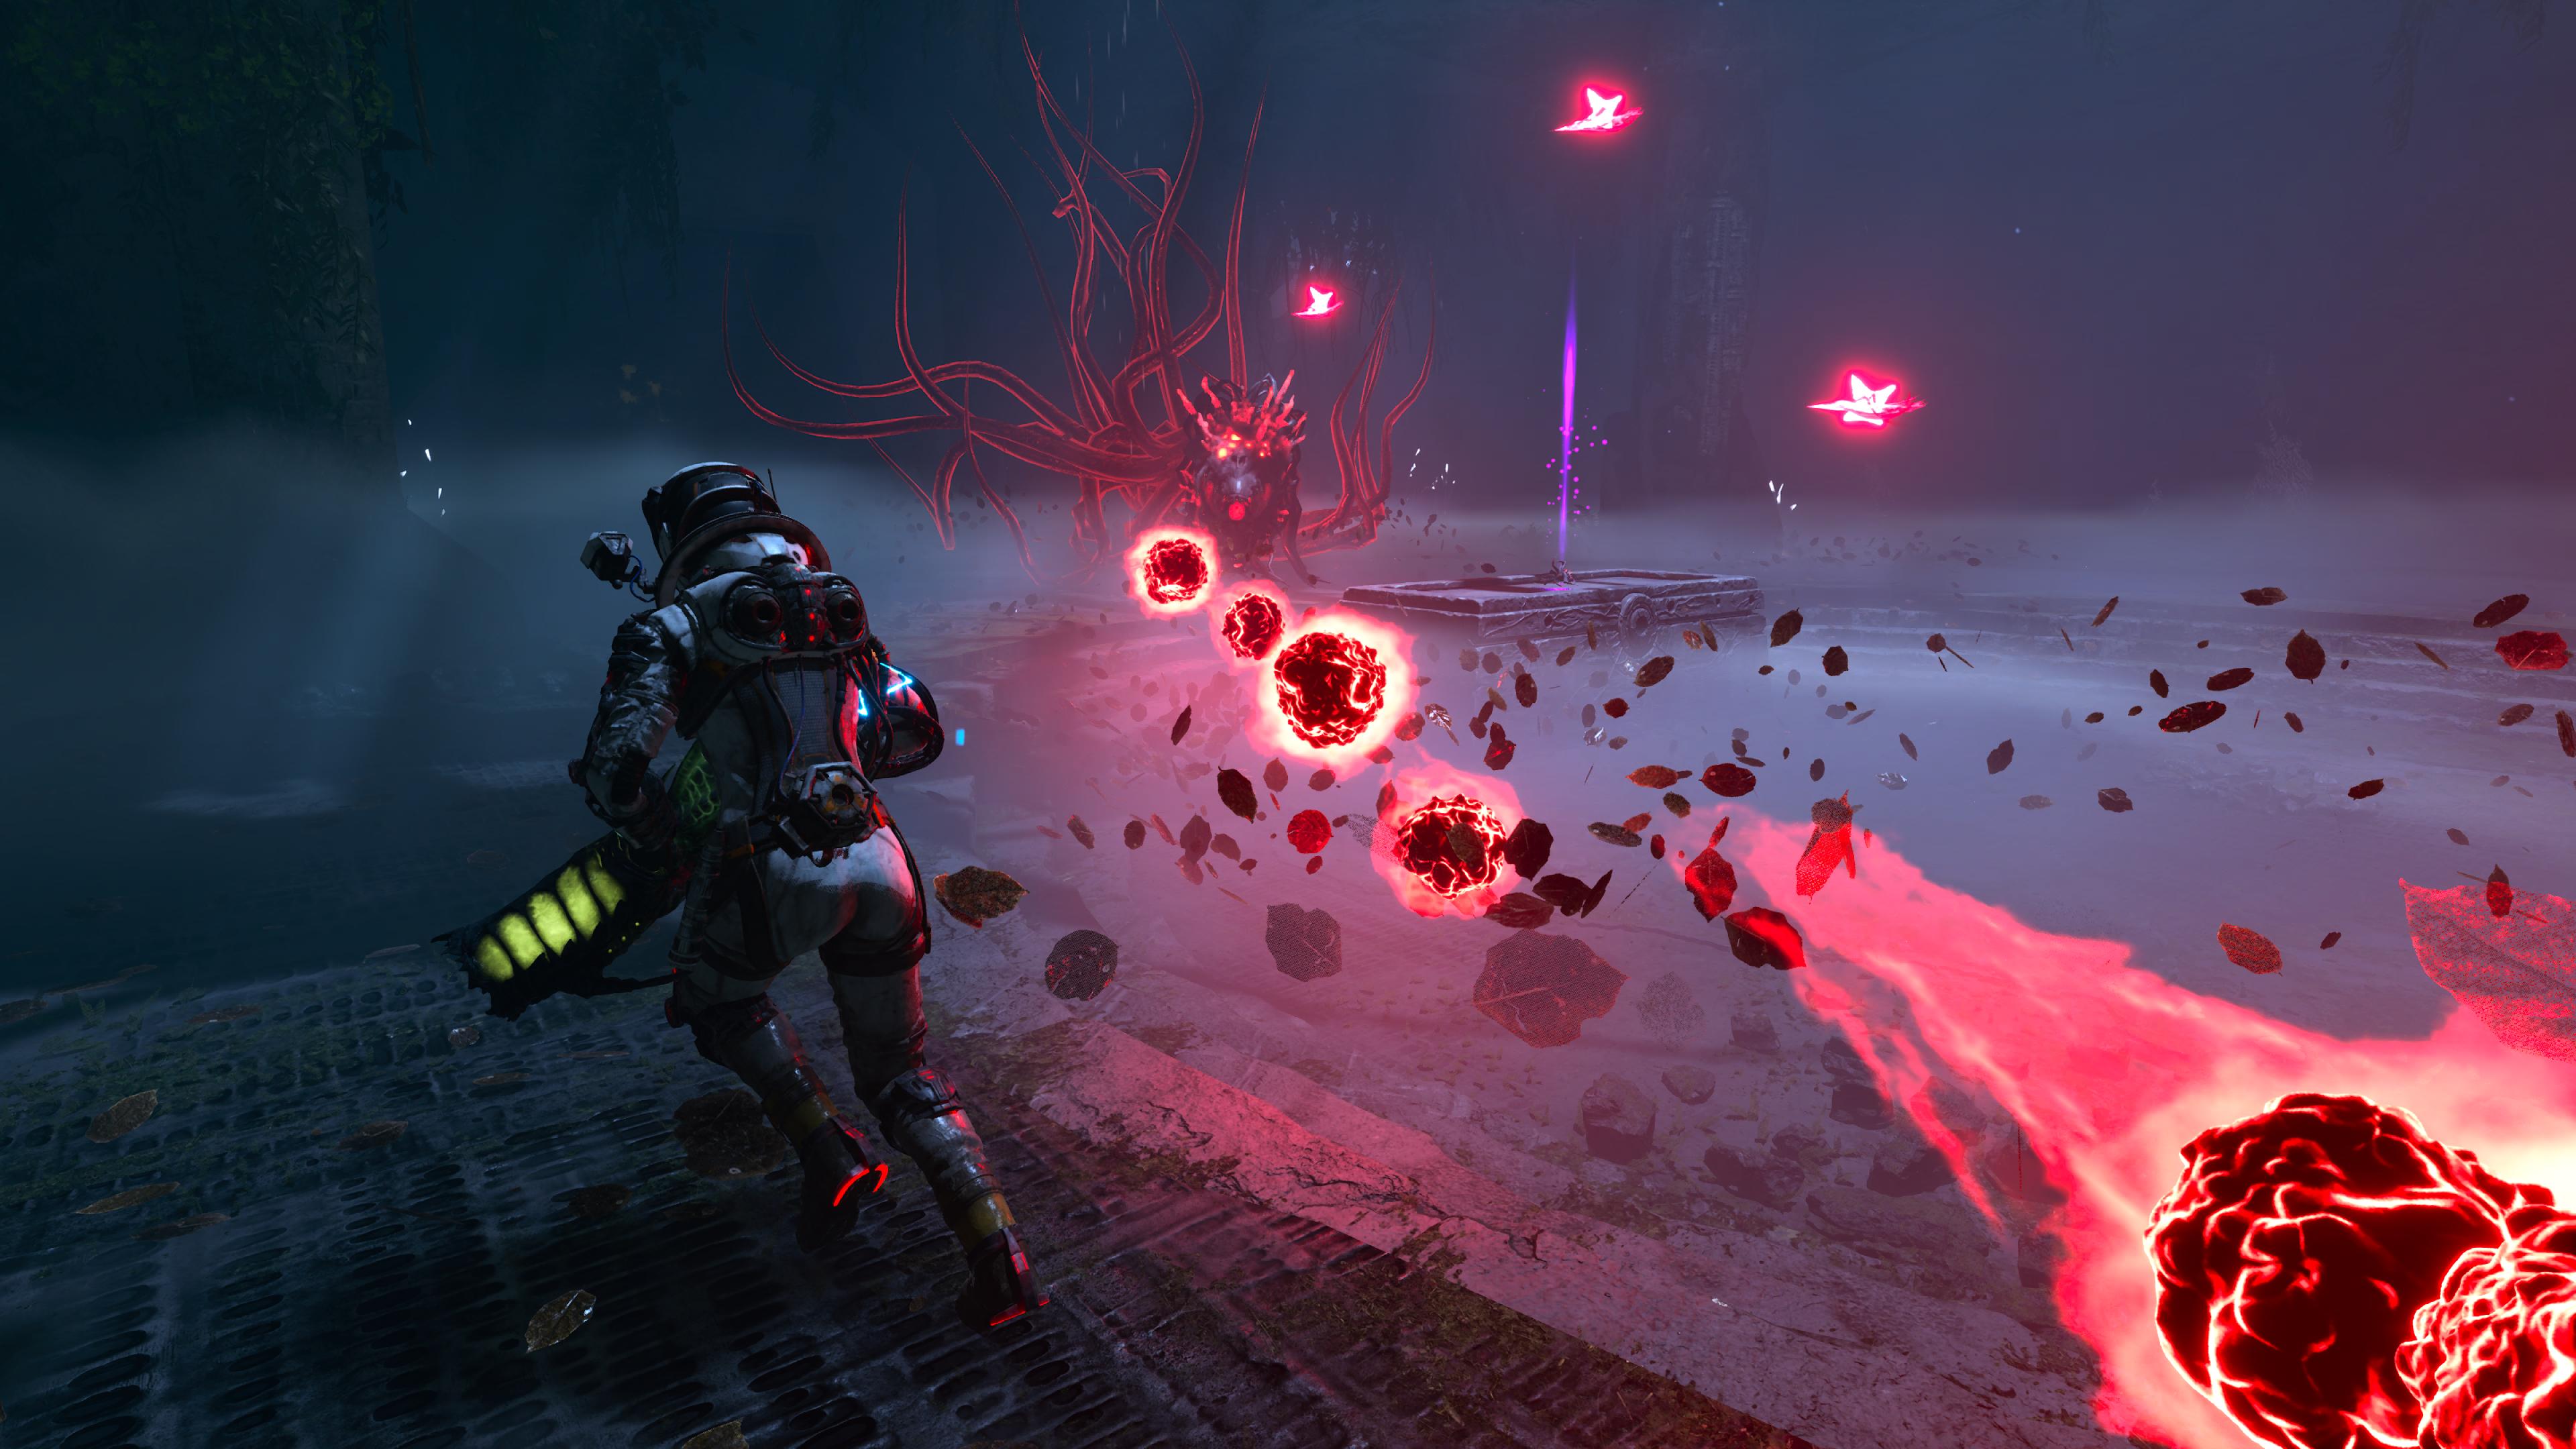
Some Returnal tips and tricks will help players get into a game that can be incredibly brutal, with advice on exploration, bosses and more besides. Returnal's barrier to entry can be incredibly brutal, and we don't blame players for feeling fairly overwhelmed, but for those who are coming to the game now that Returnal is on PC, don't worry - these tidbits will still hold up. So if you're stuck in the early Ruins or the Crimson Wastes, our Returnal tips will help you start to master the loop and find a way to the truth of this world...
1. Those long tentacles can be used to reach otherwise inaccessible areas
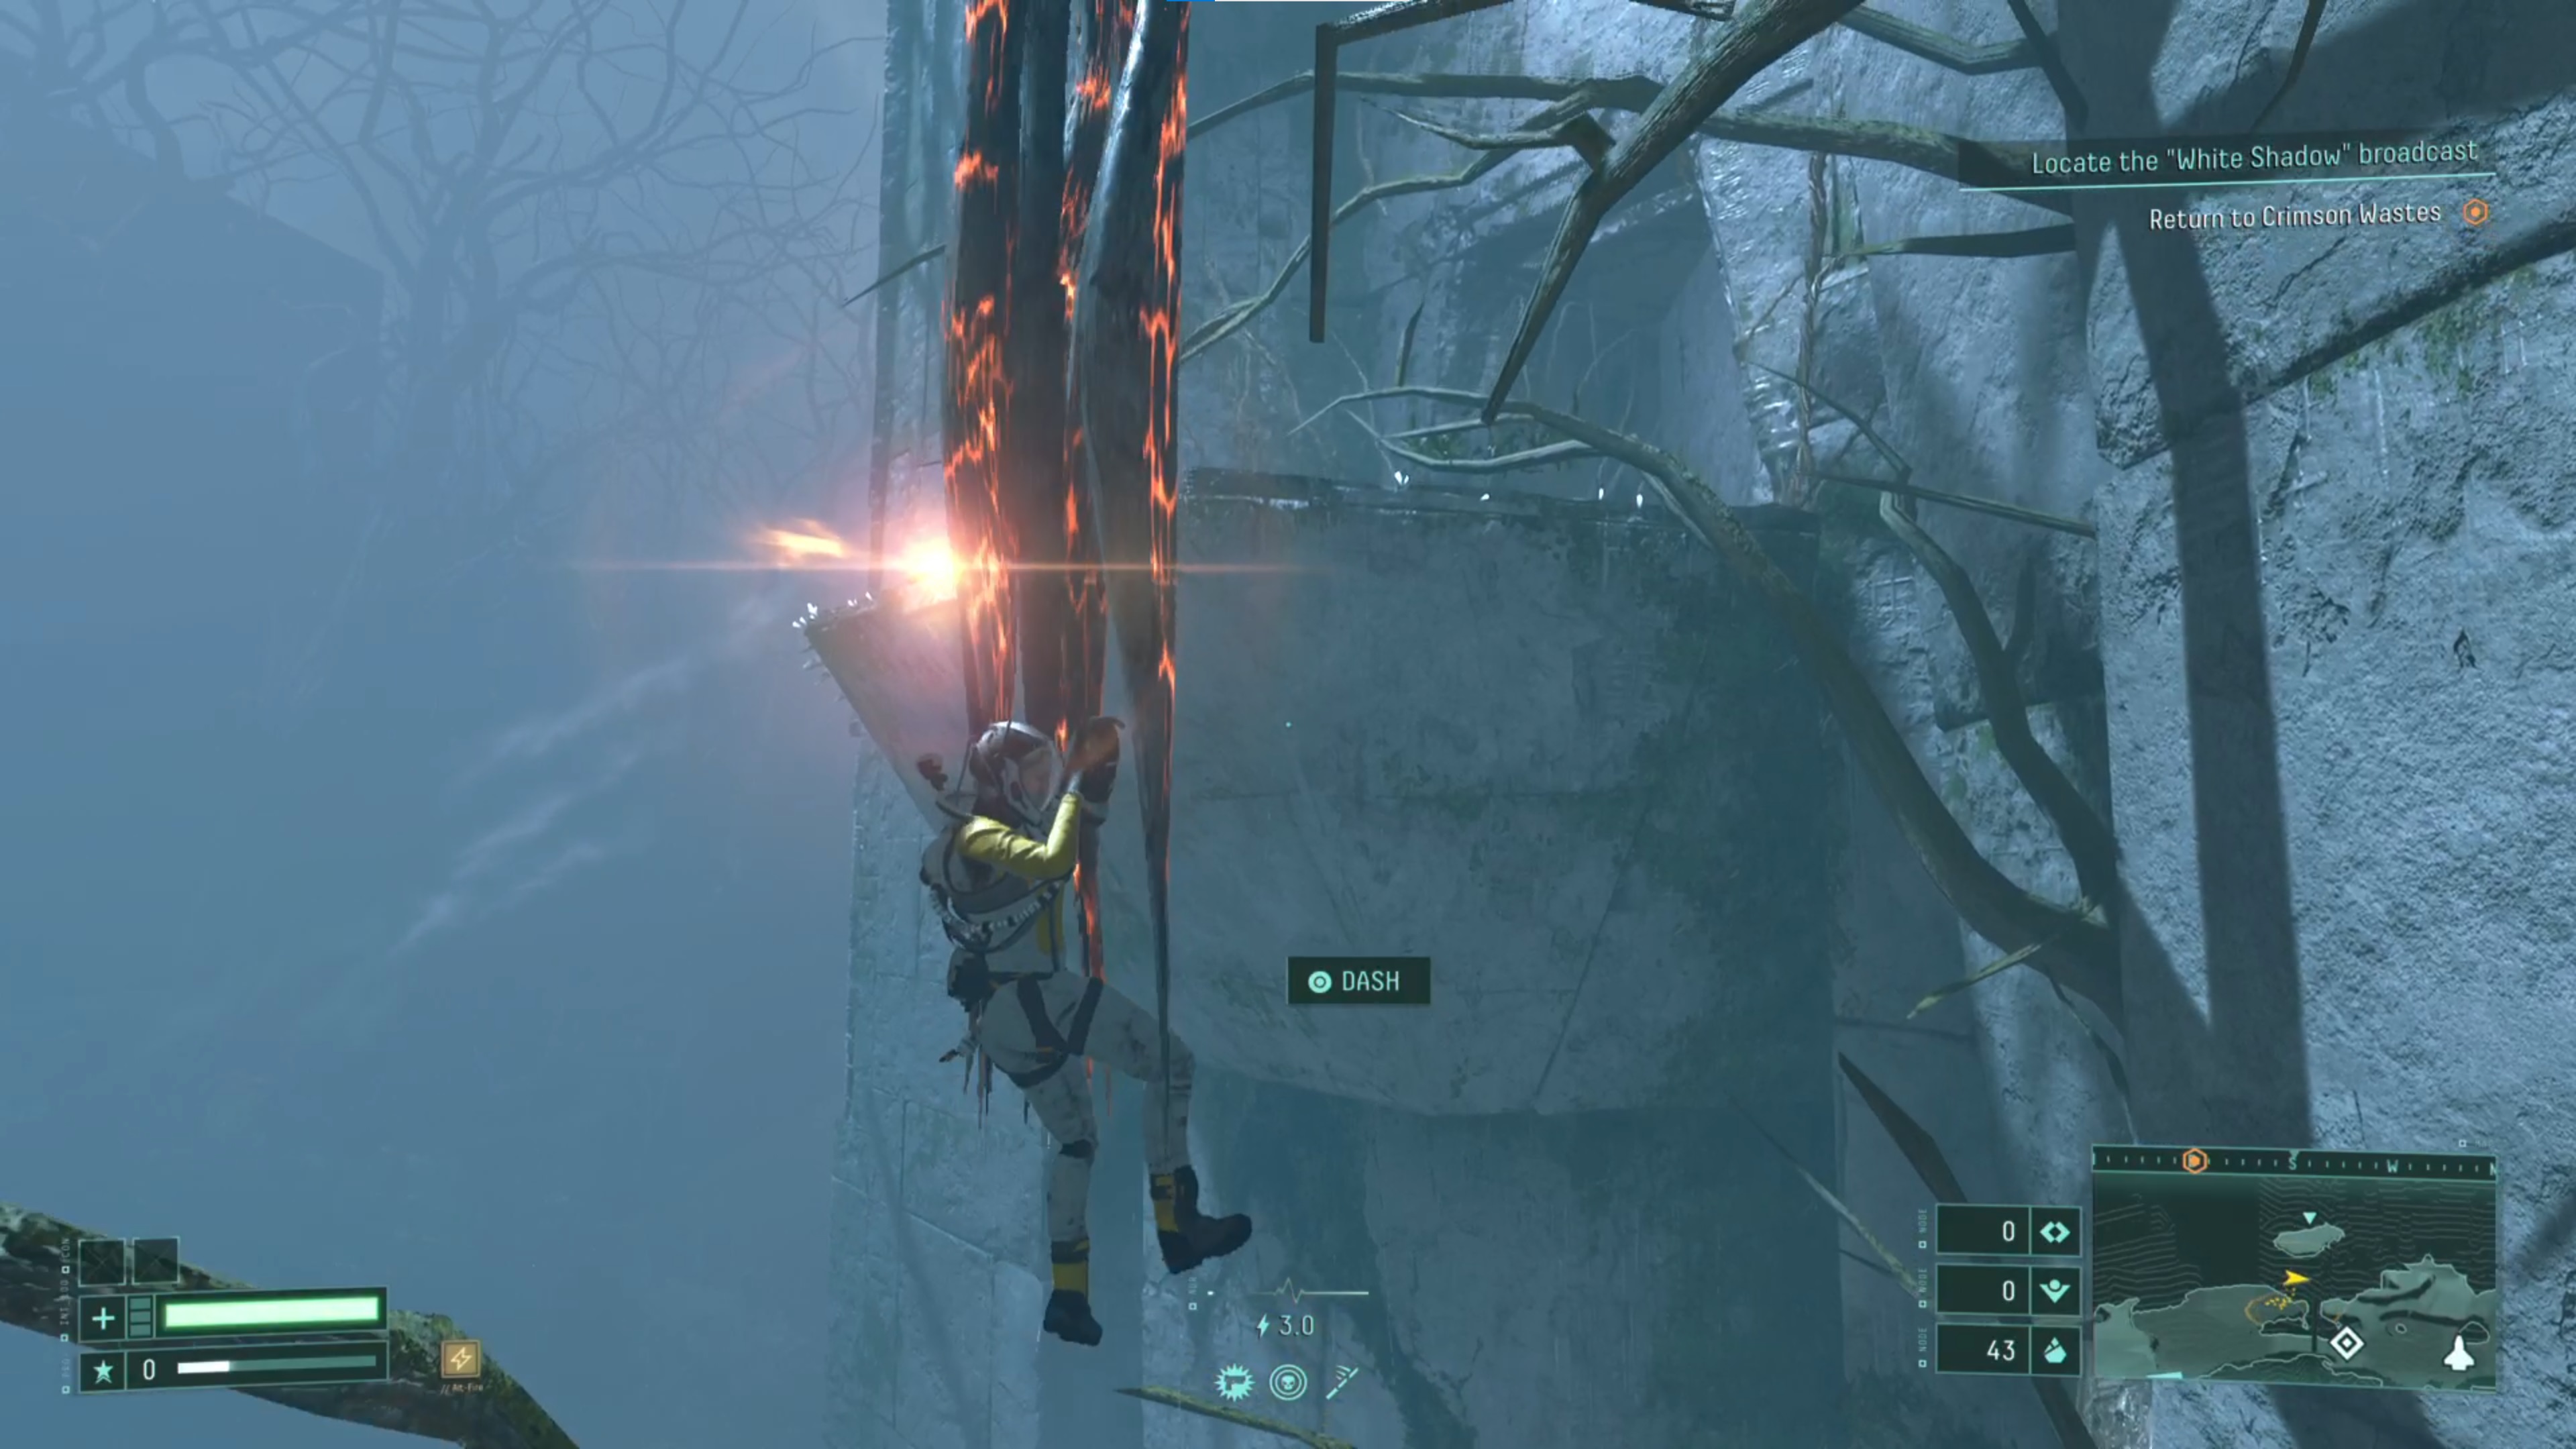
Littered throughout the Overgrown Ruins area are long, red tentacles dangling from up above. If you walk too close, they'll grab you and you need to dash out to escape. Your first instinct will likely be to avoid them at all costs, but they're often situated near ledges and platforms that you wouldn't be able to access otherwise. When you've cleared the area from hostiles, use these tentacles to elevate yourself, then dash out in the direction of the platform.
2. Kill golden tentacle creatures for more obolites
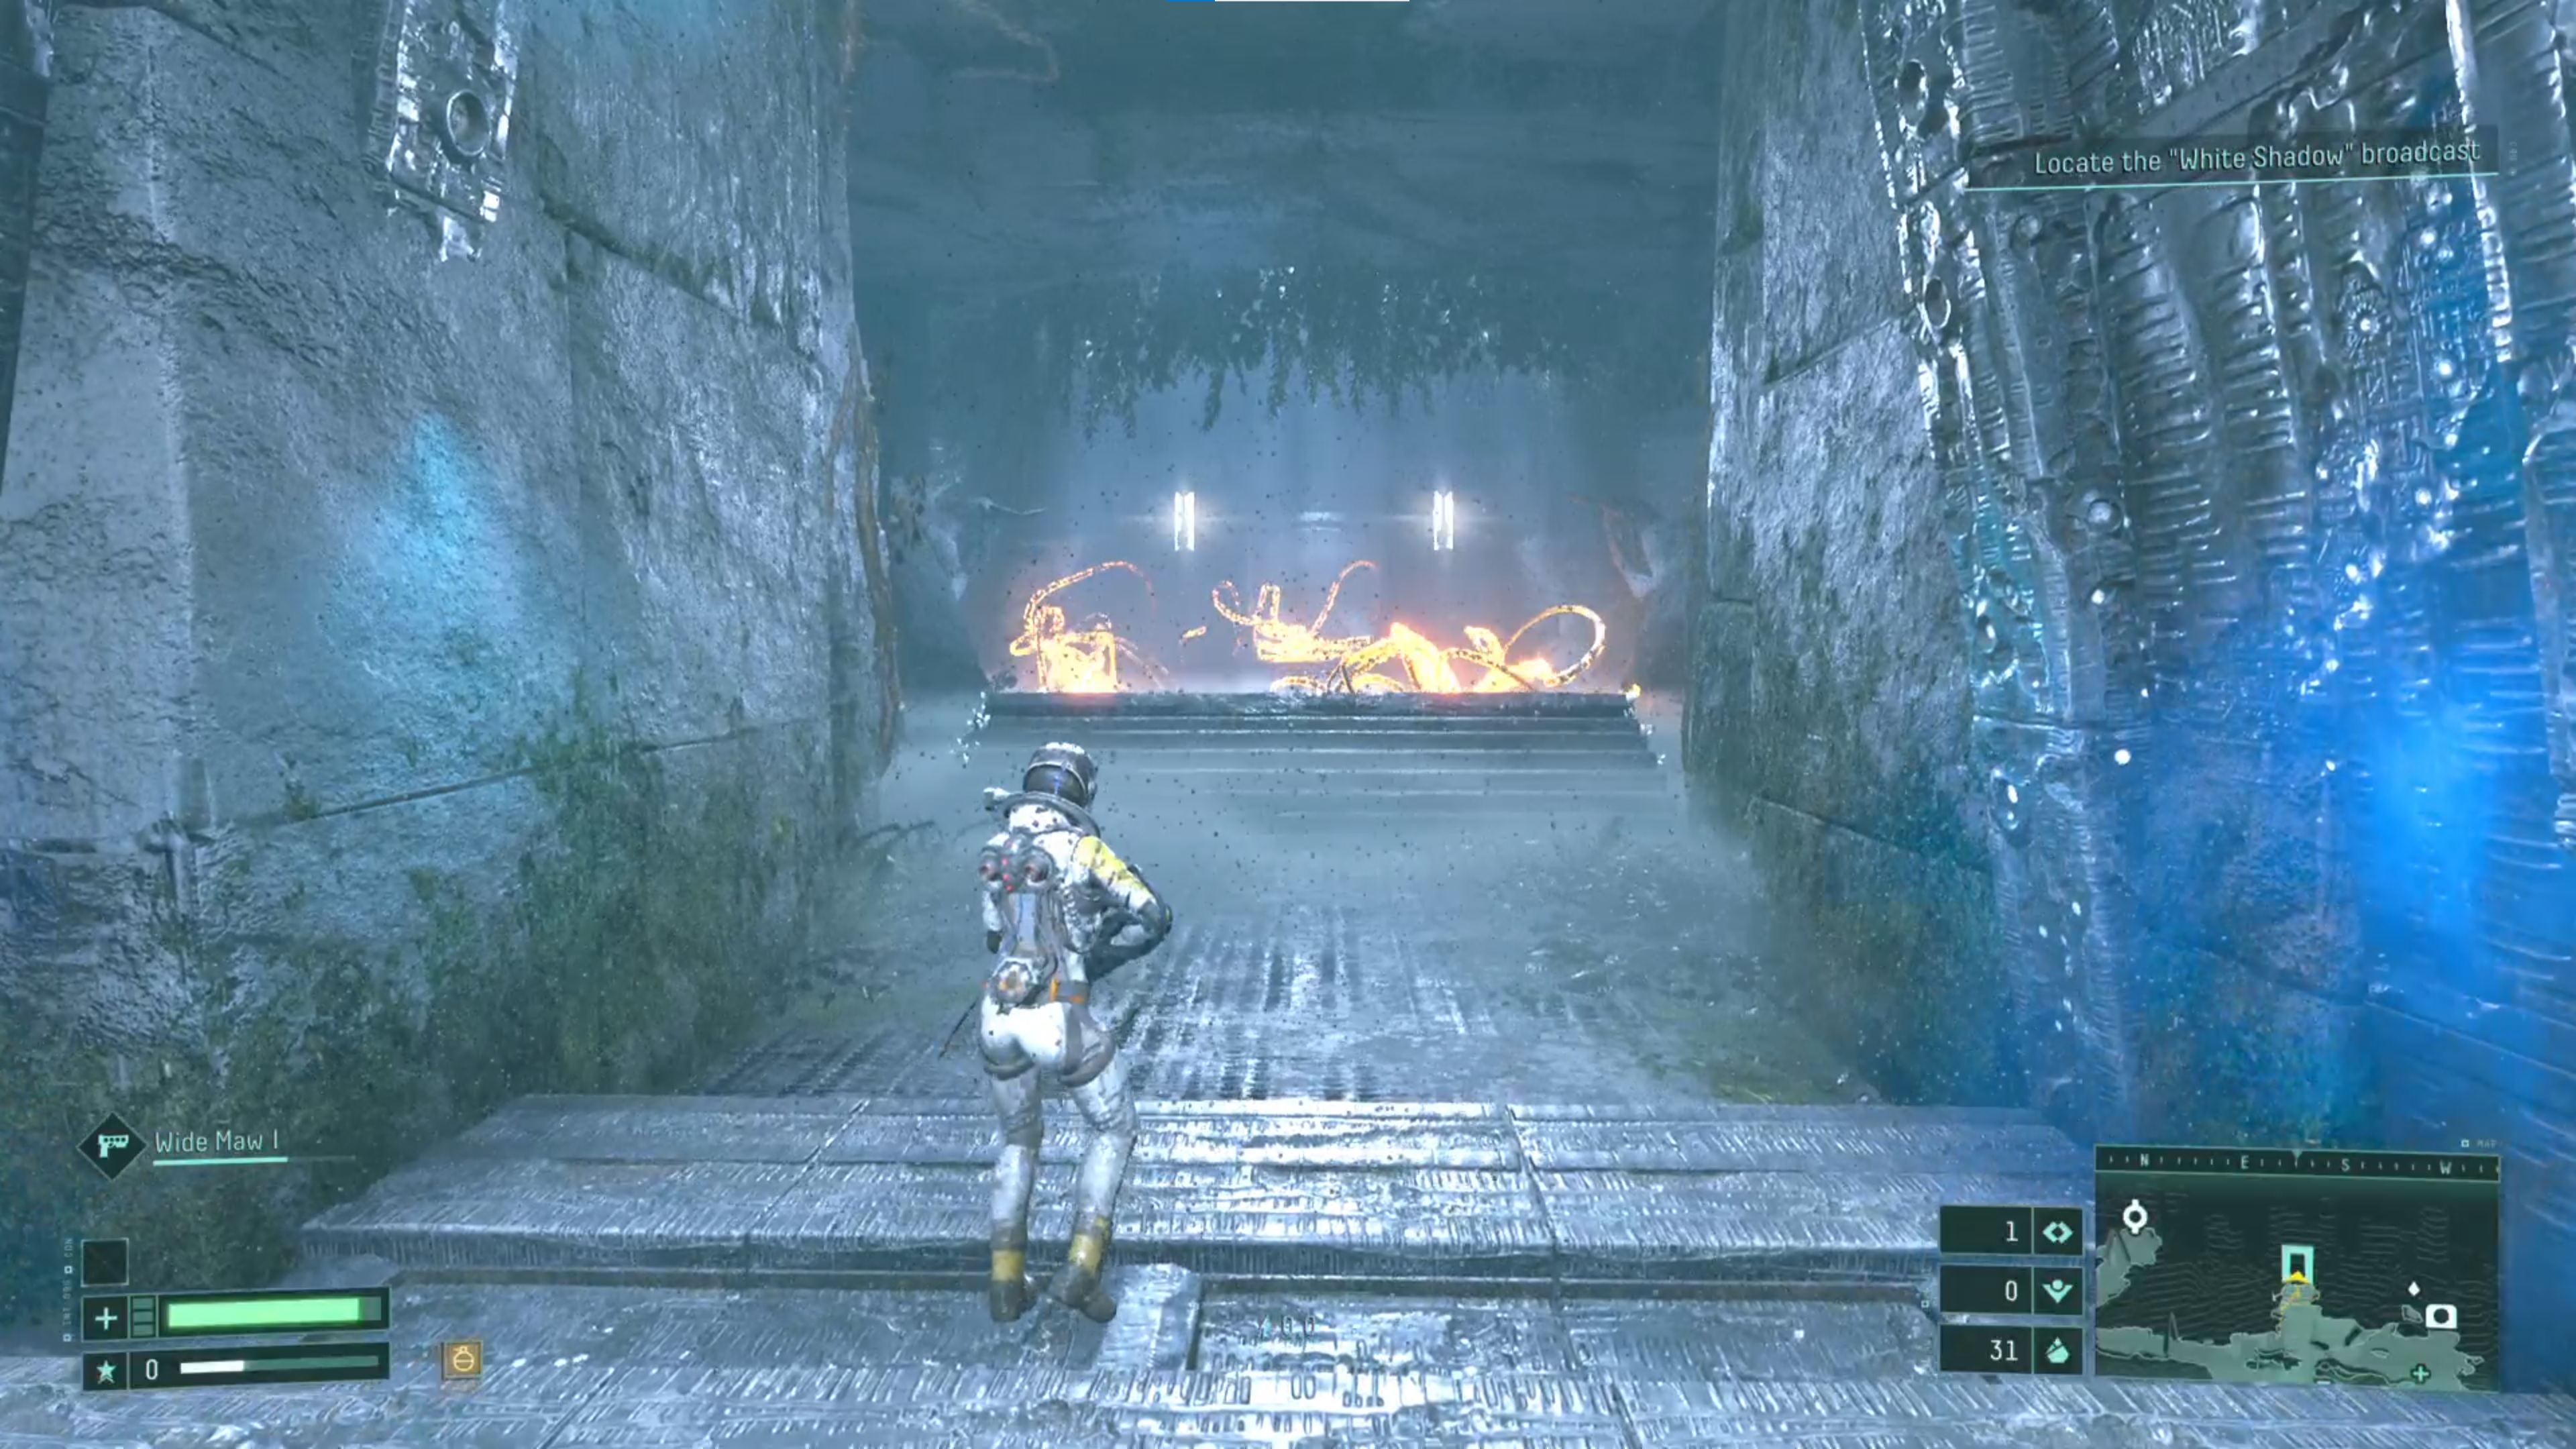
Every now and then, when you enter an area that doesn't have the standard hostile enemies in it, you may stumble upon a small group of golden tentacle creatures. These mysterious beings aren't hostile; instead, when they detect you, they'll start to flee and burrow underground. Killing them will net you a bunch of obolites though - used as money in-game - so try to get as many of them as you can before they disappear. Also, for even more obolites, keep an eye out for any statues with gold eyes as they can be destroyed and drop more alien cash.
3. Shoot the eyes in the cyclops towers to remove search lights temporarily
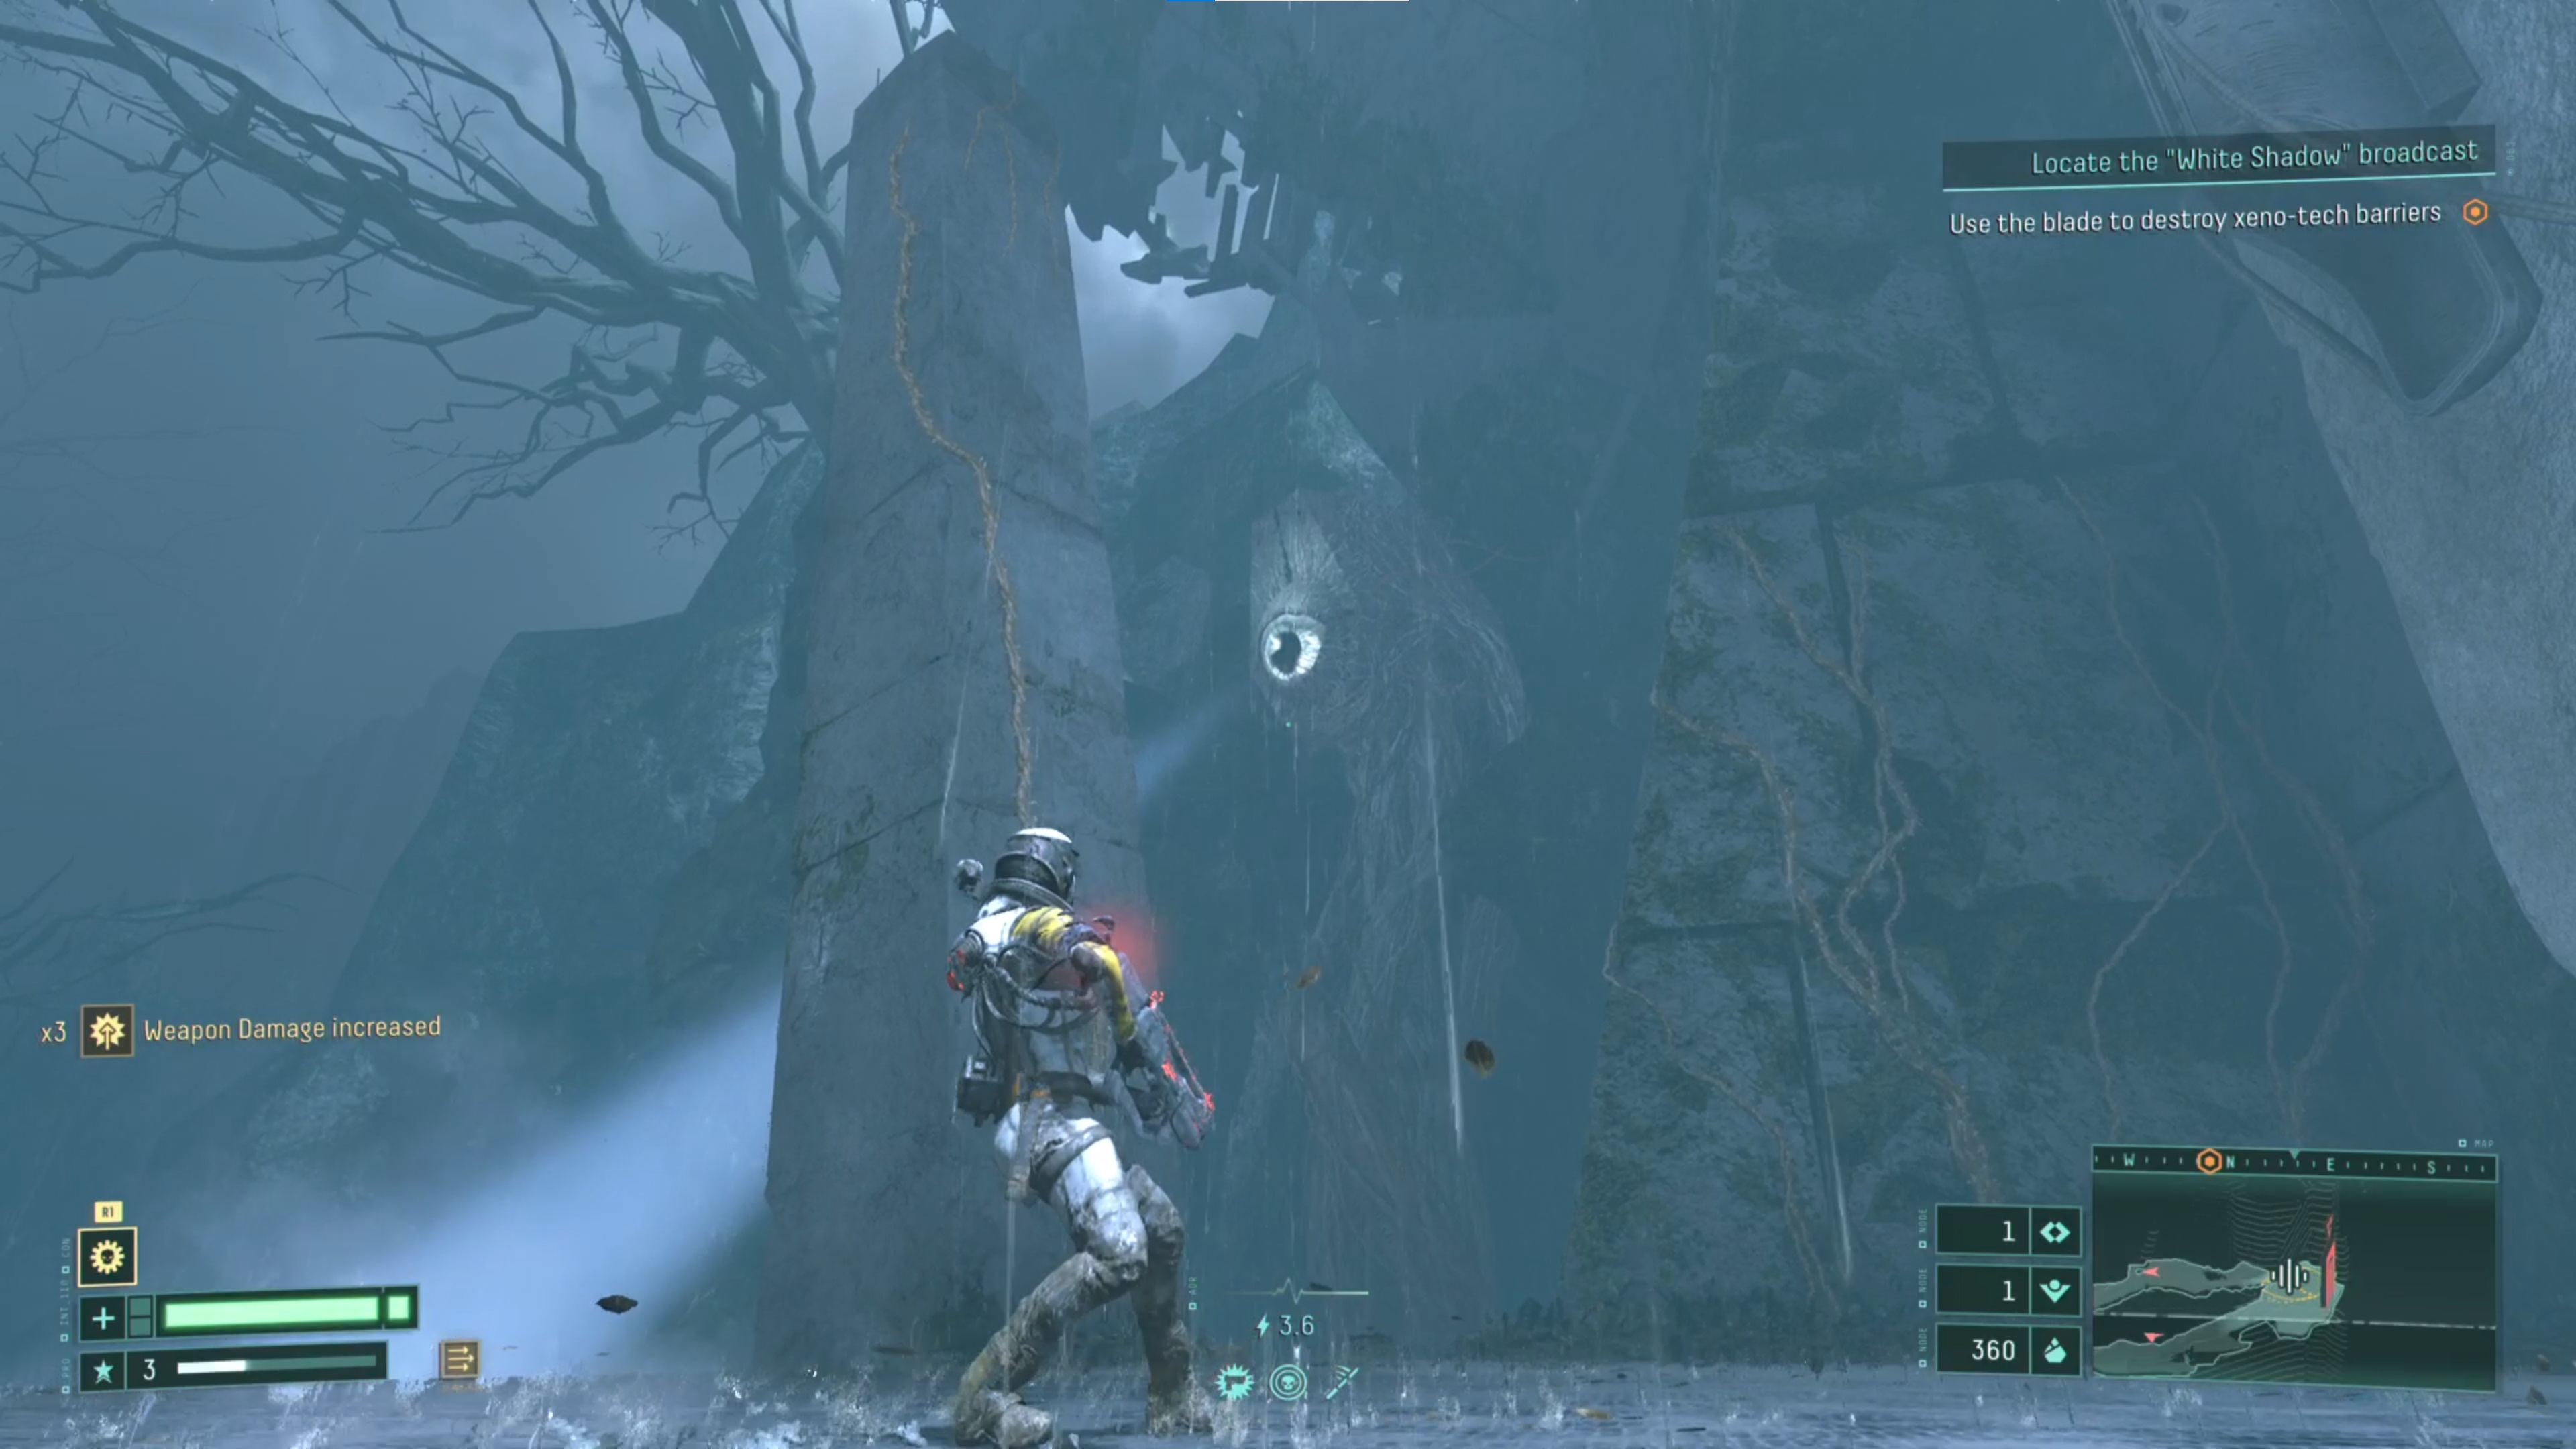
Sometimes you'll stumble upon huge, vast areas with enormous towers shining spotlights down, searching for you. Being spotted by these massive stationary cyclops results in a shot coming down at you, which you can dodge if you're quick enough, but they do a lot of damage if they hit you. So don't risk it - you can aim and shoot a single bullet into each eye to temporarily disable the spotlights, creating a safe passage to venture through.
4. Concrete gates can be opened by finding and shooting the glowing light somewhere nearby
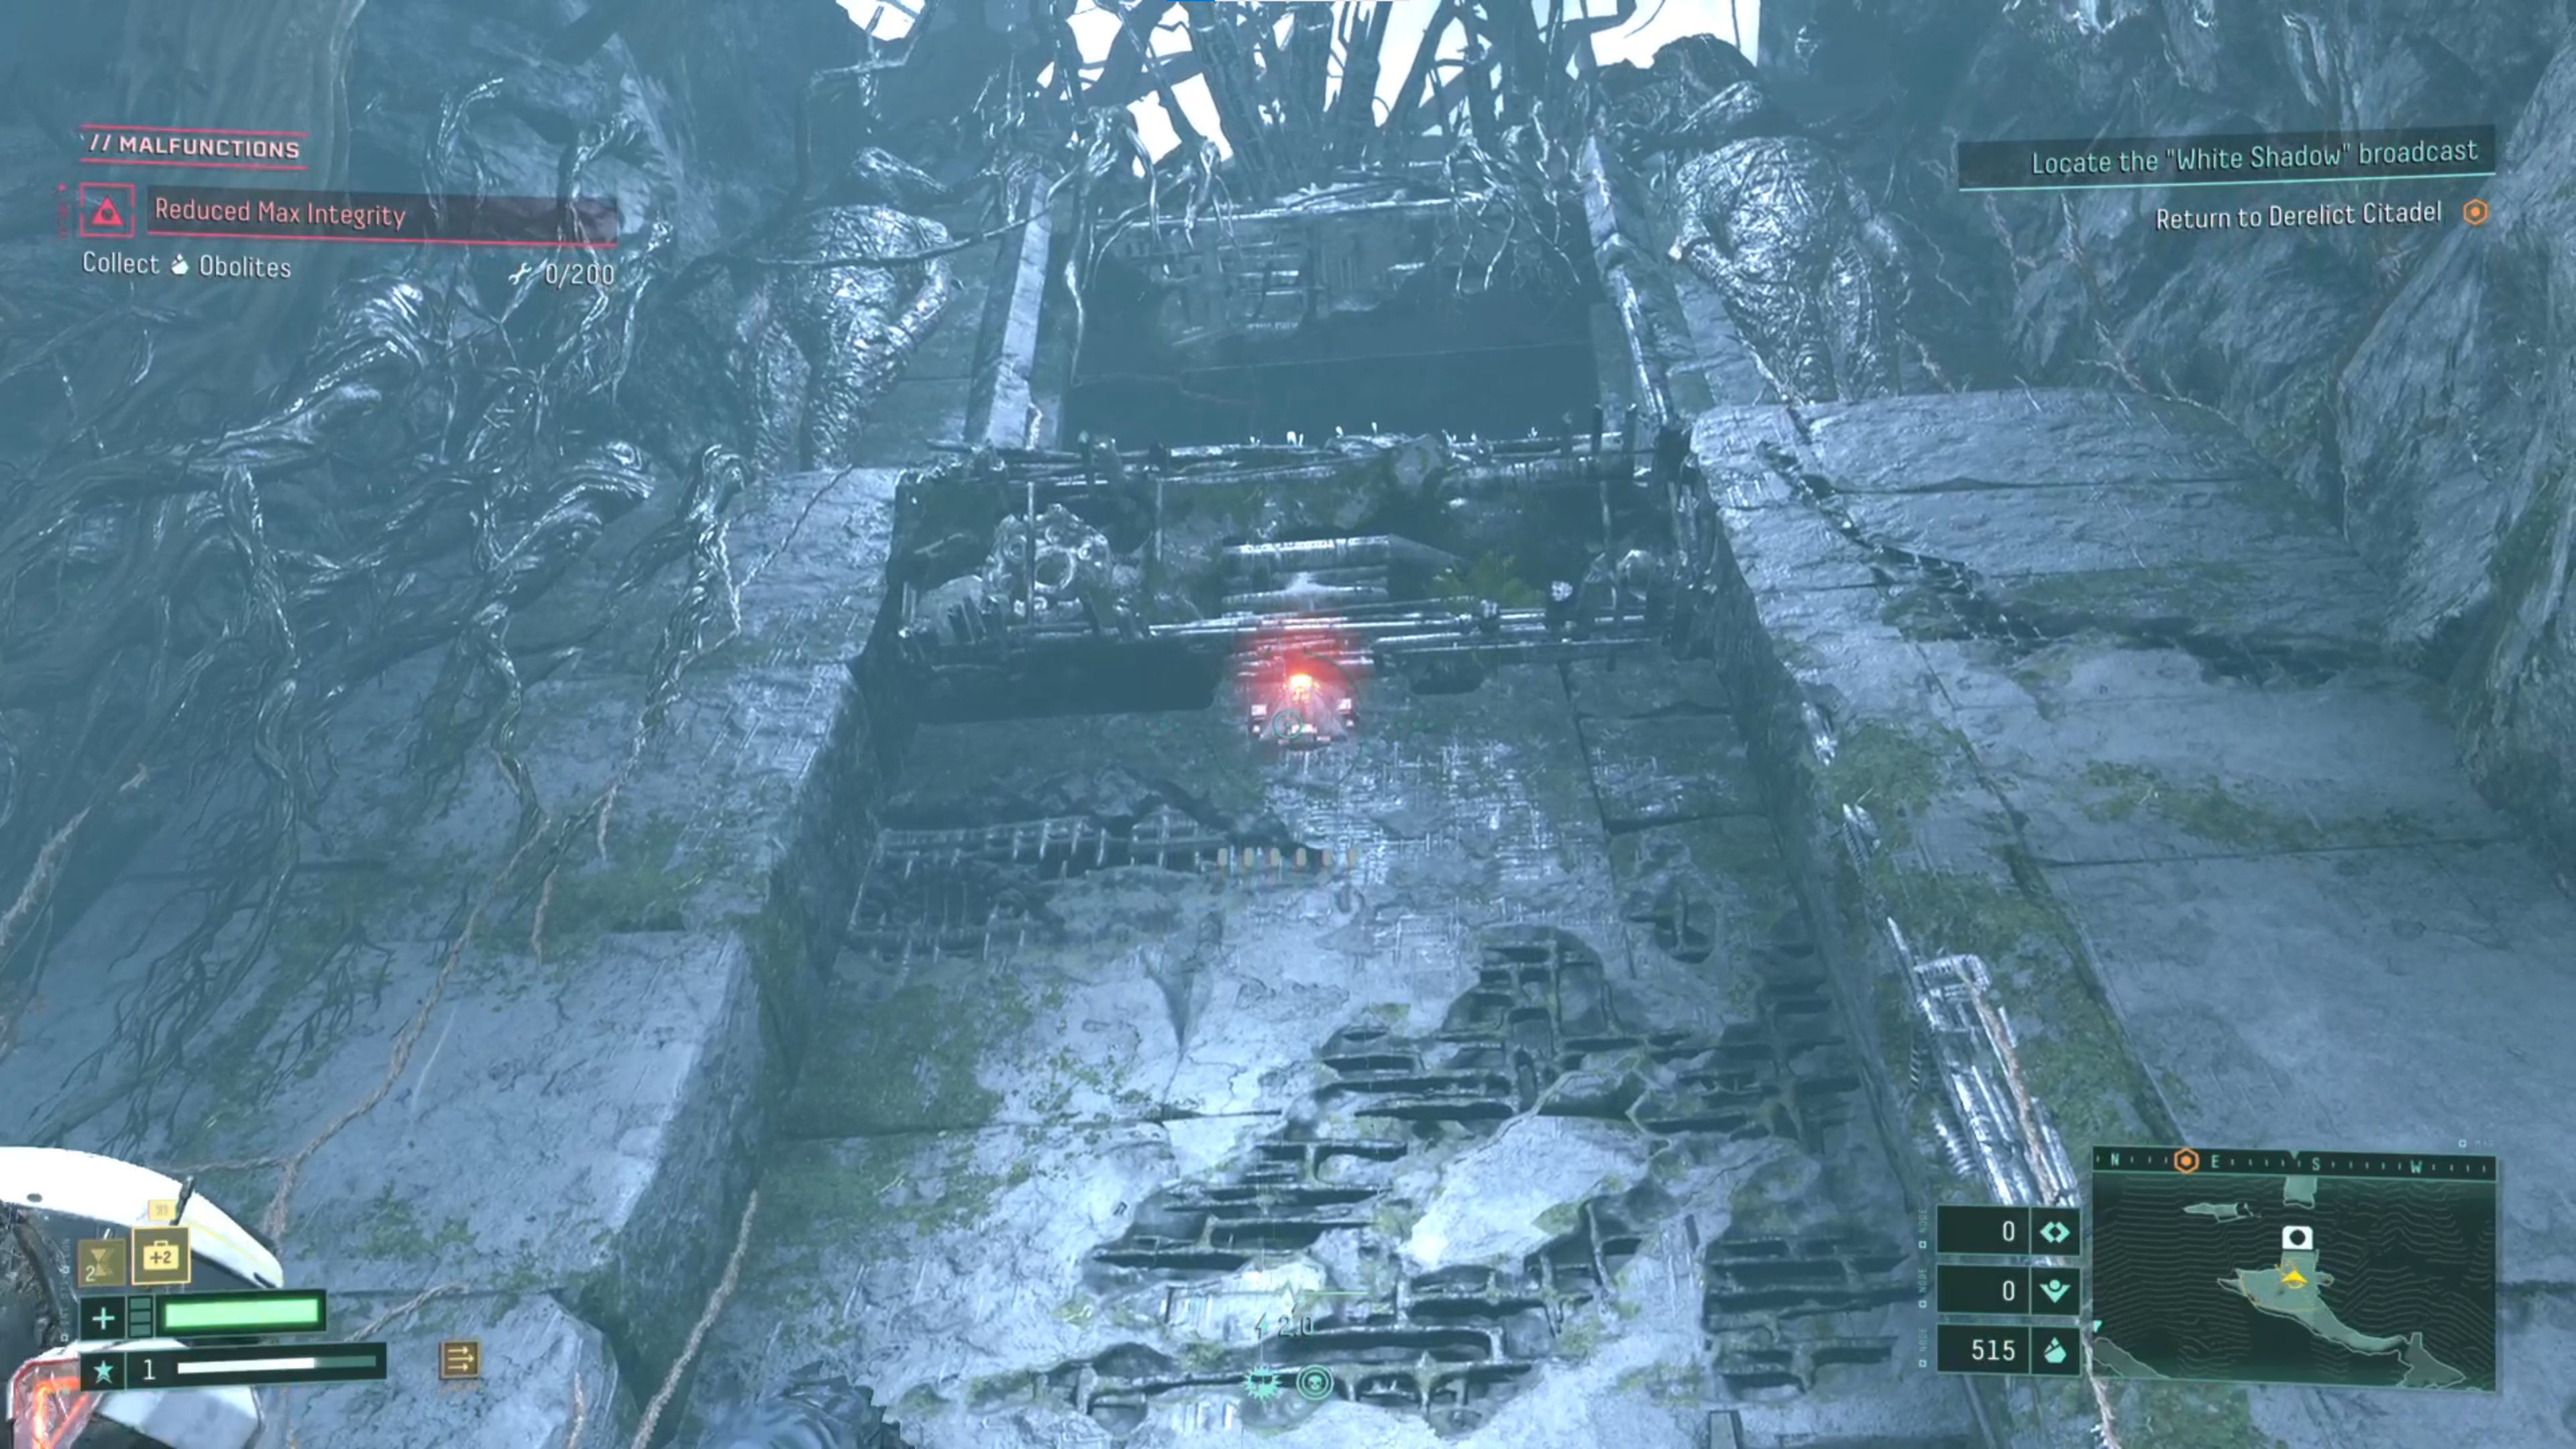
Found a chest, artifact, parasite, or other loot pickup seemingly blocked behind some concrete pillars? At first, I thought I was waiting on an upgrade later down the line to open these up, but all you actually need to do is find and shoot the glowing light that will be somewhere nearby. Often times it's on the wall above, but it can be obscured by something, so have a proper hunt around the area to open up the loot.
5. Once you've defeated a boss, you don't need to fight it again every time to go back to the next world
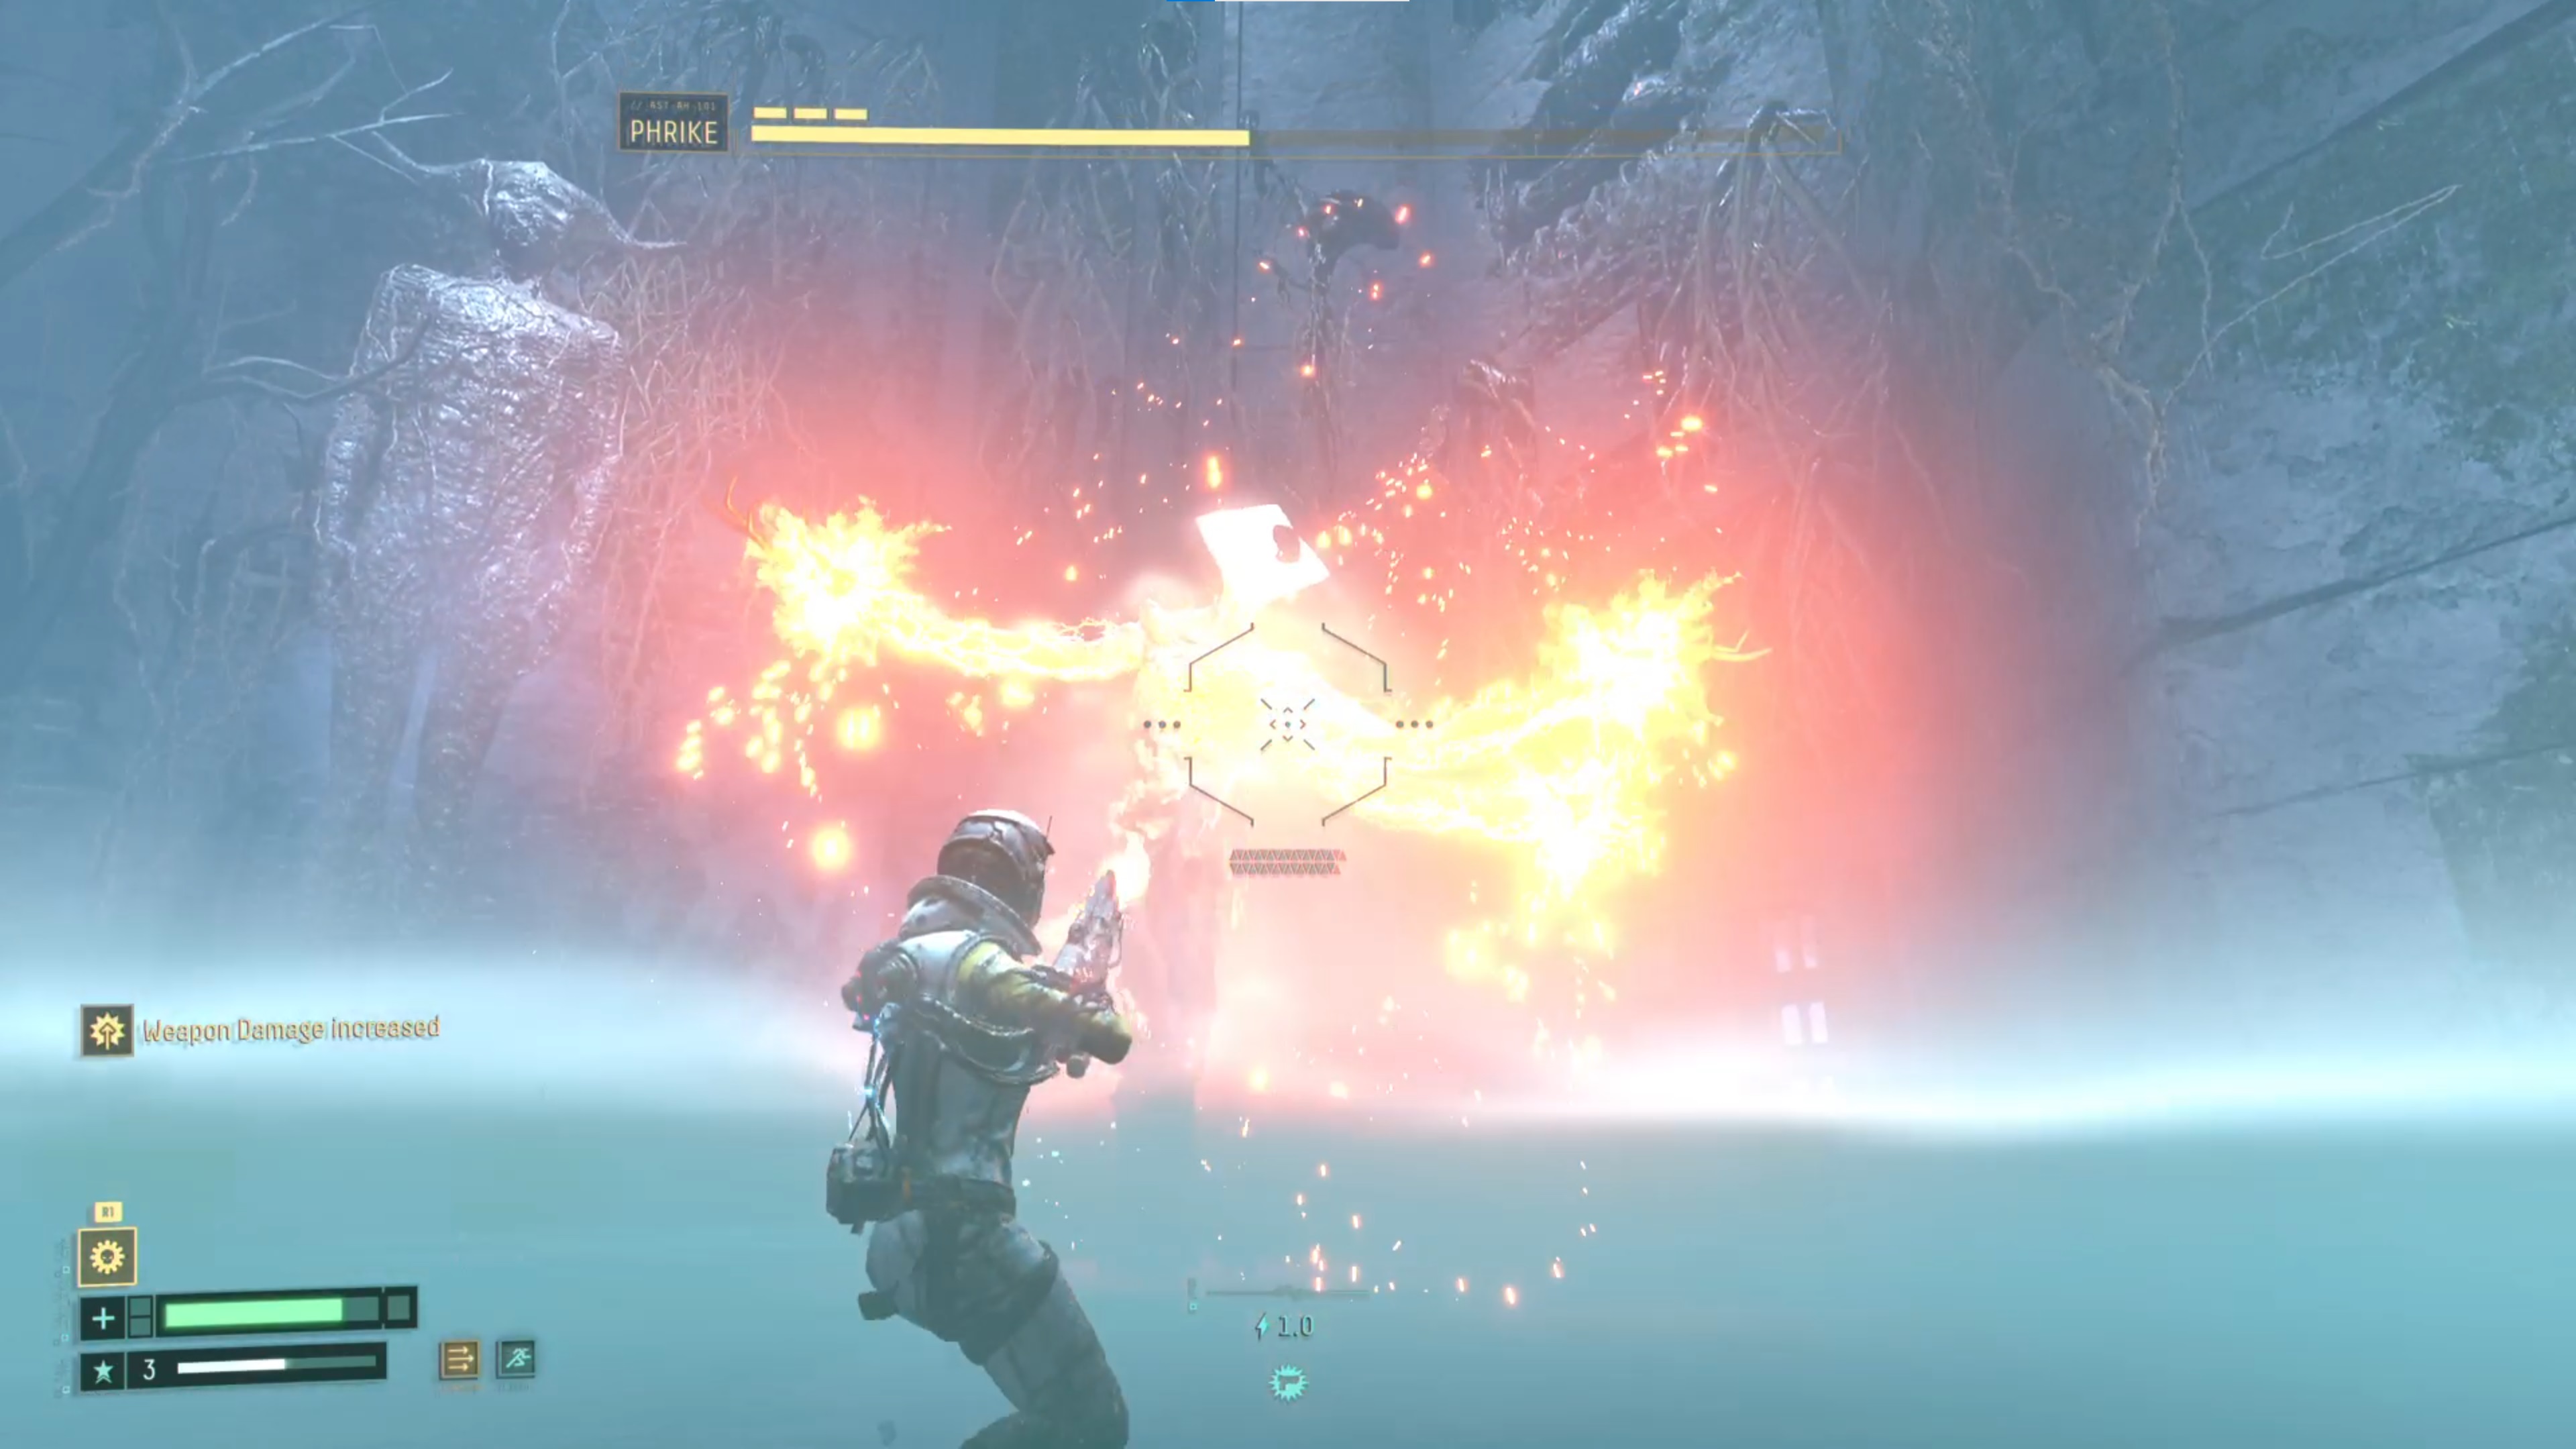
Unlike other roguelikes, you don't have to fight the boss in each world every time to progress. Once you've beaten the first boss in the Overgrown Ruins for example, you'll receive the Crimson Key, which opens the portal to the Crimson Wastes. When you die and have to start over, even though you're back at Helios and starting with nothing except a pistol, you just need to find the portal again rather than searching for the boss.
6. You can only destroy red glowing vines and damaged walls once you have the sword
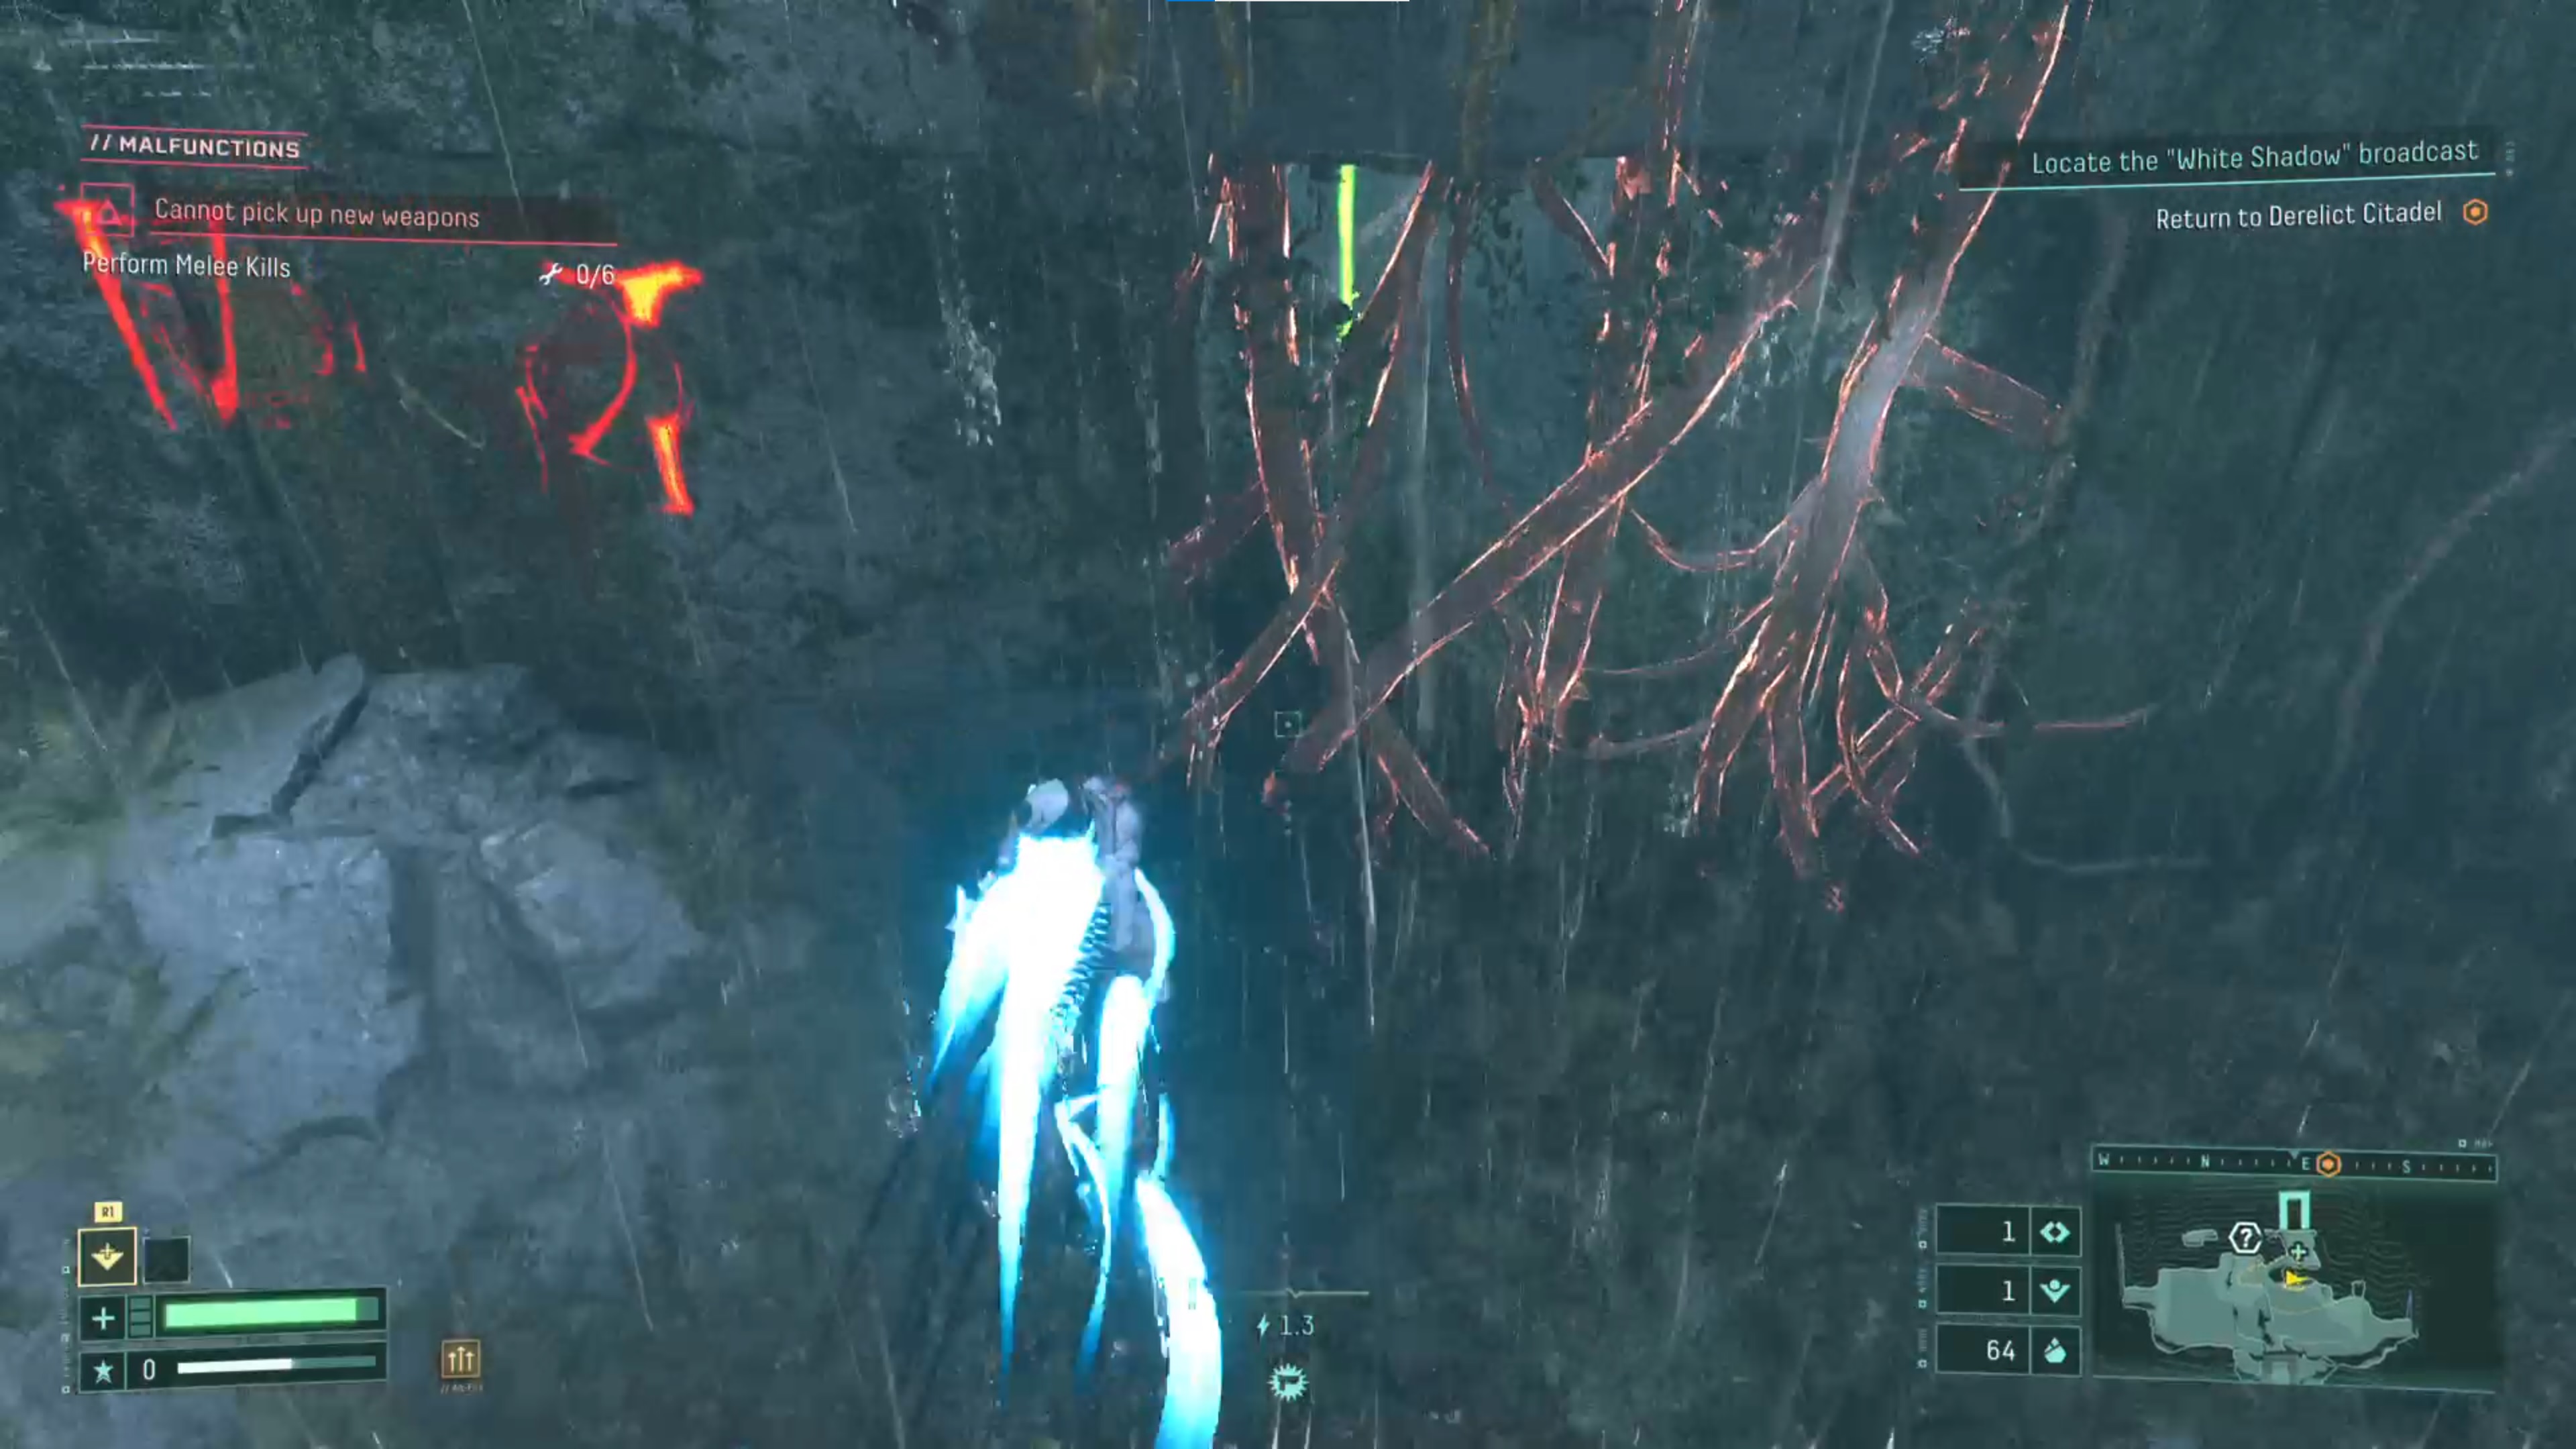
In the Overgrown Ruins, you'll find a lot of red glowing vines and walls that look structurally weak. These can be destroyed, but only once you have unlocked the melee attack. You find this when you reach the portal to the Crimson Wastes for the first time, before you have the key to activate it.
7. In the Overgrown Ruins your sword one-hit-kills most enemies
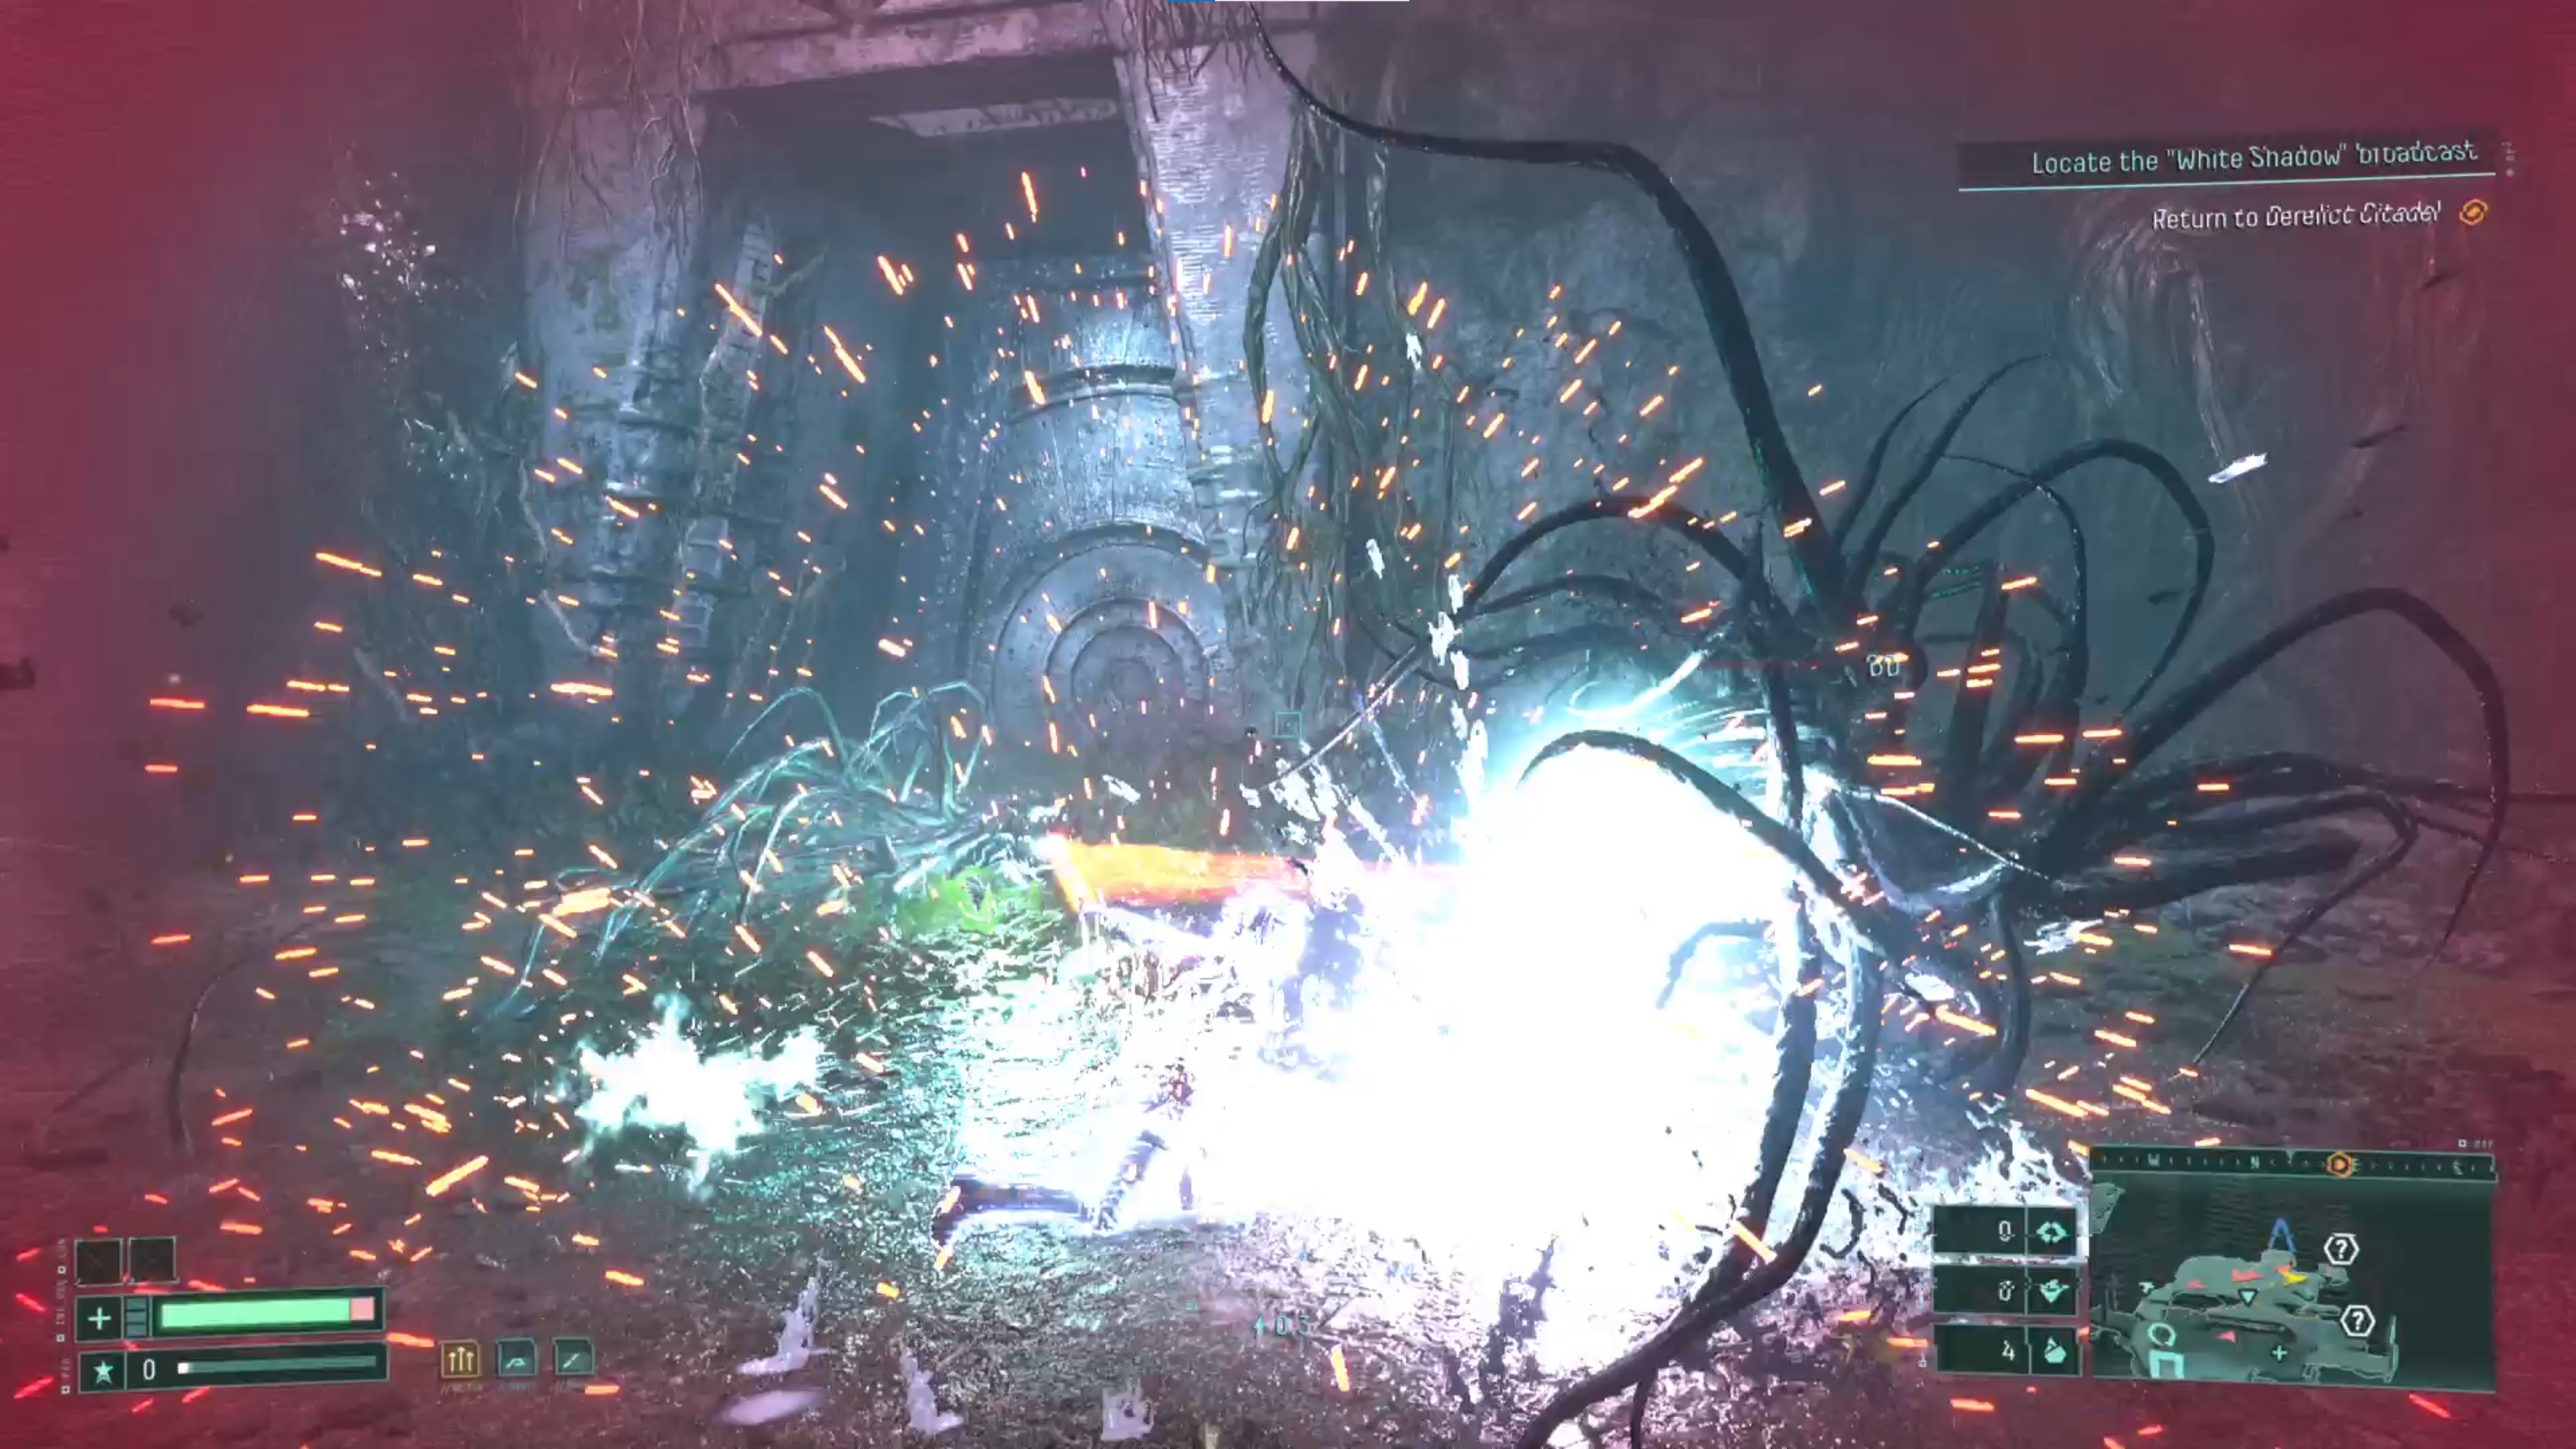
As long as you're adept at dashing, most enemies in the Overgrown Ruins will die from one sword slash. So rather than using the Modified Sidearm you start with that undoubtedly won't be dealing much damage, sprint, jump, and dash around the place while swinging your sword to obliterate the lesser enemies quickly, while also collecting all of the obolites before they expire.
8. Don't shy away from malfunctions because the fix requirements often aren't too tricky
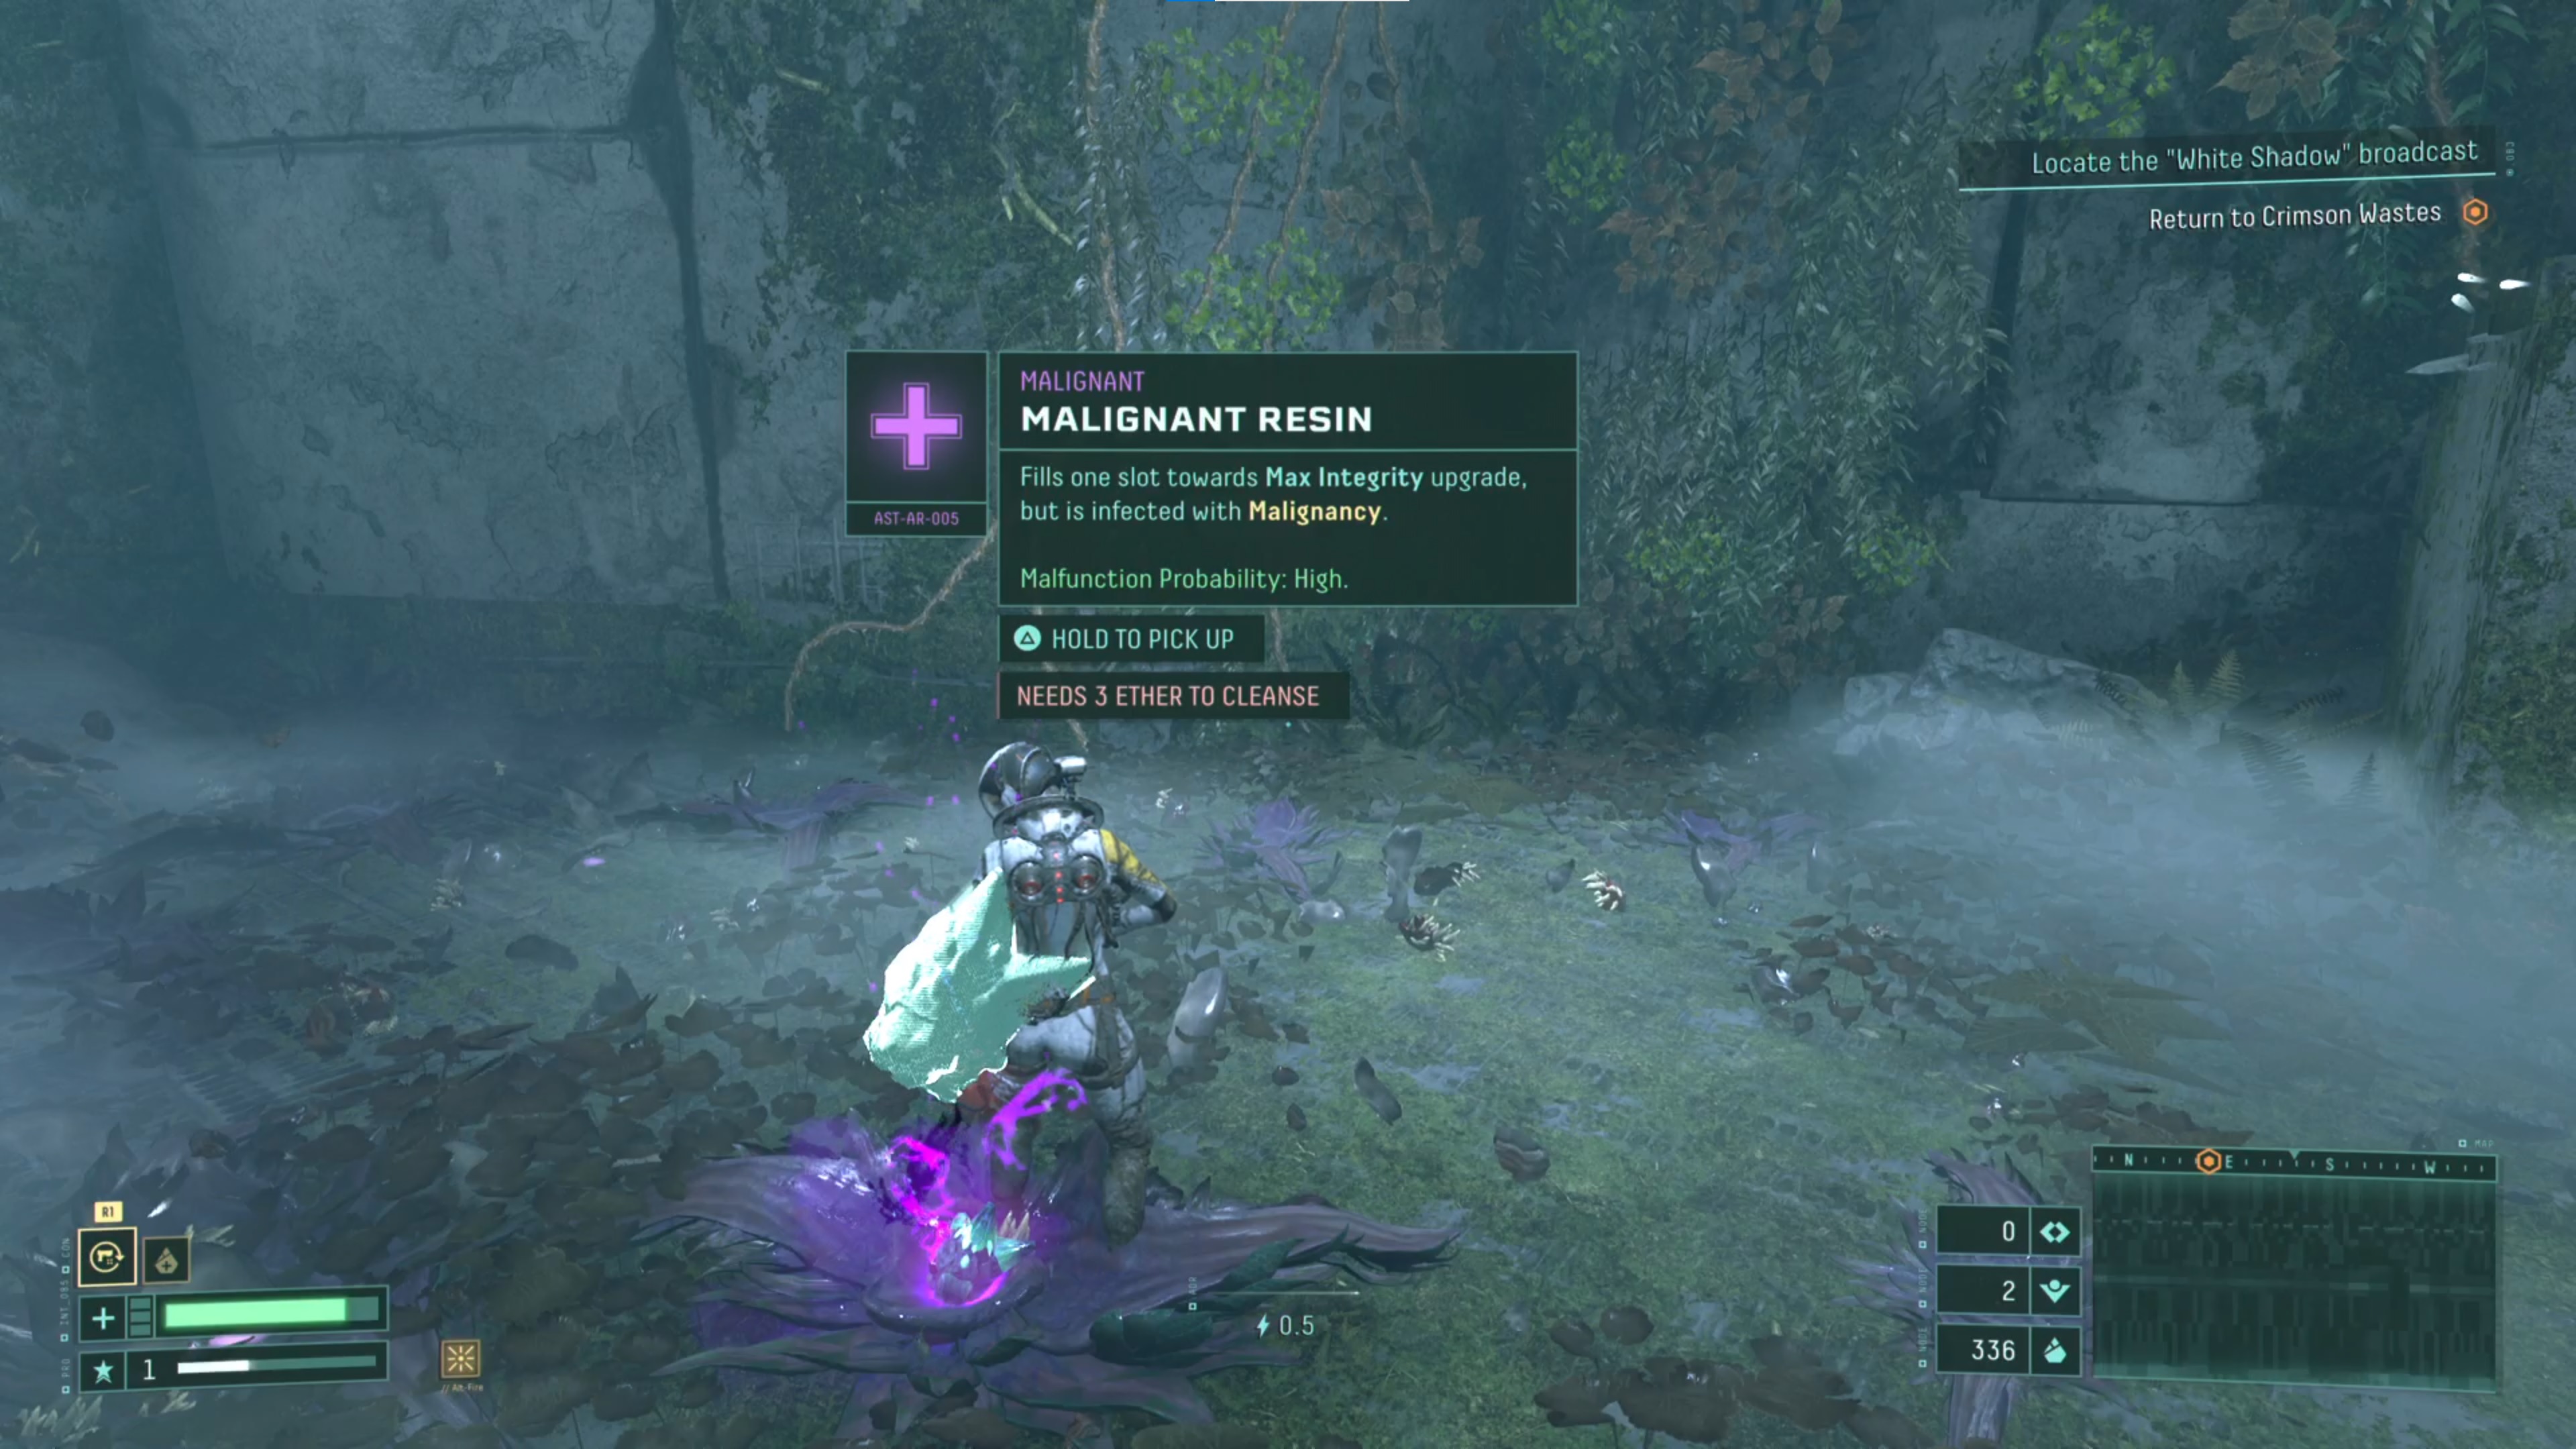
Malignant items have a major risk/reward factor involved. On one hand, picking something up that has a "high" chance of causing a malfunction may seem like a bad idea but on the other hand, the requirements needed to fix the malfunction are often quite simple. In the early game, while you're still unlocking new items and progressing through the story, experiment with different malignant items until you get a grasp on how easy they are to fix. Don't shy away from them because they can completely turn a poor run into a great one.
9. On the map, blue triangular doors indicate resources or side paths
Returnal best weapons | Returnal patch notes | Returnal no save | Returnal Ixion boss | Returnal cheats
When playing through the story, you'll always have an orange objective marker to follow that will guide you in the direction you need to head, but this will simply be the quickest route.
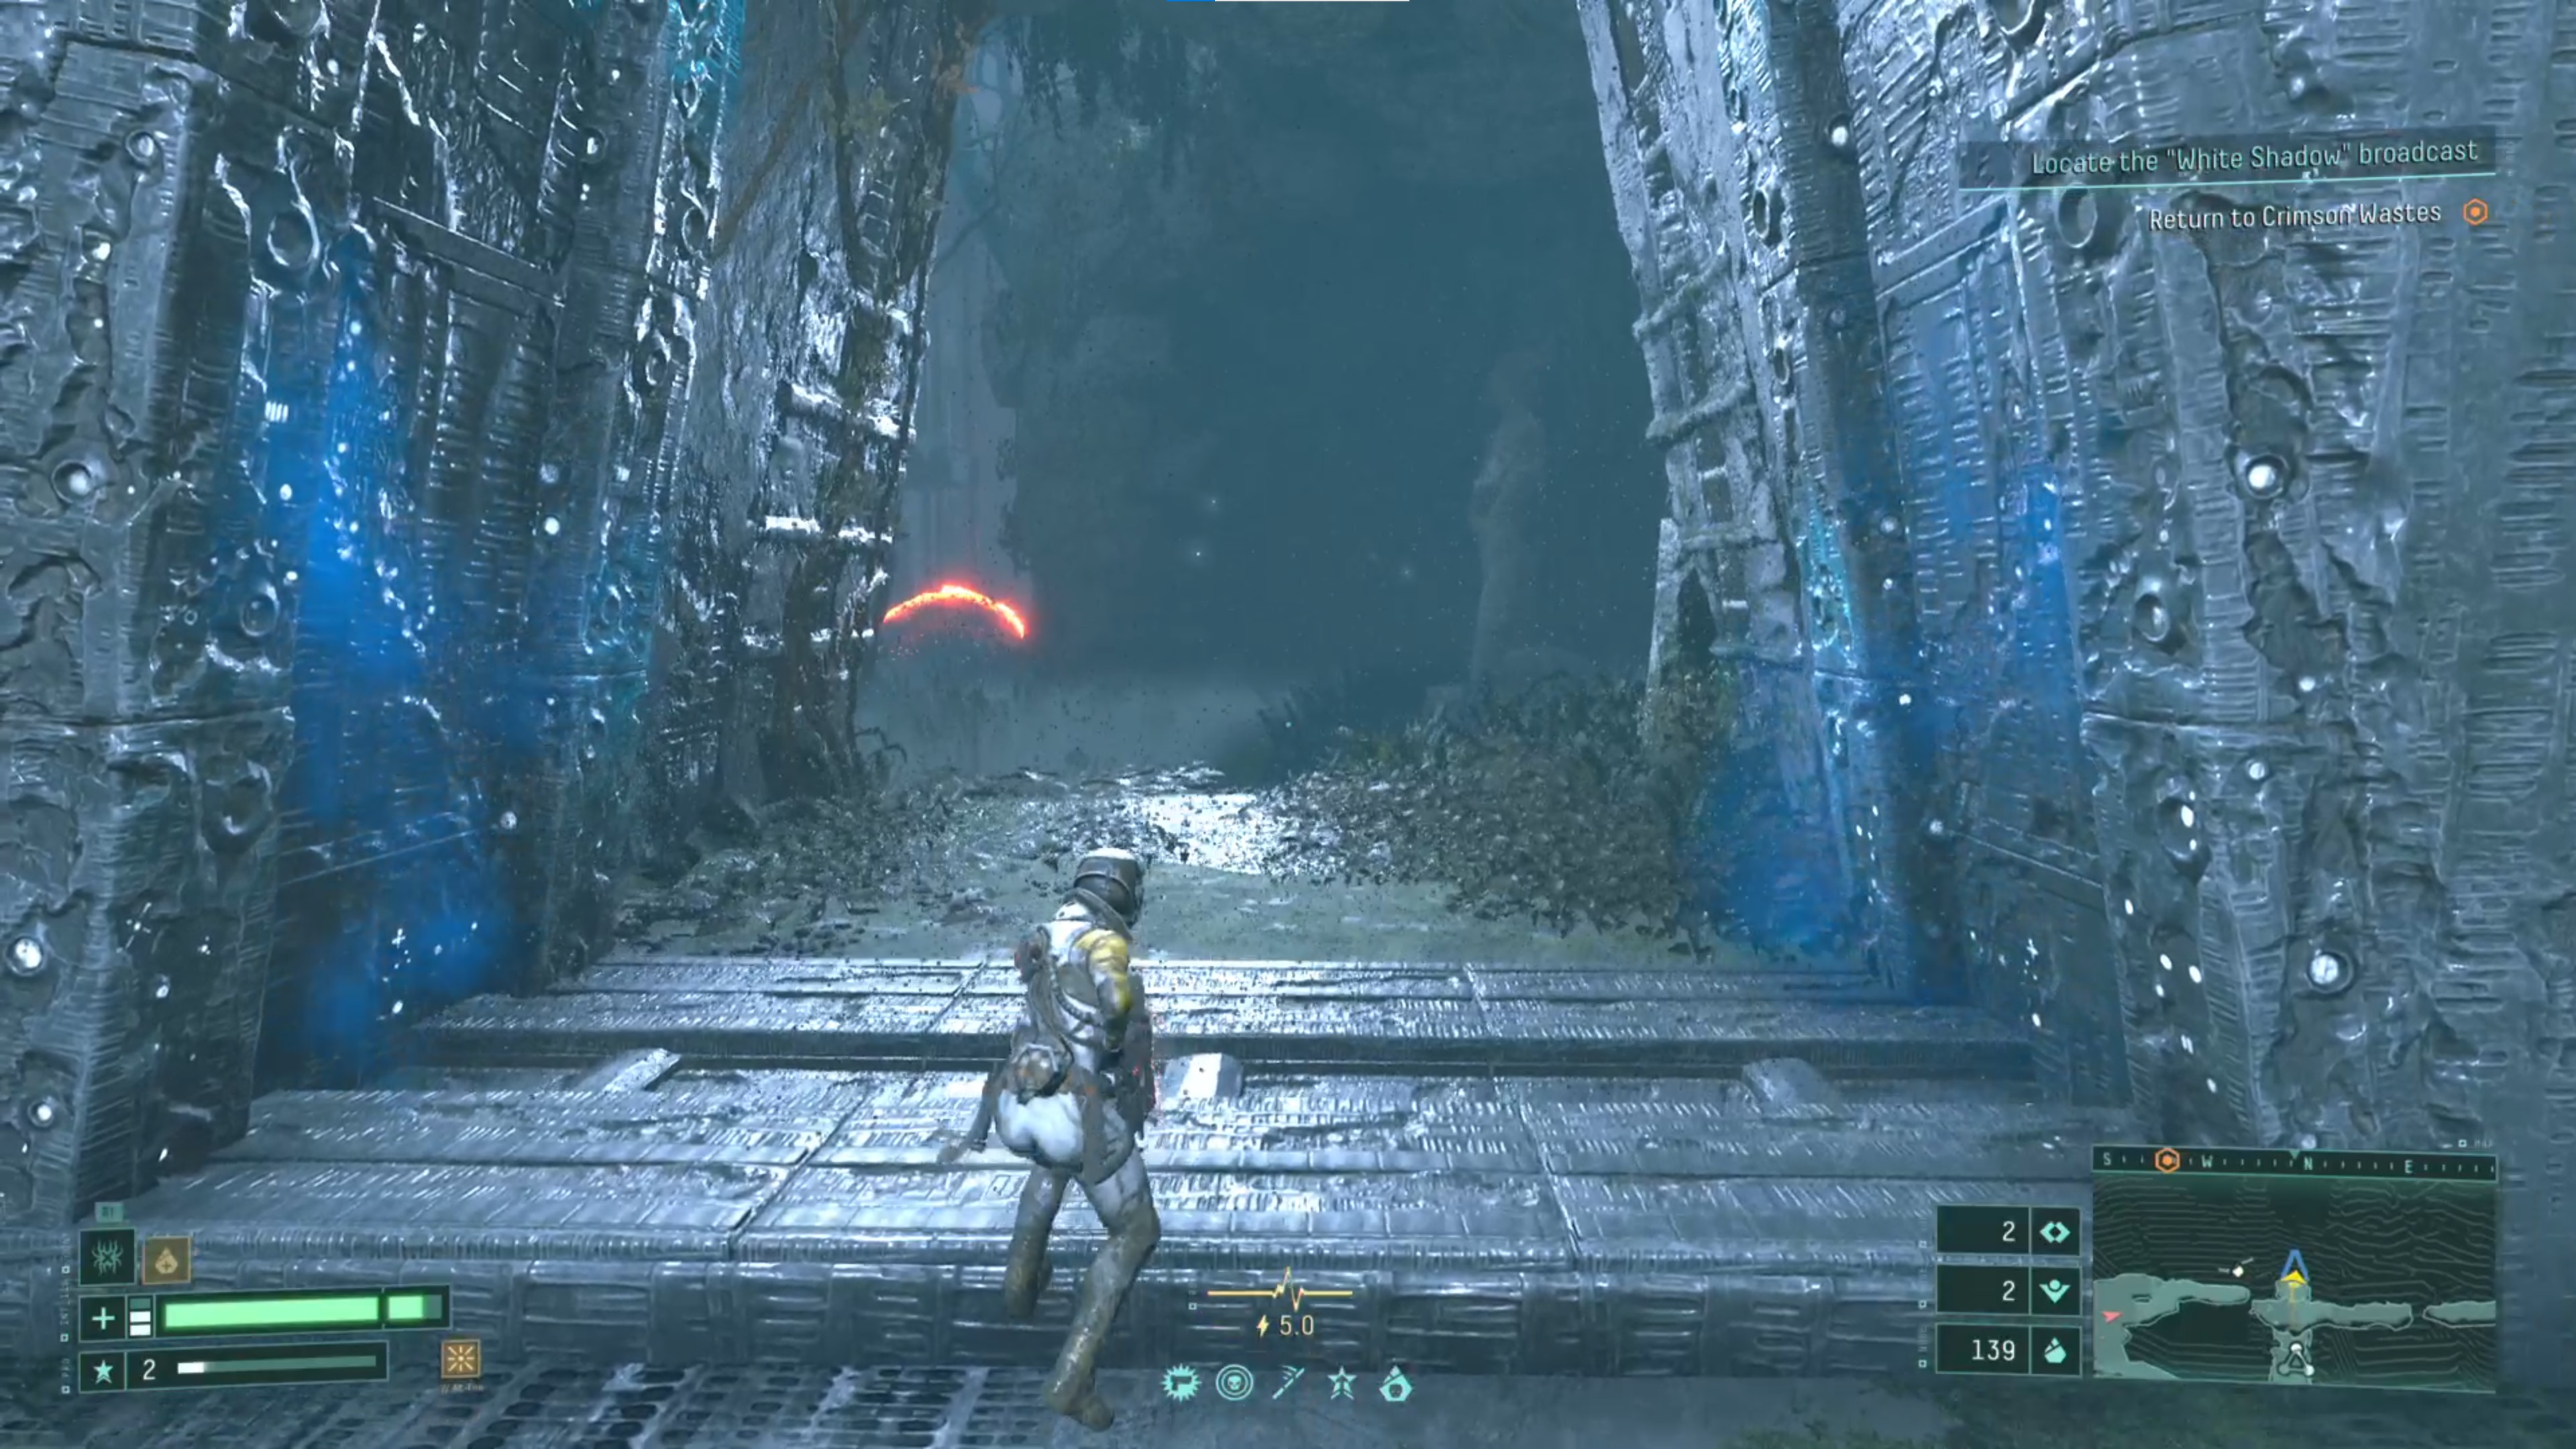
Wondering what else is around you? The darker blue triangular doors on the minimap are the ones that will more likely have better weapons, artifacts, and consumables behind, so it's worth exploring so you can ditch the starter pistol for something better and increase your integrity before fighting harder enemies. If you don't, you'll be suffering for your choice before you've even left the first area of the game.
Weekly digests, tales from the communities you love, and more
Give me a game and I will write every "how to" I possibly can or die trying. When I'm not knee-deep in a game to write guides on, you'll find me hurtling round the track in F1, flinging balls on my phone in Pokemon Go, pretending to know what I'm doing in Football Manager, or clicking on heads in Valorant.
