All Resident Evil 2 Hip Pouch locations to increase inventory space
Where to find all Resident Evil 2 hip pouches
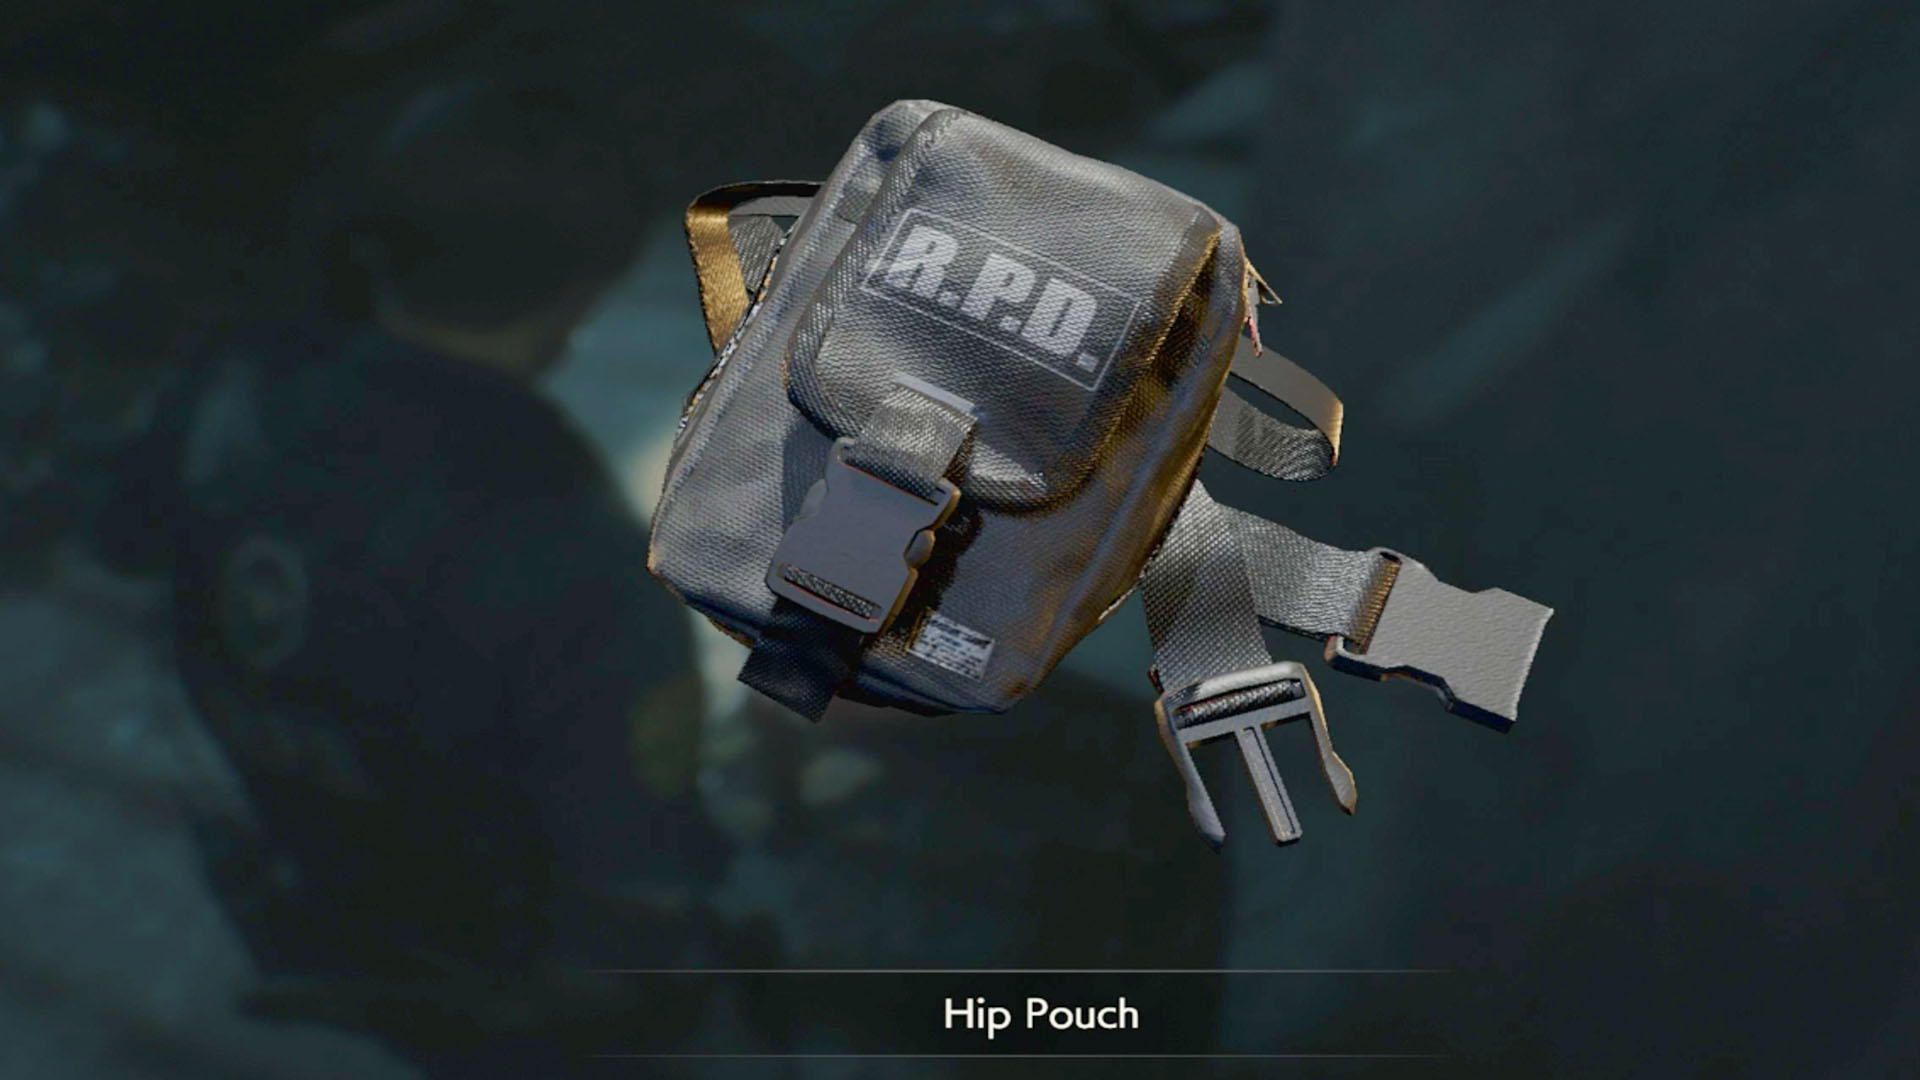
Resident Evil 2 Hip Pouches increase inventory space so you can carry more stuff. Each of these extra pockets provides two more storage slots so, with inventory management being a core component, they're incredibly useful. Maximising your space means less swapping and arranging, or leaving items you can't carry behind and backtracking to retrieve things.
You can find six hip pouches in Resident Evil 2 in these locations:
Every Resident Evil 2 Hip Pouch location
- Police Station West Storage Room
- Police Station West Office safe
- Police Station Safety Deposit Room
- Sewer Underground Facility’s Operator’s Room
- Sewers upper level Workroom
- Laboratory Nap Room
Find them all and you can increase Leon and Claire’s inventory size by up to 12 slots and earn the A Waist of Space achievement or trophy. Below we have all the Resident Evil 2 Hip Pouch locations in more detail, to help you find them all and increase your inventory space.
Hip Pouch 1, Police Station
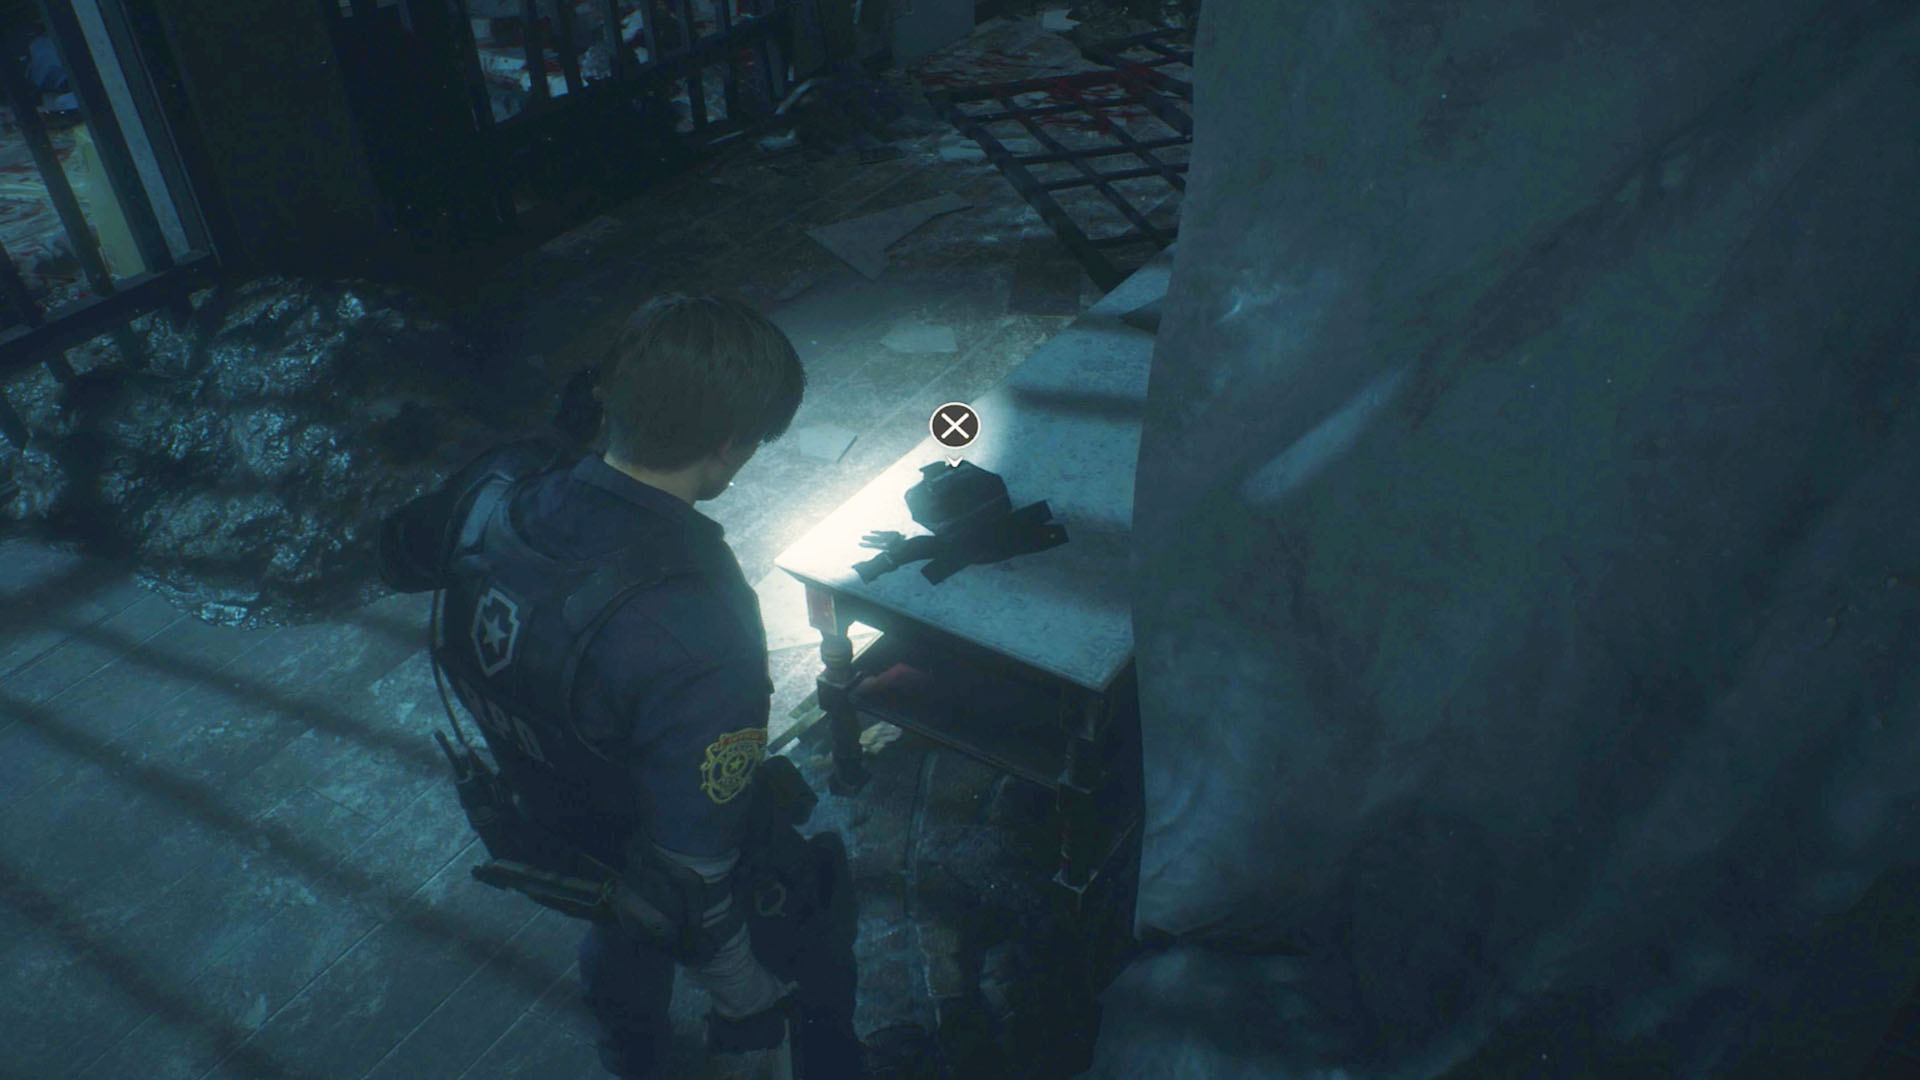
The first hip pouch can be found on the third floor of the Police Station, so head towards the West Storage Room (the room with the Maiden Statue). It’s pretty dark and cluttered in this room, so it can be rather easy to miss it on your first playthrough. The hip pouch can be found lying on the table just opposite the barricade you destroy with the Detonator. Simply interact with the pouch to claim your first two inventory slots. If you're also trying to find all the medallions as well then check out the Resident Evil 2 Remake medallion locations.
Hip Pouch 2, Police Station
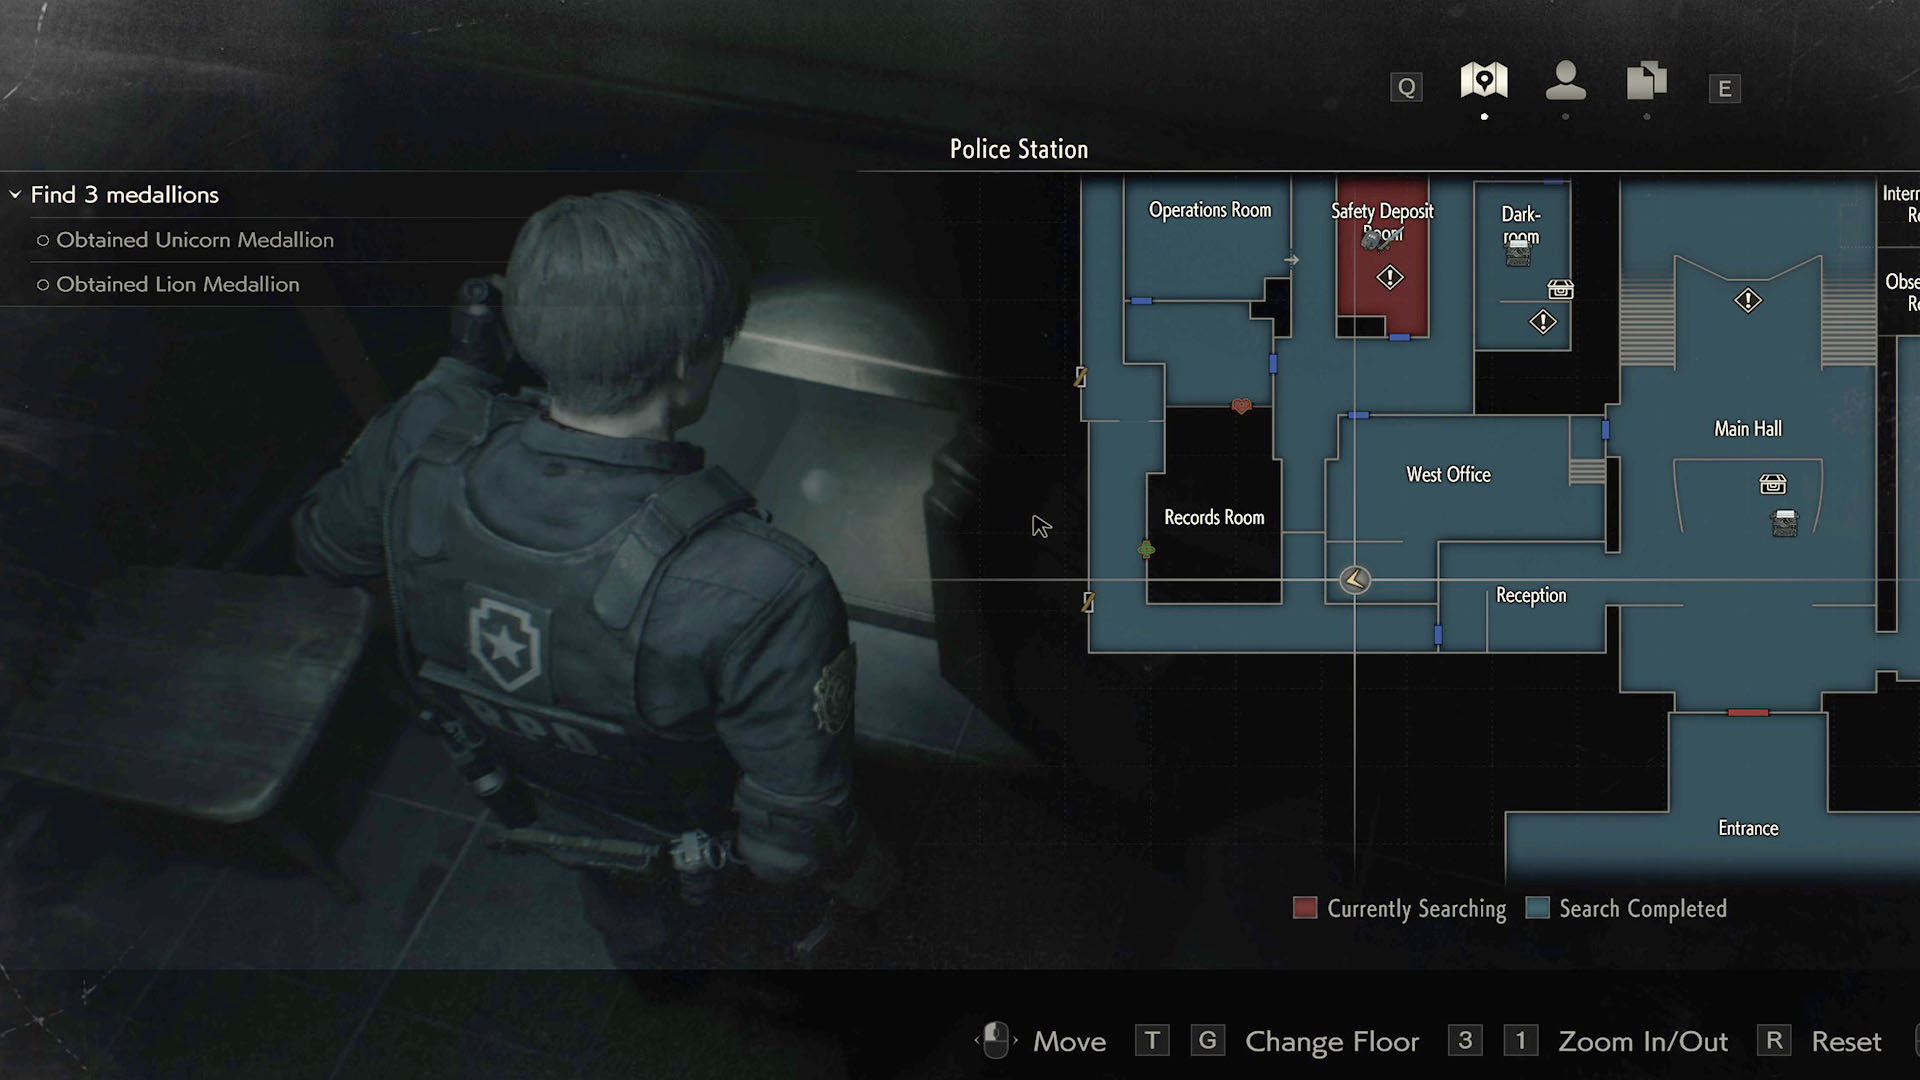
The next hip pouch is tucked safely away in the Police Station West Office safe. However, you’ll need the code to crack it. This code can be found in the S.T.A.R.S. Office on the second floor, and is left 9, right 15, left 7. Once you’ve entered the combination you can claim your second hip pouch. You can also check out all the Resident Evil 2 safe codes if you want the rest.
Hip Pouch 3, Police Station
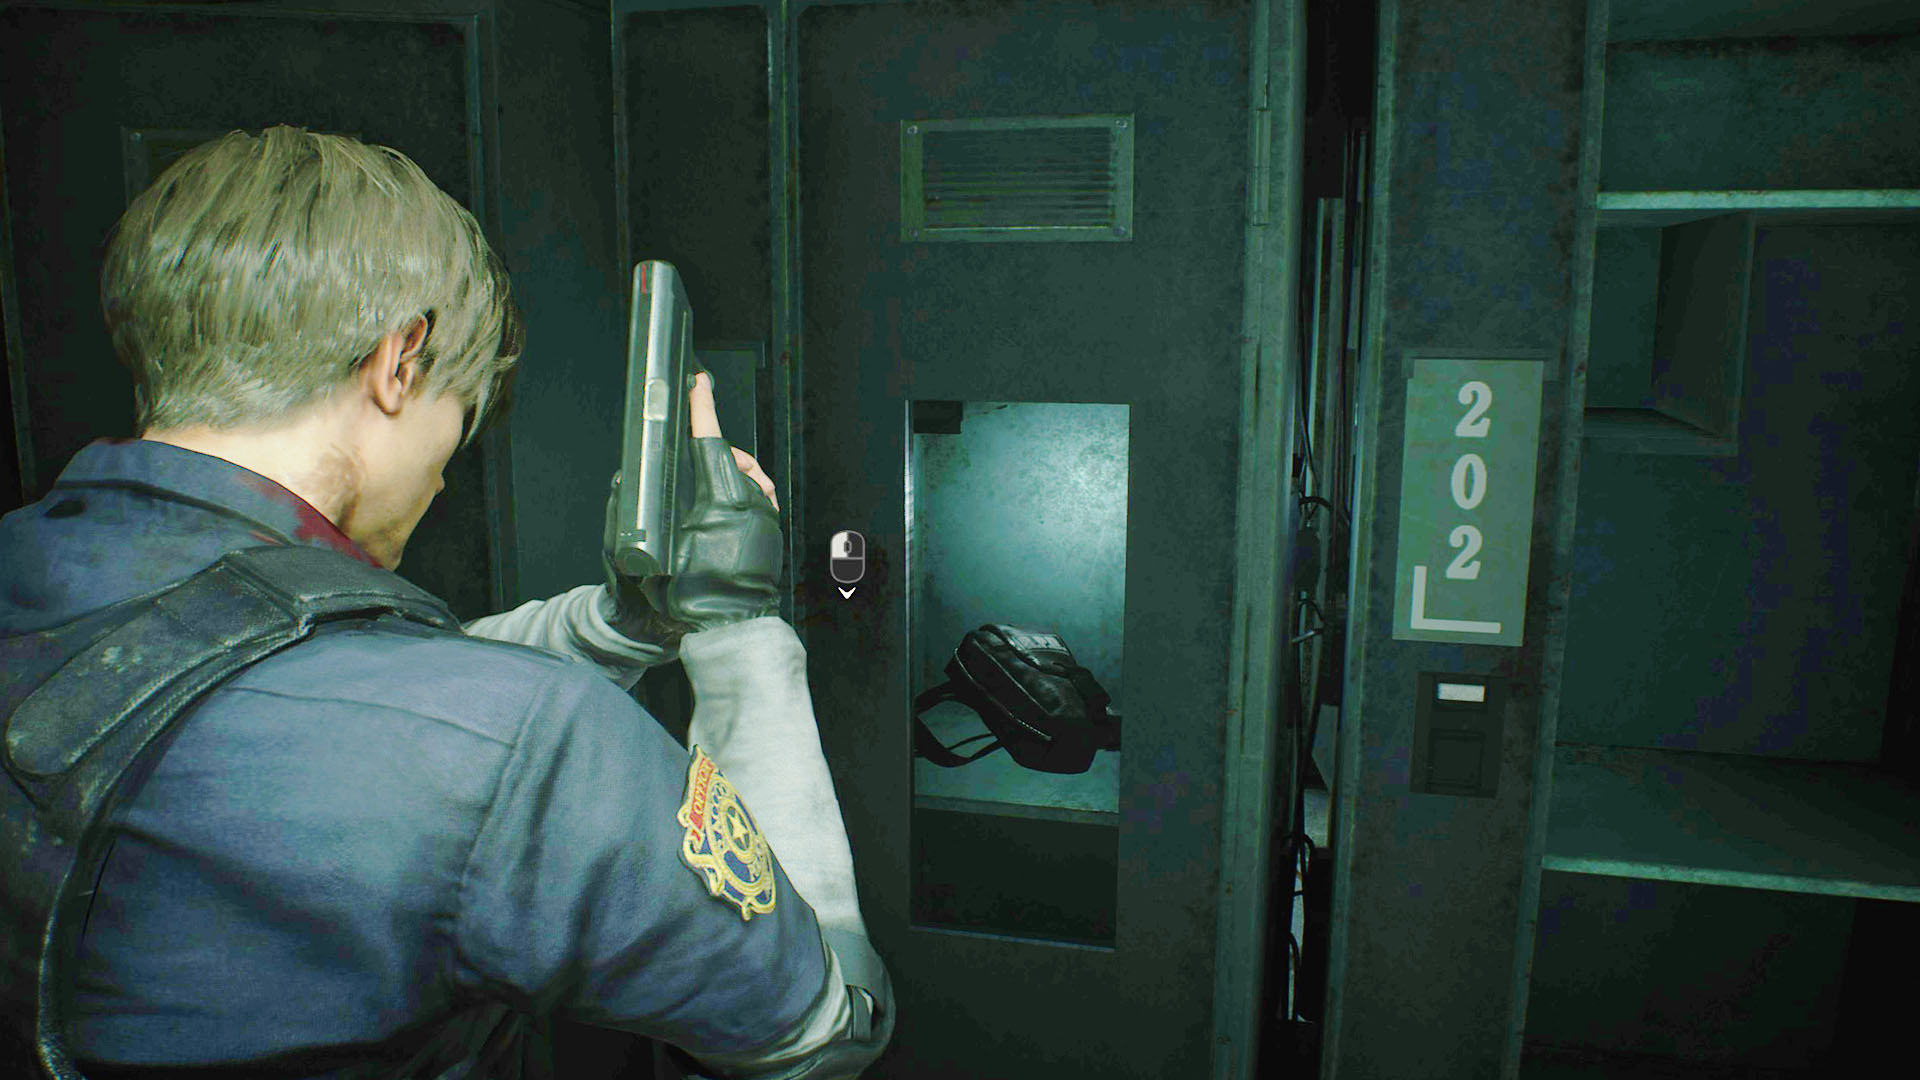
In order to get this hip pouch, you’ll need to obtain two spare keys for the broken keypad in the Safety Deposit Room. Both keys can be found in the portable safes that are hidden around the police station, but the locations change depending on if you're playing a first or second playthrough.
For a first playthrough you'll find the the first portable safe is located in the Shower Room (2F) and the second will need the Red Diamond Key to open the Linen Room (2F). On a second playthrough you'll find them in the Interrogation room (1F) and Linen Room (2F), again needing the Red Diamond Key.
The Portable Safes have a randomised code unfortunately so there's no shortcuts here - you'll have to basically work out the eight number code by repeatedly tapping the keys and memorising the sequence until you get all the numbers right.
Cracking each portable safe code will get you a single key that can access some of the gear locked away in the Safety Deposit Room, but seeing as the missing numbers are 2 and 3 you'll need both to access the Hip Pouch in locker 203.
Hip Pouch 4, Sewers
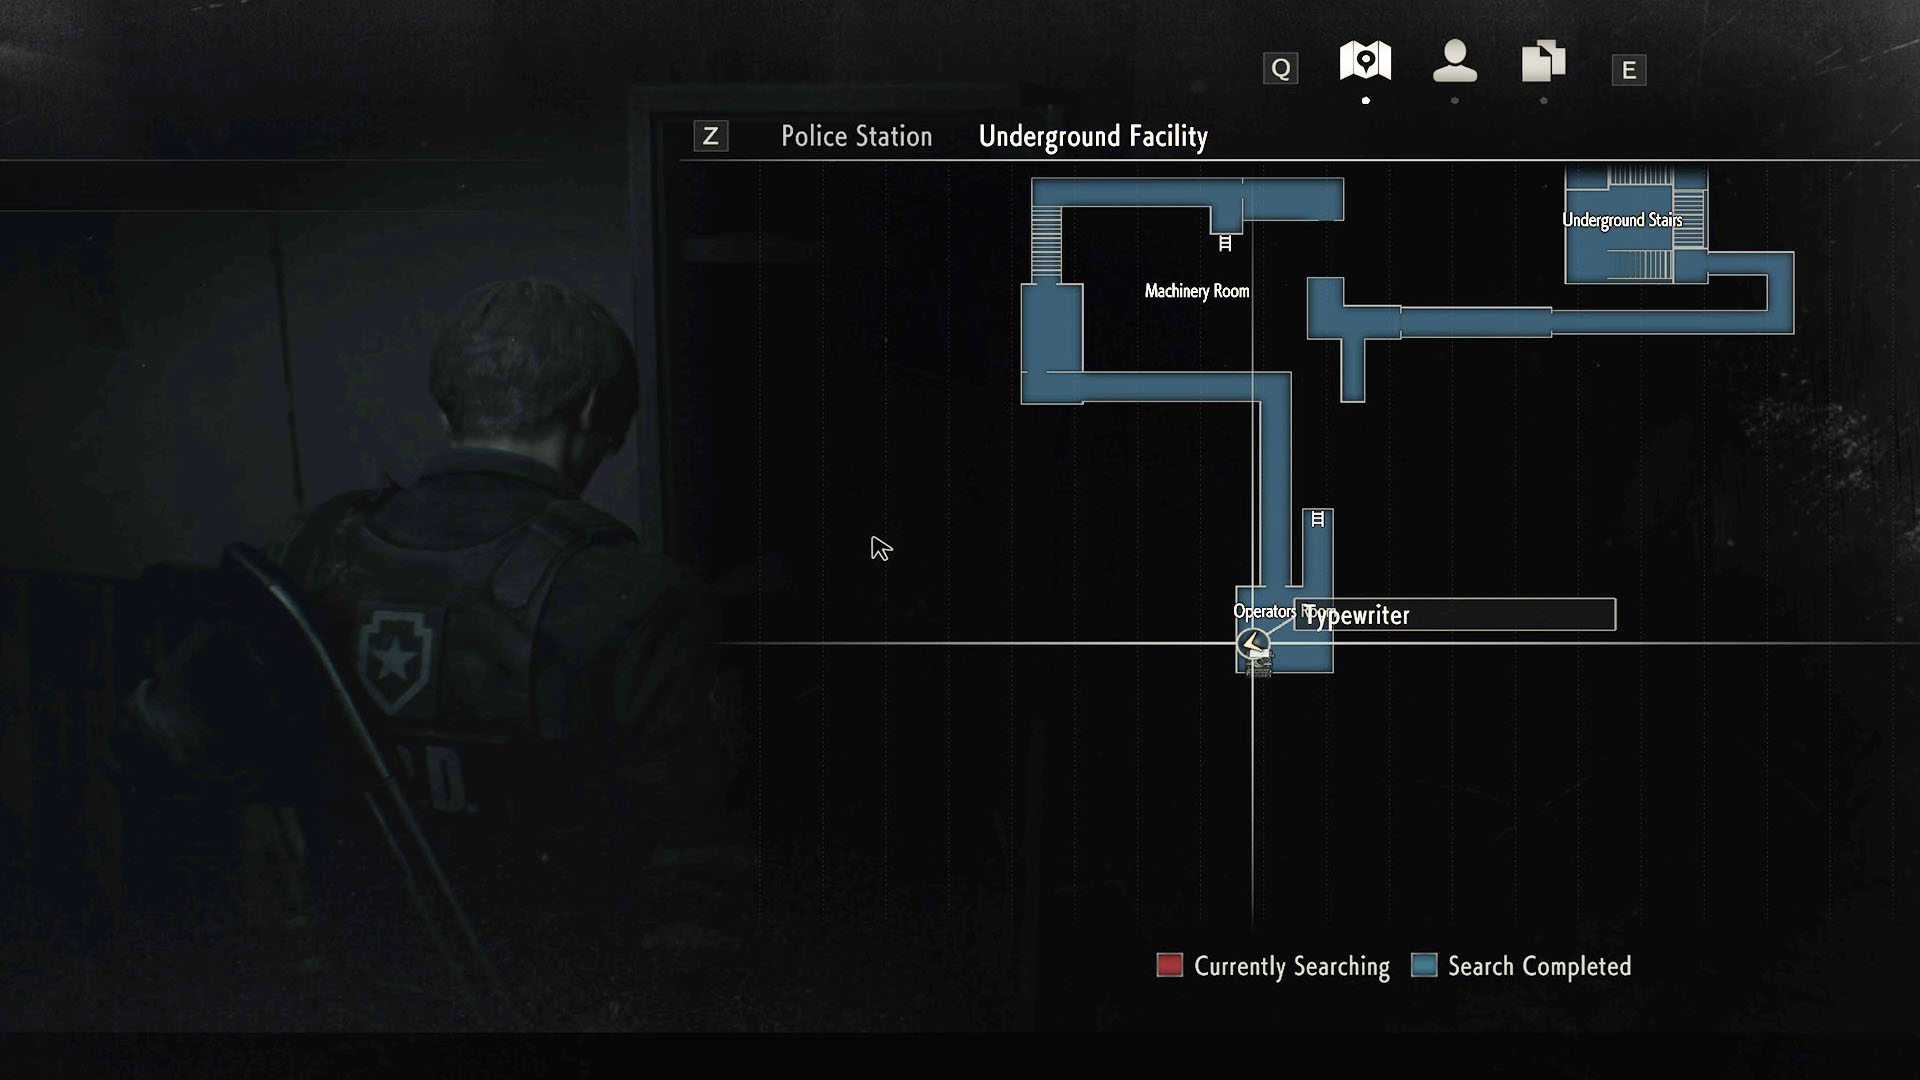
This hip pouch is located in the Sewer Underground Facility’s Operator’s Room. Simply open the locker next to the typewriter to claim your prize. This one's basically a freebie as you have to pass this to proceed. Just make sure you don't miss it on the way.
Hip Pouch 5, Sewers
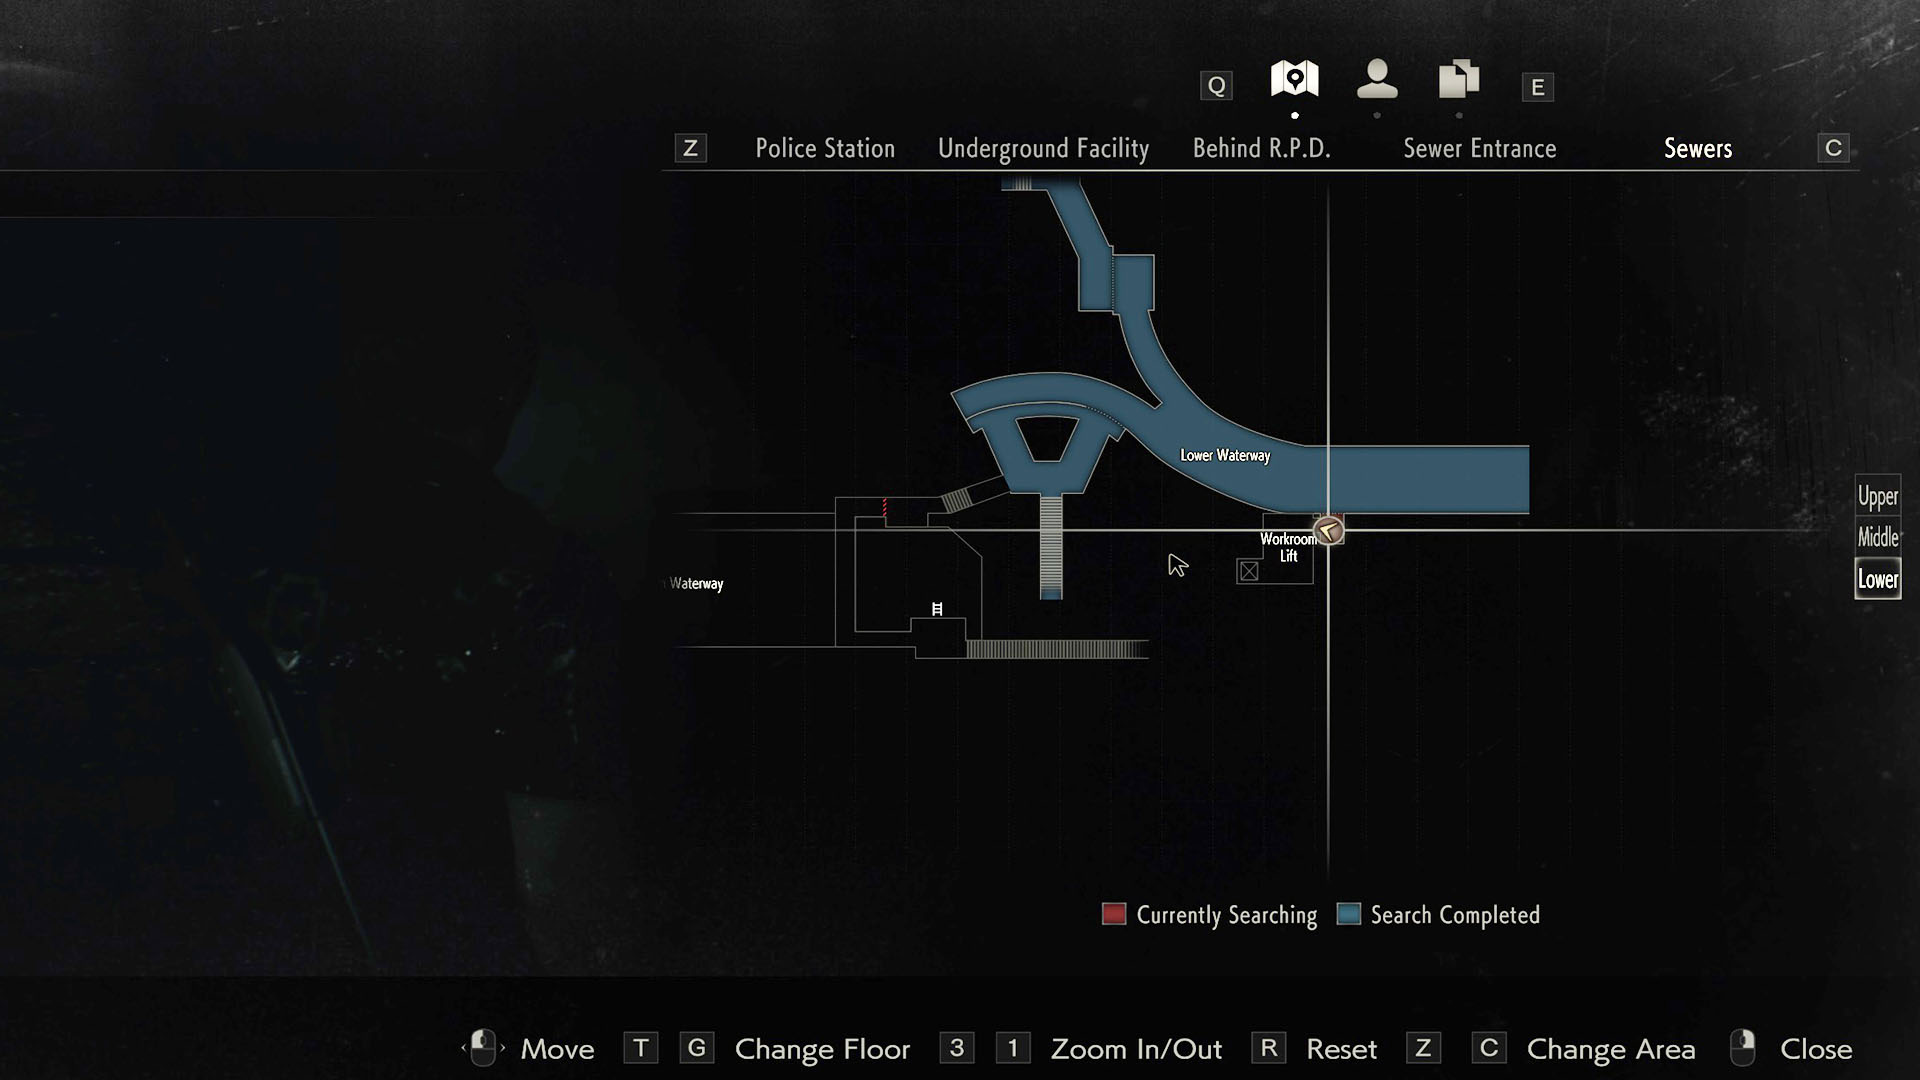
To get this hip pouch, you’ll need to make your way to the Workroom on the Upper level of the Sewers. Use the T-Bar to raise the door and make your way over to the lift. Upon entering the Workroom, you’ll see a dead zombie lying on the ground with a hip pouch on the table above it.
Hip Pouch 6, Laboratory
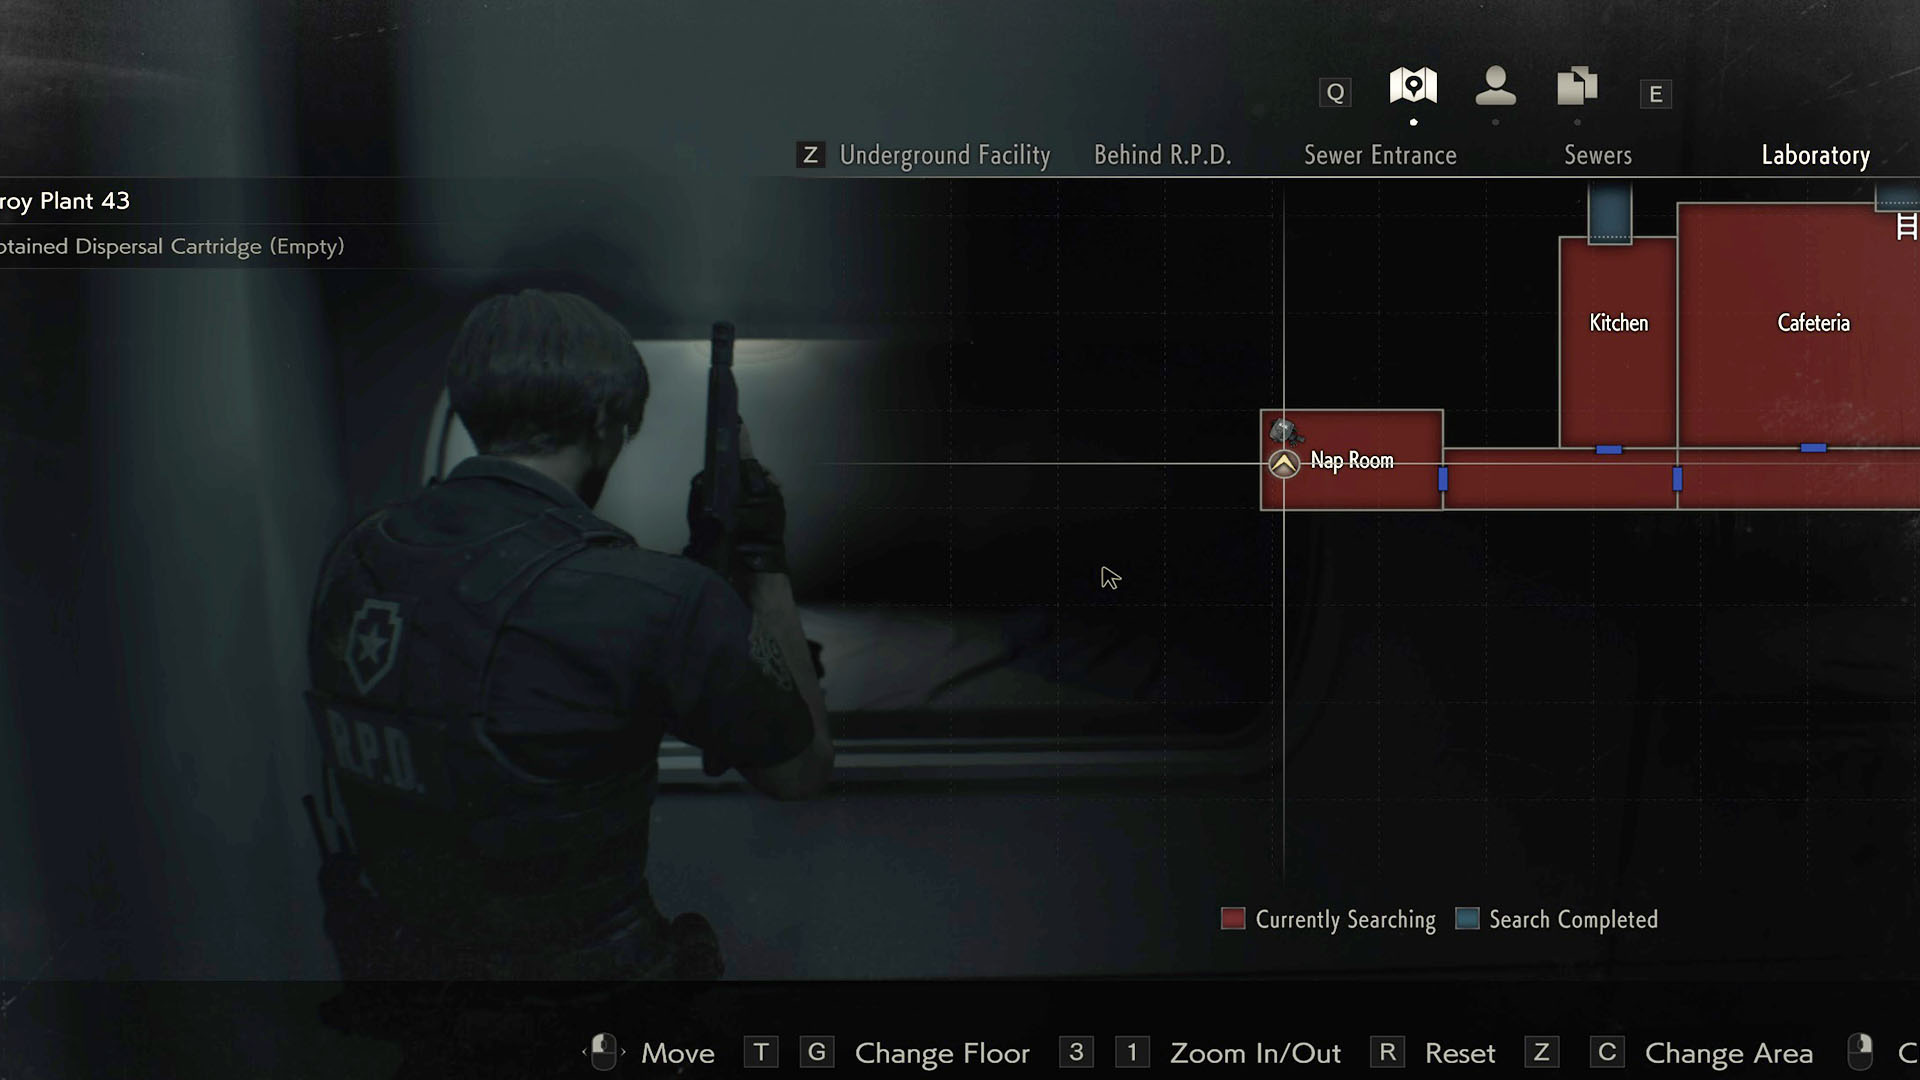
The final hip pouch is located in the Nap Room of the Laboratory, but you’ll need to first retrieve the Signal Modulator to get the power back on. The location of the Signal Modulator varies depending on whether you're playing a first or second playthrough.
The first time through you'll find it in the unnamed B1 room just off the Lobby you reach when you first enter the East area of the Laboratory. When you first arrive it'll be locked from the other side so you'll have to play through the mission objectives to get into the greenhouse and open the hatch. That will take you through to an area where you can get to the B1 room, retrieve the Signal Modulator and unlock the door back to the Lobby.
In the second playthrough the Signal Modular will simply be by the soldier's body as you head into the central lift area with the walkways to the east and west sides.
When you have the Signal Modulator you can use it to get the power on in the Nap Room by examining the Signal Modulator and tuning the waves to the signal name written on the electrical outlet on the wall. When the waves match slot it in to get the power back on. When you do that the nap room pods will open revealing a hip Pouch (yay), a Mr Raccoon (yay) and zombie (oh, ffs).
Getting all 6 Resident Evil 2 Remake Hip Pouches and the 12 extra slots they give you will make a huge difference to the game as you explore and ferry items around. It's especially useful with Claire's 2nd playthrough, as she has more guns and ammo to juggle.
Resident Evil 2 guide | Resident Evil 2 tips | Best Resident Evil 2 guns | Resident Evil 2 Mr Raccoon locations | Resident Evil 2 locker codes | How to get the Resident Evil 2 shotgun and grenade launcher | Resident Evil 2 Film Roll locations | Resident Evil 2 key locations | How to solve the Resident Evil 2 chess plug puzzle
© GamesRadar+. Not to be reproduced without permission.
Weekly digests, tales from the communities you love, and more
James Busby is an experienced journalist who has written for sites like GamesRadar+, Kotaku, Red Bull Gaming, and many more. James has a BA (Hons) in Journalism, and can usually be found writing news, reviews, and guides over at Dexerto.
- Leon HurleyManaging editor for guides


