Medal of Honor walkthrough
Conquer the campaign with our Medal of Honor walkthrough
DO03 Belly of the Beast
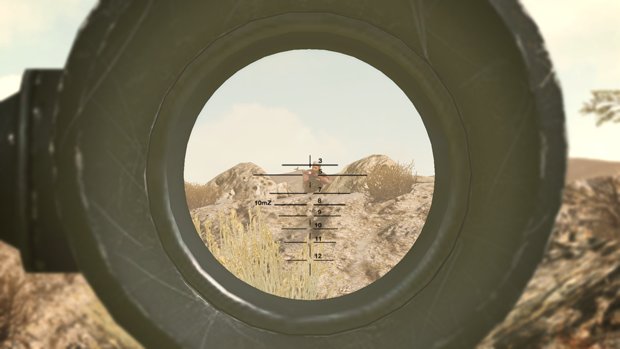
Now that you’ve spent some time being an army of one, it’s time to be an army of many. You’re an Army Ranger now, but that doesn’t really mean anything in terms of gameplay except there will be fewer times you’re told to be quiet. Once you’re in control charge after your team while scanning the rocks for enemies. Try and stay behind rocks, using your rifle to take down enemies from afar. It’s fairly straight forward here—follow teammates, kill bad guys, and don’t get shot too much. When you run into enemies with RPGs be sure to take them out ASAP, since one well-placed shot can send you home in a body bag.
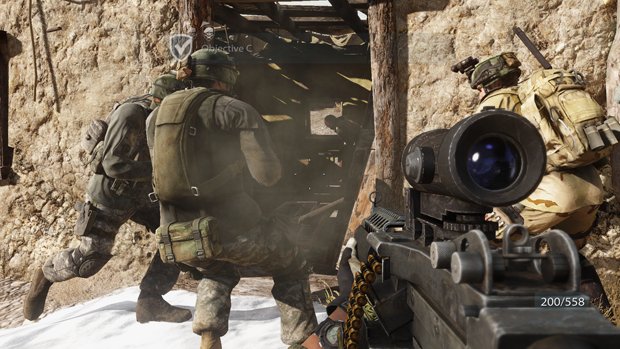
In the village ahead there are a dozen or so enemies lying in wait. Move fast, and flank up the left with your shotgun. They’ll be far too busy playing tag with your teammates to see you sneak behind and lobotomize them with a slug to the head. Keep your shotgun at the ready in the next area too; it’s filled with grenade-happy enemies behind destructible cover.
After you clear the area you’ll come upon a machine gunner that needs taken out, and you’re in charge of keeping it suppressed so your team can advance. A little indicator will appear over the gun once it’s suppressed, so make sure to spray it with ammo until that’s up there, while still killing any enemies that show up to the left.
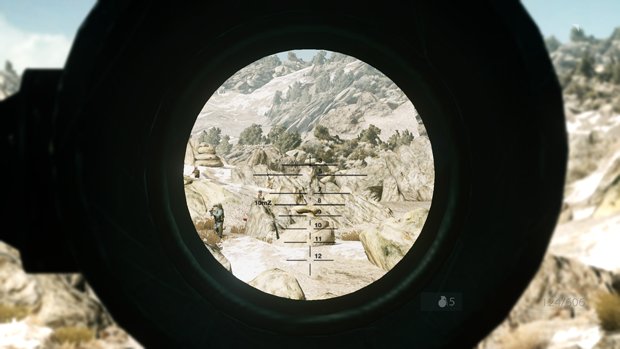
There’s a catch: this time, you’re the one hiding behind rock walls that will chip away as you take fire, so bounce from place to place once your cover gets too damaged to provide support. When your allies throw red smoke, fall back to their position. If you stay too close, it’s game over for you, too.
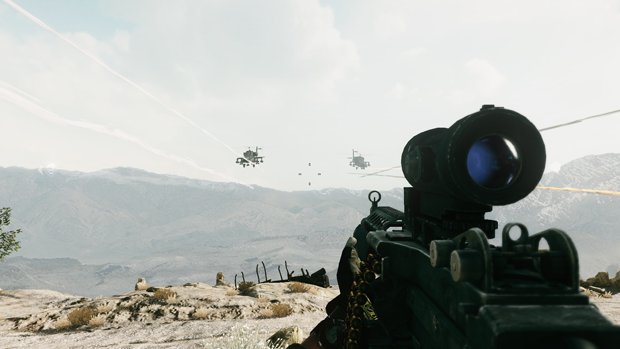
Follow with your team to the valley ahead. There are going to be some scattered forces from time to time, and some bad guys on top of the cliffs, but it’s pretty straight-forward. Keep fighting until you get to the LZ, but prepare for a big battle here. You’re going to have to hold off enemies for a few minutes and deal with cover that is rapidly being destroyed. Try and stay behind whatever walls are left and focus on taking out the enemies moving to flank and the guys with RPGs. While there are dozens of others running around, they’re the ones that are going to give you the most trouble, so focus your fire.
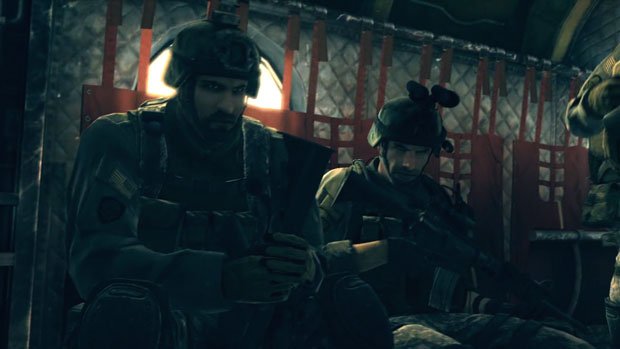
After a few minutes some choppers will show up and save the day with impressive firepower. Don’t worry; you get to use it in the next level.
DO04 Gunfighters
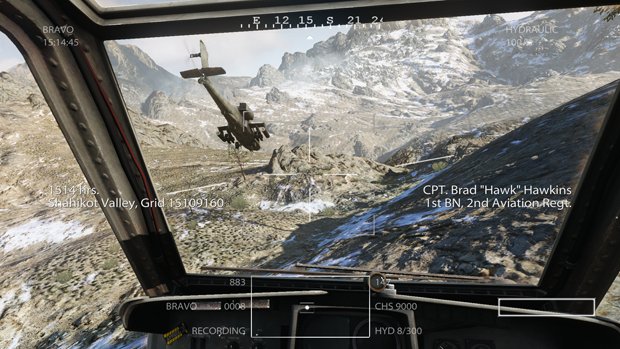
Finally, a vehicle that actually does something. Test fire your weapons as your chopper cruises through the mountains. You don’t have to worry about flying or steering, just shoot bullets with one button and fire missiles with another. You’ll change to a different camera after a minute or so, which will show a few enemies setting up mortars. Once you get the signal, take them out using your machine guns and hellfire missiles (which are different from your regular missiles, and are assigned to a different button, so pay attention).
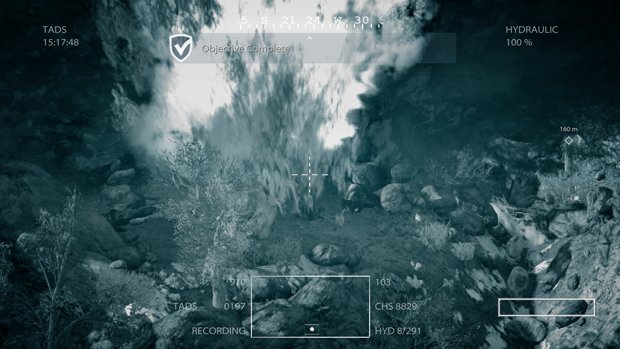
Once they’re taken care of you’ll be back in your normal view, flying towards a village. Blow up the trucks crossing the bridge, and prepare for a sudden, random burst of kick-ass music and a lot of explosions. You’ll automatically fly around the city, so blast anything you see with your limitless missiles.
If you see anything move, blow it up. Heck, don’t even wait to see anything, just blow everything up, and if your missiles need to reload spray everything with the machine gun bullets. There will be some times where enemies are difficult to see, but usually your teammates will call out their location. Just rain down fire in the direction they mention and you’ll be fine.
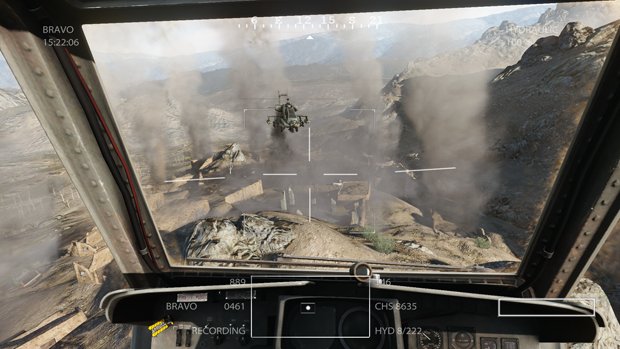
After the battle the other bird is hurt, so she’s going to mark targets for your hellfire missiles from here on out (the ones from earlier, remember?). These are different from your other ones, though, so you can use these while blowing apart enemies. After a few minutes of blowing up cliff sides it’s all over, and you’re done patrolling the skies.
DO05 Friends From Afar
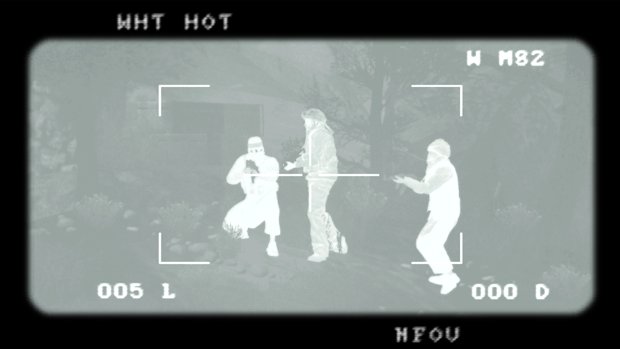
Obligatory sniper level begins. Get used to zooming in/out and find the button that controls the different view modes. Changing between them makes this portion into a cakewalk, even if it’s less satisfying than seeing red blood splatter when you score a headshot. Speaking of which, take out the enemies in the camp above, and then shoot the sniper to the right. Follow directions for the rest of this section, shooting limbs off of whomever you’re asked to shoot limbs off of.
Once you’re done sniping it’s another gunfight. Enemies will stream towards you, and you need to put them down. Switch to the scoped weapon at the start of this fight, as it makes killing the guys on the rocks to the left a lot easier. When they’re dead turn around and follow your ally into another similar area and take out the enemies to the left, focusing on the guy with the RPG first. If you want, there’s a heavy machine gun down a dead-end path to the right, but it’s not entirely necessary.
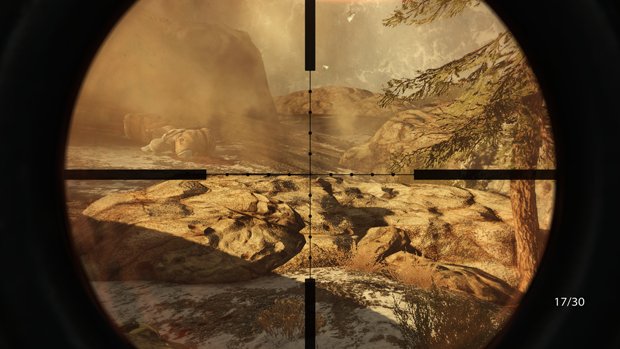
Follow your ally as he tracks a wounded enemy, and wait for other enemies to show up before doing anything. Running in and attacking the wounded guy might sound like fun, but it leads to a quick death (I know from experience). A large group of enemies will surround the wounded guy, and they’ll stand just close enough to create one nice red mist if you throw a cooked grenade into the middle of them. Do it, and then clean up anything that’s left. Climb up the hill and you’ll have another sniper section, but this time there are only four heads to remove.
Do it, then follow your squadmate to the next area, where there’s—you guessed it—another sniper mission. Change your view to one that actually lets you see the enemies and pop them, one by one, until they all fall down. Some RPG-users will show up on the top of the cliff, but you’ll be given the order when it’s time to shoot them. Soon, there’s nothing left, and the mission is over.
DO06 Compromised
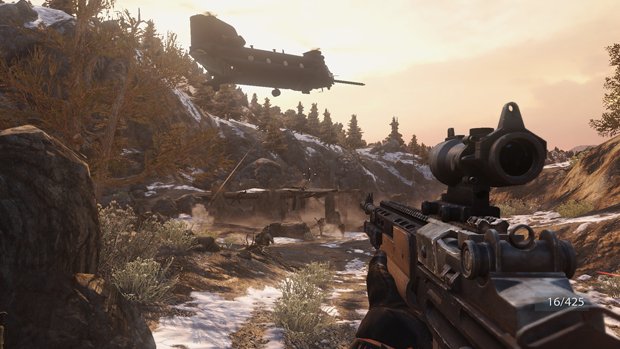
This is a quick level, and most of the time is spent running. Stay in the cover you start in, crouching down and popping up to take out enemies. Once smoke is thrown down fall back, following your team. They’ll stop at a building, and you should repeat exactly what you did at the beginning of the level here. When they leave, sprint after them, zig-zagging to avoid enemy fire and finding cover in the building ahead.
Turn around and kill the enemies that show up, and then mark the building for air support. For some reason this actually leads to a dozen new enemies finding their way through the rubble, so hold them off as your team climbs the wall, and then follow with them once one offers a boost.
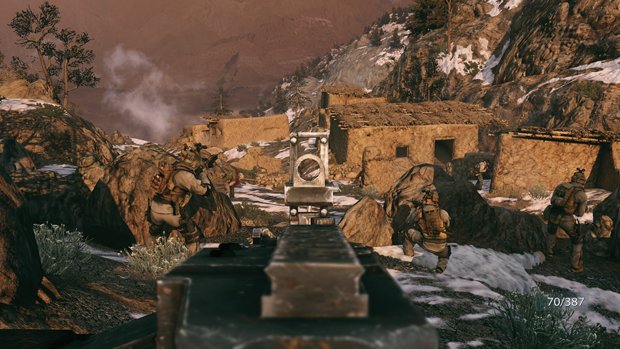
You’re given a heavy machine gun here, so make good use of it on the enemies ahead. Work your way forward with your new gun, but feel free to switch weapons once you’re told to sprint. After you reach the heli you’re put on a stationary gun and told to defend.
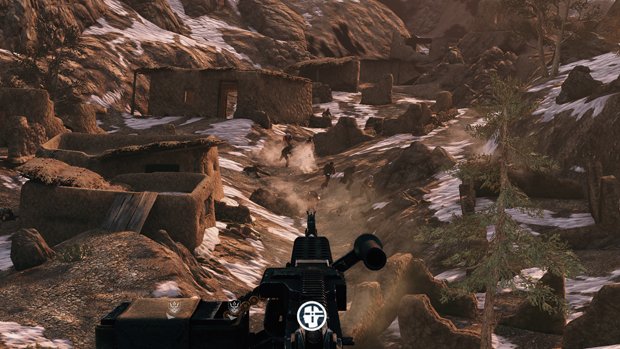
While you can zoom in, it’s actually easier here to stay zoomed out, only zooming if you’re really having trouble hitting enemies. As per usual, take out anyone with a rocket launcher first, but otherwise just play whack-a-mole with the Taliban until the mission ends.
Weekly digests, tales from the communities you love, and more
GamesRadar+ was first founded in 1999, and since then has been dedicated to delivering video game-related news, reviews, previews, features, and more. Since late 2014, the website has been the online home of Total Film, SFX, Edge, and PLAY magazines, with comics site Newsarama joining the fold in 2020. Our aim as the global GamesRadar Staff team is to take you closer to the games, movies, TV shows, and comics that you love. We want to upgrade your downtime, and help you make the most of your time, money, and skills. We always aim to entertain, inform, and inspire through our mix of content - which includes news, reviews, features, tips, buying guides, and videos.


