Lego Batman 3: Beyond Gotham Gold Brick locations guide
Weekly digests, tales from the communities you love, and more
You are now subscribed
Your newsletter sign-up was successful
Want to add more newsletters?
Join the club
Get full access to premium articles, exclusive features and a growing list of member rewards.
Ysmault
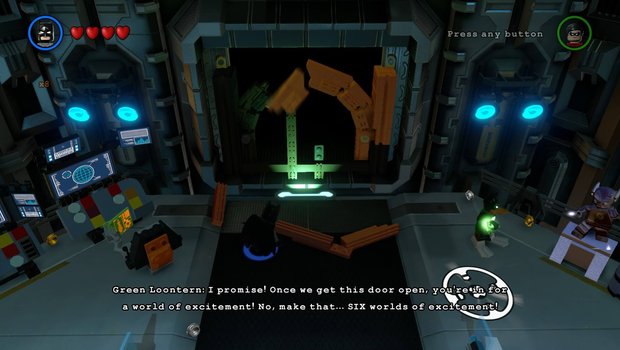
To reach Ysmault, you must first complete Green Loontern's quest in The Watchtower to unlock the Moon Base. From here, you can build up several Lantern gates to reach the various planets.
Gold Brick #1
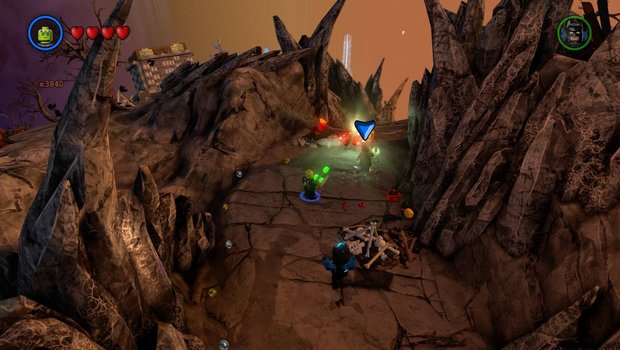
Green Loontern is right by the teleporter, ready to give you a tour of the planet. Follow him around, taking out the Red Lanterns that appear, until you return where you started. You'll get a brick for this.
Gold Brick #2
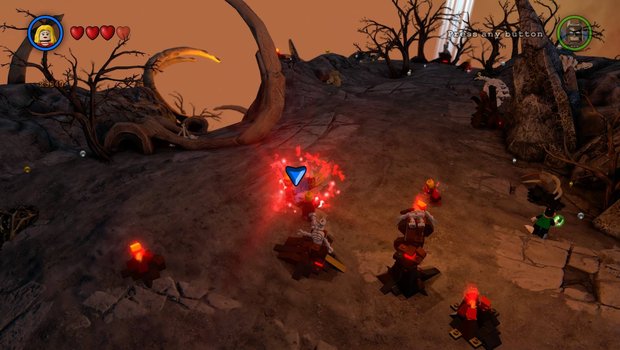
The Loontern has another task for you: taking out some Red Lanterns. Help him take down 25 baddies to earn another brick.
Article continues belowGold Brick #3
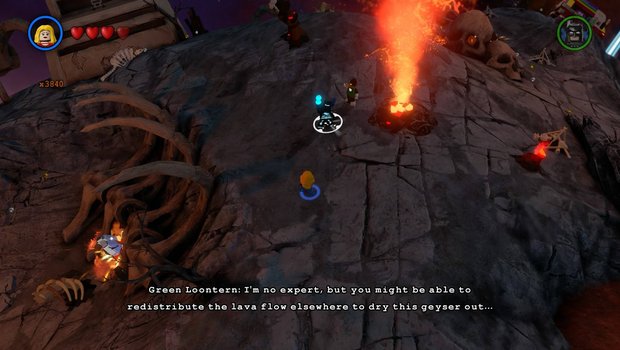
This time around, Green Loontern needs help recovering an object he dropped into a lava geyser. To reach it, you need to redistribute the lava flow three times. The first is done by destroying the nearby silver rock with a demolition character. The second is done by grappling a nearby hook in a small red pool. The third is done by busting up a small rock behind a nearby skull. After all this, a brick will be yours.
Gold Brick #4
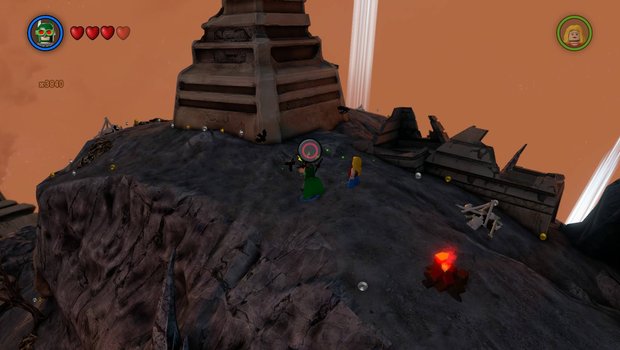
Now the Loontern wants a popsicle. Seriously. Start by searching the area for a sense spot and using a sensory character to reveal an arrow. Follow it through some more sense spots, and you'll eventually reach an ice cream truck. Search the nearby crater by busting up the boxes inside to find the treat. Return it to Green Loontern to finish the quest.
Gold Brick #5
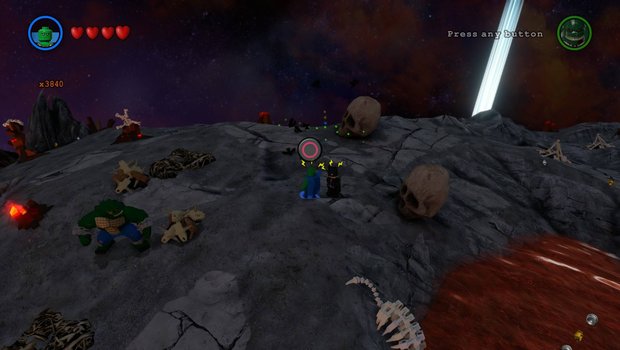
For the last quest, you'll encounter Catwoman and Dex-Starr. She wants you to find a new turf for Dex. To do this, follow her and use a sensory character on the sense spots to reveal crates of fish. Bust these open to lure Dex until you reach the giant spine. Catwoman will make a new home here, and you'll receive a Gold Brick for your work.
Gold Brick #6
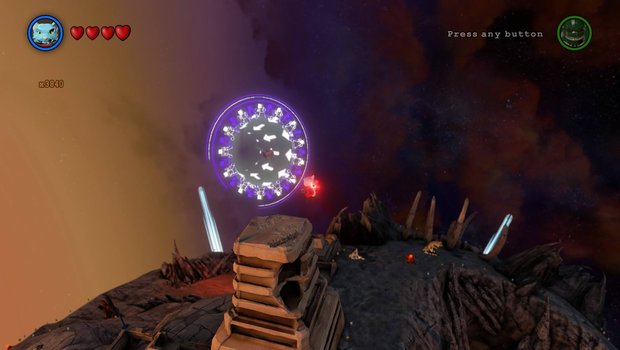
The remaining bricks can be located by following the beacons in the sky, one of which leads to this flying challenge. Zip through all the gates before time expires to win a brick.
Weekly digests, tales from the communities you love, and more
Gold Brick #7
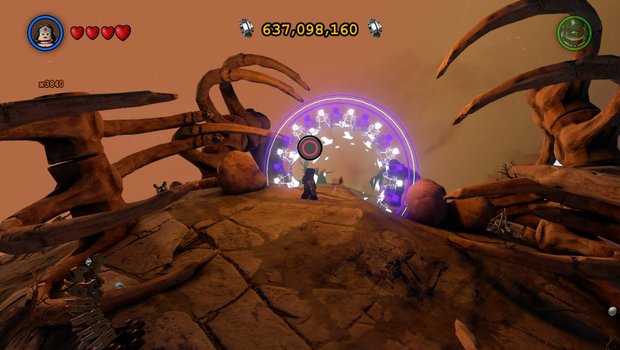
There's also a footrace to be won on this planet. Dash through the gates just like the flight challenge to receive a prize brick.
Gold Brick #8
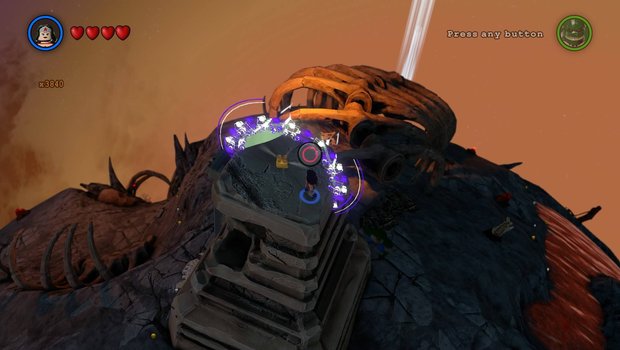
You'll find another footrace atop on of the towers. Run through these gates too to win yourself another Gold Brick.
Gold Brick #9
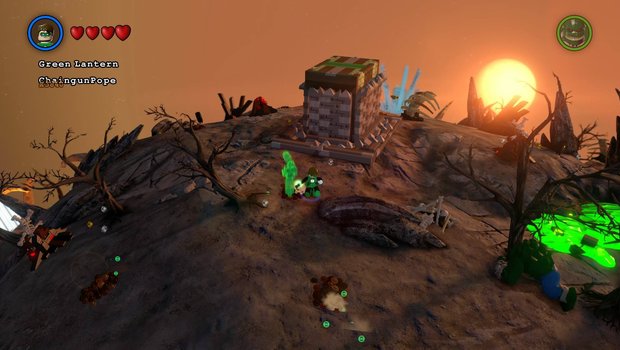
Under one of the beacons is what appears to be a mausoleum. Use a sensory character on the nearby sense spot to reveal a dirt patch, then use a digging character to unearth some loose pieces. Build these into a handle and pull it to open the large grave. To open the chest inside, shatter the nearby glass crystal with a sonar character to reveal a second handle. Pull this to reveal one last box: the final handle can be assembled from the loose pieces in the nearby waste pool - use a hazard character. After all this, you'll finally reveal the Gold Brick.
Gold Brick #10
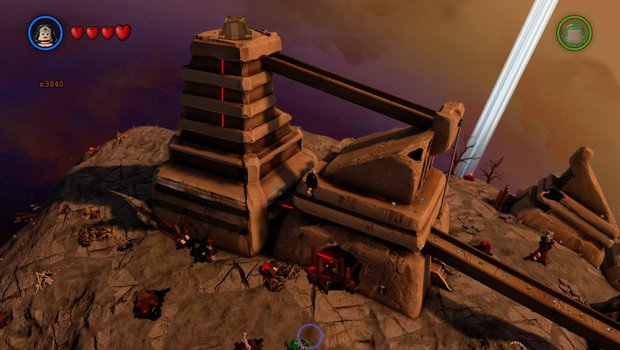
A large pyramid is marked by a beacon; there's a chest atop it you must open. To do so, bust up the debris at its base to reveal a handle. Pull this to open the chest and free the brick inside.
Gold Brick #11
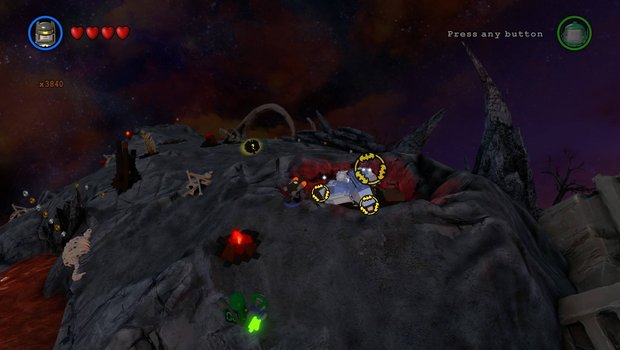
Under another beacon is this pile of silver objects. Destroy them with a demolition character to reveal a cracked tile, then slam through this with a big figure to find a Gold Brick underneath.
Gold Brick #12
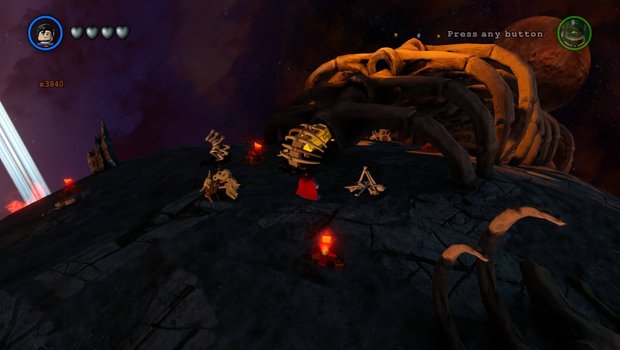
Another beacon will lead you to this giant spine with a gold tip. Bust through the covering and melt it with a laser character to reveal a brick.
Jump to Section:
- Adam West in Peril
- Adam West in Peril (cont'd)
- Batcave
- The Watchtower
- Hall of Justice
- Hall of Doom
- Zamaron
- Odym
- Nok
- Ysmalut
- Okaara
- Qward
- Oa
- VR Missions

Tony lives in Maryland, where he writes about those good old-fashioned video games for GamesRadar+. His words have also appeared on GameSpot and G4, but he currently works for Framework Video, and runs Dungeons and Dragons streams.

 Join The Community


