How to beat the Armored Core 6 IB-01: CEL 240 boss in Chapter 4
Tips, tricks, loadout advice and more for the toughest boss in Armored Core 6, the Ibis Series CEL 240 in "Reach the Coral Convergence"

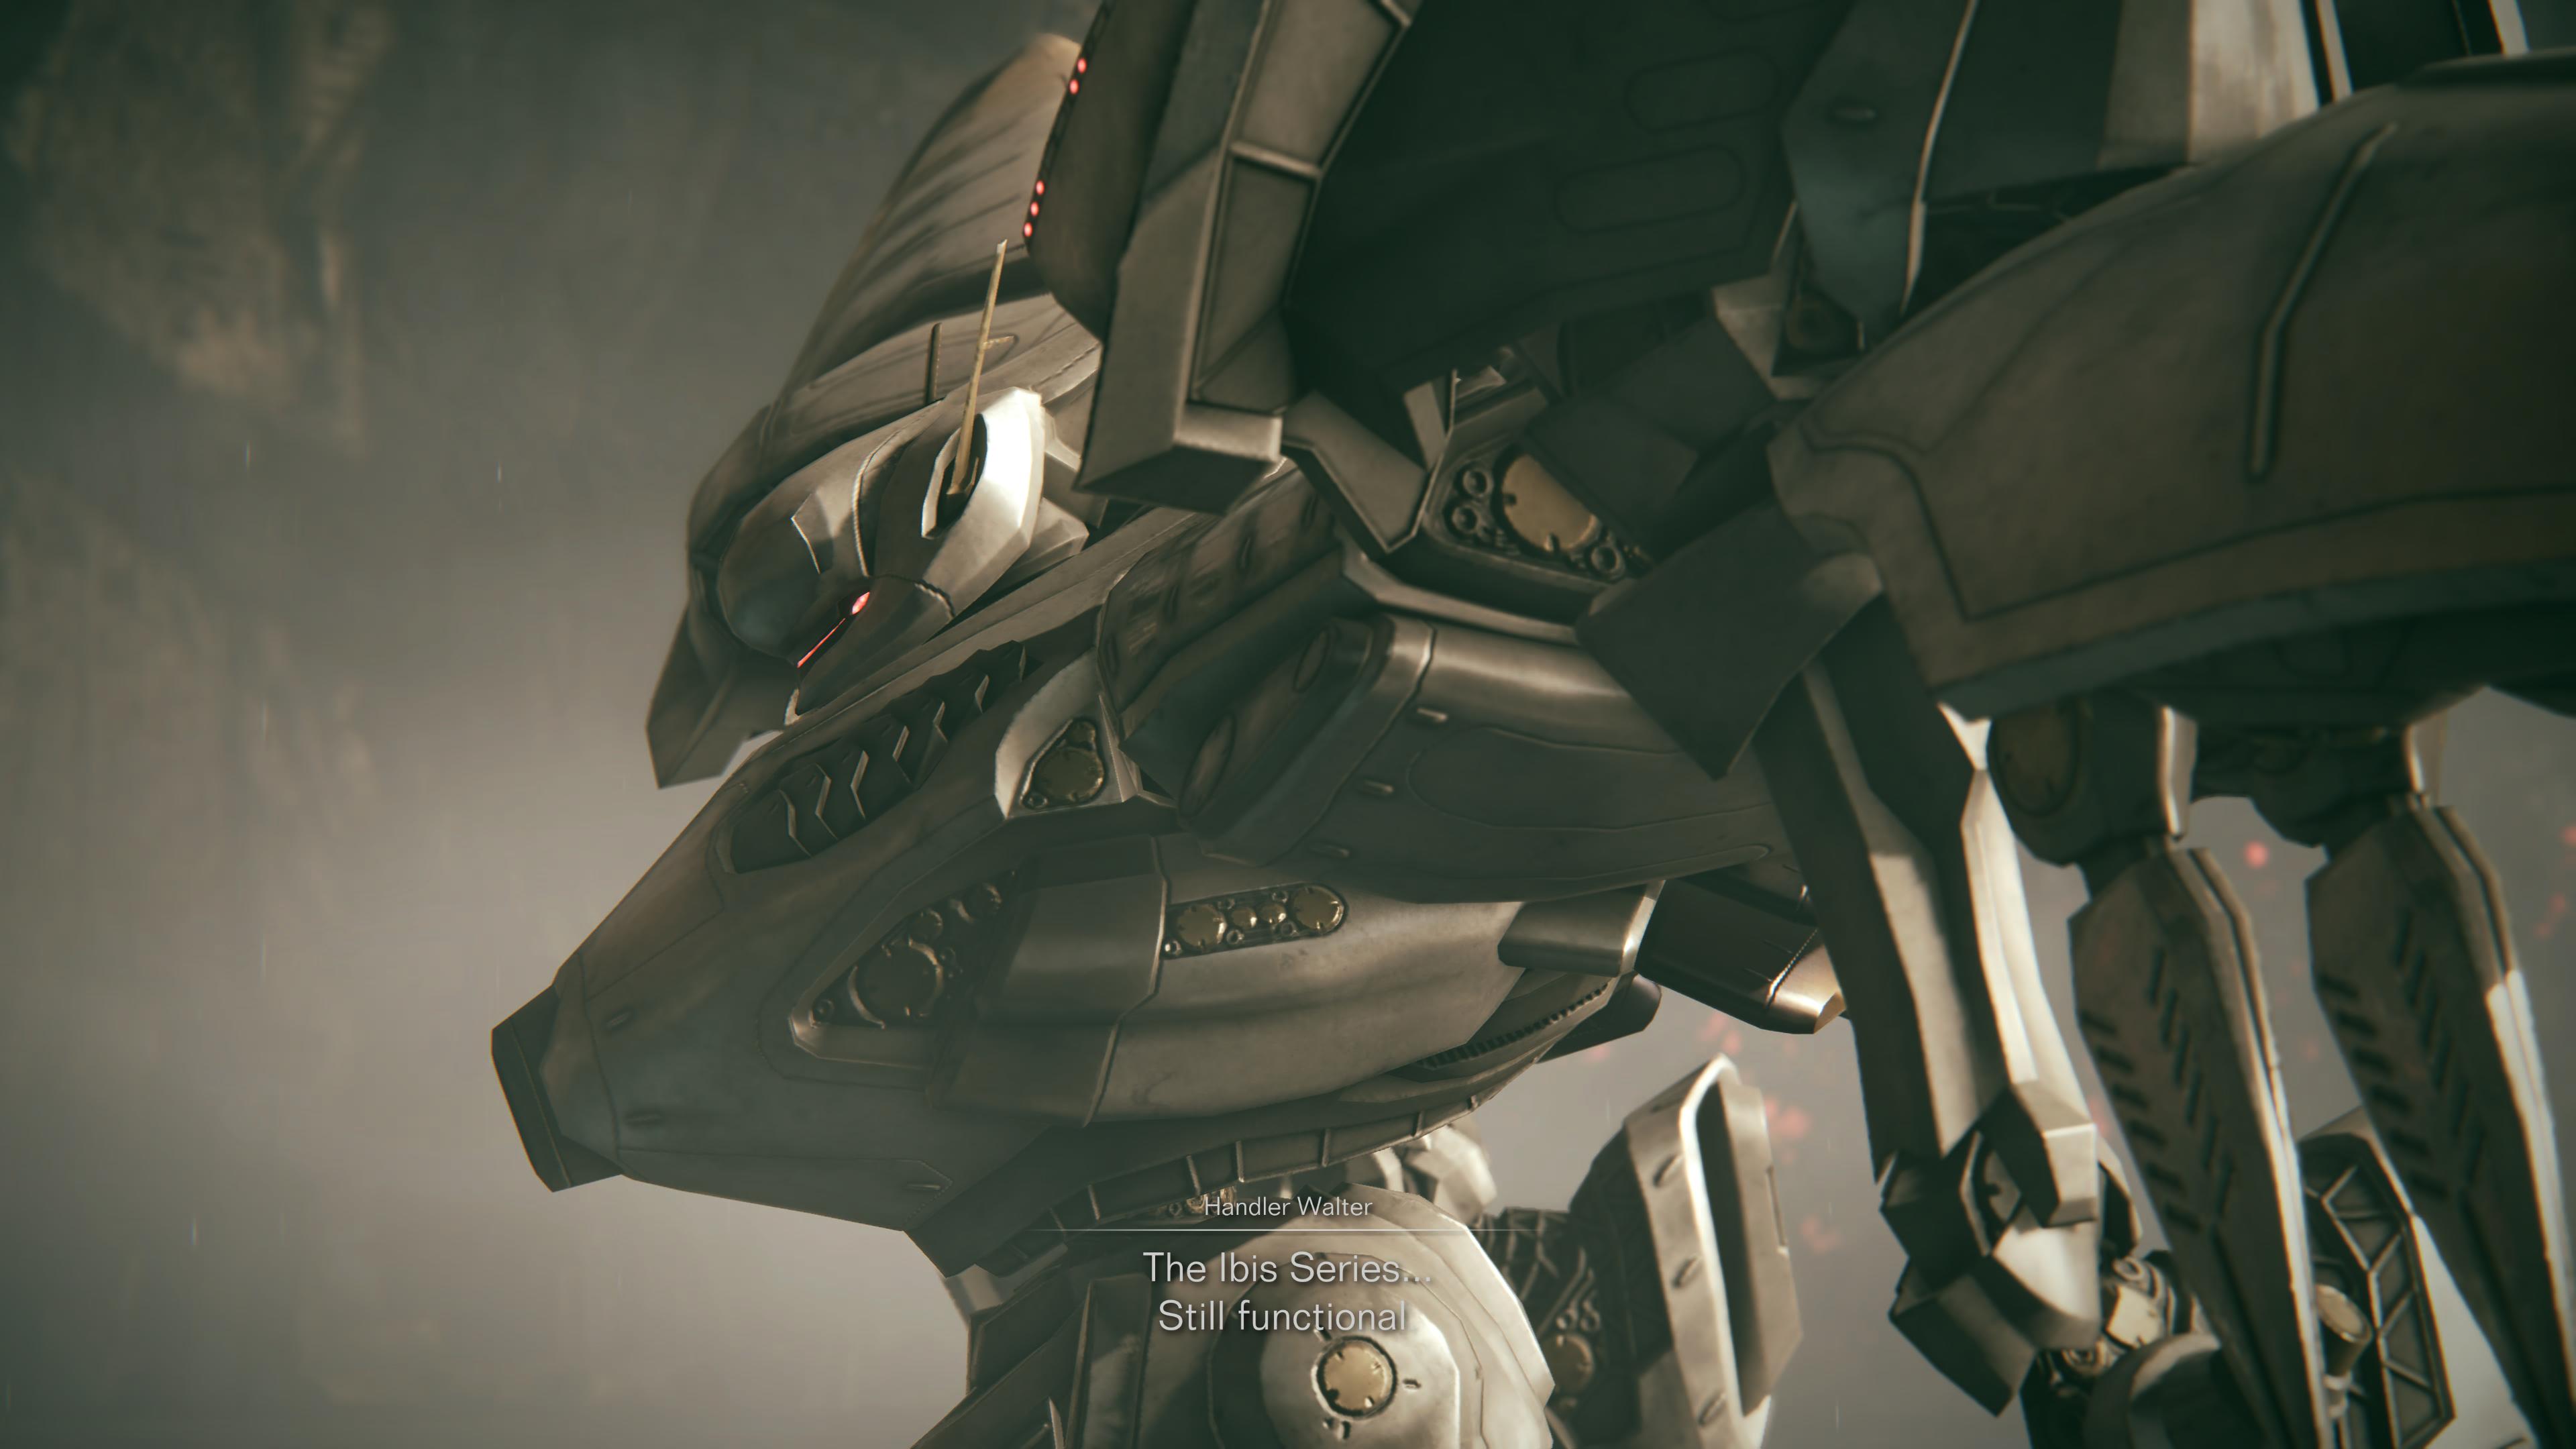
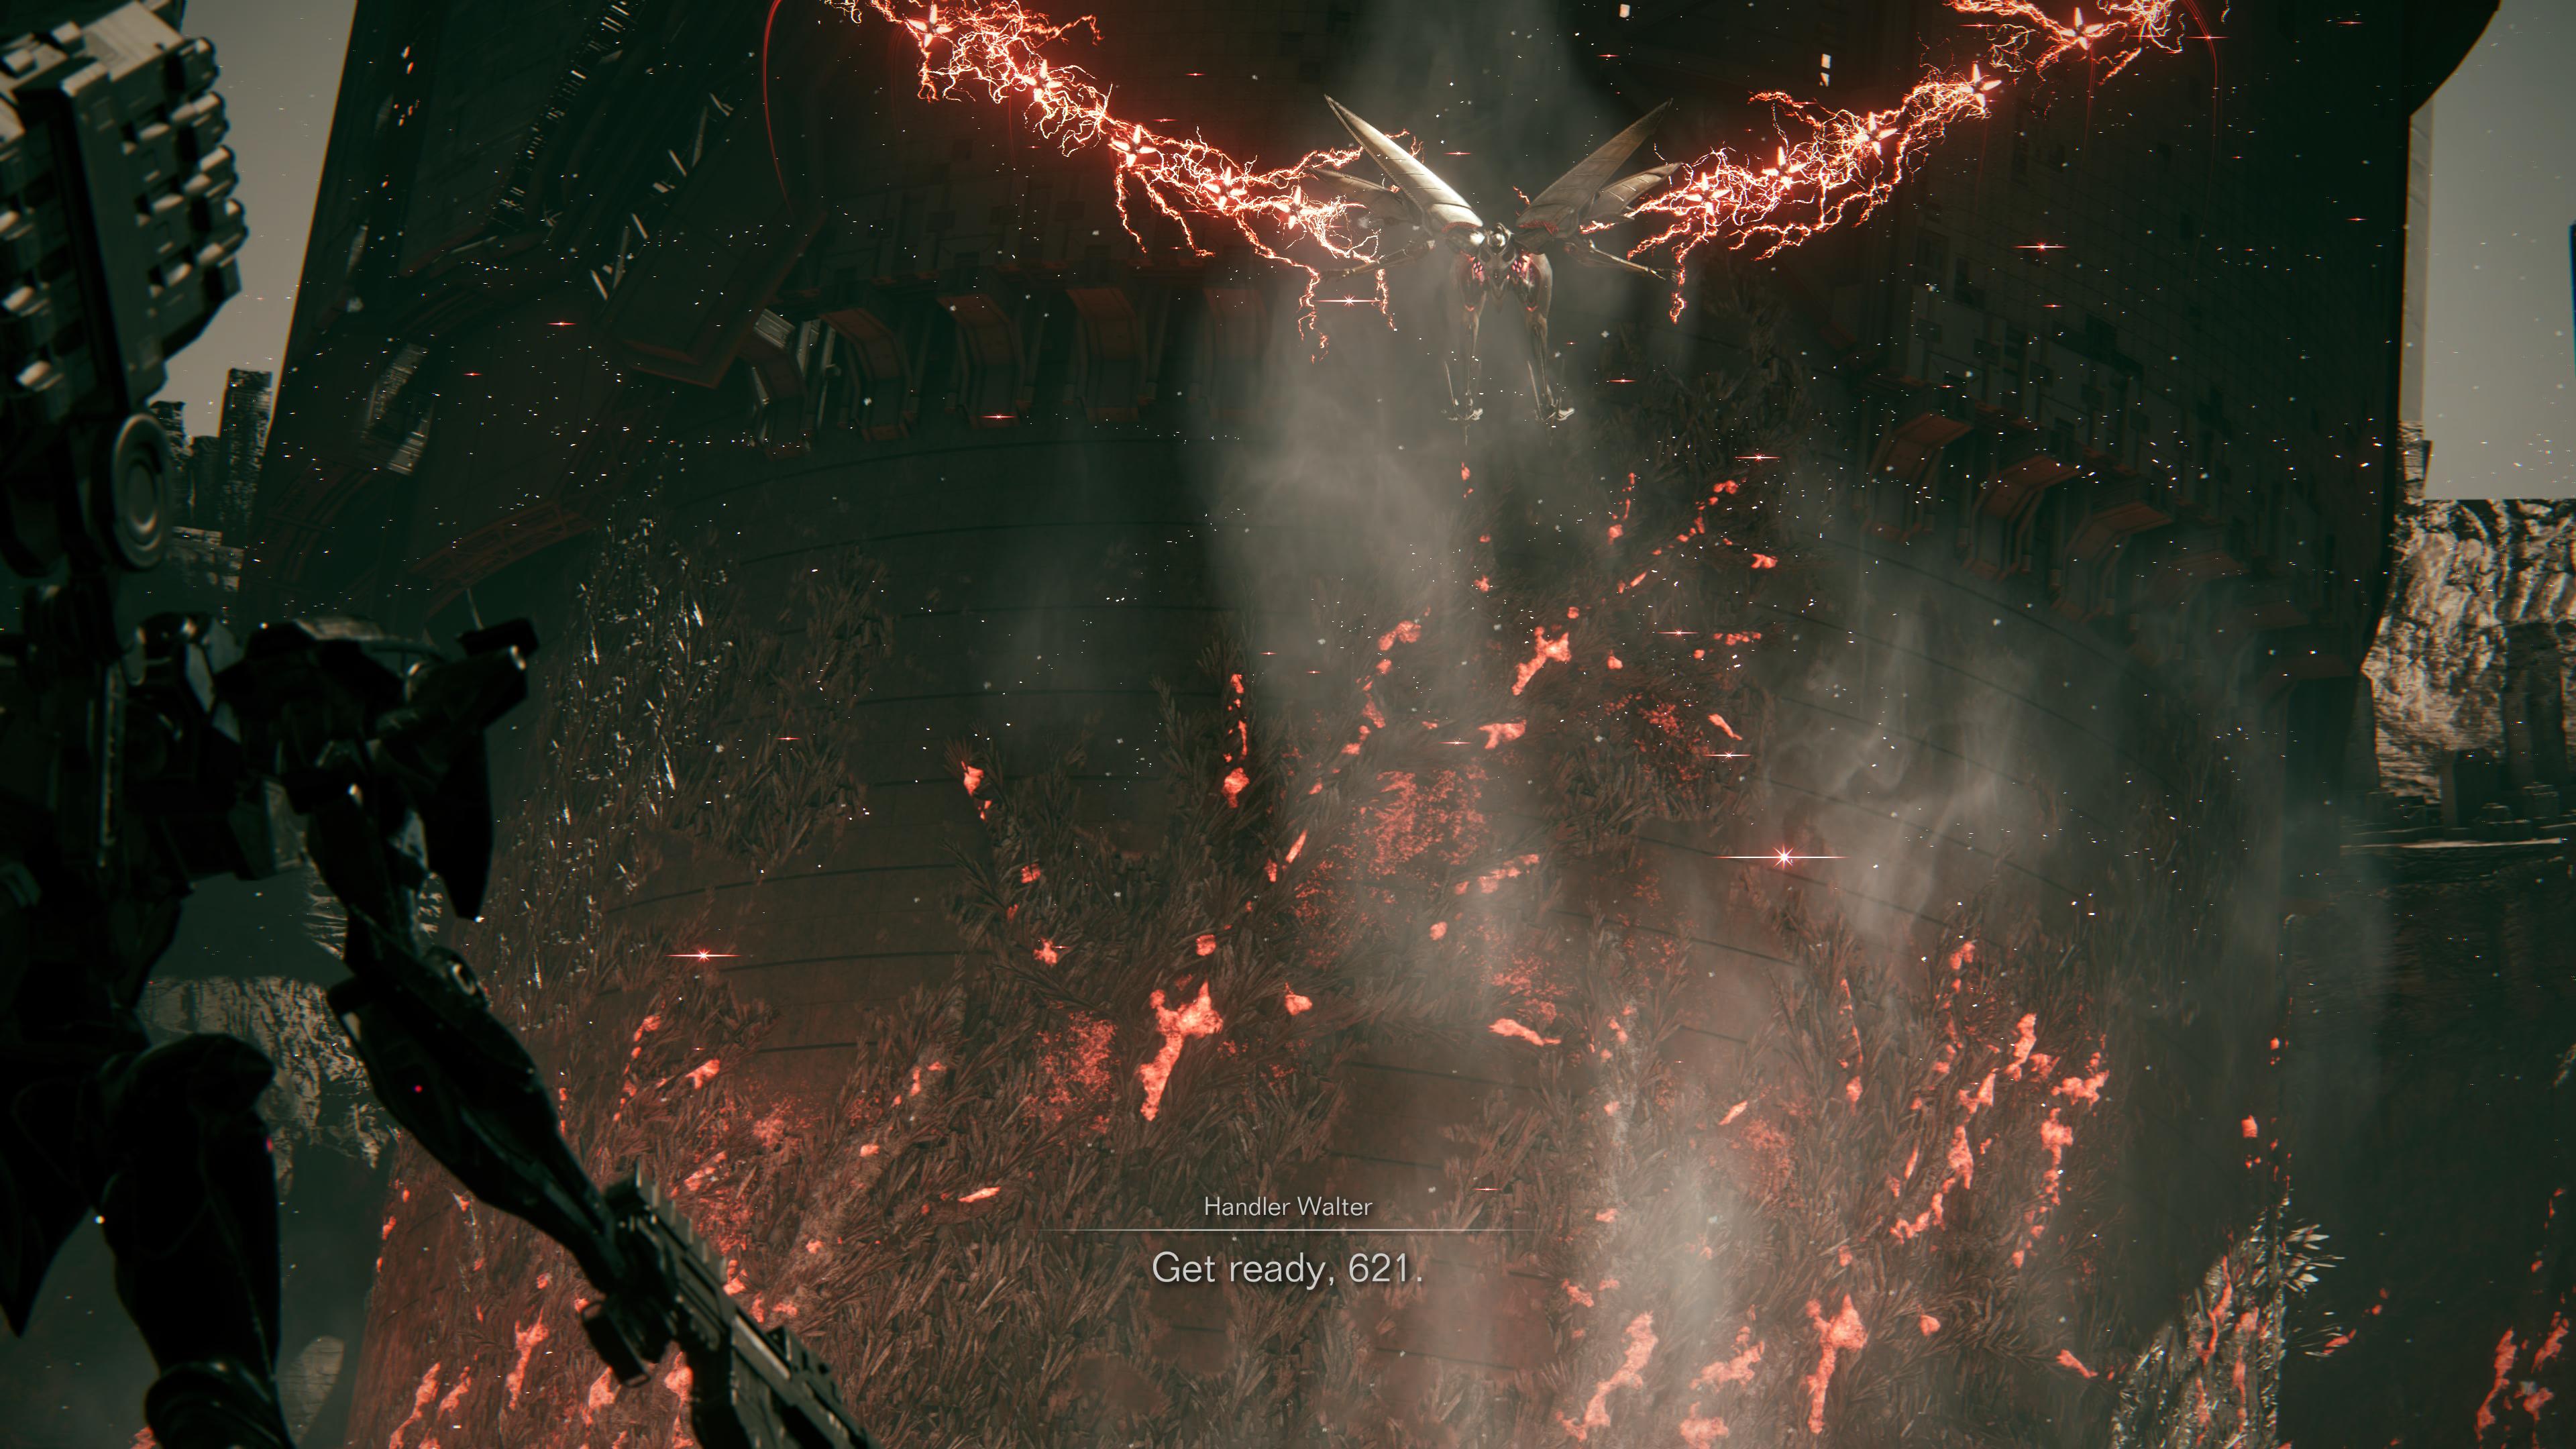
The Armored Core IB-01: CEL 240 boss is, as mentioned in my Armored Core 6 review, this game's version of Elden Ring's Malenia. A Coral-enhanced mech encountered in the Chapter 4 mission "Reach the Coral Convergence," this thing has kicked the crap out of everyone I know. So as Armored Core veterans and newcomers alike make their way through FromSoftware's latest, I wanted to share some tips on how to beat IB-01: CEL 240 now that I've mastered the fight through sheer stubbornness.
Tips and tricks for the Armored Core 6 IB-01: CEL 240 boss

IB-01: CEL 240 forces you to move a little differently than most Armored Core 6 bosses. It's so fast that many weapons won't connect outside of specific openings where the boss slows down a bit, meaning you can't just constantly fire your heavy artillery and hope for the best. You can realistically use whatever weapons you're comfortable with, though I'd recommend having at least one gun that you can use effectively from reasonably far away, maybe 250 meters or so. Consult our guide to the Armored Core 6 best builds for all playstyles and weight classes if you're not sure what to use.
The important thing is to make sure you always have something strong ready to fire during those openings. For me, this was often my trusty sword. A sturdy energy shield can also trivialize some of the boss's laser attacks, if you're the blocking type. Oh, and use the lock-on camera at all times (tap the right stick if you're on controller); it makes tracking the boss a lot easier.
Article continues belowIB-01: CEL 240 Phase 1
The CEL 240 always uses the same move at the very start of the fight: a rain of lasers followed by a sweeping melee attack. You can avoid the lasers by quickly moving left or right, and the melee attack is best dodged by flying or jumping straight up. You don't even need to ascend that far; the boss will pass right under you, leaving it open for a counterattack. Many weapons can instantly stagger the boss after this, letting you start the fight with a nice chunk of damage. It will use this move throughout the fight, so if you see it fly up then launch a V-shaped rain of lasers, be prepared to hover over the incoming melee. If you're using tracking missiles, let them fly after the laser barrage ends; they'll home in and rack up stagger during the boss's melee animation.
View post on imgur.com"
The majority of phase one consists of pot-shots of lasers – stay mobile and you should avoid most of them with relative ease – but the CEL 240 will break out some hard-hitting moves. In particular, it can use its sword to send waves of energy your way, and the best way to dodge these things is to quick boost straight back, away from the boss. This will give you enough distance to jump, quick boost, or simply move out of the way. If you dodge left or right, you'll usually get hit, and it can feel like the boss is tracking you unfairly – hitting you where you just dodged to. It will randomly throw out one wave, two waves in a vertical pattern, or sometimes two in one direction and then one to the other to catch you off-guard. There's a decent opening after this three-wave attack, so take aim once you're clear.
View post on imgur.com"
CEL 240 will sometimes charge an X-pattern wave attack, and this one is tougher to dodge. The trick is to quick boost after it finishes charging and actually launches the X, otherwise it'll track you too severely. You'll know this unique pattern is coming because it's always preceded by an X grid of lasers, plus the boss will hold its blades in front of its chest.
View post on imgur.com"
The CEL 240 can also charge up some hard-hitting beam attacks. This could be rapid-fire shots or one big AoE mortar. The shared tell for this beam is obvious, and this is one move that I've actually had success dodging with a simple quick boost to the left. (Or often a lot of frantic quick boosts to the left.) But because you can't be sure if it's going to be the rapid-fire or AoE beam variant, it helps to fly up to avoid the potential splash damage. The rapid-fire version is better for you because tracking missiles will nail the boss while it's stationary. If you're piloting a slower Armored Core, you may want to back up when it starts charging to give yourself more room to dodge. The farther away you are, the easier this beam is to dodge.
Weekly digests, tales from the communities you love, and more
View post on imgur.com"
IB-01: CEL 240 Phase 2
Phase two of the CEL 240 introduces more dangerous attacks and shrinks some counterattack windows. The laser rain into melee, for example, is tougher to punish in phase two, though you can still get a hit in if you have a fast weapon or you're pre-firing from the right position.
There are three new attacks to watch out for in phase two, not including the huge laser barrage that kicks off the second phase. (By the way, manually reload your guns during the phase transition!) You can avoid the three-part energy wave assault in the same way as before, but the CEL 240 will now summon floating swords for different sweeping attacks. It will use these to claw at you diagonally or swing at you laterally. Like the opening melee, flying straight up is the easiest way to avoid these attacks. If it does a horizontal sweep, it will always follow it with a vertical wave attack and then another sweep.
View post on imgur.com"
It can use these swords in a vertical heel-drop slice, and this should be dodged to the left or right.
View post on imgur.com"
The boss will also use these swords in a close-range grab attack that deals enormous damage. If you see it summon a circular web of these things around you, the safe thing to do is quick boost straight back several times to get out of range before they close in.
View post on imgur.com"
When you get the CEL 240 to around half health in phase two, there's a good chance (but not a guarantee) it'll turn itself into a huge blade of light and fly around the arena, lunging at you three times. Verticality is key here, too. Dodging left or right won't get you anywhere but the restart screen. Float up to avoid the first pass, drop down for the second, then fly back up for the third. If your mech is built for aerial fights, you can potentially fly straight up the whole time, too. There's a huge opening when the boss lands after this attack ends, so be ready to fire. With a good stagger, you can take out a hefty portion of its health to shorten the remaining fight.
View post on imgur.com"
If you can reach this phase of the boss battle, you can definitely beat it, and even if you can't yet, I'm sure you'll get there if you've made it this far into the game. It's hard, but it's all a matter of practice and muscle memory. Good luck, Raven. I hope these tips helped.
© GamesRadar+. Not to be reproduced without permission

Austin has been a game journalist for 12 years, having freelanced for the likes of PC Gamer, Eurogamer, IGN, Sports Illustrated, and more while finishing his journalism degree. He's been with GamesRadar+ since 2019. They've yet to realize his position is a cover for his career-spanning Destiny column, and he's kept the ruse going with a lot of news and the occasional feature, all while playing as many roguelikes as possible.

 Join The Community


