How many sublayers are there in Donkey Kong Bananza?
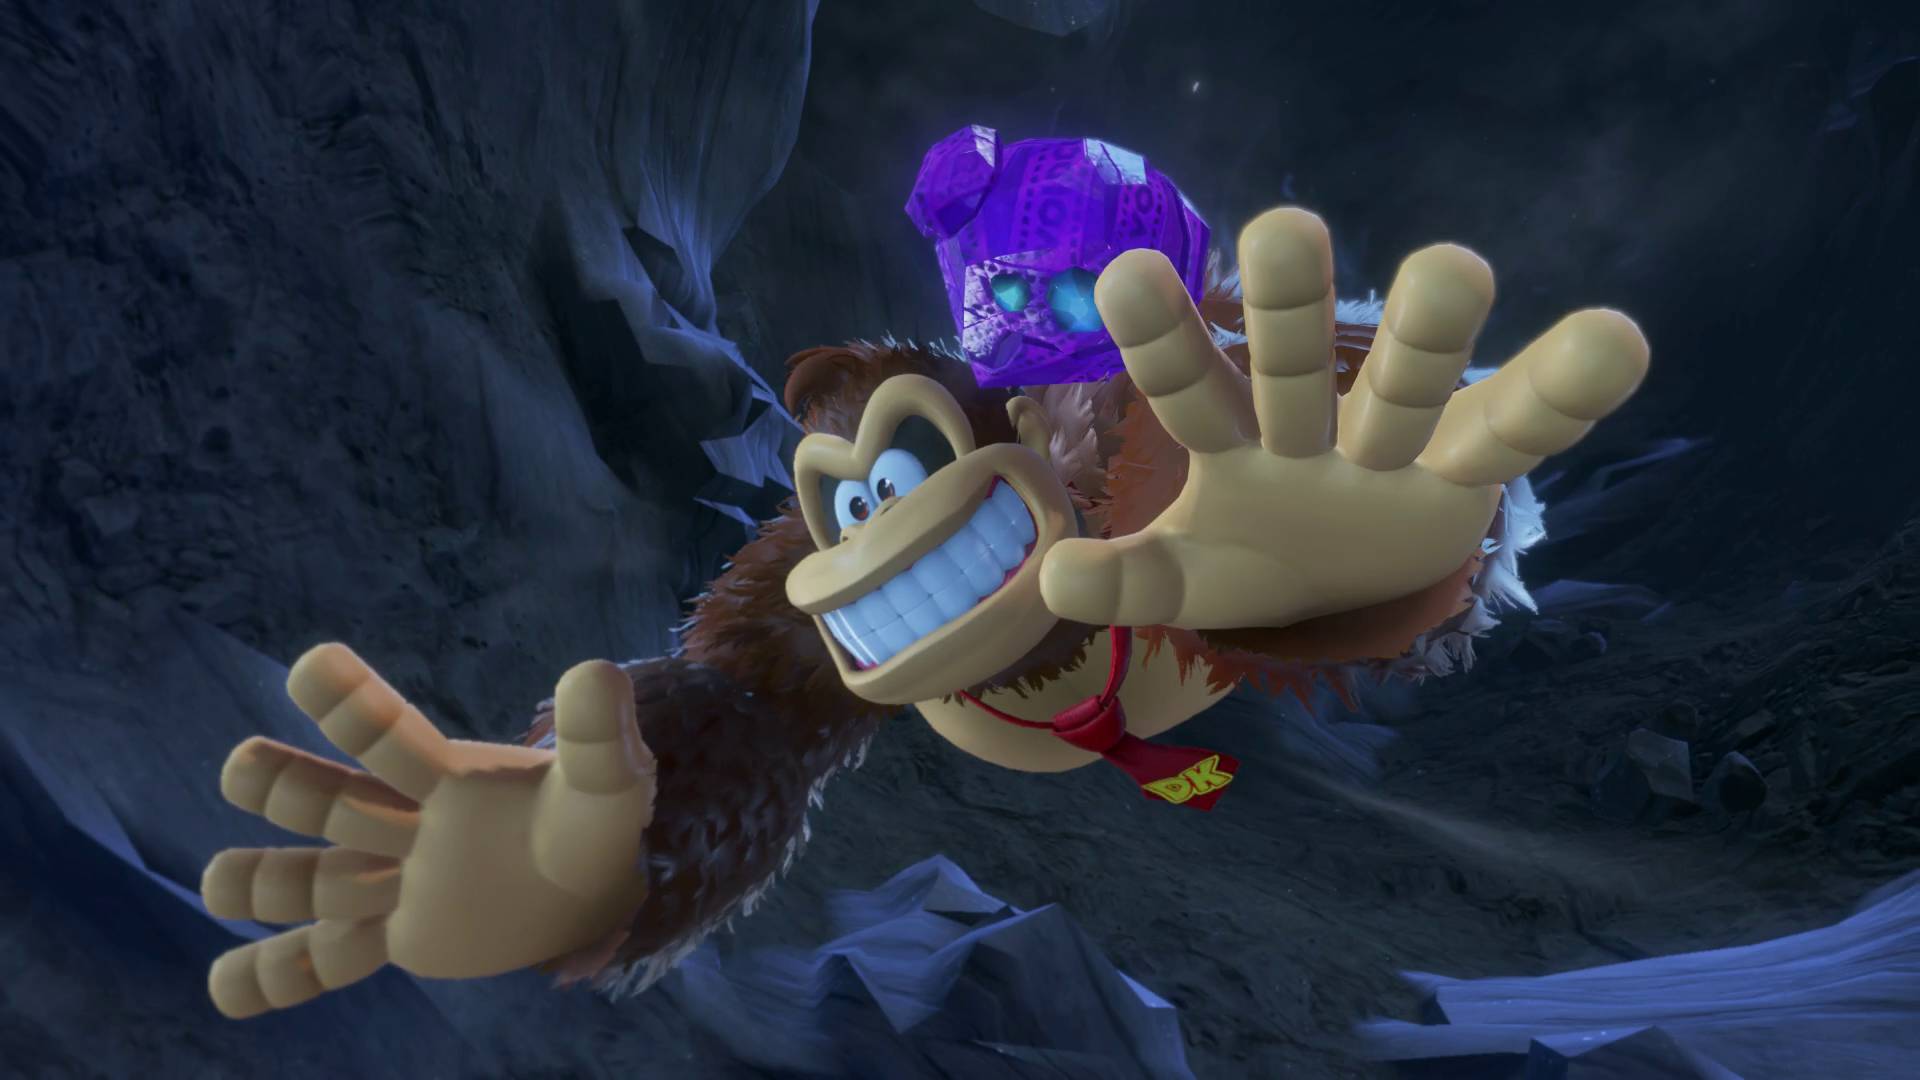
There are 17 main sublayers to explore in Donkey Kong Bananza and a few extra levels
Weekly digests, tales from the communities you love, and more
You are now subscribed
Your newsletter sign-up was successful
Want to add more newsletters?
The Donkey Kong Bananza sublayers and levels are massively varied, with some being quick jaunts to help you go deeper while others are sprawling levels with all sorts of areas to explore. There are 17 main layers to make your way through, though that's not including a couple of smaller levels, and there are a few occasions where you'll need to revisit previous layers. That all means that DK Bananza is a surprisingly big game, and if you want to know what's ahead in terms of levels and layers, I've listed out every sublayer below in order of depth and in story order.
All Donkey Kong Bananza levels
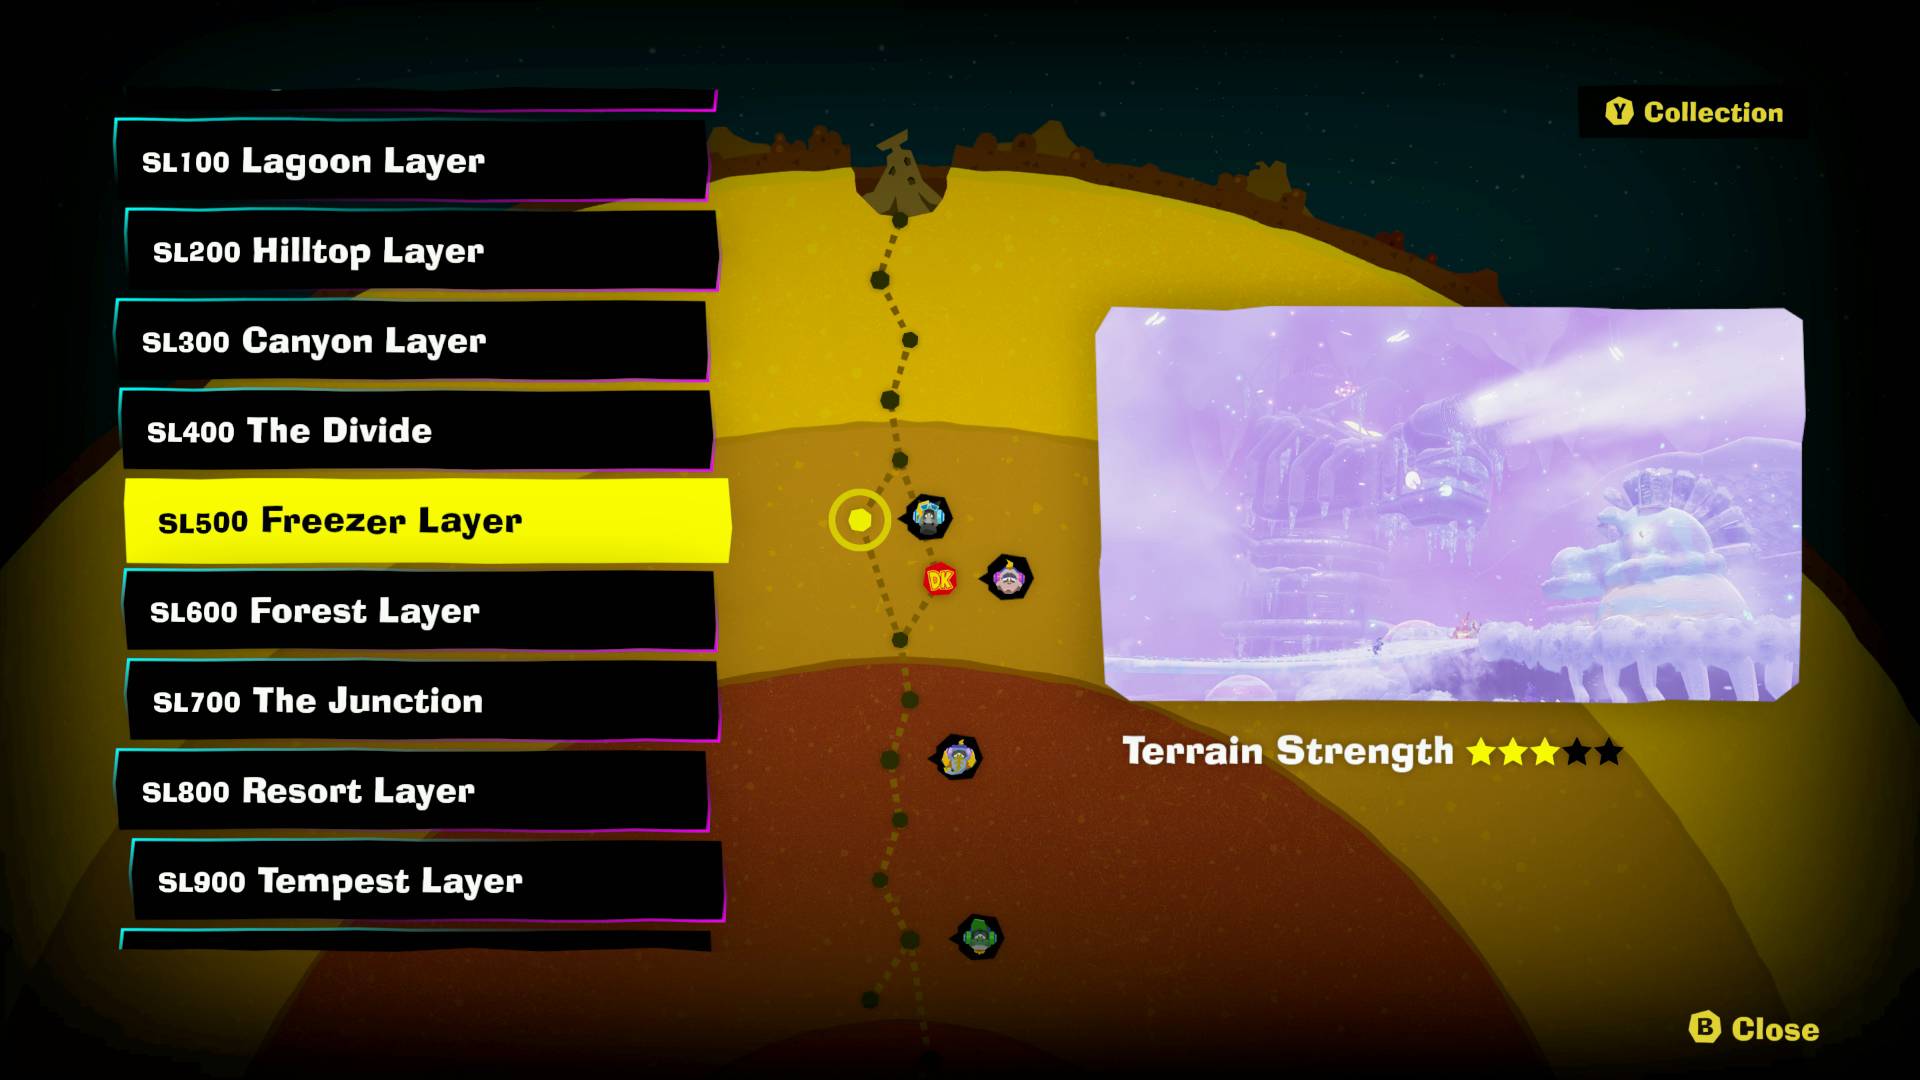
Donkey Kong Bananza has 19 sublevels in total, though the very first and last ones serve as a simple tutorial and finale respectively and can't be revisited. That means there are 17 layers that you can revisit for collectibles and other challenges. Remember, you can teeleport within layers by opening the map and selecting a fast travel point for an eel to take you to, and you can use Warp Gongs to travel to most layers you've previously visited at any point in Donkey Kong Bananza.
Here are all the sublayers listed in order of depth, though you'll actually play through them in a slightly different order:
- Ingot Isle (tutorial)
- Ingot Isle Cave-In – SL 10
- Lagoon Layer – SL 100
- Hilltop Layer – SL 200
- Canyon Layer – SL 300
- The Divide – SL 400
- Freezer Layer – SL 500
- Forest Layer – SL 600
- The Junction – SL 700
- Resort Layer – SL 800
- Tempest Layer – SL 900
- Landfill Layer – SL 1000
- Racing Layer – SL 1100
- Radiance Layer – SL 1200
- Groove Layer – SL 1300
- Feast Layer – SL 1400
- Forbidden Layer – SL 1500
- Planet Core – SL 1600
- Finale level
If that's all you want to know, read no further as there are spoilers below! But if you want a sort of simple walkthrough of the levels to give you an idea of where you'll be going, I've included an extra list of all the layers and their sublayers in order. I've also explained how long it takes to beat Donkey Kong Bananza here.
All Donkey Kong Bananza sublayers in order
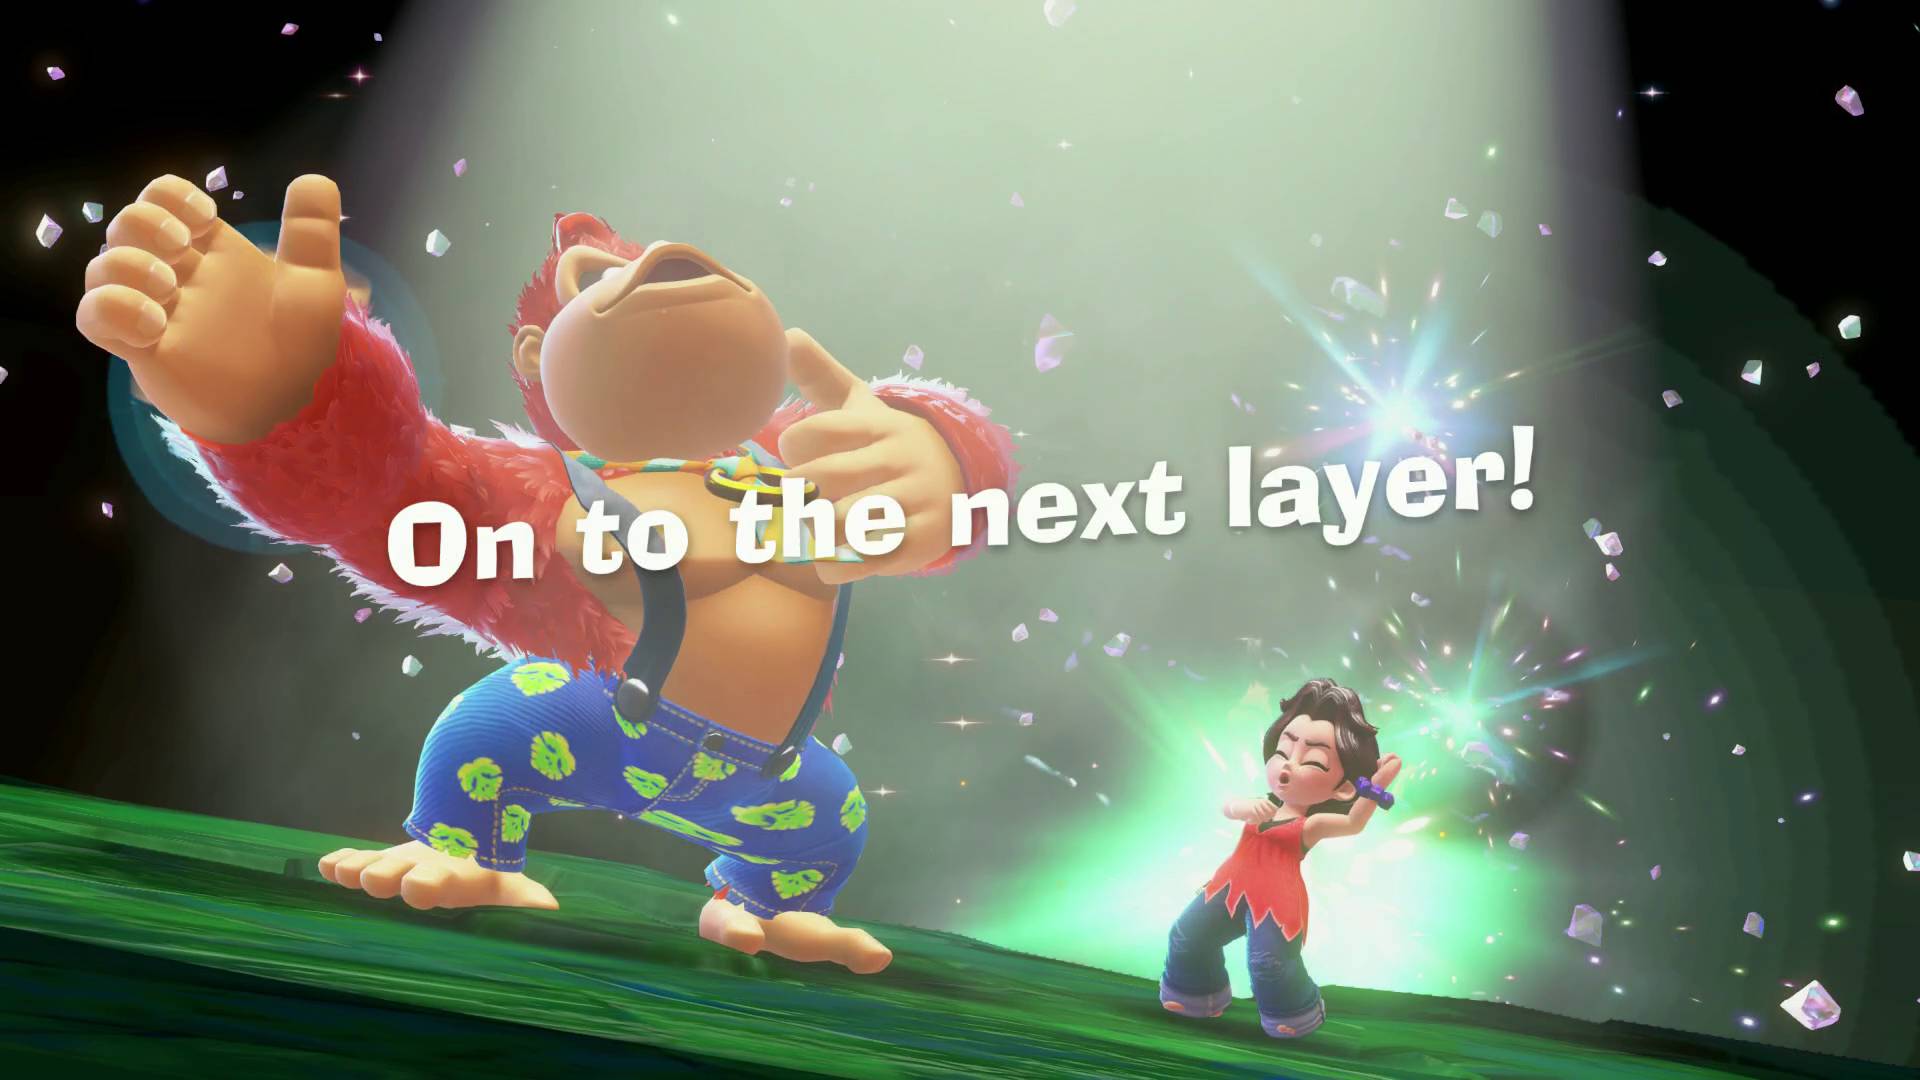
Here are all the levels in DK Bananza arranged in the order you'll complete and revisit them in the main story, which sort of means there are 21 levels in the game. I've also included some extra details and notes about what you can expect to find and do in each sublayer:
- Ingot Isle: This is a very brief tutorial stage that quickly transitions into the next layer. You cannot revisit this area after leaving, though there is no reason to come back here anyway.
- Ingot Isle Cave-In – SL 10: The rest of the tutorial area after Void Co. smashes the island deep into the ground. This is also where you pick up Pauline in her purple rock form. You cannot revisit this area until you've finished the game.
- Lagoon Layer – SL 100, 101, and 102: A sunny scrapper town with lots of water to swim in. This layer is also where you unlock the first of the Donkey Kong Bananza Bananzas and where you come face to face with the villainous Void Kong, Poppy Kong, and Grumpy Kong!
- Hilltop Layer – SL 200: A short stop in a small level where you meet and help the Fractones, and uncover a way to the next layer.
- Canyon Layer – SL 300, 301, and 302: An arid layer with lots of small islands to explore connected by minecarts. You eventually need to delve deeper into a Banandium Refinery to find a way further down.
- The Divide – SL 400: A small level and fork in the path. The Donkey Kong Bananza Divide choice means you must choose which of the next two layers you go to first: the Freezer Layer or Forest Layer.
- Freezer Layer – SL 500, 501, 502, and 503: A freezing cold, sweet-treat-themed layer where you need to help the locals repair their cooling mechanism and find out what's heating things up. From here on, most layers will have some sort of hazard to watch out for.
- The Junction – SL 700: Another fork but this time you're on the other side trying to get to the converging main path, which you can't do until you've gone through both layers in the Divide. Use a Warp Gong to get back there
- The Divide – SL 400: Go down whichever path you didn't choose the first time you were here.
- Forest Layer – SL 600, 601, 602: A swampy, poisonous jungle area that features the renowned Eggshell Hotel. You need to visit the hotel and help the inhabitants find out what the source of the poison is.
- The Junction – SL 700: Back to the Junction. With both previous layers completed, you can proceed to a boss fight, which requires you to also briefly visit the Hilltop Layer and SL 101 of the Lagoon Layer using Warp Gongs before returning to the Junction.
- Resort Layer – SL 800: A nice and relaxing beach paradise level with lots of oversized, cube-shaped fruit. All you need to do here is reach the top of the giant watermelon in the middle. This is also where you can find the Collectone for Donkey Kong Bananza amiibo unlocks.
- Tempest Layer – SL 900, 901, and 902: A large level full of inclement weather in various forms, including whirlwinds and fire rain. You've got to fight a boss here several times to get the weather back under control.
- Landfill Layer – SL 1000: A short trash heap level where you smash your way down through tunnels of junk.
- Racing Layer – SL 1100: Another short level which features the obligatory 3D platformer racing minigame. Win to get to the next layer.
- Radiance Layer – SL 1200, 1201, 1202, 1203, and 1204: A cavernous layer darkened by its extinguished Synthetic Sun. Reactivate it to help the snake citizens that live there.
- Groove Layer – SL 1300: A disco level full of Fractones who want to party. Help them get the disco going and you'll be able to proceed.
- Feast Layer – SL 1400 and 1401: A food-themed layer where you get to tour and fix the Fried Pride Factory which has been overrun with acidic, green muck.
- Forbidden Layer – SL 1500: A mysterious layer very close to the core that is also full of grumpy Fractones.
- Planet Core – SL 1600, 1601, 1602, 1603, 1604, 1605, 1606, 1607, 1608, and 1609: The final main level of the game, which features lots of small islands that gradually get closer to the core and the final boss.
- Finale stage: I won't spoil this but there is an extra level after the final boss.
Once you complete the final level and the credits roll, you'll be able to explore SL 10 to 1609 freely to gather bananas and fossils and spend them on the best Donkey Kong Bananza skills and outfits respectively. There's also a post-game quest where you can power up your Bananzas even more!
If you want to get through the game with as little friction as possible, I recommend turning on Donkey Kong Bananza Assist Mode. I've also laid out some tips and tricks for Donkey Kong Bananza here to help you navigate the downward journey.
Weekly digests, tales from the communities you love, and more
© GamesRadar+. Not to be reproduced without permission.

Will Sawyer is a Guides Editor at GamesRadar+ with over five years of experience in writing online guides, news, and features, and has a BA (Hons) in Journalism. Starting as a freelancer, Will contributed to startmenu and Game Rant before joining the GamesRadar+ team in August 2021. Since then, he has written hundreds of guides about a huge range of games, with shooters and action games being his areas of expertise. Outside of writing about games, Will hops between multiplayer shooters with friends, such as Darktide and Helldivers 2, and delves into whatever has been on his backlog for far too long. He also tries to get through his never-ending Warhammer pile of shame of grey Tyranids, Aeldari, and Chaos Space Marines.
You must confirm your public display name before commenting
Please logout and then login again, you will then be prompted to enter your display name.
