Sea of Thieves Heart of Fire walkthrough: How to stop Flameheart
How to stop Flameheart in the Sea of Thieves Heart of Fire quest

The Sea of Thieves Heart of Fire quest is the twelfth Tall Tale, and it involves a familiar face; Captain Flameheart. The infamous cap'n is recruiting an army as he looks to regain power and rule the seas with Machiavellian fear once more. It's up to you and your Sea of Thieves crew to stop him in Heart of Fire, one of the most streamlined and action-packed Tall Tales yet. If you're looking for help to make it through the Devil's Thirst alive, we've got all you need right here in a step by step guide to the Sea of Thieves Heart of Fire quest.
1. Sail to Morrow's Peak Outpost
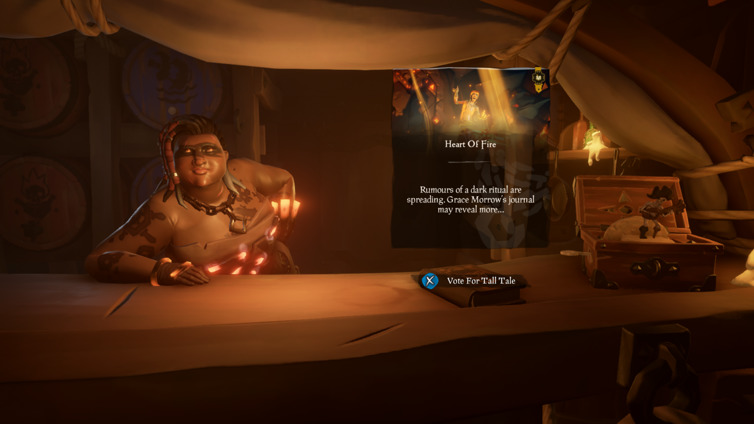
The story begins on Morrow's Peak Outpost, which is the only outpost in the Devil's Roar, the volcanic region on the far eastern part of the map. Head into the tavern and vote on the tale in front of the barkeep. She will begin to recount the history with that journal, how it belongs to Grace Morrow and how you should return it to her. Captain Morrow normally rests right outside the tavern so following the monolog, head out and return the journal to her.
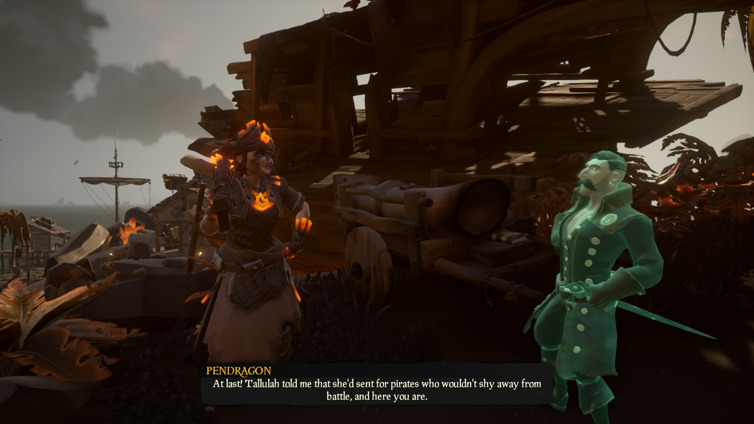
Morrow will explain how the journal is used as a means of tracking Stitcher Jim, whom she does not trust whatsoever - lore hounds knew their relationship was strained already and here you get more backstory on that conflict.
Captain Pendragon shows up in his spirit form once more and the two request that you give chase to Stitcher Jim as he's clearly up to no good once more. It's here that your adventure begins in earnest.
2. Sail to Liar's Backbone
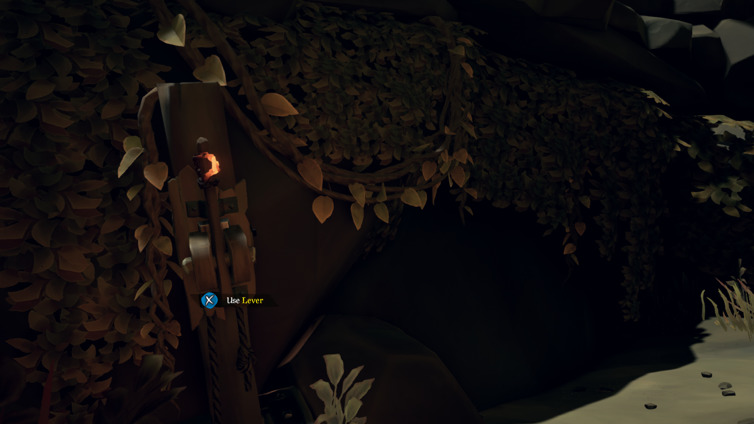
You're destined for Liar's Backbone, located on map tile S11 in The Wilds. When you arrive on this small island, you'll notice it's built like a small hill. Halfway up the hill the path forks, left to its peak or right to what looks like a dead end. Stay right and look for the lever in the rocks.
Pull that lever and you'll find there's a secret entrance. Inside is Stitcher Jim's hideout. The no-good double-crosser has left behind a shrine to Captain Flameheart, as well as the first of five journal entries.
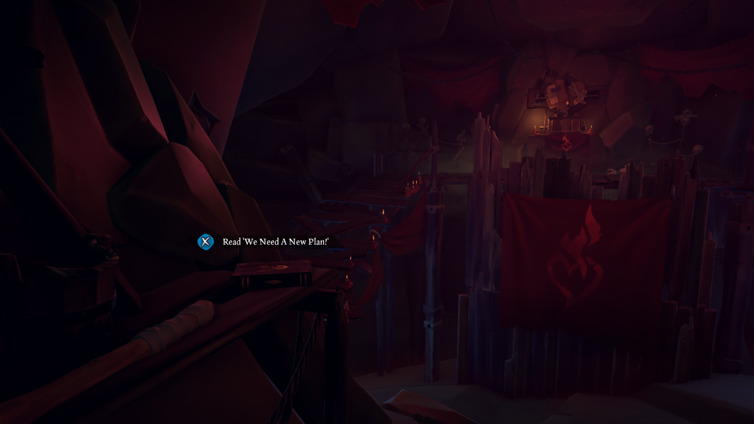
Collect the journal and head to the back of the cave for a puzzle. Three spinning stone blocks rest in a contraption here and won't reveal their secrets without the right answer. Match the stones to our screenshot below. For lore fans, the markings translate to "Lord Flame Heart." Jim's obsession isn't subtle.
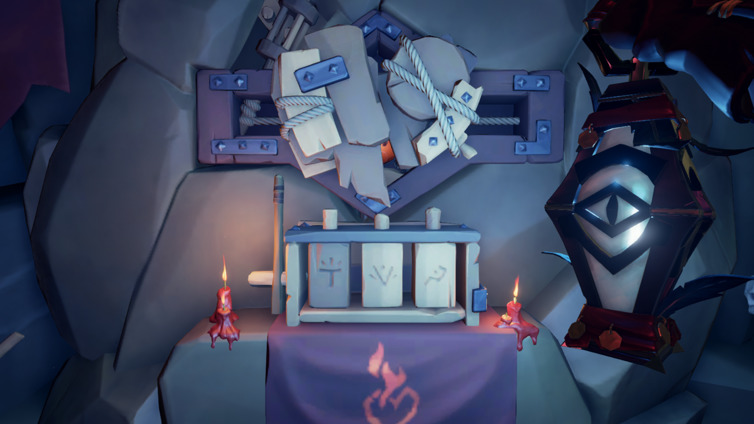
With the right answer inserted, the vault will open and reveal two items: more diary pages to be added to your inventory as well as a glowing red "mysterious key." Grab both and make sure to keep ahold of the key as you can lose it unlike some other quest items. With it in hand, return to your ship.
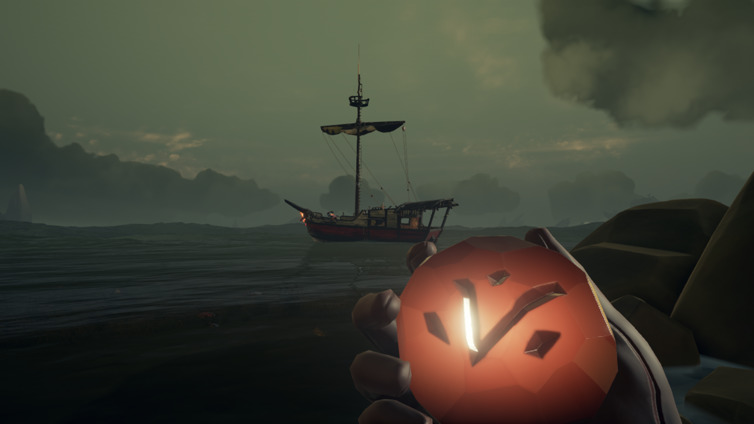
3. Sail to Devil's Thirst
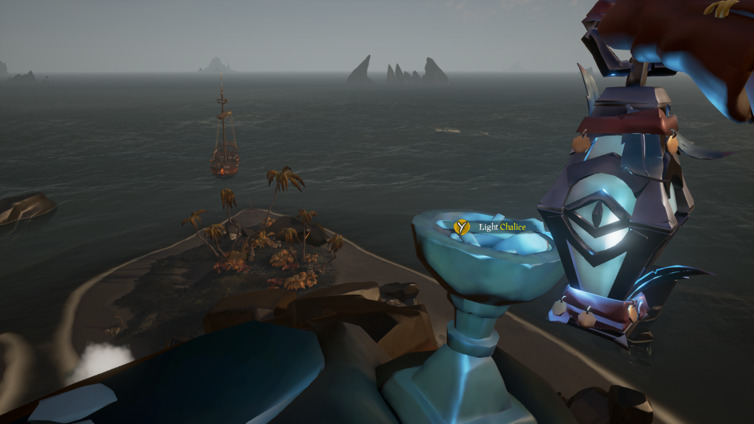
Consulting your new diary entries will hint that Flameheart's secret hideout is located on Devil's Thirst. Sail there next (map tile W21). When you arrive, you're looking for the peak on the northside beach. Head up top and light the chalice. Though lighting the chalice is optional, it also delivers a cool cinematic moment where Flameheart taunts you with his booming ethereal voice.
4. Dive to Flameheart's Hideout
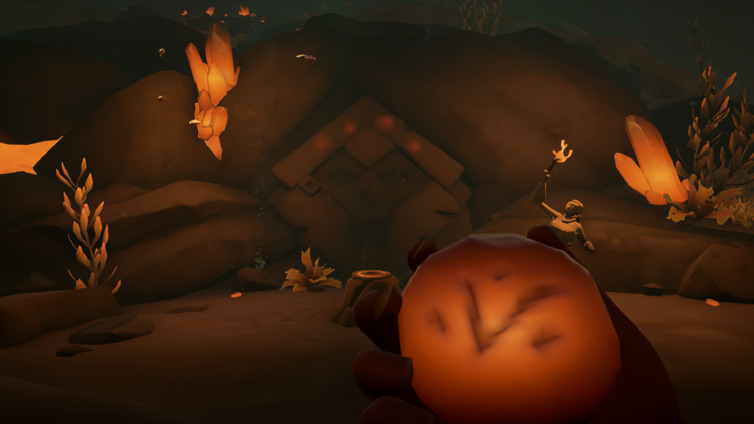
Head down to the beach in front of the ship and dive under water. You'll find resting below the surface is the entrance to Flameheart's hideout. Bring the mysterious key with you and place it on the stone pillar to open the hideout. Collect your breath above water and then head through the newly opened secret passage.
Once you're through the door, you'll continue through a winding but linear path. Continue to follow through the openings provided to you, occasionally needing to dive off of modest cliffs or platform across volcanic boulders. Stay safe, but also don't fret if you fail. This Tall Tale benefits from better checkpointing. Should you die, you'll not respawn on your ship, but usually just a moment away from where you were before.
Eventually you'll come to the big set piece of the tale, three locked doors as you can see below.
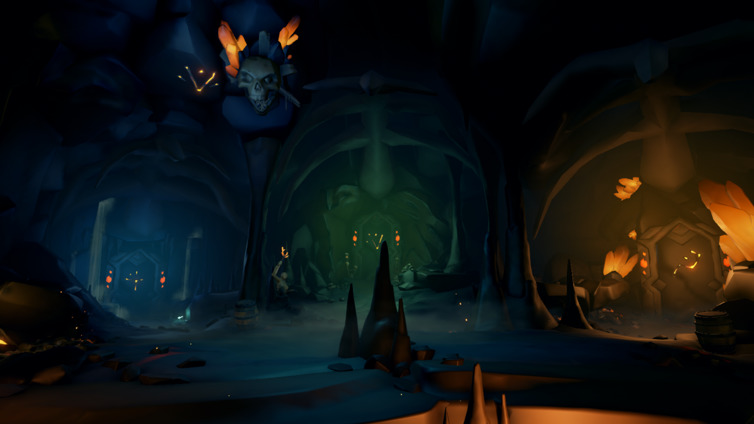
5. Enter one of three doors
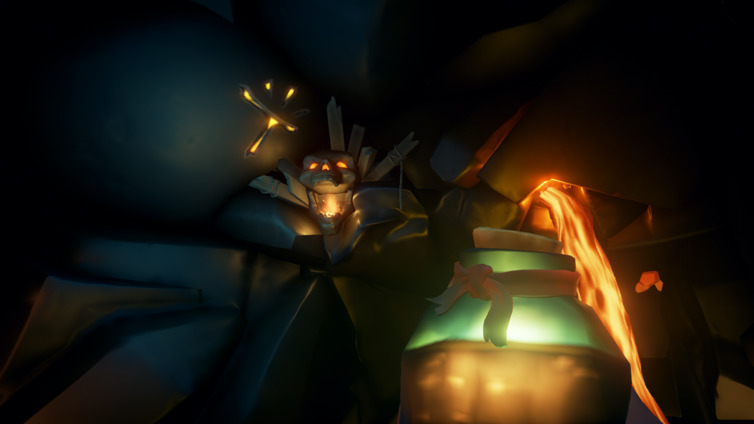
Before you choose a door, collect the second of five journals on a rock to the right of the middle (green) door. Each of the doors can be opened by throwing a firebomb at the corresponding skeleton rock carvings. Look to the right or left of the respective doors, or above the center door should you wish to enter that door. If you have no firebombs, check the barrels in front of each door. They're loaded with them. Take extra too, as they'll come in handy shortly.
Once the door of your choosing is opened, a deadly gauntlet awaits no matter which path you take. If you're playing with a crew, you can actually take different routes, but there is only one advantage to this. Behind each door lies one new journal. To collect all five, players will need to eventually see through all three paths anyway, or split up and have your crew members collect one each. Still, to gather all commendations for Heart of Fire, you'll need to personally see each pathway yourself so you're better off sticking together and facing the incoming dangers as a team.
Whichever path you take, the linear path ahead is littered with traps of fire and spikes, as well as combat arenas. We've not laid out how to beat these sections step by step as they're all quite self-explanatory. Just continue through the only way you can go, dealing with each obstruction as they come up.
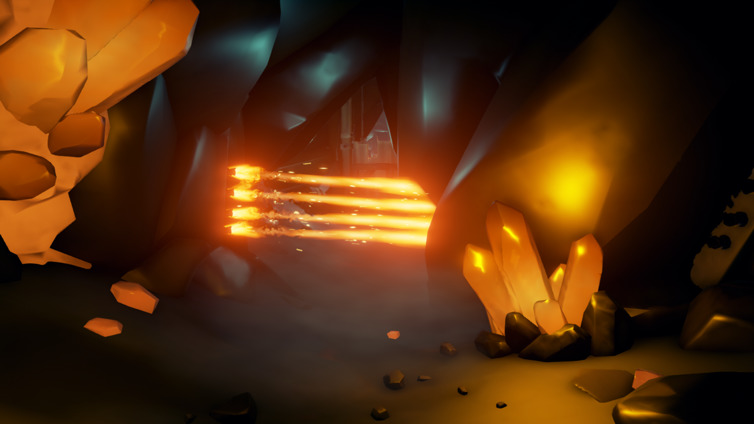
After several attempts to stop you, and as Flameheart's taunts grow less confident with each of your successes, eventually you come out to a grand volcanic cave with a live cinematic now unfolding before your eyes. On the right is Flameheart's ghostly ship he promises to sail again soon. On a ledge to the left is Stitcher Jim who tries to open the Chest of Rage to destroy the souls inside, and join Flameheart's circle of trust after his show of devout commitment.
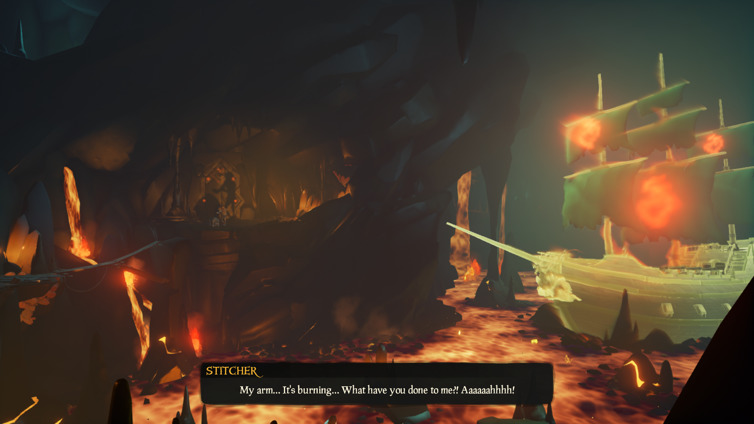
Alas, the two-timer plans go awry, as he was just a pawn in Flameheart's grander plan. Stitcher Jim in his corporeal form is of no use to the Big Bad, but Flameheart traps Jim and begins his transformation into an Ashen Lord, the true right-hand men of Flameheart's army. Jim is presumably just the first of many Flameheart plans to create in his resurgence, but Jim dashes off before we can get a glimpse of what this new enemy will look like - expect that in the next Tale, we think.
6. Collect the Chest of Rage
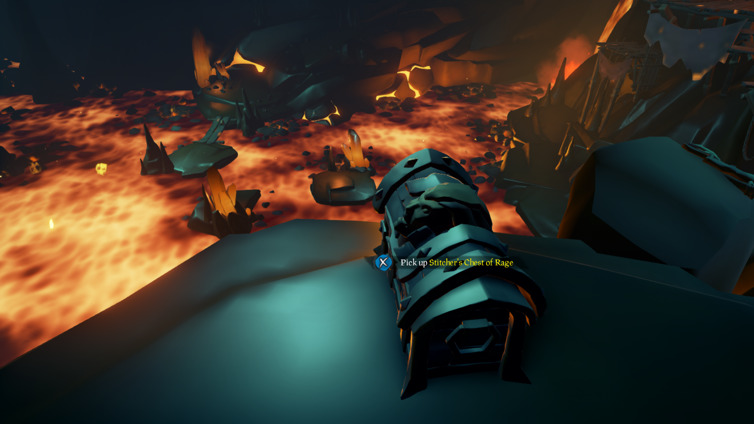
With Jim gone and Flameheart's plan coming closer to fruition, you can still free some of the cursed souls trapped inside the Chest of Rage. Head up to where Jim was and claim the chest for yourself. Now you must get it out of the hideout safely. Like all Chests of Rage, this special chest will explode if it's not cooled off regularly. Fortunately, your escape route is once again linear and now littered with small pools of water.
Make your way through the next round of traps and enemies, regularly dropping the chest into pools of water where you can. It's also smart to keep your water bucket full whenever you can, so refill it at every opportunity. That way you can keep the chest cooled off even in between bodies of water.
7. Escape and bring the chest to Pendragon
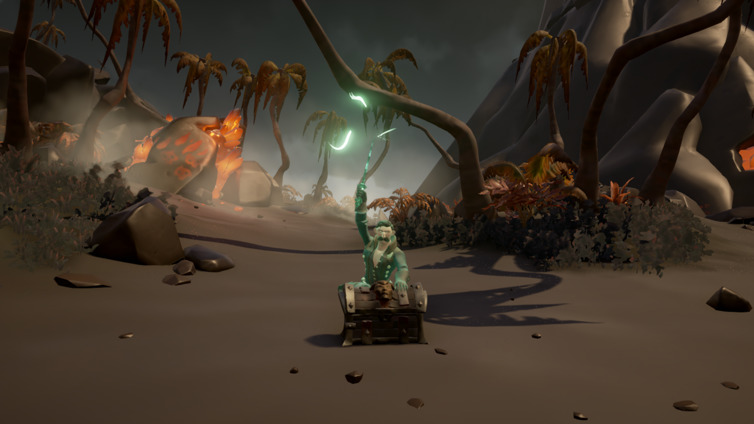
After several more traps of swinging blades, flamethrowers, and skeleton sword fights, you'll find yourself emerging from the watery hideout, still on Devil's Thirst. Pendragon awaits your safe return and requests the Chest of Rage. Give it to him and watch him work his magic.
With your help, Pendragon has freed his former crew and safely returned their souls from beneath Flameheart's proverbial boot. There's still the mess about Ashen Lords and Flameheart's growing influence across the Sea of Thieves, but for now, you and your crew can claim this small victory. Heart of Fire is complete.
Weekly digests, tales from the communities you love, and more
Mark Delaney is a prolific copywriter and journalist. Having contributed to publications like GamesRadar+ and Official Xbox Magazine, writing news, features, reviews, and guides, he has since turned his eye to other adventures in the industry. In 2019, Mark became OpenCritic's first in-house staff writer, and in 2021 he became the guides editor over at GameSpot.


