Mass Effect 3 walkthrough
Let us take you through the entirety of Mass Effect 3
Chapter One: Mars
Admiral Hackett believes there’s an answer to the Reaper menace on Mars. Shepard and the crew of the Normandy are ordered to investigate.
Objective 1: Reach the Martian outpost before the storm hits.
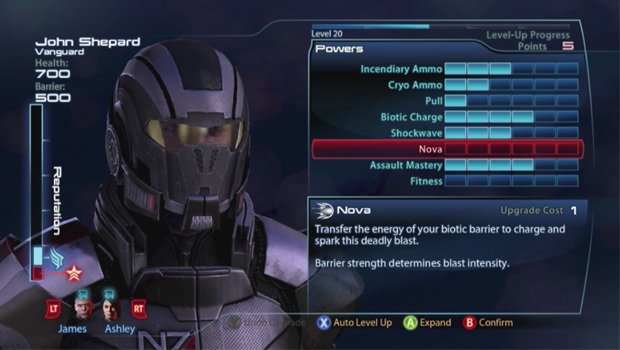
As soon as you arrive on Mars, you’ll be given an opportunity to level up both Shepard and his party. Do so before progressing. Making your way to archives, you’ll drop down, and find a M-92 Mantis to your right. Pick it up, and continue towards the outpost.
Once you round the corner of the path, you’ll find a detachment of Assault Troopers executing people. Take them out any way you see fit. More Cerberus forces are waiting at the top of the next hill. You must eliminate them before you are able to move on.
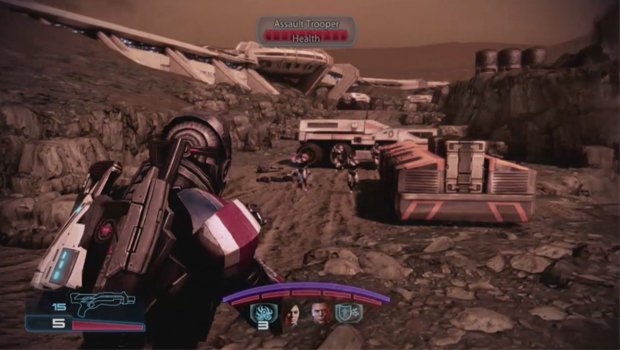
After all the Assault Troopers are defeated, make your way inside the base, and take the elevator. Once inside, you’ll see Liara fighting off some soldiers. Once reunited, she tells Shepard abou the blueprints she found for a Prothean device that could destroy the Reapers.
Objective 2: Beat Cerberus to the archives.
As soon as Liara tells you where the plans are, more Cerberus forces find their way inside. Defeat them, and find a way up to the next deck. There’s an elevator to the left, but it has been sabotaged. You’ll need to find the vehicle lift controls to create an alternate route. They are located to the right of the yellow vehicle.
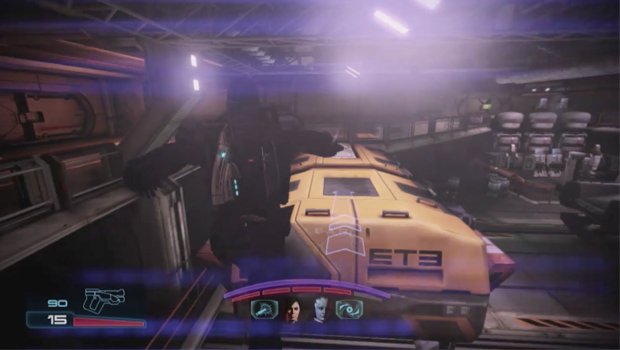
Once you activate the lift, make your way up the ramp to the left of the controls. Climb on top of the boxes, pick up the ammunition, and then cross over the raised vehicle to the next deck.
Head through the door on your right. You’ll witness a bystander get shot. Immediately take cover, and sneak towards the right. There are a few Assault Troopers to take on. You can eliminate the first with a quick kill attack.
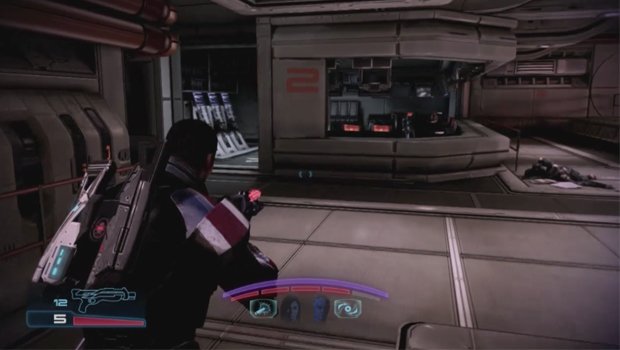
After defeating the soldiers, move through the door up the ramp, and head into the next room. Once you round the corner, you’ll see a locked door to the right, and a security terminal room to your left. In that area, you can find Ariake Technologies Gauntlets, ammo, and a med kit. You’ll also find the controls to open the locked door.
Though it appears the path is blocked, Liara opens another door to the roof so the squad can make their way to the archives. Head out the door, and drop down the ladder to your left. As you make your way around on the scaffolding, you’ll find a Kass Fabrication Chestplate. Pick it up, and then head up the ladder on the right.
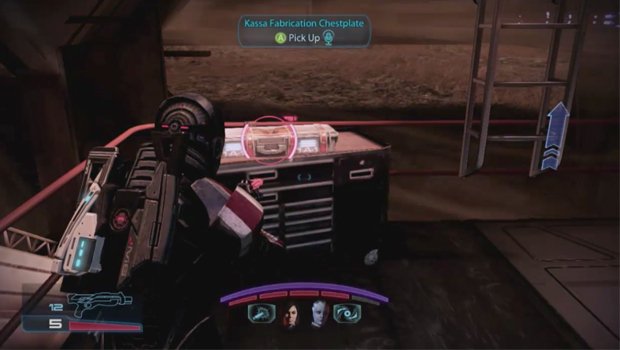
Head inside the opened airlock to the left, and go back inside. Making your way into the next room, you’ll come across a datapad. Pick it up, and continue down the stairs. As you approach the bottom, the windows in the room open, revealing more Assault Troopers. Taking them out will also decompress the air in the next room, but once they are defeated, you can use the environmental controls in the small computer station in the corner of the room to pressurize the room again. The computer station also has more ammo and medi-gel if you need it.
Liara opens the door to the labs in the next area. Once you head through, you’ll find a Weapon Bench on your right. Head up the stairs, and through the next door. You’ll encounter another group of Assault Troopers and Guardians. The Guardians utilize large shields, which can take a lot of damage. Try to get them to open up using your powers before wasting lots of ammo whittling down their defenses.
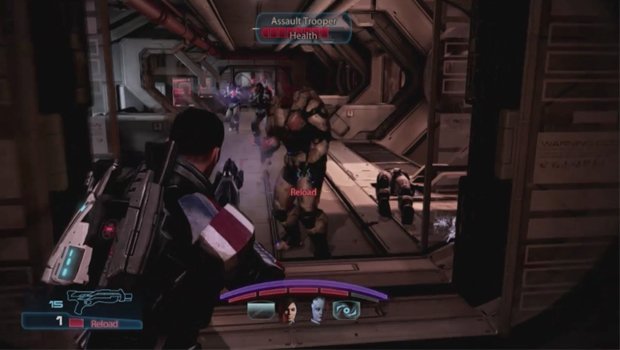
More Assault Troopers are down the next hallway to the left. After you clear the first segment of the hall, more soldiers appear, including a Centurian and more Guardians. In this section of the hall, a lab can be seen on the left. Turn off the sterilization controls to gain access to the room. In the lab, you’ll find a Shotgun High Caliber Barrel immediately to your left, and a datapad on the desk to the right of the entrance. In the right hand corner, just beneath the next door, you’ll find a Sniper Rifle Extended Barrel. There is also a med kit in the middle of the room.
Head through the door in the lab, and go down the hall to the left. You’ll find another door just a little bit down the hall. Once you open it, an automatic turret greets you by opening fire. Move from cover to cover, staying out of the turrets fire. Staying to the left, you’ll come upon a door. Enter it, and take down the Cerberus forces inside. There’s plenty of ammo scattered inside should you need it.
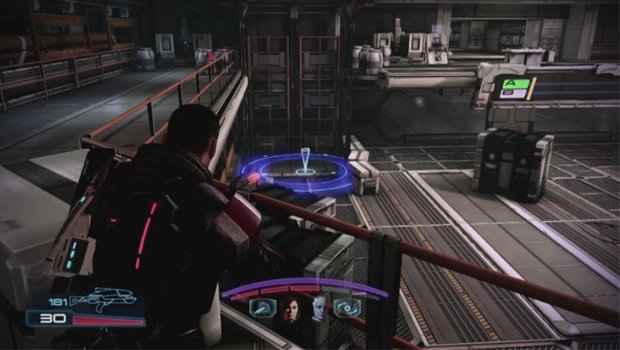
After convincing the Cerberus troopers to send another tram, you’ll have to position your squad for a surprise attack on the incoming soldiers. Direct Ashley and Liara into position, then head into cover yourself. Once the tram arrives, dispatch of the Cerberus forces. Head onto the tram after you’ve defeated all the soldiers, and head to the archives.
As the tram makes its way across the tracks, an explosion stops it. Another tram full of Cerberus soldiers begins to approach. Defeat them, and steal their tram to make it the rest of the way to the archives. At the next station, you’ll find a medical station. Be sure to grab the supplies if you need them before moving through to the Prothean Core in the next area.
Objective 3: Catch Dr. Eva
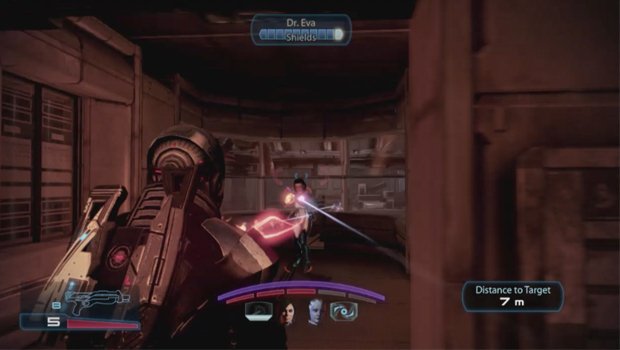
After a brief cut scene where the Illusive Man warns Shepard to not meddle in his plans, Ashley finds Dr. Eva erasing the data from the archives. You’ve got to chase her down, and stop her before she escapes.
Chase her back through the tram station, and up the ladder to the roof. She’ll run around, back down through the building, and up a ladder onto the roof again. She appears to make it to her escape shuttle, but James flies in to knock her ship back down to the roof. Though it doesn’t appear as if Eva has survived the crash, she breaks free from the wreckage in her true form. Eva attacks Ashley, and then makes a bee line for Shepard. Her shields now down, Eva can be taken out quickly with a few shots.

The Normandy arrives just as Reapers being their descent to the Martian surface. Shepard and his crew escape, and head off for the Citadel.
Weekly digests, tales from the communities you love, and more


