The Witcher 3 Wandering in the Dark quest and how to escape from the Elven Ruins
Navigate through the Wandering in the Dark mission Elven Ruins and what symbols to look for
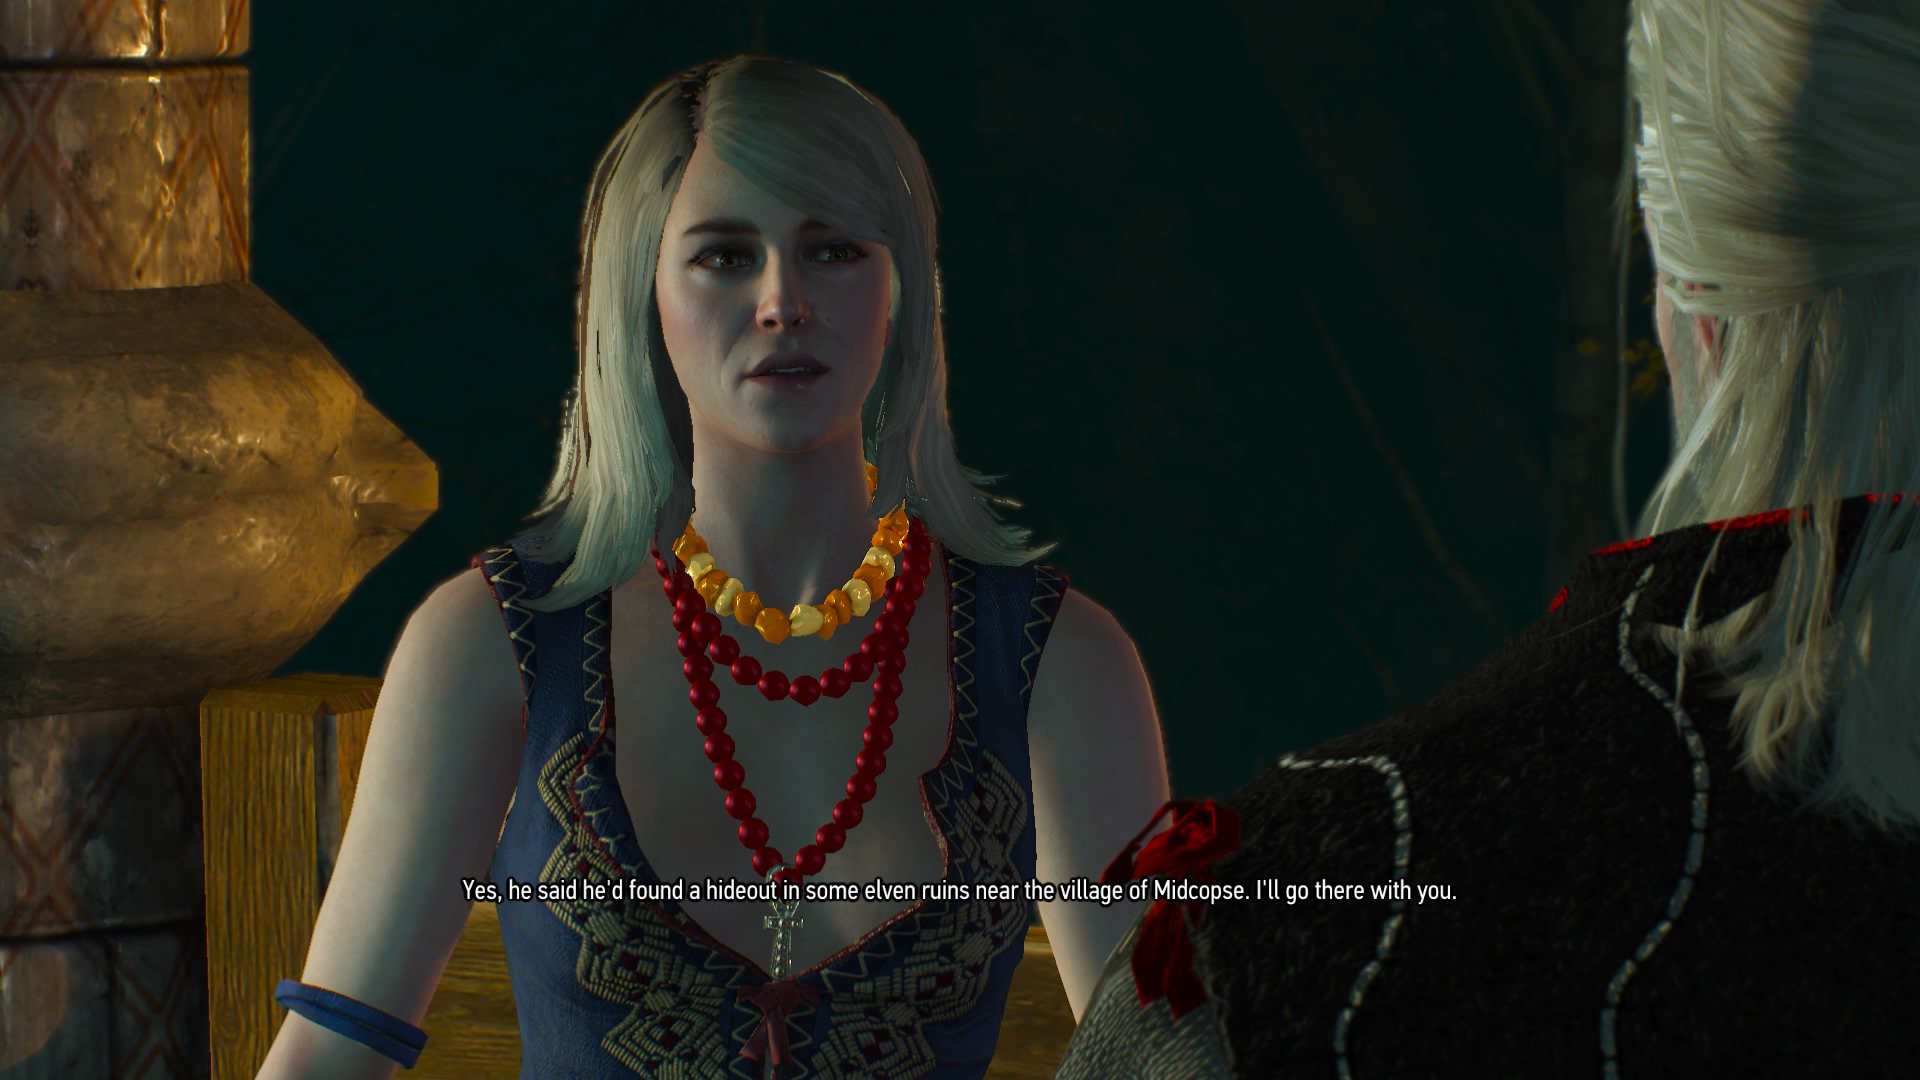
The Witcher 3 Wandering in the Dark quest sees you visiting Elven Ruins with Keira after completing the Hunting a Witch mission. There are portals, rats, boss fight and a lot to deal with so use out guide to streamline this lengthy mission.
The Hunting a Witch quest forms part of your initial search for Ciri in The Witcher 3 and acquaint you with sorceress Keira Metz. Meet her and she'll talk about being visited by an Elven mage asking after an ‘ashen-haired woman’, meaning Ciri. Seeing as finding her is basically the whole point of the game Geralt, understandably, wants to track down the elf to find out more which lead you in to opening up the Witcher 3 Wandering in the Dark quest.
1. Go to the Elven Ruins with Keira
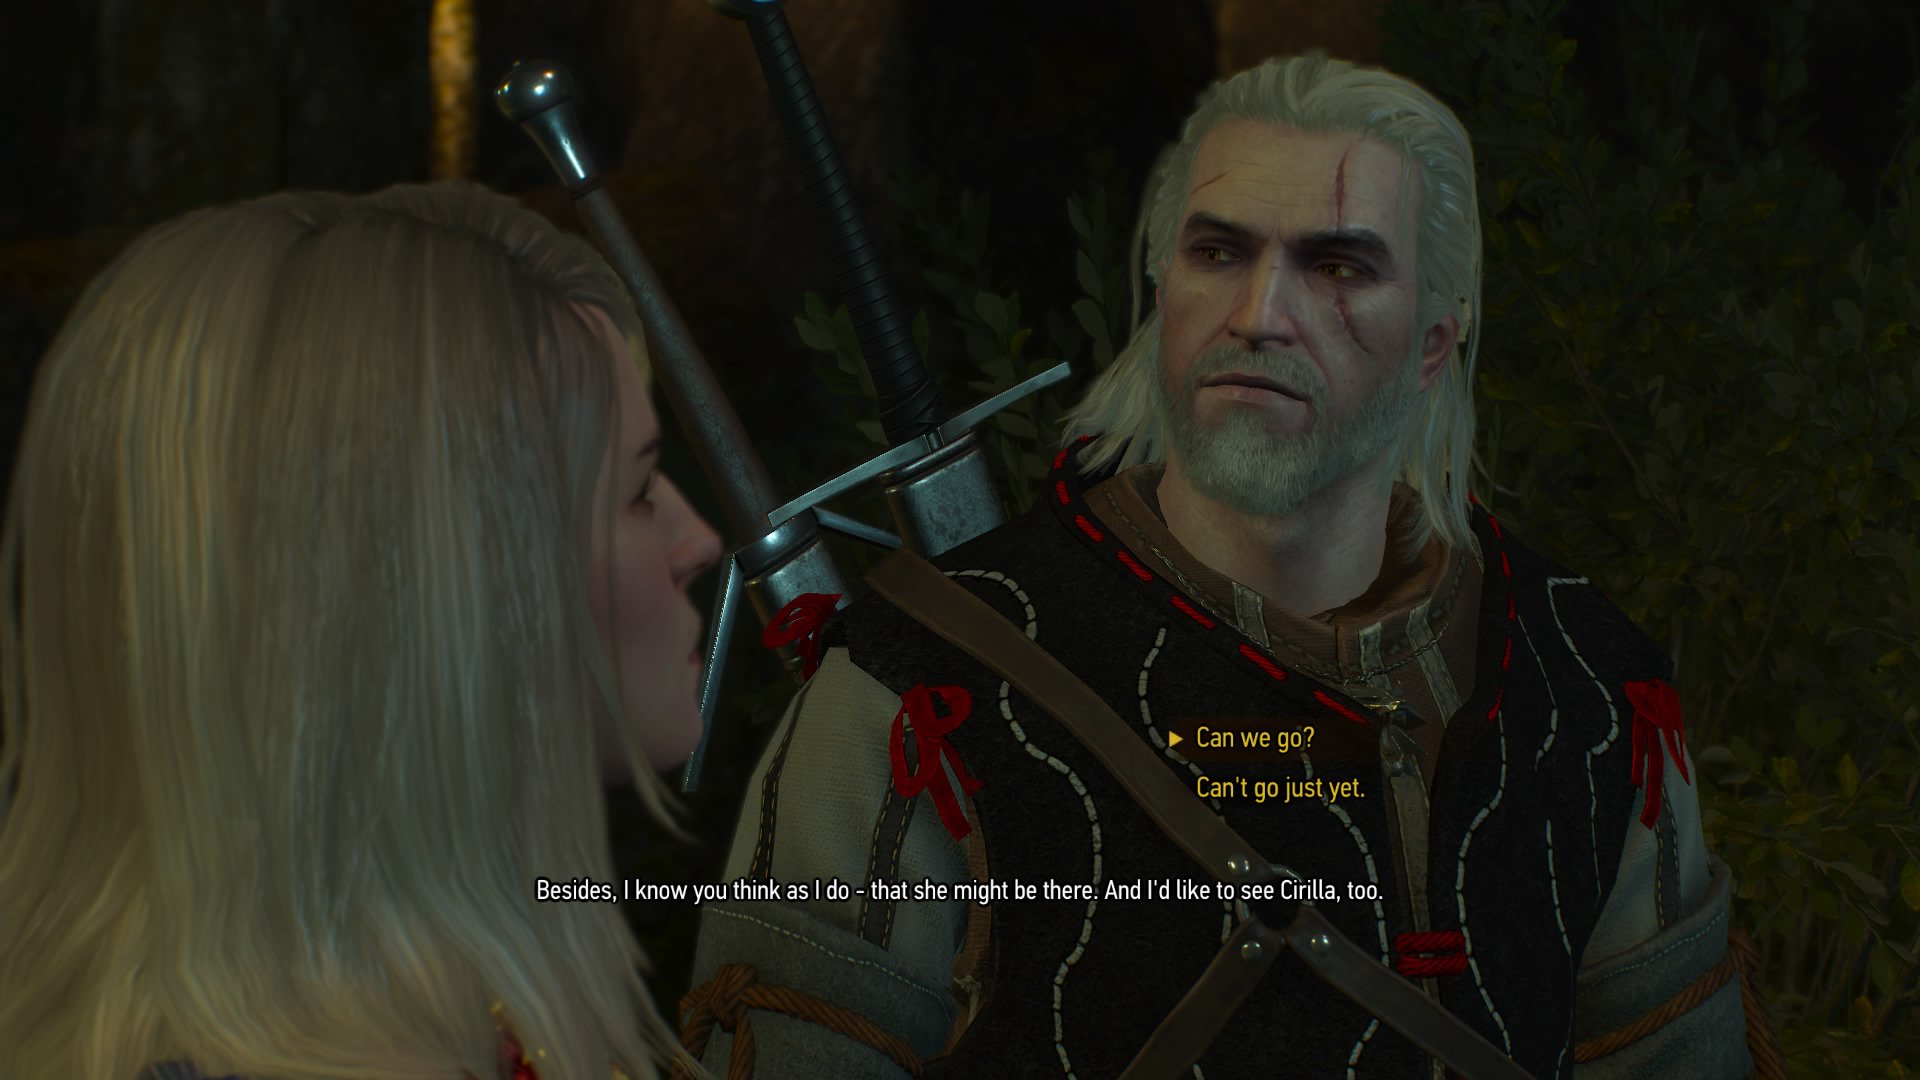
You can either travel with Keira to the elven ruins, or meet her the later after speaking to her. Whatever you decide we recommend stocking up with as much useful stuff as possible before you teleport to the ruins.
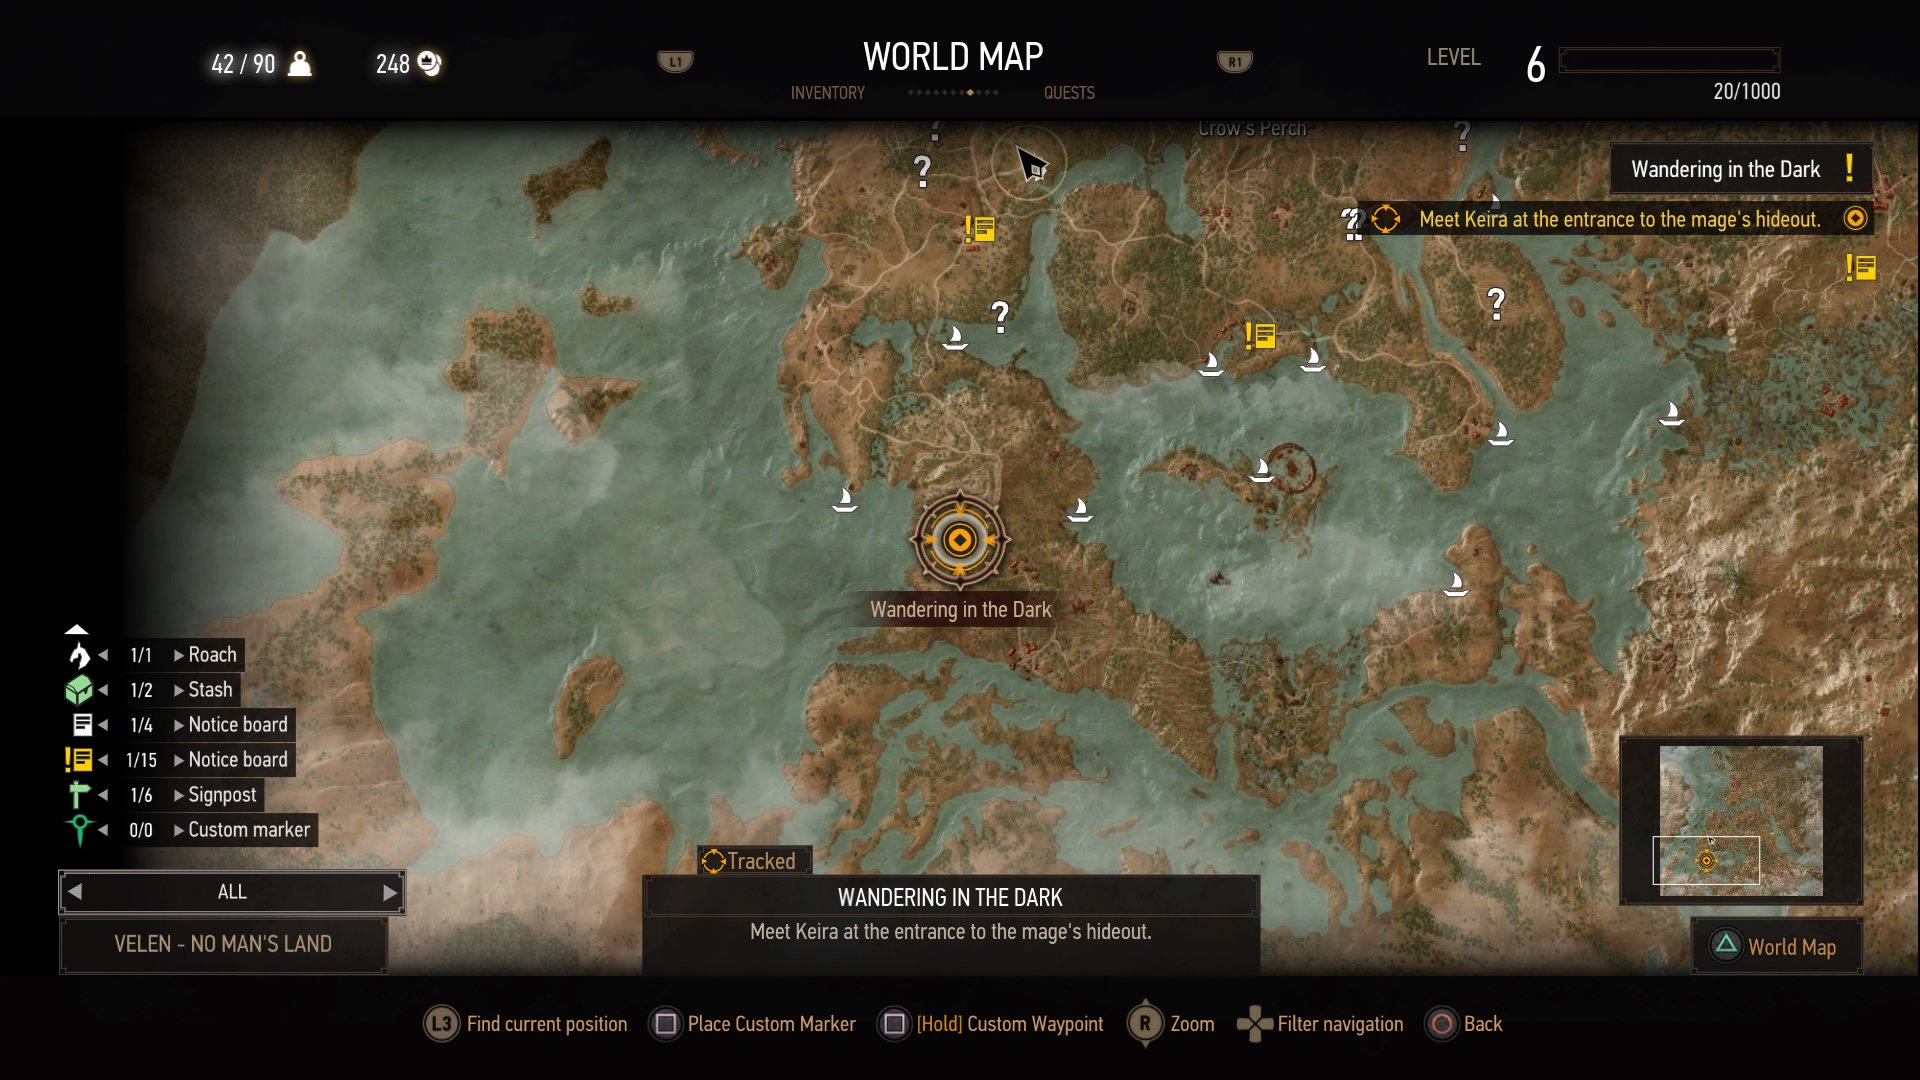
If you don’t go with Keira straight away to the ruins, here’s where you can find the location on the map.
2. Follow Keira inside the ruins
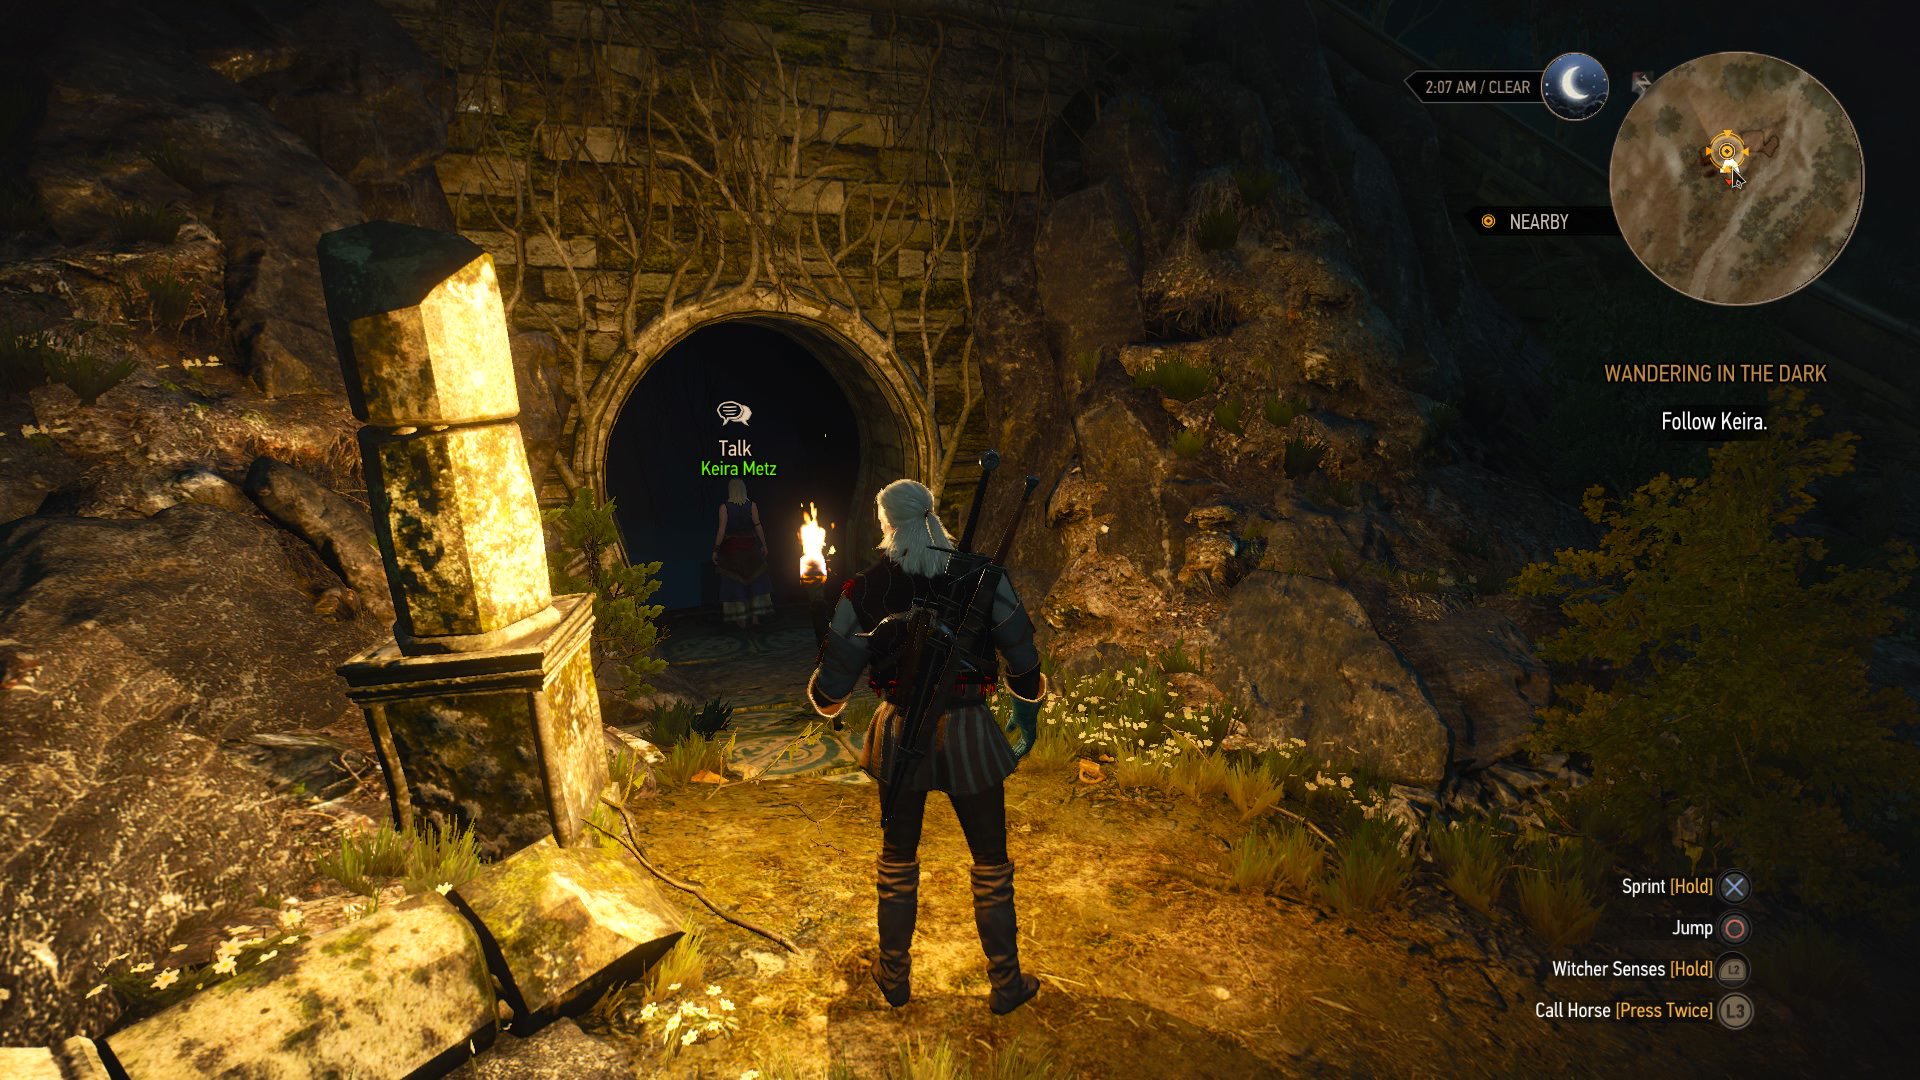
Head on inside with Keira. The ruin is full of lots of different loot and herbs, so loot to your heart’s content! If you haven’t already, we recommend brewing plenty of Cat potion to see in the dark, instead of having to carry a torch everywhere like we did. It sucks. Don’t do it.
As you head inside you’ll see a cutscene showing that the Wild Hunt are here and they don’t seem keen to play by the same rules.
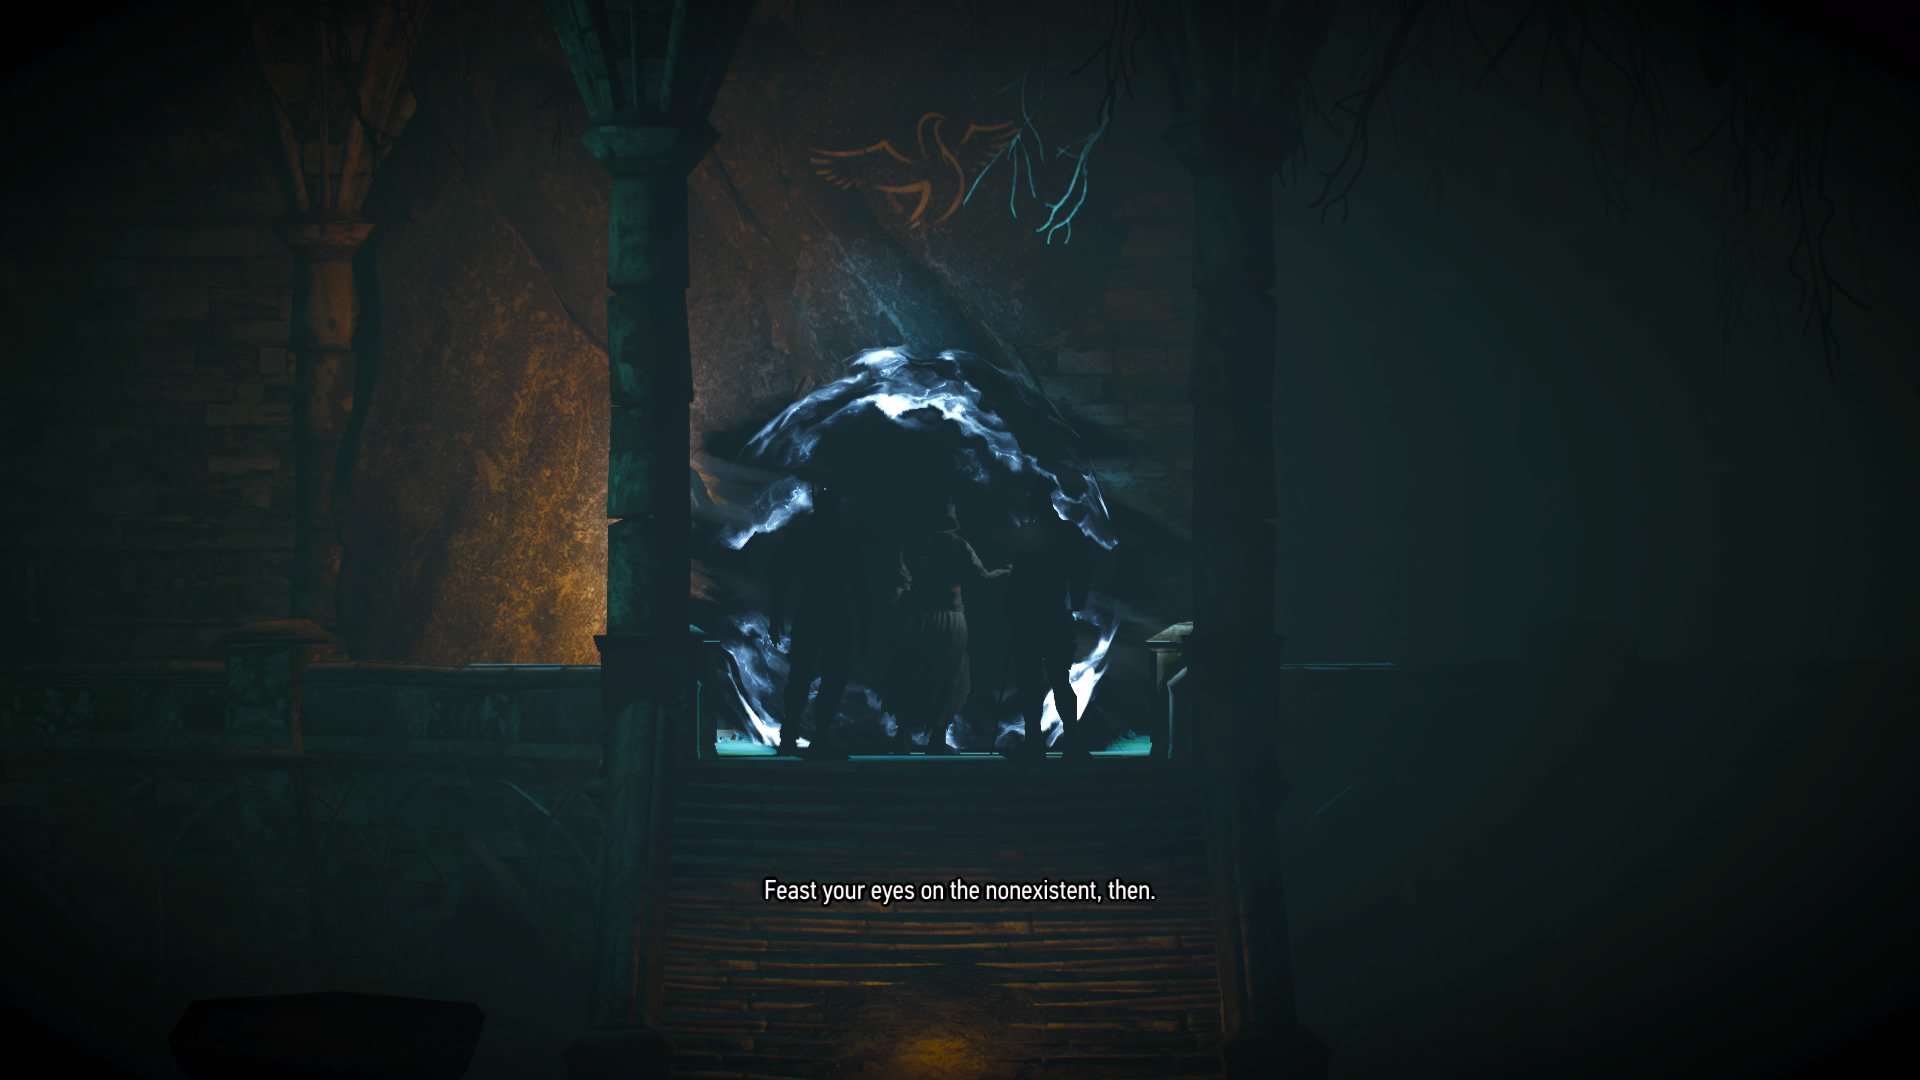
Watch as they open up a portal and step through, leaving you and Keira to plan your next move. Which is to open up a portal of your own!
3. Follow / Do Not Follow Keira
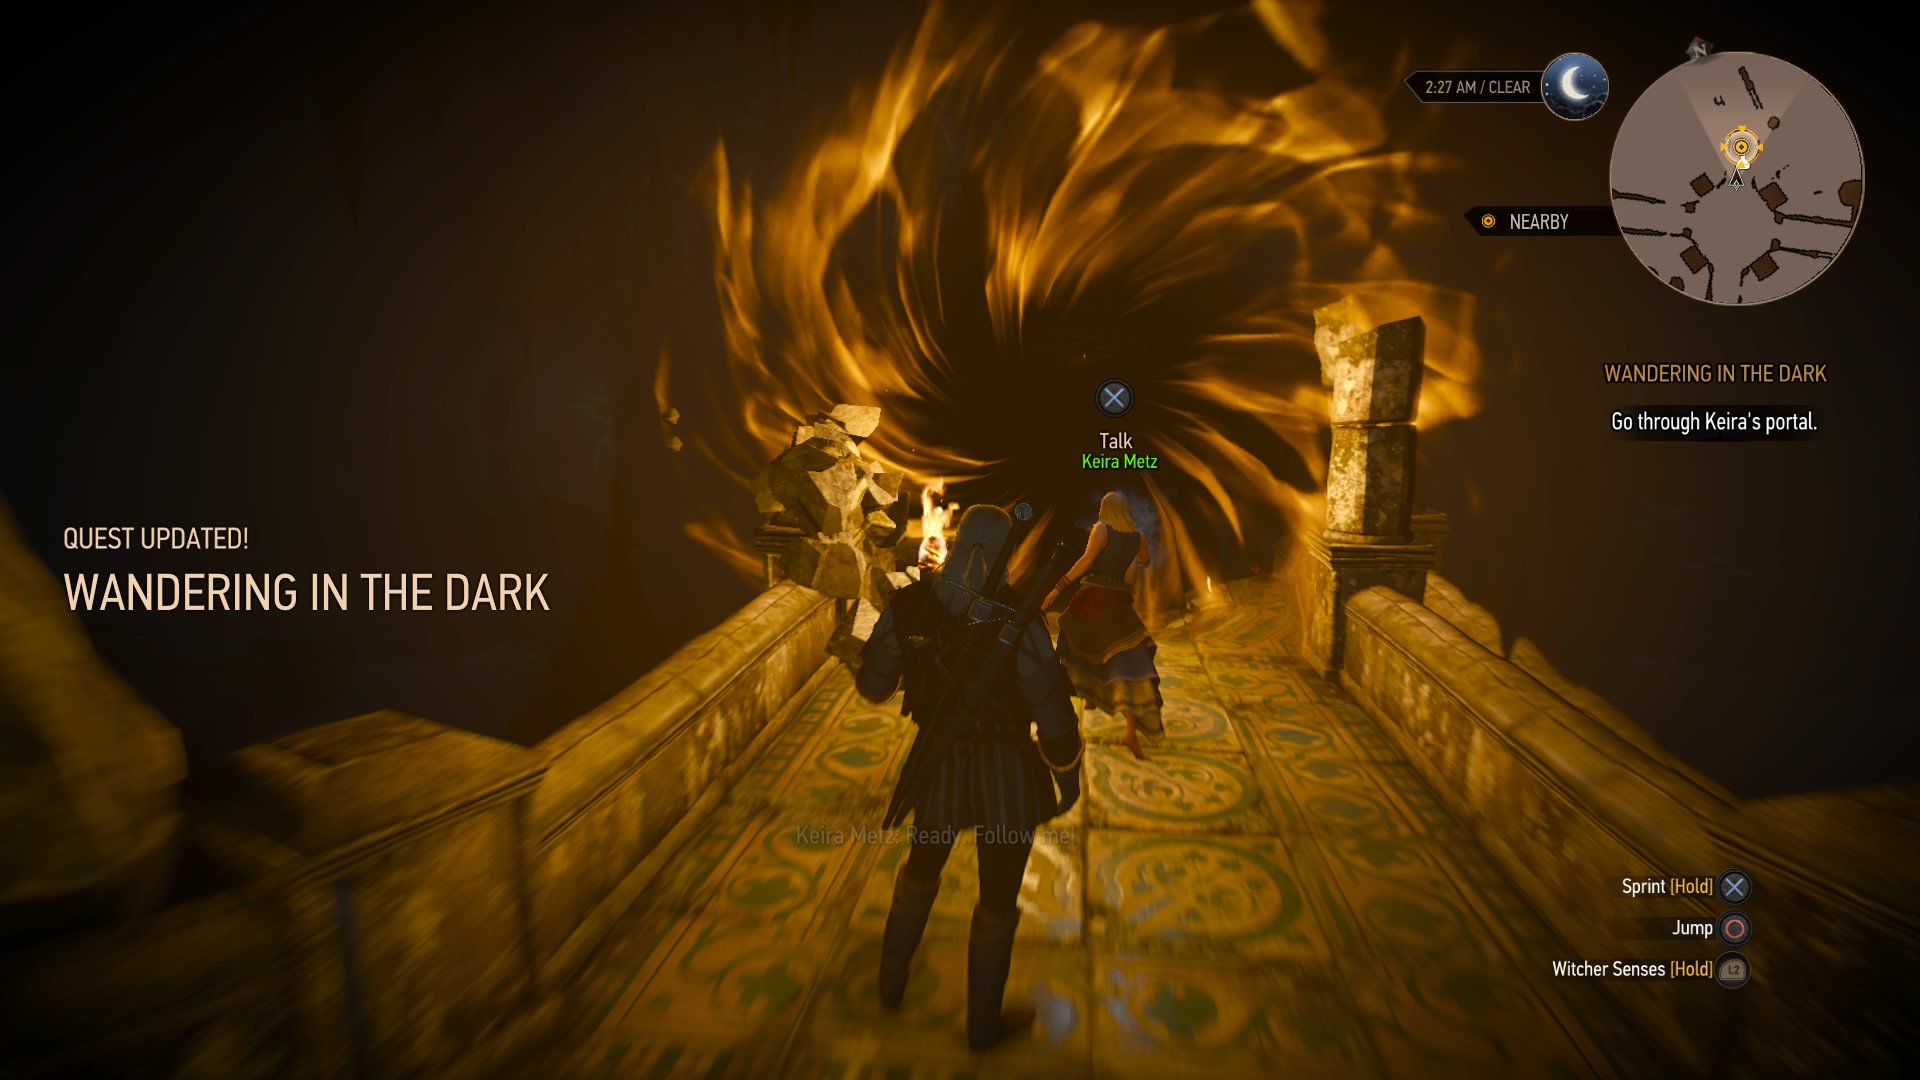
Keira will open up a portal giving you a choice to either follow her through or wait. If you wait you’ll see Keira go through the portal, disappear and then hear her scream. The portal will then close, leaving you alone.
If you do follow Keira through through the portal you’ll be dropped into a different room from her and must fight through drowners and foglets to get back to where you were. It’s only there that you can hear Keira call for help. However, you will get extra loot and experience for your efforts.
4. Find Keira
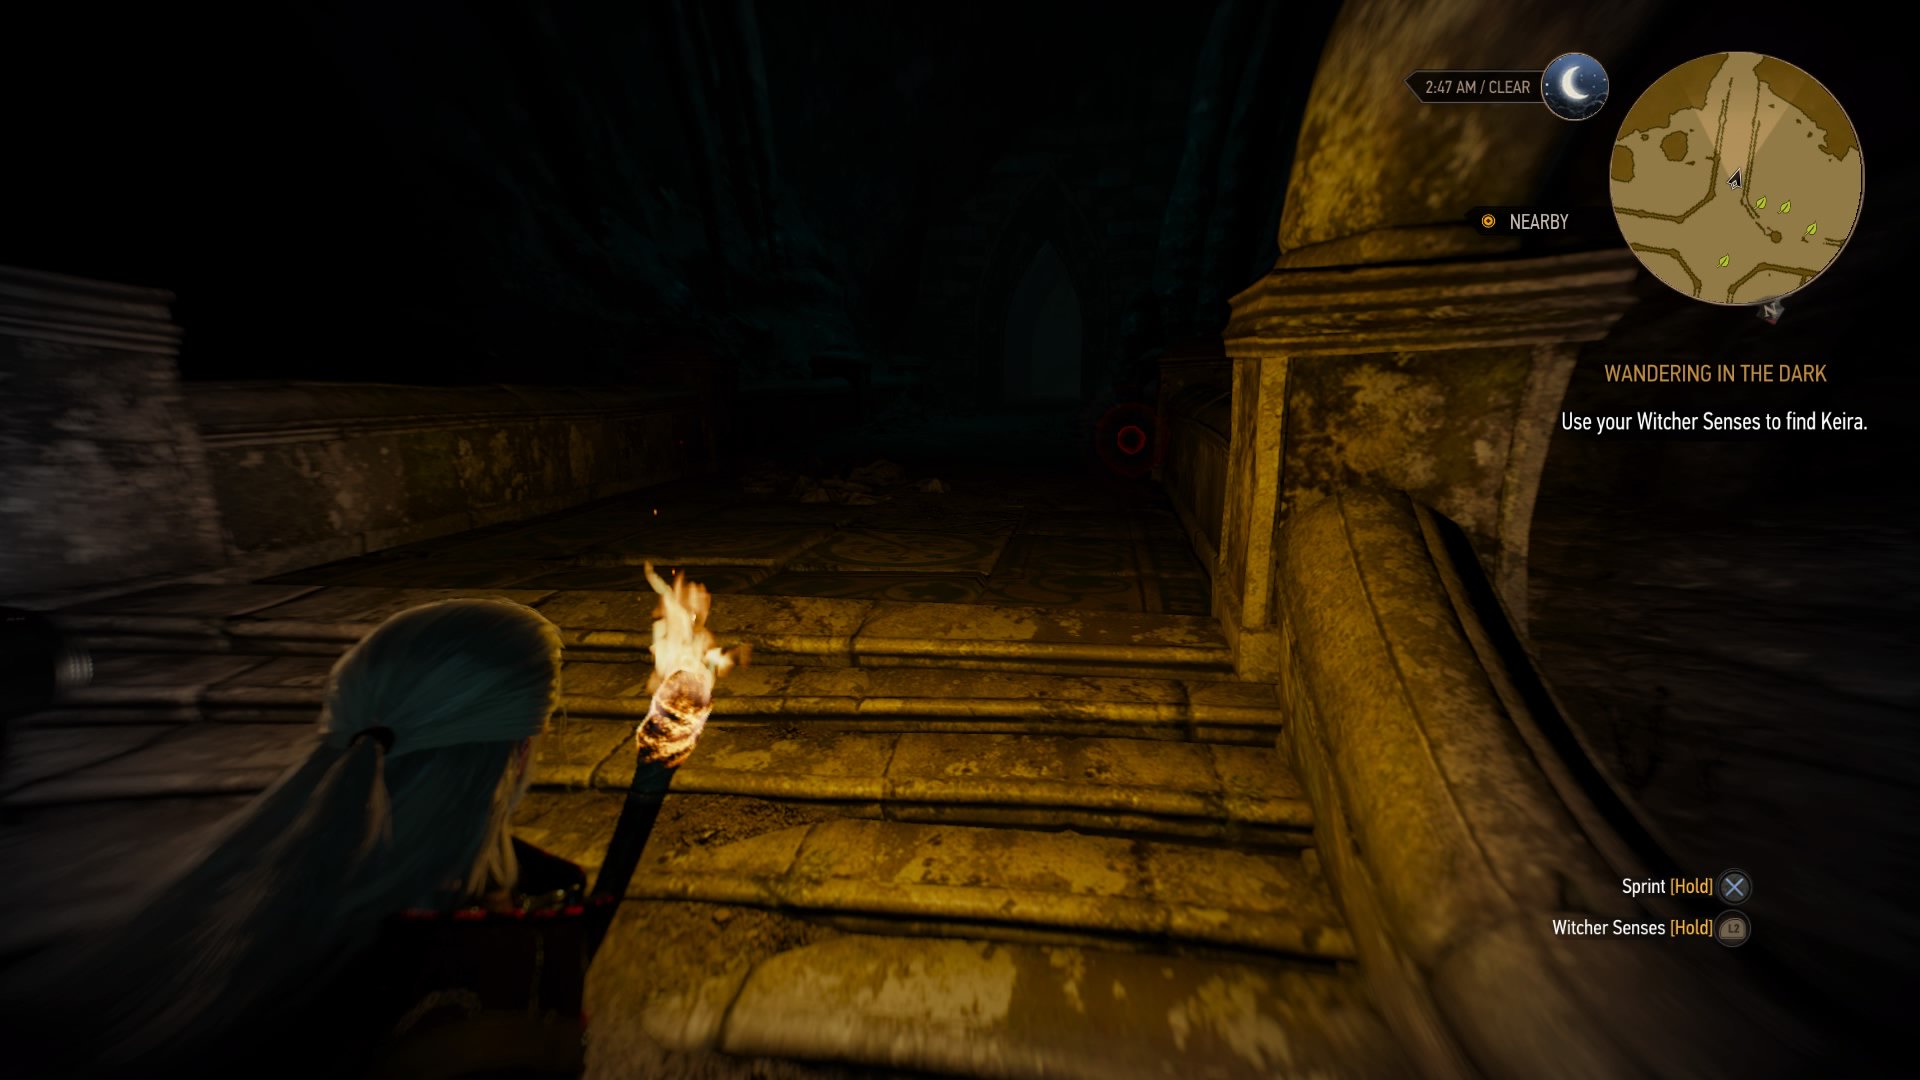
You’ll have to use your Witcher senses to find Keira. It'll show you a pulsing red circle you can follow. You’ll come across enemies as you progress so clear the way as you encounter them and keep follow your senses.
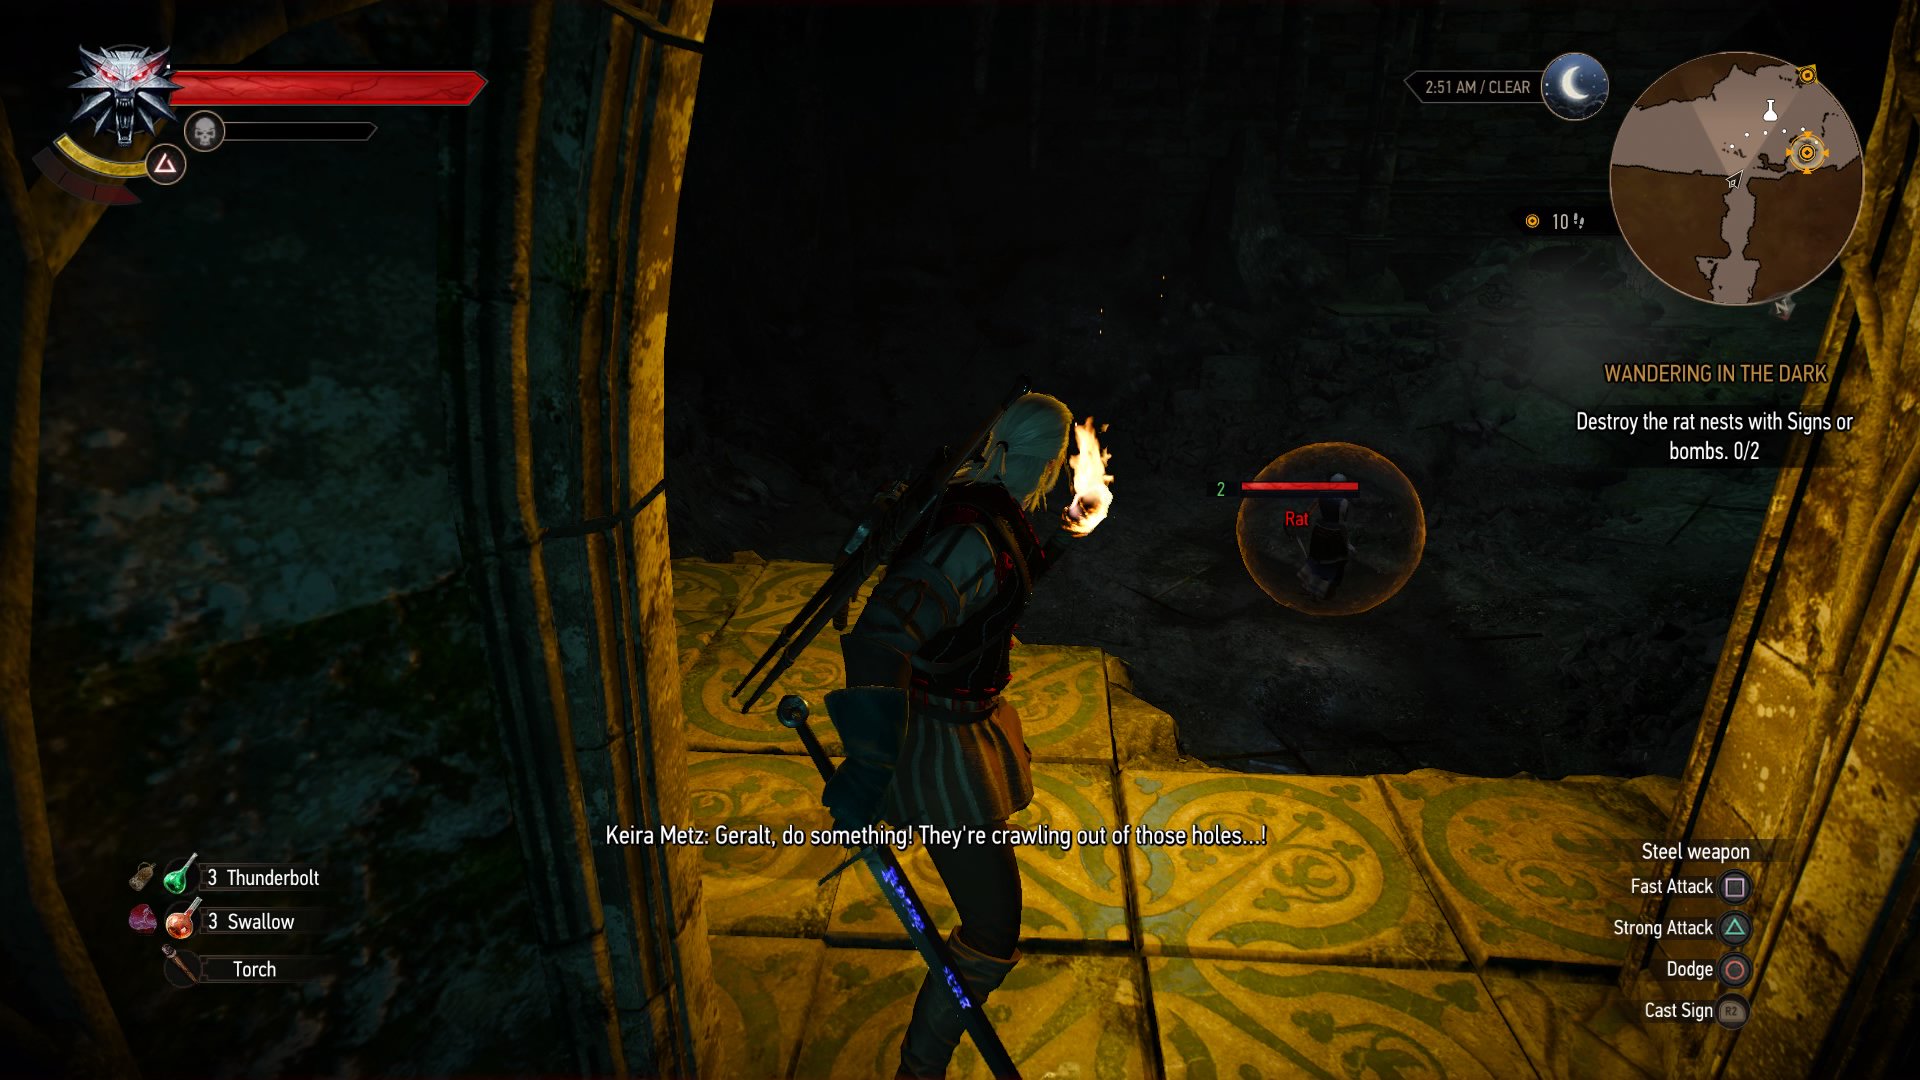
Eventually you'll start to hear Keira cry for help. She's in a room on the right of where the portal was originally cast, surrounded by some problems you'll have to solve.
5. Kill the Rats and Destroy their Nests
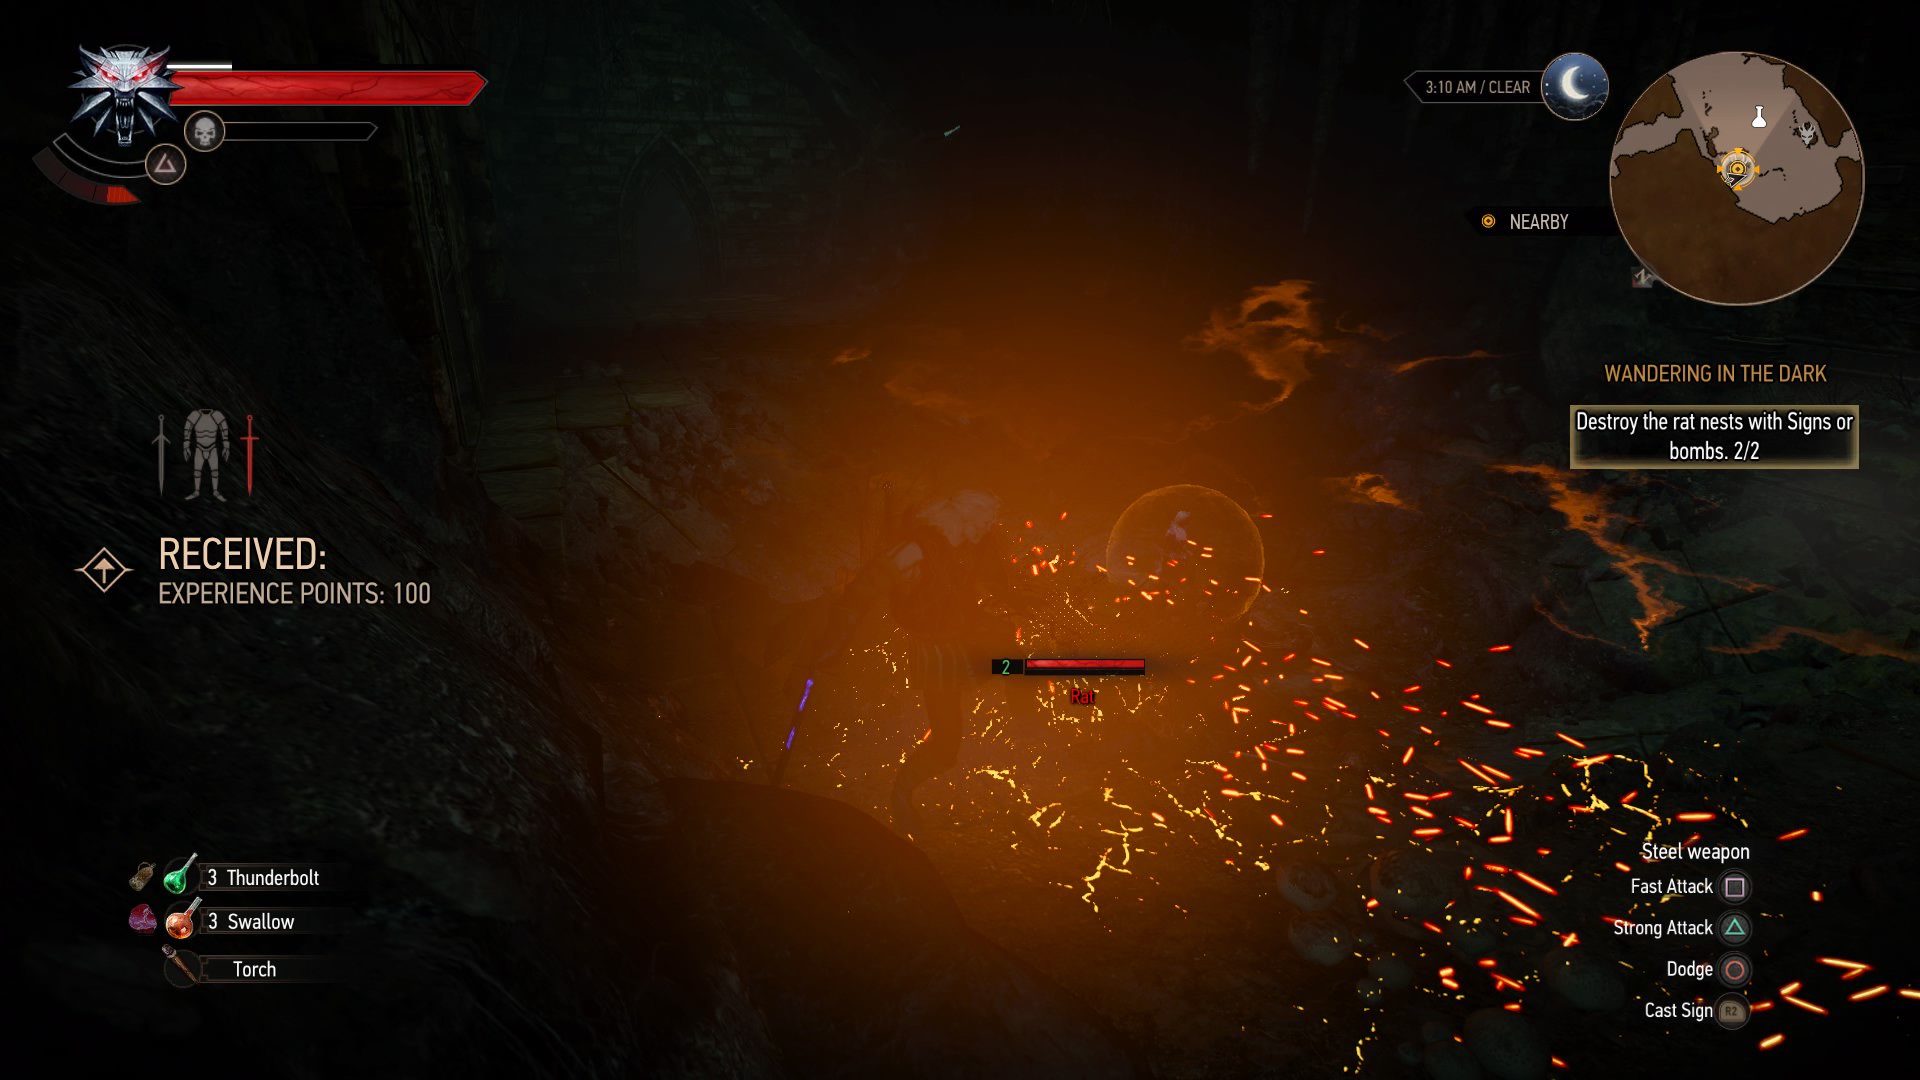
Keira is surrounded by rats and you'll need to clear the rat nests to get rid of them all. To do that we advise using a bomb or the Igni sign. If you're using bombs, make sure you have the right ones. You can find this out by going to your inventory. Bombs that can destroy nests will say so in their description.
Once that’s done, Keira will explain why the portal didn’t work and demand that the both of you leave, as quick as possible, but Geralt refuses. Keira will be convinced no matter what dialogue you pick, but if you want to romance her later on, maybe don’t be a total arse.
6. Explore the Elven Ruins Further
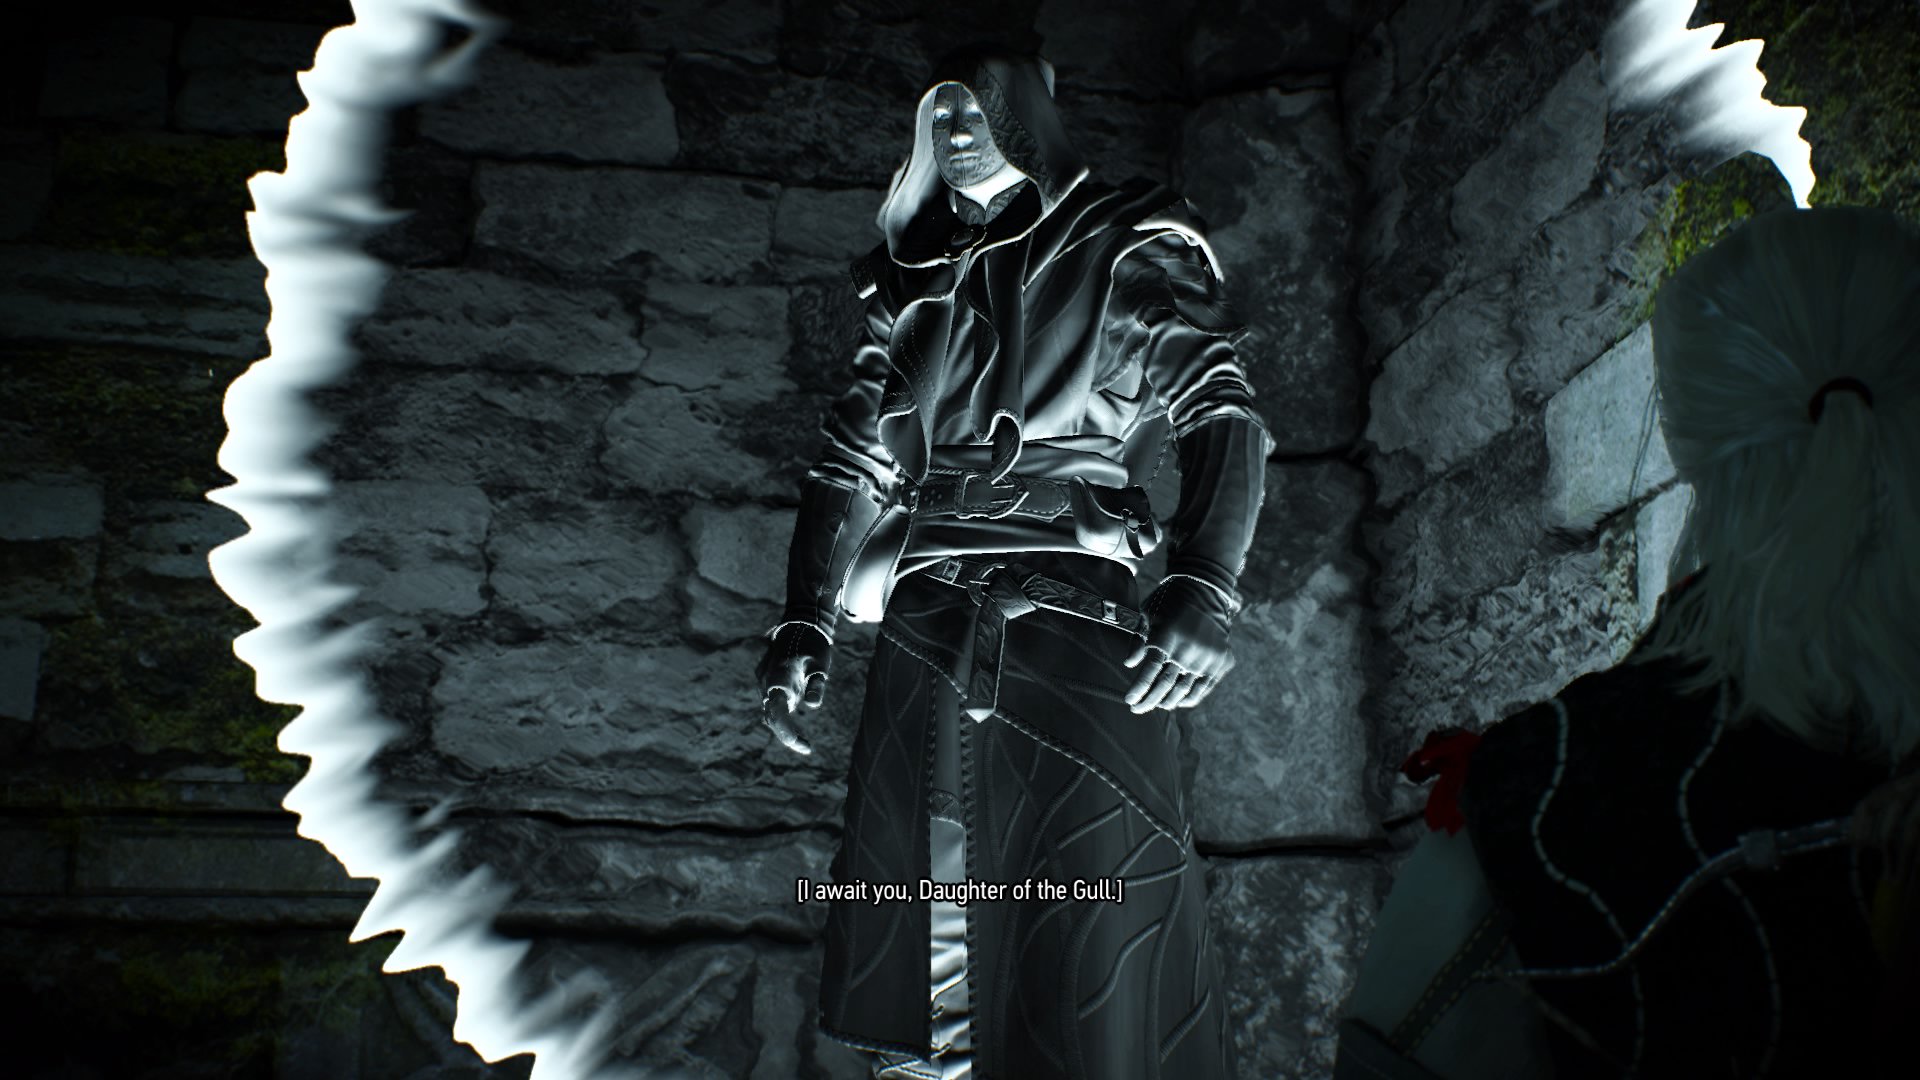
After the conversation with Keira, head into the next room and you’ll discover what looks to be an illusion of some sort, or as Keira puts it, a morphotic projection - a fancy way of saying magical projector. Keira will say the projection shows the elf they are looking for. After a brief warning, the elf will mention the name Zirael aka the elven word for Swallow.
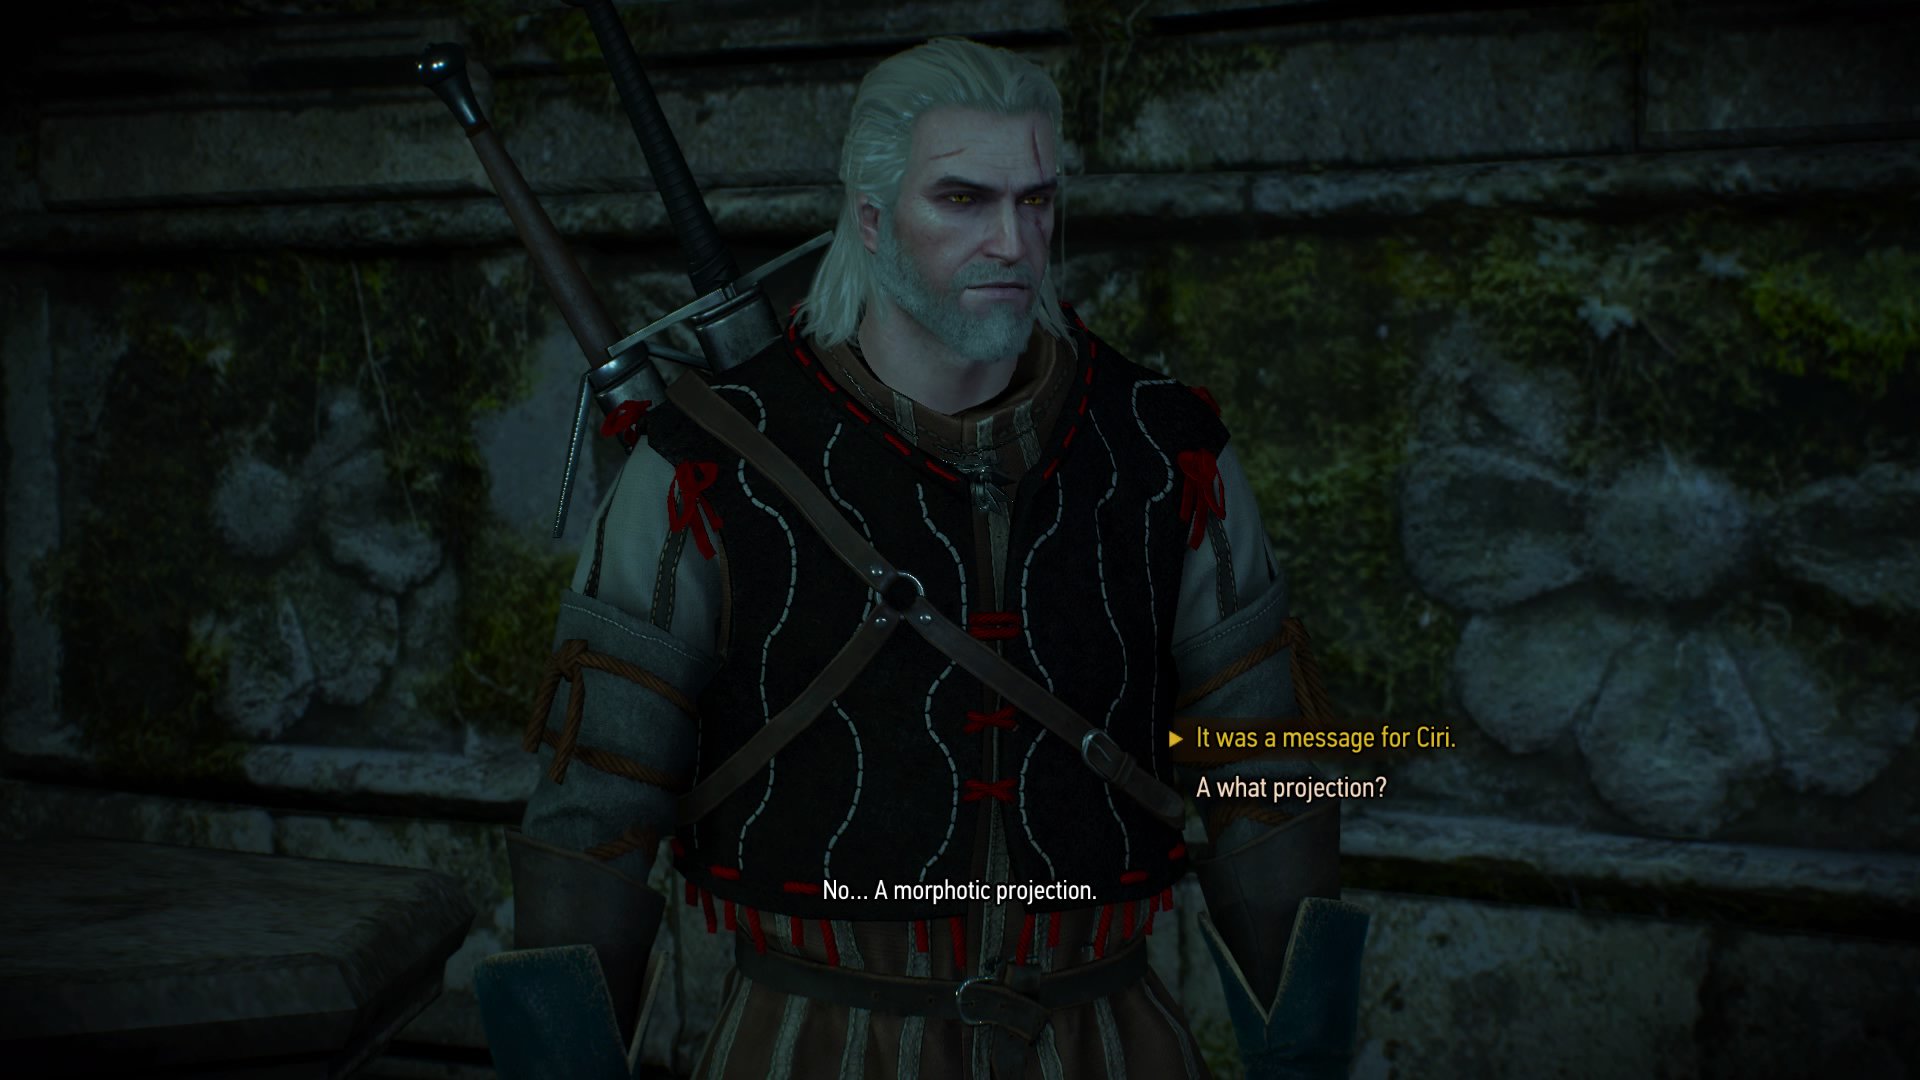
To Keira this will mean nothing, but Geralt, knowing Ciri so well, will know that this means the name of Ciri’s sword. Once Geralt adds two and two together, you’ll discover that you’ll need to follow the symbols of swallows in order to make your way throughout the ruins.
7. Look for the Swallow Symbols
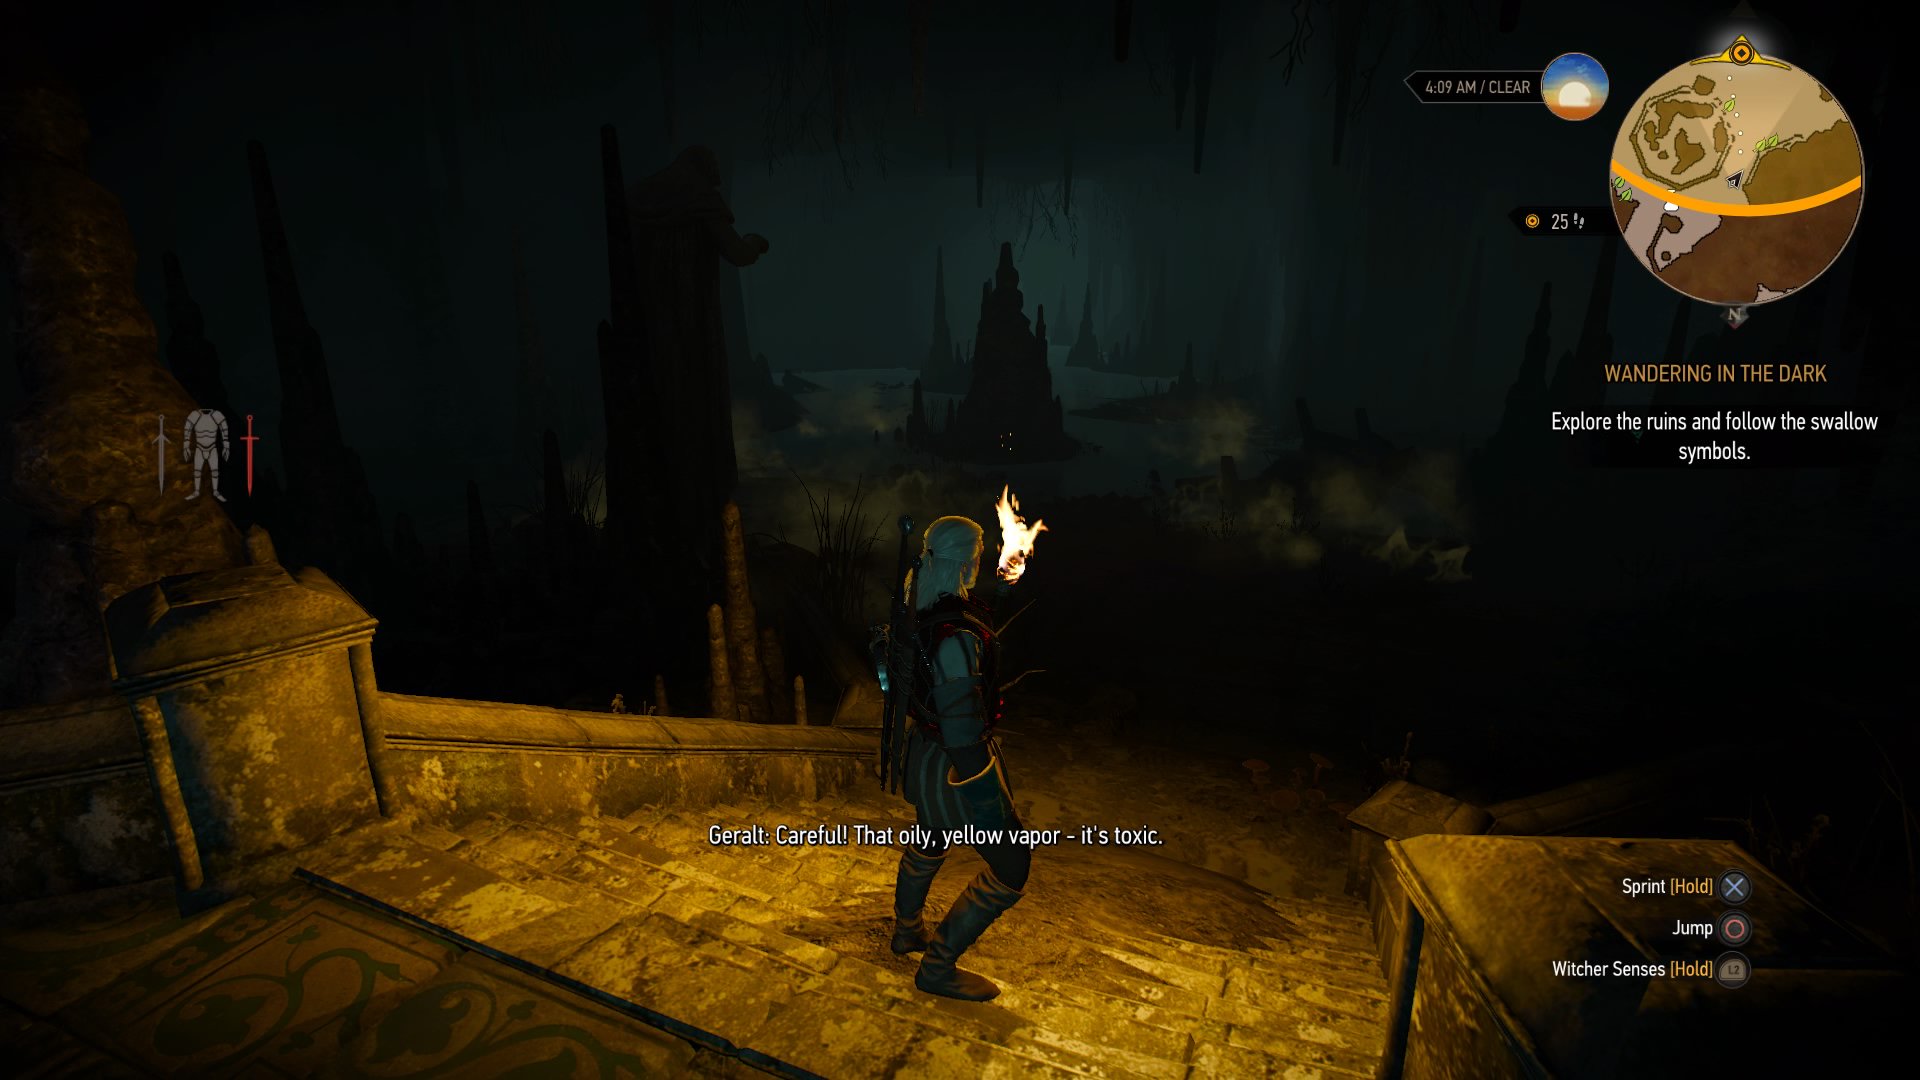
You’ll reach a huge cavern where you can see toxic gas and wraiths hovering everywhere. Unfortunately you’ll need to cut through the wraiths, as well as get past the gas, in order to find the first swallow symbol.
If you have a torch, unequip it as stepping into the gas clouds with a torch is a fast way to you getting blown up to smithereens. Instead, dispel the gas by using Igni. It’ll return, but at least you’ll have control over when to use the gas to your advantage.
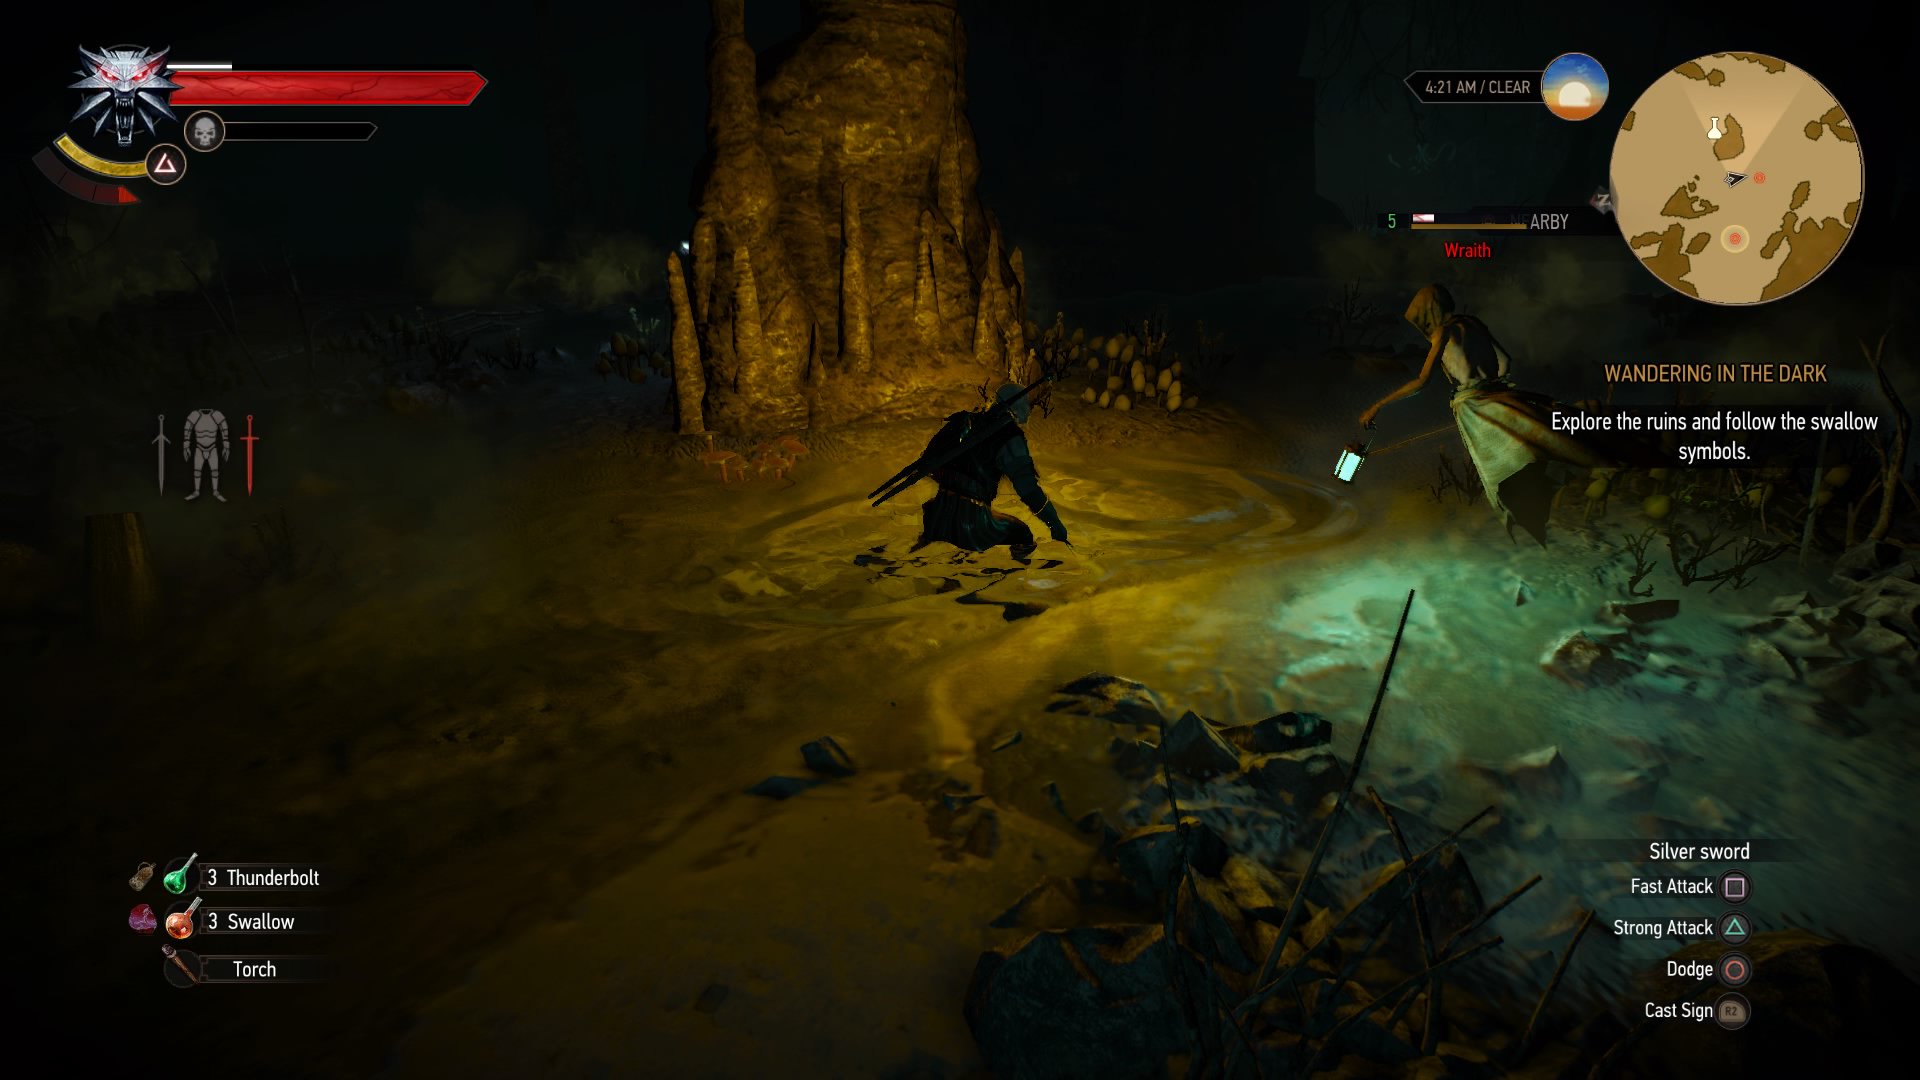
After fighting the first few wraiths, don’t venture any further. Instead turn east and walk until you come across a stalagmite with a symbol of a swallow on it. If you’re lost, equip the torch (away from the gas) and it should be easy. Keira will even comment if you’re near it, so just be equally patient and careful.
8. Head North and keep Exploring the Ruins
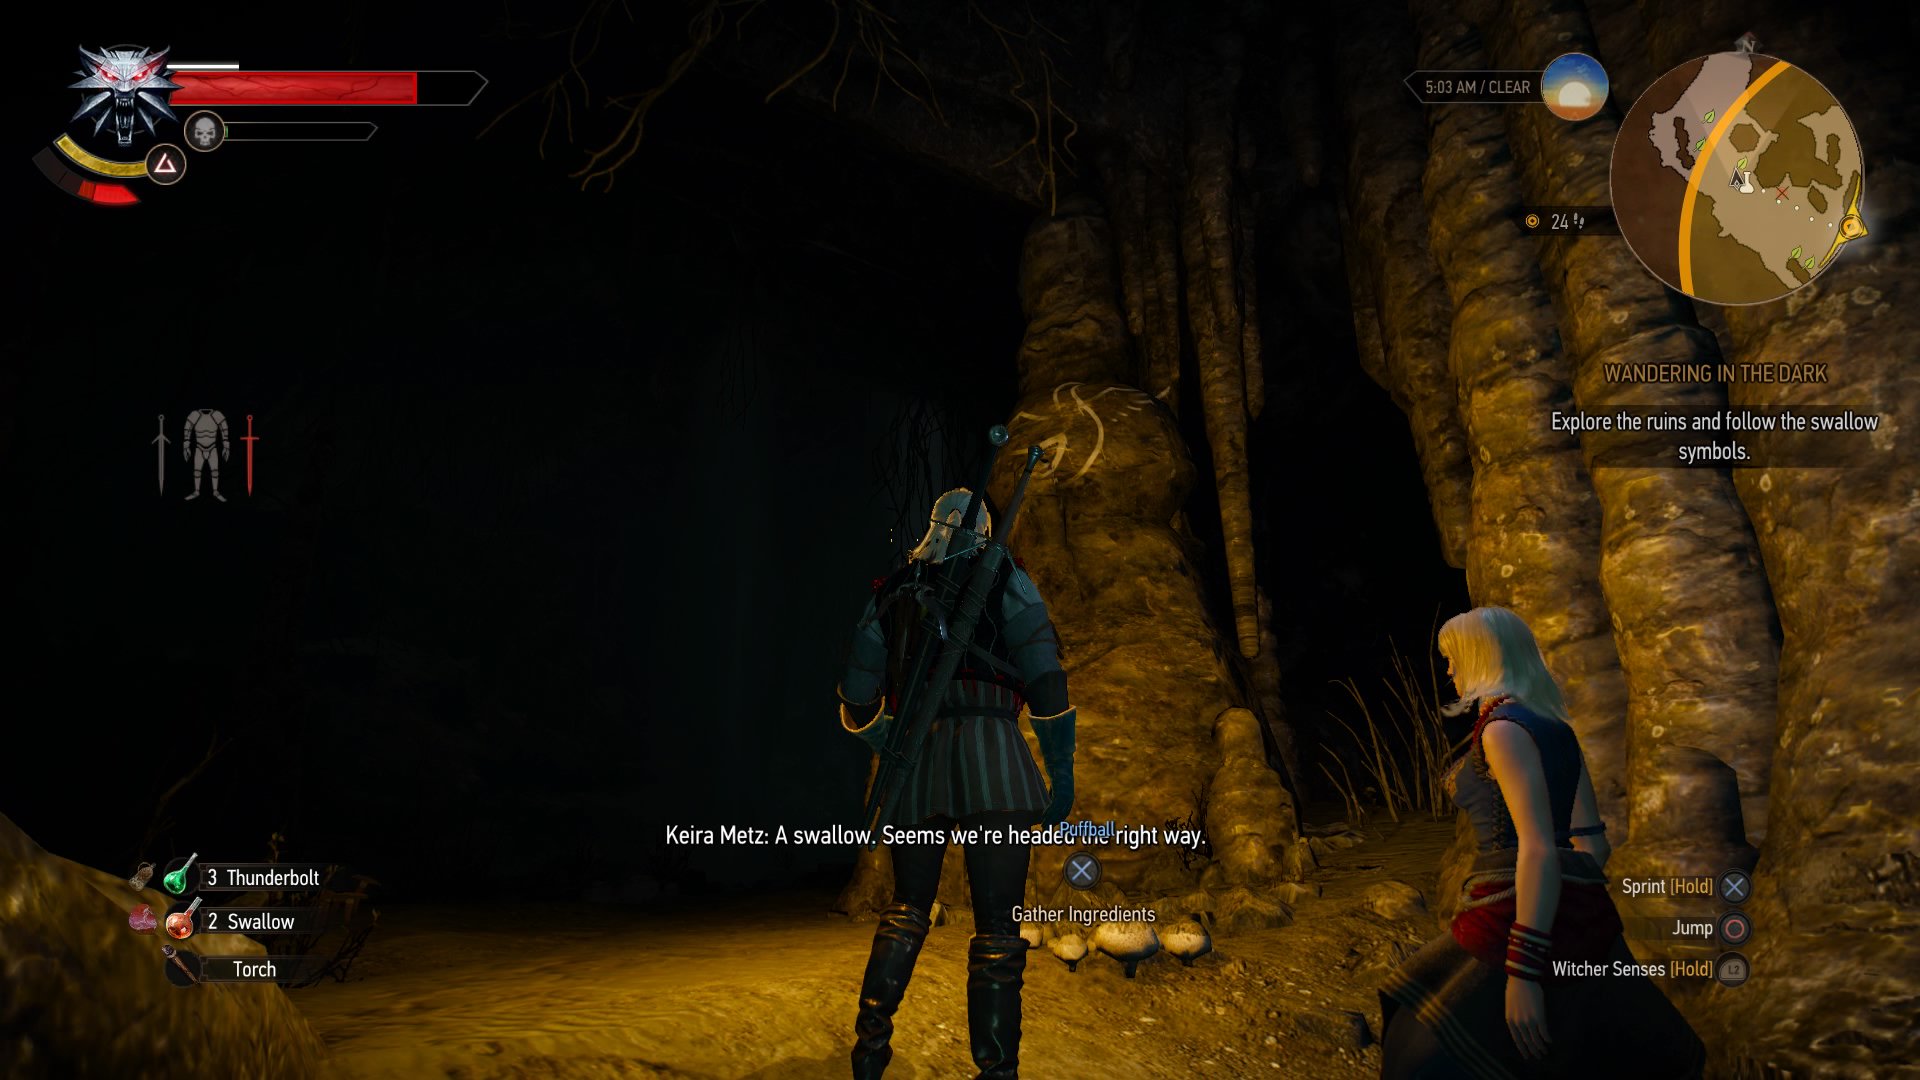
Once you find that first swallow, head directly north from it and you’ll eventually come across an area where you’ll need to climb to get to higher ground. Do so, and Keira will follow you.
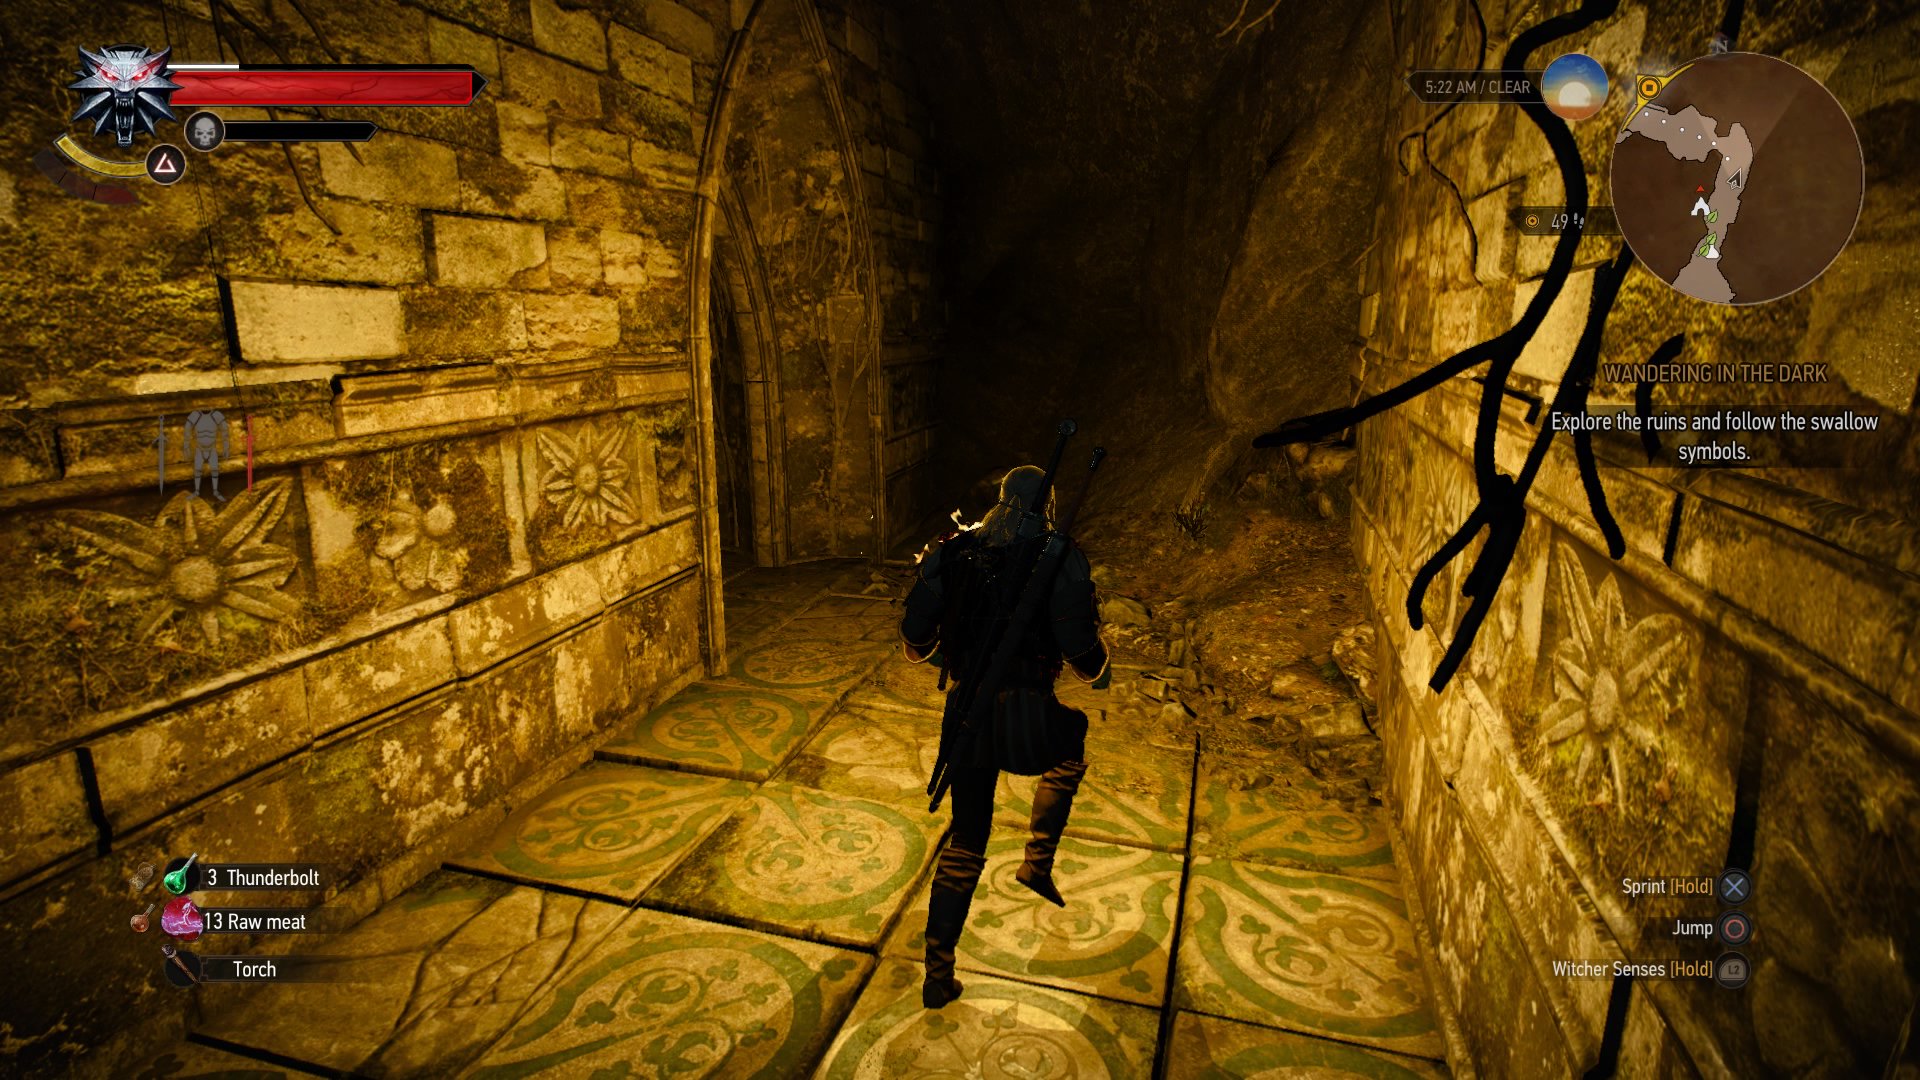
You’ll eventually end up moving into a small corridor, keep going forwards until you can break off to the left. Once you enter the octangular room at the end of that corridor, you’ll find another projection of the elven mage.
9. Find Kelpie
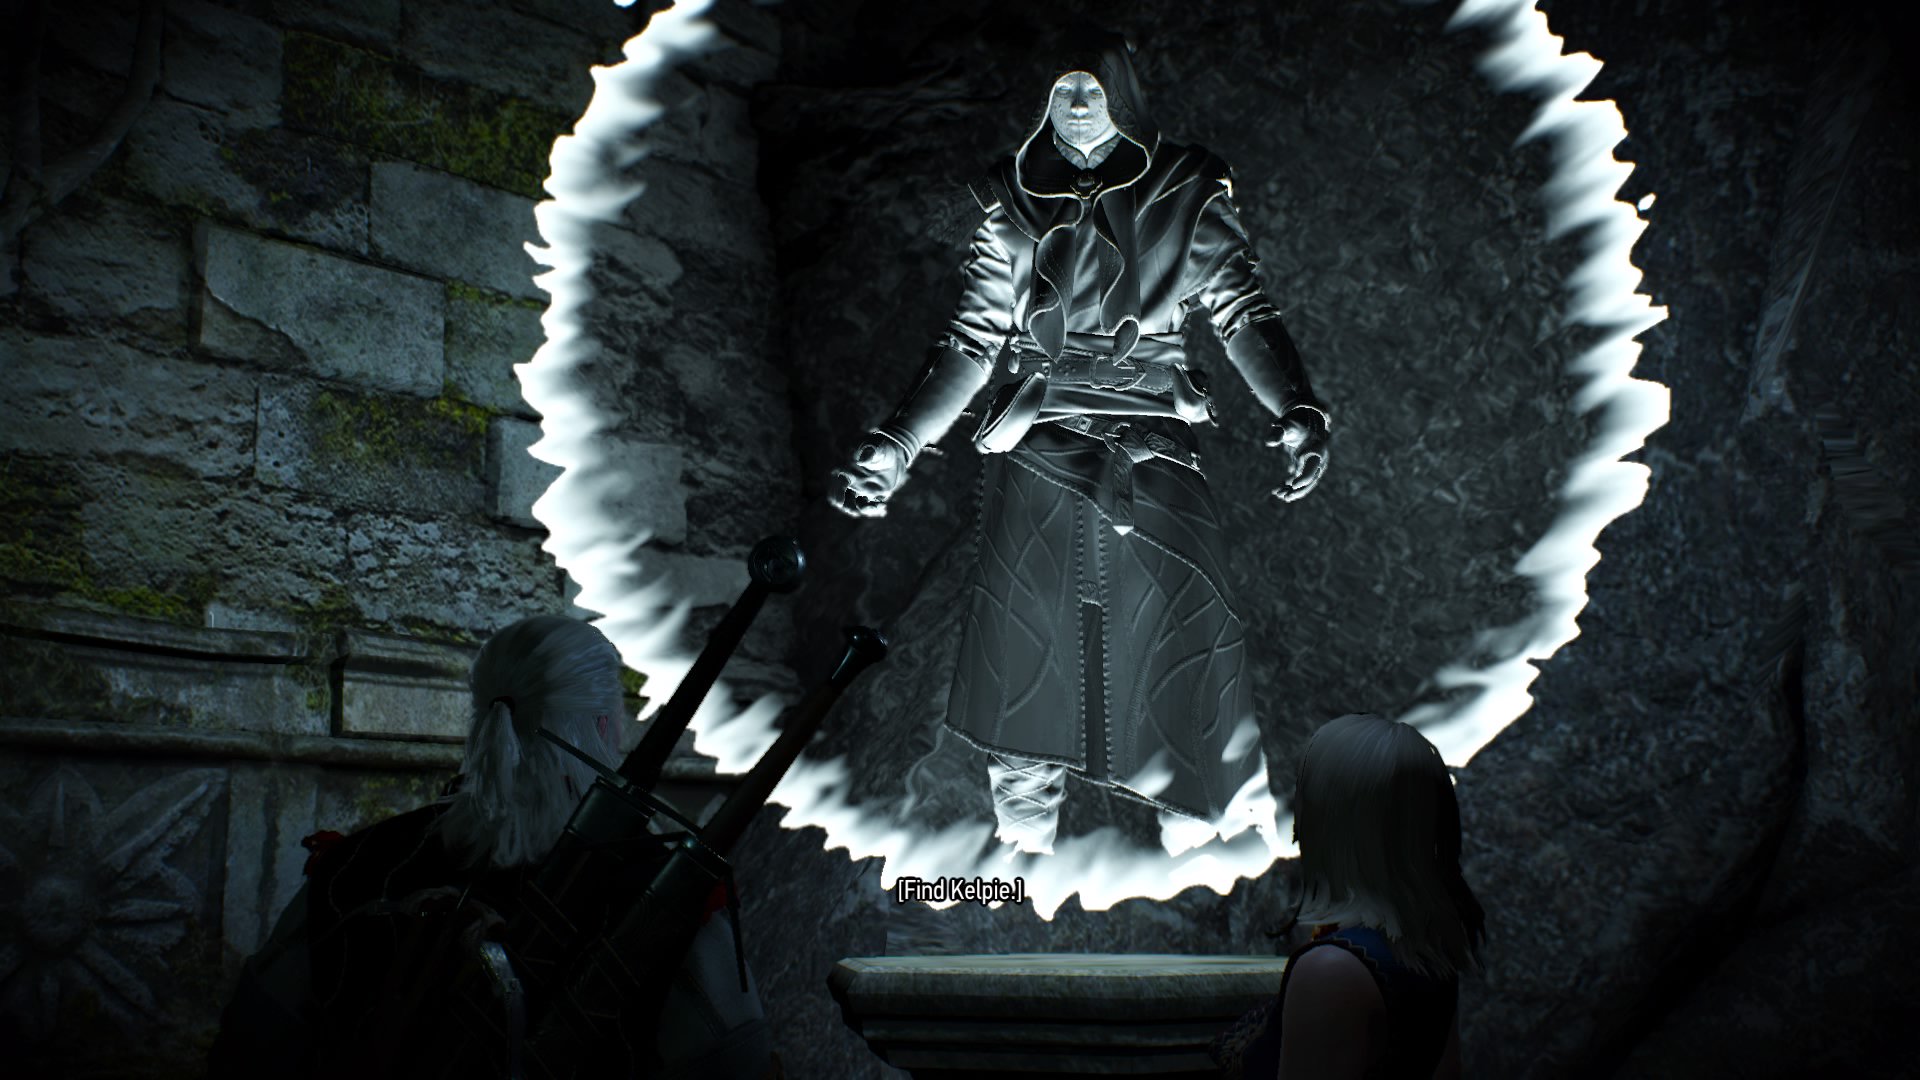
With this projection, the elven mage will give another clue that’s much more blunt than the last one: Find Kelpie. Kelpie is Ciri’s horse, so like the swallow symbols, you’ll need to find a symbol in the shape of a horse.
There are other symbols in this room, such as a dog. Do not examine these symbols, as doing so will trigger an explosion that’ll send you flying or wraiths will appear that’ll resemble Geralt and Keira.
Ignore the symbols that are around you. Instead, turn your attention towards the octagonal hole in the middle of the room. Jump down into the water and right in front of you, you’ll see Kelpie.
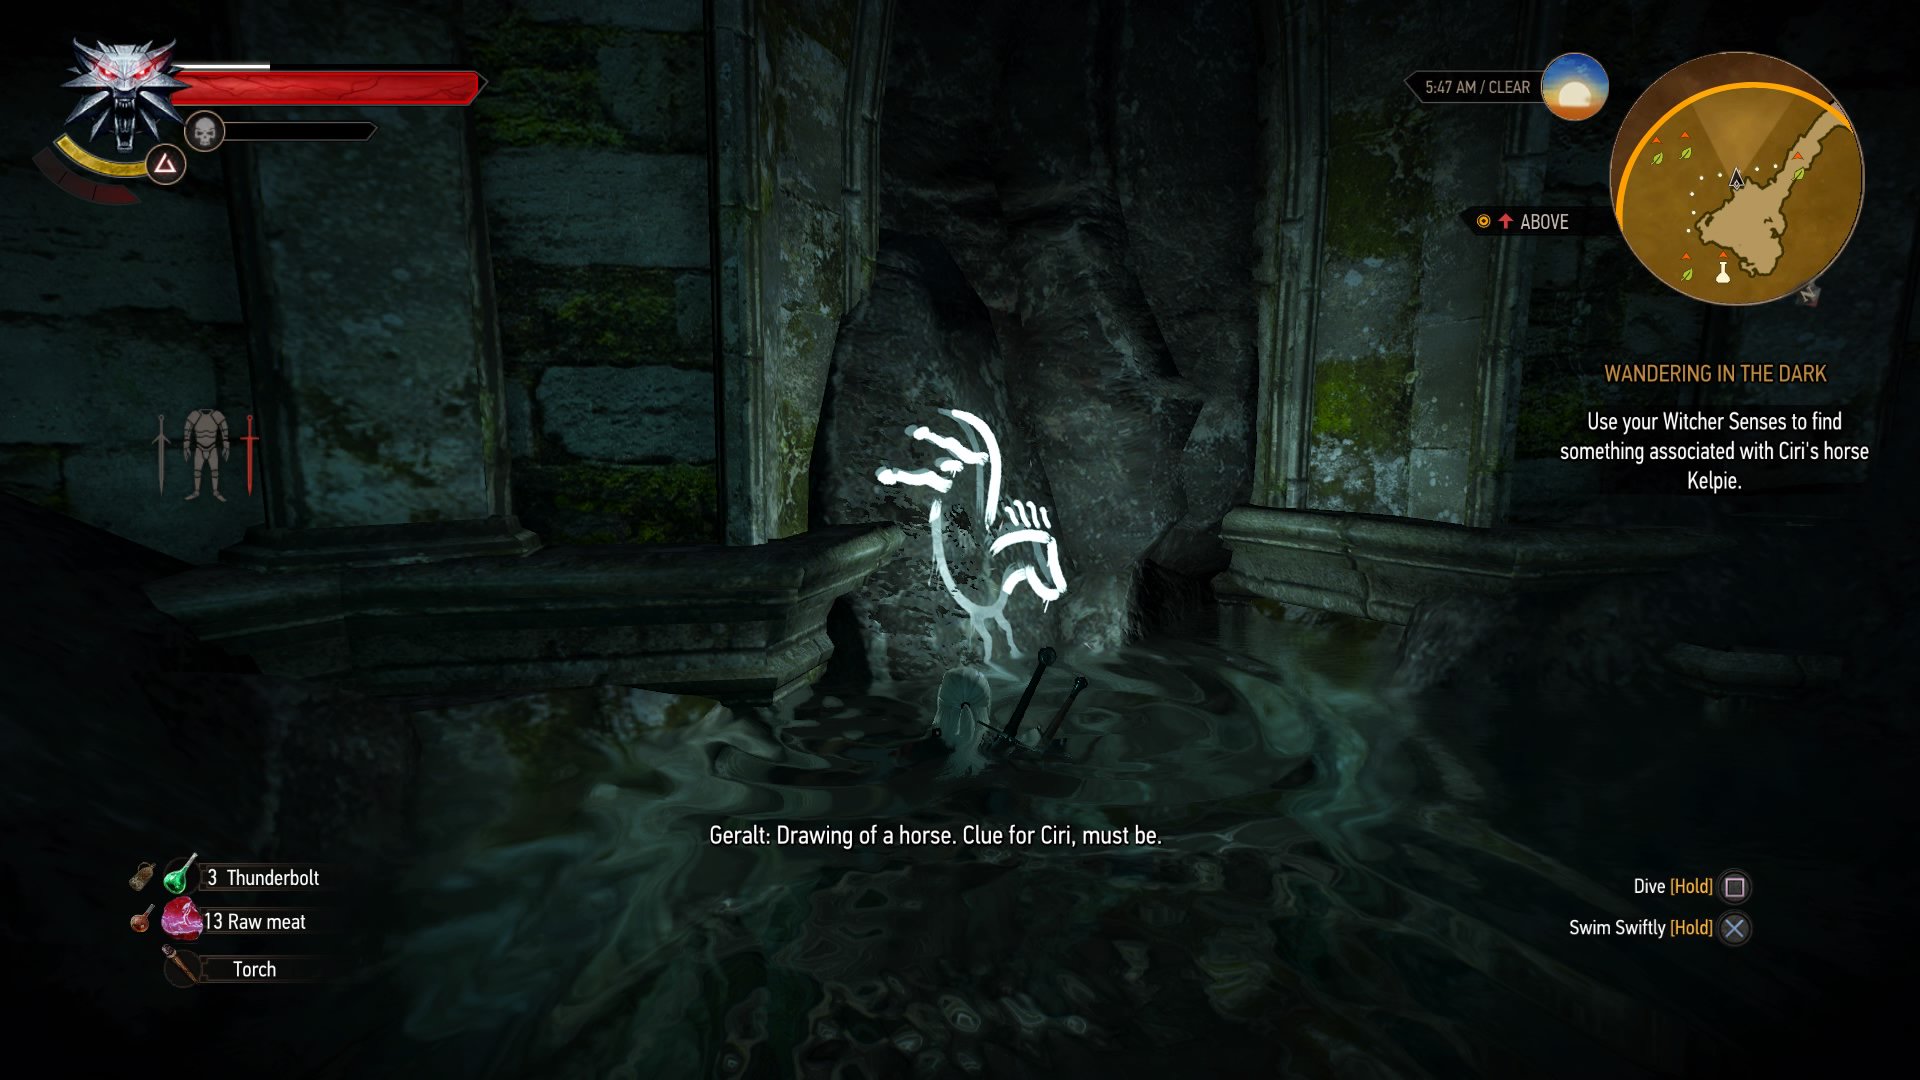
This is a good indication that you’ll have to head underwater. Do so, and follow the map until you hit a wall, then swim up to the surface. If you don’t have the Cat potion, you’ll be doing the underground sequence in almost complete darkness. Use the map to make your way through the underwater tunnel as best as you can.
Once you’ve pulled yourself up from the water, keep going forward until you see another Kelpie symbol.
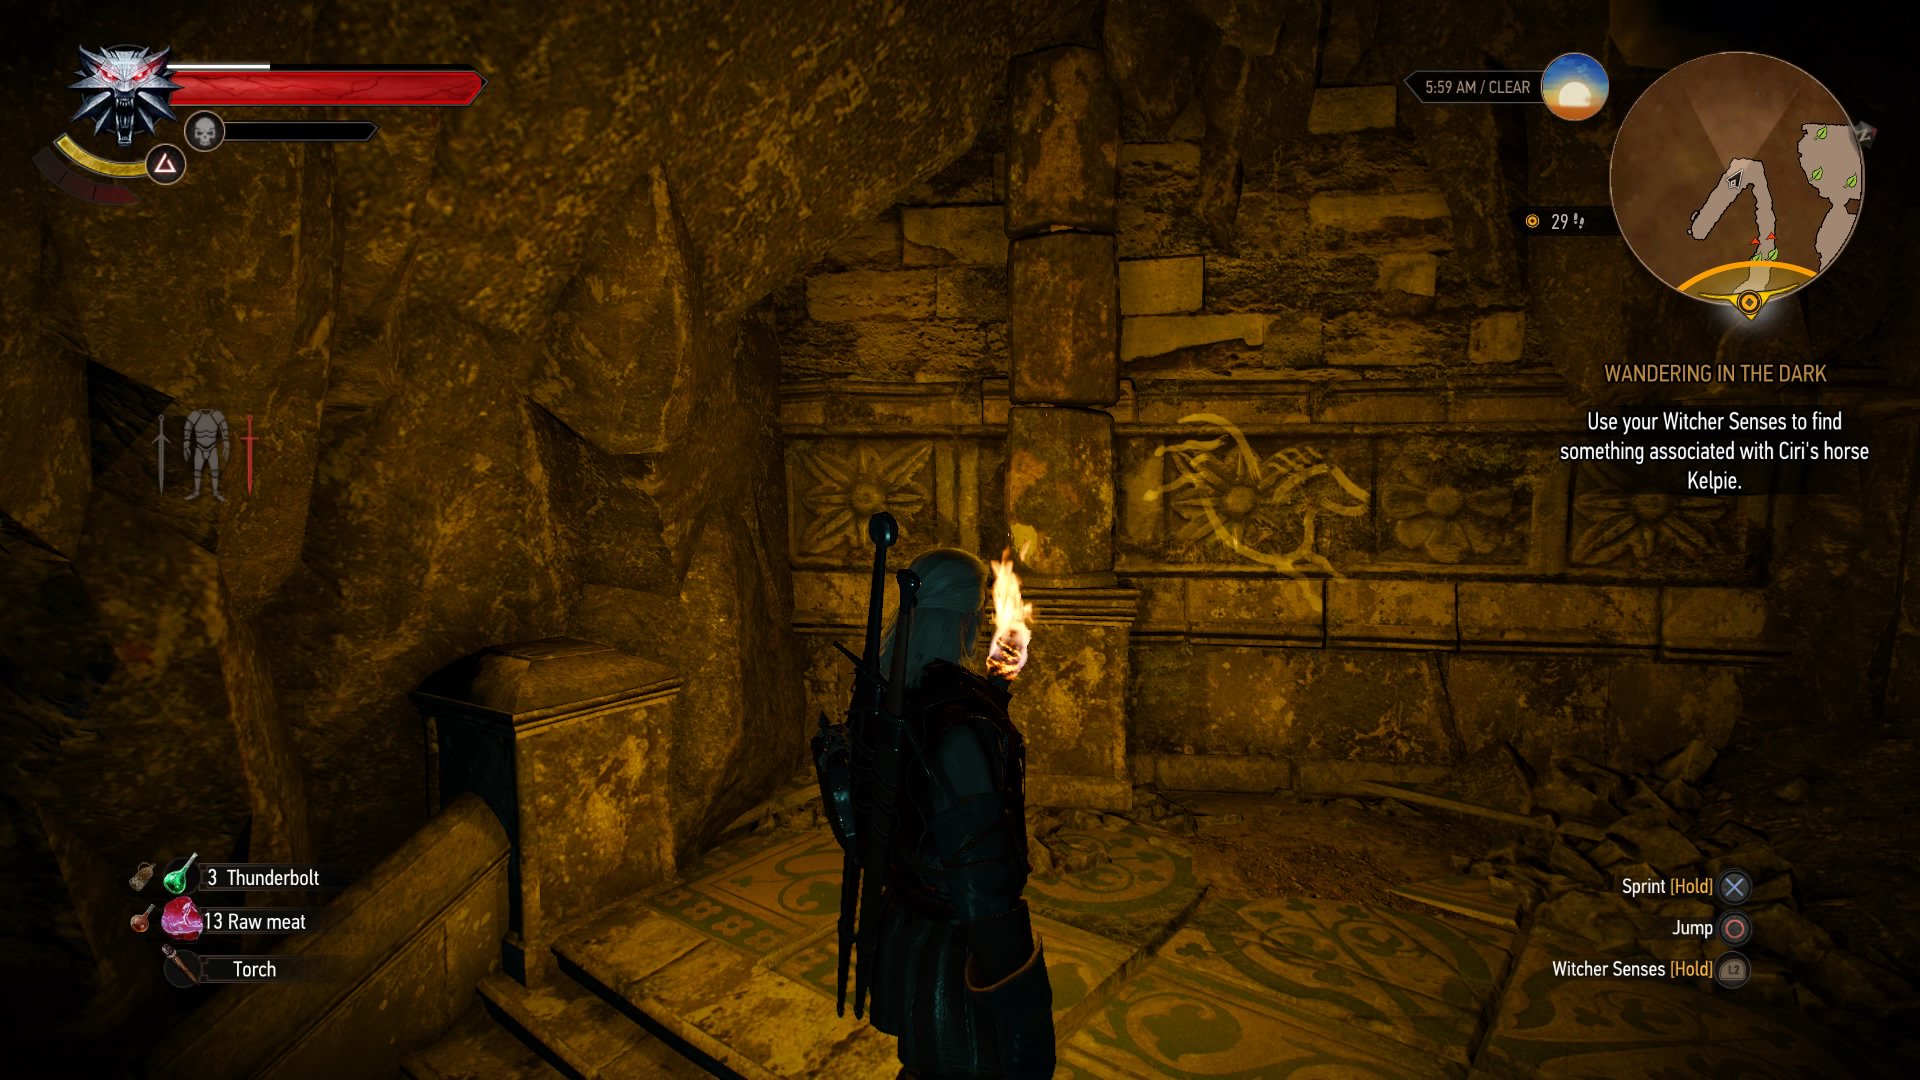
With that found, examine it and you’ll hear Keira exclaim from further up the cavern that a passage has just opened back in the room you were originally in. Rejoin her and enter the new room.
10. Activate the Portal
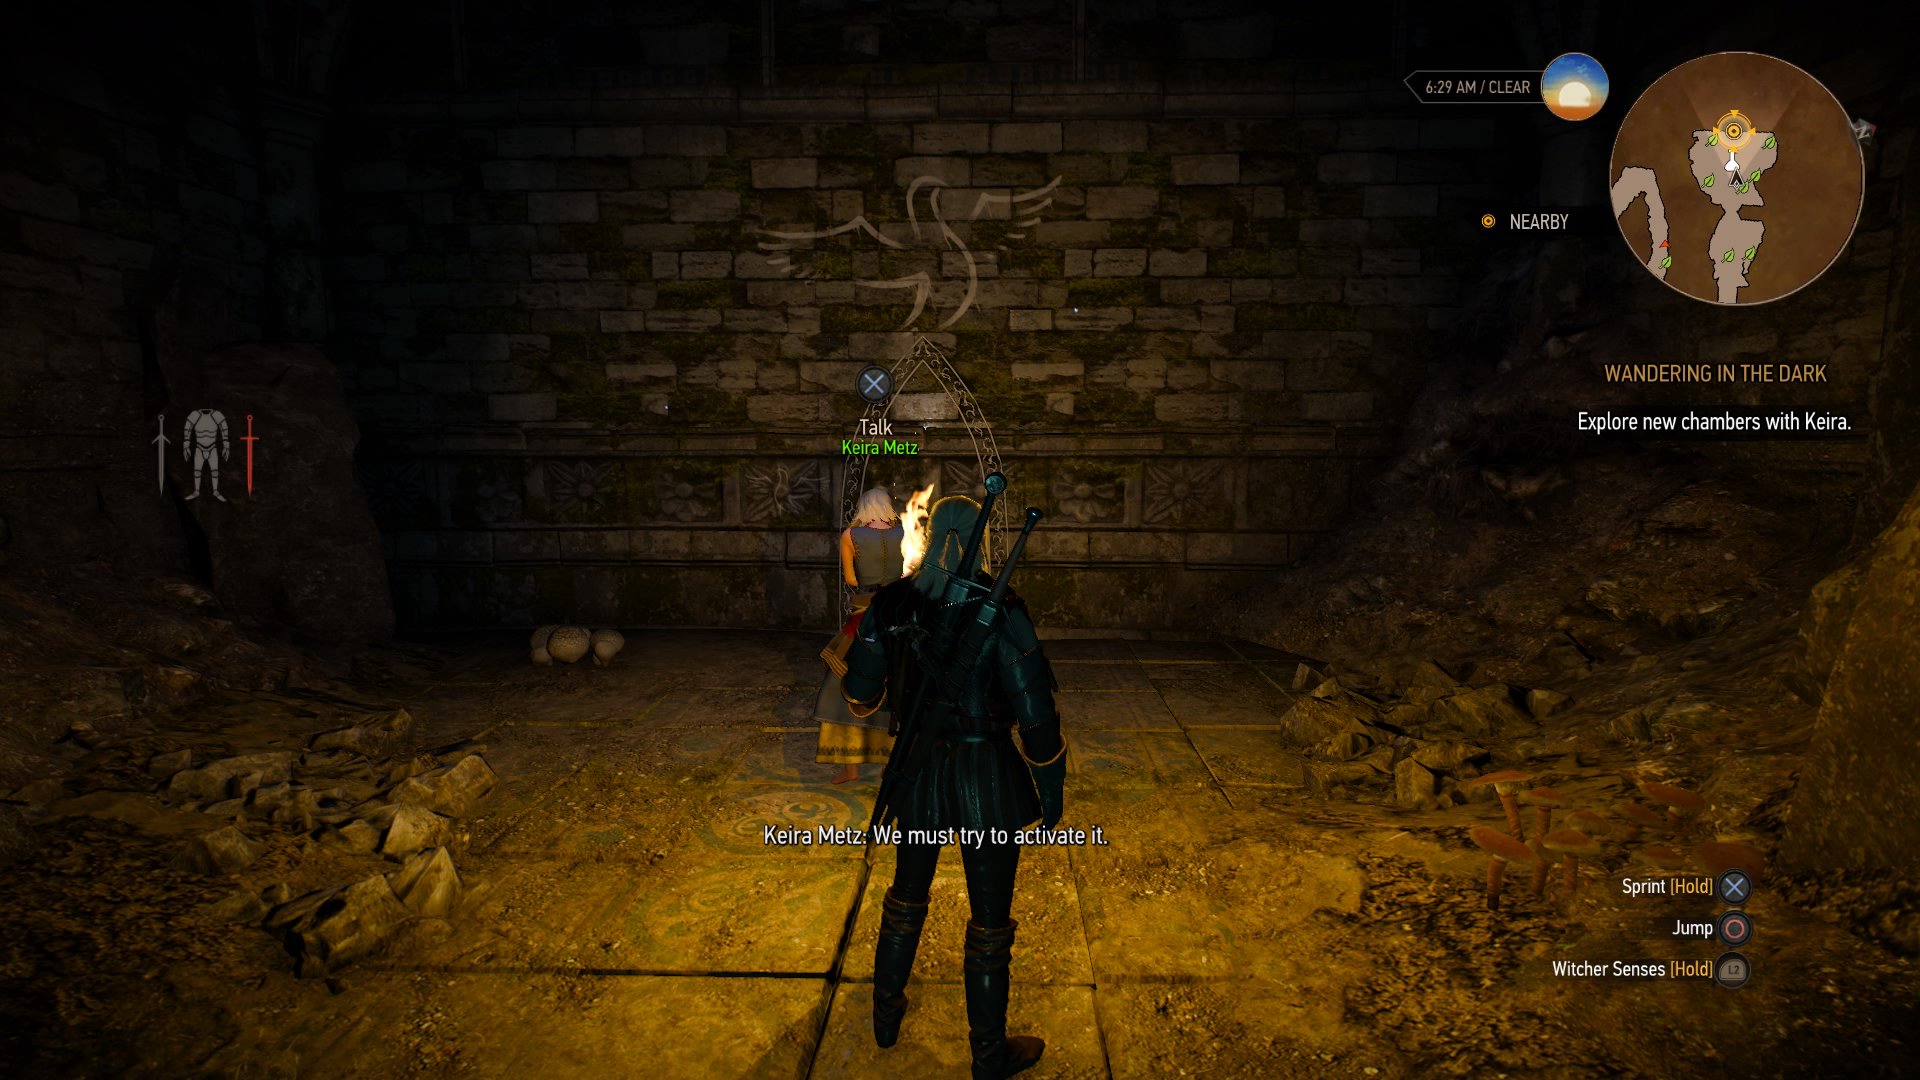
As you go through the new passage and into a new room, you’ll find a huge symbol of a swallow, a door outlined in chalk and another symbol of a swallow next to it.
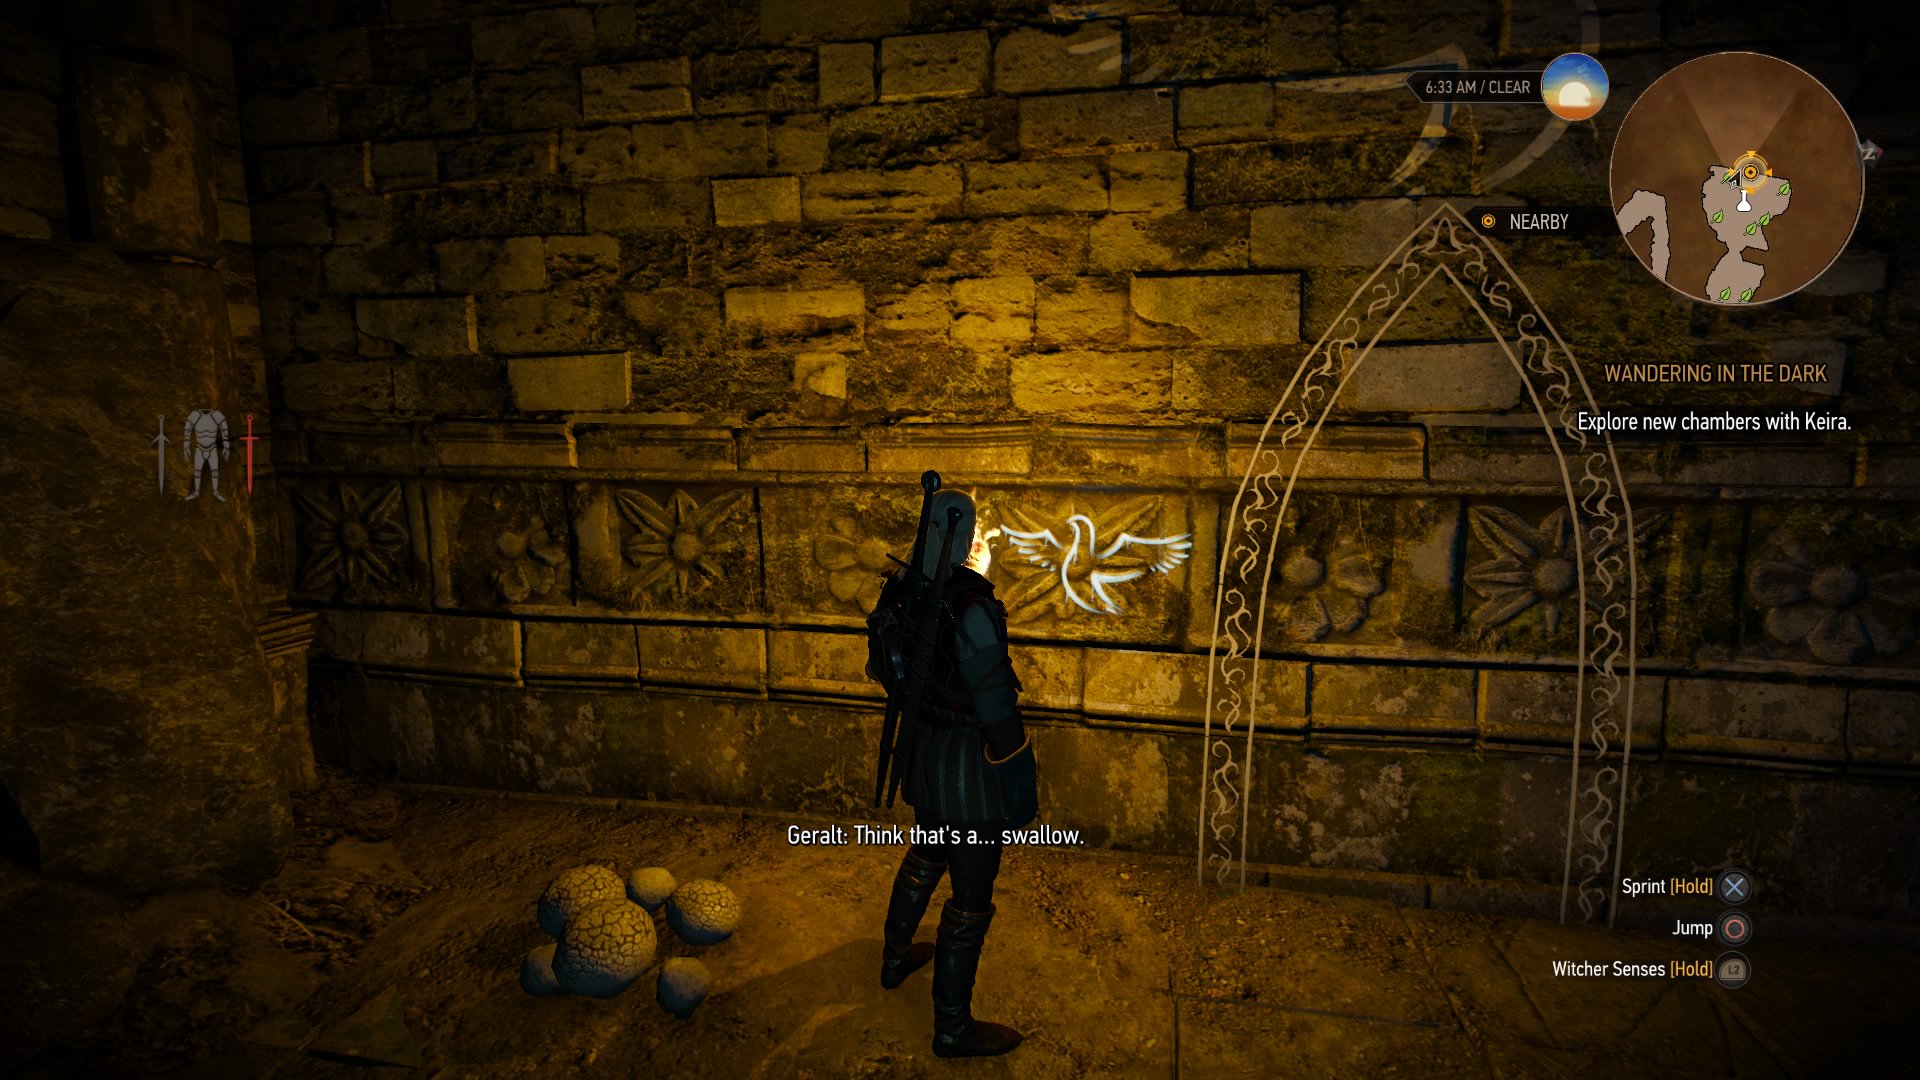
Examine the smaller swallow and it will activate the portal. Step through with Keira and you’ll be transported into another room. However, this time something is waiting for you.
11. Fight the Golem
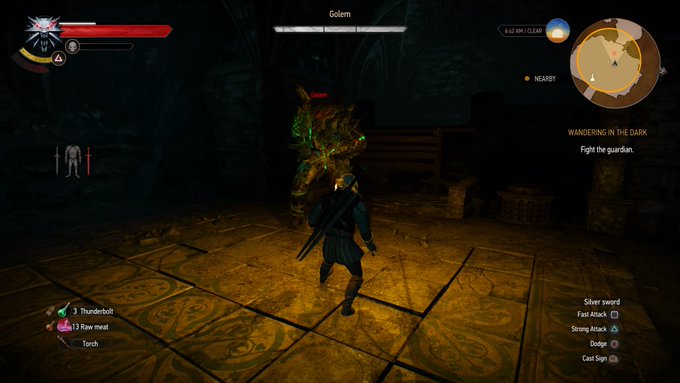
The moment you step into the new room, a Golem will activate as a defence mechanism, leaving you and Keira to fight it. Golems are weak to Elemental oil and dimeritium bombs. Use those accordingly and you should be fine. For signs, we recommend using Quen rather than Axii, as Keira will often do most of the stunning for you.
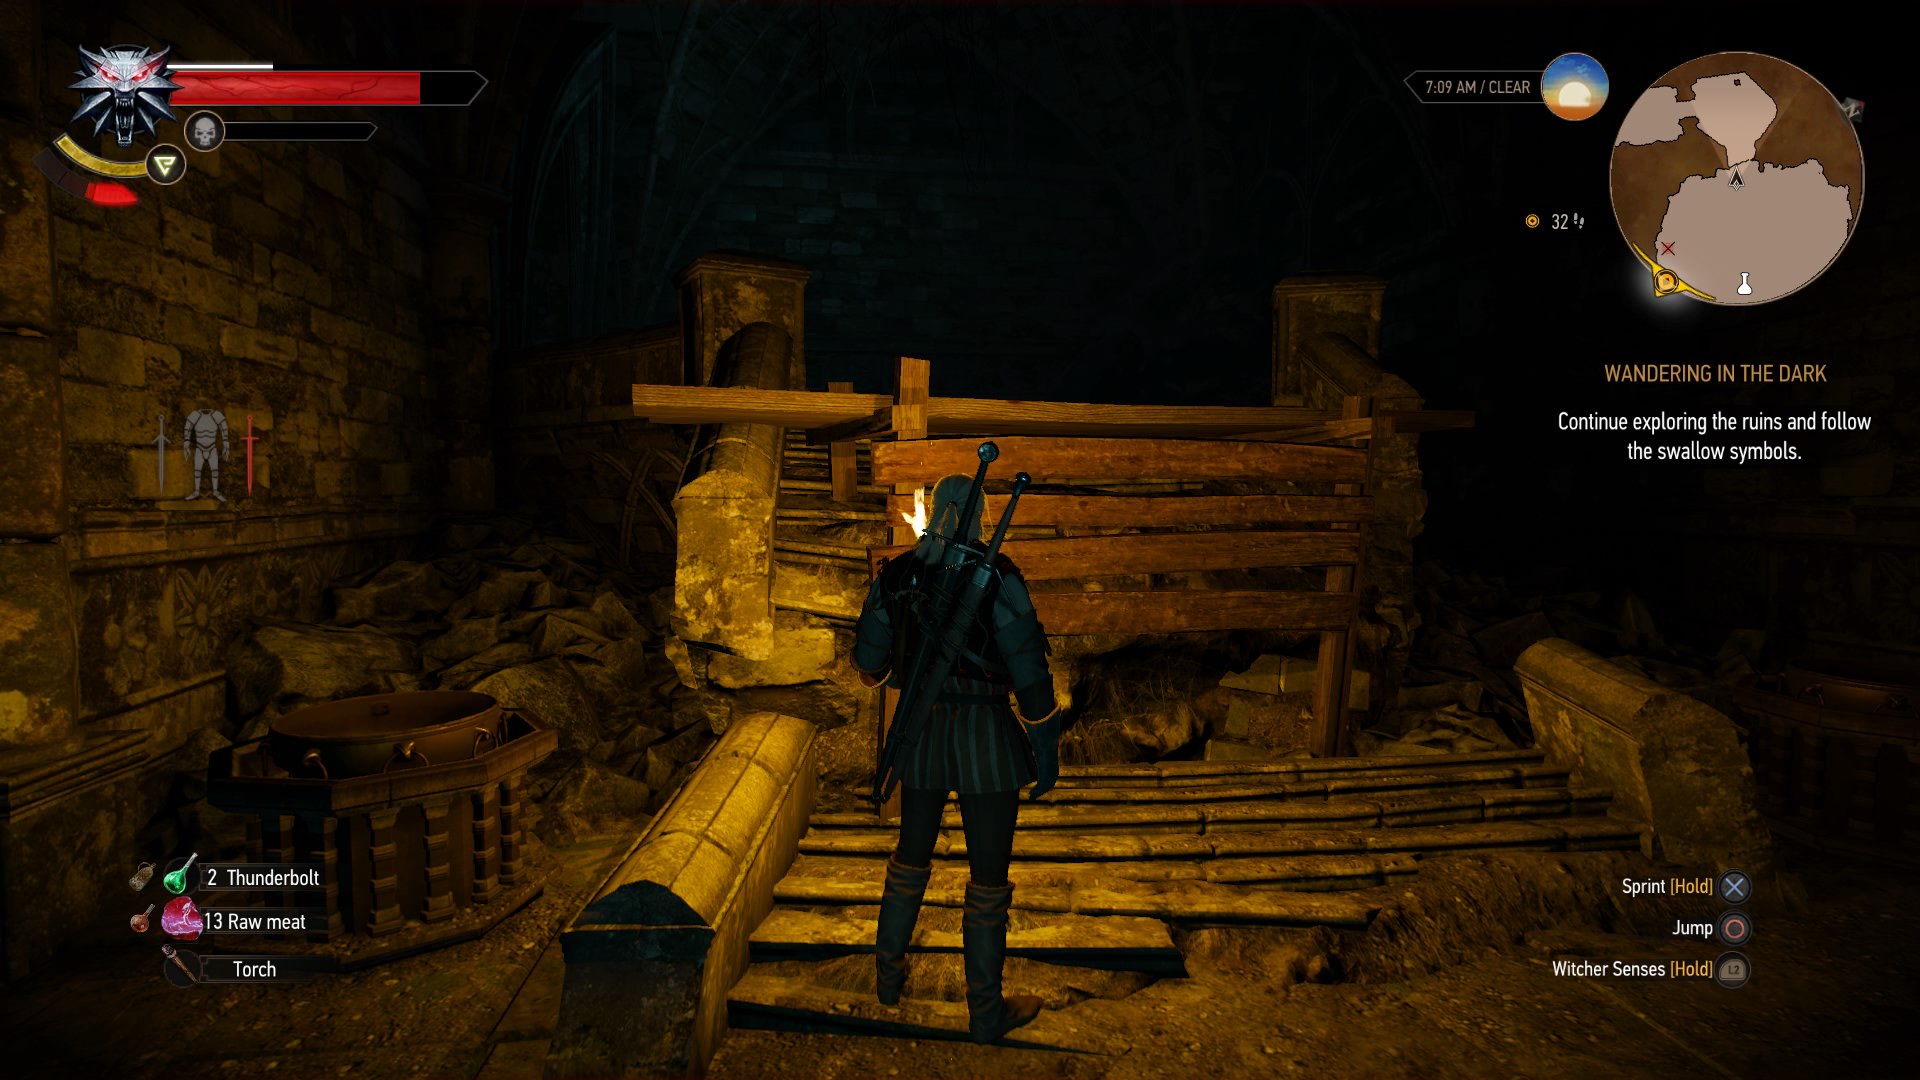
Once the golem is vanquished, look for the scaffolding and climb up it.
13. Chase after the Wild Hunt
As you continue down the passageway you’ll eventually reach a part where the pathway splits off into left and right. Go left, as the right will lead you into a trap where you’ll have to fight a gargoyle.
Going left will take you to yet another swallow portal. Examine it and you’ll be taken to the location where the Wild Hunt was before the portal mishap.
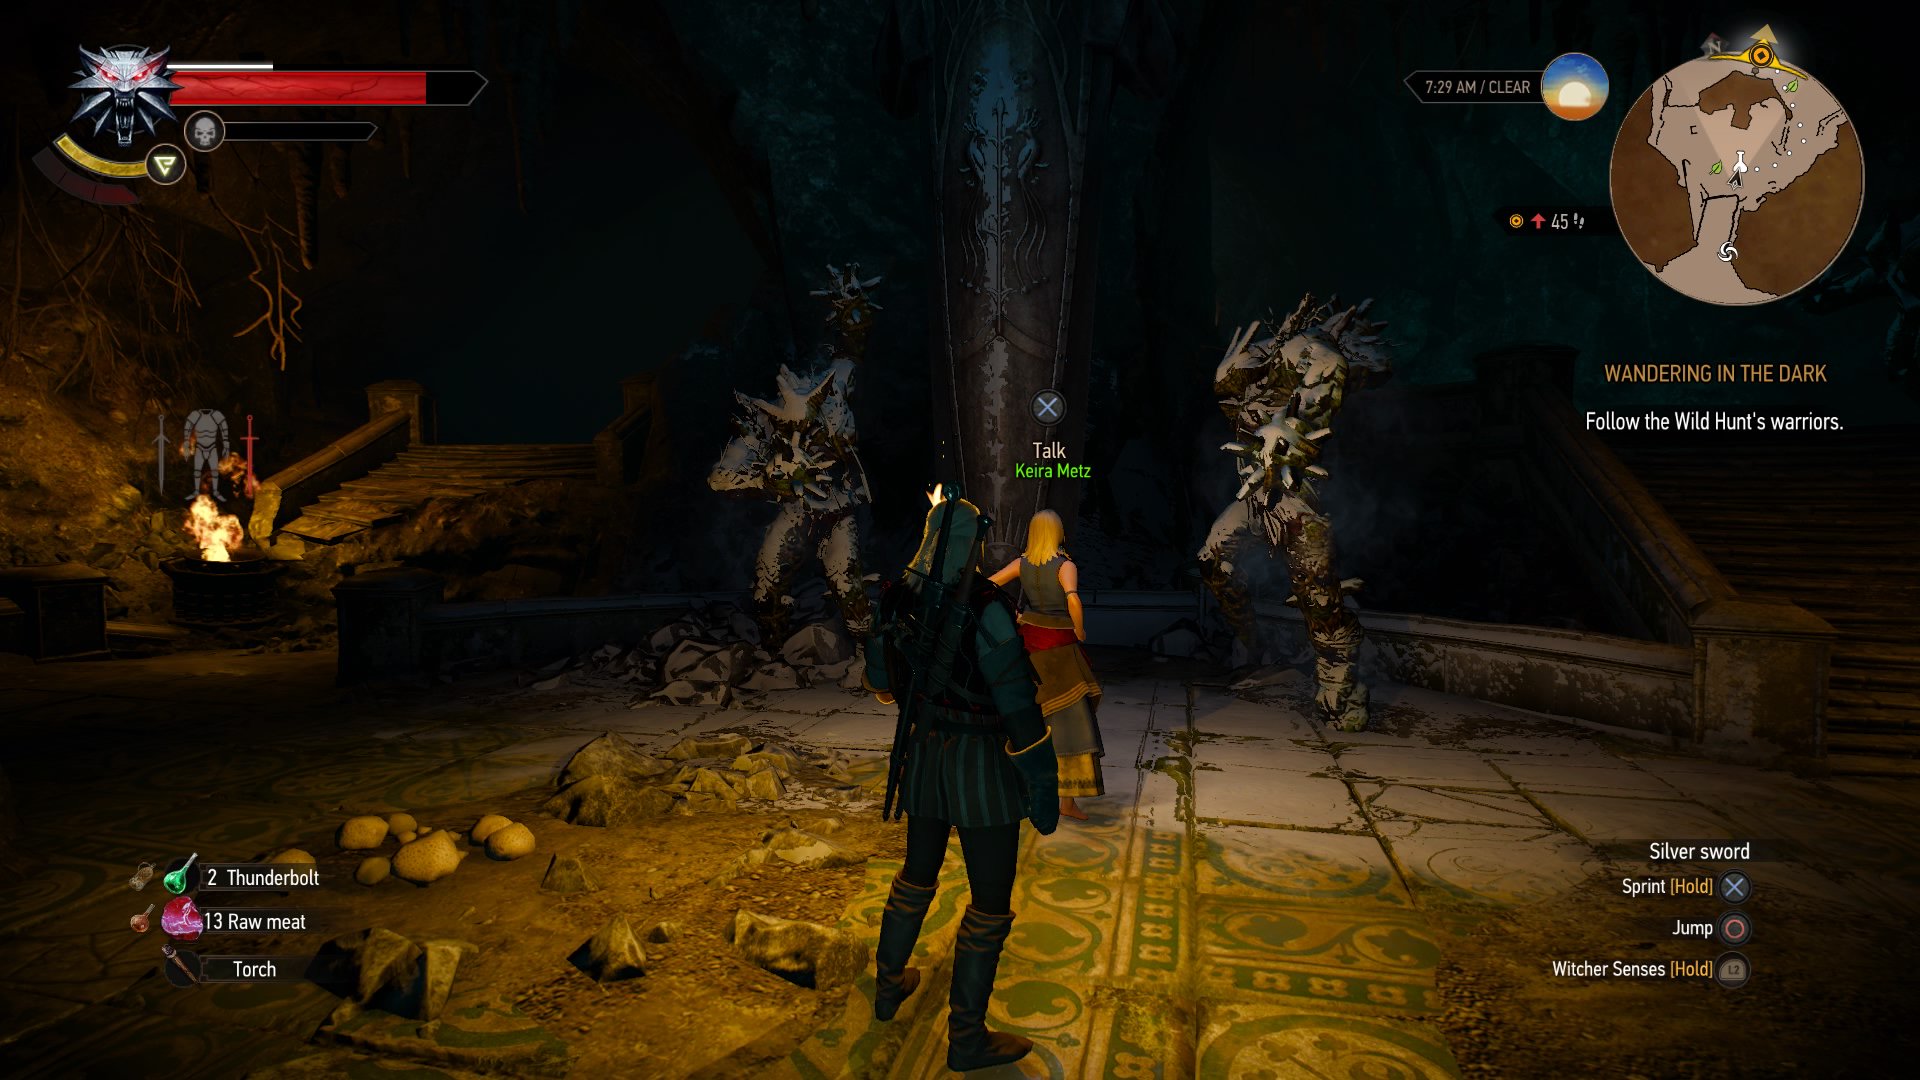
Keep going forward and you’ll notice that a number of the elven mage’s sentries have been frozen solid by the Wild Hunt’s magic.
Keep going forward until you get to a room on the left. There, a cutscene will trigger. It will show Keira and Geralt arriving in a chamber, just in time to see that the Wild Hunt are opening up another portal.
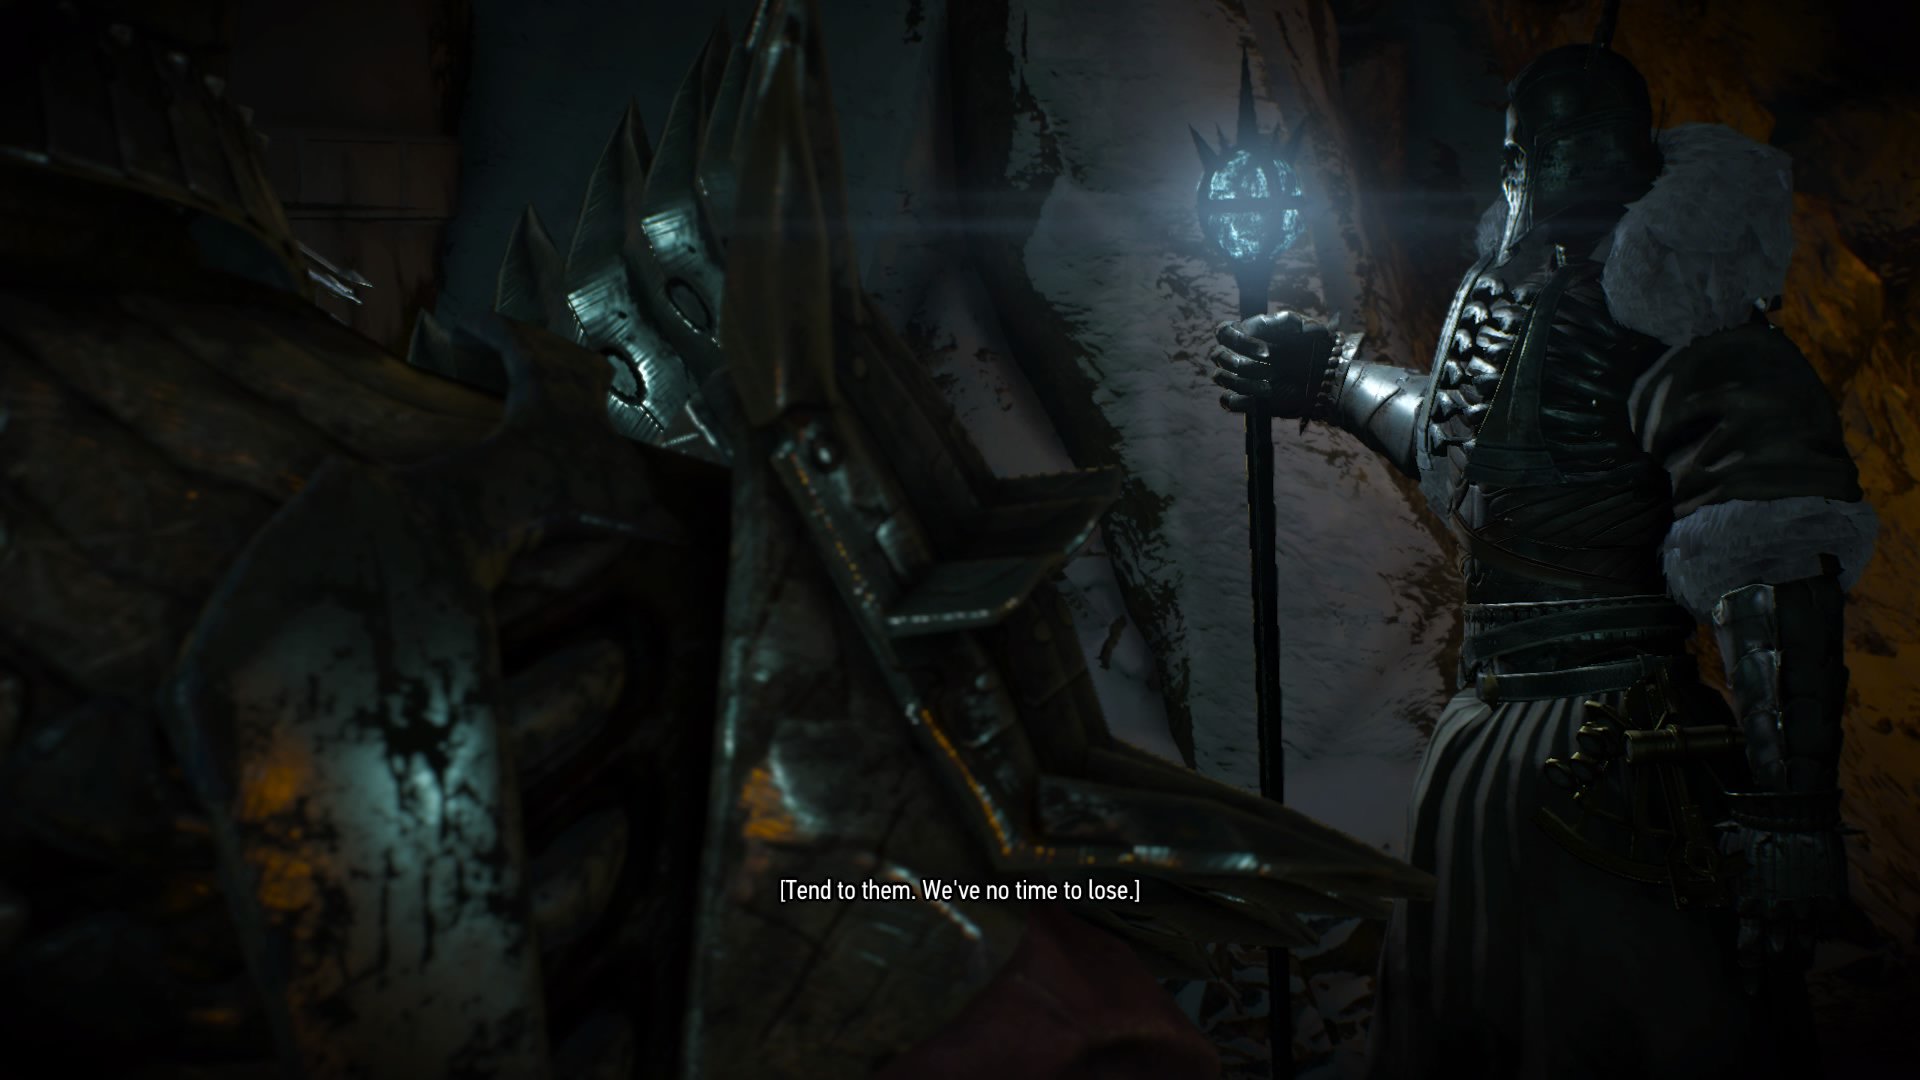
They’ll eventually leave, but not before one of them opens up a portal to The White Frost, a catastrophic winter that freezes everything it comes into contact with.
It’s up to you and Keira to close those portals and catch up to The Wild Hunt.
14. Protect Keira
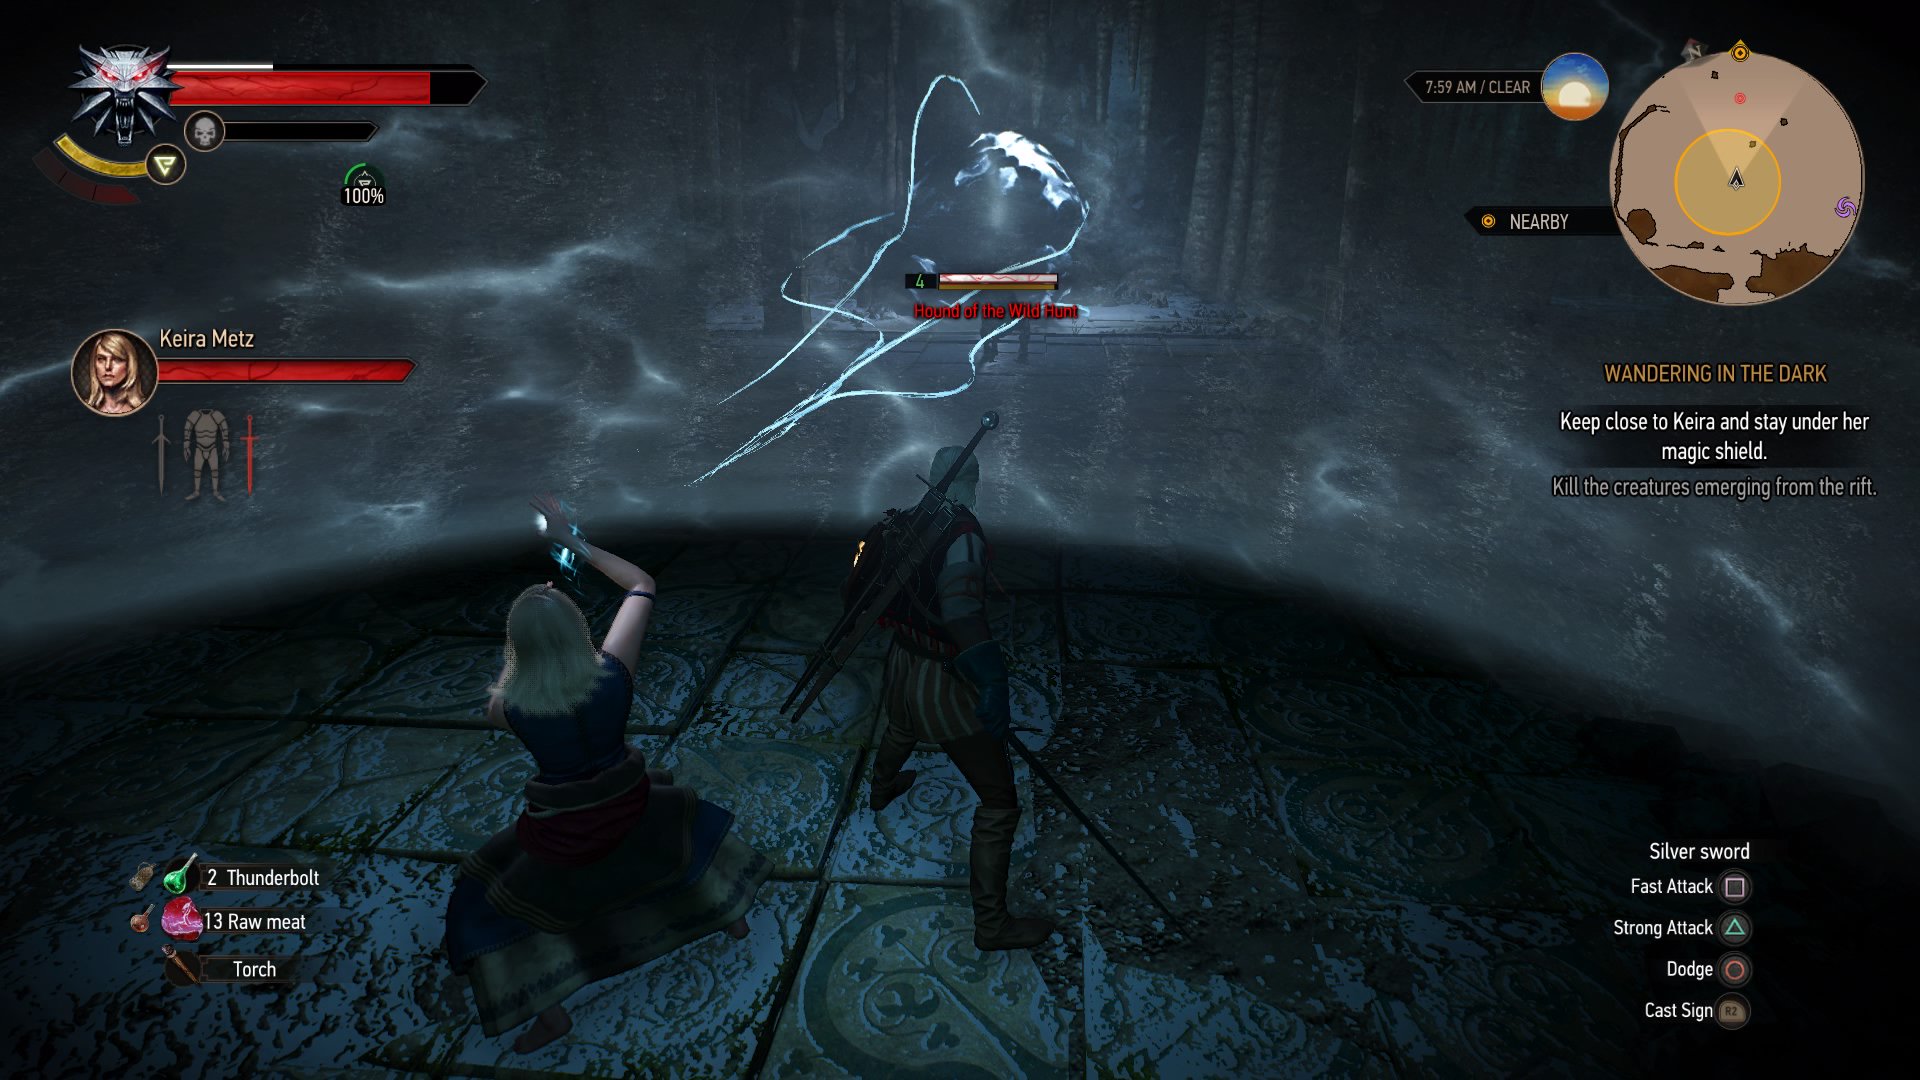
Keira puts up a protective shield for the both of you to stay under as you make your way to each opened portal. The only issue is this: Wild Hunt dogs keep appearing out of the portal, and are eager to put you both down. No matter what you do, stay inside Keira’s shield. Going outside of it can mean certain death depending on your health. Use Quen to give you more of a chance against the dogs. The portal will eventually close, and you’ll have to do the same for the last two portals.
15. Follow the Wild Hunt
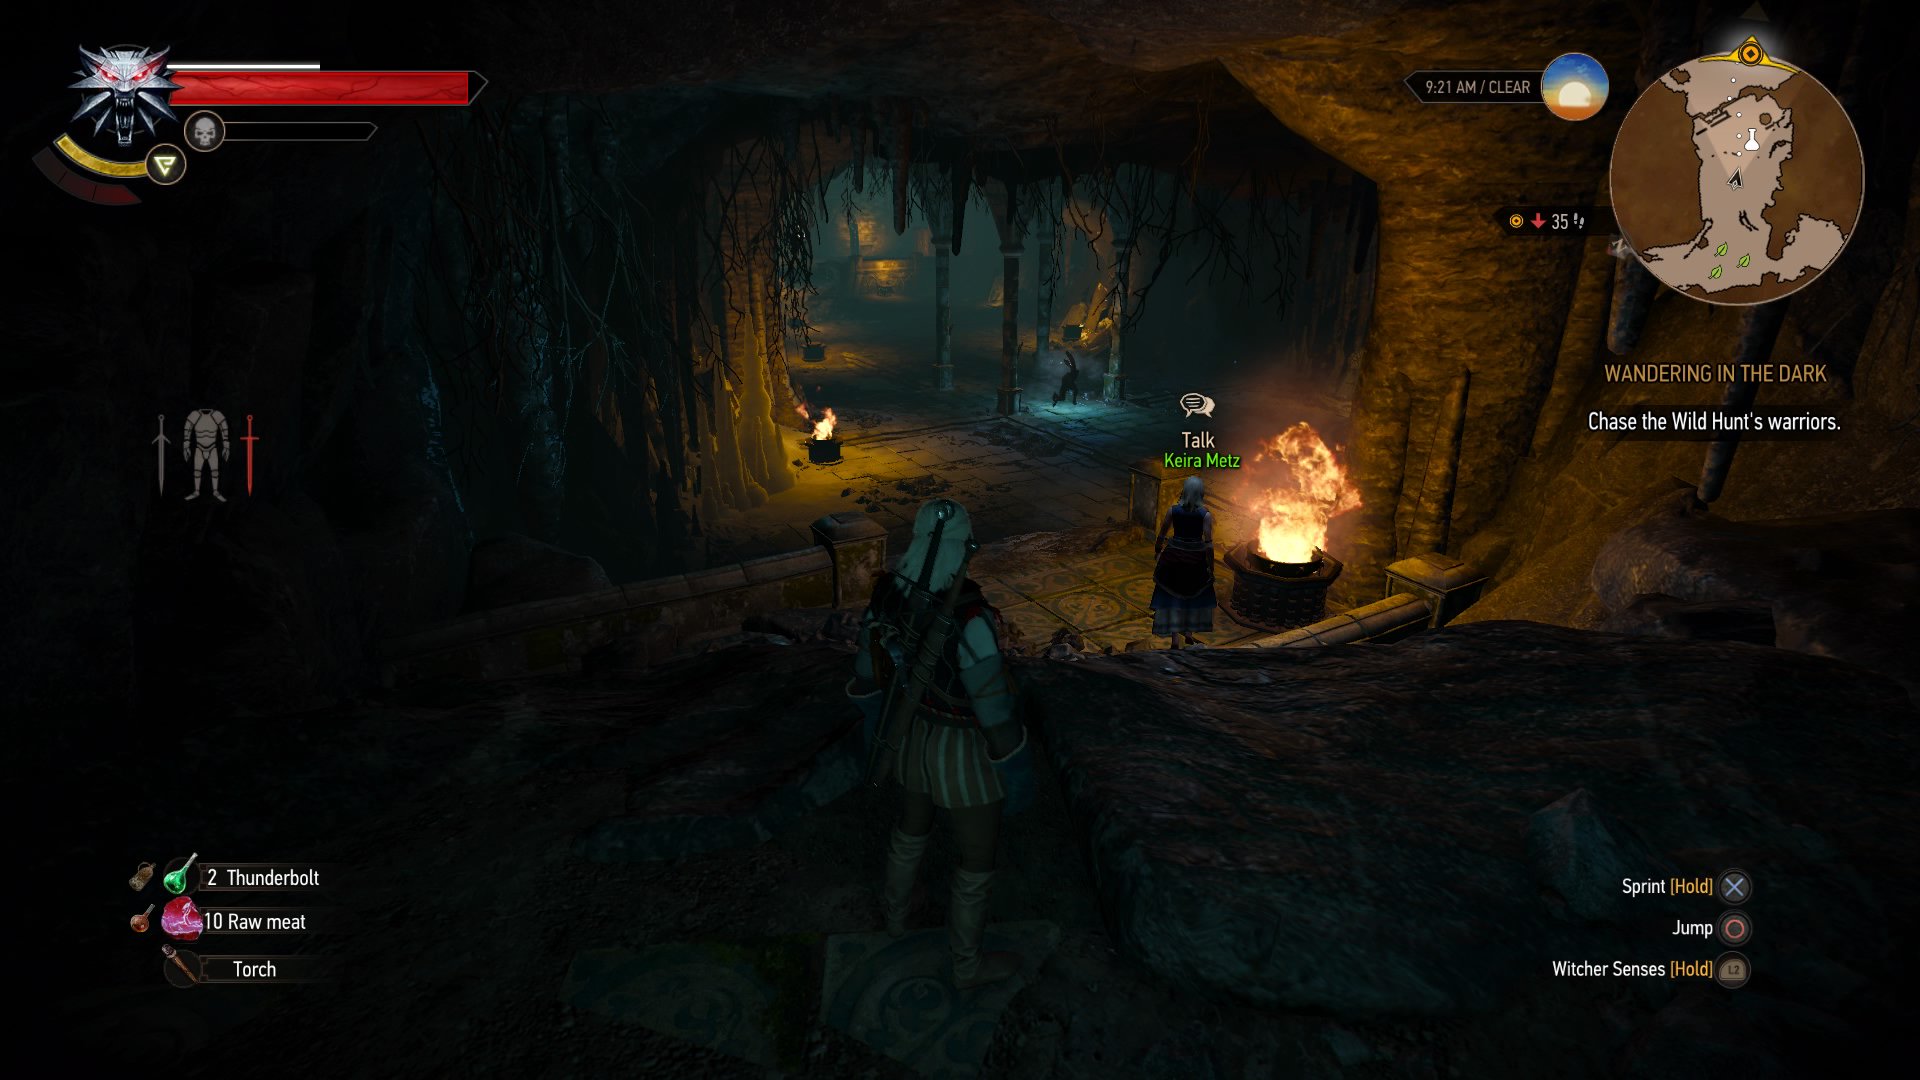
Once you’ve finished closing the portals and reassuring Keira, leave the chamber and have Keira open up a blocked passage. Make your way through the passageway, turn left and you’ll enter yet another chamber where a lone Wild Hunt warrior awaits you.
16. Fight Nithral
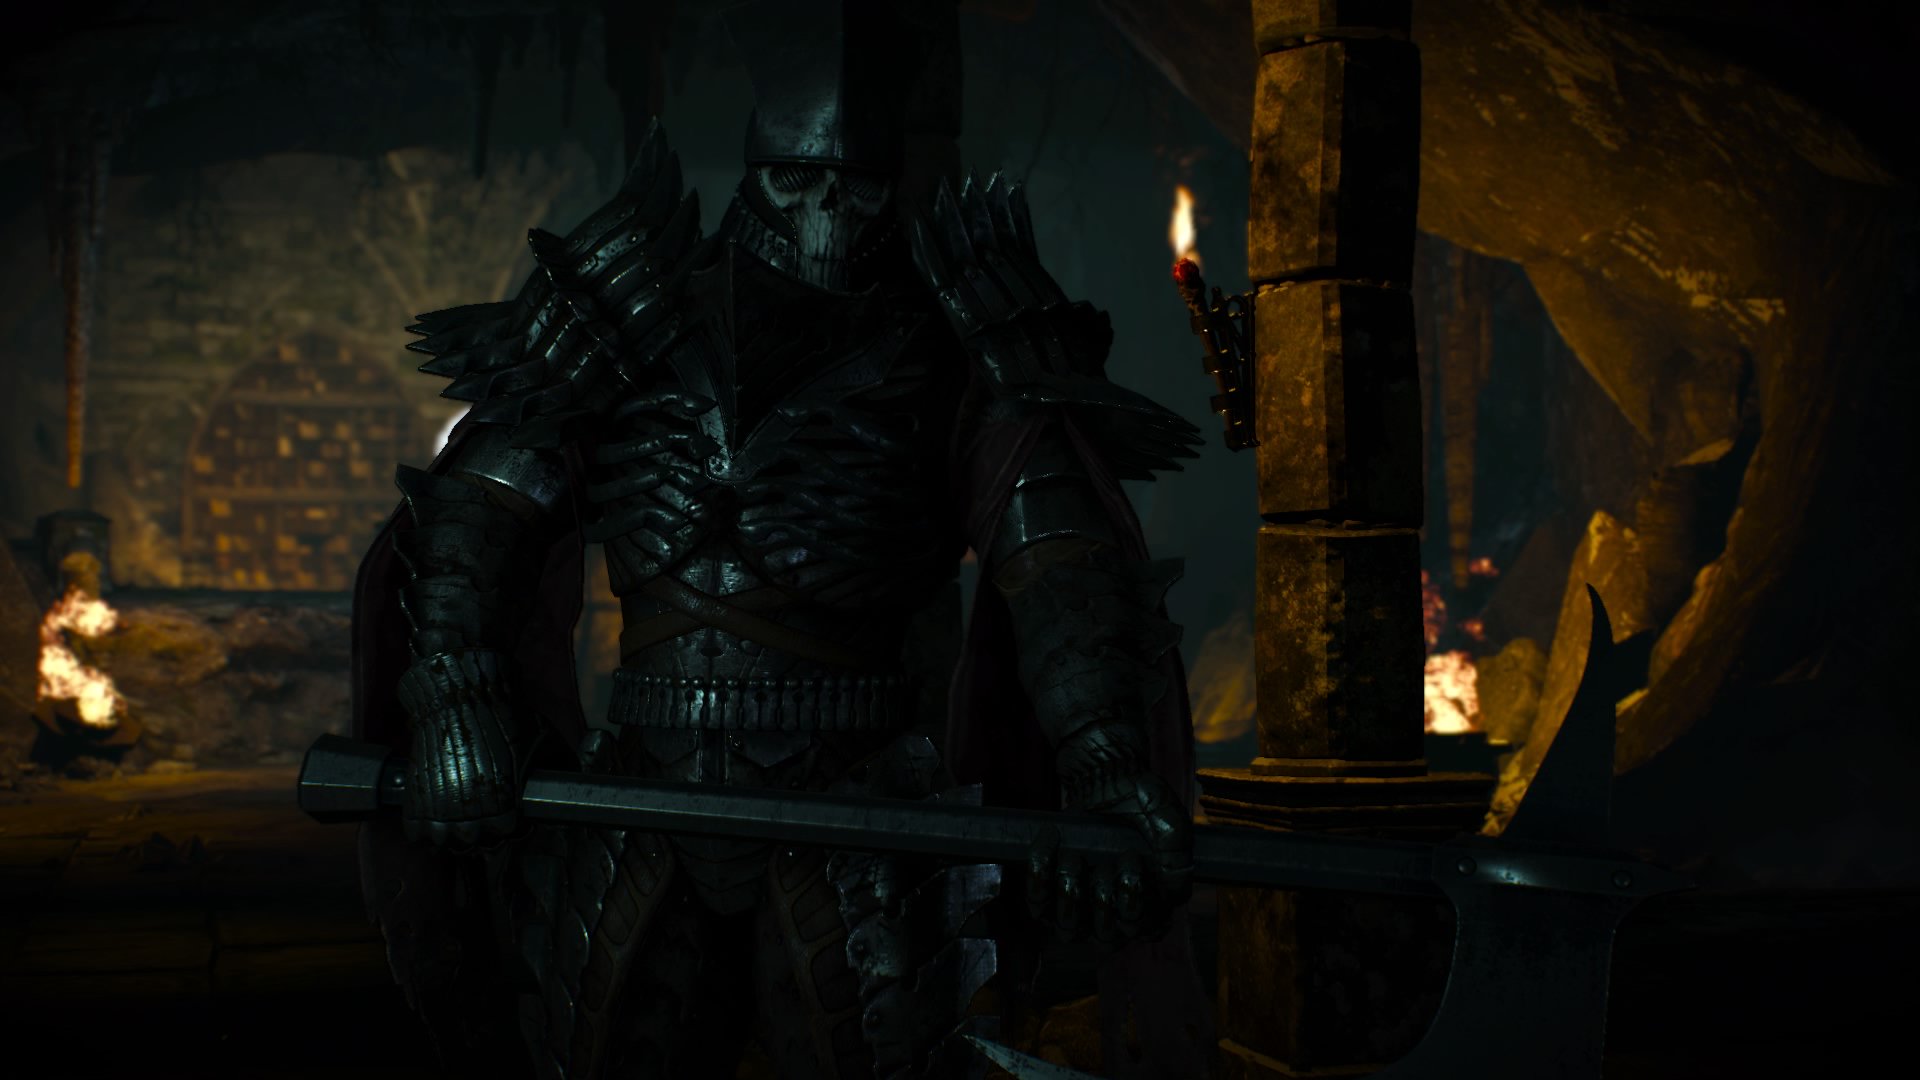
Nithral is a powerful enemy, but his attacks are incredibly slow due to him having a two-handed weapon. For this fight, we recommend ducking and weaving around him as best as you’re able to. The best sign for this battle is Quen, as using Axii will only stun him for a second or two before Keira knocks him straight out of it.
As for potions, we used Thunderbolt, which increases your attack power enough that when you dodge behind Nithral and attack you can take a huge chunk of his health away.
But don’t get too comfy, because halfway through the fight, Nithral will summon a protective bubble to heal himself. Even worse, he’ll call out more hounds of The Wild Hunt to keep you busy.
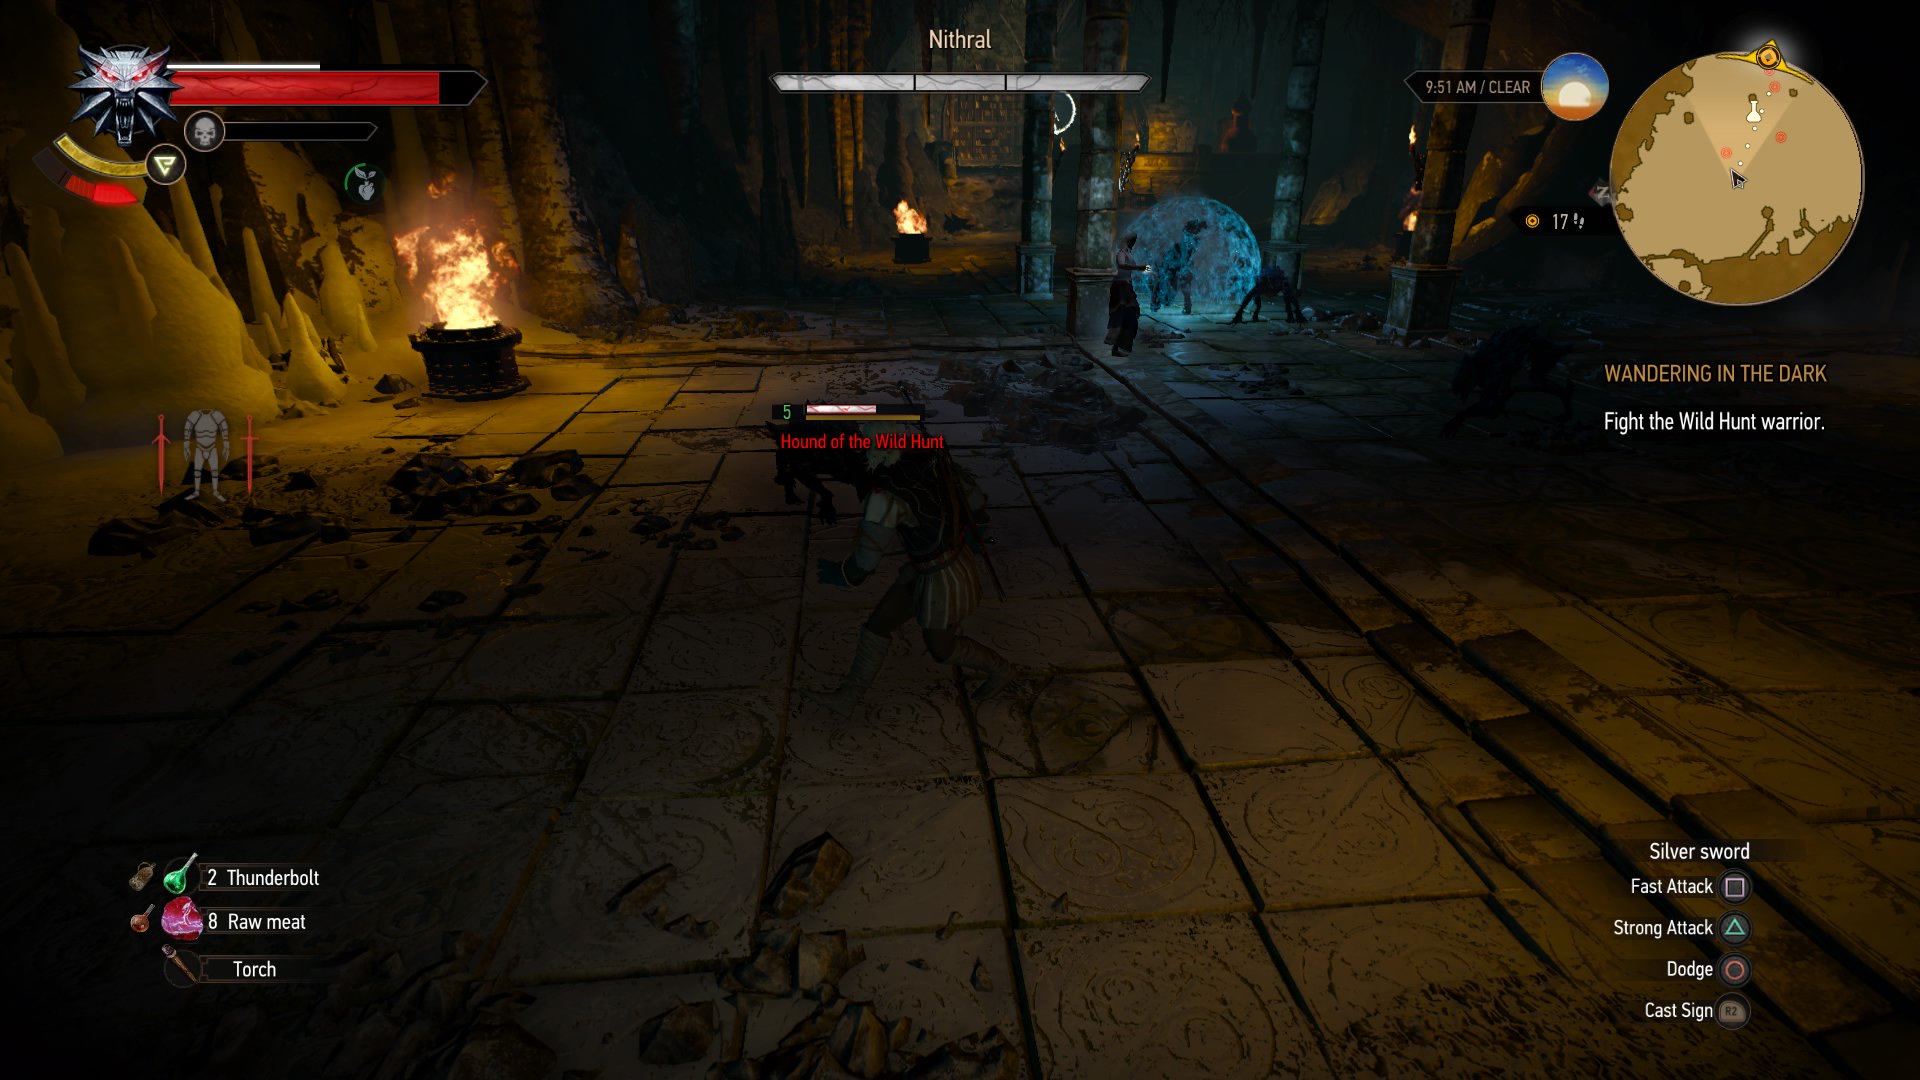
Get rid of the hounds quick, as Nithral can heal himself up to full health depending on how long you take to dispatch the dogs. Do not attack Nithral’s bubble. Doing so will cause Geralt to be thrown back and you’ll lose a chunk of health.
Once the dogs are dealt with, keep attacking Nithral until he’s finally deader than a doornail. Loot his corpse and look for more information in the chamber.
17. Listen to the Projection
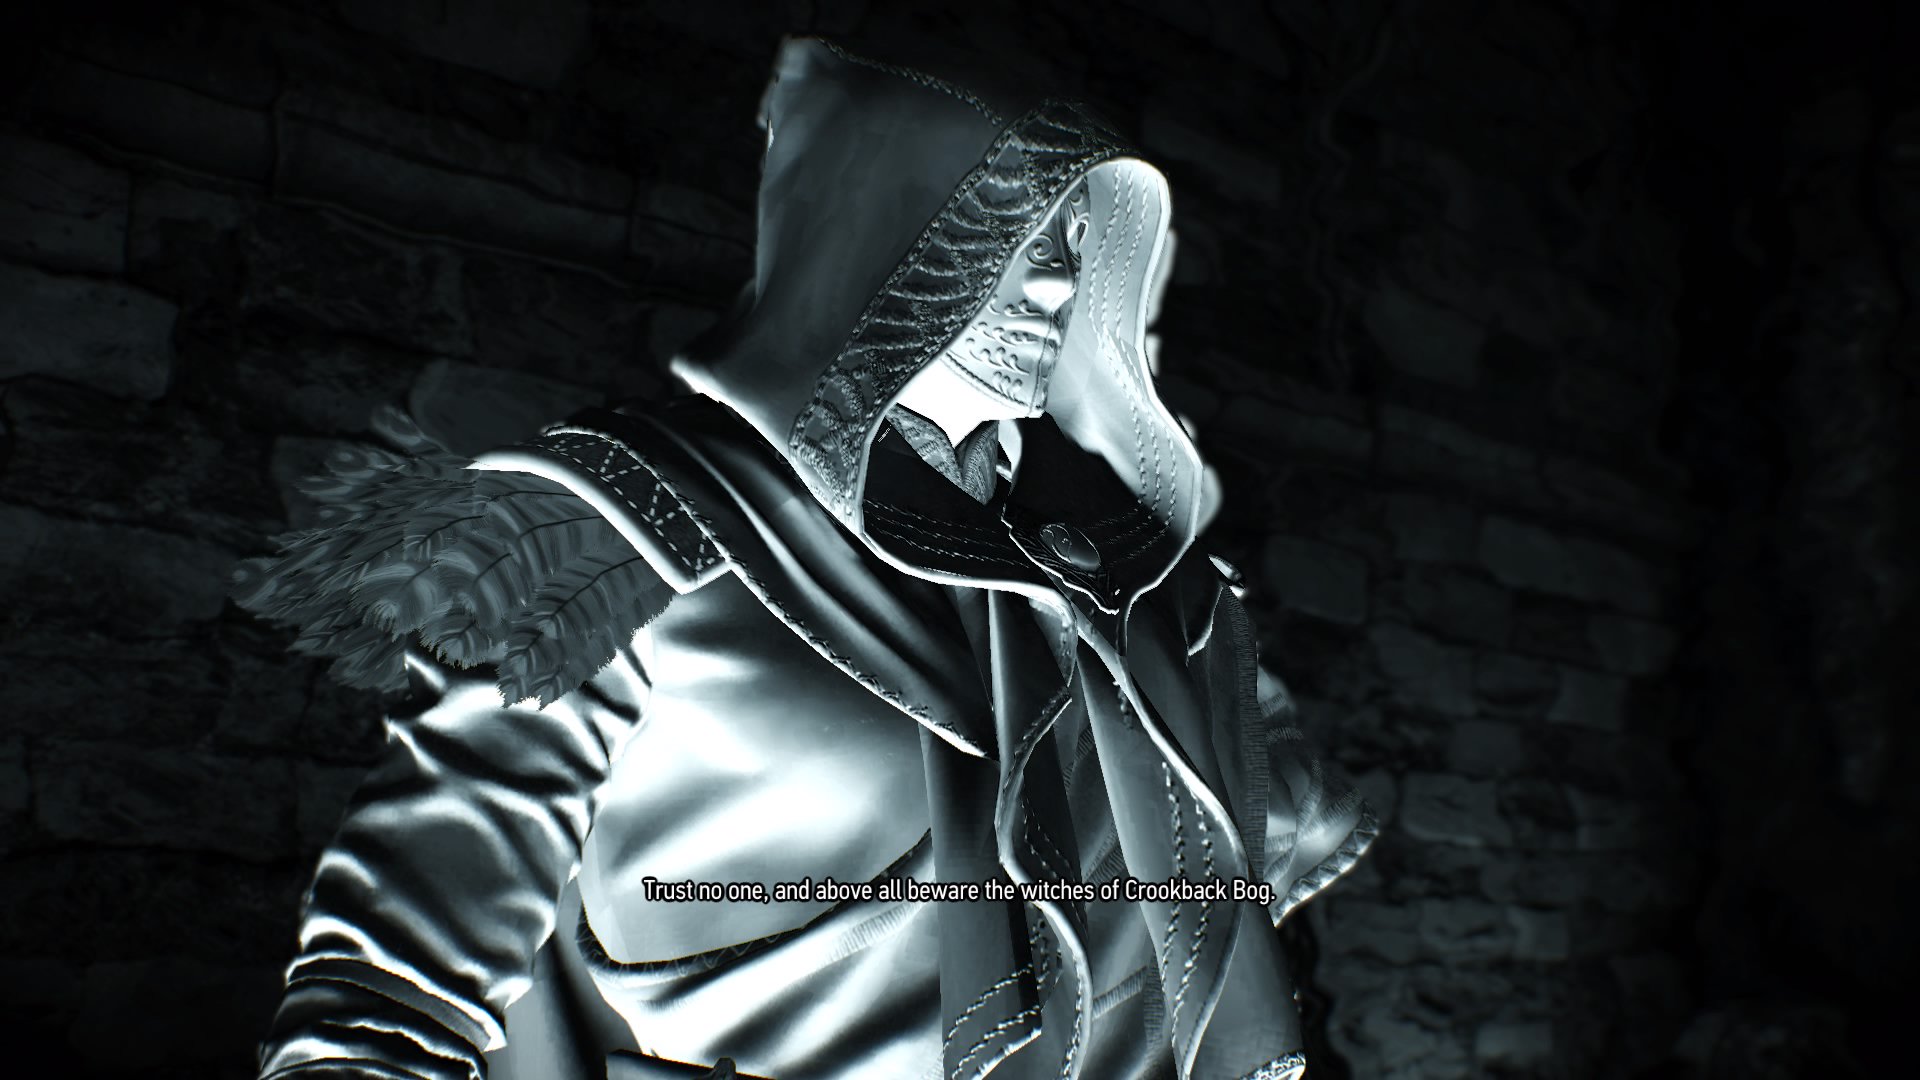
As you explore the chamber, you’ll come across another projection. He’ll tell Ciri to meet where they were last together, which leads to what Geralt believes to be a dead end.
But that’s not all he mentions: the witches of Crookback Bog are to be avoided, but considering that Ciri 'quarreled’ with a witch, they might be your best lead.
18. Look for a way out
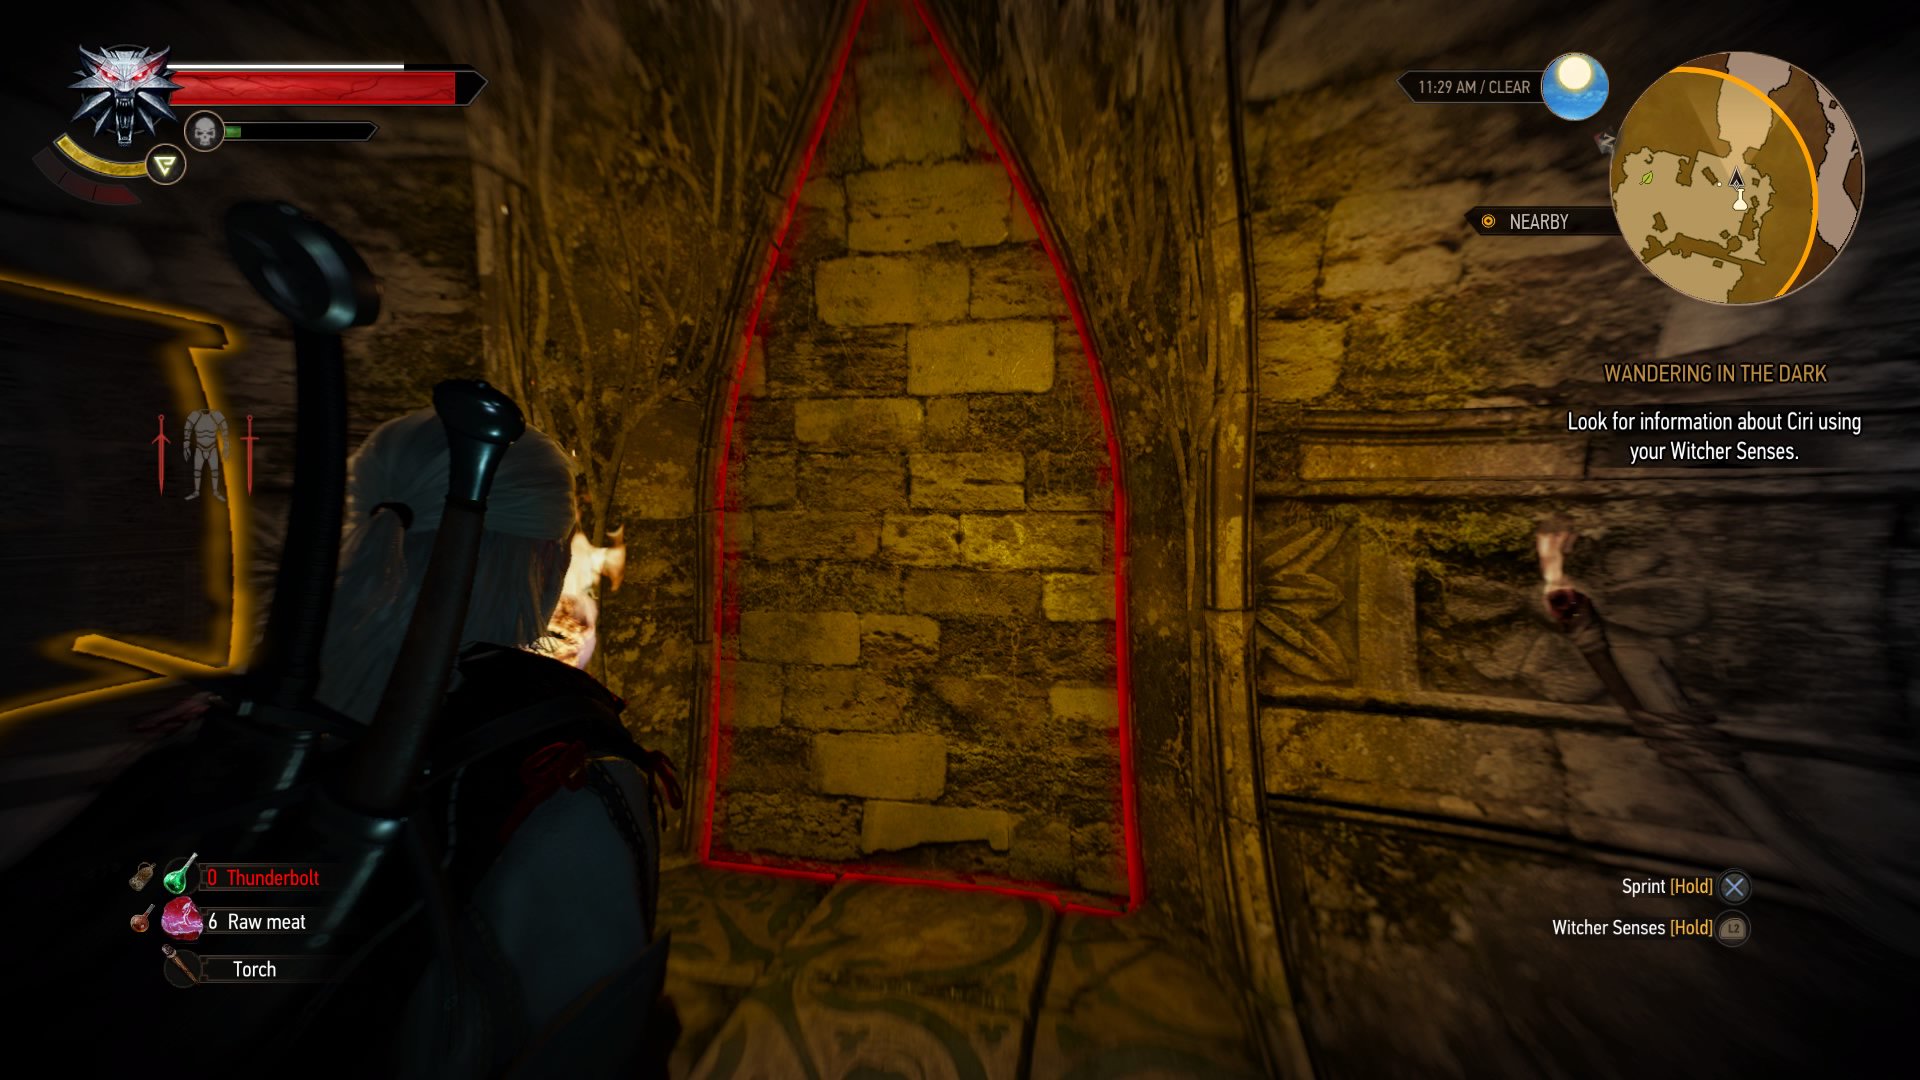
You’ll have to find a way out of the chamber by looking for clues. You’ll find them through using your Witcher senses, but neither of them are truly important apart from the wall at the end of the chamber.
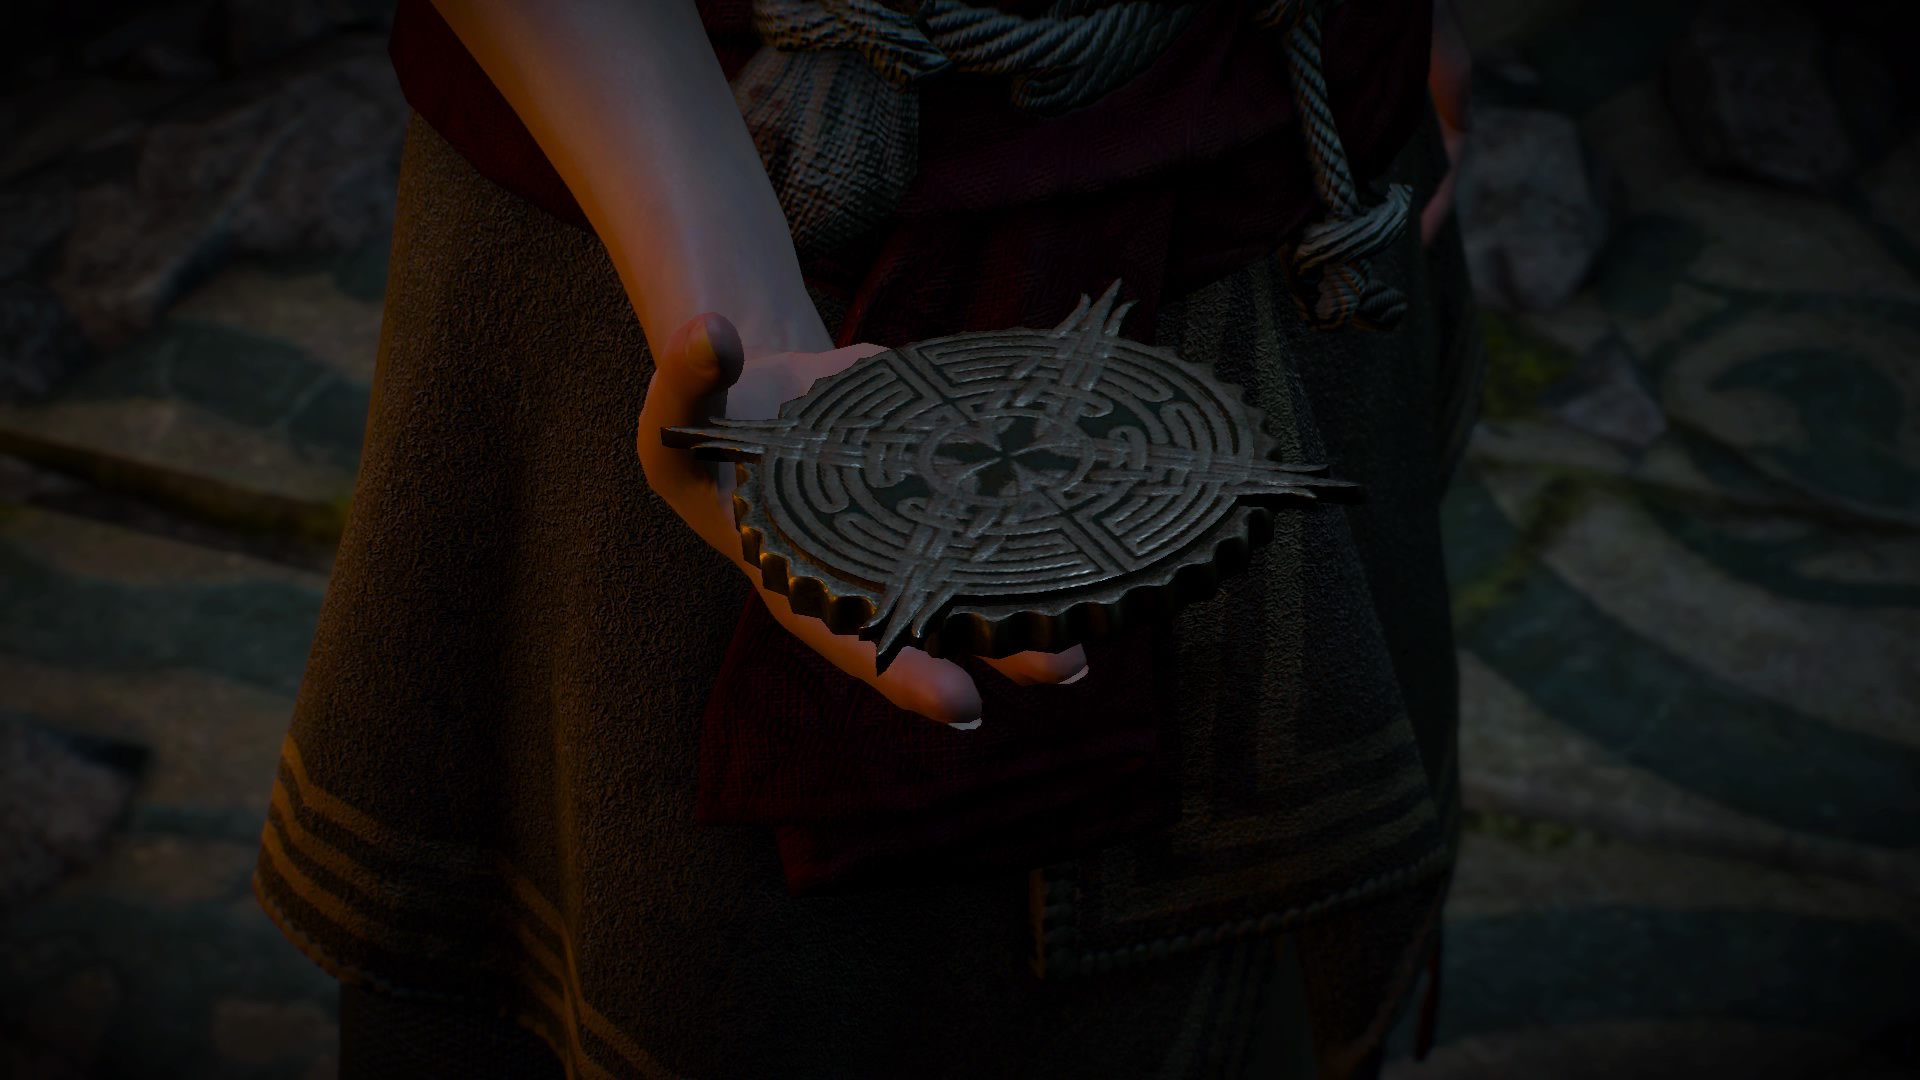
It turns out that the wall is an illusion, one that only the Eye of Nehaleni can dispel. Luckily, Keira just carries that charm around with her and gives you hers.
Use it on the door and follow through the chamber. At this point you can either say goodbye to Keira, or go with her to get her magic lamp. No, that’s not a euphemism.
Either way, Wandering in the Dark concludes and your next quest is just around the corner.
The Witcher 3 tips | Witcher 3 romance | Witcher 3 armor | Witcher 3 side quests and contracts | Witcher 3 ending | Witcher 3 best Gwent cards | Best Witcher 3 mods | Witcher 3 places of power | Witcher 3 side quests | Witcher 3 contracts | Witcher 3 monster killing
Witcher 3 Master of the Arena | Witcher 3 Ladies of the Wood | Witcher 3 Following the Thread | Witcher 3 Family Matters
Weekly digests, tales from the communities you love, and more

Aimee Hart is an editor and award-winning writer with a prolific background in copywriting, creative fiction, and freelance reporting and has been in the writing space for over 7 years. When she isn't caring far too much about fictional characters and worlds, she's narrating her own with friends.
- Leon HurleyManaging editor for guides
