Thimbleweed Park walkthrough and puzzle solutions guide
All puzzle solutions in our Thimbleweed Park walkthrough
Part Two - The Body
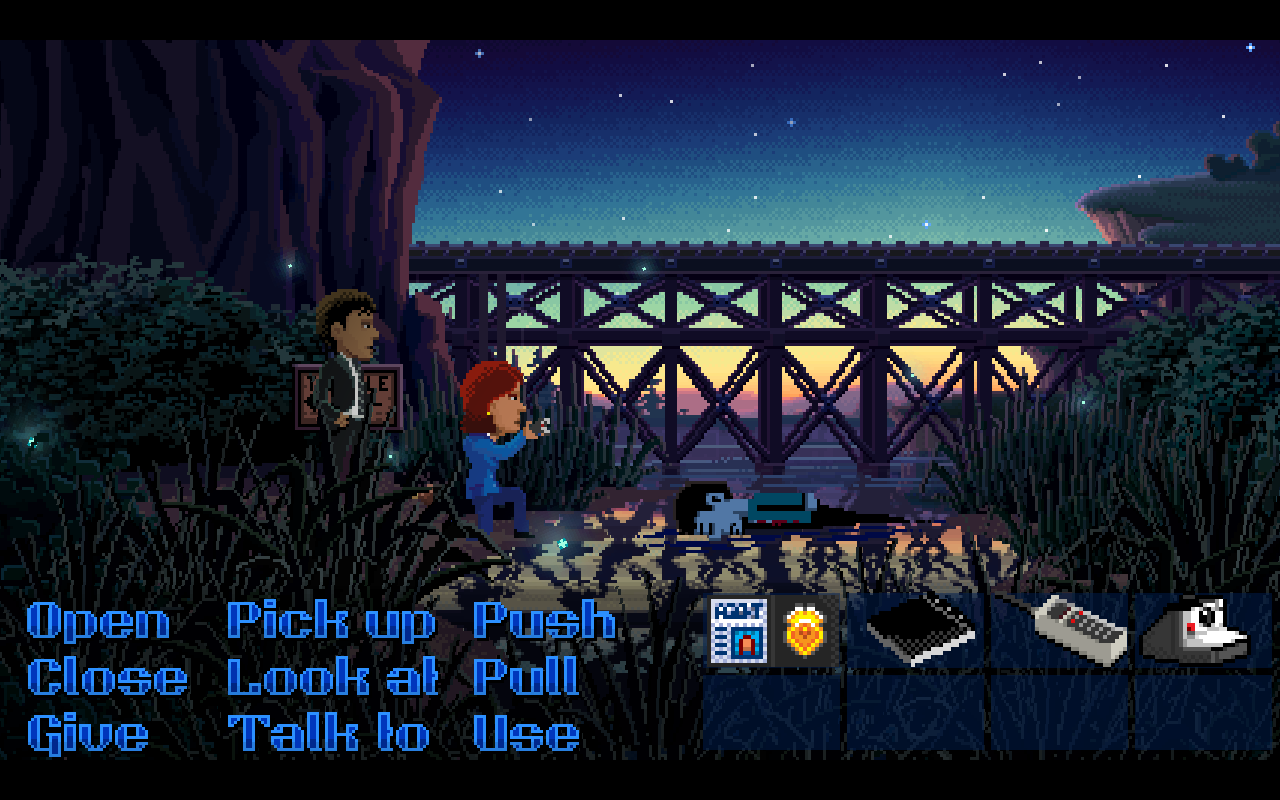
You’ll now be controlling the two agents: Ray and Reyes. Switch to Reyes and give the polaroid film to Ray. Switch back to Ray and then use the film on the camera. Take a picture of the body, then look at the corpse to find a hotel keycard.
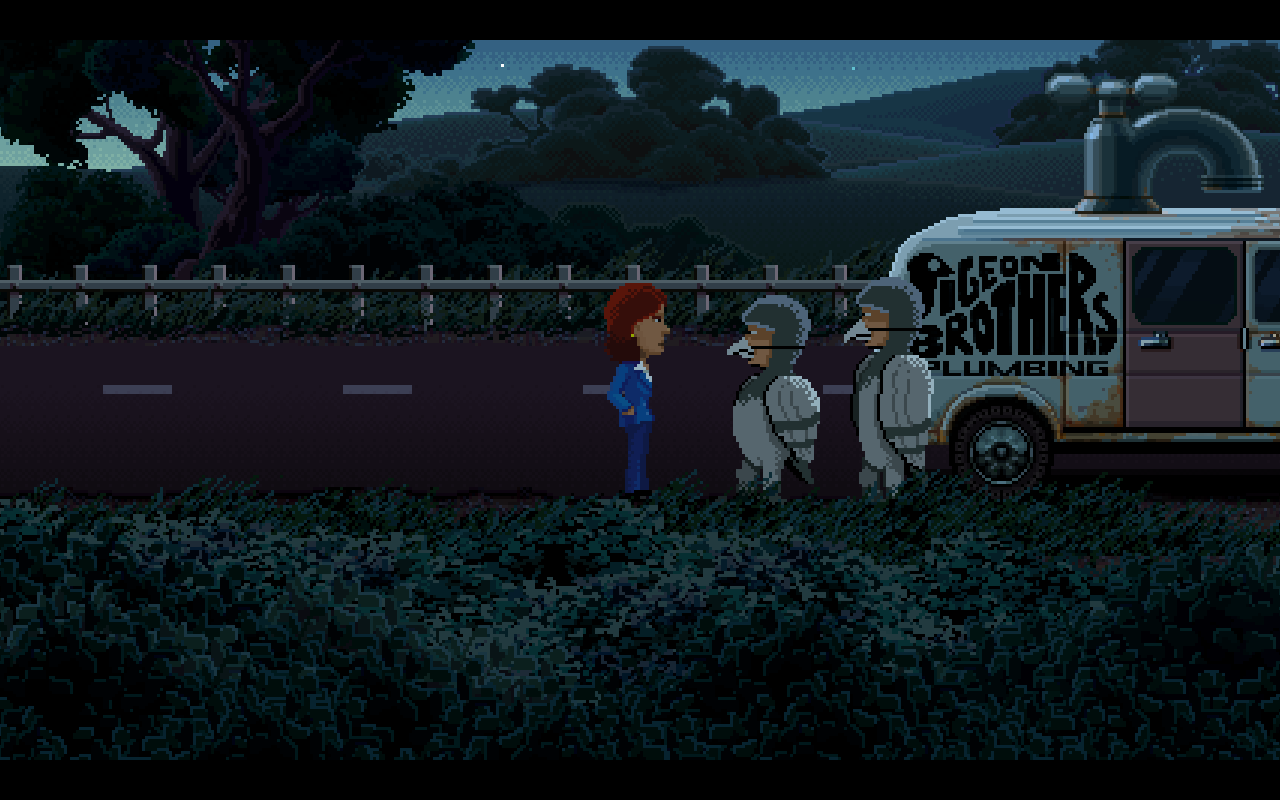
Walk up the Trestle Trail to the highway. Then walk along the road and talk to the Pigeon Brothers. Move to the right and pick up a bottle from the floor. Then proceed to the town’s main street.
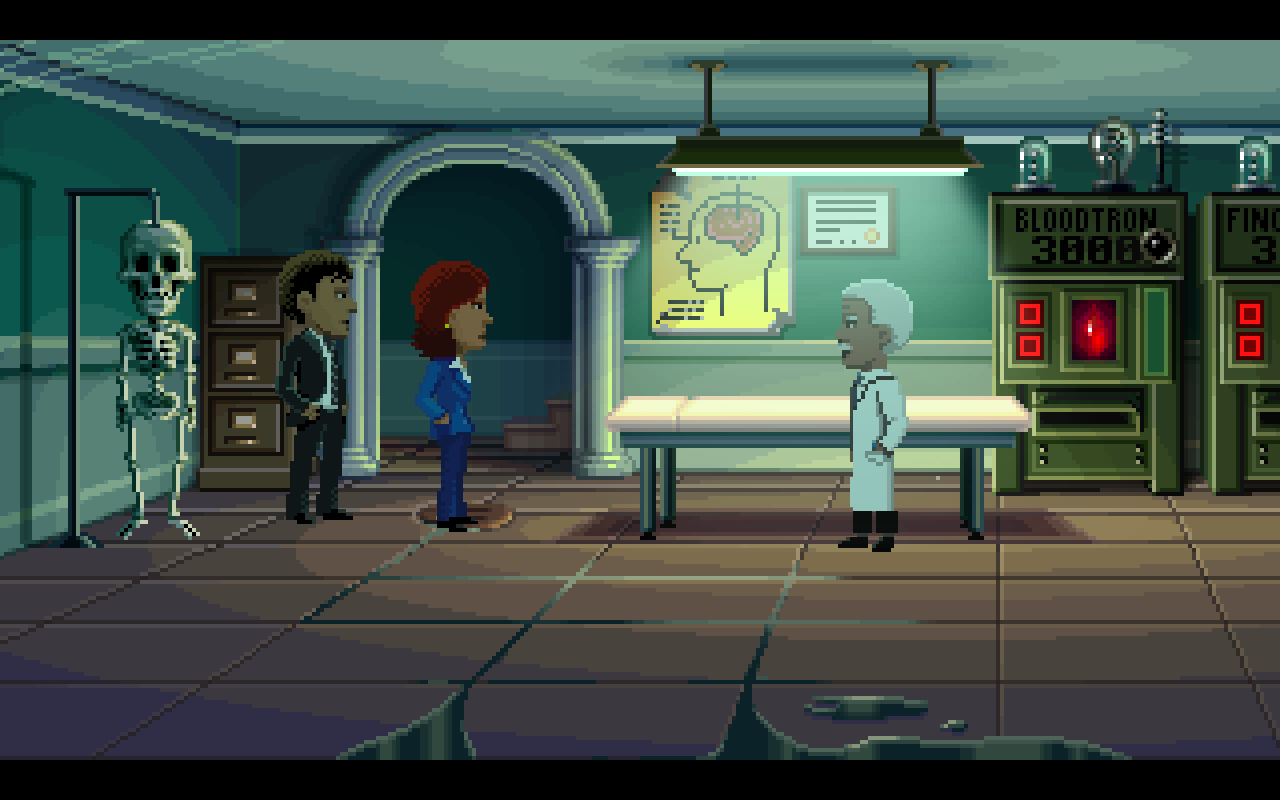
You’ll meet the sheriff outside the town hall. Talk to him and then head inside. Go to the Coroner’s room and you’ll be introduced to the BloodTron 3000, FingerTron 3000, and the FaceTron 3000. Use the photo of the body on the FaceTron 3000, turning one of the lights green. It’s your goal to find enough clues to do this to every light on the machines.
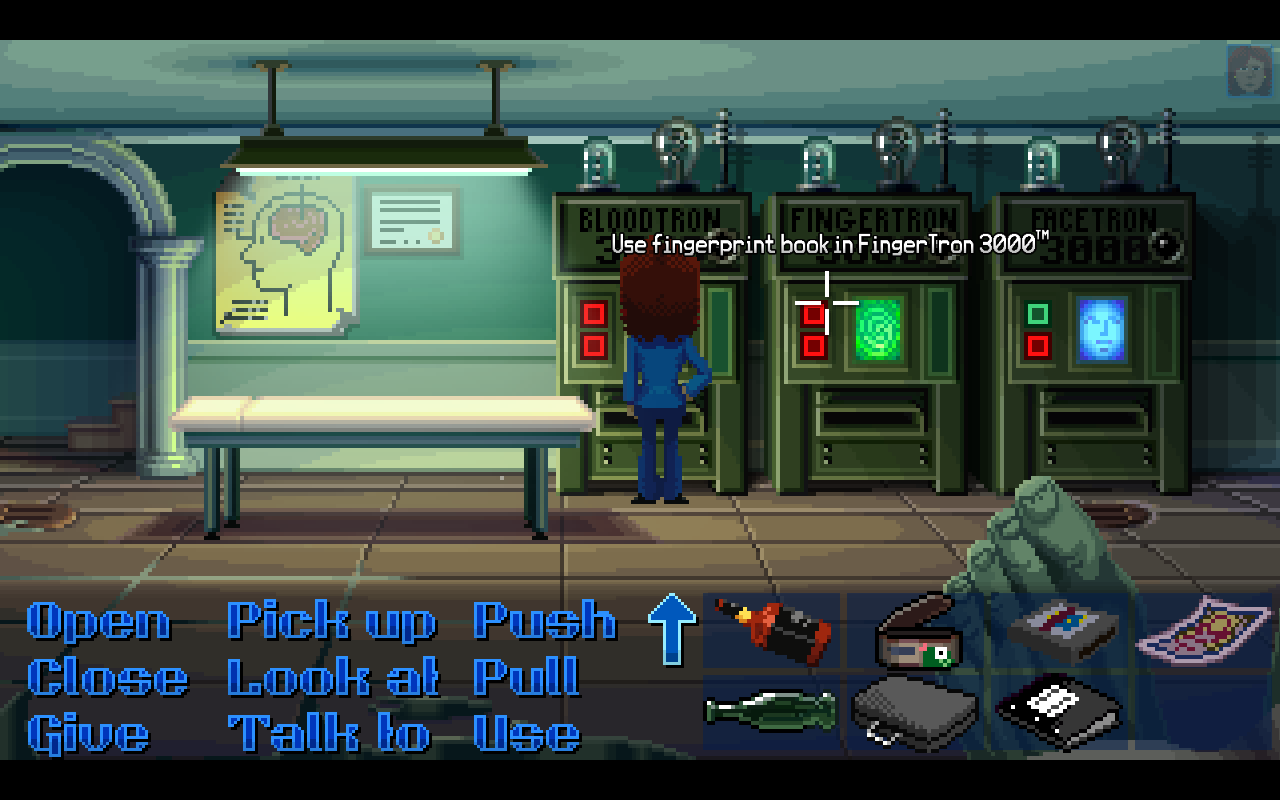
Once you’ve done this, go to the filing cabinet and grab the fingerprint kit from the bottom drawer. Walk upstairs and then go to the Sheriff’s office. After you’ve finished talking to him, open the middle drawer of the cabinet nearest to the jail cell and grab the finger print book. Use this on the corresponding machine downstairs.
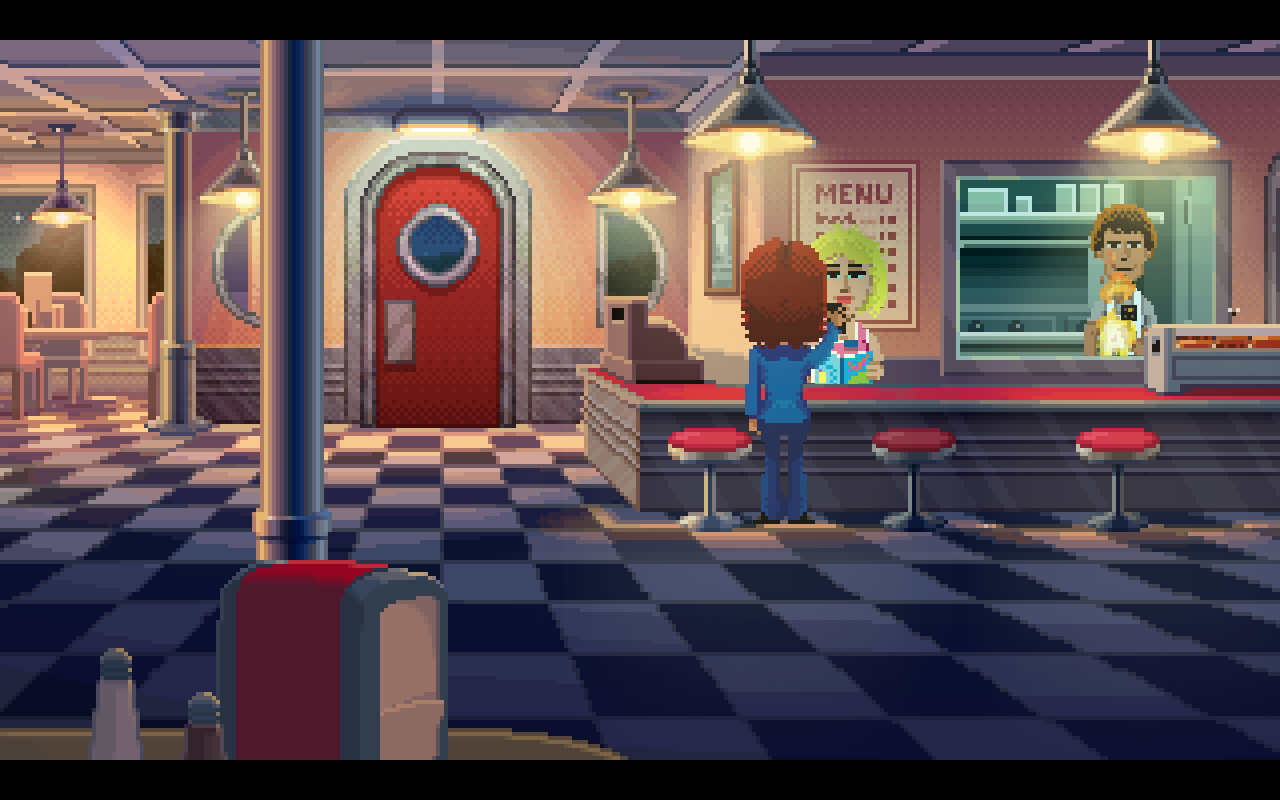
Now leave the Coroner’s office and go to the diner. Talk to Sandy and you’ll eventually enter a flashback involving Ransome the Clown.
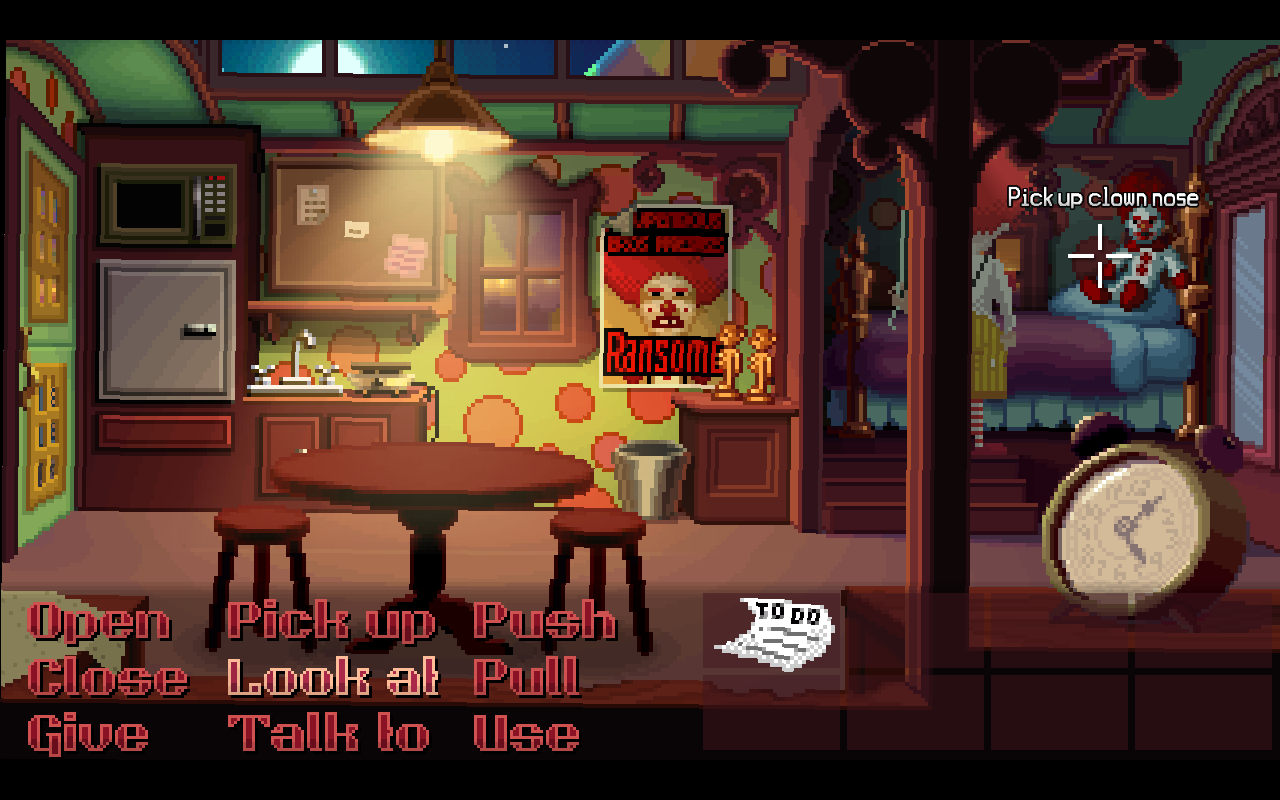
As Ransome, go to the bed and grab the clown nose from behind the clown doll. Use it to put it on.
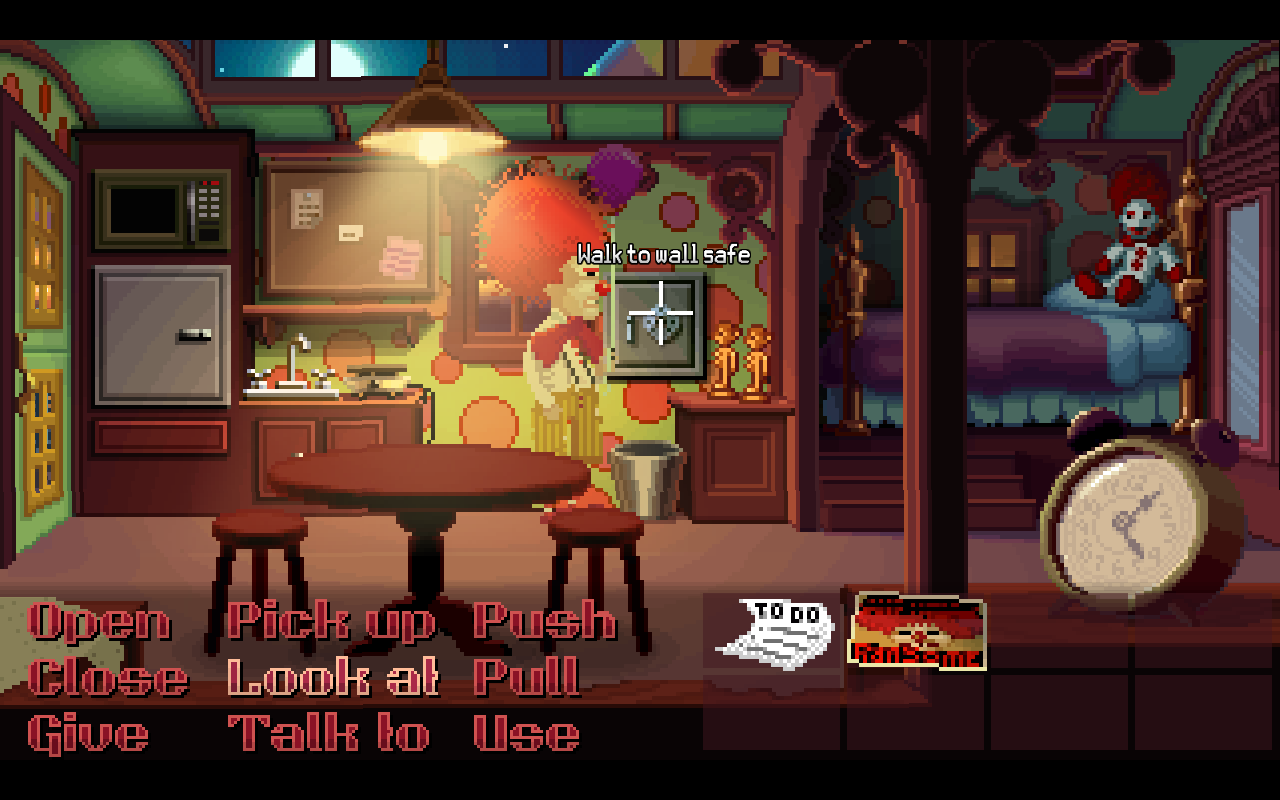
Next you need to go over to the lumpy poster on the wall and pick it up to reveal a hidden safe. Take the notes from the notice board. One of these (the brown note) will reveal clues for opening the safe you’ve just found. This is different in every playthrough, with the goal being to walk around the circus and take note of the three numbers that are needed for the combination.
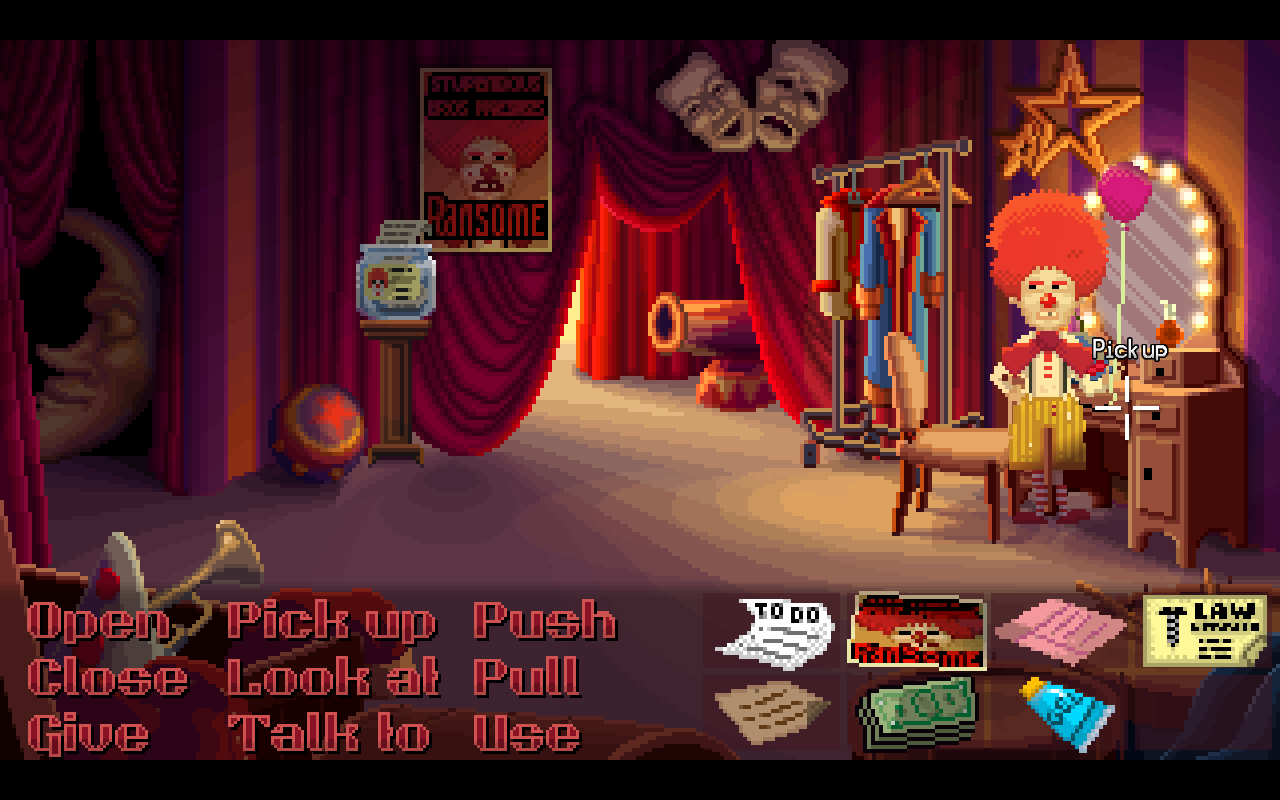
Go outside and talk to your lawyer, then head for the backstage entrance. Pick up the money from the swear jar, the hair gel, and the makeup, then leave.
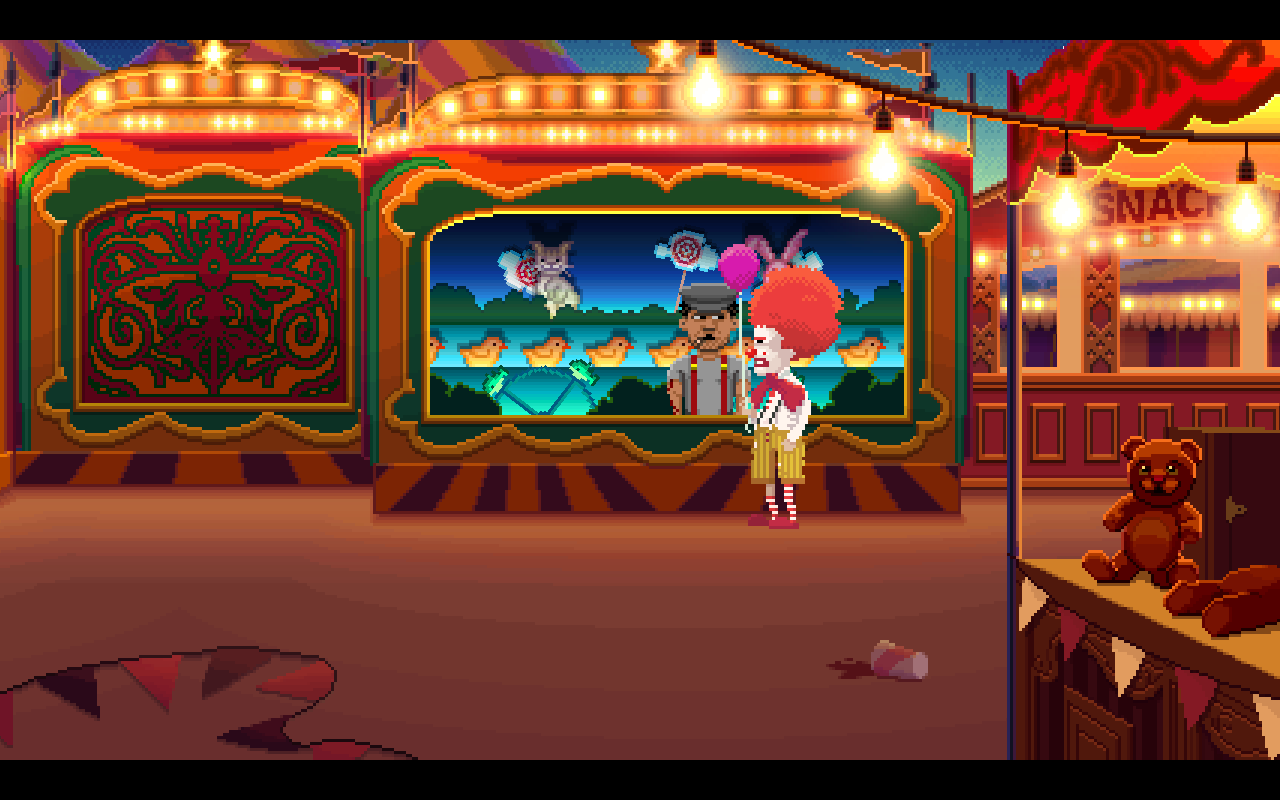
If you need to know how many kids Carney Joe has, go to the Midway and talk to him about his family. Another possible combination clue involves details pertaining to the background of his stall. If this applies to you, take down the number of objects from the note.
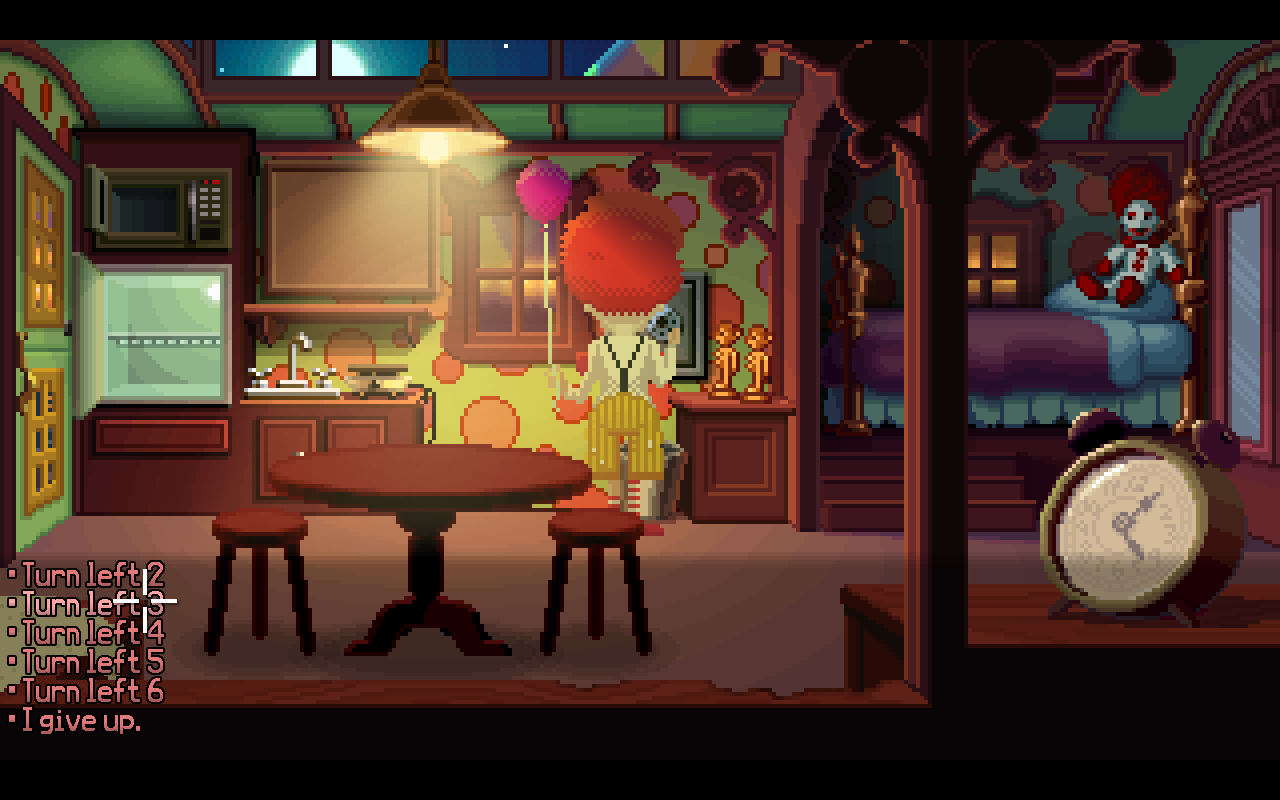
With the three numbers in hand, go back to the safe and open it. Pick up the money and then go pay Carney Joe in full. He’ll give you your joke book back.
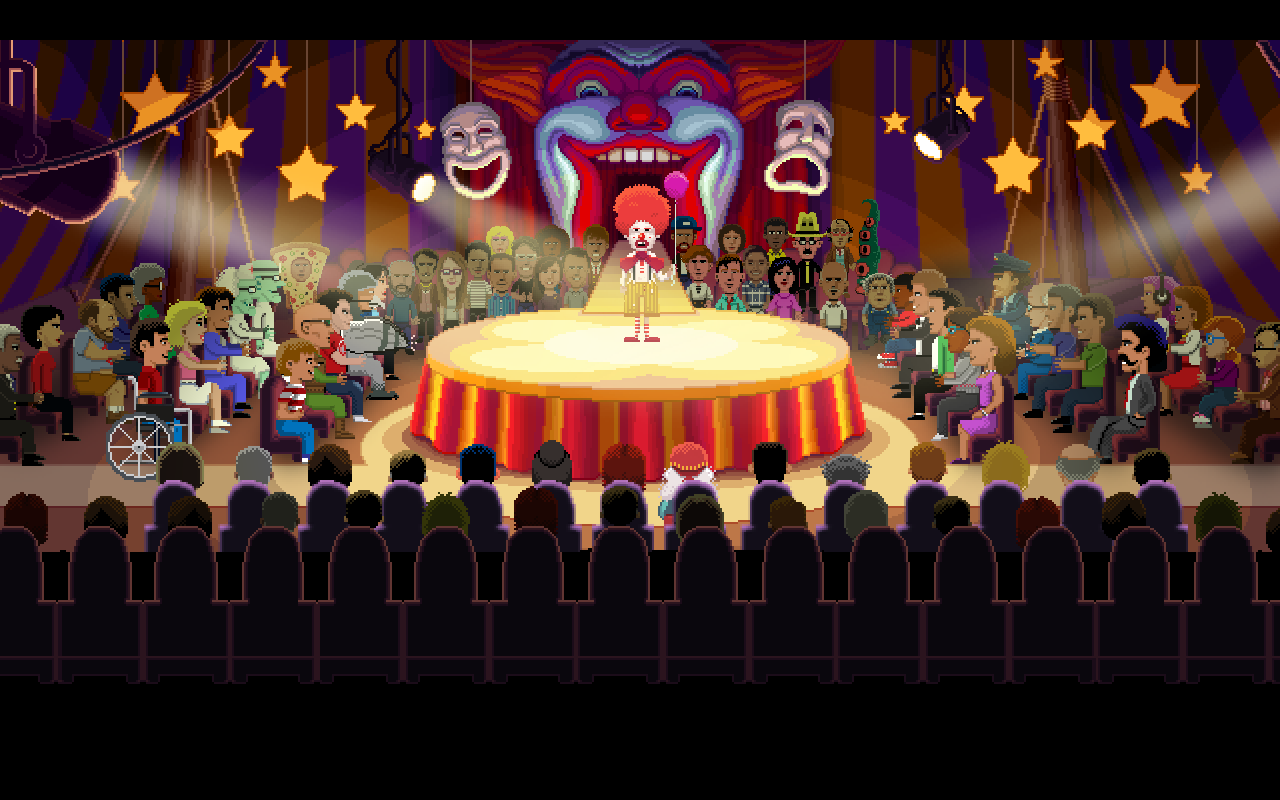
Head to the backstage entrance and pass by the cannon to the stage. Insult the woman with the mole and this will end the scene. Soon you’ll be transported back to the diner.
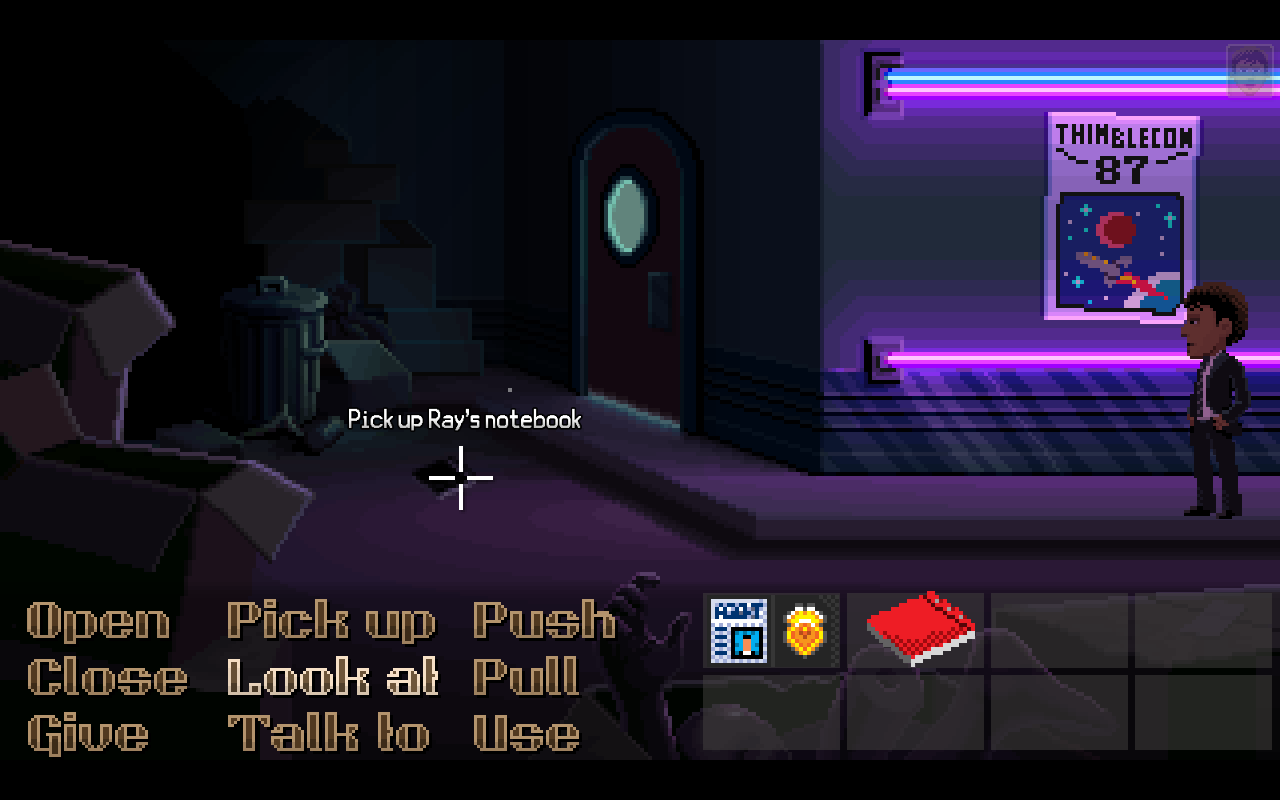
Eat a hot dog, then head outside and right to the Quickie Pal. Give the bottle from the highway to Leonard to get 5 cents, then go back to the alley. You’ll get attacked and the perspective will shift to Agent Reyes. Head to the alley and pick up the dropped notebook, then go and eat a hot dog in the diner.
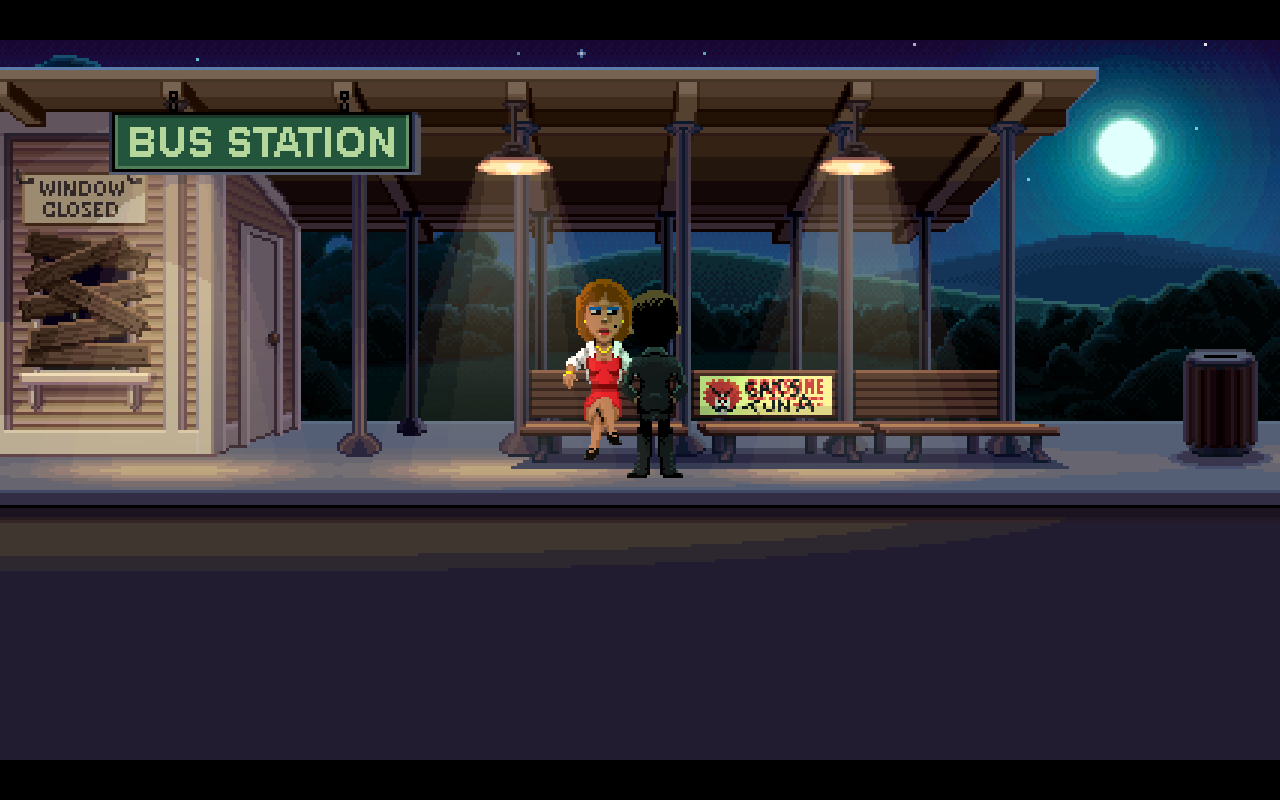
Next, walk down B Street and pick up the dime. Continue down the road all the way after to arrive at the bus station. Talk to the woman on the bench and you’ll then initiate another flashback.
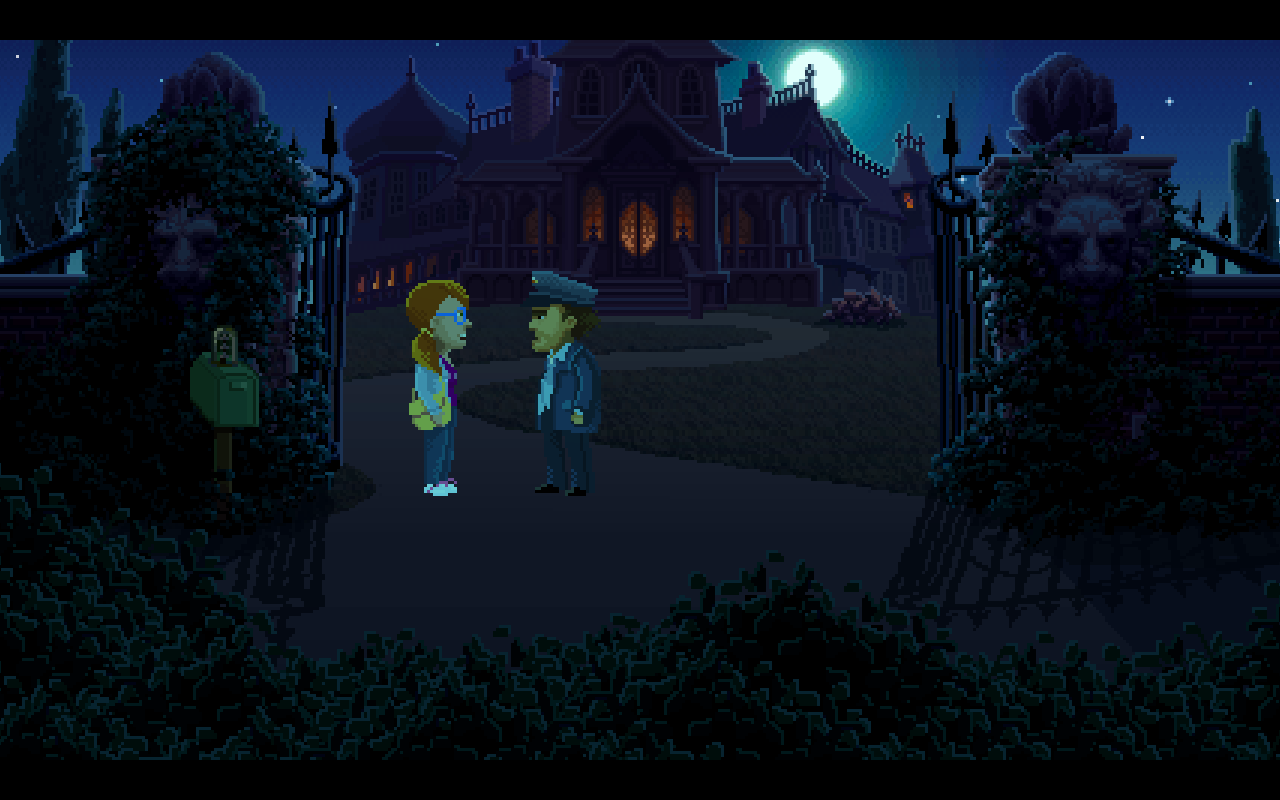
You’ll now be playing as Delores. Go outside the mansion and pick up the gas can and a log of firewood from the porch. Then head to the gate to get your gaming magazine from George the mailman. Open it and your notebook should update with new objectives.
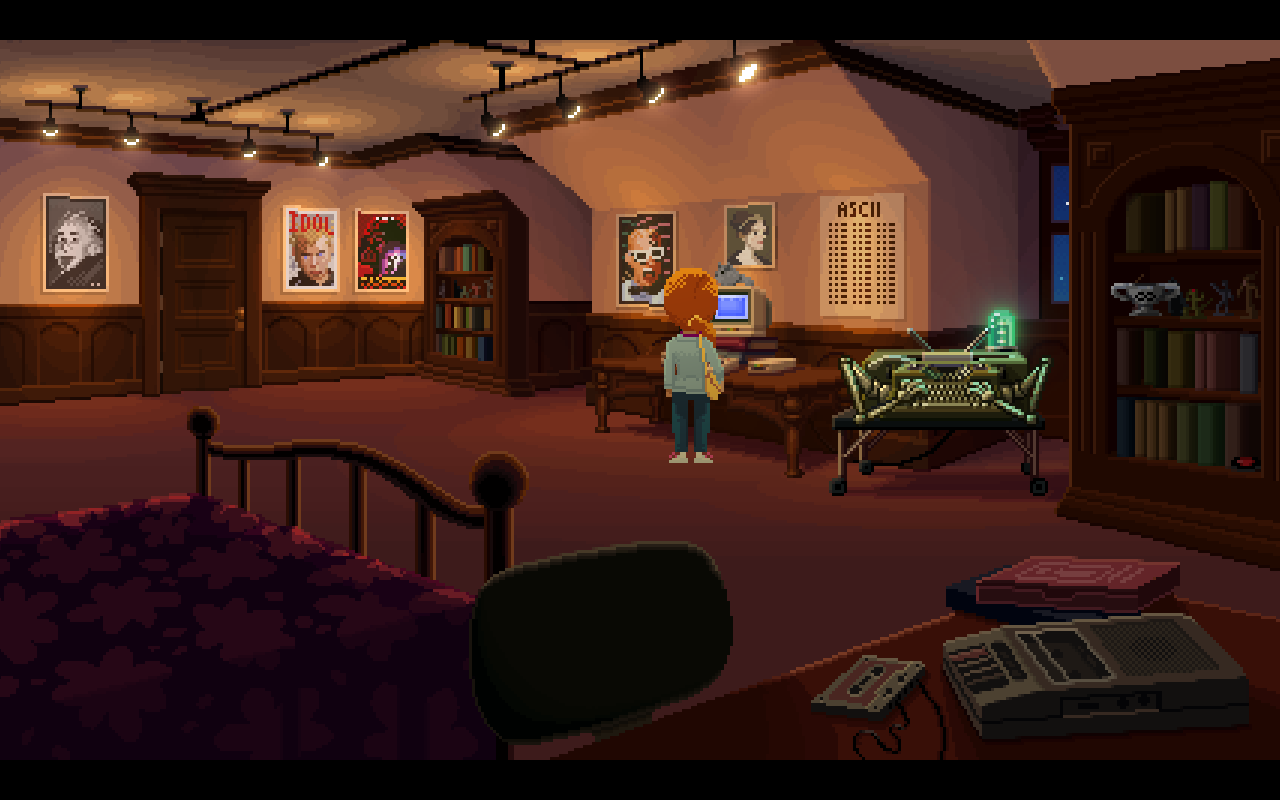
Go to your room and use your computer to start filling out an application to work at MMucasFlem. Answer the personal details and then back out of the application. The doorbell should now be ringing. Go to the front door and get the letter for your Uncle Chuck from George the mailman.
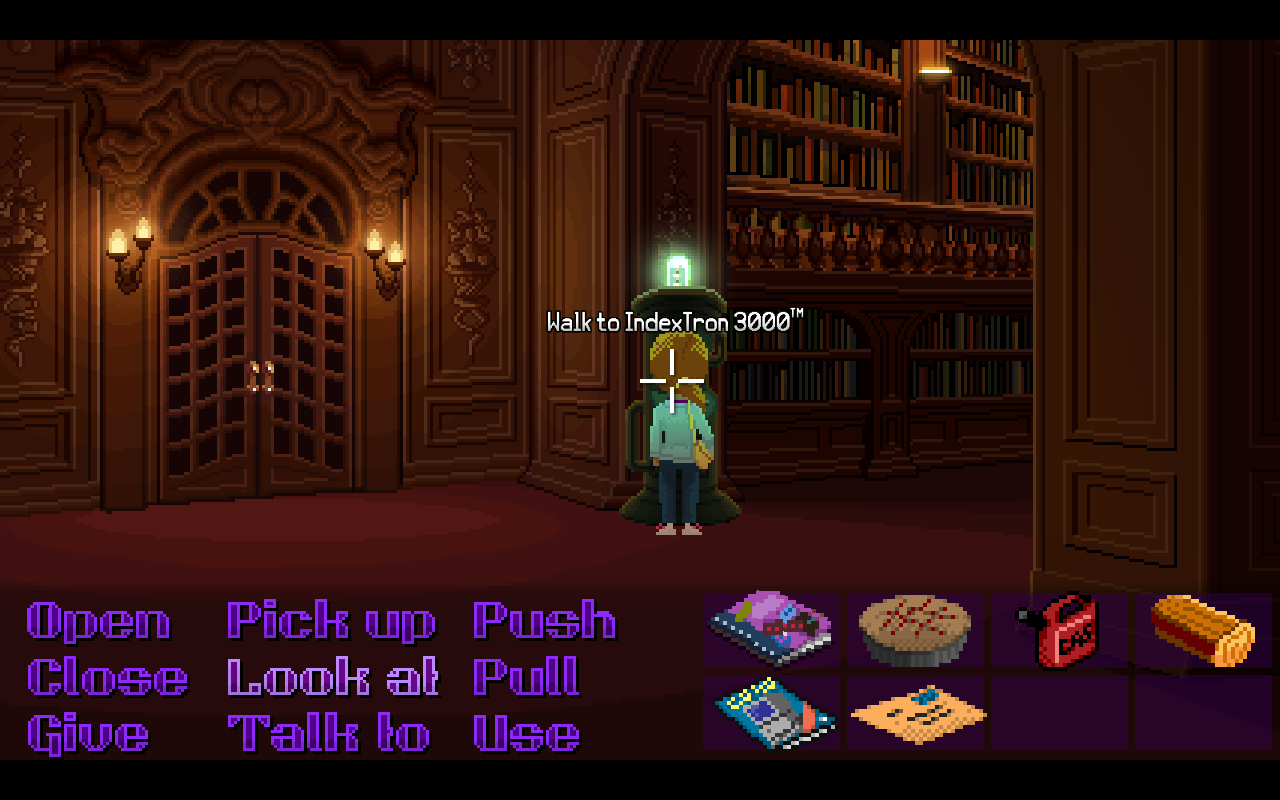
Your next stop is the library, which is behind the door located on the staircase. Use the IndexTron 3000 to find the section number of the MMusicFlem programming book and then head right to the out of order sign. Remove the sign and head up to the third floor to grab the book from the shelf. Take note of the details inside and go to your room to take the test at your computer.
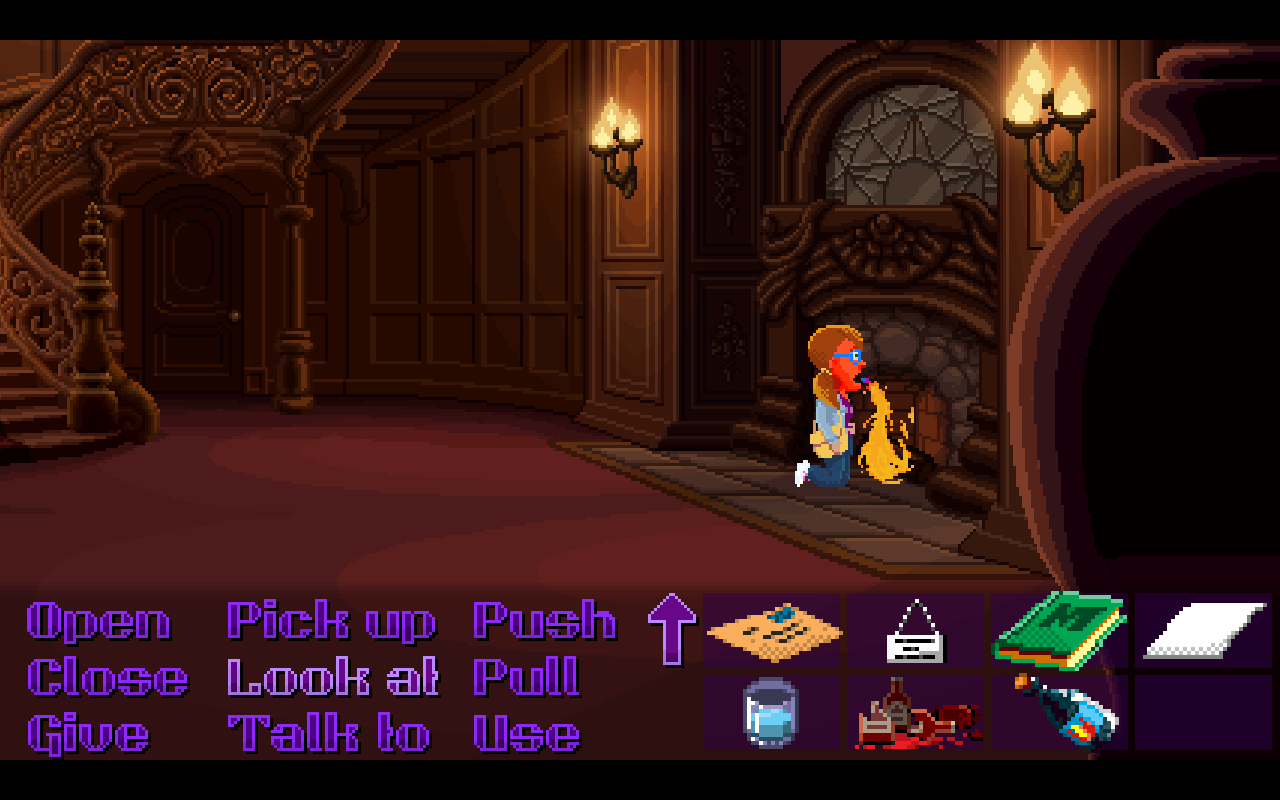
Once you’ve successfully completed it, pick up the paper that’s printed and go to the kitchen. Take the glass from the cupboard and use it on the faucet. Then grab the broken ketchup bottle and the hot sauce from the refrigerator. Use the firewood and the hot sauce on the fireplace in the main hall, then put out the fire that’s created with the water. Pick up the black soot and head upstairs to the room on the opposite side of the bedroom, at the far right of the screen. This is Uncle Chuck’s bedroom.
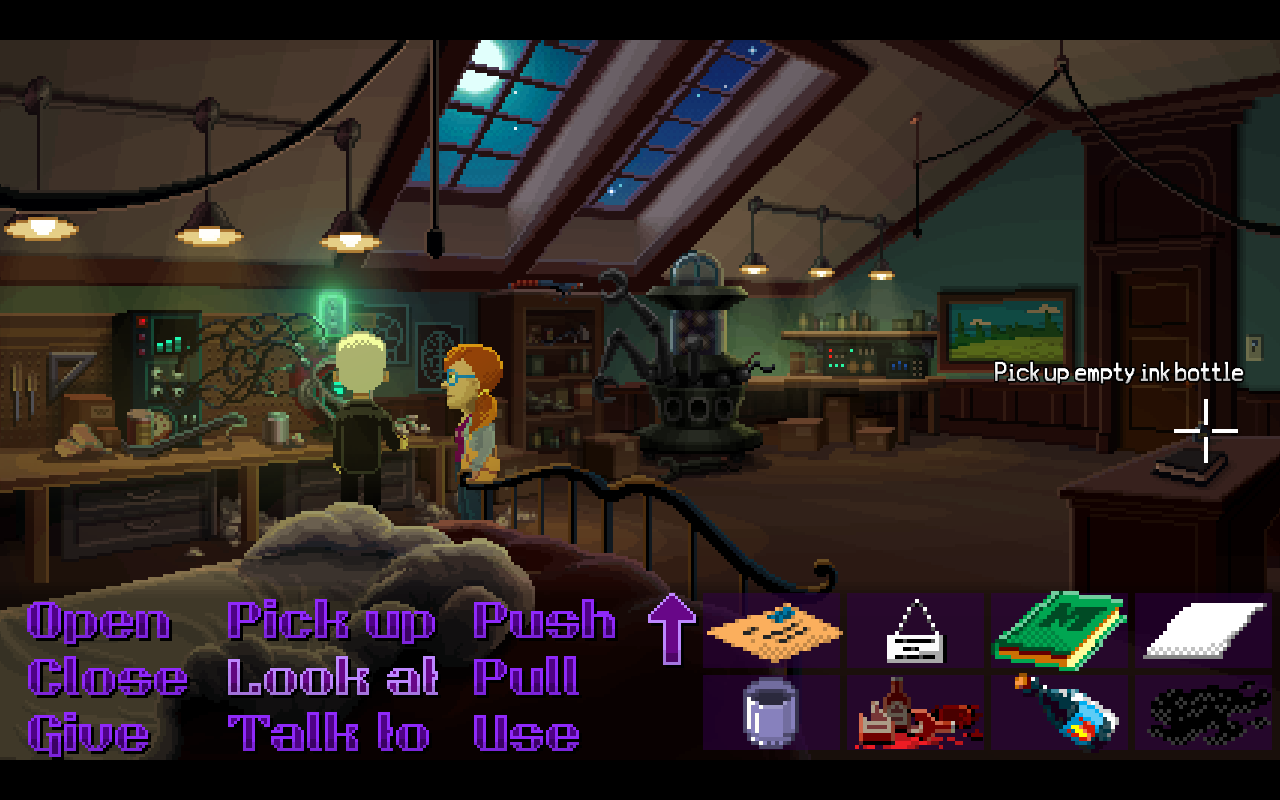
Once inside here, grab the ink bottle from the table and combine it with the soot and gasoline to make ink. Then head to the bedroom and use the paper and the ink on the PrinterTron 3000. Use the computer again to print the application, then grab it and head to the kitchen. Now you just need stamps.
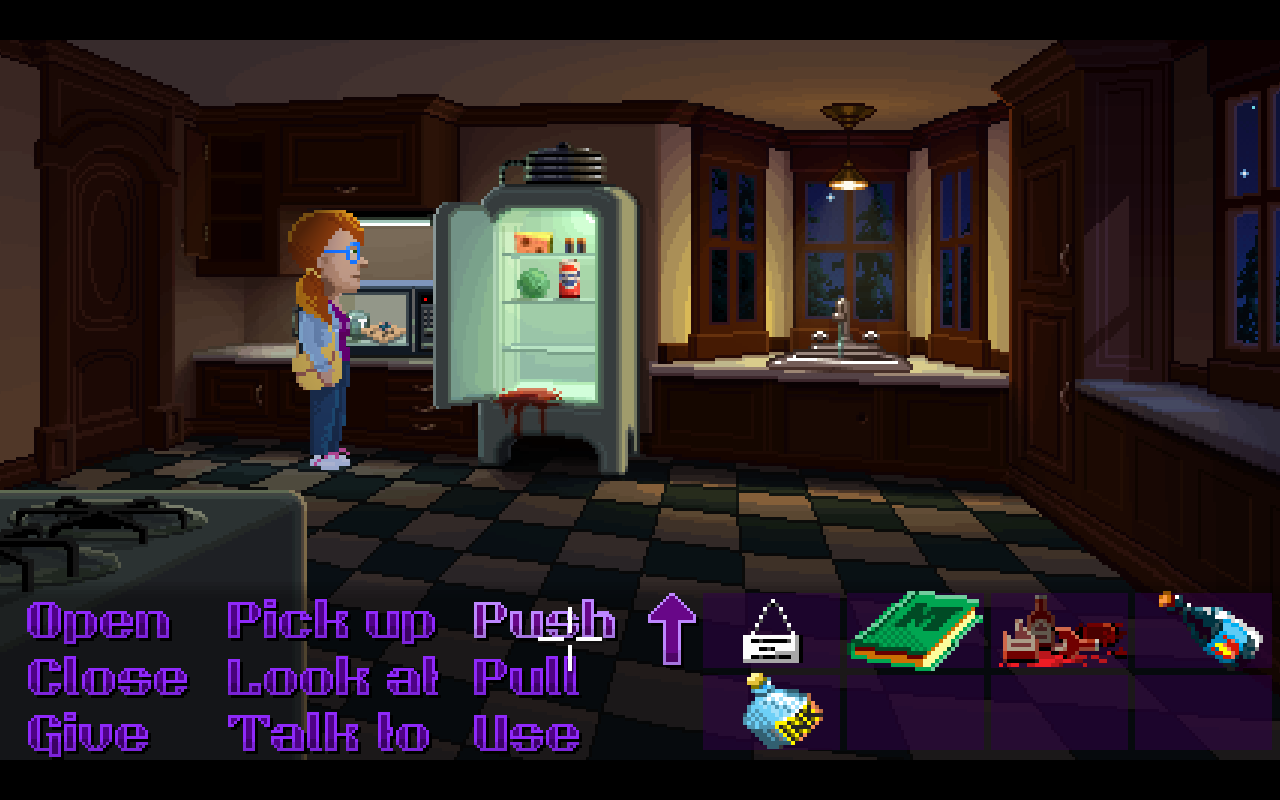
To get these, collect some water from the faucet and place it in the microwave with Uncle Chuck’s letter to steam off the stamps. You can now use them on your application. Do this and take the finished letter to the mailbox. Five days will go past in-game, and you’ll get another letter from George. Go to your room and keep selecting the open option on it. When you’ve finally managed to read the letter, the only step that’s left is to talk to Uncle Chuck. Go to his room and select this option. This will end Delores’s segment.
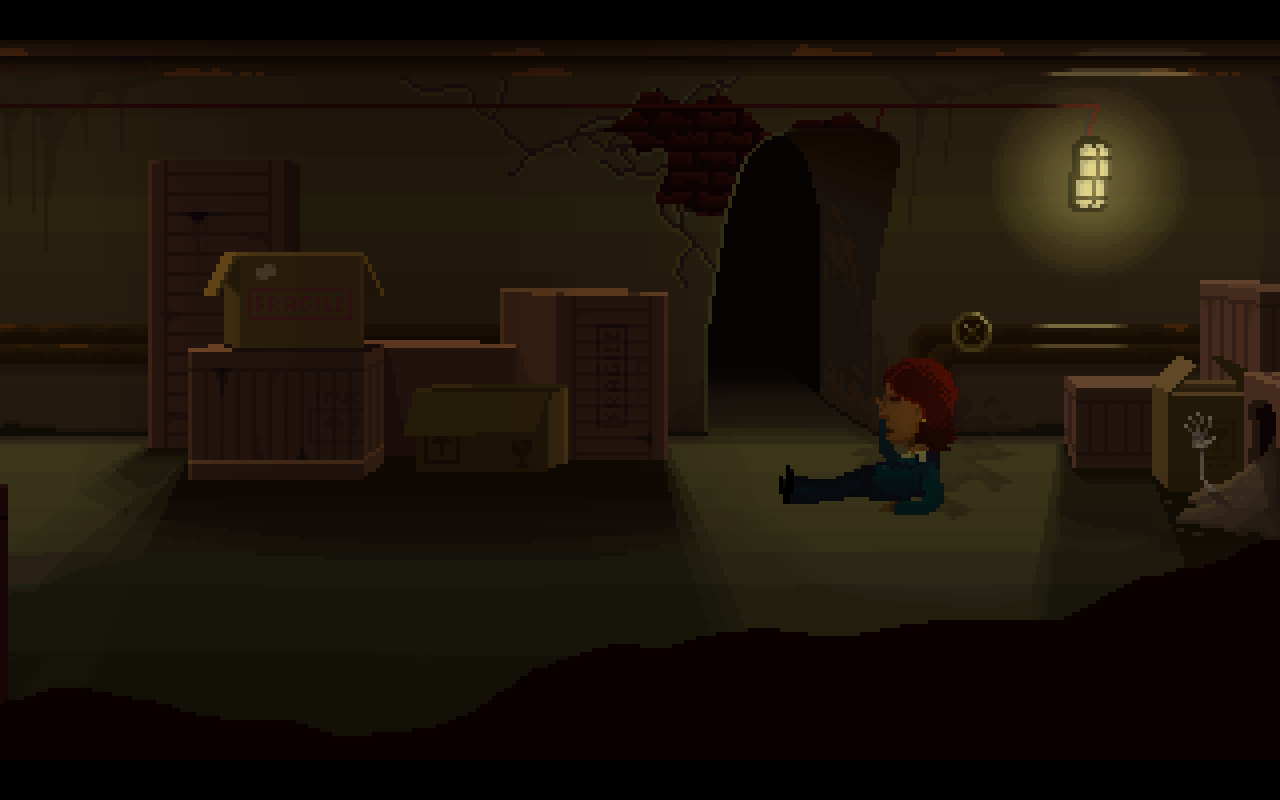
Once you’re back in control of Reyes, switch back to Agent Ray who should now be in a tunnel. Walk left and take note of the name that’s written on the wall one of the other rooms. You’ll need to call this number to get out of the sewer.
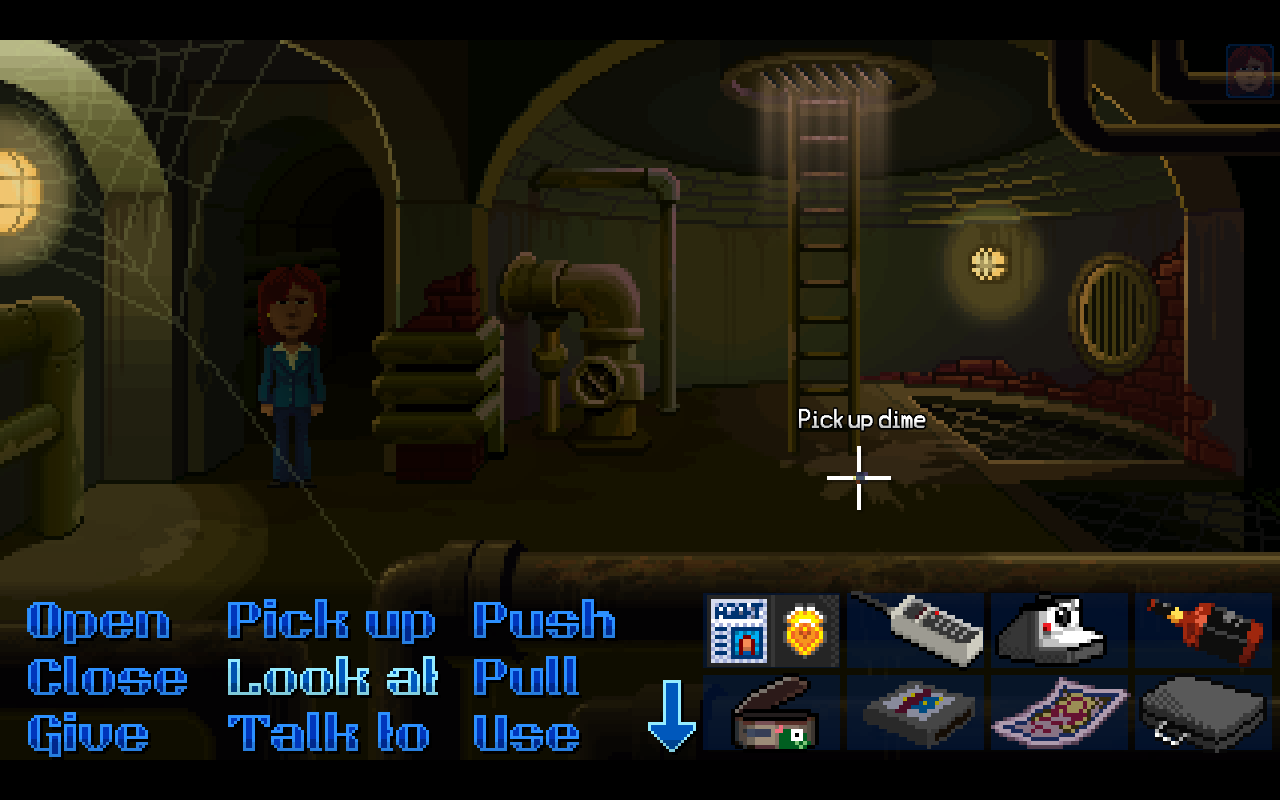
Assume control of Reyes and check the phonebook by the broken payphone for the number of the person you’ve noted down. This is located on B Street. Take down the digits. Then, after you’ve done this, head over to the Quickie Pal and use the dime on the sewer gate outside. You should now be able to collect the dime as Ray and use the sewer phone to call the number, prompting the Sheriff to come rescue you.
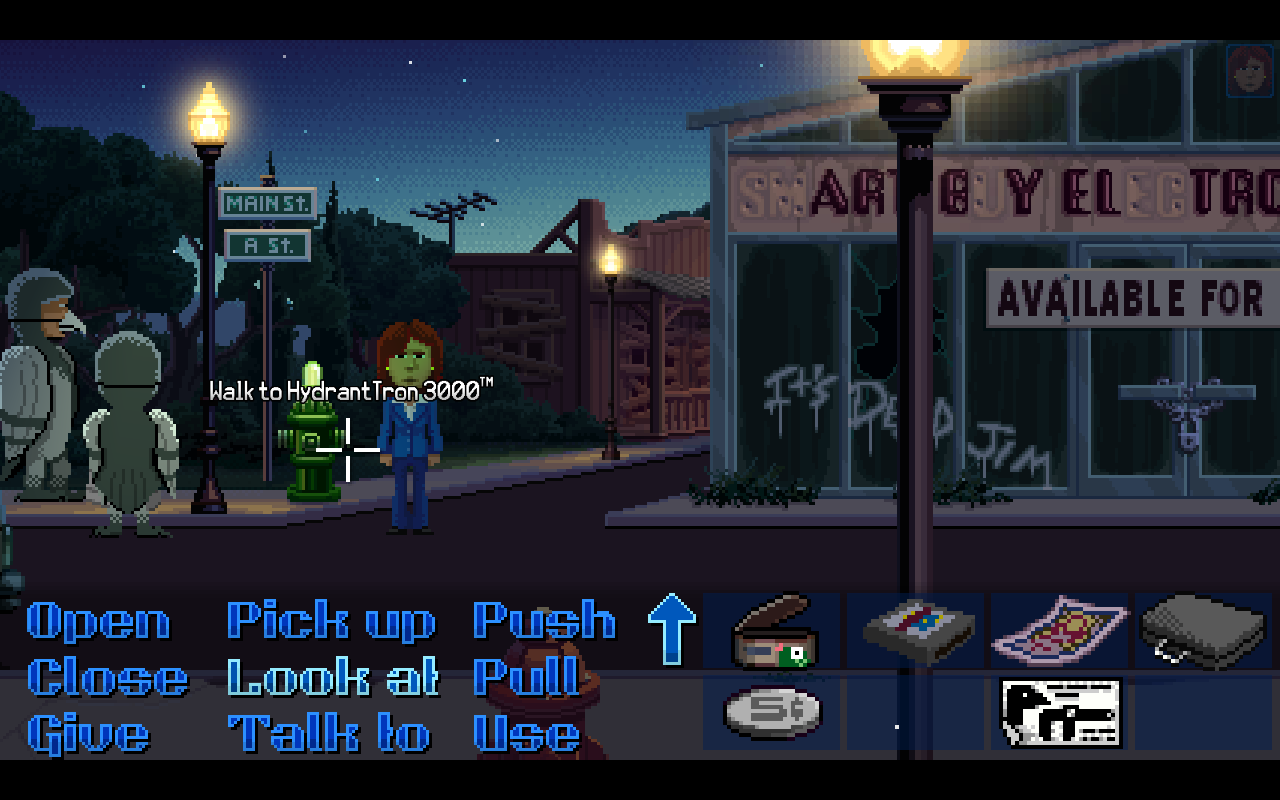
Once safe and above ground, talk to the pigeon brothers and offer your help. They’ll ask you to go find them a tube. Go see Nicki Lee on B Street and she’ll give you the tube that they mentioned for the broken hydrant. You’ll need to remember the model, as she’ll ask for this. Tube in hand, go back and give it to them. Now you should be able to travel down A Street to the Nickel News. Head inside.
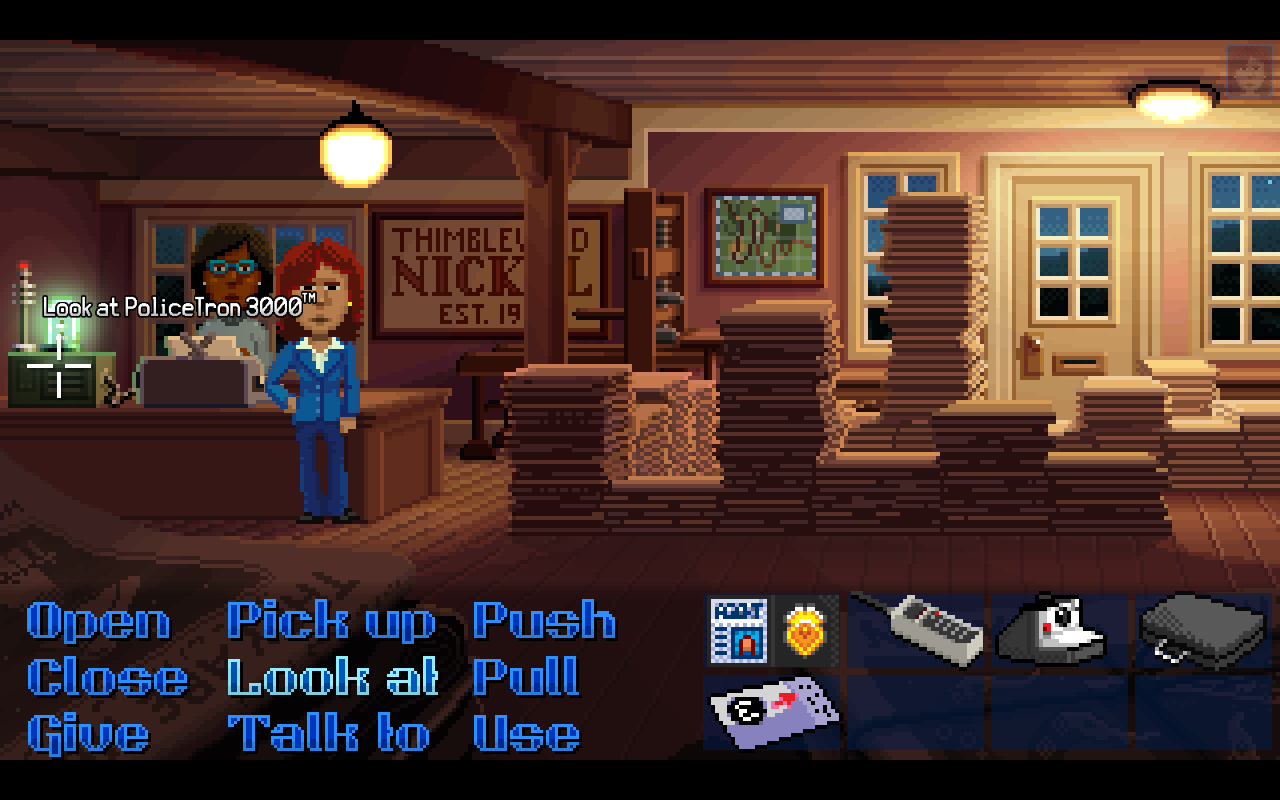
The goal in here is to get the map off the wall, as the Police Sheriff has confiscated all the copies of the map in Thimbleweed Park. To do this, interact with the PoliceTron 3000 on her desk. She’ll tell you she’s expecting a call. Jot down the details of the incident she describes.
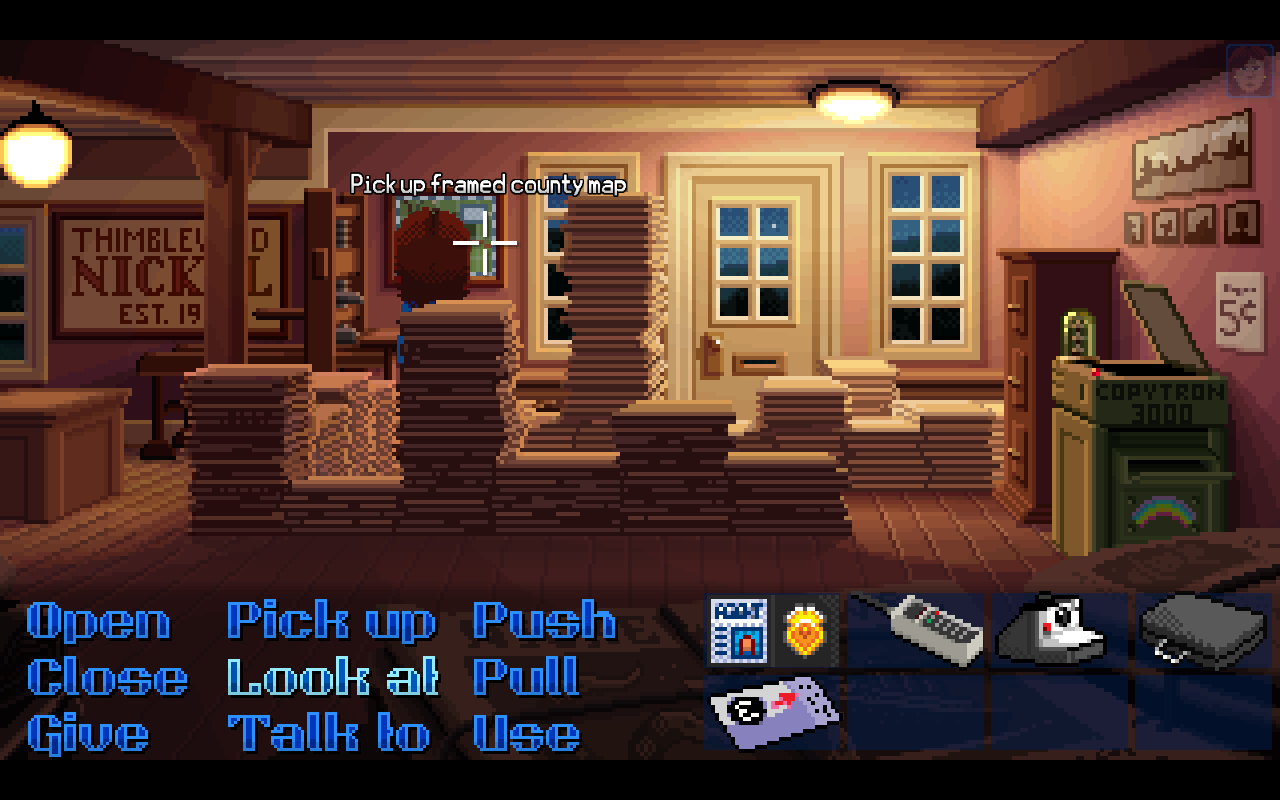
Now switch to Reyes and head to the town hall. Use the PoliceTron 3000 in the Sheriff’s office, announcing the details you noted down. The reporter should leave her station, as a result, allowing you to quickly switch back to Ray to photocopy the map off the wall.
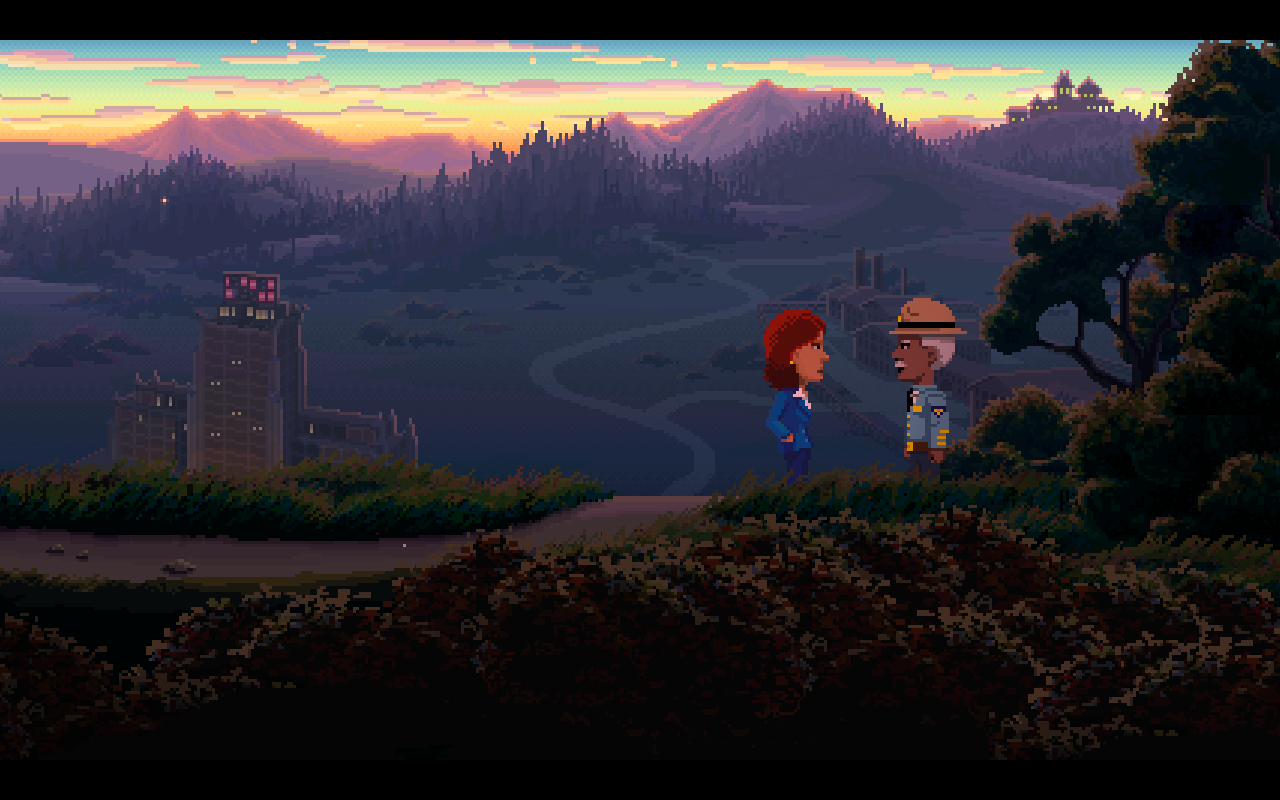
Use the five cents from the Quickie Pal and the original map on the PrinterTron 3000 to get your own copy of the map. Now you can leave. Travel past the Quickie Pal to the vista and walk to the far right of the screen to unlock the rest of the map.
From this point you can do the next steps in a number of different orders, so we’ll try our best to keep things as simple as possible.
Next: Part Three - The Arrest (Hotel)
Jump to Section:
Weekly digests, tales from the communities you love, and more
Jack Yarwood is an experienced freelance writer and investigative journalist, with bylines on a variety of publications which include GamesRadar+, PC Gamer, Polygon, IGN, Fanbyte, and more. Jack specializes in reporting around the tech, arts, and entertainment sectors.
