Risk of Rain 2 challenges: How to unlock new skills and skins for Survivors
All the available Risk of Rain 2 challenges and how to complete them

The Skills 2.0 update introduced Risk of Rain 2 challenges which unlock new skills and skins for Survivors (at least on PC - they're coming to consoles this winter). Each Survivor has two to four challenges, and each challenge unlocks a skill augment or an alternate skin. The Risk of Rain 2 challenges vary greatly in difficulty and complexity, so we've put together a guide showing all the available challenges and how to complete them. If you need help getting new Survivors, check out our Risk of Rain 2 character unlock guide.
Remember that you can double-check your challenge progress via the Logbook in the main menu, which is especially handy since developer Hopoo Games says more challenges will be added in the future. Anywho, here are all the Risk of Rain 2 challenges available today. Note that you have to complete these challenges as the assigned character.
Commando
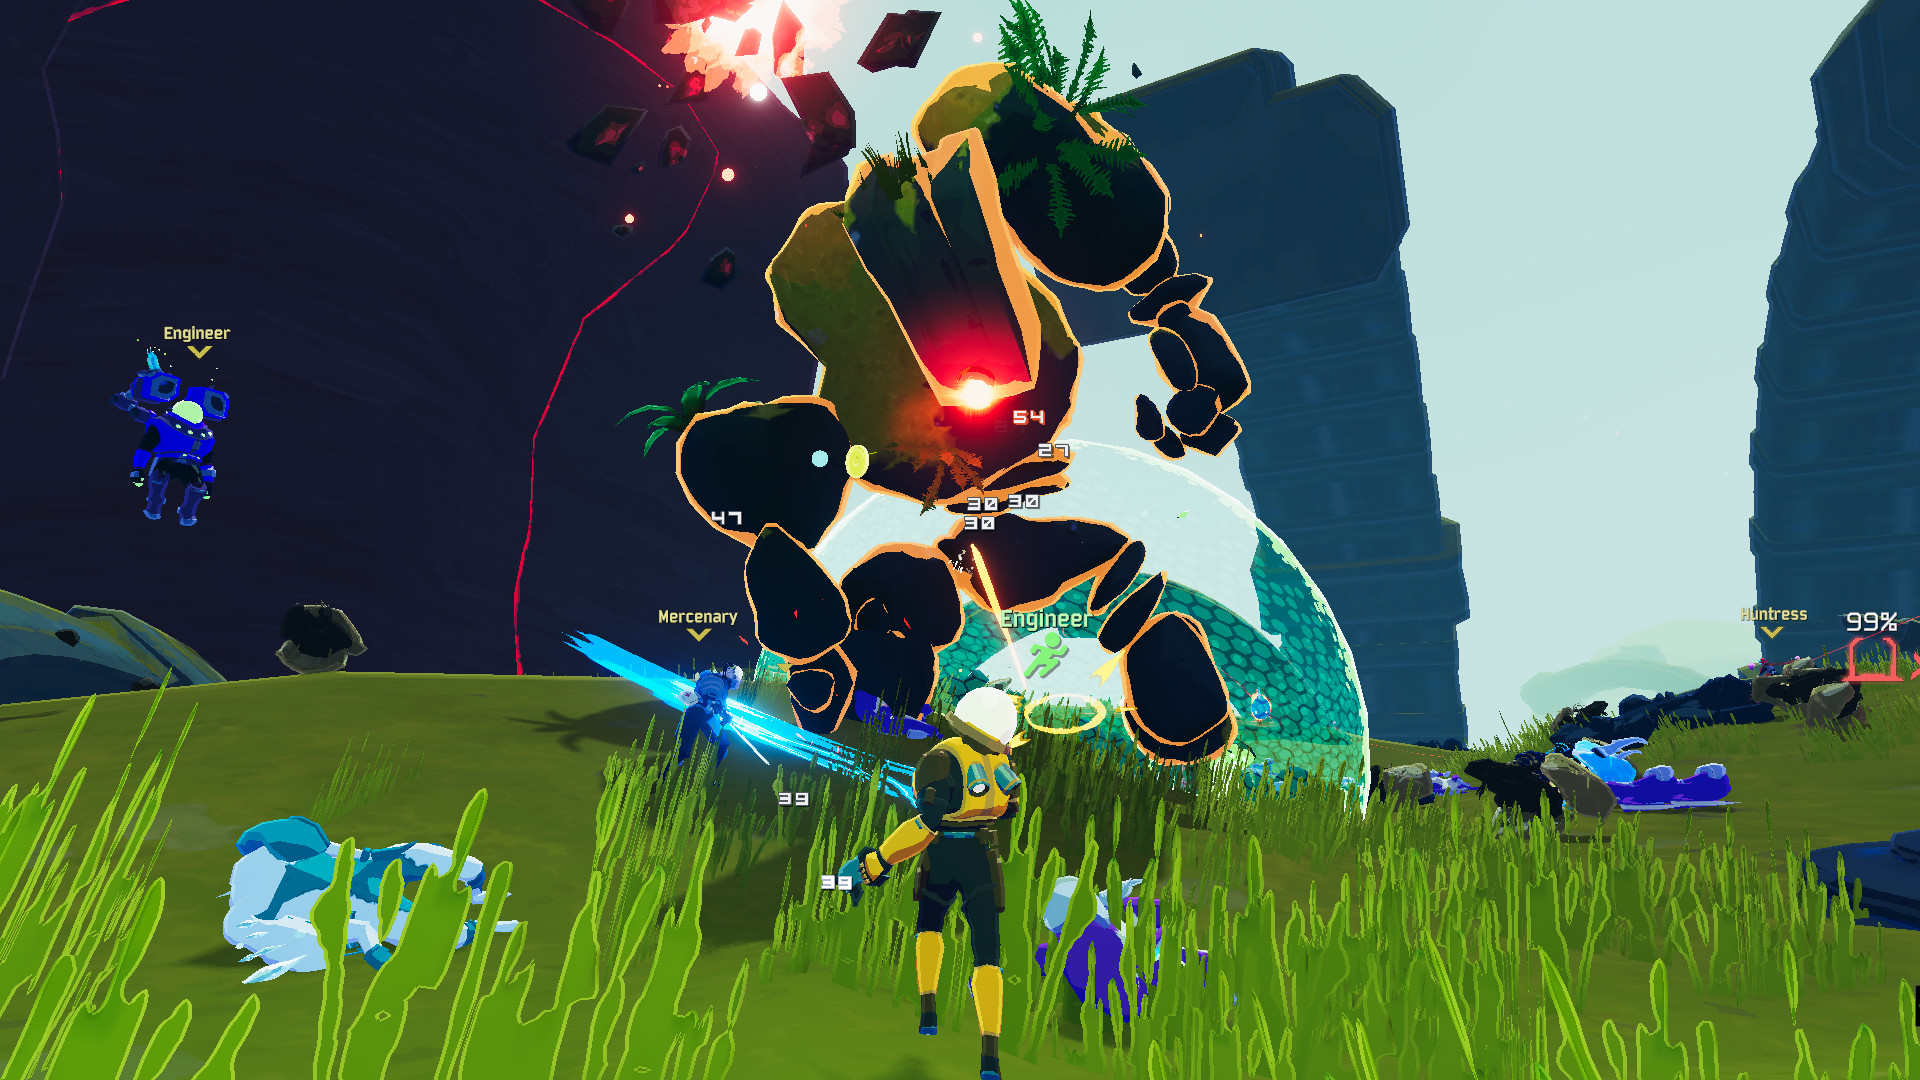
Rolling Thunder: land the killing blow on an Overloading Worm. Getting an Overloading Worm to spawn is largely a matter of luck, but you can greatly increase your odds by activating two or more Shrines of the Mountain in a stage where the Lava Worm can spawn, like Rallypoint Delta and Abyssal Depths. If you're playing solo, getting the final blow should be easy provided you don't have any drones or followers active. If you're playing with friends, ask them to back off once the boss gets low.
Incorruptible: clear 20 stages in a single run without picking up any Lunar items. This one's pretty straightforward: play on easy to make things more manageable and clear 20 stages while avoiding Lunar pods. It's not easy, but it is simple.
Mastery: obliterate yourself at the Obelisk on Monsoon difficulty. In other words, clear seven stages on Monsoon difficulty, take the Celestial Portal to the Obelisk, and choose the obliterate option. Again, not easy, but pretty straightforward. The only real advice here is: do your best.
MUL-T
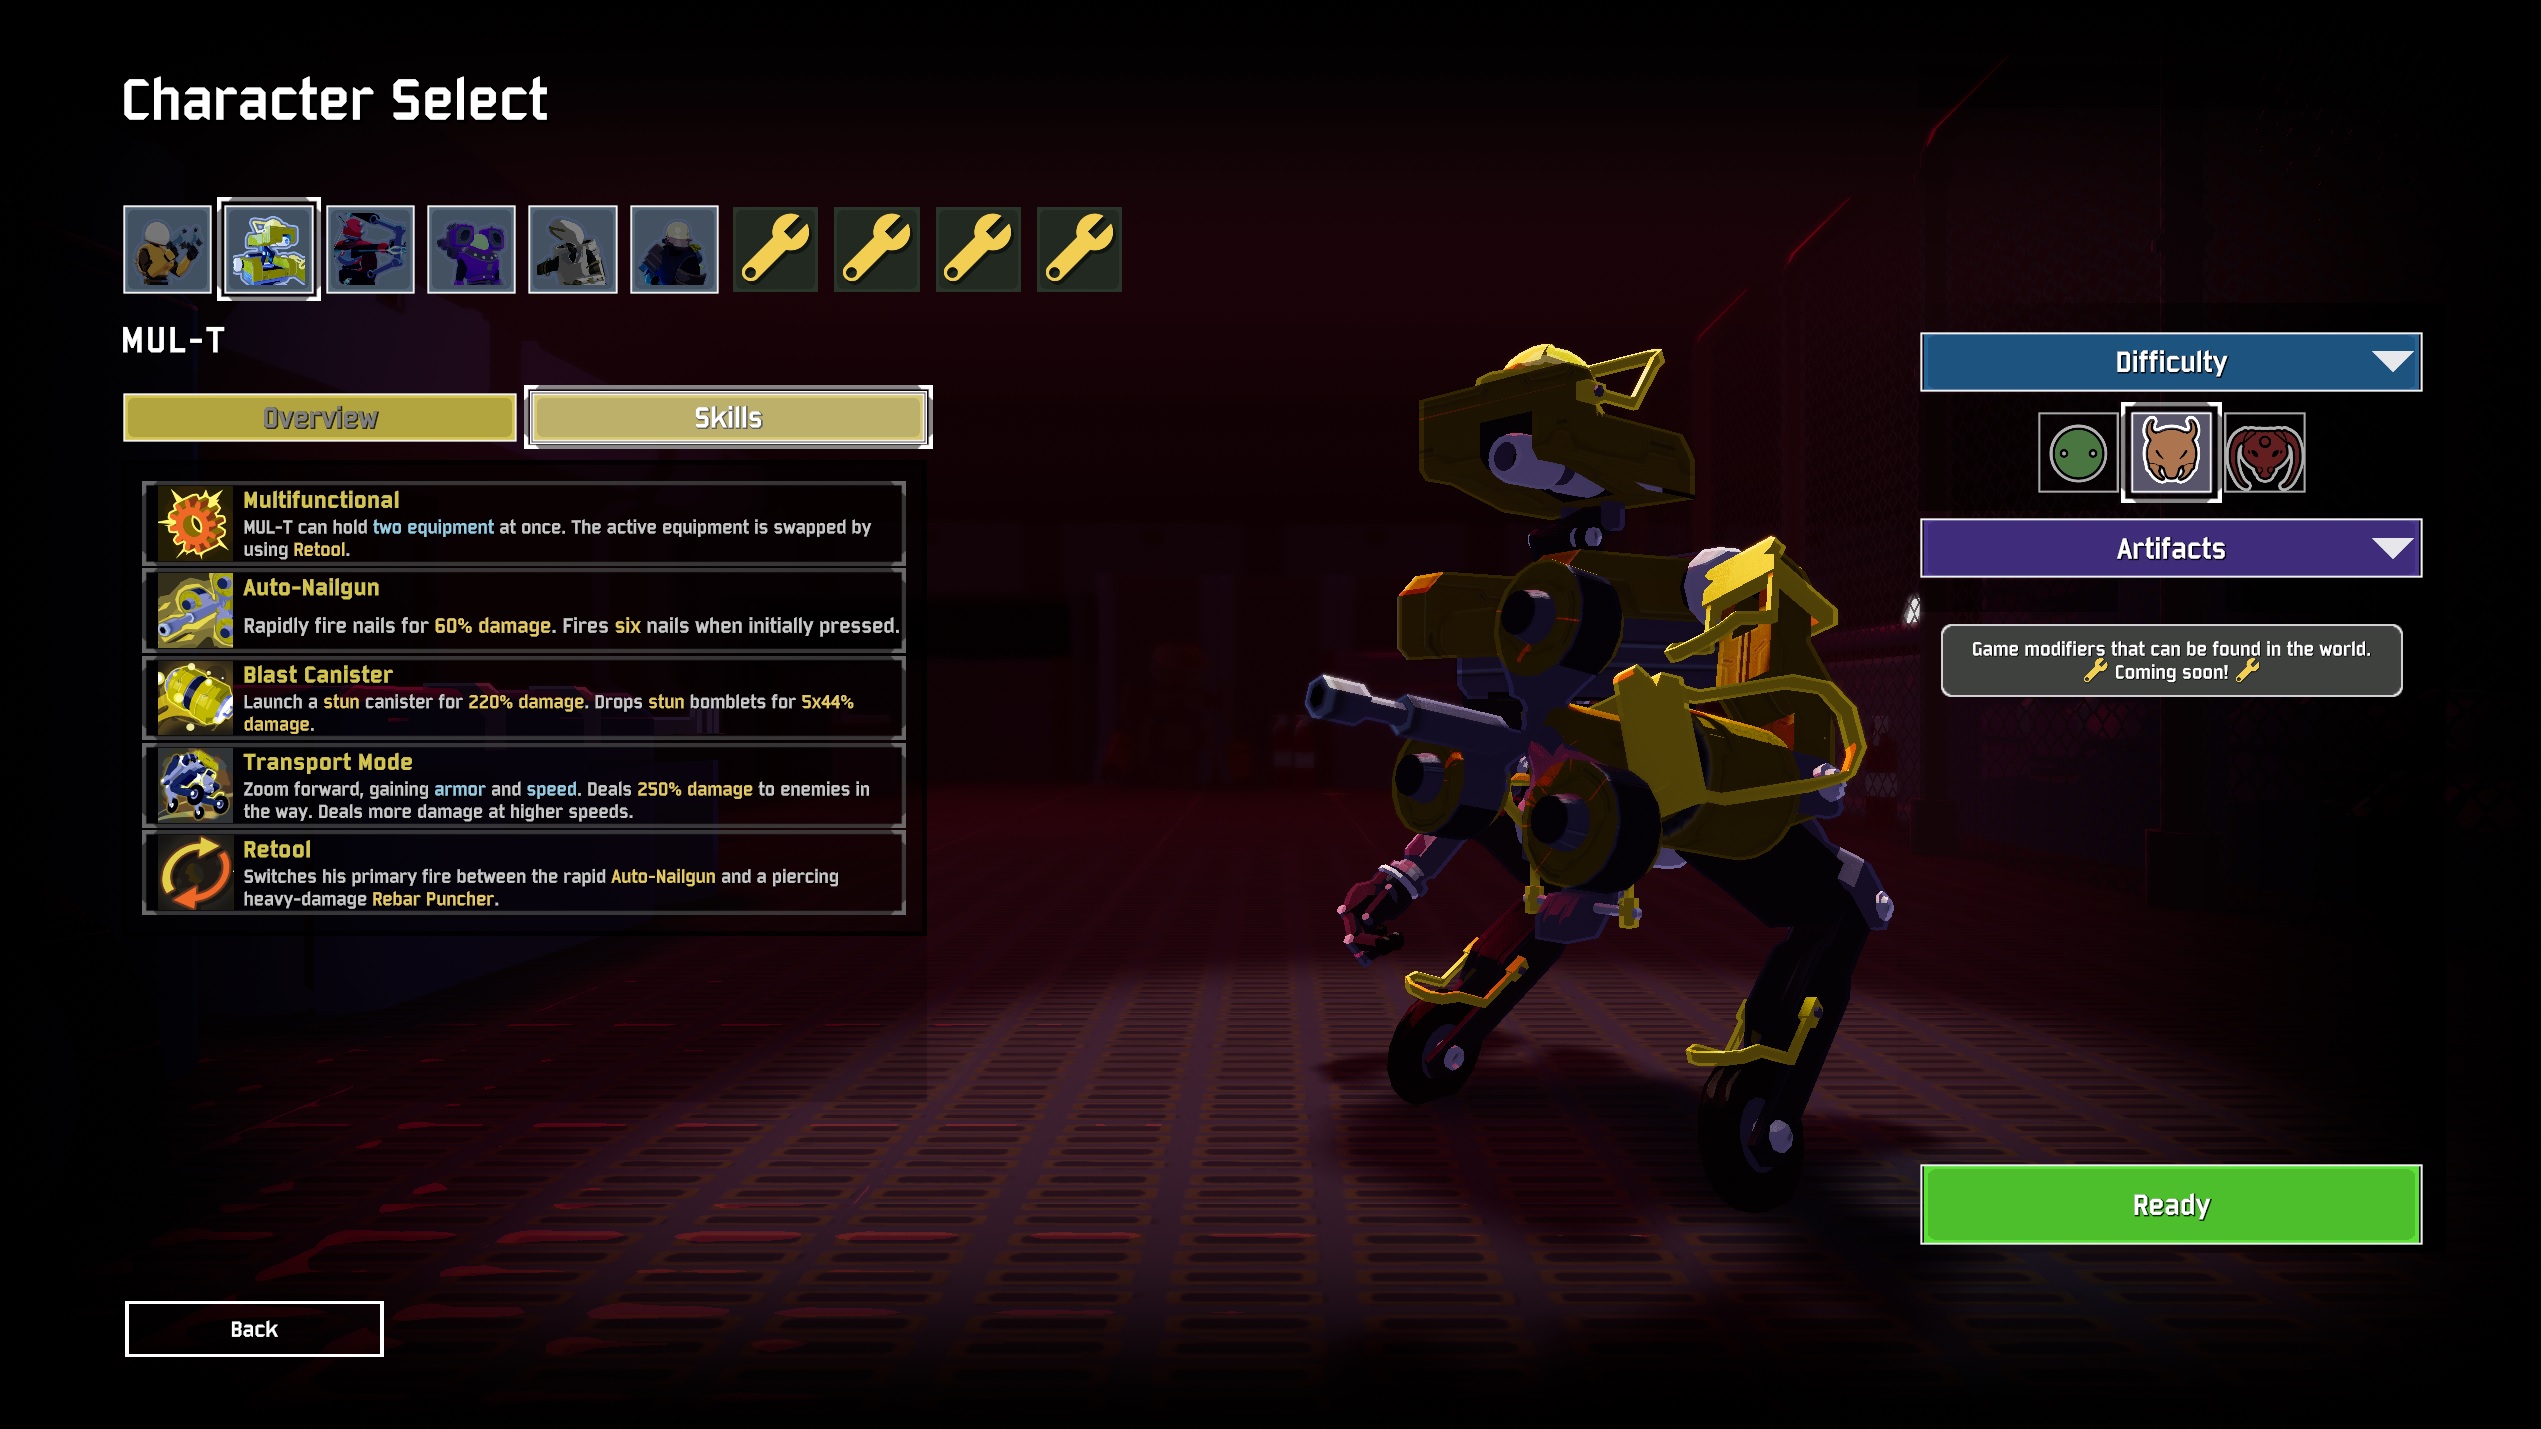
Gotcha!: land the killing blow on an Imp Overlord with the Preon Accumulator. The Preon Accumulator is an Equipment item that you unlock by opening a specific chest in Rallypoint Delta within 10 minutes of starting your run. You can find more details in our Risk of Rain 2 items guide. Once you unlock it, play until you get an Imp Overlord to spawn, get it to low health, then blast it with Preon.
Pest Control: defeat two Beetle Queens without leaving the teleporter zone. Multiple bosses will start spawning on later waves, but you can guarantee multiple bosses using Shrines of the Mountain. The Beetle Queen often spawns in early stages like Distant Roost, Titanic Plains, Abandoned Aqueduct, and Wetlands Aspect, so this one shouldn't be too hard. Just stay inside the red teleporter bubble while you fight the two Queens. Note that this will also work if more than two Beetle Queens spawn.
Mastery: obliterate yourself at the Obelisk on Monsoon difficulty. Same as above: pull your giant robot socks up and clear seven stages on Monsoon difficulty, then take the Celestial Portal to the Obelisk and choose the obliterate option.
Huntress

Piercing Wind: start and finish Rallypoint Delta without falling below 100% health. This one's going to be hard no matter what, but there's more to this challenge than 'never take damage in Rallypoint Delta.' The keyword here is health. Shields are fair game, so items that give added shields or replace your health with shields will help out here. The Topaz Brooch, in particular, is great for this. Either way, you're going to need to play carefully.
One Shot, One Kill: collect and carry 12 Crowbars at once. The Crowbar is a common White item, so amassing 12 shouldn't take too long. Double-check vending machines for Crowbars, focus on opening small chests which give more White items and keep your eyes peeled for a Crowbar 3D printer.
Mastery: obliterate yourself at the Obelisk on Monsoon difficulty. Same as above: crack your knuckles all cool-like and clear seven stages on Monsoon difficulty, then take the Celestial Portal to the Obelisk and choose the obliterate option.
Engineer
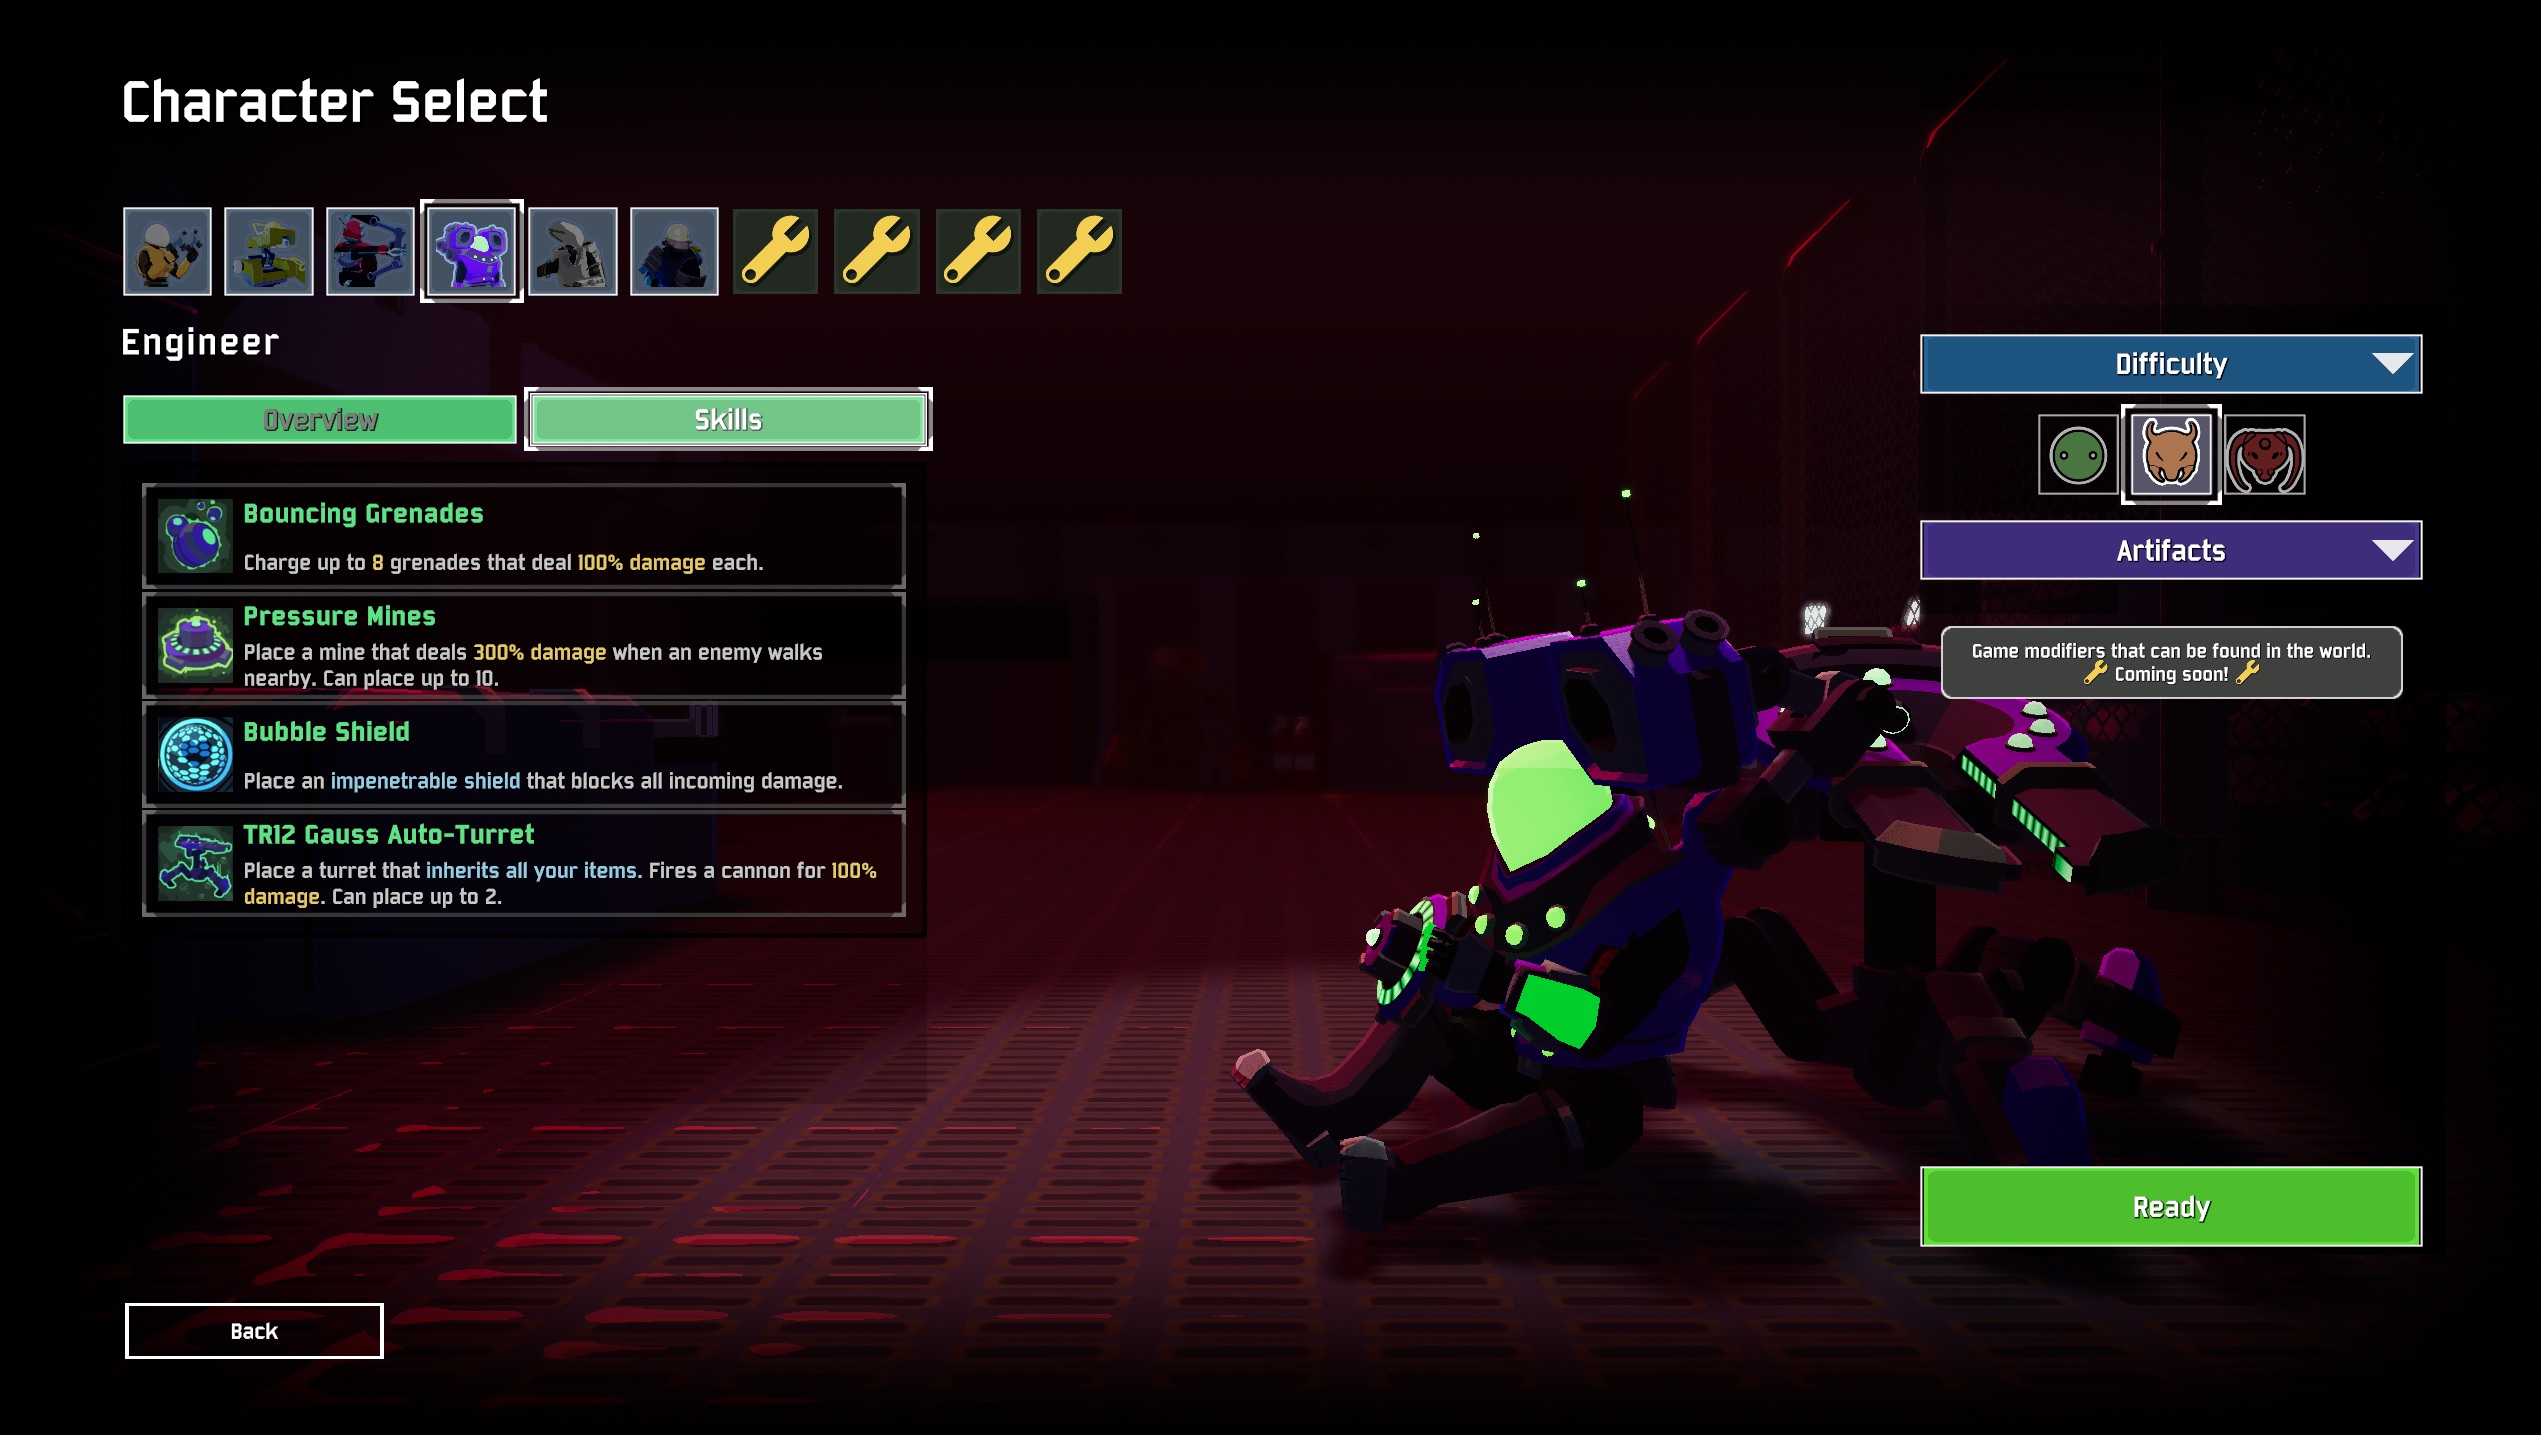
Better With Friends: recruit 12 minions at one time. Minions, in this case, are drones and other followers. So, snatch up every drone you can find. It's possible that the ghosts summoned via the Happiest Mask Legendary and the drones generated by the Back-up Equipment will count toward this challenge's minion total, but we haven't tested that just yet. In any case, the drones on the ground will be much more reliable.
100% Calculated: defeat the teleporter boss in less than five seconds after it spawns. Melt a boss, basically. That shouldn't be too hard. Use your favorite, most broken build, put your turrets down, get your Equipment (and/or friends) ready, then activate the teleporter and summon a very unfortunate boss. It can be any boss in any stage on any difficulty, but you'll probably have better luck if you do this within the first five stages or so, that way you don't have multiple tanky bosses to track down and contend with.
Artificer
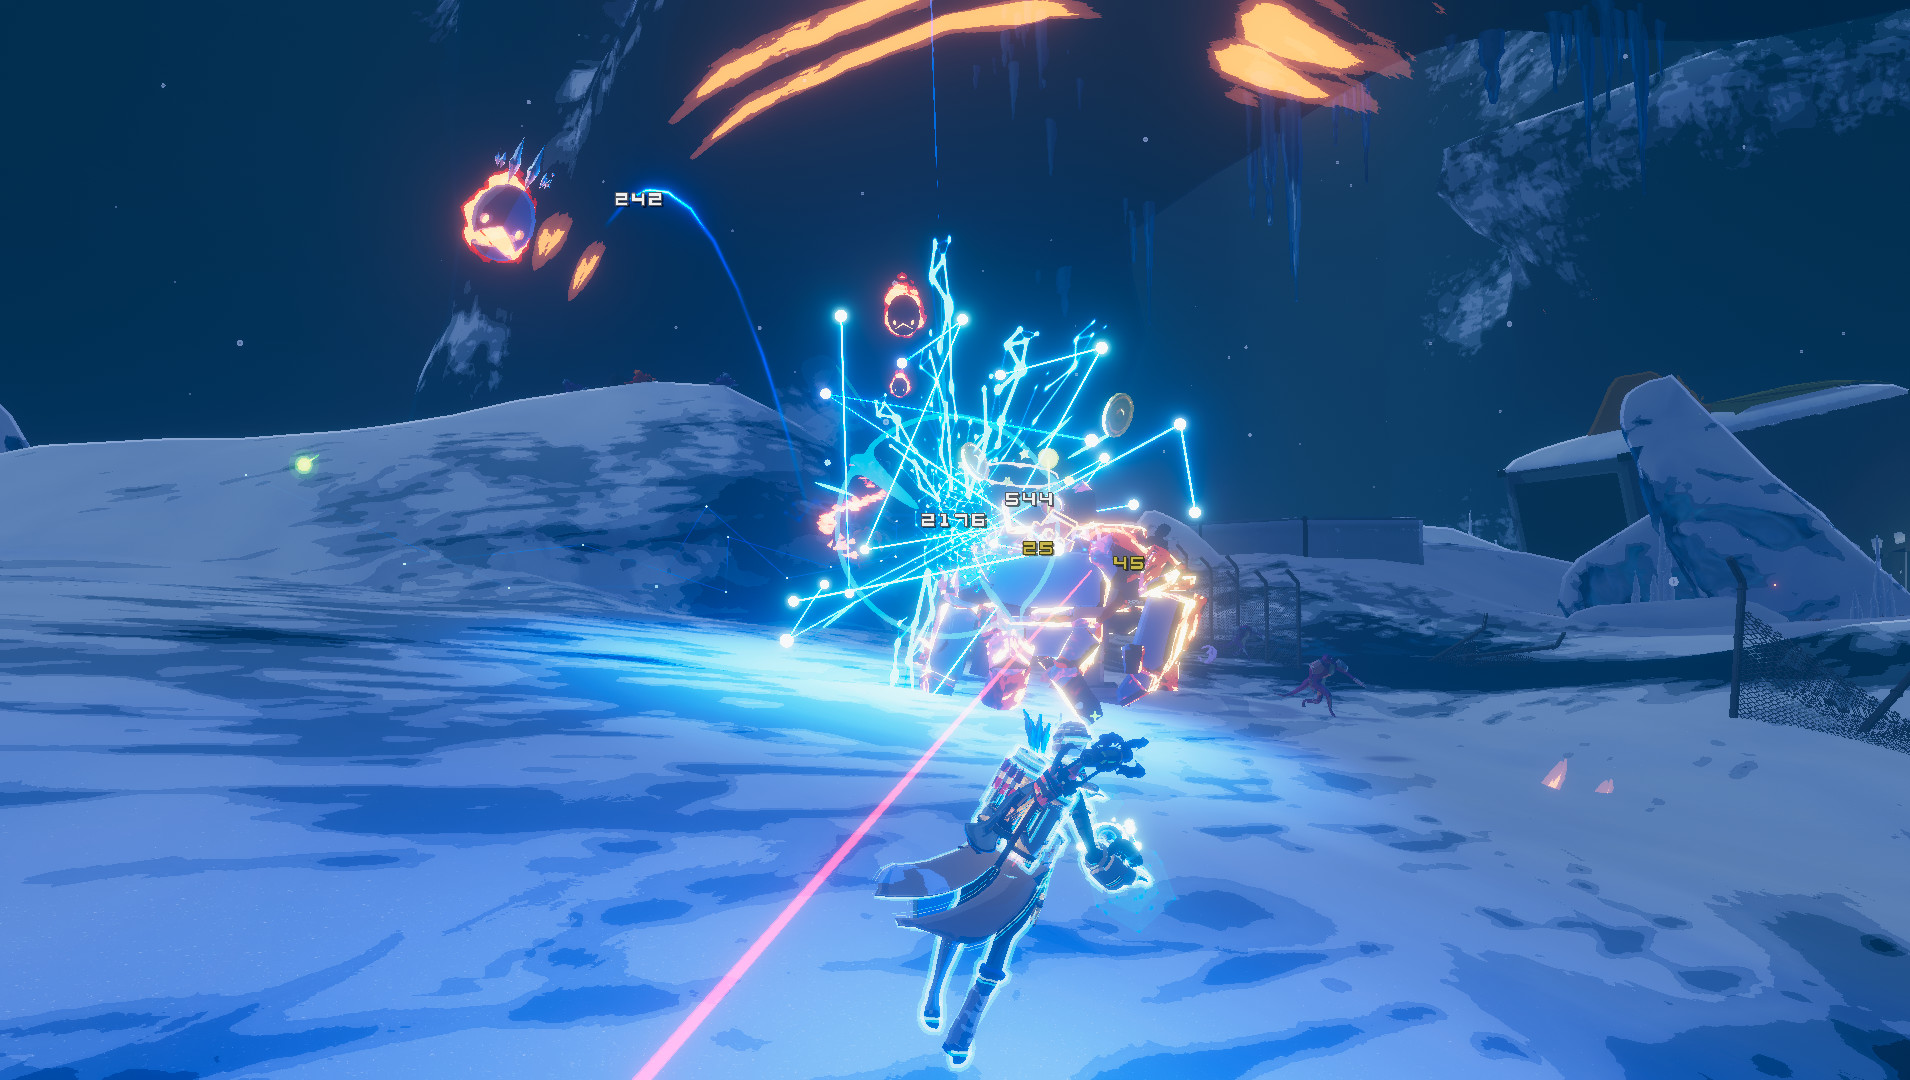
Orbital Bombardment: kill 15 enemies before touching the ground. Just jump or hover over a big group of enemies and let loose. You can soften them up before you take to the skies just to make things easier. If you're having trouble, try jumping from a high point and using mobility items like the Hopoo Feather.
Massacre: perform a multikill of 20 enemies. For this challenge, you need to kill 20 enemies with the same attack in the exact same instant. The Artificer's Charged Nano-Bomb is great for this. Stack some AoE items, soften up a group of 20 or more enemies, herd 'em together, and let 'em have it.
Chunked!: fully defeat the teleporter boss in a one-second burst of damage. The items in Risk of Rain 2 are so random that there's no clear-cut way to do this - just play for a while until you have a bazillion items, then melt a boss. The most important thing is to not accidentally damage the boss before you drop it. Have your equipment ready, make sure all your abilities are off cooldown, and let loose.
Mastery: obliterate yourself at the Obelisk on Monsoon difficulty. Same as above: put on your coolest sunglasses and clear seven stages on Monsoon difficulty, then take the Celestial Portal to the Obelisk and choose the obliterate option.
Mercenary
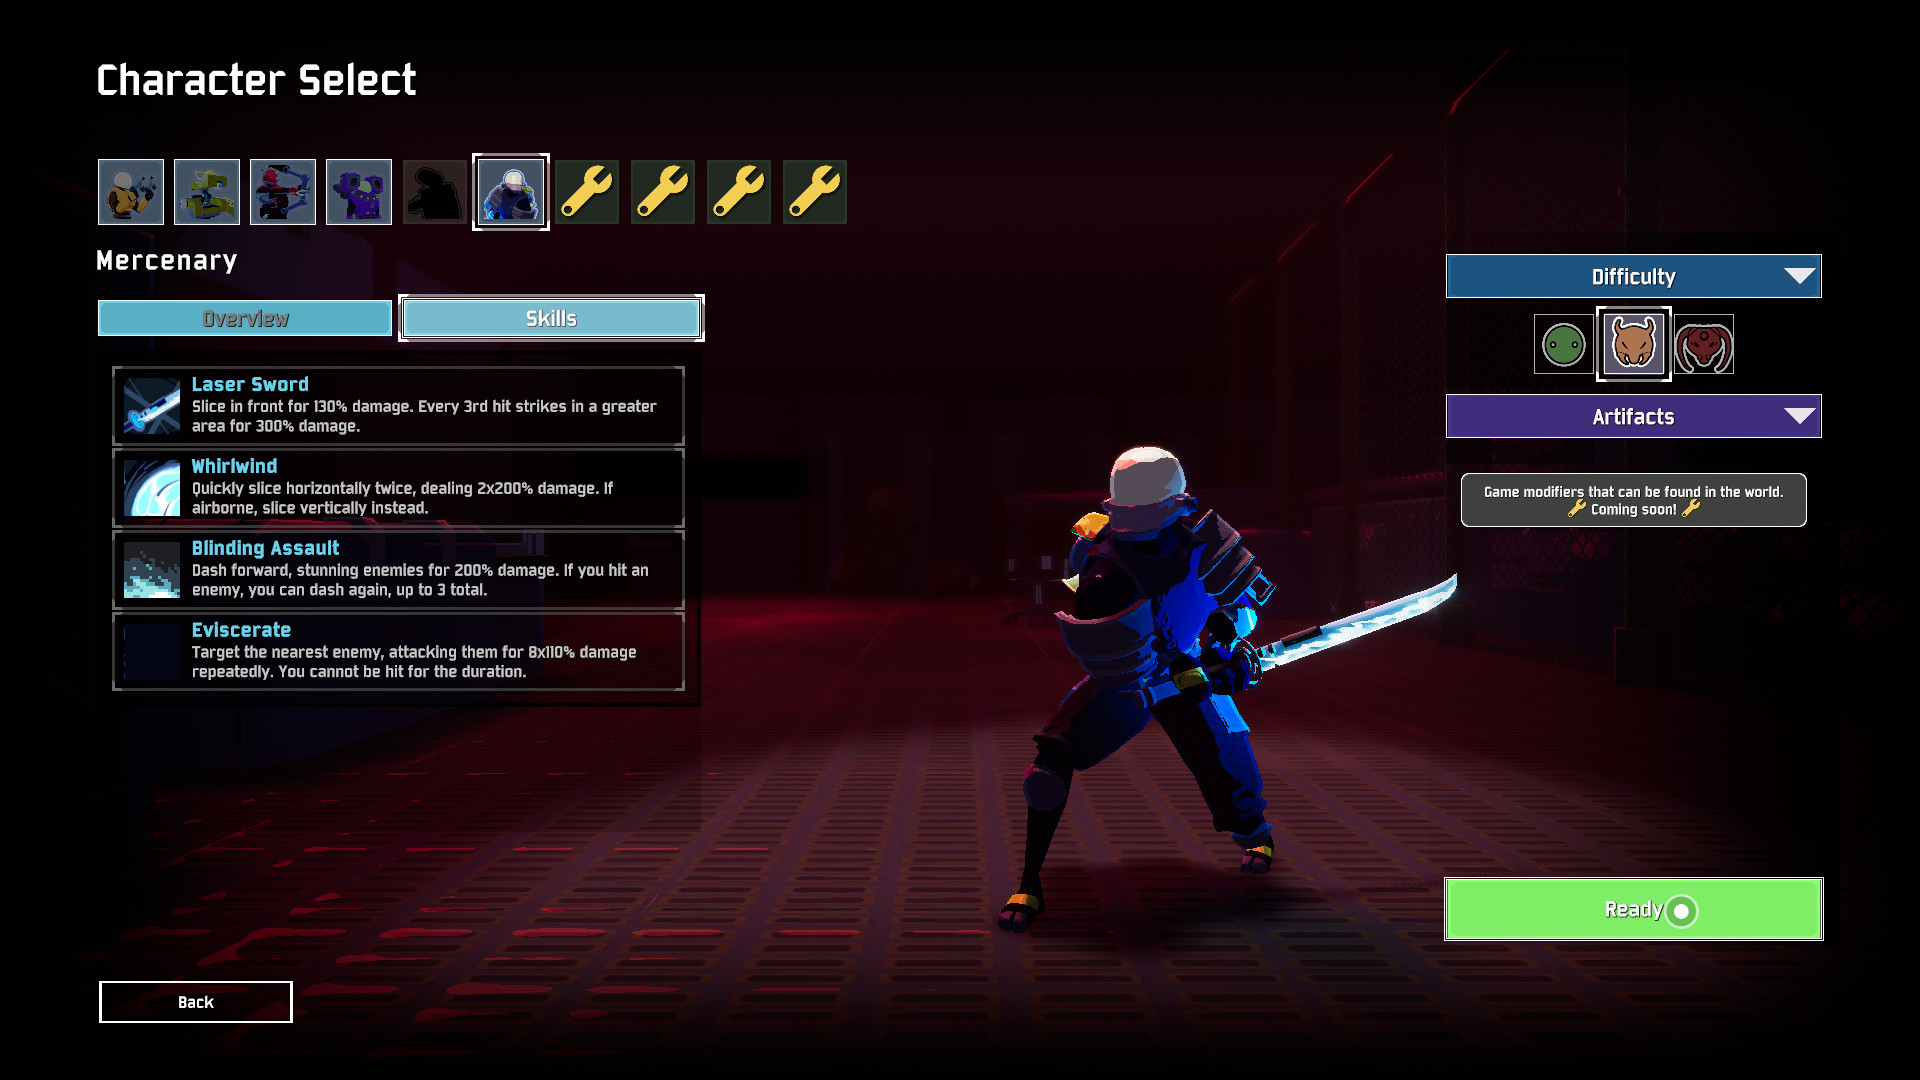
Demon of the Skies: don't touch the ground for 30 seconds. This one's a lot easier than you might think, what with Mercenary being a melee character. With a few Hopoo Feathers and a bit of cooldown reduction, Mercenary can stay in the air pretty much indefinitely using his dash attack. The Hardlight Afterburner Legendary alone will pretty much do it. Just find a flock of flying enemies and keep bouncing between them with your dash.
Ethereal: complete a Prismatic Trial without falling below 100% health. This one's not as bad as it sounds - Prismatic Trials are very short and easily replayed - but you will have to be careful since the Mercenary is a melee character. Take any shield items you can, tread cautiously, and use the invincibility window of your Eviscerate flurry wisely.
Mastery: obliterate yourself at the Obelisk on Monsoon difficulty. Same as above: draw your sword as flashily as possible and clear seven stages on Monsoon difficulty, then take the Celestial Portal to the Obelisk and choose the obliterate option.
REX
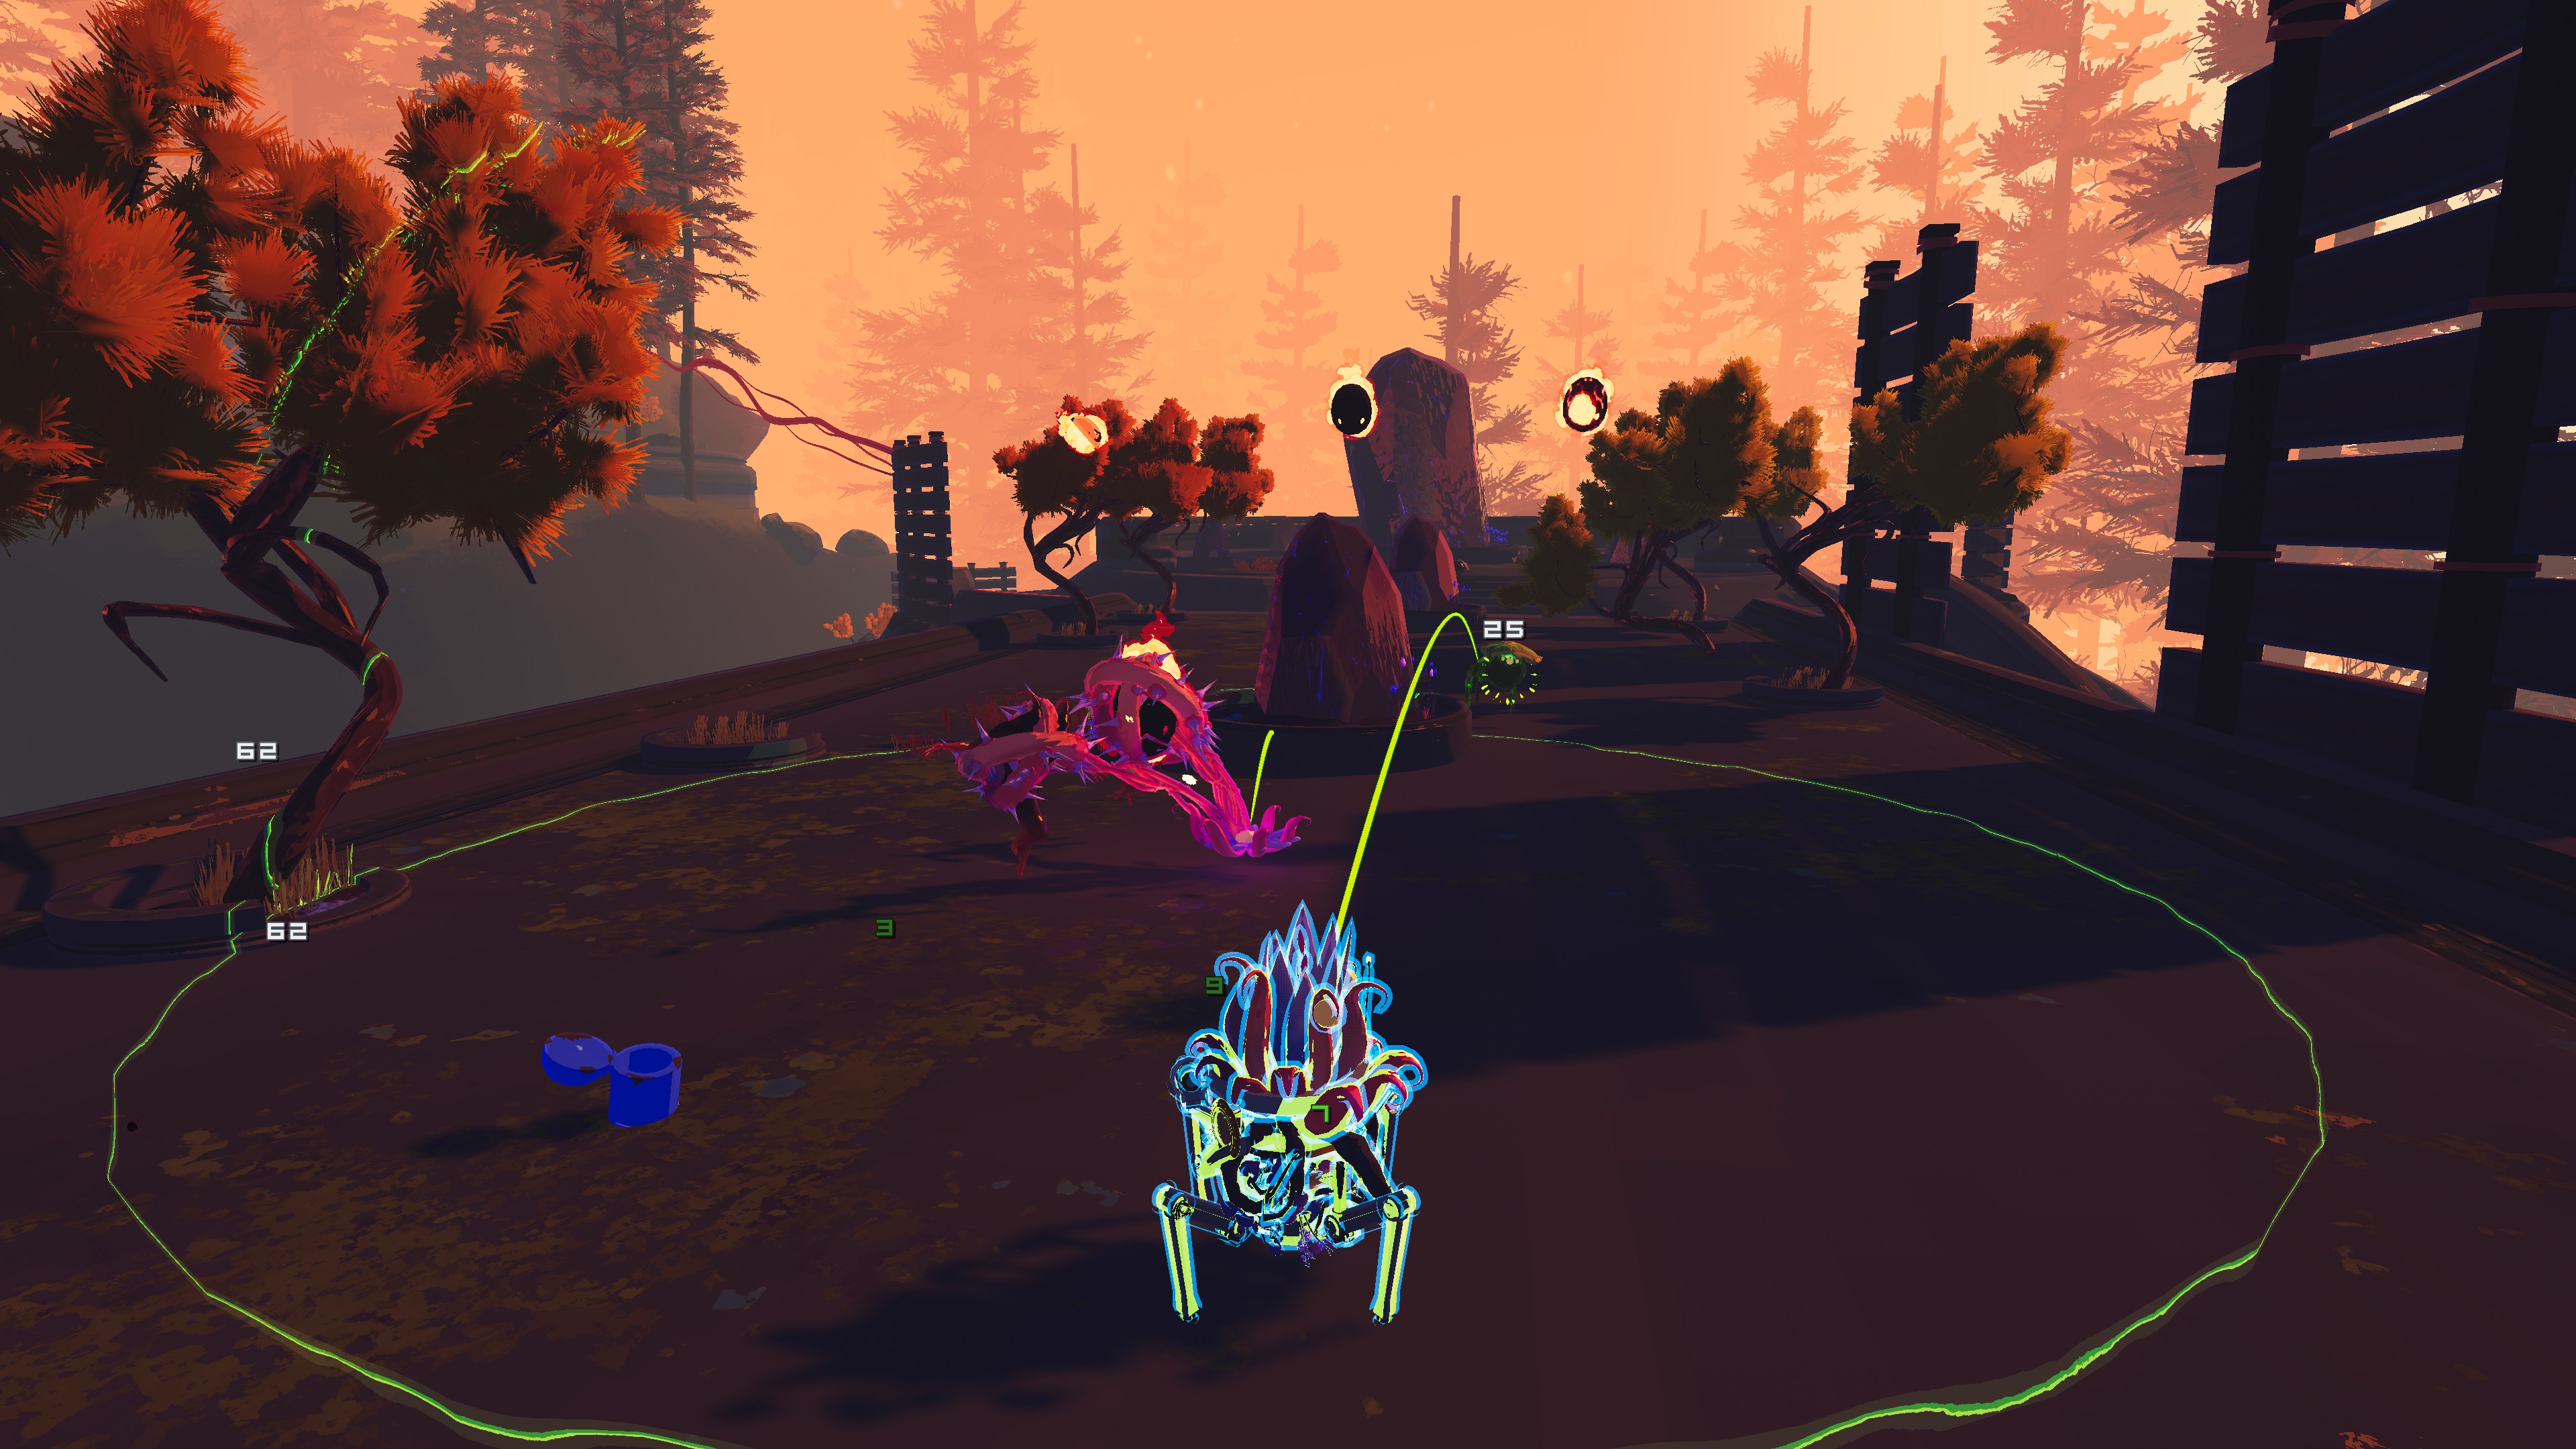
Bushwhacked: complete an entire teleporter event while under 50% health. Note that this is just a teleporter event, not an entire stage. In other words, you need to be below 50% health from the point that you activate a teleporter to the point that you use it to leave the stage, meaning you'll have to kill the boss and fully charge the teleporter while under half health. Get yourself well below 50% health before activating the teleporter and then ration your healing abilities to ensure you don't go over half. Be especially careful when using your Tangling Growth AoE, because it provides a lot of healing. In fact, just to be safe, you probably shouldn't use it at all. Oh, and spam your Seed Barrage to keep your health low if it starts to tick up.
Mastery: obliterate yourself at the Obelisk on Monsoon difficulty. Same as above: pull up all four of your socks and clear seven stages on Monsoon difficulty, then take the Celestial Portal to the Obelisk and choose the obliterate option.
Loader
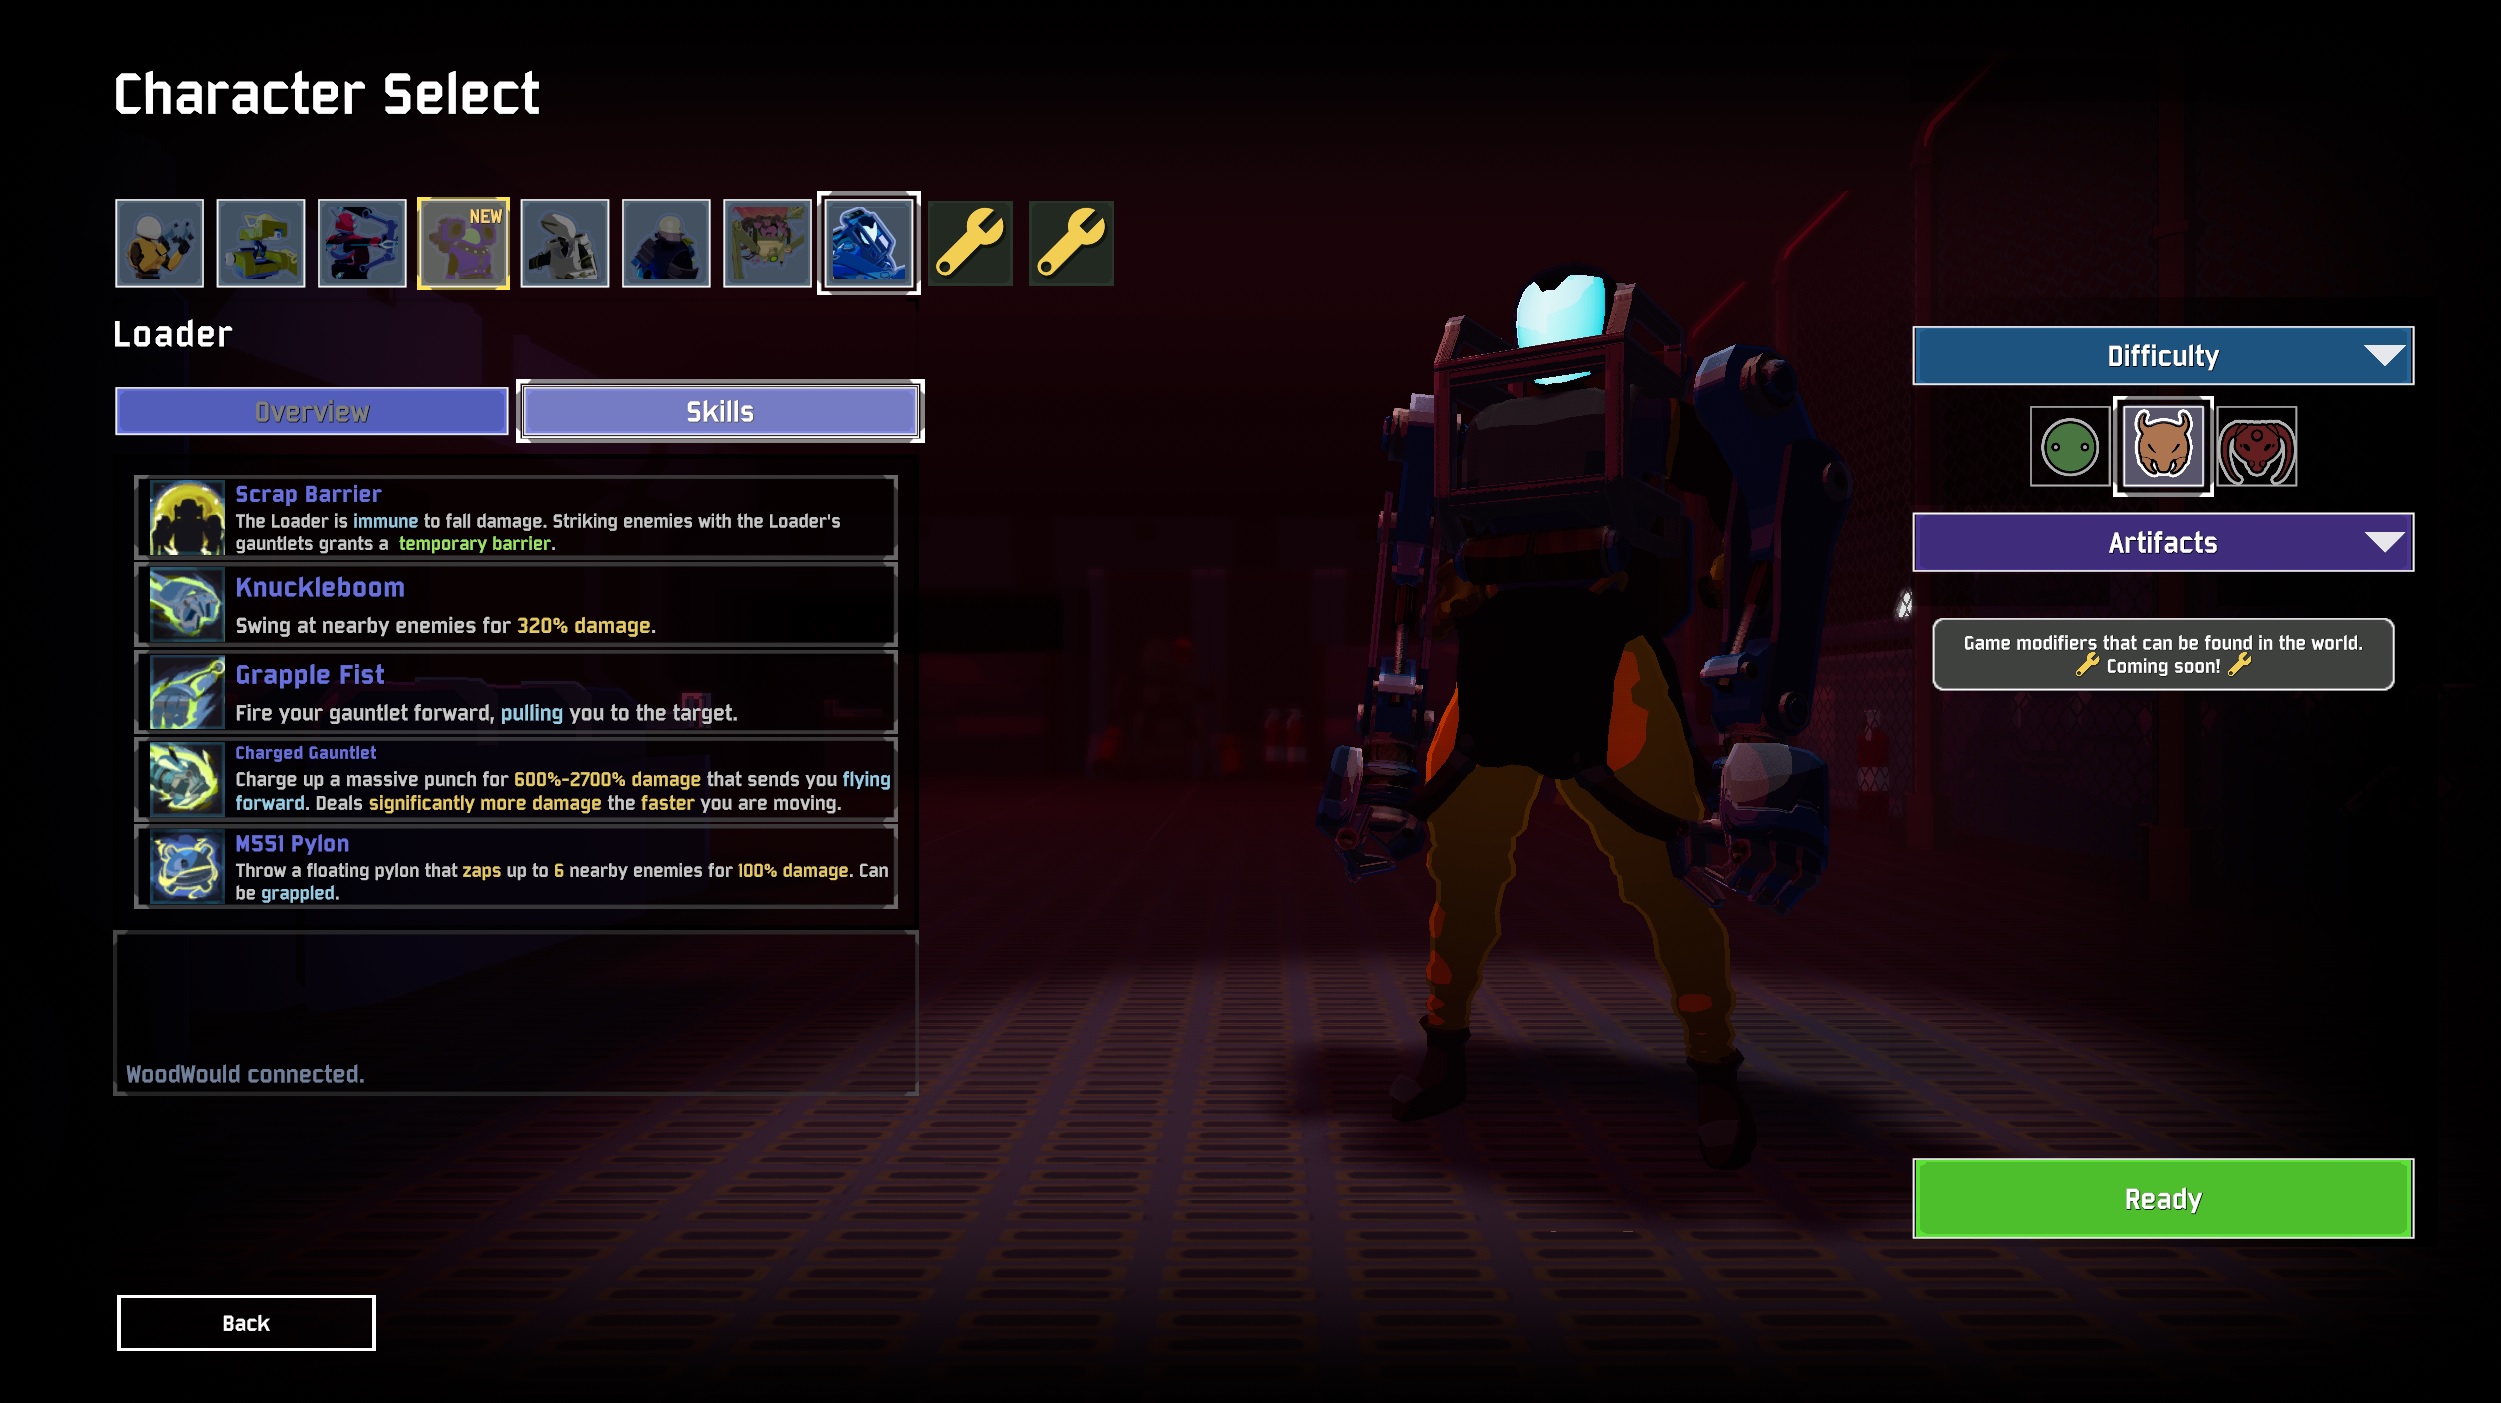
Swing By: reach and enter the Celestial Portal within 25 minutes. This challenge is just a true-blue speedrun. You have to clear seven stages in 25 minutes and enter the Celestial Portal. It's easier than it sounds, but it'll take some doing. Playing on Easy difficulty will make things, well, easier, but it'll still require tight play.
Mastery: obliterate yourself at the Obelisk on Monsoon difficulty. Same as above: tighten your helmet and clear seven stages on Monsoon, then take the Celestial Portal to the Obelisk and choose the obliterate option.
Weekly digests, tales from the communities you love, and more

Austin has been a game journalist for 12 years, having freelanced for the likes of PC Gamer, Eurogamer, IGN, Sports Illustrated, and more while finishing his journalism degree. He's been with GamesRadar+ since 2019. They've yet to realize his position is a cover for his career-spanning Destiny column, and he's kept the ruse going with a lot of news and the occasional feature, all while playing as many roguelikes as possible.


