How to craft a perfect storyline in WWE SmackDown vs Raw 2010
Show those TV writers how it’s done by following our story guide
The basics
You can run as many storylines as you fancy simultaneously, although we’d recommend sticking with just the one while you’re still learning the ropes – once you’re more confident, you can always add more in later. Advanced players should attempt to weave different storylines together in due course. Your feuds shouldn’t exist in a bubble – if your tale is one of a tag team’s bitter break-up, then consider which other wrestlers would get caught in the cross-fire.
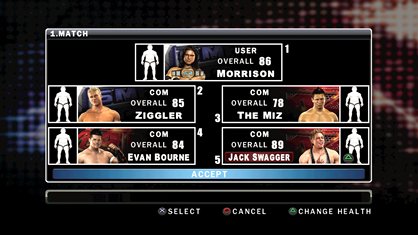
Bringing in other wrestlers will help keep your feud ticking over. For example, if you’ve decided that you’re going to tell the tale of a bitter break-up between tag-team partners Ted DiBiase and Cody Rhodes, consider which of the pair Randy Orton is likely to side with and who Orton is at loggerheads with. Even if you’re not planning to show the finer details of Orton’s battles, it’s to your advantage to set the scene backstage so a random wrestler doesn’t intervene.
Once you’ve decided on the main players, the first thing you should do is study the schedule carefully. Although you can start telling your tale at any point during the WWE calendar, January is as good a time as any to start. You’ve got two months of solid programming to build towards WrestleMania, and the unpredictable natures of both the Royal Rumble match and No Way Out’s Elimination Chamber contests should give even a struggling scribe plenty of ammunition.
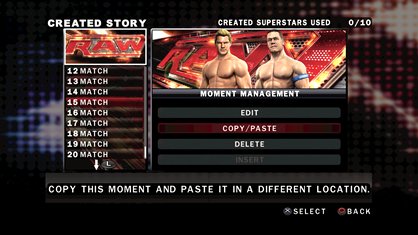
Now it’s time to get technical. Think about what’s going to happen at the next PPV event – in this instance, let’s say that Legacy lose their tag-titles to, say, Primo and Kofi Kingston. You’ve got four episodes in which to storm up dissension. Each episode can hold up to 20 ‘events’ – which can be either an incident, or a match itself. The people who will play through your storyline will want to do so in bite-sized chunks, however, so don’t overload your programs. A storyline should only contain a handful of segments and ideally only a single match-up per episode to prevent burnout. If you need more space, have your stars appear on a rival brand.
It’s easy to get carried away with all the flashy backstage segments (even the professionals do it – just watch an episode of TNA Impact), but one of the best ways to tell a story is in the ring. Besides, this is the actual part of your storyline that the player will interact with, so they should not be overlooked. You can instruct wrestlers to perform run-ins during the match, but these should be used sparingly – overbook too many matches and the player will likely find the experience unsatisfying. There was once a wrestling company named WCW that featured on average about 64 run-ins per main event match. It’s dead now, of course.
Try to keep the matches simple. As with the Road to WrestleMania mode, you can set conditions that are required for the storyline to continue. As an example, you could book a triple-threat match between DiBiase, Rhodes and Kofi Kingston for the Jamaican Superstar’s US title, and make it a preset condition that the player-controlled Superstar has to win the title. Augment that simple story with a crazy post-match fracas, and you’ve got yourself a simple, logical storyline that builds tension between the tag-team partners. You can also make it a requirement that the player has to lose, but this should only be used on rare occasions.
Weekly digests, tales from the communities you love, and more
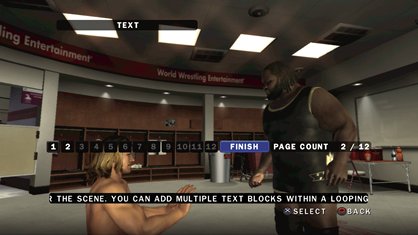
Up to ten different create-a-wrestler (CAW) characters can be included in your storylines, so if you want to include a legend from the past – or your grandmother! – then that’s also an option. Remember that this year, you don’t have to toil to create your own stars – simply go online, type in the name of the wrestler/celebrity/whoever you wish to include in your story, and chances are you’ll be presented with a bulging list of CAWs ripe for the download. You can also fiddle with the attire of existing stars to further personalize your storylines.
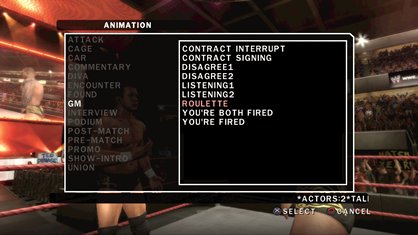
Once you’ve saved your storylines, you can preview a show. This will allow you to see which parts of your segments don’t flow properly. Once identified, you can head into the advanced settings to change camera angles and add text and sound. It can be a bit daunting at first, but help is at hand! Read on for more advanced tips…
