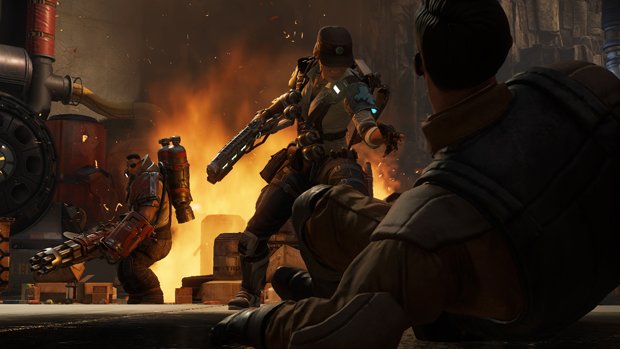
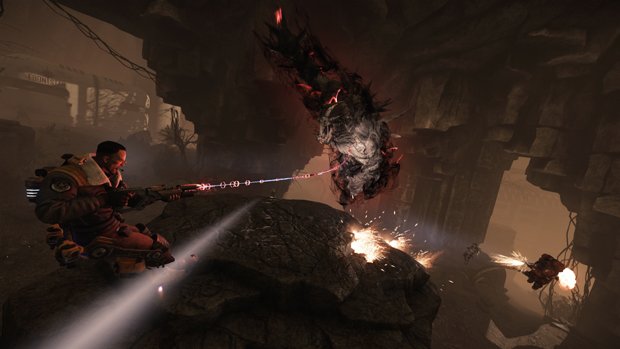
Evolve gameplay tips and level maps guide
Medic & Support Tips

Healing Bombardment
Map: Any
Hunter: Caira (Medic)
While difficult to execute, you can learn to fire Caira’s healing grenades up into the sky and determine where they will land after a good length of time. If you can do this in an expected combat zone, you will have saturated an area with repeated healing grenades during a fight while your grenade launcher is already reloaded and ready to provide additional healing, effectively doubling the amount of healing potential Caira can fire into an area in the same amount of time.
No Buffs for You
Map: Any
Hunter: Lazarus (Medic)
Have you put the hurt on the Monster and in a desperate attempt to stay alive it's going for the Health Regen Elite Buff? Use the Lazarus Device to keep bringing that nasty Tyrant back to life each time the Monster kills it! Just be sure not to end up as Tyrant chow... This works with all Albino wildlife, so don't leave those buffs just lying around - make them harder to catch with the Lazarus Device.
Revivify
Map: Any
Hunter: Lazarus (Medic)
Lazarus' Heal Burst only provides minimal health. In order to heal team mates to full health more quickly, allow Mammoth Birds or other wildlife to incapacitate them then help them back up with the Lazarus Device - their health will be fully restored instantly! Just be careful the Monster doesn't catch you during this process or a fallen team mate may end up as lunch.
Tranq Jukes
Map: Any
Hunter: Val (Medic)
The Tranq Rifle can slow down the Monster. If you can use that in conjunction with well placed jetpack dodges and terrain jukes, she can last much longer evading the Monster than you might think.

Misdirection Fire
Map: Any
Hunter: Bucket (Support)
Spreading Turrets around in a battlefield will create multiple sources of damage, hitting the Monster from different directions. This can be confusing to a Monster player and allow Lazarus to place multiple shots without being too easy to find, since the effect is the same as having no tracers. The difference is that Lazarus places weak points and Sentry Turrets do not. If the Monster sees lots of weak points on their right side, they may deduce that Lazarus is somewhere on the right. Be sure to spread them around the Monster’s body, so it’s not too obvious where you are firing from.
Ghostbuster
Map: Any
Hunter: Cabot (Support)
Like the Lighting Rifle, the Damage Amp can lock on to the Monster. This can allow Cabot to effectively reveal a Monster stealthing in the bushes as long as it is within line of sight. It also has a much larger lock on range than the Lightning Rifle, so keeping it out and firing when you lose track of the Monster can make it easier to find it while hiding in the undergrowth.
Hypotenuse Targeting
Map: Any
Hunter: Hank (Support)
If a Monster is caught in a dome and hiding behind something, Hank can target the Orbital Strike on the Mobile Arena to land the strike behind objects that he couldn’t normally see.
Ninja!
Map: Any
Hunter: Any (Support)
When cloaked the Monster can still follow your foot prints. To avoid having the Monster track you down once you've cloaked walk backwards over your old footprints (double back if you will) and use the pools of water to hide your getaway foot prints. Also, the Monster can still see the fire from your jetpack when cloaked so only make use of it as a last resort.
Jump to Section:
- General & Assault Tips
- Medic & Support Tips
- Trapper Tips
- Monster Tips
- Level Maps: Armoury, Aviary, Barracks, Colonial Water and Power, The Dam, & Distillery
- Level Maps: Fusion Plant, King's Fort, Medlab, New Calico, Orbital Drill, & Refuelling Tower
- Level Maps: Rendering Plant, Salveron Industries, Tutorial, Weather Control Tower, & Wraith Trap
Weekly digests, tales from the communities you love, and more


