Deathloop Reward Scheme guide
How to complete Super Shifty and get the Heritage gun
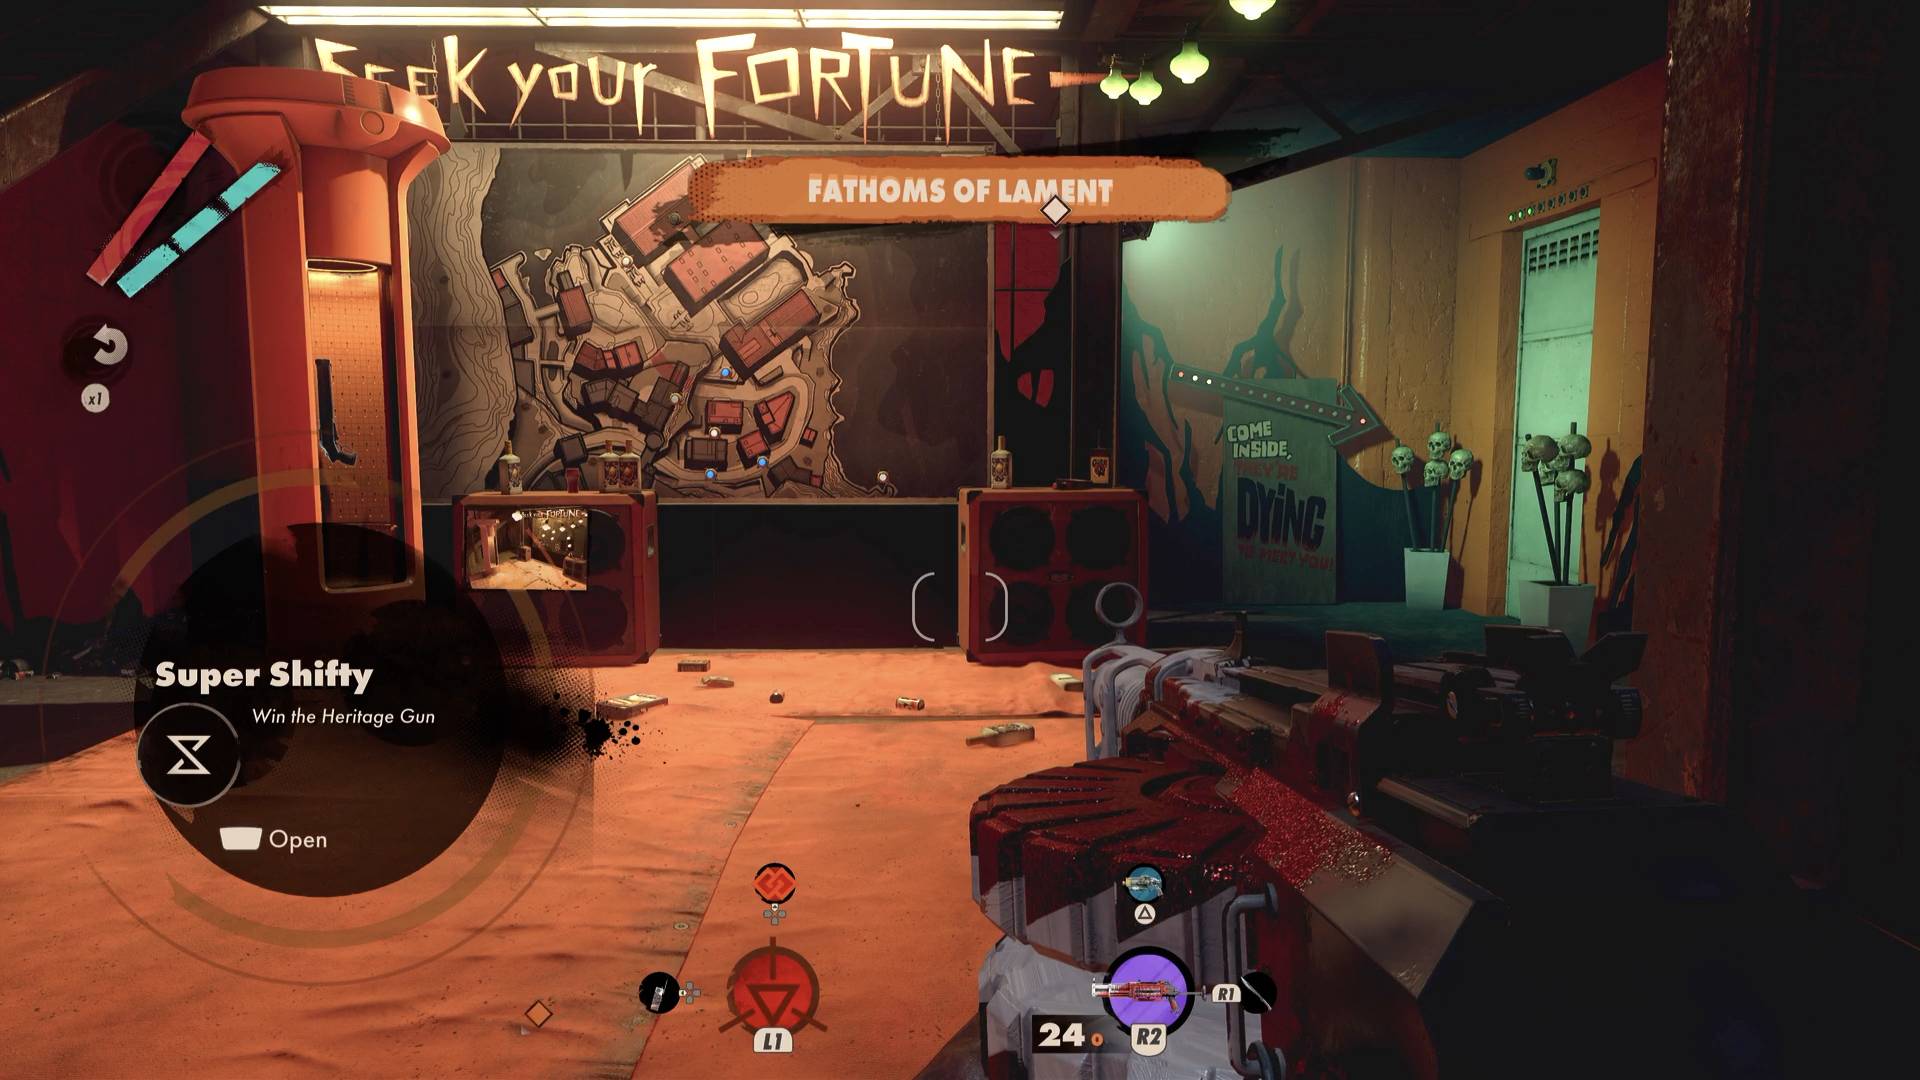
The Deathloop Reward Scheme Super Shifty challenge is a really tricky series of tests, but if you put in the time and effort to get through all of the trials then the Heritage gun will be you reward, which is one of the best weapons in the game. You'll kick off this Charlie Montague game by visiting the Fathoms of Lament building in Karl's Bay, however its various stages will take you all over the level. Each of these stages involve tracking down presents dotted around the area, then successfully opening them all so the final challenge can be undertaken for a chance to win the gun reward.
This weapon, the Heritage, is one of the best Deathloop guns in the game and it switches between two forms: a shotgun, which is honestly a bit meh thanks to its insanely wide pellet spread, and a hyper accurate rifle that's basically a one shot kill for all the basic enemies. So, it's well worth the pain of completing the Deathloop Reward Scheme Super Shifty challenge, even though it's one of the most annoying quests in Deathloop.
How to start the Deathloop Reward Scheme challenge
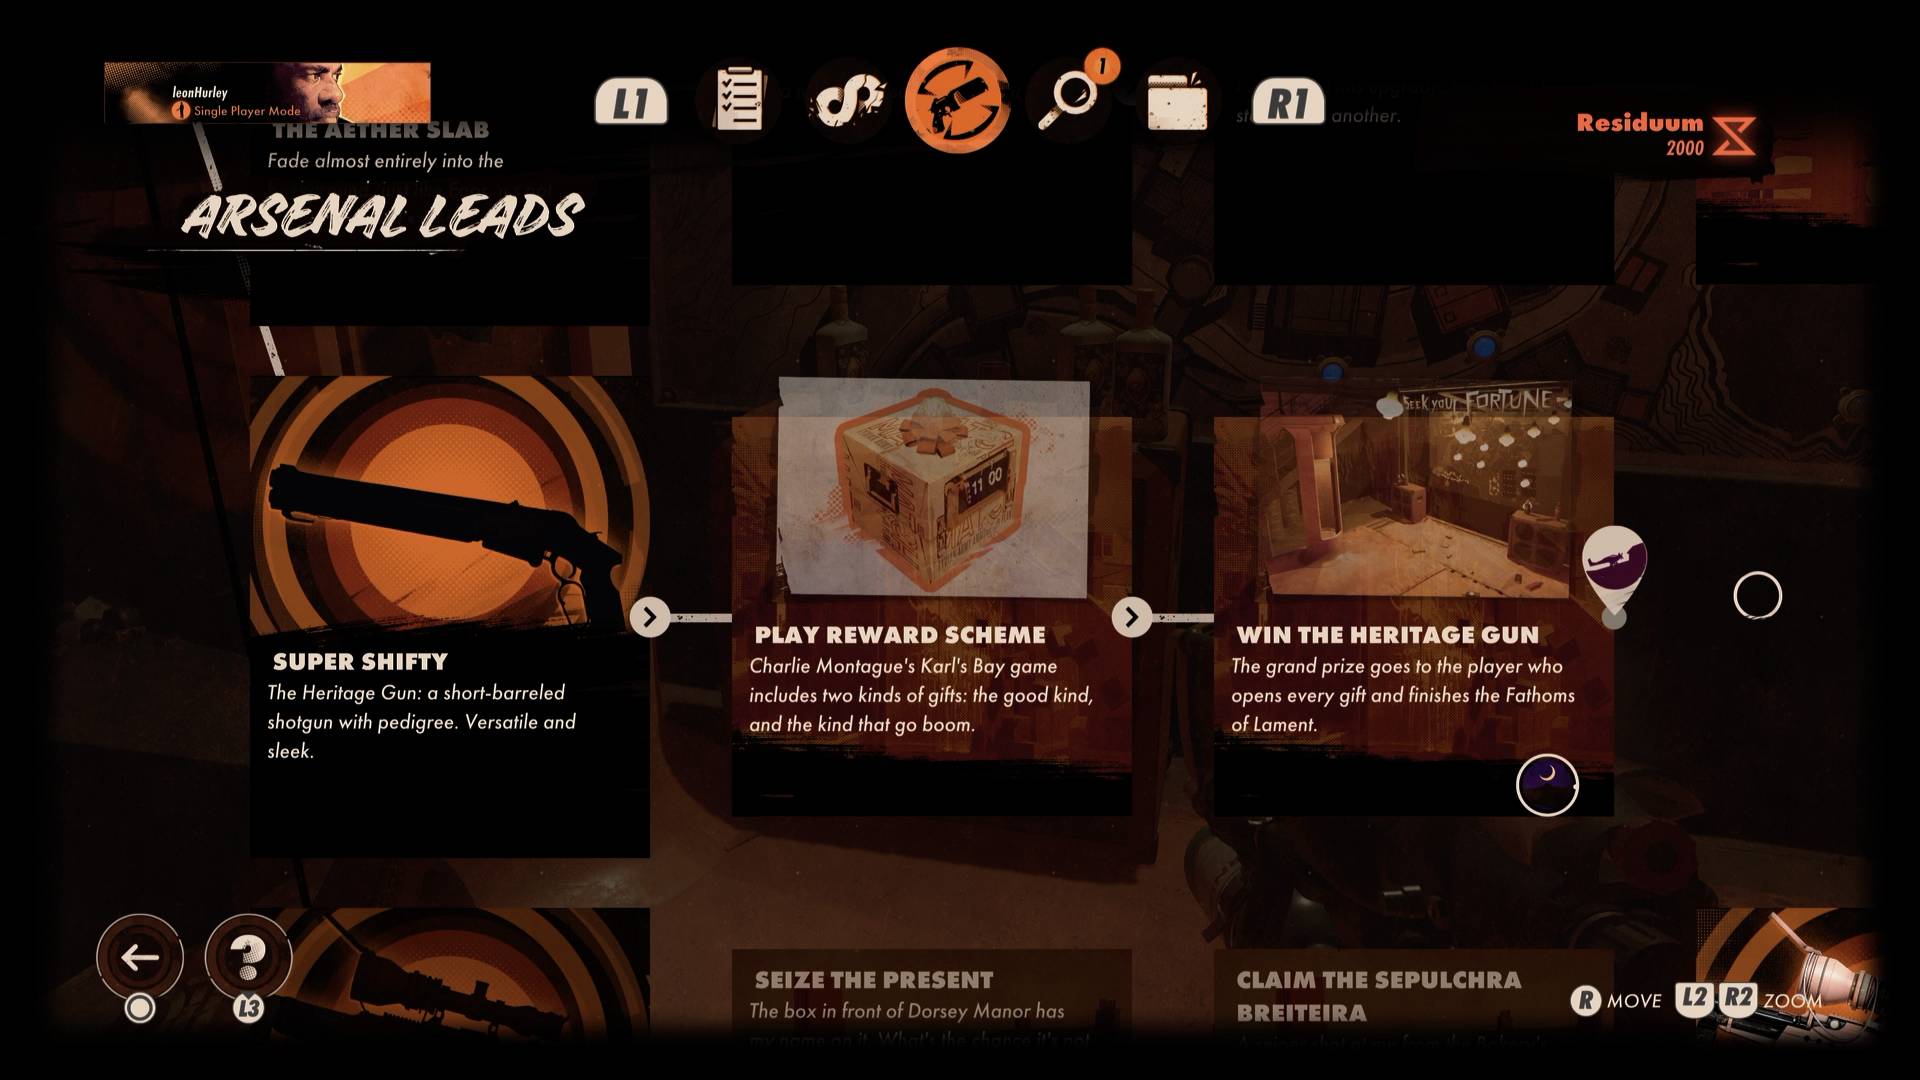
To start the Deathloop Reward Scheme mission and get the Super Shifty quest you'll need to visit the Fathoms of Lament game in Karl's Bay in the evening. You'll find one of the doors to the building open, and inside you'll see a map next to the gun you're trying to win.
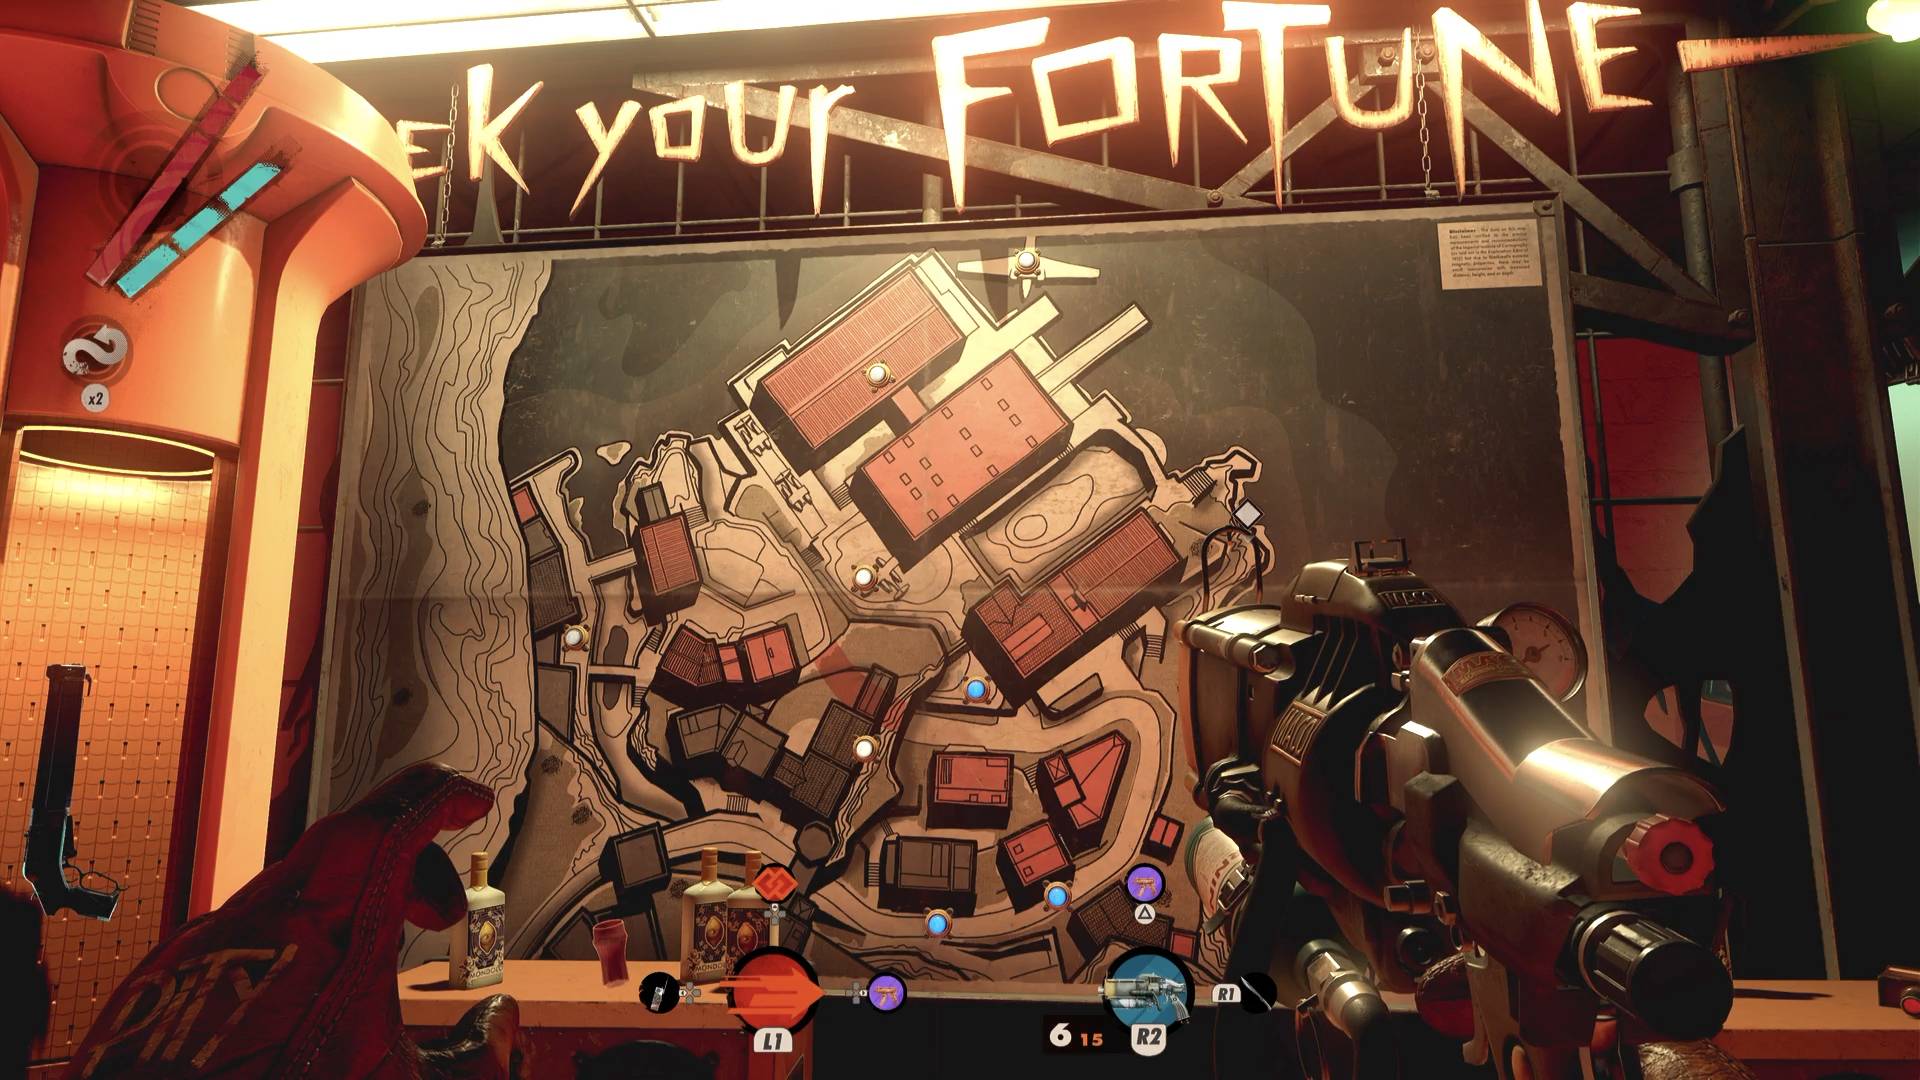
On the map you'll see some lights, five of which will be randomly lit every loop. Each location will contain a 'present' and some sort of challenge to overcome, like guards, trip mines, or turrets, as well as a few special cases. If you fail a challenge or accidentally blow up the present you'll have to try again on another loop. If you manage to open all five presents successfully you'll be able to access a new door in the Fathoms of Lament for a final challenge to access your gun prize.
Word of warning: even if you do open a present successfully, most of them explode in your face. So it's best to open them and back off quick. If they don't go boom, you'll find one of the Deathloop Trinkets inside.
How to complete the Deathloop Reward Scheme challenges
If you are going after the Deathloop Super Shifty challenge you'll want to bring along the Shift teleport and Aether invisibility powers as these will help you get past security lasers and turrets, and help you move around faster.
Several locations will have a present with a few guards to defeat, or turrets to hack before you can reach it. However, there are a few locations where the presents have special hazards:
Hangar 1 - The present will be surrounded by trip mines. Teleport in somewhere safe to open it or use Aether to walk through the beams.
Hangar 2 - You'll need to pull a series of switches here before the time runs out. These can be found in the following positions:
Switch 1 - By the present.
Switch 2 - Directly opposite.
Switch 3 - From the second switch look to the other side of the hangar, to the lower level by the cockpit wing.
Switch 4 - Almost directly opposite from the third, at the far end of the hangar.
Switch 5 - Turn right from the fourth switch and look up to the gantry above.
Switch 6 - On the nose of the hanging plane.
If you pull all the levers in the time limit the present will flash, indicating you can open it.
Between Hangar 1 and 2 - if a present appears here it will be surrounded by mines.
One present will always be inside the Dawn of Reason building. It's best to save this one until last as it appears to involve codes created by completing the other presents, so you won't have all the answers if you go there before doing the others.
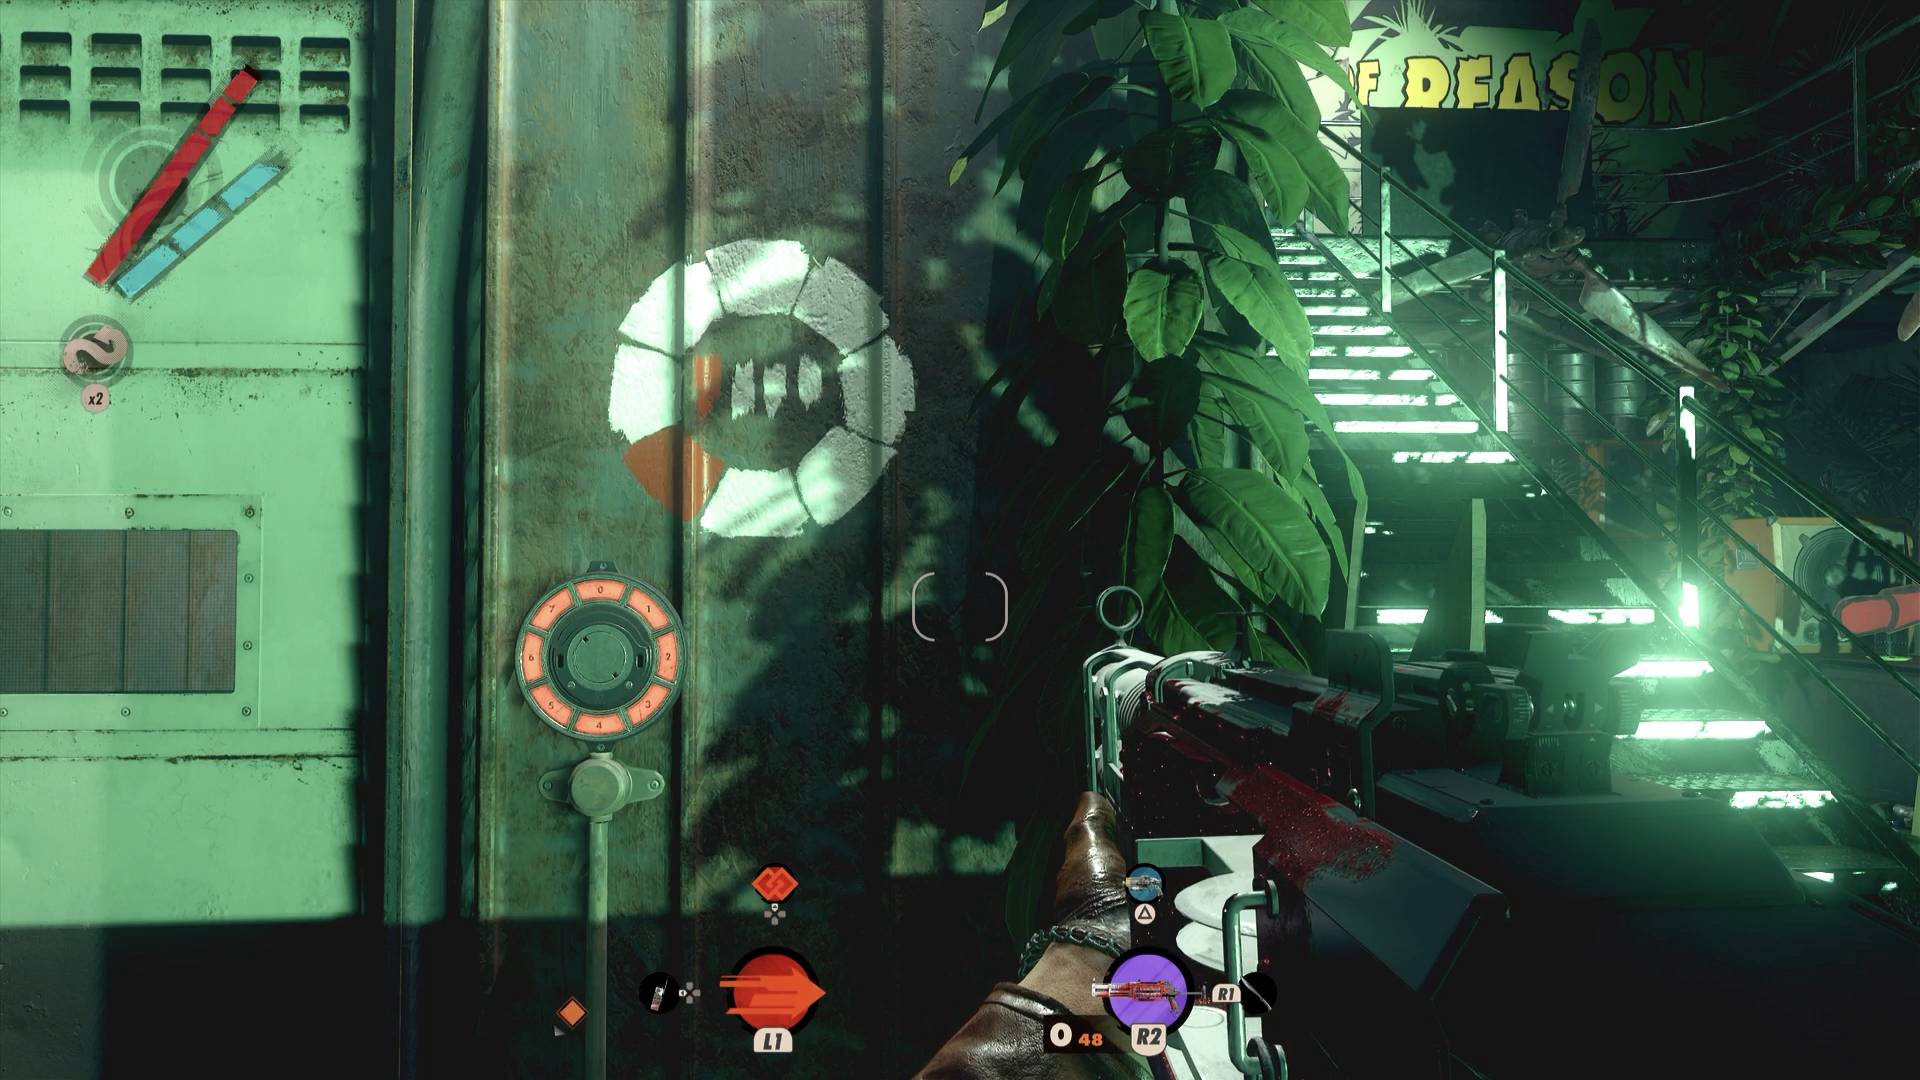
The final present will be inside a locked door and if you don't get the door open in the three-minute time limit, it'll explode and you'll fail. The pictogram next to the code wheel should teach you how to read the codes you need - the colored bars in the middle indicate which number it is - 1, 2, 3, or 4, while the colored ring segment will tell you which number to enter on the door dial.
However, not all the codes will be as obvious - some are split in a way where you can only see them if you look at certain walls, floors or pillars at a certain angle or perspective. Don't panic, though, as the three-minute time limit is more than enough to get the four codes if you take your time to find the pictures. Keep your phone, or a pen and paper nearby to write down the numbers as you go and you should get them all easily.
The final Deathloop Reward Scheme puzzle
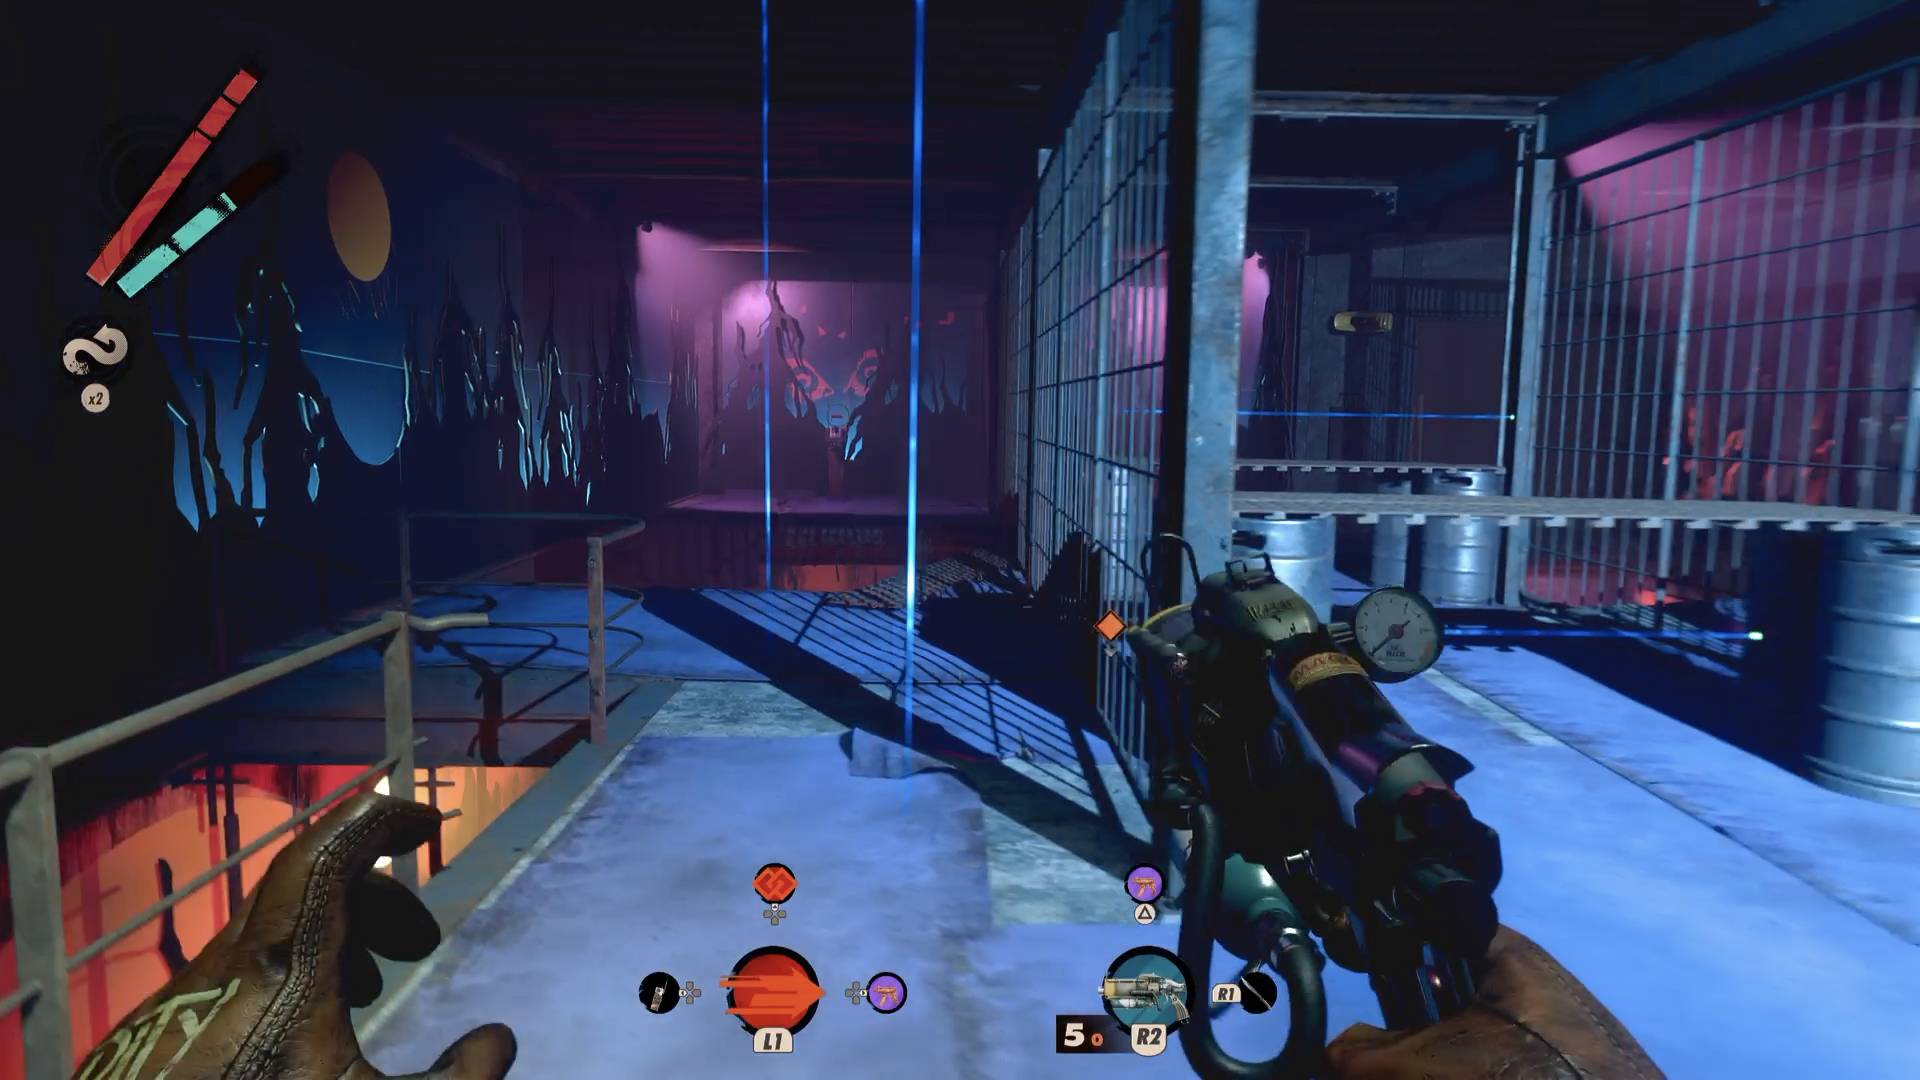
When all the presents have been successfully claimed, you'll be able to open the door to the right of the map in the Fathoms of Lament building. The first thing you need to do is look for some wood directly ahead as you go in. Smash it and you'll be able to see and hack the nullifier suppressing your Deathloop powers. Now the real pain begins.
To finally get the gun you'll need to race around the two-level assault course pulling the levers as they activate. The order will be random in your game but the same each time so you'll be able to memorise it - every time you pull a lever, a new one will bleep and you'll need to race to pull it before the timer ticks down. If you hit a blue security laser the course will shut down and you'll have to restart. For that reason use Aether's invisibility and Shift's teleport again to avoid setting off any of the beams. It'll take a few goes but eventually you'll pull all the levers and the gun will be yours.
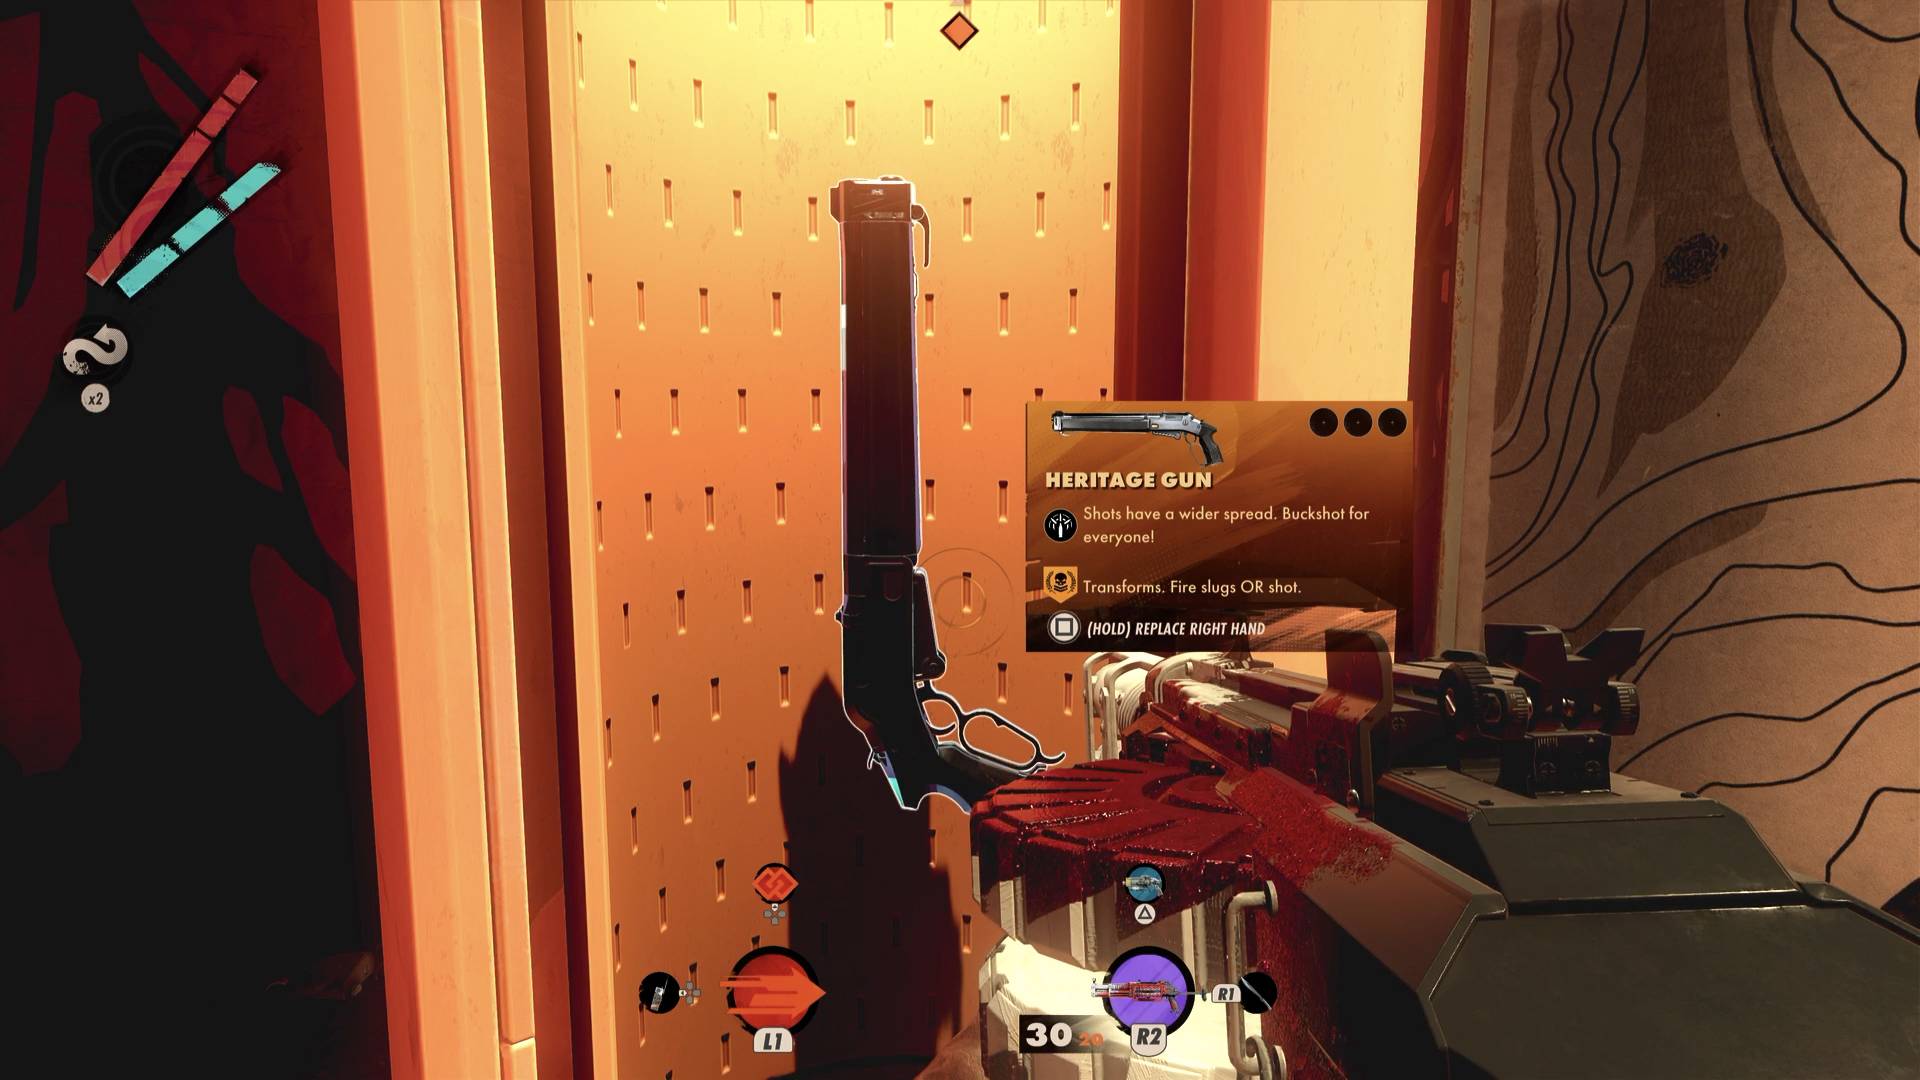
The Heritage is a transforming gun that changes between a pellet firing shotgun and a slug firing rifle. The shotgun mode isn't that great, as the spread is a large flat line, meaning it's weak at even the slightest range. The rifle mode, however, is an absolute beast, killing almost any enemy with a single hit, and with a nice auto aim that snaps to targets when you aim.
Weekly digests, tales from the communities you love, and more

I'm GamesRadar's Managing Editor for guides, which means I run GamesRadar's guides and tips content. I also write reviews, previews and features, largely about horror, action adventure, FPS and open world games. I previously worked on Kotaku, and the Official PlayStation Magazine and website.


