Oblivion main quest walkthrough to conquer Cyrodiil
The steps through the main Oblivion walkthrough to becoming the Champion of Cyrodiil, laid out from beginning to end
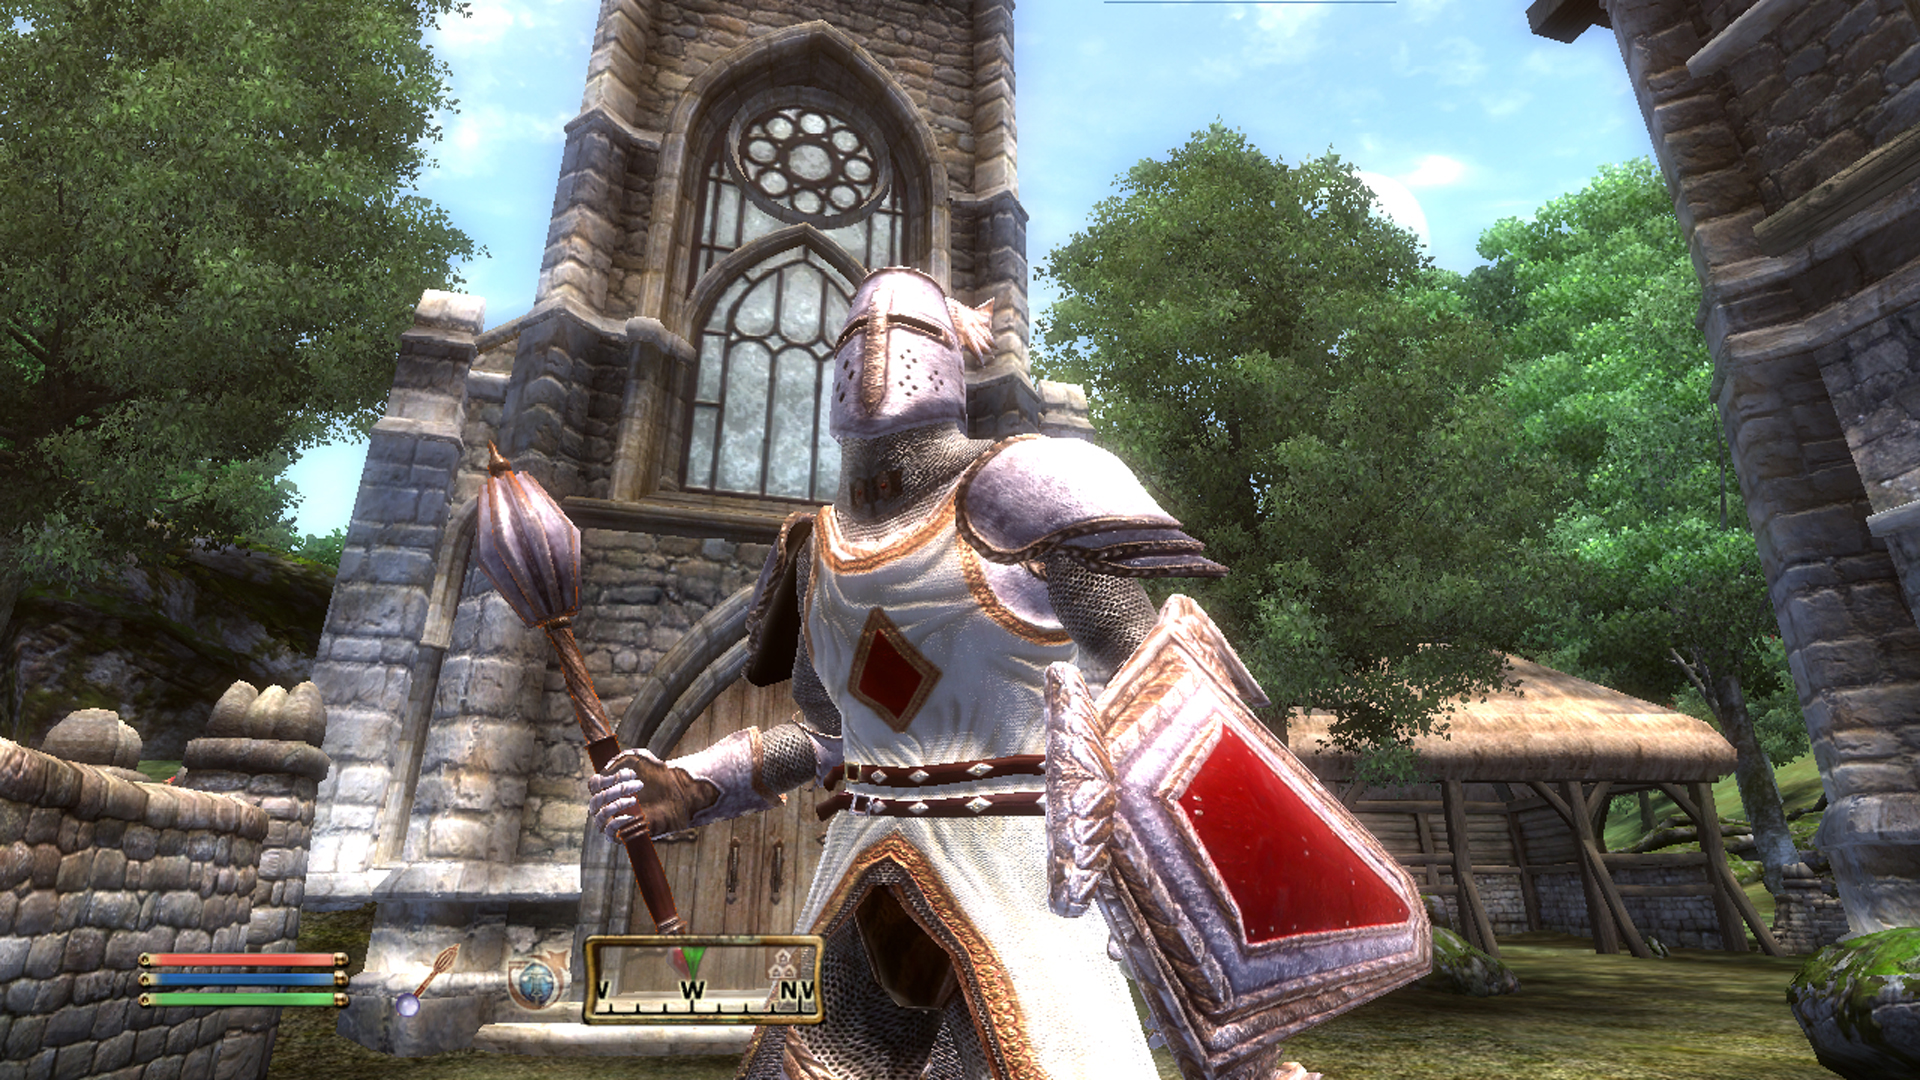
Having an Oblivion main quest walkthrough to hand can help to guide you through the core story beats of your adventures across Cyrodiil, as there's a lot to take in. If you start exploring all of the options available then you'll encounter different factions, side missions, and NPC quests all vying for your attention, and it's easy to get distracted the disappear off on a huge tangent.
This walkthrough has been put together with those in mind who want to experience the main story from beginning to end, without having too many significant interruptions or worrying about those pesky side quests and faction missions, so you can get the central quests and large battles taken care of. This will be particularly useful if you've picked up The Elder Scrolls 4: Oblivion Remastered, and are possibly visiting this world for the first time, so follow our Oblivion walkthrough and we'll lead you through the main questline.
The Sewers
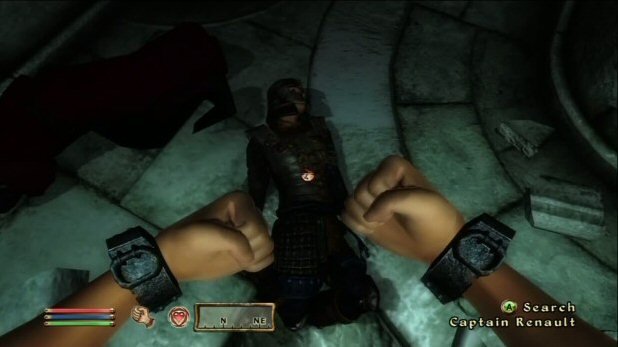
Once you have created your character, the game will finally begin in earnest and you will be in a prison cell. Wait for the guards to show up and then go towards the window so that they will open the cell door. Once they do, the guards and Emperor will enter for a chat. Talk to them and then follow them through the opening that appears in the wall.
Article continues belowFor the first part, simply follow the guards until some assassins show up. Stay out of the way of the battle and once it’s over, search the body of Captain Renault to take the sword and torch. As you proceed down the stairs, some rats will break through the wall to the southeast.
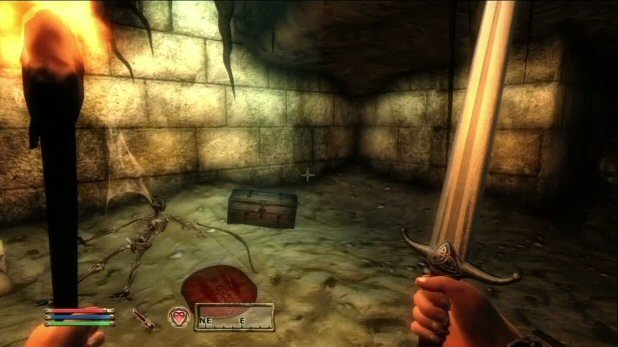
Kill them with your sword equipped and go through the opening. Go to the east side of the cavern and you will find a skeleton with a bow and a shield. Grab the goods and search its body for lock picks. Open the chest there for some gold and then continue to the SE corner where you can find a goblin shaman’s corpse.
Search it for the iron key and then go through the wooden door next to him. Continue to follow the corridor around to a large area with wooden pillars. In the center of the area will be bones scattered about with a helmet, shield and other goodies scattered about.
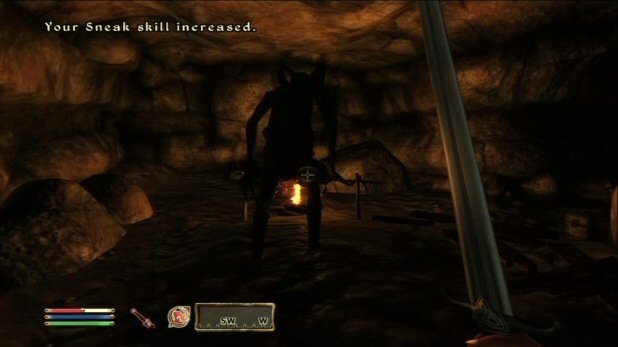
Grab what you need and head up the stairs and continue down the corridor to a wooden door that will take you to the Natural Caverns. Follow them forward and you will wind through some caves until you eventually come to a goblin roasting a rat. Sneak up on him and continue through to find a pile of logs at the top of a hill. Push them and they will roll down to kill the two goblins at the bottom.
Weekly digests, tales from the communities you love, and more
Make your way past them and you will come to a large cavern with a fire in the center. Clear the room of goblins and check the fenced in area to the north for a chest that has an iron sword in it. Continue up the ramp to the northeast and go through the wooden door and through the opening in the wall to meet up with the Emperor and Baurus again. Let the guards fight the assassins that show up.
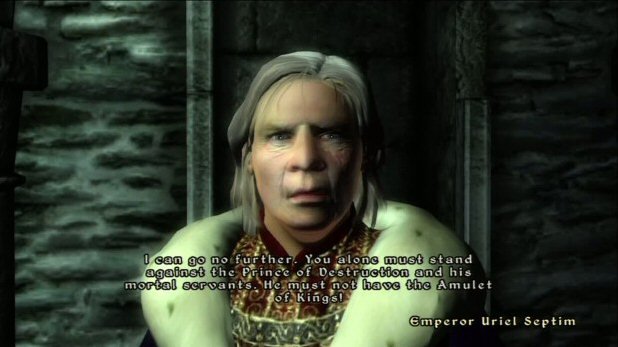
Continue to the Sanctum and when you reach an iron gate, you will backtrack to a dead end where the Emperor will give you the Amulet of Kings. Talk to Baurus and tell him that the emperor wanted you bring it to Jauffre. Next you will need to pick your classes that you want to excel in and then head off to the sewers to start your delivery of the amulet. Hop through the narrow opening next to the emperor’s body and follow the corridor to the wooden door.
Go through and then hop down the round opening to enter the sewers. Go through the hallway and then take the short stairs on the right. Fight through the rats in the next room and then go up the stairs on the left and through the iron gate. Continue to the northeast and you will get outside. Now you that you are in the fresh air, you will need to head far west to reach the Weynon Priory where Jauffre is located.
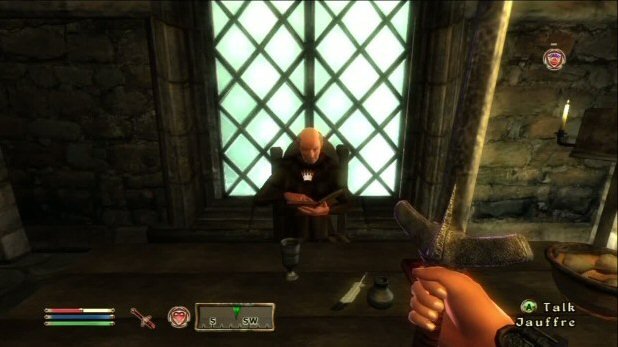
Make your way there and when you reach it, enter the Weynon House and speak to the monk inside the door. He will tell you that Jauffre is upstairs, so make your way up to find him sitting behind a desk. If it is night time, you may have to hang out for a bit for him to show up. You can rest until the day time and then proceed to talk to him.
Tell him about what happened to the Emperor and he will then ask you to go to Kvatch to find the emperor’s son, Martin who is now a priest in the Chapel of Akatosh. Exit out of the house and make your way to the southwest to Kvatch.
Breaking the Siege of Kvatch
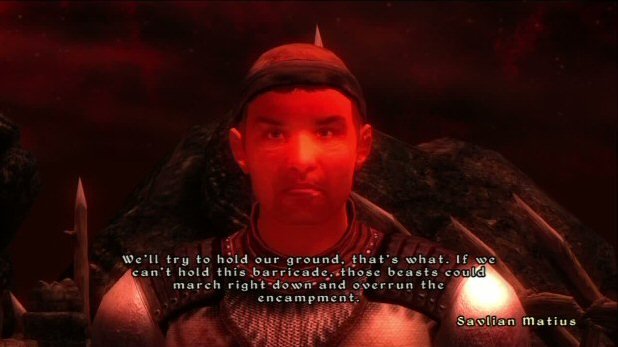
Once you reach the city, you will find Savlian Matius just outside of the blood red, brightly lit Oblivion Gate. Talk to him about Martin and he will tell you that he believes he is still alive inside the gate and will ask for your help. Agree and then enter the gate. Once inside, you will see Ilend Vonius just ahead of you. You can help him against the Stunted Scamps there or just let him die. If he dies, you can take all of his armor and weapons. If he lives, you can either have him help you or send him back through the gate.
Make your way to the northwest of the area and follow the path to the north when able. Enter the large doors there that lead to the Bloodfeast. Take out the few enemies inside and proceed through the next door to the Rending Halls. Defeat the Churls inside and use the fountain to regain your health. Head through the next door on the right and follow the hallway to the Bloodfeast again.
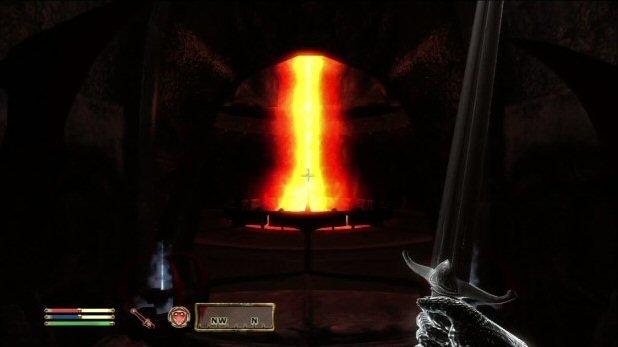
Follow the pathway around and up the ramp to the Corridor of Dark Salvation. Clear the room of Stunted Scamps and then head through the door on the left to go outside. Cross the large bridge and enter The Reapers Sprawl. Walk up the ramp and you will come to face the Dremora Sigil Keeper. Take him out and take the Sigil Key from his body. Talk to the captive in the cage and he will tell you to get the key.
Head back down the ramp and across the bridge again to the Corridor of Dark Salvation. Now use the key on the Citadel Hall door to the left and follow the corridor to another door on the right that leads to the Bloodfeast again. Follow the ramp upwards to the bright red light at the top. Hop on the Ruined Portal and activate it. Follow the pathway to the left and go up the ramp to find a locked door to the Sigillum Sanguis.
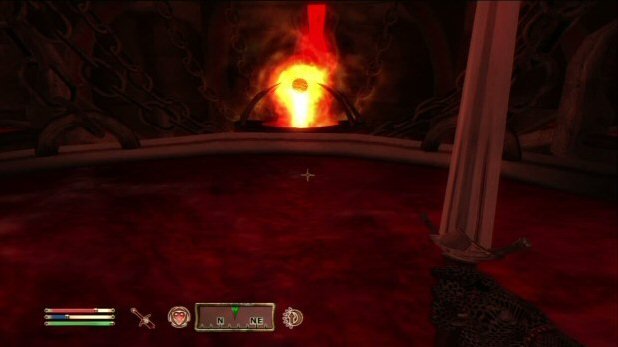
Go through with the Sigil Keep Key and make your way up the ramps. There will be a few enemies in here, so keep on your guard. When you reach the very top of the room, look to the center and step to the glowing ball. Activate the Sigil Stone and you will appear back outside at the gates to Kvatch. Remember how the operations of the Oblivion Gates work as throughout the main story, you’ll be closing A LOT of them.
Go to the south and talk to Matius and after the conversation, go through the large gates the soldiers run to. Once out are inside the city, you will need to clear out the few enemies in the streets. Take them down and then Matius will shout that all is clear. Enter the church to the right of the area and find Martin walking around. Tell him that he needs to come to the Priory with you and he will agree.
Weynon Priory
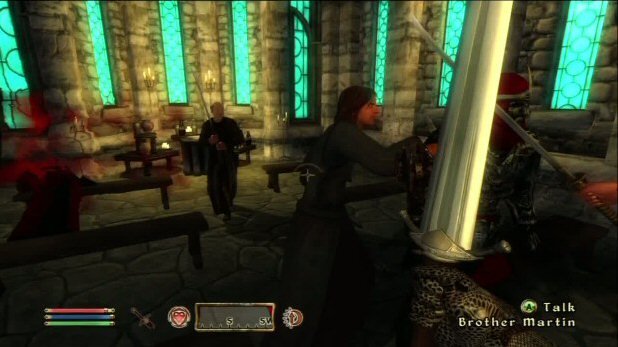
Make your way there and when you arrive, it will be under attack by the same assassins that attacked the Emperor. Kill all those you come across and then follow Brother Piner into the chapel to find Jauffre. Talk to him and he will tell you that he has hidden the amulet in the house and that you should check on it. Exit the chapel and enter the Weynon House to the right and go up the stairs to where Jauffre is. He will tell you that the amulet is missing and that Martin must be protected. He will suggest going to Cloud Ruler Temple with him, to the north of Bruma.
Make your way there via fast travel and you will then be greeted by Cyrus when you open the main gate. Walk to the top of the stairs and Martin will give a speech to the Blades there. Once he is finished the next course of action will be to track down the amulet. Talk to Jauffre and he will first offer you to join the Blades. Decline if you are to keep ongoing with the main storyline quests.
The Path of Dawn
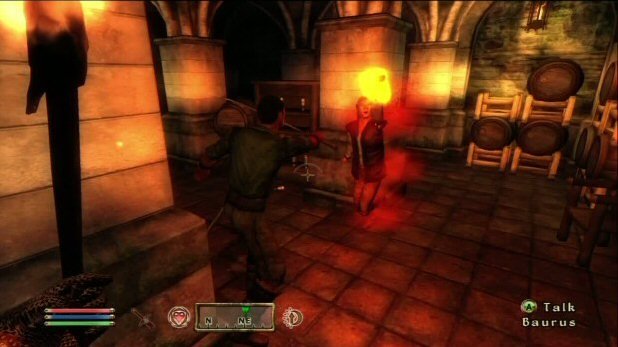
Jauffree will say that you should return to the Imperial City and find the Luther Broad’s Boarding House to talk to Baurus and see if he has learned anything new about where the amulet may be. Now make your way to the Imperial City, the round city on the center of the map, or just fast travel to the Elven gardens Distract within it to get there faster.
When you arrive, go to the left, up the small stairs and enter the wooden door to the north. You can find Baurus sitting at the bar and he will be rather curt with you in telling you to sit down while he slams back a mug. Sit on the stool next to him and he will tell you that he is being followed and you are to follow them.
When he stands, the man in the corner will indeed follow him. Follow both into the basement and Baurus will get attacked. Search the body of the Mythic Dawn assassin to find a diary and then talk to Baurus. He will say that you should go talk to Tar-Meena at the Arcane University to get some more information on it.
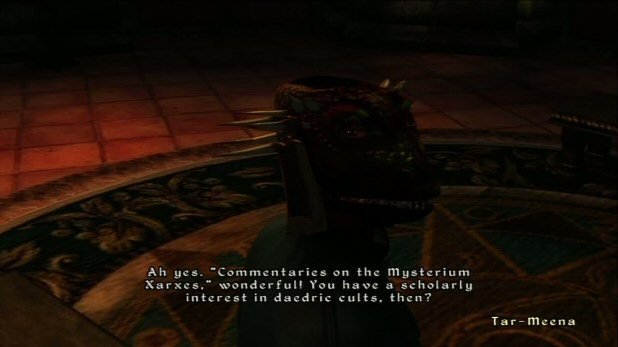
Make your way out of the basement and continue southeast to the large door leading to Green Emperor way. Continue south and you will come to a large wooden door through the cemetery that leads to the Imperial City Arboretum. Continue through this peaceful area onto the next large wooden door and enter the City Isle. Once through, you will finally reach the University at the end of the walkway. Enter it and proceed to the center building, the Arch-mage’s Lobby. You can find Tar-Meena sitting on a bench inside and ready to chat.
Talk to her about the books and she will tell you that you will need to find all 4 to find where the Mythic Dawn shrine is. She will give you one copy, so you will still need to track down two more volumes. She tells you that Phintias in the Market District may know where the other two lie, so that’s the next stop.

When you reach the Market District, enter the First Edition bookstore and speak to Phintias behind the counter. After you speak with him, he will tell you that the third edition is on hand, but not the fourth. He will also say that a man named Gwinas is already offered to buy the book but is late in picking it up and you can wait for him. Sounds like a smashing idea, so just hang out in the shop for a bit and Gwinas will eventually show up.
When he does, wait for him to talk to Phintias and walk out. Follow him out of the shop and then talk to him. Tell him that the Mythic Dawn are the ones who killed the Emperor and he will hand over the book in a hurry. Afterwards, tell him that you are also looking for Volume 4 and he will tell you that you can only get it from a cult member. He will give you a note that he received to meet with a member so that you can take his place instead.
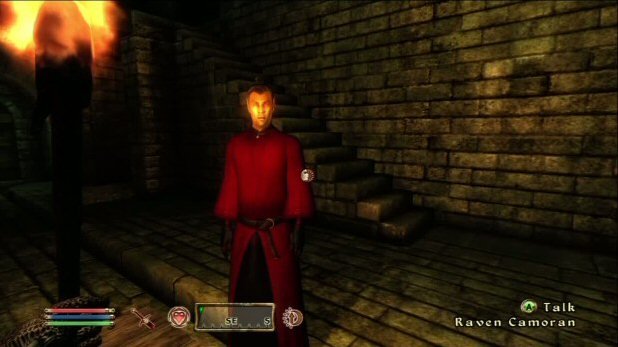
To meet the sponsor to get the book, you will need to go to the Sunken Sewer and sit at the table there, but first head back to Luther’s Boarding House and talk to Baurus. He will tell you that he is familiar with the sewers and that you should follow him there. Do so and enter the manhole cover in the Elven Garden. Continue to follow him through the sewers as he goes and stick close behind him.
It’s a rather long trek with few weak enemies, but eventually you will come to a door where Baurus will stop and tell you the meeting room in through the door. He will offer to go to the meeting while you keep guard, but you can choose to do it yourself. Do it yourself and then enter the meeting room and sit at the table. When Raven Camoran enters, stand up and immediately attack him.
Other assassin’s will rush in, but Baurus will be ready for them now and can handle his own. Grab the 4th book from Raven’s body, along with the Sunken Sewers Key. Baurus will leave on his own accord, so go through the gate to the north and follow the corridor to the Talos Plaza sewers. Through the next room, you will find a couple goblins and rats and a wheel to turn on the right side wall. Turn it and the gate beside it will open.
Go through and up the stairs and continue up the next set of stairs to find a ladder leading to Dyanari Amnis’ House. Climb up and go through the few doors to get outside. Once outside in the city, go to the University and talk to Tar-Meena in the arch-mage’s Lobby. Once you talk to her about the books, she will tell you to come back in a day and she should have answers for you.
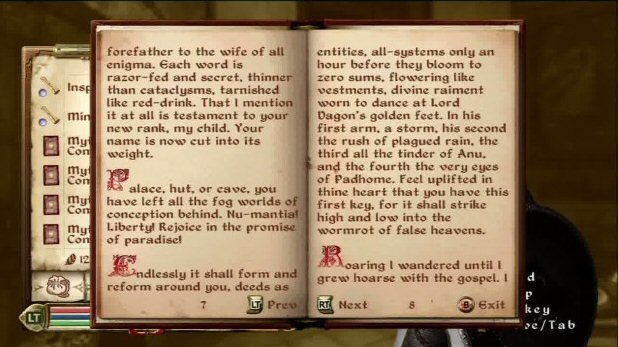
If you are in a hurry, go outside and rest for 24 hours and then enter again and talk to her. Once you do, she will tell you that the first words of each paragraph may reveal a message. Look at the books yourself and the large red letters at the start of each paragraph will spell out “Green Emperor Way Where Tower Touches Midday Sun”.
Make your way to the City Palace District and to the steps across from the entrance to the palace. Look to the south directly beside the steps and there will be a small structure there called the Tomb of Prince Camarril. At noon, walk to it and activate it to find the location of the Mystic Dawn shrine. Now you will need to travel northeast to the Lake Arrius Caverns.
Dragon Shrine
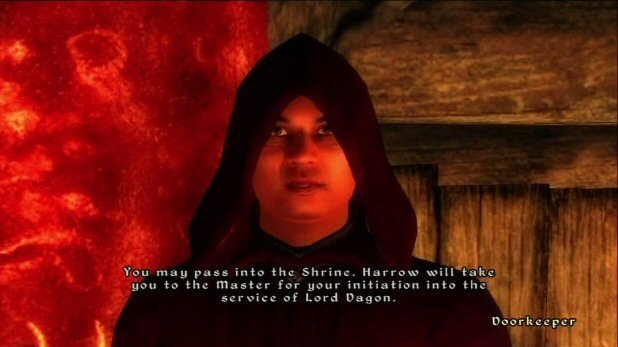
How you decide to get there is up to you, but fast travelling to Castle Cheydinhal is the quickest route. Walk north to the cavern and enter through the wooden door. Make your way forward and talk to the Doorkeeper when you reach him. He will open the door and tell you that Harrow is waiting for you. Walk a few steps into the corridor and you will approach him. He will ask you to give him all of your belonging, so do so and continue to follow him to the Dagon Shrine.
When you enter, Mankar Camoran will be giving a speech in the center of the room. Wait for him to finish and he will disappear into a portal, but will leave behind the Mysterium Xarxes. Walk up the stairs to where Mankar was and Ruma Camoran will stop you and tell you to kill the sacrifice on the altar. Pick up the Silver Dagger on the table beside the Mysterium and then trot down the stairs to find Harrow. Kill him and take your stuff back and then proceed to kill everyone else.
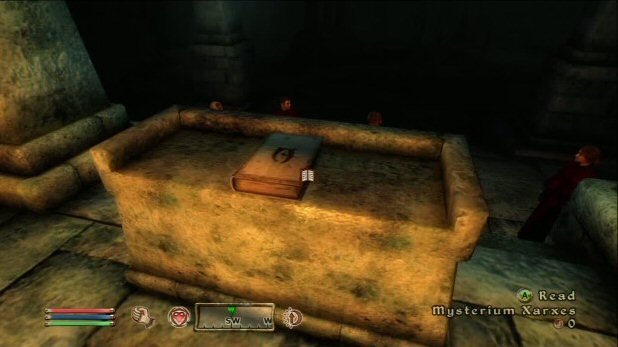
Grab the book of the table and then head up the stairs to the Shrine Living Quarters. Go through the door there and follow the corridor to a large cavern with banners and stairs. Go through the left side passage and continue to follow the corridor to the south where you will find the wooden door to enter the Antechamber.
Pull the lever to the left of the room to open the gate and clear out the enemies inside. Grab the Store Room key from one of the acolytes and continue through the corridor and follow the banners. You will come to a locked wooden door that can be opened with the storage key, so do so and pillage the room for all of its loot.
Head back to the main room where you got the storage key and go through the door to the living quarters again. Go to the left and there will be a wooden door leading to the Lake Arrius Caverns exit. Go through and on the left side of the wall there will be a handle. Turn it and the rocks at the far end will move out of the way allowing you to pass. Now you will be back at the entrance and able to go back outside.
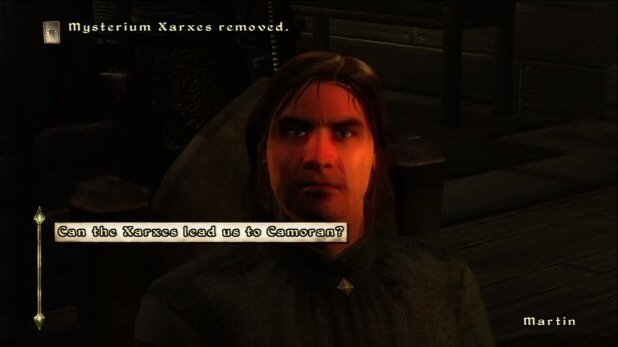
Return to the Cloud Ruler Temple and find Martin to talk about the Mysterium Xarxes. Fast travel your way there and then head up there large stairs to talk to Jauffre. He will tell you that Martin is in the Great Hall reading. Find him in there and talk to him about the book and amulet. He will then tell you to go talk to Jauffre about Bruma. When you do, he will tell you to talk to Steffan and Captain Burd in Bruma.
Spies
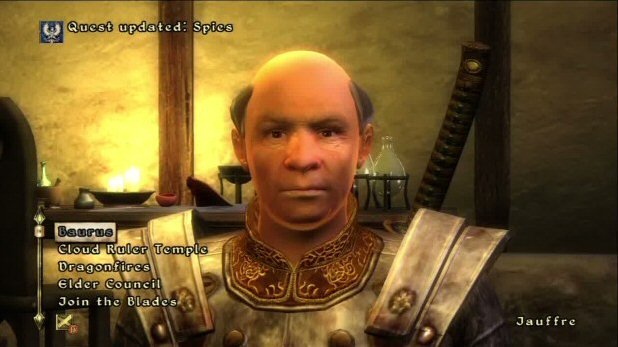
Once you have talked to Steffan, he will tell you that there have been strangers sighted near the runestone at dusk on the road to Cloud Ruler Temple and that he suspects them to be spies from the Mythic Dawn. If you go to the rune stone just south of the Cloud Rule Temple and wait until night and the two spies will appear and attack you. Take them down and loot their bodies to grab some keys off them.
Go to Bruma and speak with Captain Burd and tell him that Jearl was a spy. You will now be able to head to Jearl’s house in the southeast in Bruma and check it out. When you enter Jearl’s place, look for the trap door under the carpet in the center of the room and then use the key.
Once in the basement, take a few steps forward and find the plans on the table to the left. Read them and then you will need to take them to Jauffre. Head back to the Cloud Ruler Temple to speak with him and he will tell you to go and speak with Martin right away. Go find Martin in the next room and he will set you up for the next quest which is to locate Daedra Artifacts.
Blood of the Daedra
After speaking with Martin, the book he told you to read, Modern Heretics, is directly in front of him on his desk. Read it and it will tell you of the Shrine of Azura where you can find the Azura Star artifact. Since the Star is a pretty bad-ass artifact and if you sacrifice it, you won’t be able to use it, we are going to get a different artifact for the sake of this walkthrough.
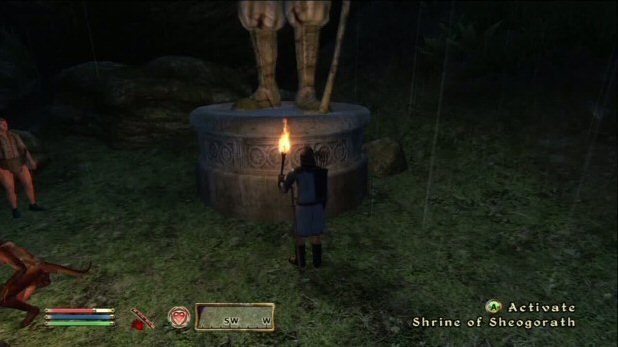
We are going to get the Wabbajack from the Sheogorath’s Shrine that is located due south of Bravil. Once there, speak to Ferul Ravel and he will tell you to get three items: yarn, lettuce, and a lesser soul gem. If you don’t have them yet, go to Bravil and you should be able to find all three within the houses and stores there.
Once you have them, return to the shrine and Sheogorath will tell you to go to Borderwatch and speak to the shaman there to learn how to simulate a prophecy by committing two acts. Make your way south to the Borderwatch Town and enter the house to speak to Ri’Bassa about the K’sharra prophecy.
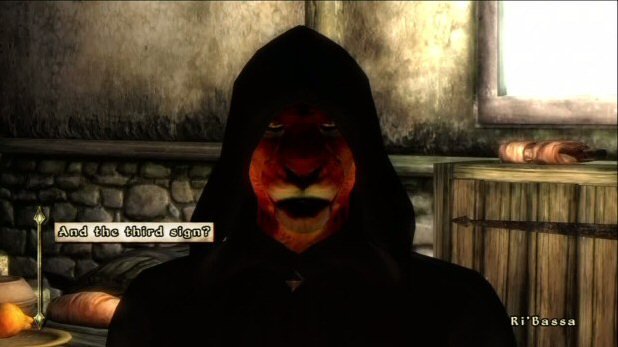
Ask Ri’Bassa about the prophecies, but he may need to be bribed first to do so. Once successful, he will tell of the plague of vermin, the plague of famine, and then shut up about the plague of fear. Next talk to him about the town and he will tell you of a cheese so powerful that it needs to be kept in a case.
Vermin, cheese, vermin, cheese. Makes sense! If you go to the Inn, you will see the display case with the cheese next to the bar. It has a rather hard lock to pick on it, so there are a few alternate ways to complete the prophecies. You can pick the lock to get the cheese and then place it in the pot outside the inn to lure rats.
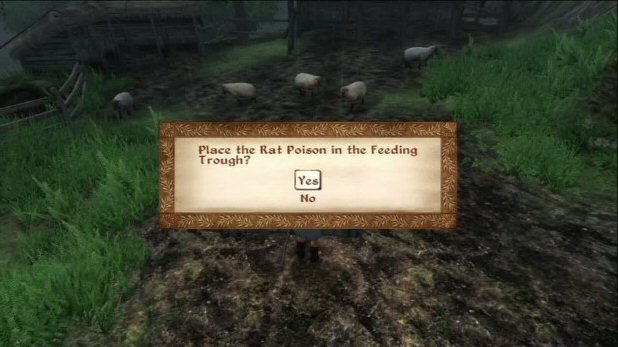
When they come, you can pick up the rat poison that Ri’Bassa puts down and then use it on the sheep’s food to kill them. You can also just pick Ri’Shabba’s pockets and grab the poison. If you do it that way, you can go straight to poisoning the sheep and skip the cheese part all together. Once you have killed the sheep, Sheogorath will tell you to stand in the center of town as he creates the third prophecy.
Once it is complete, (you’ll know it when you see it) head back to the shrine and receive the Wabbajack for your services. With it in your possession, head back to Cloud Ruler Temple and speak to Martin inside. Once you do, offer him the Daedra artifact to complete the quest.
Head to Page 2 to continue this Oblivion main quest walkthrough.
- 1
- 2
Current page: Oblivion main quest walkthrough part 1
Next Page Oblivion main quest walkthrough part 2Jeff McAllister is a freelance journalist who has contributed to GamesRadar+ over the years. You'll typically find his byline associated with deep-dive guides that are designed to help you scoop up collectibles and find hidden treasures in some of the biggest action and RPG games out there. Be sure to give Jeff a thanks in the comments while you're completing all of those tricky Achievements and Trophies.
- Iain WilsonGuides Editor
You must confirm your public display name before commenting
Please logout and then login again, you will then be prompted to enter your display name.

 Join The Community


