Lego Star Wars: The Force Awakens Minikit locations guide
Find all of the Minikit collectibles in Lego Star Wars: The Force Awakens with our complete guide
Weekly digests, tales from the communities you love, and more
You are now subscribed
Your newsletter sign-up was successful
Want to add more newsletters?
Join the club
Get full access to premium articles, exclusive features and a growing list of member rewards.
Chapter 5: Maz’s Castle - Castle Approach
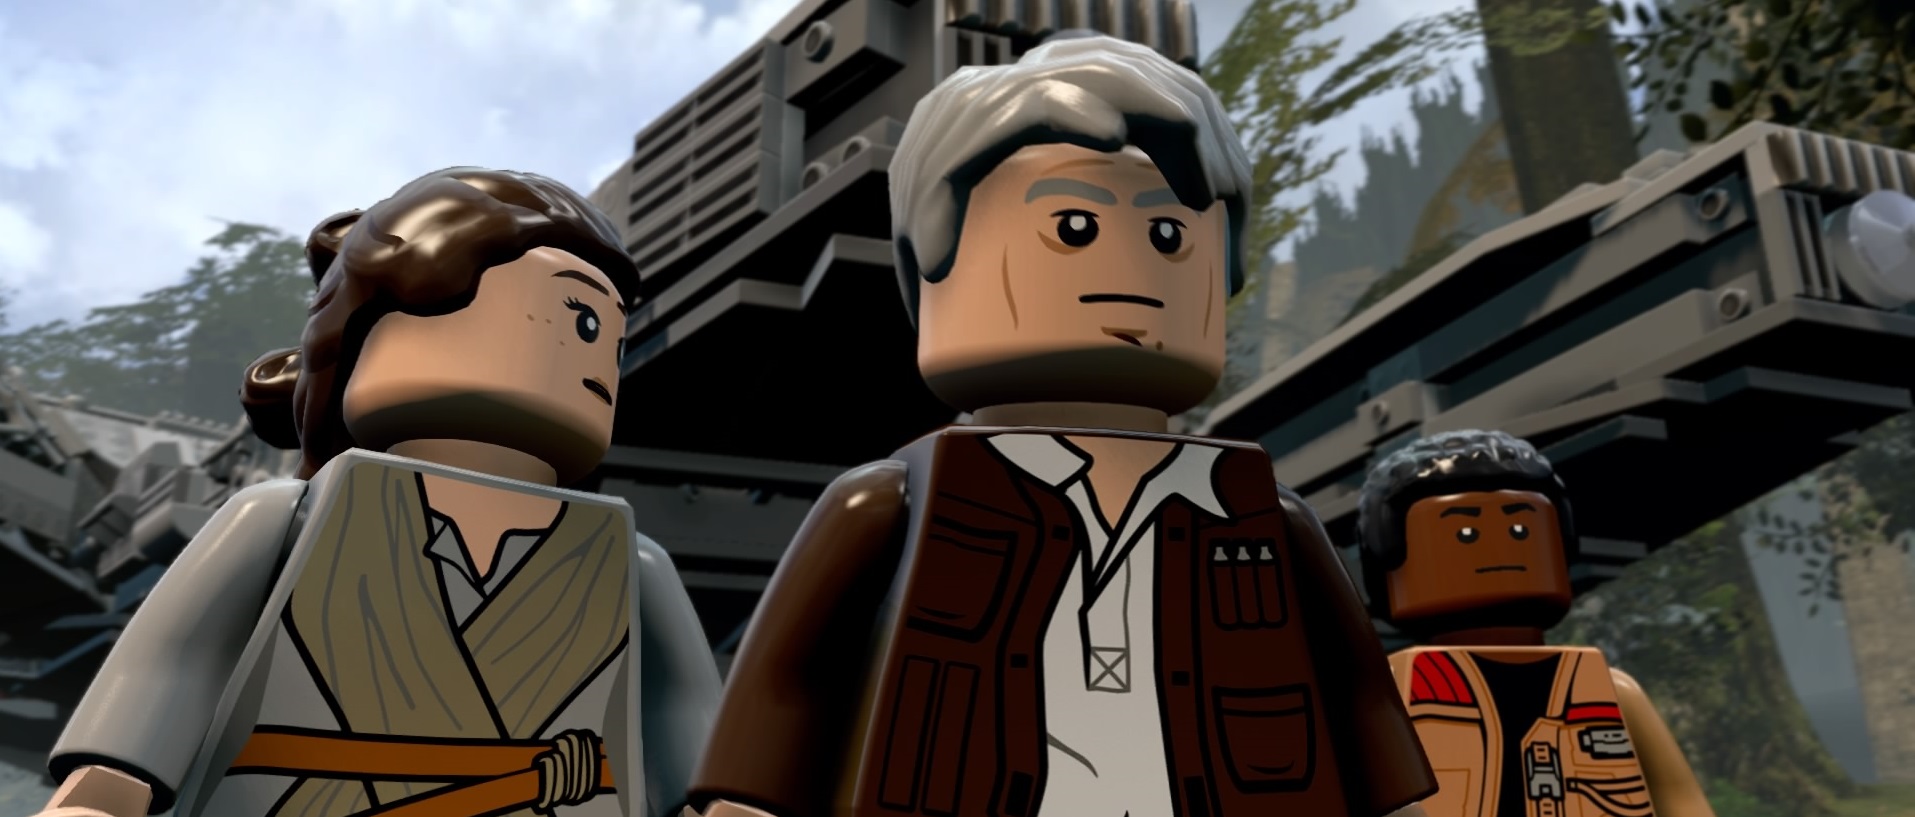
Most of the minikits in this area have to be picked up in Free Play Mode, but on the bright side, the level is short and sweet.
Minikit #1
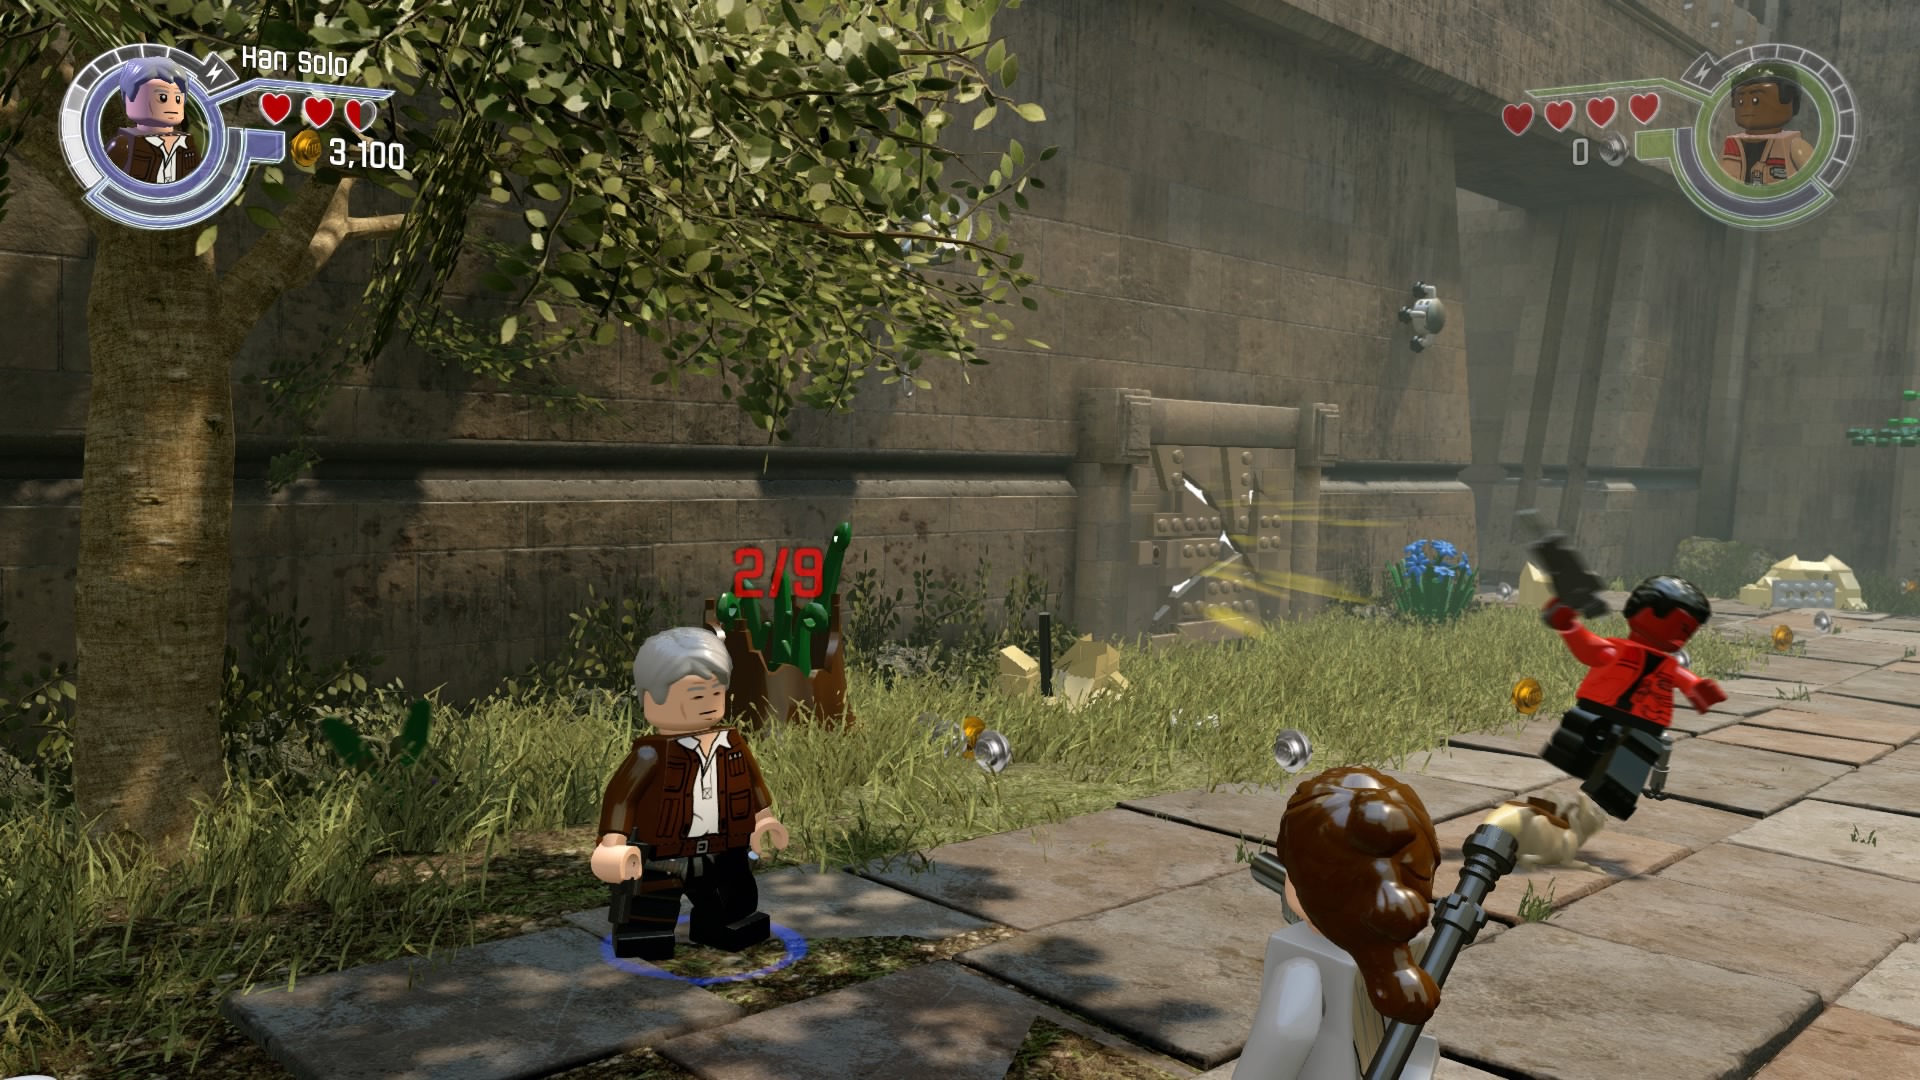
As you progress through this area, you'll be set upon by some pretty antsy vermin. You need to kill nine of them or the minikit. The first wave is right at the start of the level. Just start hitting bushes to the left.
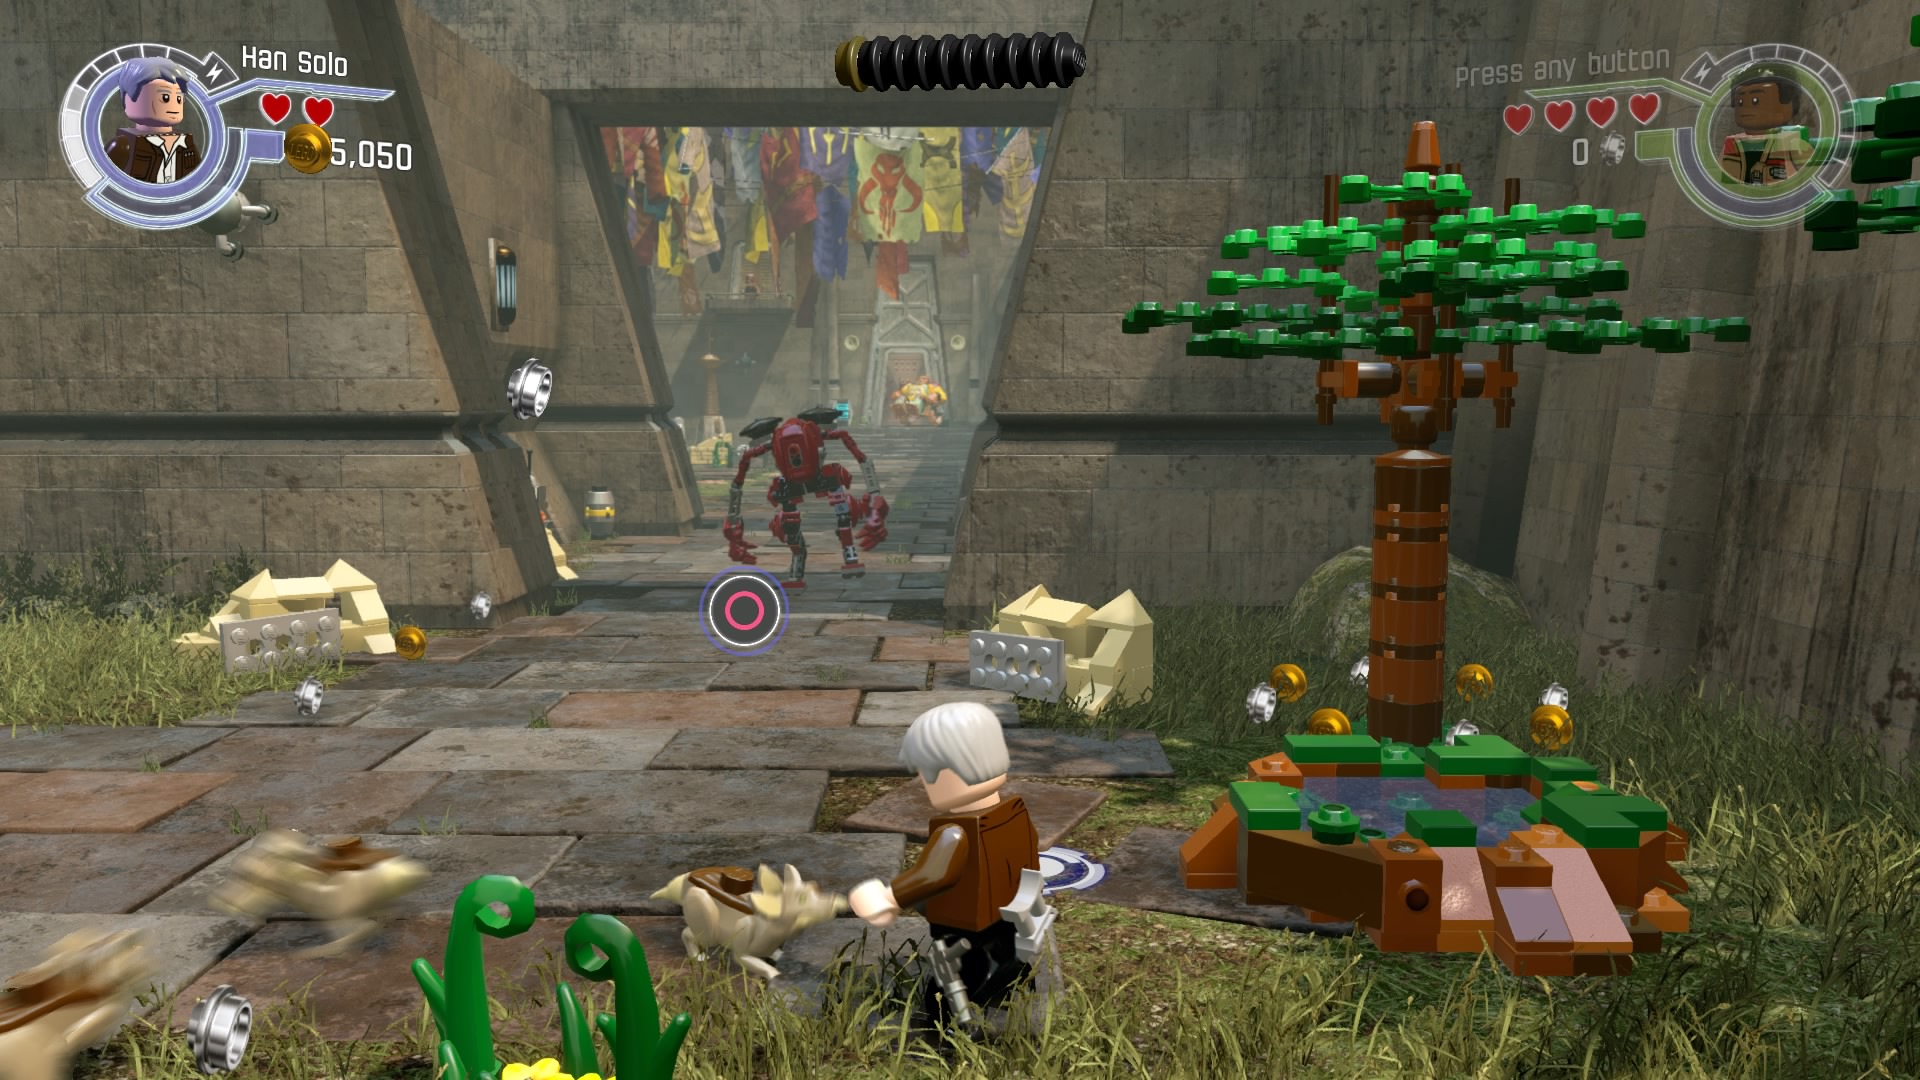
Head right and you'll be accosted again by the pool next to the tree.
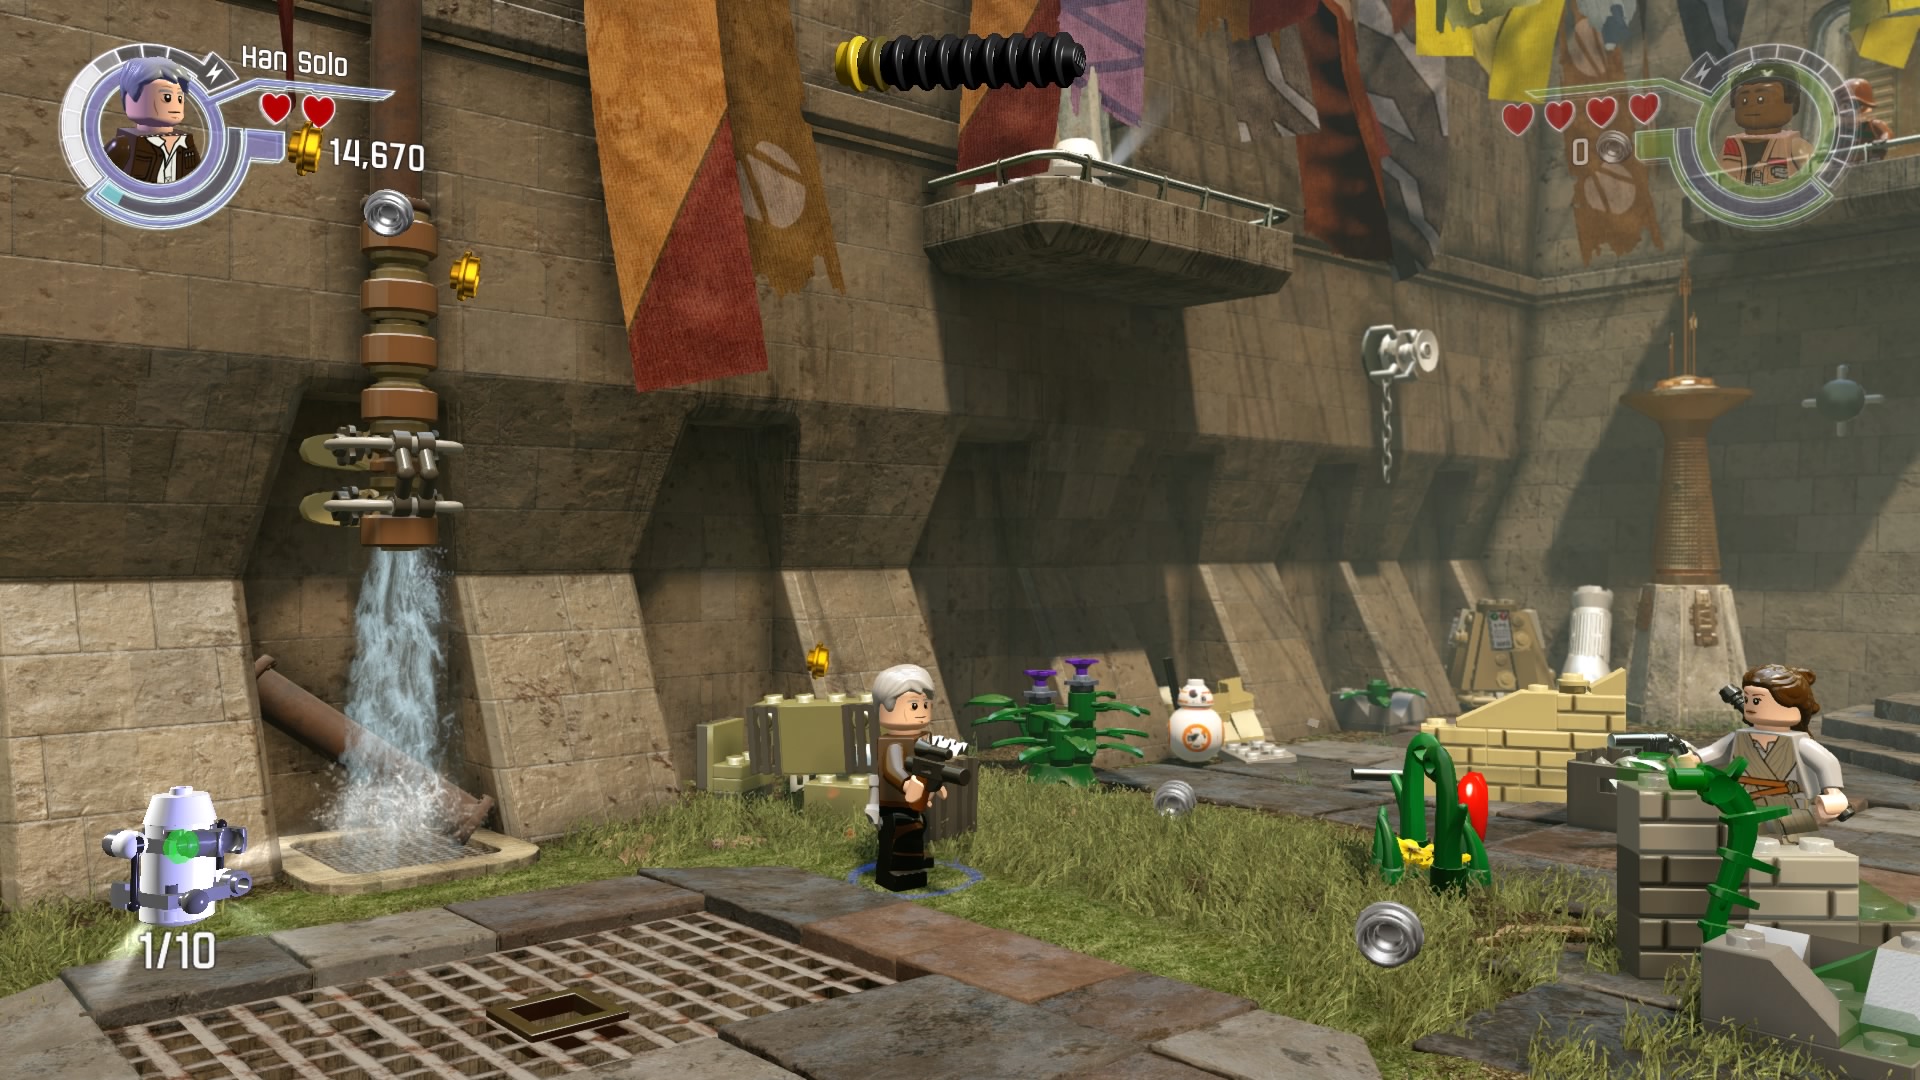
Go through the doorway and over to the left for the final wave. You'll be rewarded after bludgeoning the last critter to death.
Minikit #2 - Free Play Mode
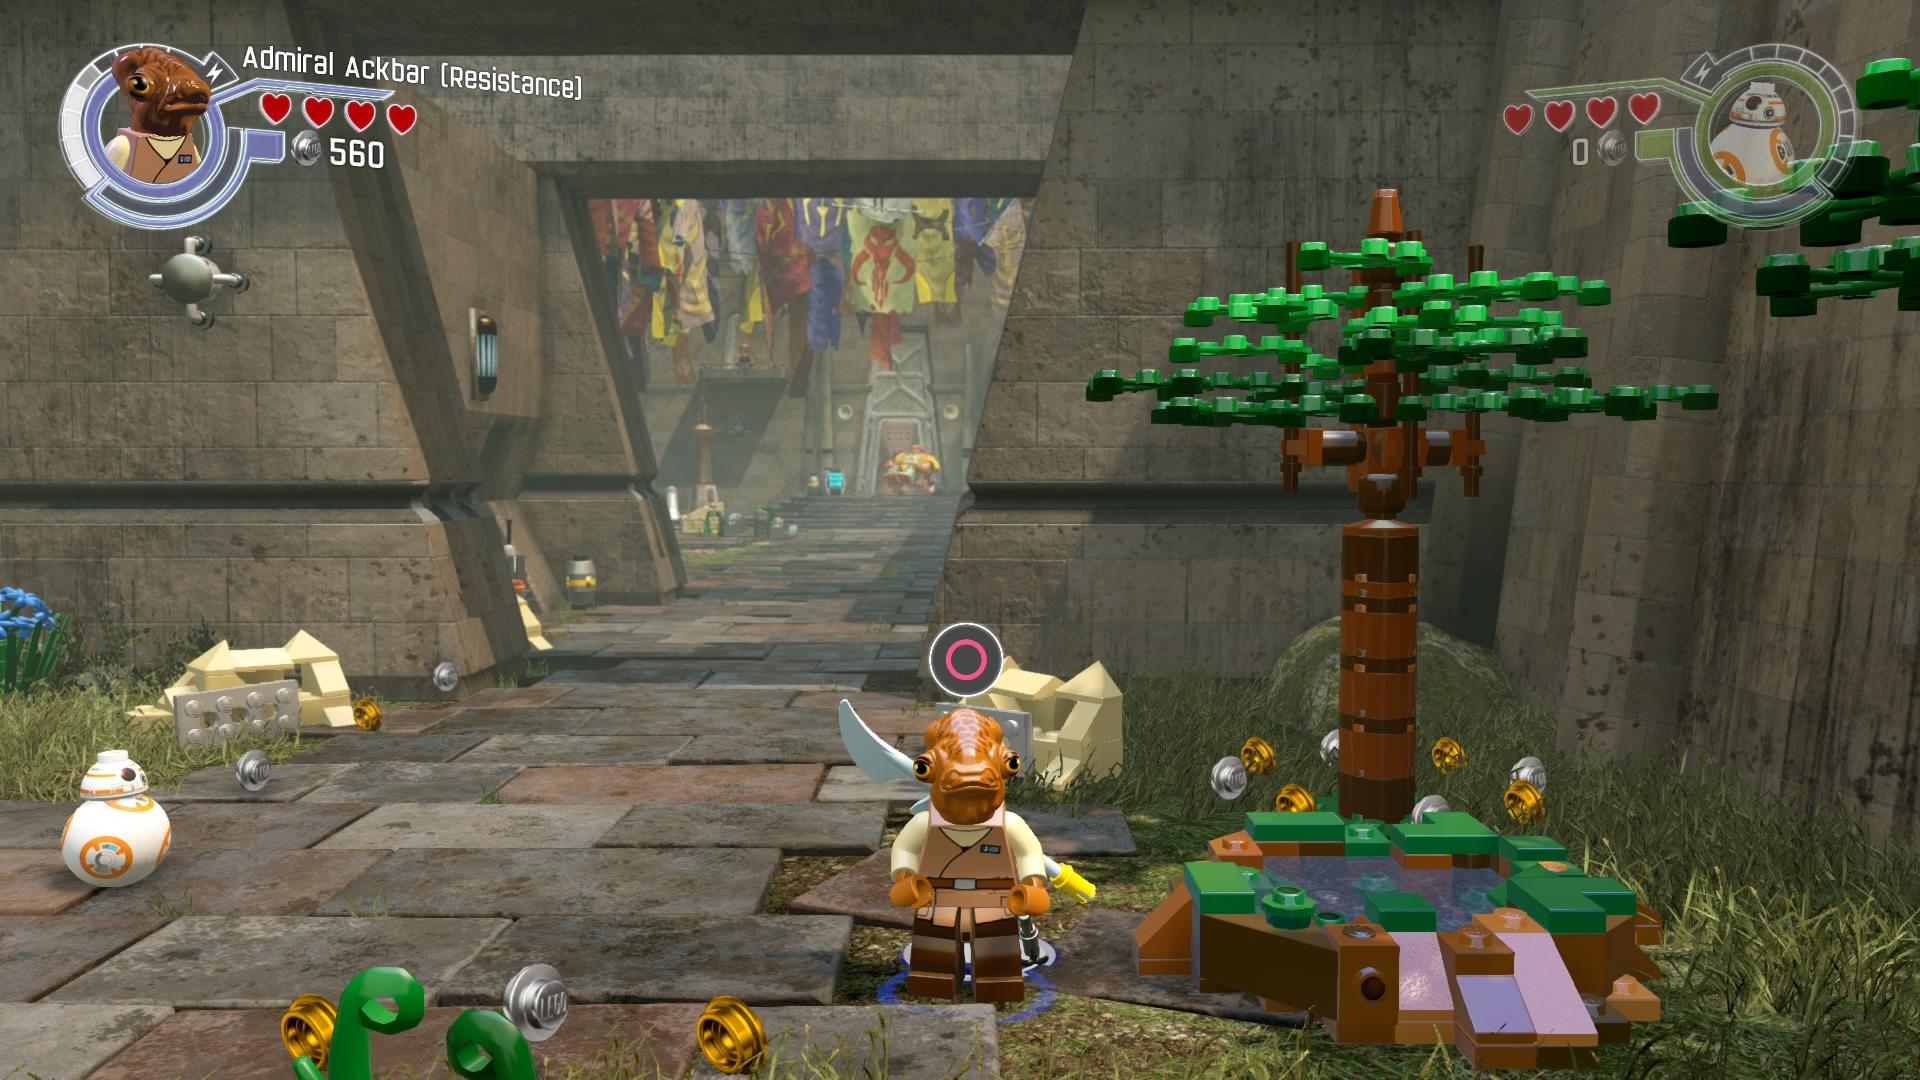
When you spot the pool by the tree, switch to Ackbar and dive in.
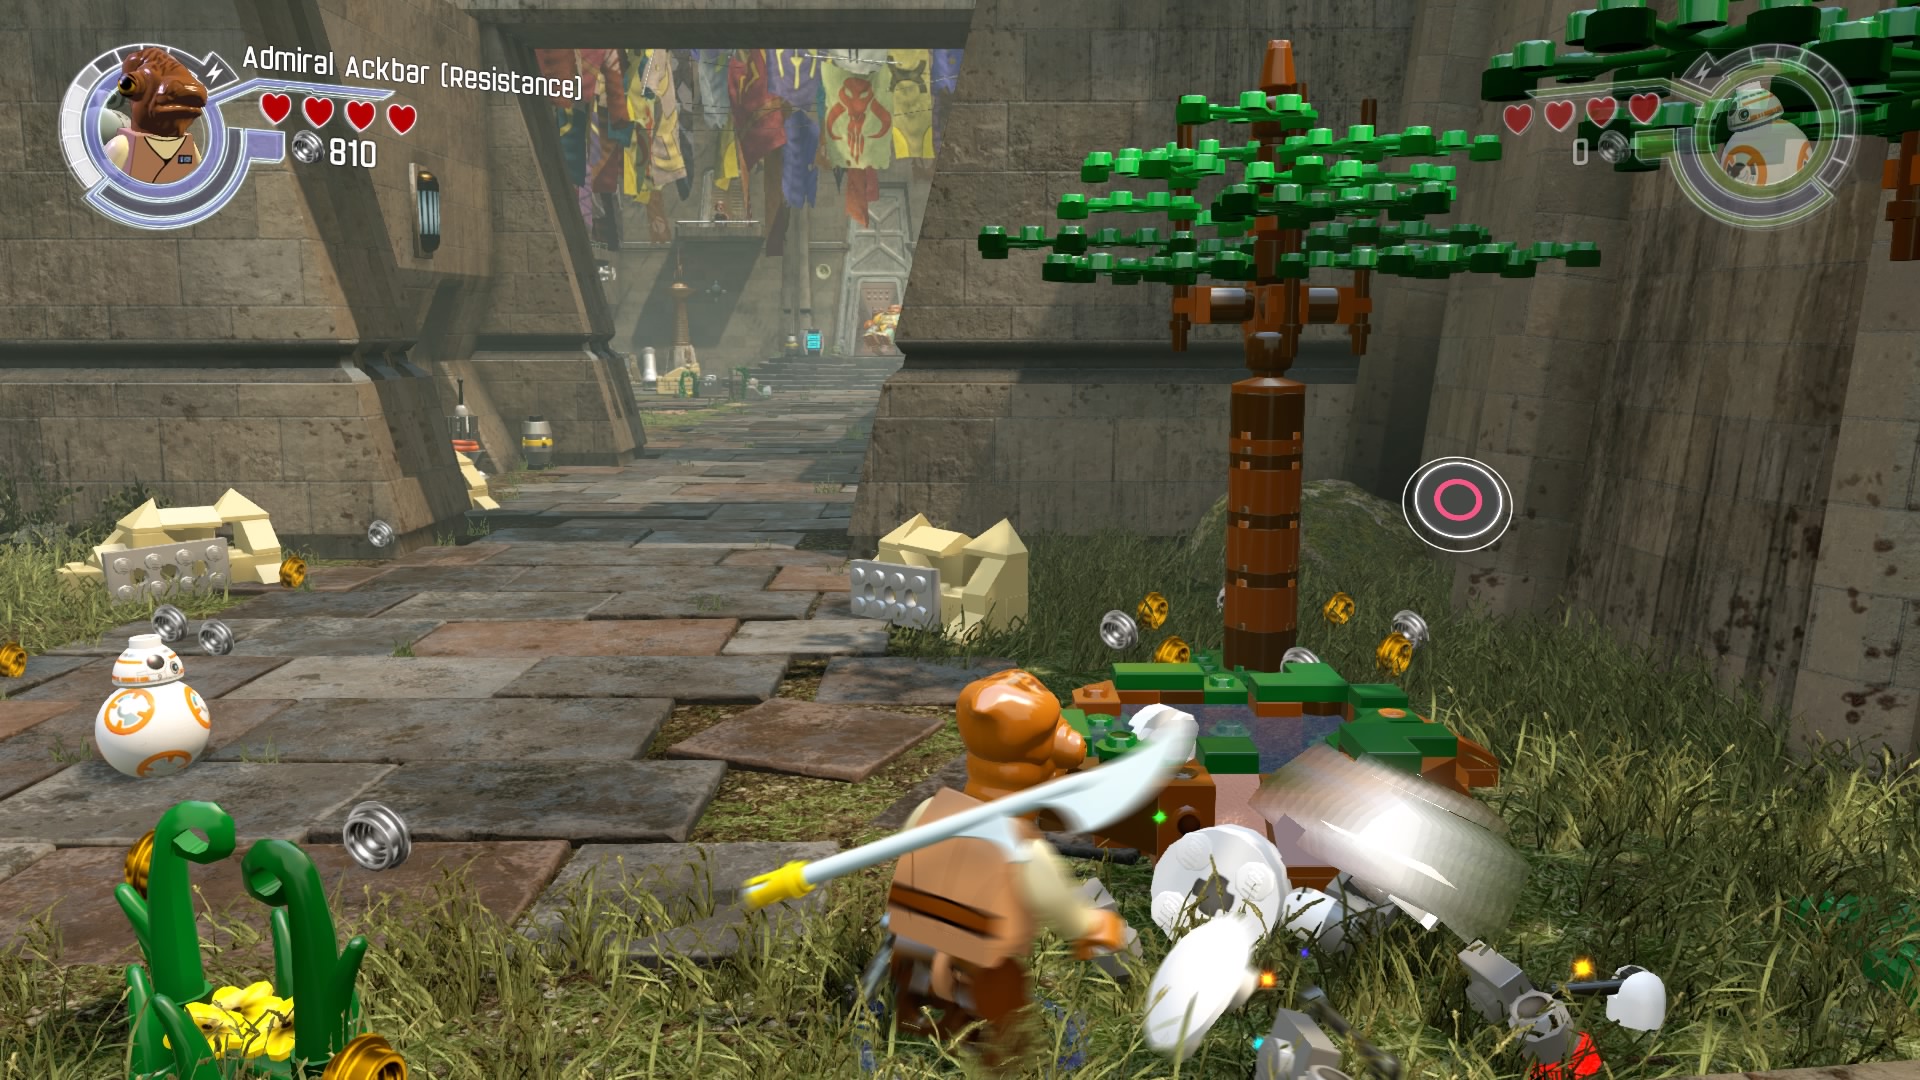
He'll reappear with the parts you need to build the minikit.
Minikit #3
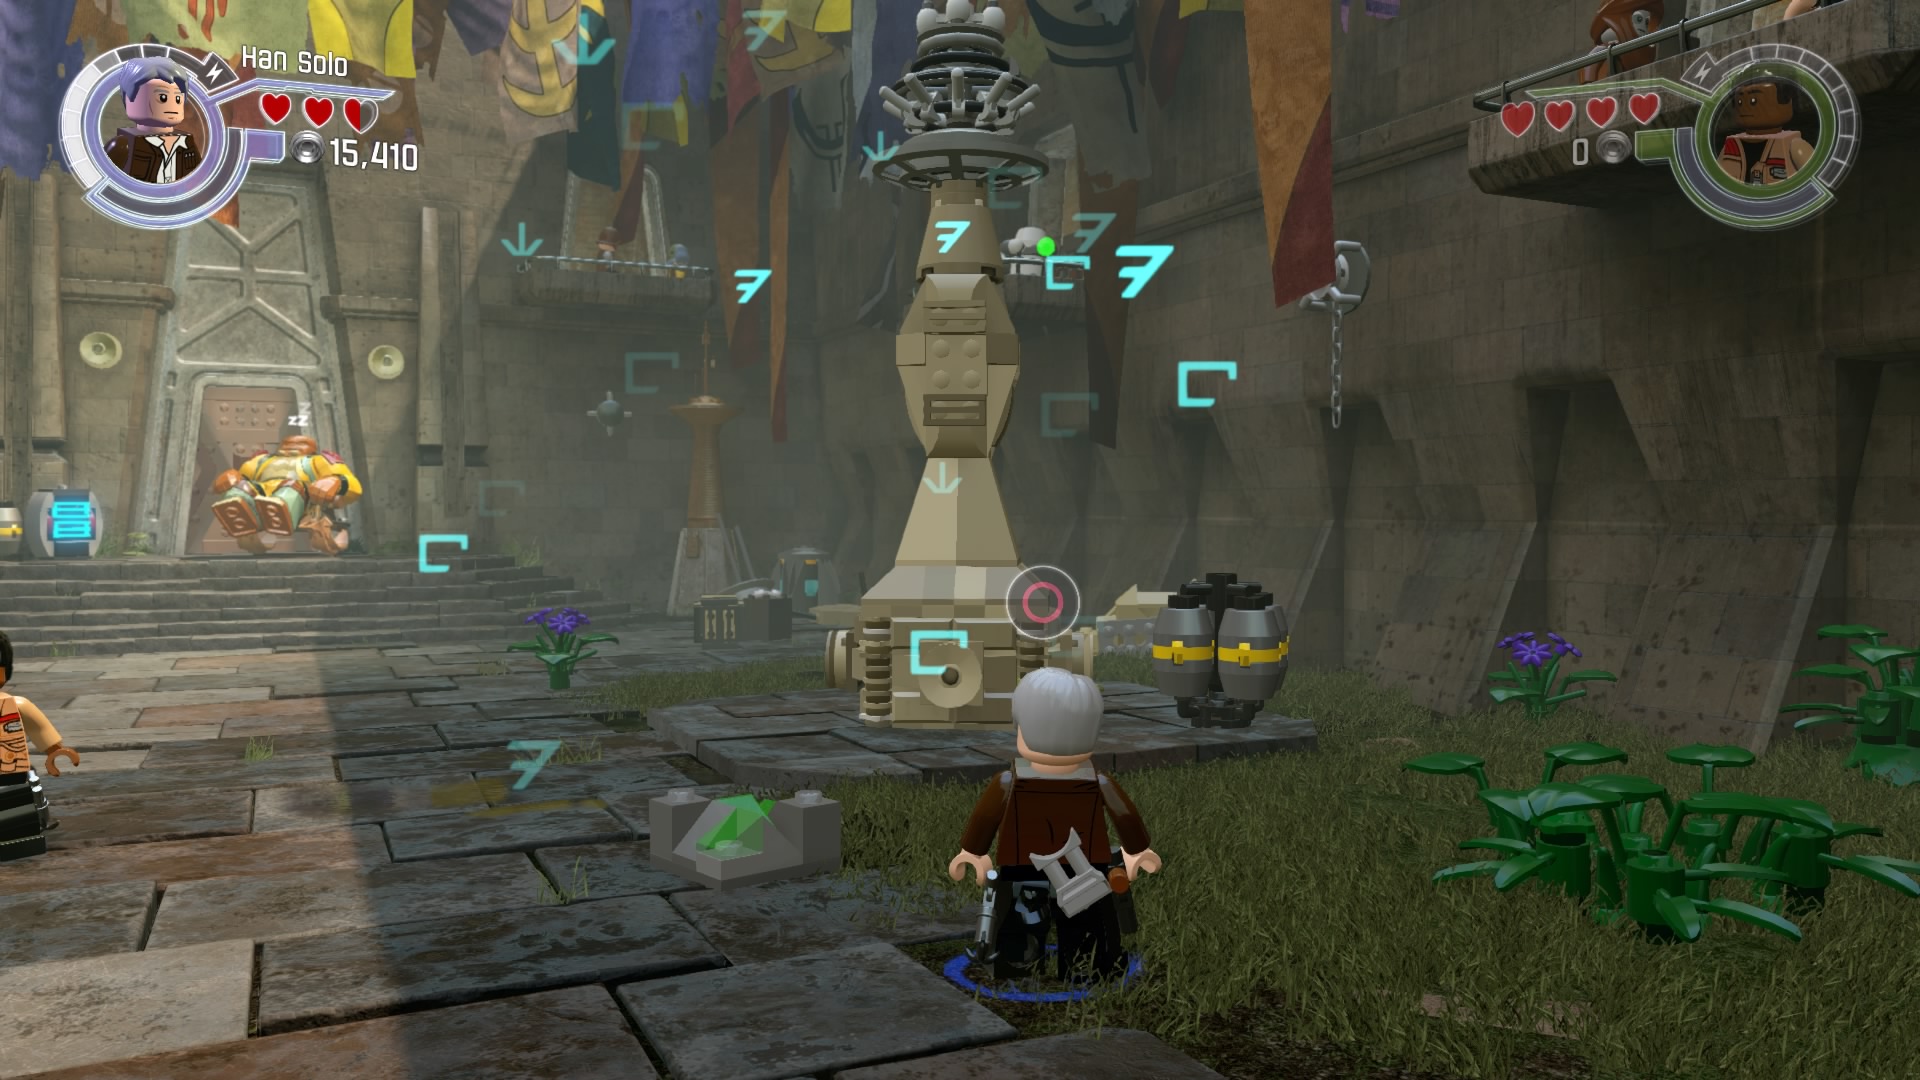
As part of the story, you'll need to scan a tower and destroy it to get yourself some building materials.
Weekly digests, tales from the communities you love, and more
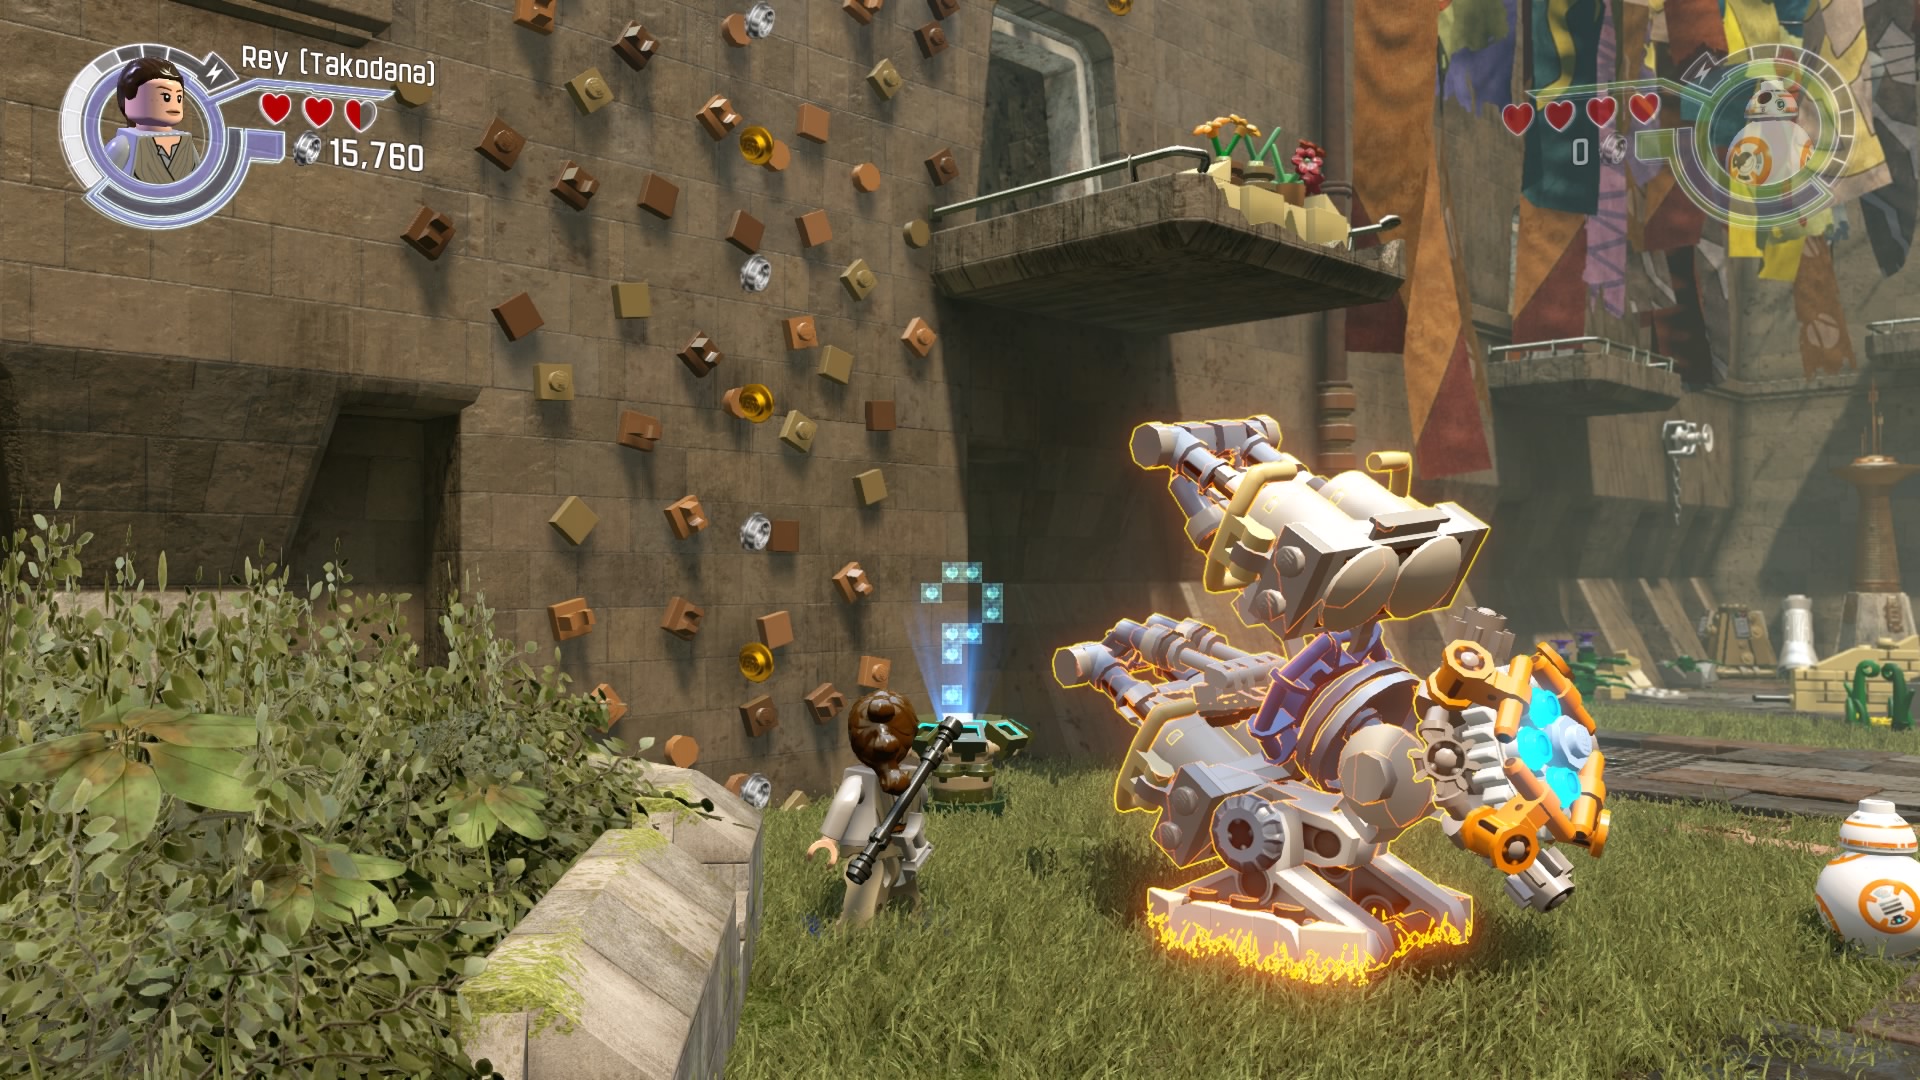
Build the contraption over on the left and use BB-8 to interact with the port. This will rip out the tree so you can access the stud wall.
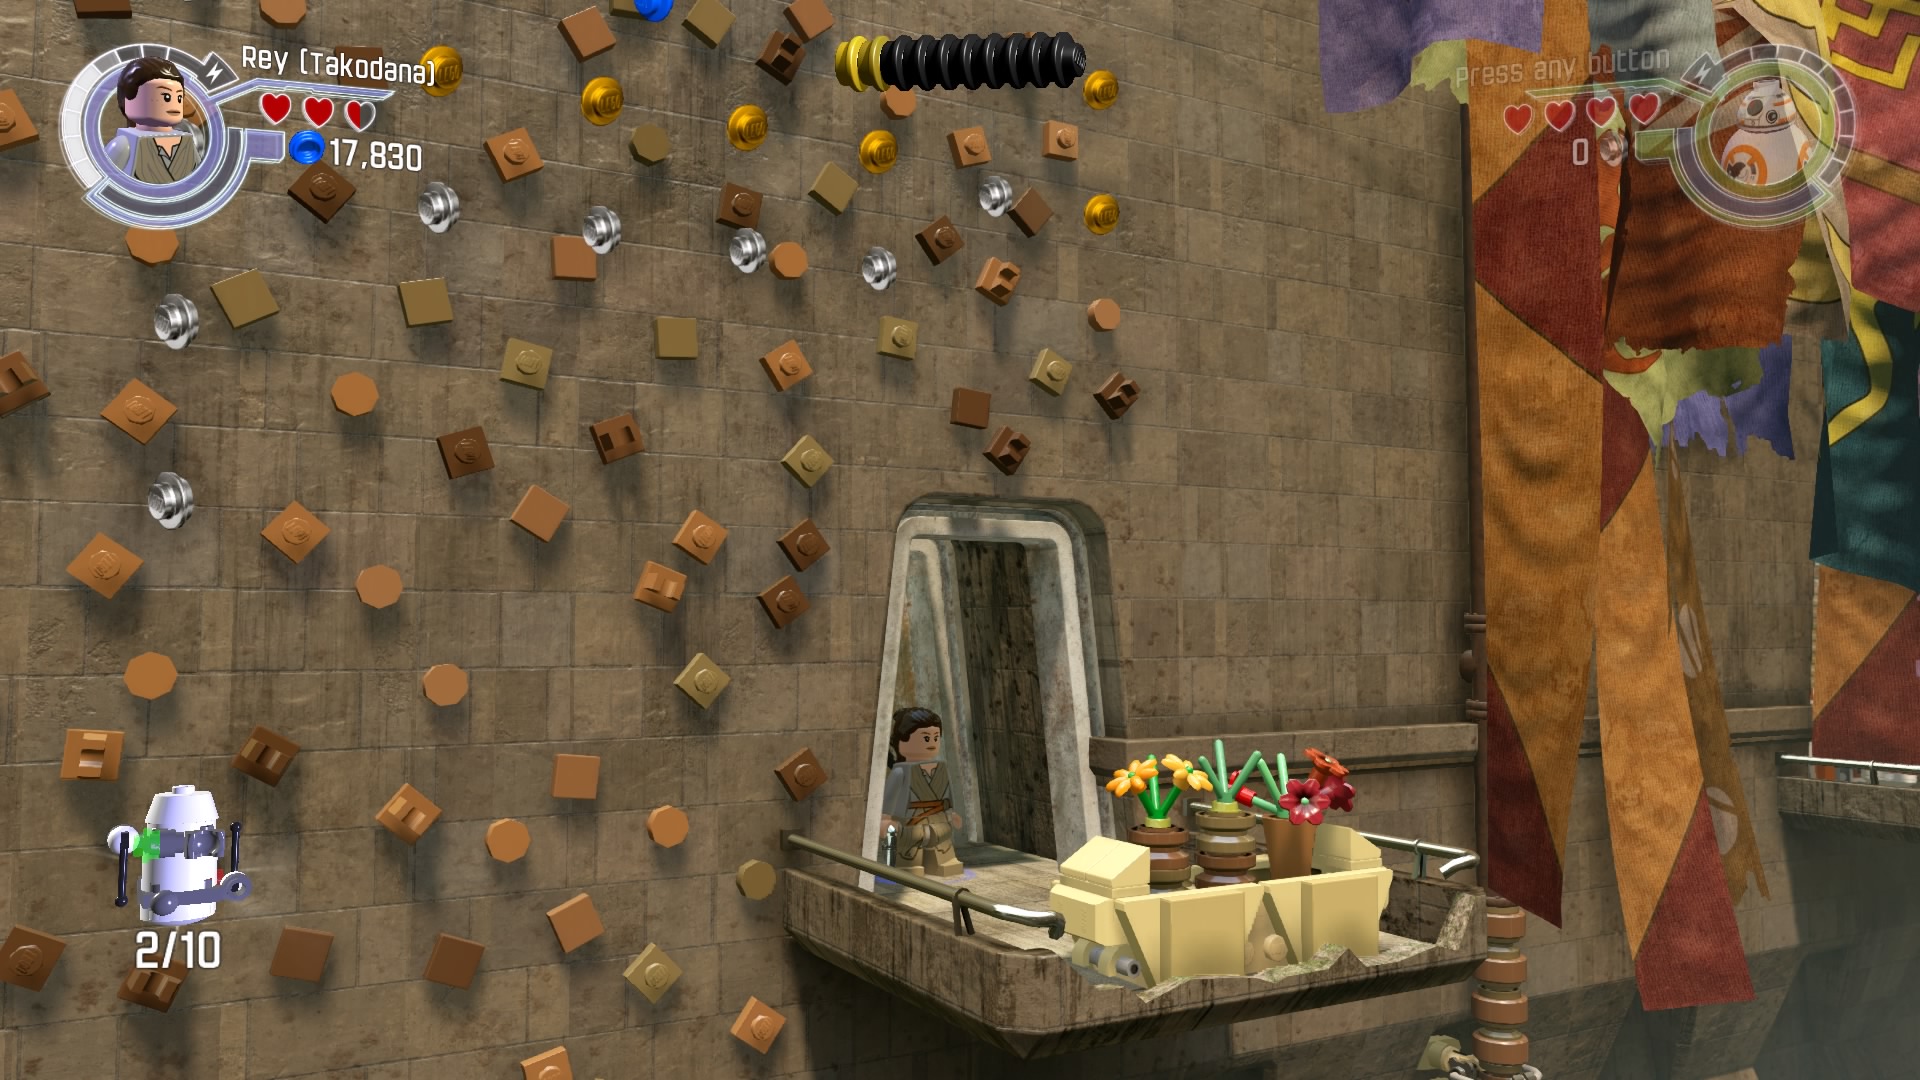
Climb up to the balcony. The minikit is inside the doorway.
Minikit #4 - Free Play Mode
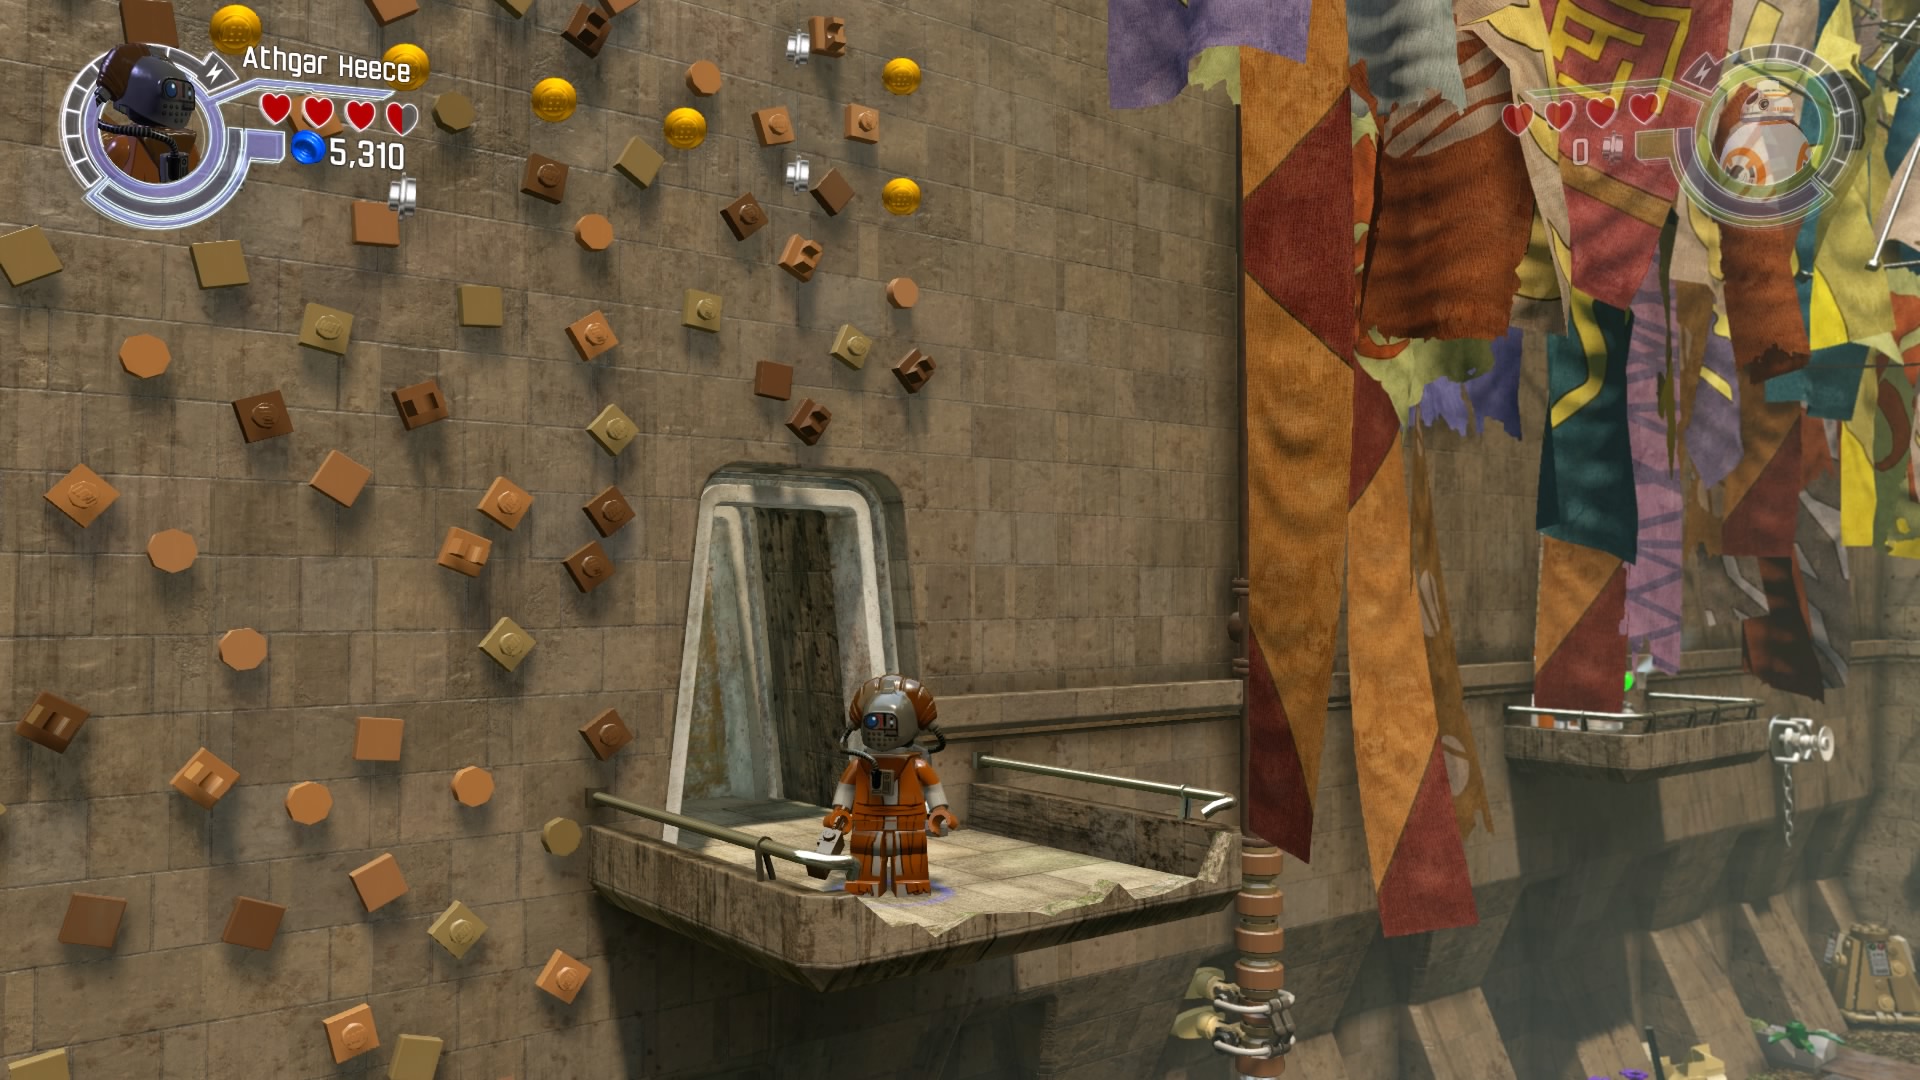
From the balcony, use a character with the boost ability to reach the next balcony.
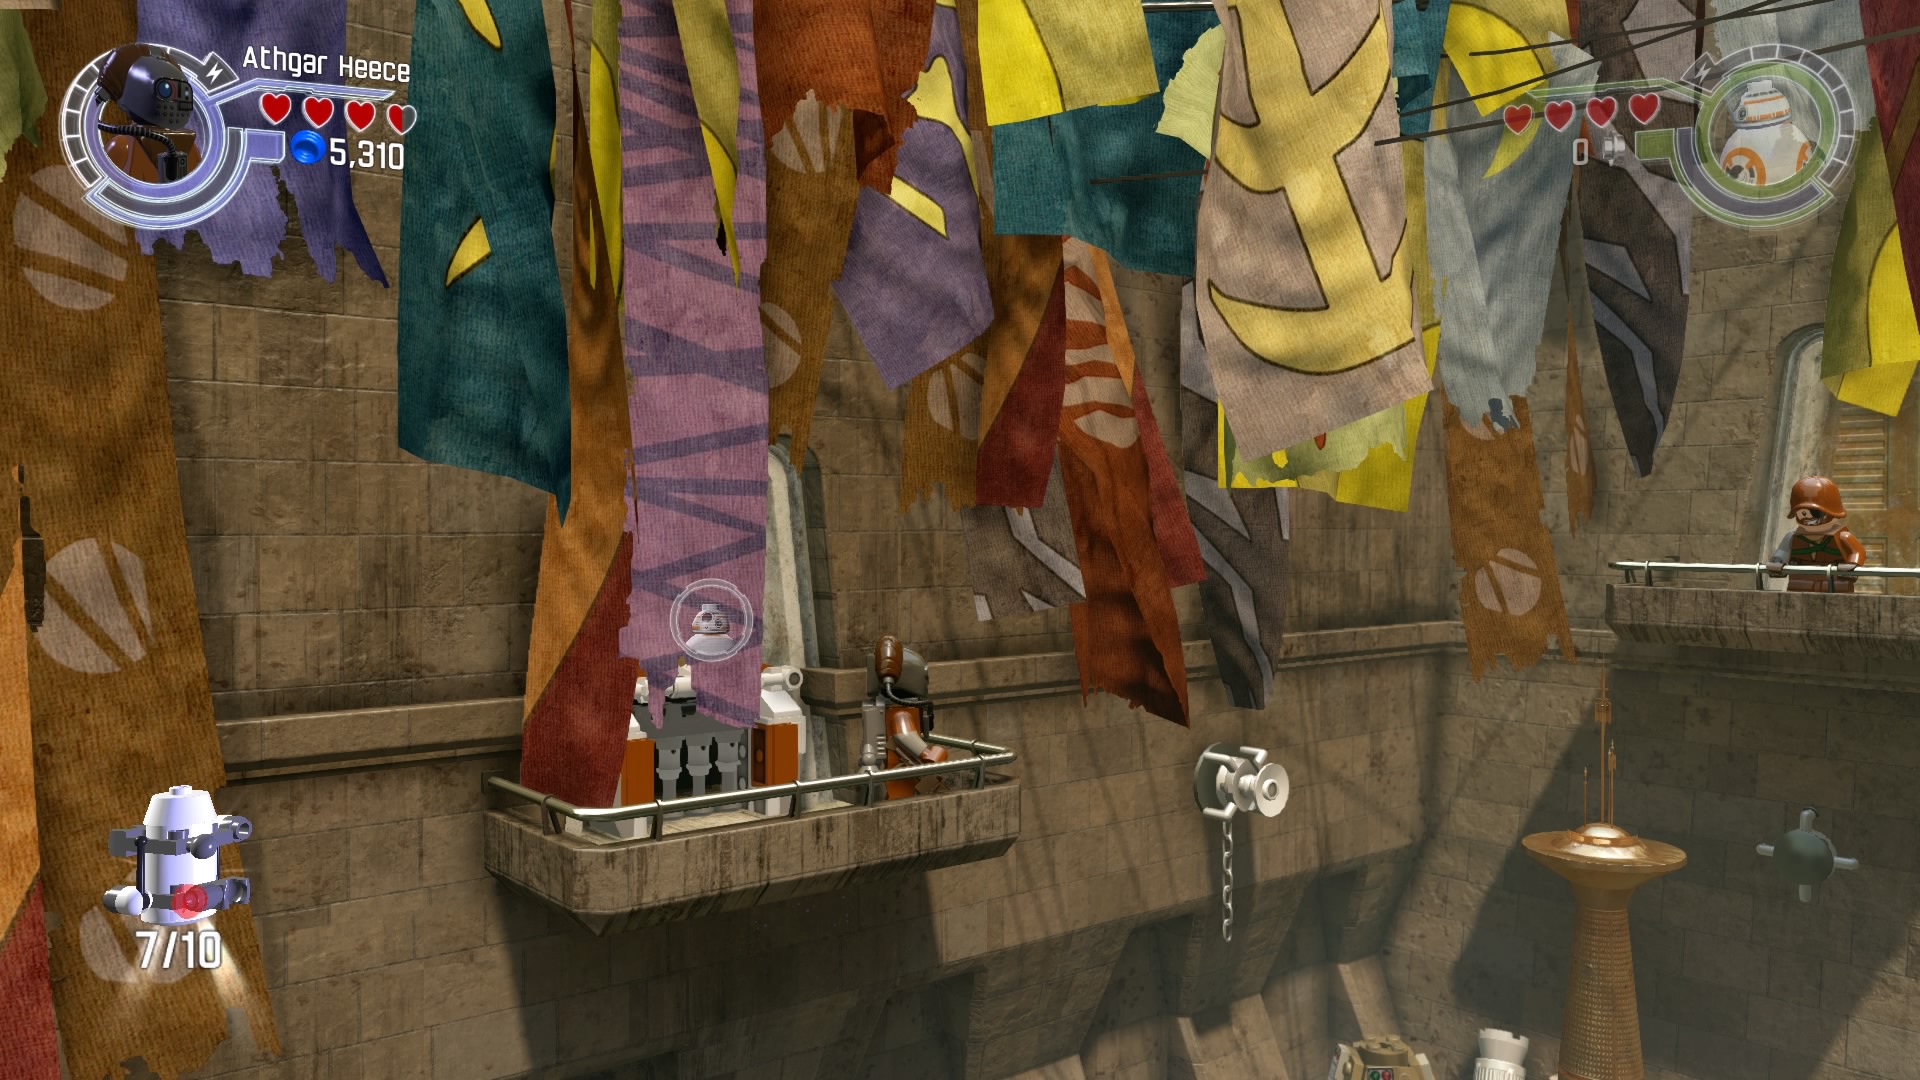
You'll pick up the next minikit when you land.
Minikit #5 - Free Play Mode
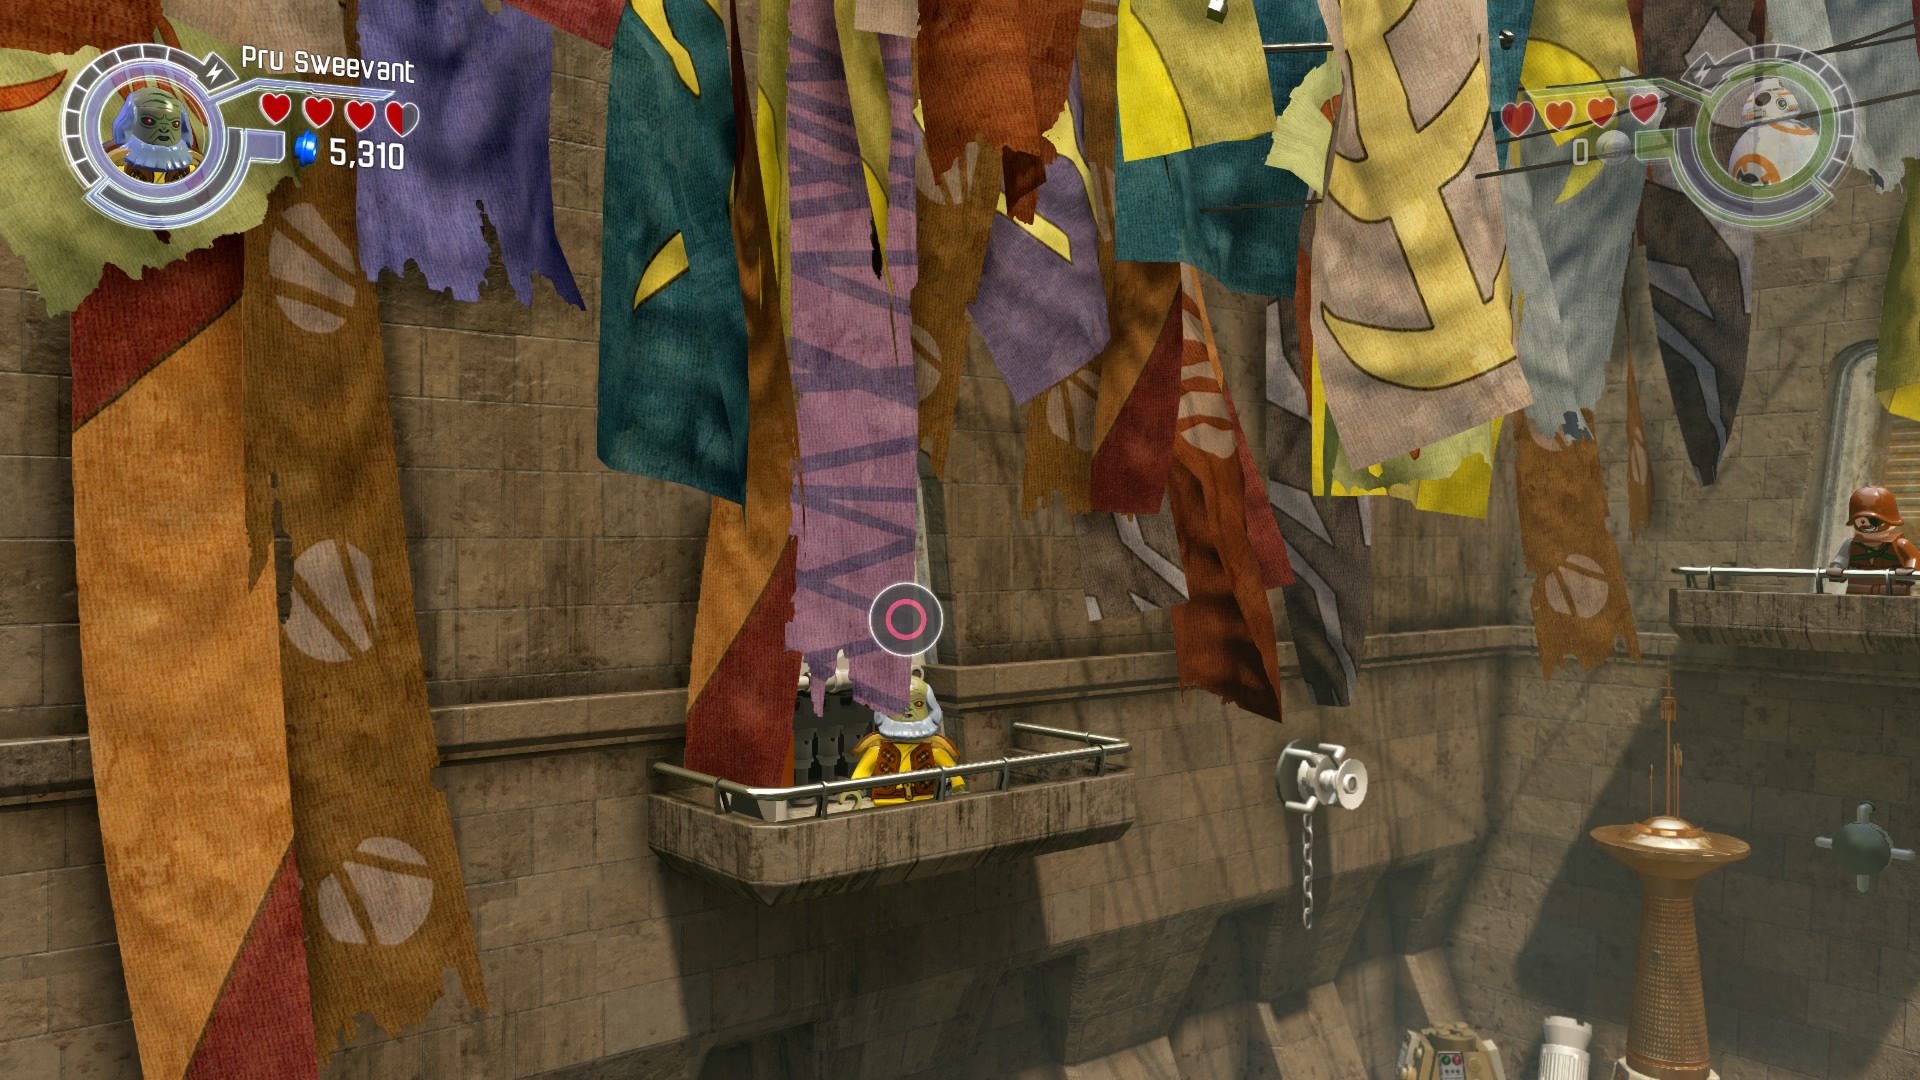
On the second balcony where we collected the last minikit, there's a small access hatch. Go on through.
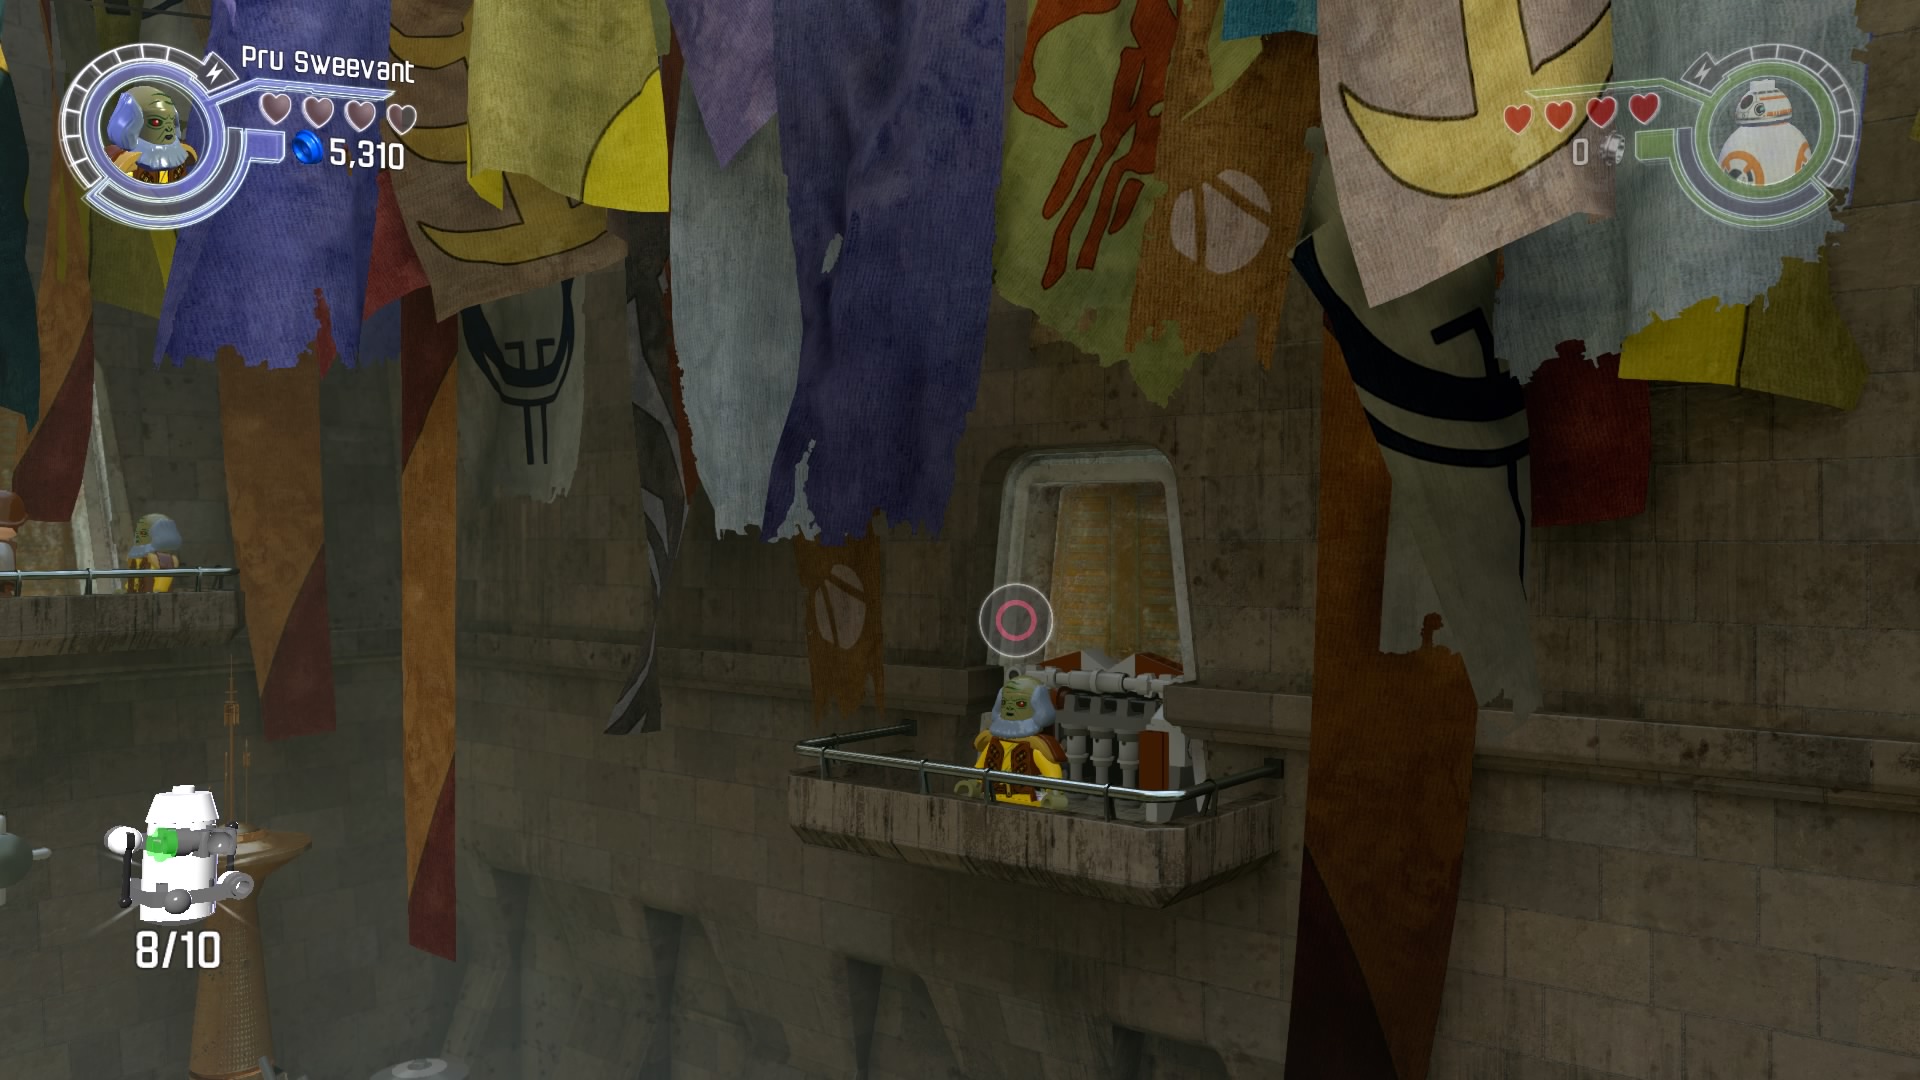
You'll pop out on the balcony opposite, where you'll pick up yet another minikit.
Minikit #6
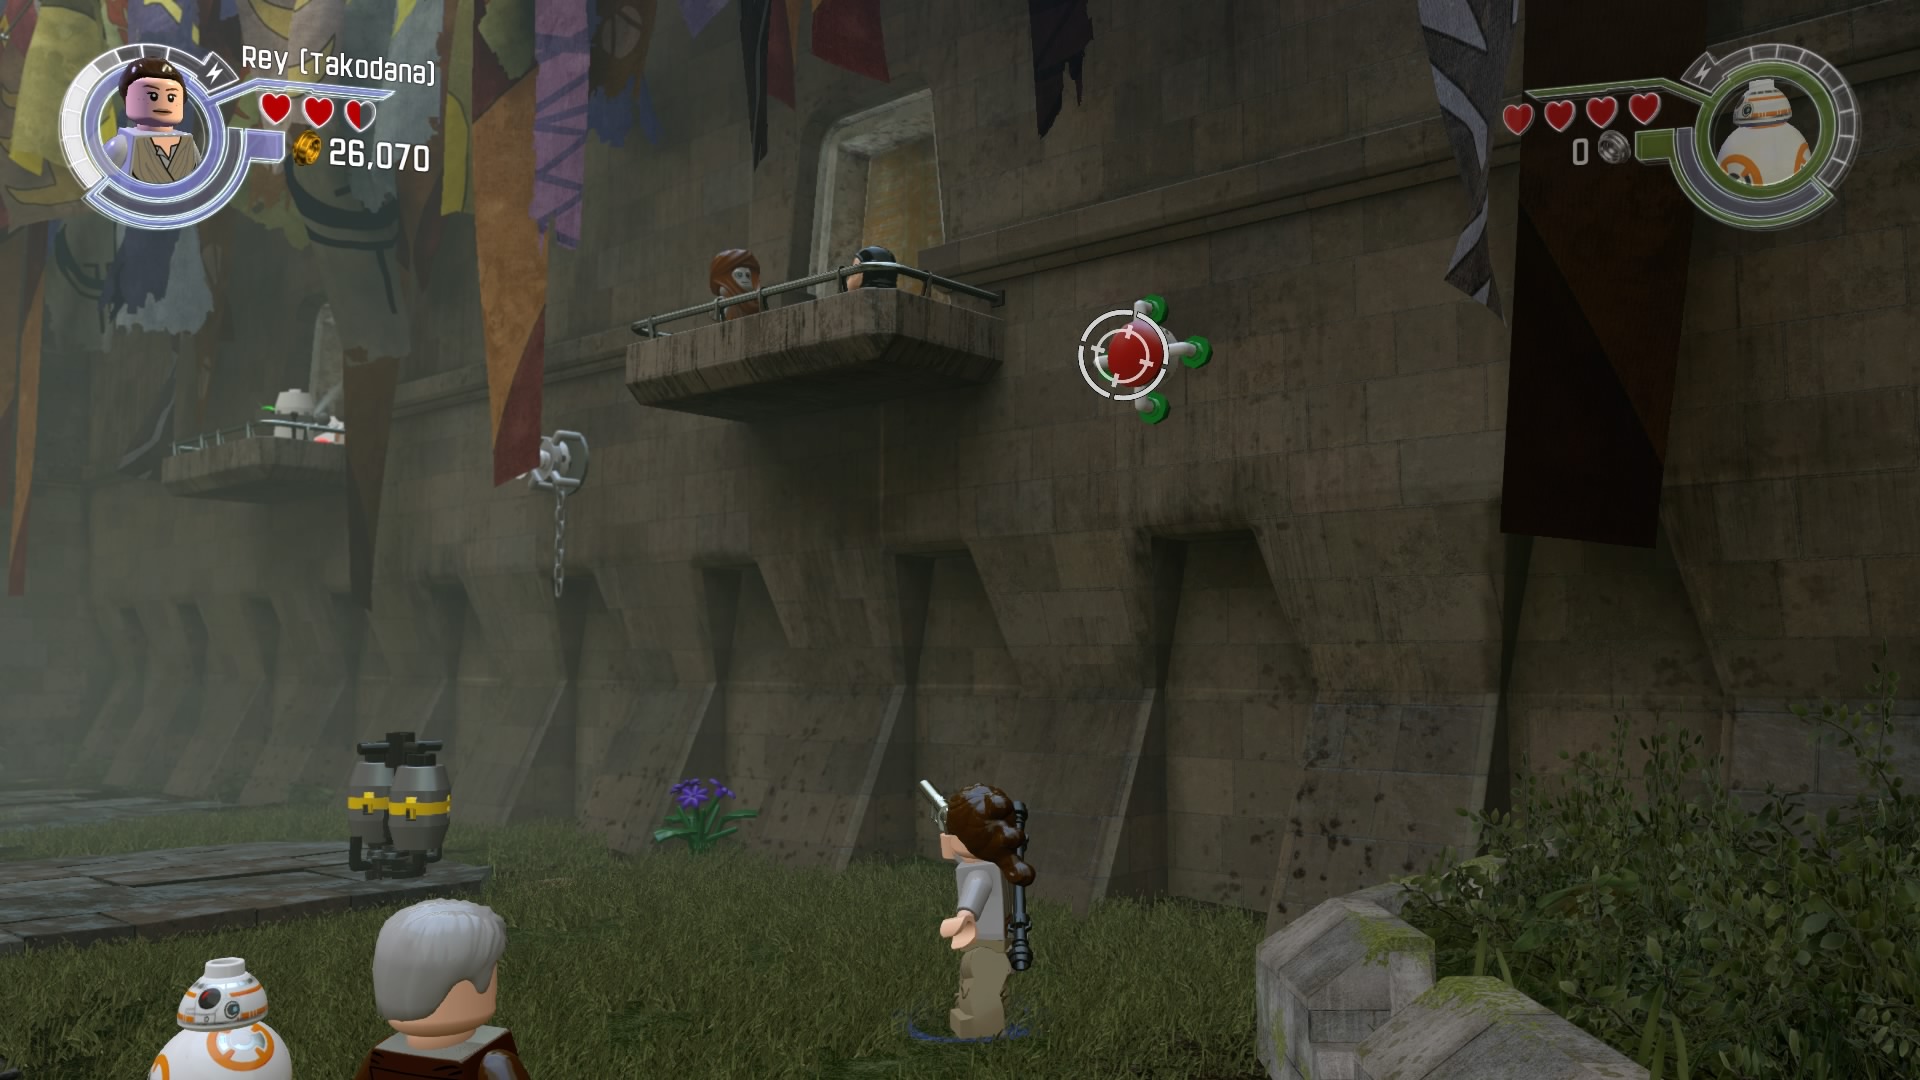
Back on the ground, by the left wall, you'll see a red button.
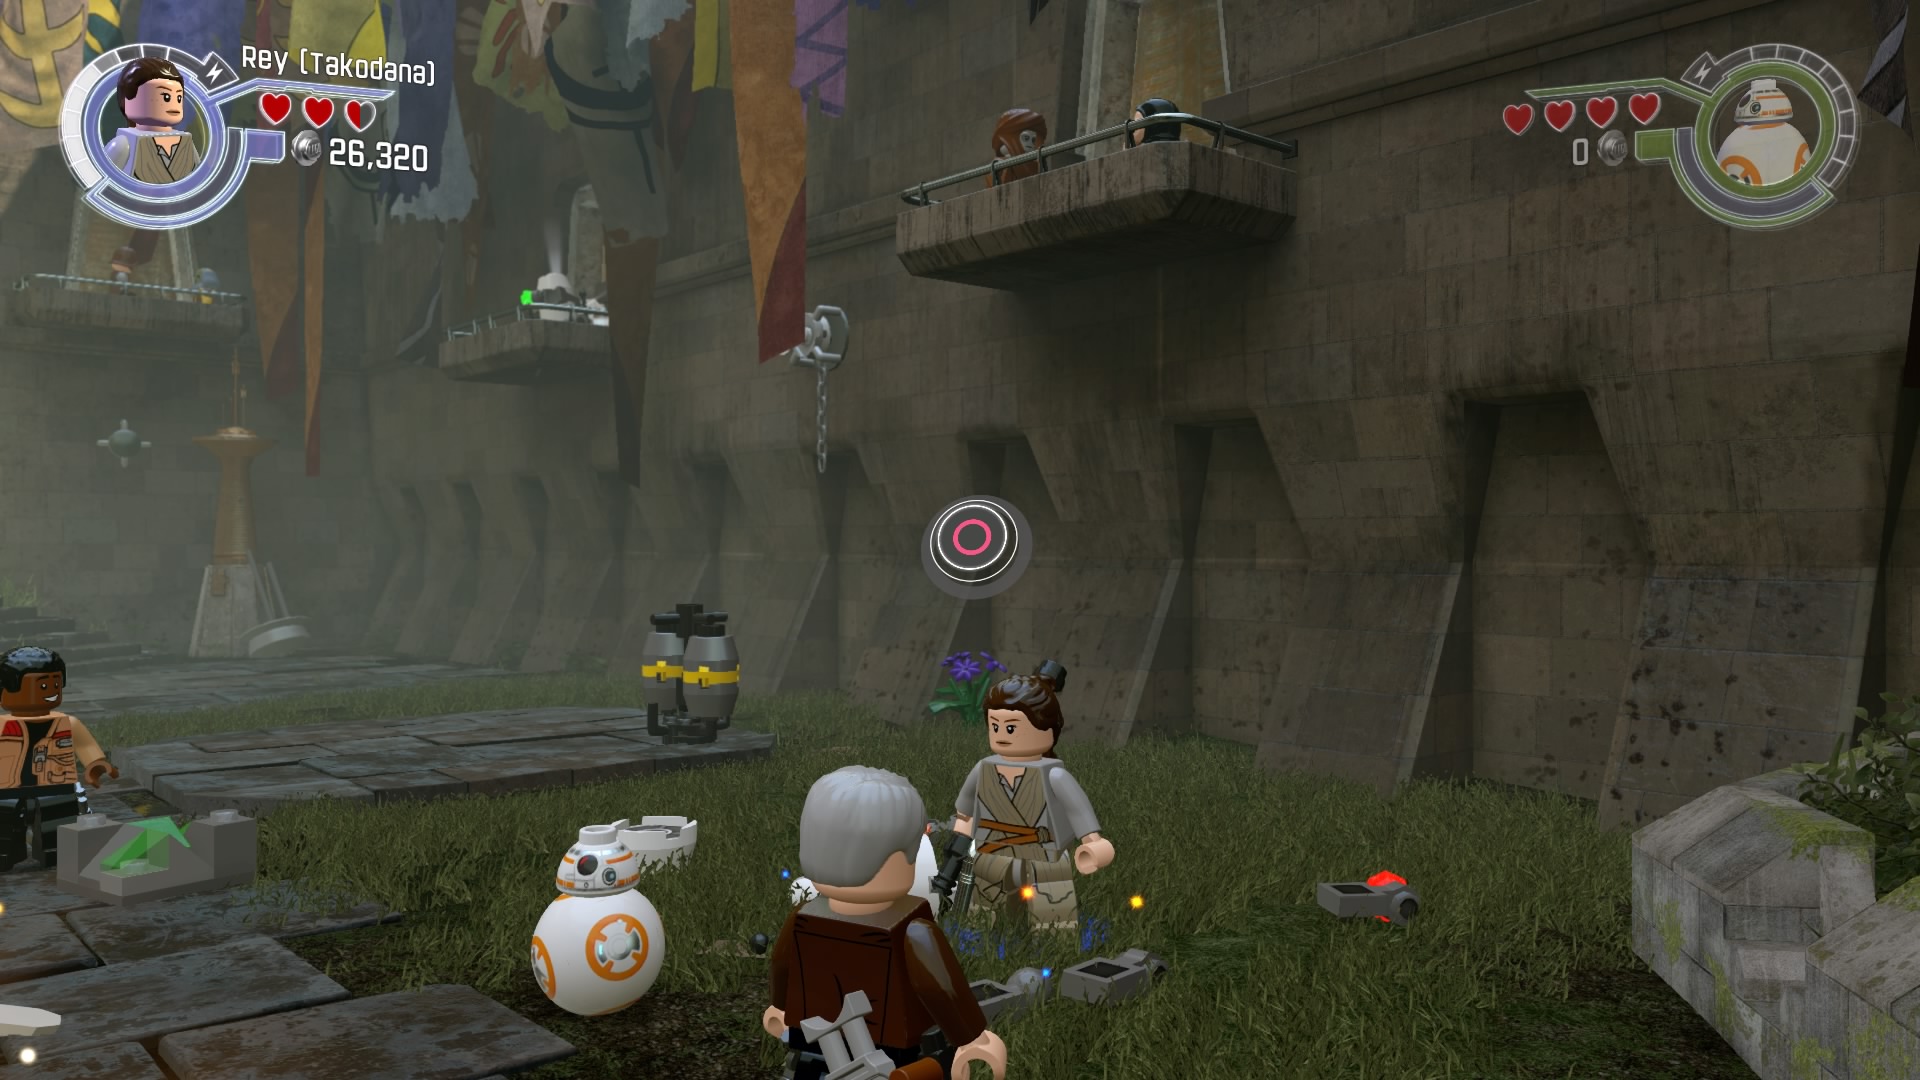
Shoot it to get parts for the minikit.
Table of Contents:
- Prologue: The Battle of Endor - Endor Shield Generator
- Prologue: The Battle of Endor - Death Star Throne Room
- Prologue: The Battle of Endor - Death Star Attack
- Chapter 1: Assault On Jakku - Village Retreat
- Chapter 1: Assault On Jakku - First Order Assault
- Chapter 2: Escape From The Finalizer - Finalizer Hangar
- Chapter 2: Escape From The Finalizer - Star Destroyer Exterior
- Chapter 2: Escape From The Finalizer - Jakku Graveyard
- Chapter 3: Niima Outpost - Niima Outpost
- Chapter 3: Niima Outpost - Niima Bombardment
- Chapter 3: Niima Outpost - Jakku Graveyard Flight
- Chapter 4: The Eravana - Freighter Battle
- Chapter 4: The Eravana - Freighter Chase
- Chapter 4: The Eravana - Freighter Shutdown
- Chapter 5: Maz’s Castle - Castle Approach
- Chapter 5: Maz’s Castle - Castle Basement
- Chapter 6: Battle of Takodana - Castle Corridors
- Chapter 6: Battle of Takodana - Takodana Skies
- Chapter 7: The Resistance - Resistance Base
- Chapter 7: The Resistance - Resistance Hangar
- Chapter 8: Starkiller Sabotage - Starkiller Crash Site
- Chapter 8: Starkiller Sabotage - Starkiller Wall
- Chapter 8: Starkiller Sabotage - Starkiller Shield Room
- Chapter 9: Destroy Starkiller Base - Assault on Starkiller
- Chapter 9: Destroy Starkiller Base - Rey's Escape
- Chapter 9: Destroy Starkiller Base - Oscillator Interior
- Chapter 10: The Finale - Oscillator Bombing Run
- Chapter 10: The Finale - Starkiller Showdown
- Epilogue: Luke’s Island
- Adventure Level 1: Poe To The Rescue - Trash Compactor
- Adventure Level 1: Poe To The Rescue - Hangar Battle
- Adventure Level 1: Poe To The Rescue - Asteroid Escape
- Adventure Level 2: Lor San Tekka’s Return - Kelvin Ravine
- Adventure Level 3: Rathtar Hunting - Rathtar Caverns
- Adventure Level 3: Rathtar Hunting - Loading Area
- Adventure Level 4: The Crimson Corsair - Landing Site
- Adventure Level 5: Trouble Over Taul - Corvette Interior
- Adventure Level 6: Ottegan Assault - Ottegan Pursuit
- Adventure Level 6: Ottegan Assault - Ottegan Surface

Shabana was born looking like a girl wearing a Pikachu hoodie, so when such things became popular, she fitted right in. She writes guides, reviews and features for GR+ when she isn't screaming at Dark Souls 2 on YouTube.
 Join The Community


