Lego Lord of the Rings minikit guide
Follow this one guide to collect them all... all Lego Lord of the Rings minikits, that is
Weekly digests, tales from the communities you love, and more
You are now subscribed
Your newsletter sign-up was successful
Want to add more newsletters?
Join the club
Get full access to premium articles, exclusive features and a growing list of member rewards.
The Dead Marshes [6-10]
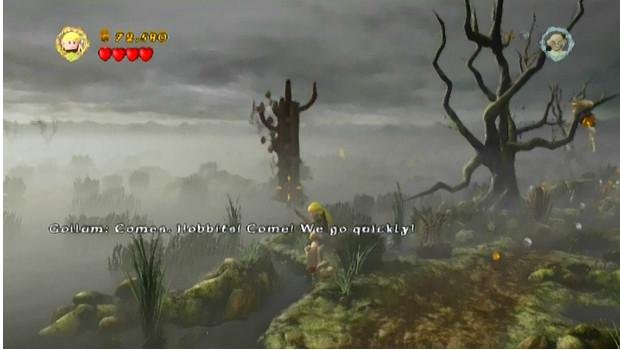
Minikit #6: When you reach the misty island, look north to see a distant target on a tree. Shoot it with Legolas’ bow to collapse the tree into a bridge and spawn a minikit atop it.
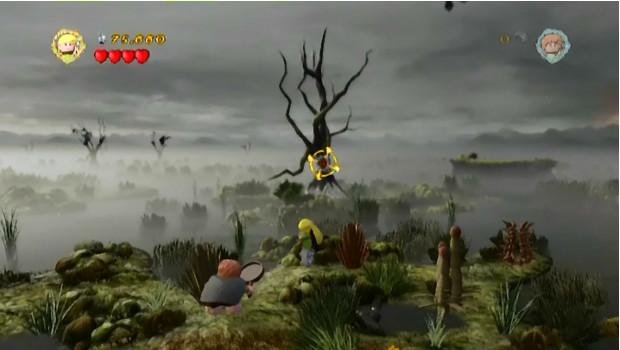
Minikit #7: Just past the misty island you can see another target tree. Shoot this one to make a bunch of ghosts slowly move more targets in and out of the water. Shoot each one to earn another minikit.
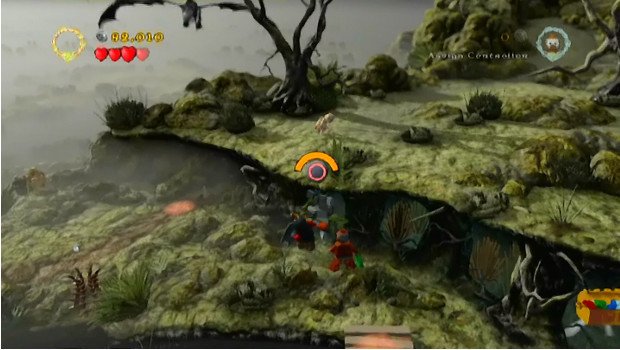
Minikit #8: On the final island, use the Uruk-hai to rip the golden handle out from the cave it’s blocking. Then fight your way through the bushes inside to reach the minikit.
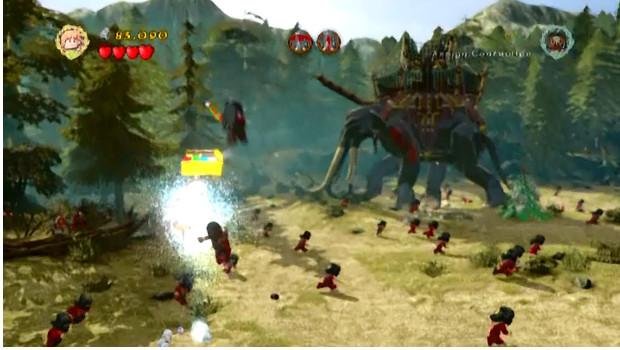
Minikit #9: In the final zone, move left to find a patch of soil. Dig it up with Sam’s spade to release a geyser and a minikit, and ride the water up to the collectible.
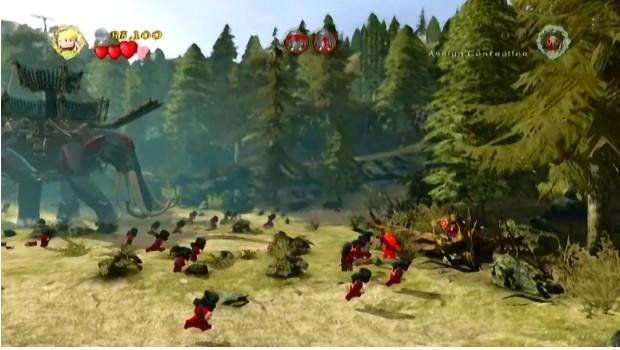
Minikit #10: This last one is a bit of a pain. Around the perimeter of the area, there are five hard-to-see targets: two to the far left, two to the far right, and one in the distant center. Have patience, and you’ll eventually shoot them all and score a minikit for your efforts.
Table of Contents
- Prologue [1-5] [6-10]
- The Black Rider [1-5] [6-10]
- Weathertop [1-5] [6-10]
- The Pass of Caradhras [1-5] [6-10]
- The Mines of Moria [1-5] [6-10]
- Amon Hen [1-5] [6-10]
- Taming Gollum [1-5] [6-10]
- The Dead Marshes [1-5] [6-10]
- Track Hobbits [1-5] [6-10]
- Warg Attack [1-5] [6-10]
- Helm's Deep [1-5] [6-10]
- Osgiliath [1-5] [6-10]
- The Secret Stairs [1-5] [6-10]
- Cirith Ungol [1-5] [6-10]
- The Paths of the Dead [1-5] [6-10]
- The Battle of Pelennor Fields [1-5] [6-10]
- The Black Gate [1-5] [6-10]
- Mount Doom [1-5] [6-10]
Weekly digests, tales from the communities you love, and more

Tony lives in Maryland, where he writes about those good old-fashioned video games for GamesRadar+. His words have also appeared on GameSpot and G4, but he currently works for Framework Video, and runs Dungeons and Dragons streams.
 Join The Community


