Halo: Reach Campaign Walkthrough Guide
Band together and conquer the final chapter in the Halo saga with our helpful guide
Tempest Perimeter
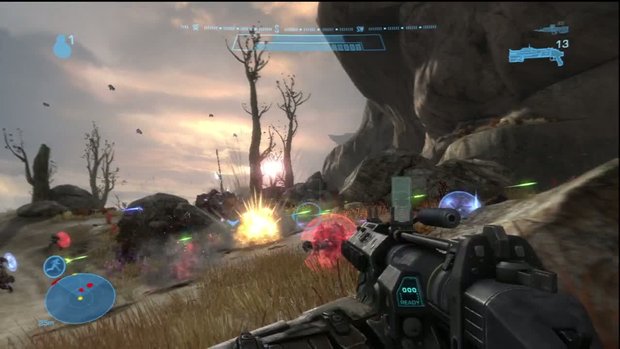
As you start, you will be smack dab in the middle of a massive fire fight. Grab some cover and start popping Covenant heads as quickly as possible. You will be automatically equipped with a grenade launcher so make full use of it. Continue up the path and you will get the objective to secure a landing zone. Clear out all the enemies you can and then you will get the call to disable the anti-aircraft gun. Hop in the Warthog and roll west until you can see the gun. Take out the army of Covenant that are in the way and finally you will be able to make your way to the opening in the side of the giant gun. Once inside, there will be a core that is shielded with a weak side. Shoot it and then toss in a grenade or shoot the core and high tail it out of there.
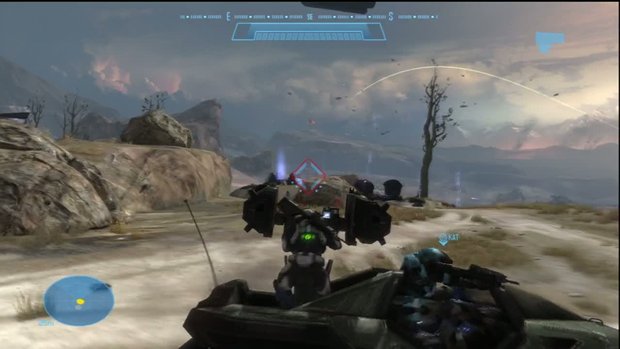
Once the gun is down, the UNSC will start bombing runs and you can then proceed onwards. Head west along the road and make a right up the hill to find a bridge there. There will be a Wraith and a Phantom in your way, so use the Warthog rocket launcher to take them out, then make your way across and continue through the canyon heading southwest.
Hand Over Fist
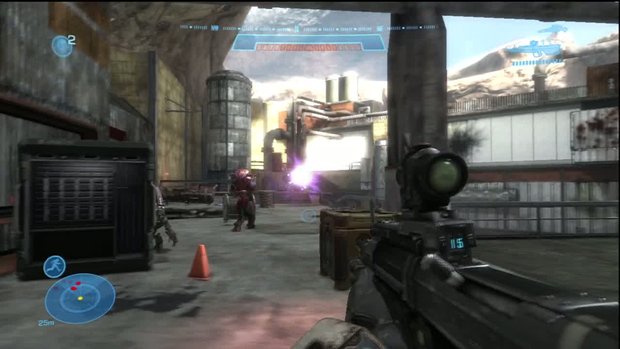
As you roll through the canyon, you will come to a mining facility that is crawling with those Covenant scum! Pop the turret on the far side and then cross over to enter. When you do, you will get word that there is a Zealot nearby. Make your way up to the catwalk to the left and head up the stairs. You’ll come across some Jackals and grunts and will go through a corridor to a walkway on the other side. At the far end will be a plasma cannon turret that needs to be taken out before proceeding. You can do so easily by shooting the fuel tank to his left and watching him and the tank blow sky high. Once that’s done, grab the cannon and continue south and the Zealot will be on the platform across from you. Use the DMR or Needle Rifle to take out the Zealot from here to get the “Your Heresy Will Stay Your Feet” Achievement.
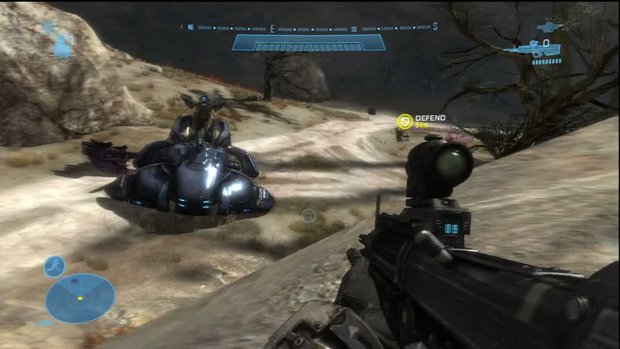
Drop down to the lower level and then take the stairs up to the next platform and of course there will be a group of grunts along the way. There is also a room to the left side that has health and a Sprint ability in it if needed. Drop through the blown opening in the floor and hop on one of the many Ghosts or the Revenant there. Follow the path and you will be told that there is another AA gun that they want you to take out. Continue south and you will eventually reach it. Make your way to the entrance of it and 2 Hunters will come hulking out. After you deal with them, blow the gun, using the same technique as the previous AA gun and make your way back out. A Wraith will also show up once the gun is down, so clear out the area of all enemies and a Falcon will come pick you up.
The Spire
Weekly digests, tales from the communities you love, and more
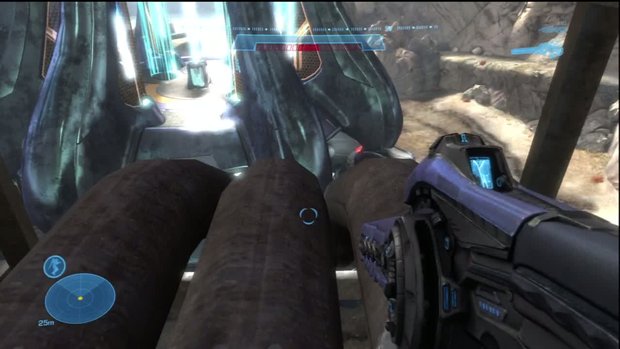
You are now in control of the Falcon’s gun, so blast away at any and everything you see below you that's a threat. It’s pretty straight forward, but make sure you get the Wraiths and turrets as soon as you can. After your fantastic landing, grab the Jetpack Ability – make sure you do - on the right side and head up the hill going southwest towards the Spire. Once you get near the Spire, take out the turrets that are guarding it to make things coming up much, much easier. If you look to the right, there is a structure of pipes on the right side. Use the jetpack to boost up to land on them and then from there boost over to the spire.
Once you land on the upper deck, use the beam lift in the center of the room to go all the way to the top. When you do reach the top, there will be a few grunts and some sword wielding Elites to deal with. Use your fancy foot work to take them down and then flip the switch for the shield to the Spire. Once you do, a scene will play and you are off to the next mission.
Mission 6: Long Night of Solace
First Floor: Aliens, Beaches, Secret Launch Stations
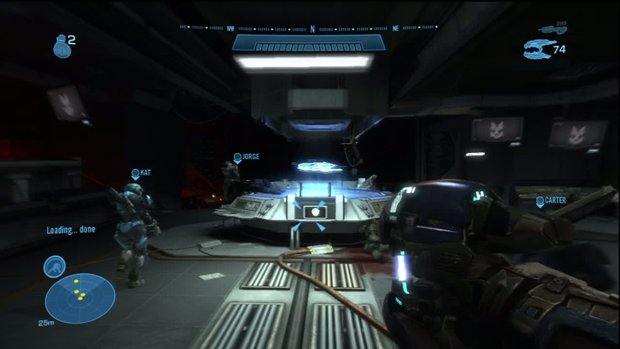
Once you and your crew land on the beachhead, head north and fight through the swarm of enemies that are already creeping about and incoming. It’s a pretty straightforward battle, just keep your wits about you and make sure to use the barricades for cover. Once you reach the top, head up the stairs and enter through the door that opens. Head down the corridor, through the corpse filled rooms until you reach the launch room. Head up the stairs to enter the Sabre and strap in.
Operation: Uppercut
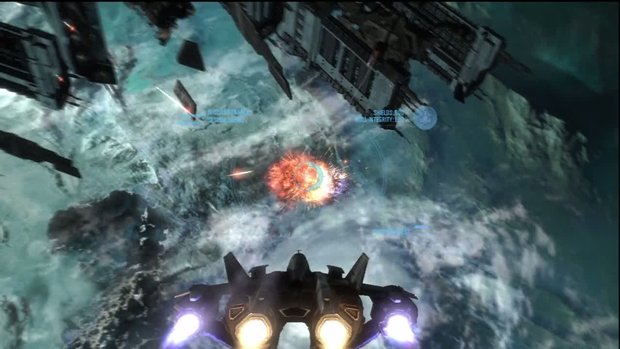
Whoa now. We’re not in Kansas anymore. Now that you are in control of your Sabre, use the right trigger to fire your cannons and rockets. Use Y to switch between them. Some Banshees will start showing up after a little floating around. You can use the cannons to take them down easily – just watch where you are going and don’t crash in to them or the UNSC ships. Once the Banshee’s are gone, some Seraphs will show up. Take out their shields with your cannons and then use the rockets to finish them off. For the third round, you will need to take out a bunch of Phantoms that appear, but for these you can just use rockets. Once they're all down, you will need to head the Sabre towards the Savannah to dock.
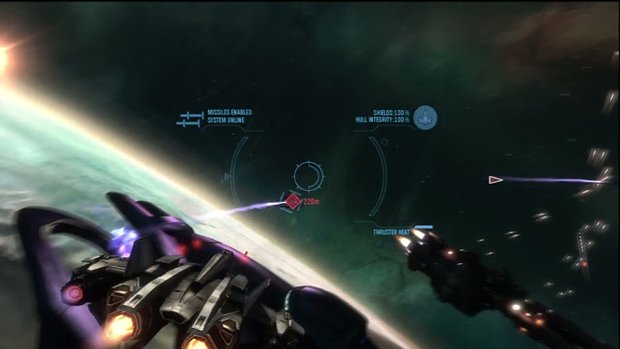
After the scene plays, you will now have the slipspace drive as the Covenant Corvette shows up. You will need to take out the Corvettes 4 Engines as well as its Seraph escorts. If you manage to take out the Corvette in less than 3 minutes, you can nab yourself the “Wake up, Buttercup” Achievement. Once you have disabled the engines and taken care of the escorts, you will need to fly up to the top of the Corvette until a scene kicks in and you and your land and board the cruiser.
And The Horses You Flew in On…
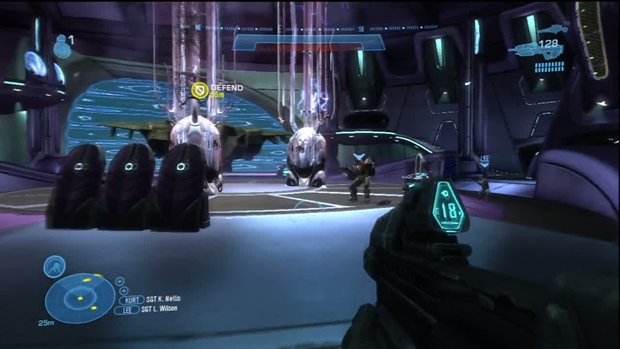
Drop through the opening once you are out of your Sabre and start taking out every enemy you come across. Follow the corridor to the hangar and again, make use of your violent tendencies to clear the room of Covenant. Make sure to clear the upper platforms on both sides and once the room is clear, activate the switch that will allow Jorge to enter with the Pelican. After the scene, you will need to head to the bridge, so head out of the hanger and follow the corridor until you see the Savannah light up like the fourth of July. Once you reach the bridge, kill the crowd of enemies in there, start by assassinating one of the elites, and then just go all Rambo on the rest.
Once the bridge is clear, set the refuelling sequence so that the Corvette will return to the super carrier. Now that the Corvette is on a course of death, head back to the hanger to give Jorge a hand with the Covenant that have shown up. As you enter, you will need to protect the Pelican and the Slipspace Bomb. If you want some extra protection, there is an Armor Lockup at the rear of the Pelican, as well as a Sprint Ability. Again clear the room of enemies, including the platforms on both sides until Jorge says it’s good to go. Once all is quiet in the hanger, watch the scene, wipe a tear and move onto the next mission.
Jeff McAllister is a freelance journalist who has contributed to GamesRadar+ over the years. You'll typically find his byline associated with deep-dive guides that are designed to help you scoop up collectibles and find hidden treasures in some of the biggest action and RPG games out there. Be sure to give Jeff a thanks in the comments while you're completing all of those tricky Achievements and Trophies.

 Join The Community


