Halo: Reach Campaign Walkthrough Guide
Band together and conquer the final chapter in the Halo saga with our helpful guide
The Best Defense…
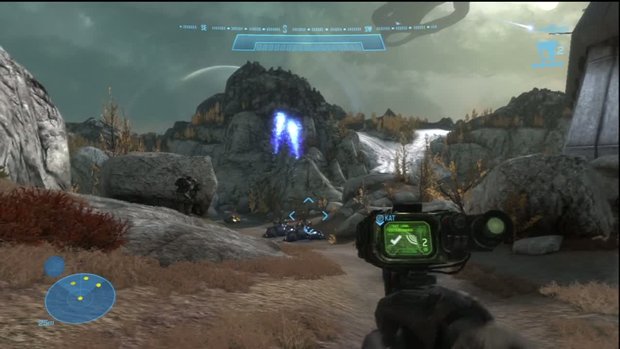
Kat and Six, you’re out here. As you exit the Falcon, head up to the balcony on the left side and take out the rush of Jackals and Elites that enter the area. Once the place is clear, head to the east and go down the ramp to enter a small area there where you can reload and grab a Target Locator and an Armor LockUp Ability. I’d stick with the Sprint for now, so head out and two Wraiths will show up for you to test out the Target Locator on. Try to take out both tanks with one Target Locator shot for the “Two Corpses in One Grave” achievement. Once the Wraiths are down, clear out the rest of the enemies and make your way to the warthog that gets dropped off. Here you have a choice of going either East or West. If you go East, you’ll head for the Comms Array and need to flip some switches, head West and you’ll need to activate an anti-aircraft gun.
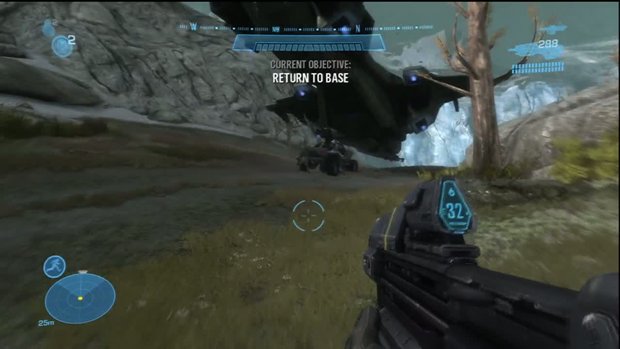
As the Phantom drops off Covenant soldiers, make your way inside the building there and stock up on ammo. Activate the switch on the roof after reliving it off the Elites there and the gun will be active. Once it is, clear out the rest of the enemies; you'll now need to head to Farragut Outpost to the East. Hop in the Warthog again and follow the road until you finally reach the outpost. Wipe out the Covenant around and in the buildings and you will need to turn on two of the generators, one in each of the buildings.
Article continues below 
In the room with the first switch, there is some health and another Armor Lockup ability, as well as a Sprint. Head to the second building and climb to the roof. If it seems a little too hairy for you, there is a sniper rifle in the middle section, between the two large buildings on the upper level you can use to thin out the enemies.
Minimum Safe Distance
Once both generators are activated, hop down to the road and you will be told to return to base. Hop on the Warthog – preferably the new one that was dropped, because it has a sweet ass turret, and follow along the road, taking out the Ghosts and Elites along the way. Hit the switch beside the gate where you previously were and head north, back up the ramp. Clear the area and then follow Kat’s money maker into the lower entrance of the base where there will be two Hunters. Hit them hard and hit them in their gooey backs to take them down. Once they're finally ass up, head through the security office to the elevator.
Office of Naval Intelligence
Weekly digests, tales from the communities you love, and more
Step out of the elevator and head south, taking out the grunts and Elites in the corridors. The shotgun is your friend here as you're are going to be getting up close. As you enter the lobby area, you will now be able to have soldiers that follow you around. Their names will appear to the right of your motion sensor – which really just serves to show you how many are with you and when they die. Clear the lobby and make your way up the ramps and stairs to get to the top floor. Once you reach the top with Emile and can get outside through the broken walls, head to the far east side, and there will be a rocket launcher in the corridor there. Use it to take down the Banshees and the Phantom there. You may also want to use it on the cloaked Elites that are lurking around as well.
Mission 4: Nightfall
…Too Quiet
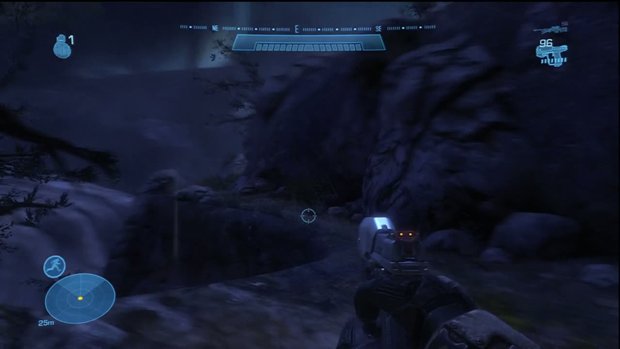
Oooooo it’s night time and there are wolves and I’m scared. Ok so no wolves, but there is a Jun. Make your way along the cliff ledge and you will come to an Elite. Use the assassination maneuver to get your “That’s a knife” achievement and then clear out the rest of the grunts along the path. Hop down to the ground below. If you head to the east, there will be a Hologram Ability to grab, but I still suggest using the Sprint. Drop to the area below and there will be a crap load of Covenant there. Clear them out as best you can – there really is a crap load in there – and make your way Southeast.
Let Sleeping Dogs Lie
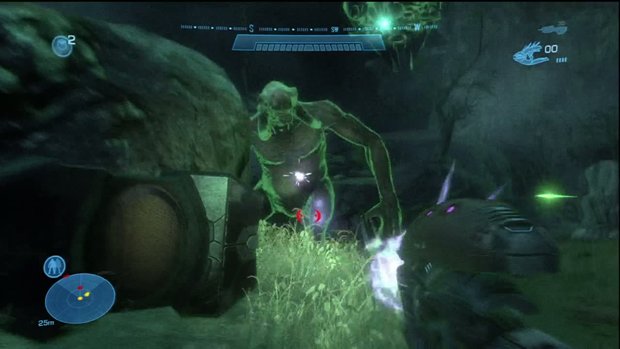
You will eventually come to a clearing that has two HUGE beasts causing a ruckus. You can either avoid and ignore them, or take them out and prove you really are the ultimate badass. Either way head southwest afterwards and follow the path along the fenced cliff. You will then come to a pump station that is occupied by a civilian militia. Help them take out the incoming Covenant force and be sure to pick up the Drop Shield Ability near the center of the area. The Drop Shield will put a shield up around you as well as heal you while you are inside of it. It’s one of the more useful abilities in the game. Once the second drop ship comes, follow the civilians through the river bed to the hydro plant.
I’ll Just Leave This Here…
Once you reach the hydro plant, you’ll need to plant a charge on the Covenant defense system. Make your way to the bridge and fight your way across, grabbing the Plasma Cannon from the platform to the right if you feel like some heavy fire power. Clear the plant of enemies and then you will need to defend Jun as he plants the charge from Hunters the drop ships leave behind. Once they are down, continue Southeast and go through the large gates. There will be two large turrets that need to be taken out here, the first of which can easily be done by sneaking up around to take out the operator. The second can be taken out by tossing a grenade from the hill top just to the right of it. Once they are both out, continue along the path until the cut scene plays.
Jeff McAllister is a freelance journalist who has contributed to GamesRadar+ over the years. You'll typically find his byline associated with deep-dive guides that are designed to help you scoop up collectibles and find hidden treasures in some of the biggest action and RPG games out there. Be sure to give Jeff a thanks in the comments while you're completing all of those tricky Achievements and Trophies.

 Join The Community


