Call of Duty: Black Ops 2 Buried guide & walkthrough
Zombies guide & walkthrough for the Buried map

The four characters from TranZit and Die Rise have returned once again, but instead of riding a bus or taking elevators, the group has now found themselves in a buried old west town in the middle of nowhere. The latest Call of Duty: Black Ops 2 zombie map “Buried” is one of the smallest but what it lacks in real estate, it more than makes up for in things that can be done within it. Below we’ll be providing you with a detailed guide on how to accomplish all the things that this round of DLC has to throw at you and at your new giant friend.
- Call of Duty Black Ops 2: Tranzit guide & walkthrough
- Call of Duty Black Ops 2 Revolution DLC: Die Rise guide & walkthrough
- Call of Duty Black Ops 2 Uprising DLC: Mob of the Dead guide & walkthrough
Getting Started
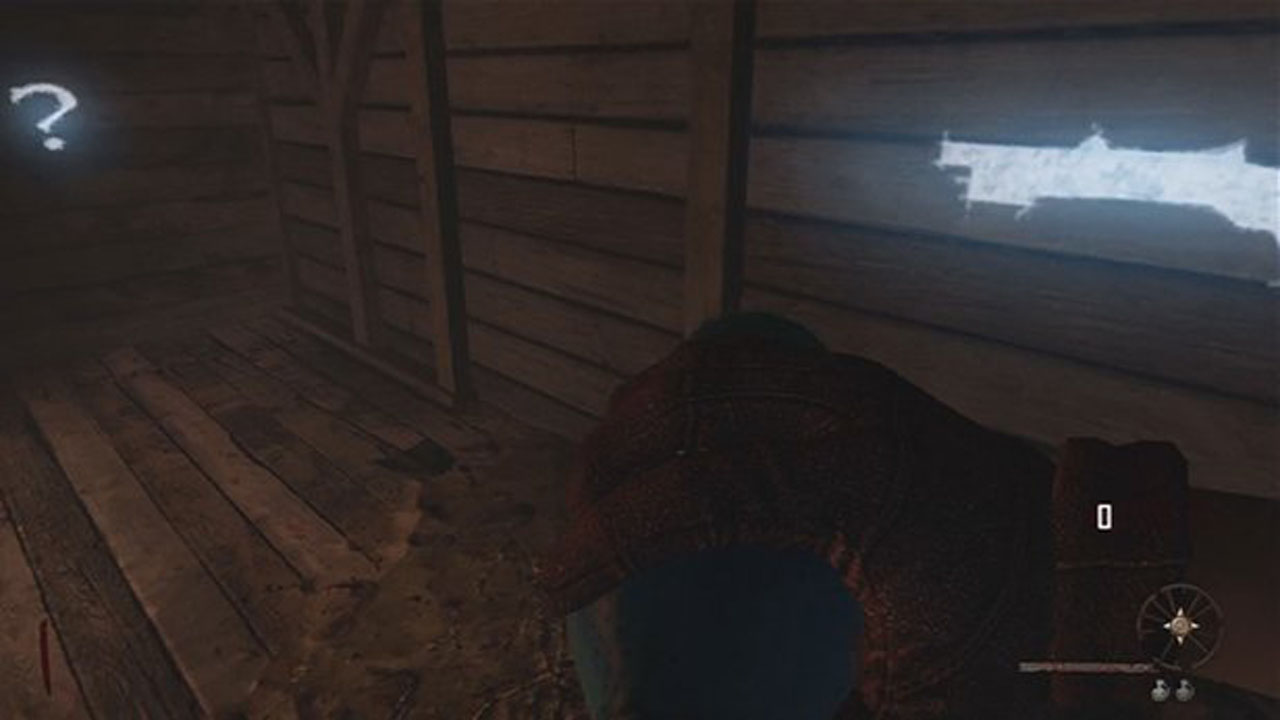
When you start each round of buried, you will start above ground in a processing plant. There will be a few zombies that begin to attack here and if you are in need of the LSAT, you can make your way to the broken staircase and jump up to the ledge above by hitting A/X to climb up. Once there and assuming you have 2000 points, you can grab the weapon off the wall quickly before the platform gives out and sends you down to the main area.
When you land, there will be a Quick Revive machine on the left and directly across from it will be a chalk drawing of a Remington 870 MCS. Take the chalk drawing off the wall and you will receive chalk instead of actually buying a weapon. Now that you have the chalk, you can draw the weapon on walls where you find question marks. Each time you do this, you will receive 1000 points. Drop down the opening to the left of the question mark and you will end up in the barn. From here, exit out the opening in the top floor and go to the left to find the jail.
Make your way to the stairs beside the Mystery Box on the right and go to the second floor. Hop across the gap and drop down the hole in the floor to reach the jail cell with Leroy inside. Grab the key off the wall and open the cell. Enter and pick up the booze bottle off the table and feed it to the giant known as Leroy. Now that he has beaten down the blocked wall, you’re all set to get going on your zombie survival. To make some quick cash fast, you can either have Leroy break down the barrier to the Gunsmith or build a Trample Steam.
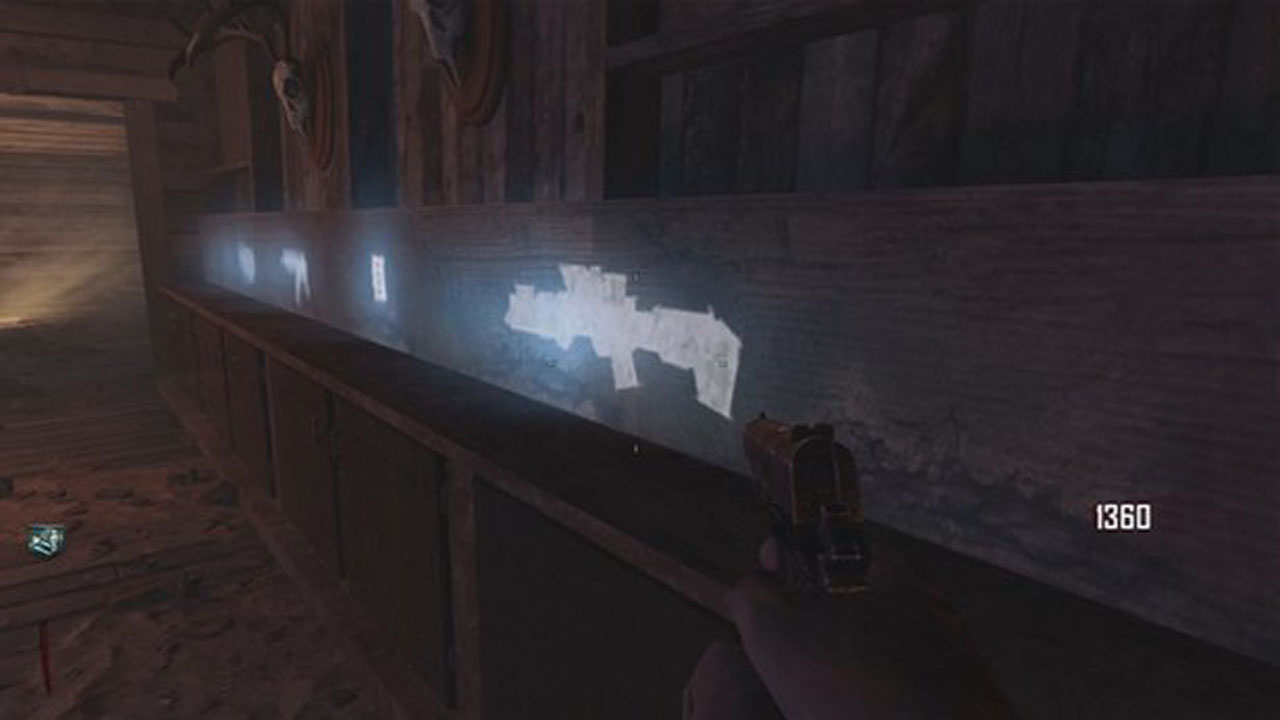
If you want to save your booze, take the Trample Steam to the opening on the second floor of the barn to reach the roof of the bank, which you can then jump to the right to reach the roof of the Gunsmith, but either way, once inside go down to the lower floor. Here there are 5 different chalk drawings of weapons that can be taken and drawn on the question marks around the town that will give 1000 points each, and the final one giving a bonus 1000 points. The question marks are located at the top of the stairs to the right of the Jail, in front of the jail, on the top walkway outside the Saloon, inside the church, and the final one inside the courthouse.
The Giant
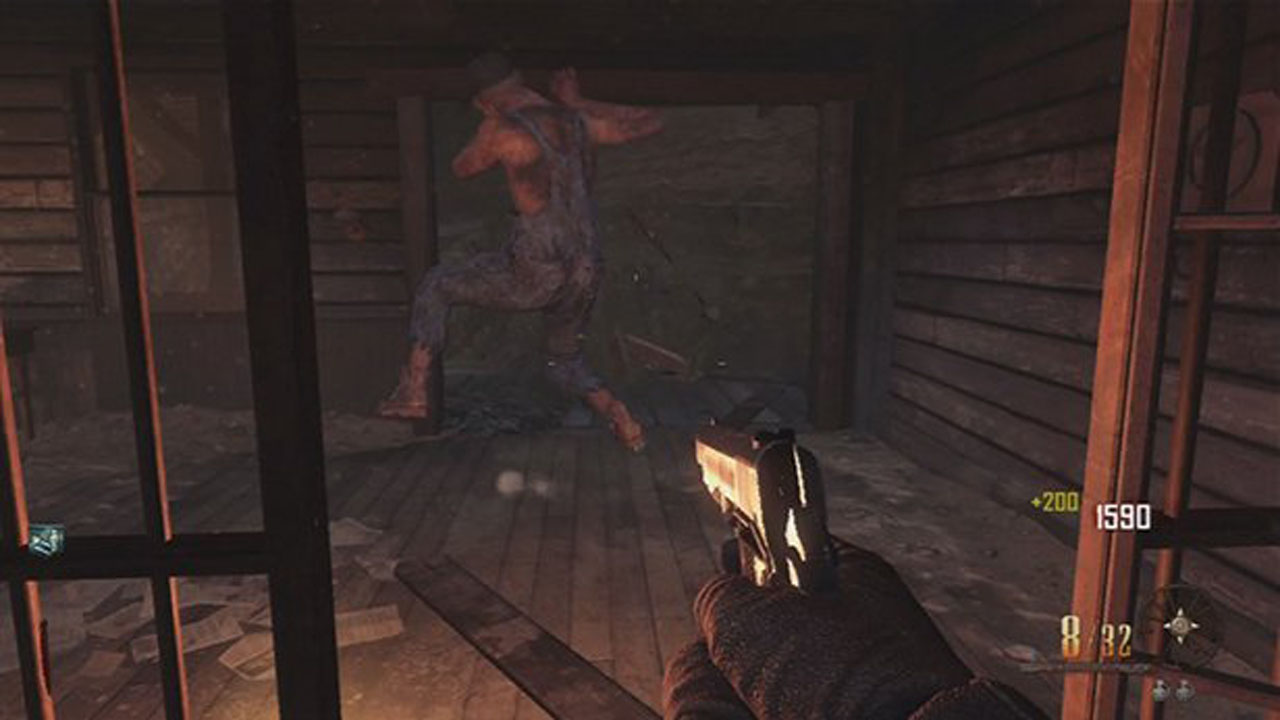
A new addition to the Buried map is a rather large fellow named Leroy. He can first be found in the jail cell on the left, across from the barn. You can access his cell by dropping down through the hole in the second story floor of the jail building. Once you reach his cell, you will then need to grab the green key from the left wall and unlock his cell. Once it is open, grab the bottle of booze on the table and feed it to him. He will then turn and run against the blocked wall, breaking down the barrier. Once that barrier is down, Leroy will continue to wander around the map without the zombies paying attention to him.
Leroy has a few uses and you will need to rely on him from time to time. The first that you have already noticed is his ability to break down barriers when you give him booze. When you approach a barrier you want him to destroy, make sure his back is to it and then give him the hooch. You will find one bottle of booze per round, either in the jail cell or on a table in the saloon. You can also buy booze from the taps at the bar in the Saloon for 1000 points.
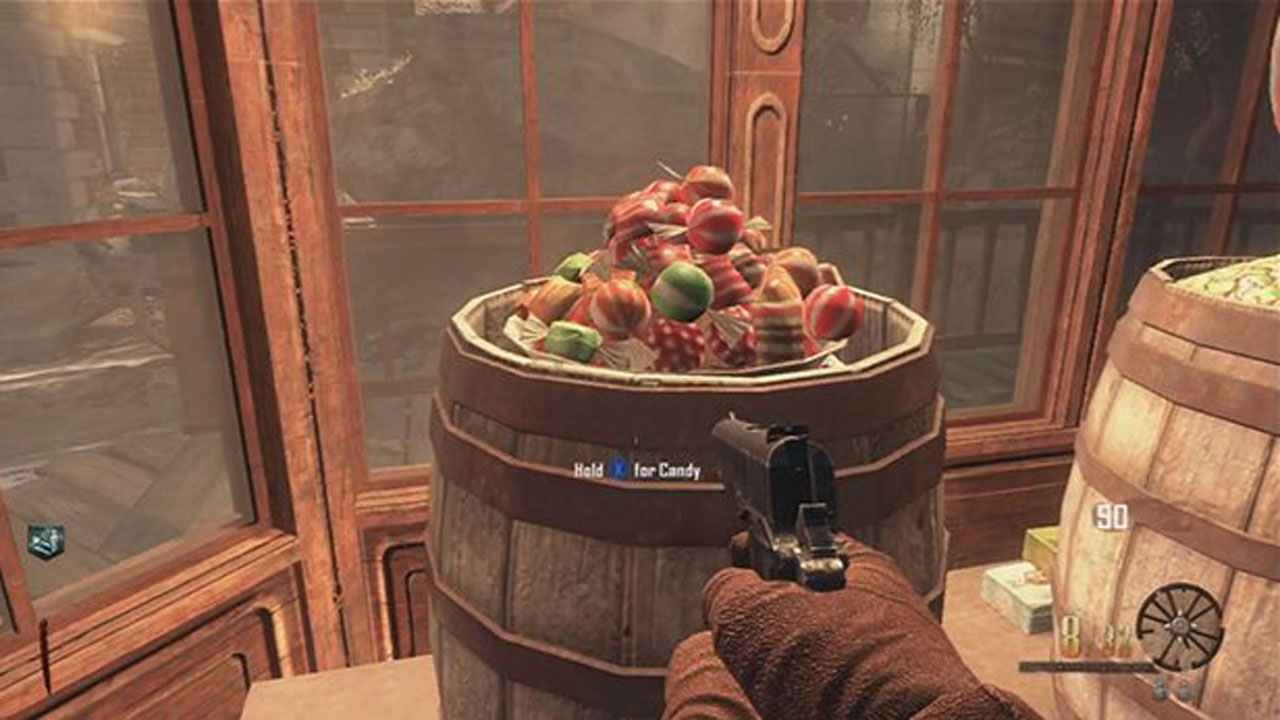
Another fanciful treat that Leroy likes is candy. You can find a bowl of candy in the Sweets Shop, located to the left of the Saloon. Inside, you will find a bowl of candy atop one of the many barrels in there. When you have candy, you can either feed it to Leroy anywhere and he will go on a rampage and start smashing zombies. If you give him the candy while stand beside a partially built item on a workbench, he will run and gather the other parts and finish building the item for you.
If you give him candy while beside a crawler, he will pick it up and nurse it like a little baby keeping it away from you. Finally, if you give Leroy candy when he is in front of a Mystery Box, he will hit it and it will stay in its place and not move around when it has been used multiple times. Although Leroy has many useful abilities, if you happen to shoot him, he will run away and hide back in his cell. Knifing him will cause him to follow you more quickly, but if you shoot him, you will then need to go and track down the key again to free him from the cell.
Jail Key Locations
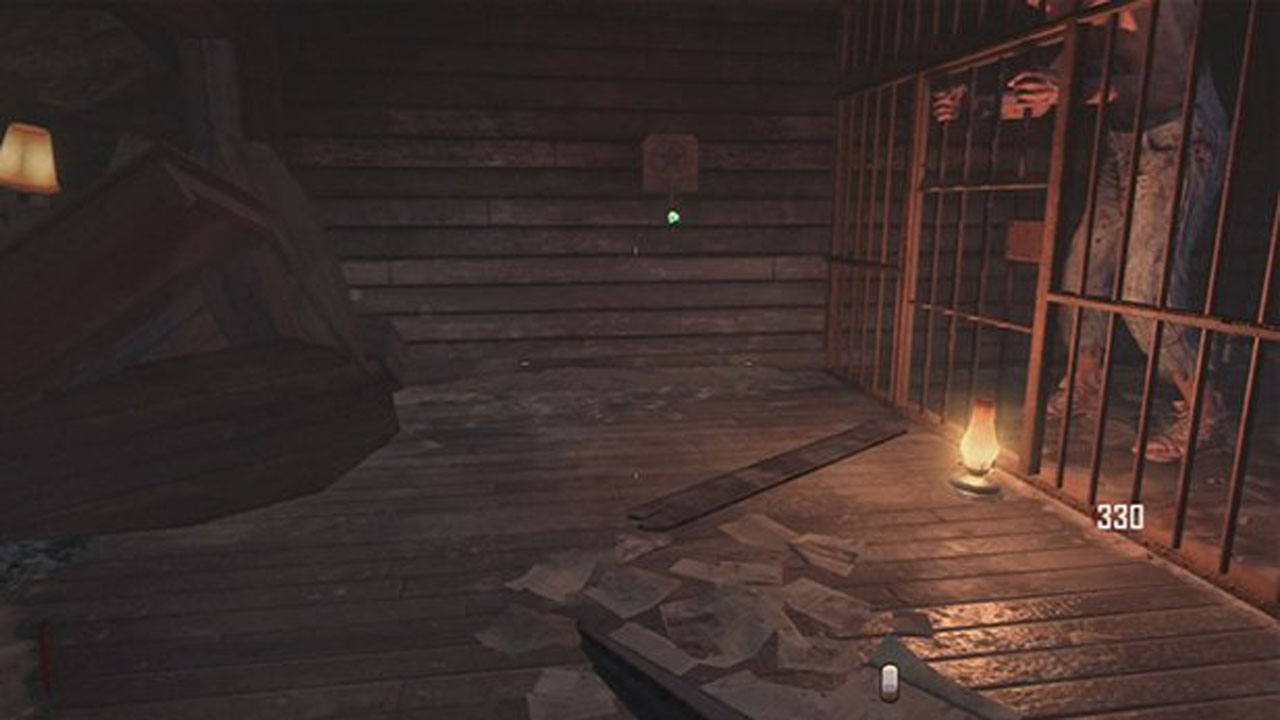
If Leroy does happen to get hit and it’s likely that he will from time to time, you will need to go and let him out of his jail cell again. The problem is that the key needed will change positions each time. One location it can be found in is the first place you find it just beside the cell. The other locations are inside the bank behind the teller windows, in the court house on the right side of the bench in the center of the room, and finally in the saloon on the second story in the center room, up the left side stairs.
Work Bench Locations
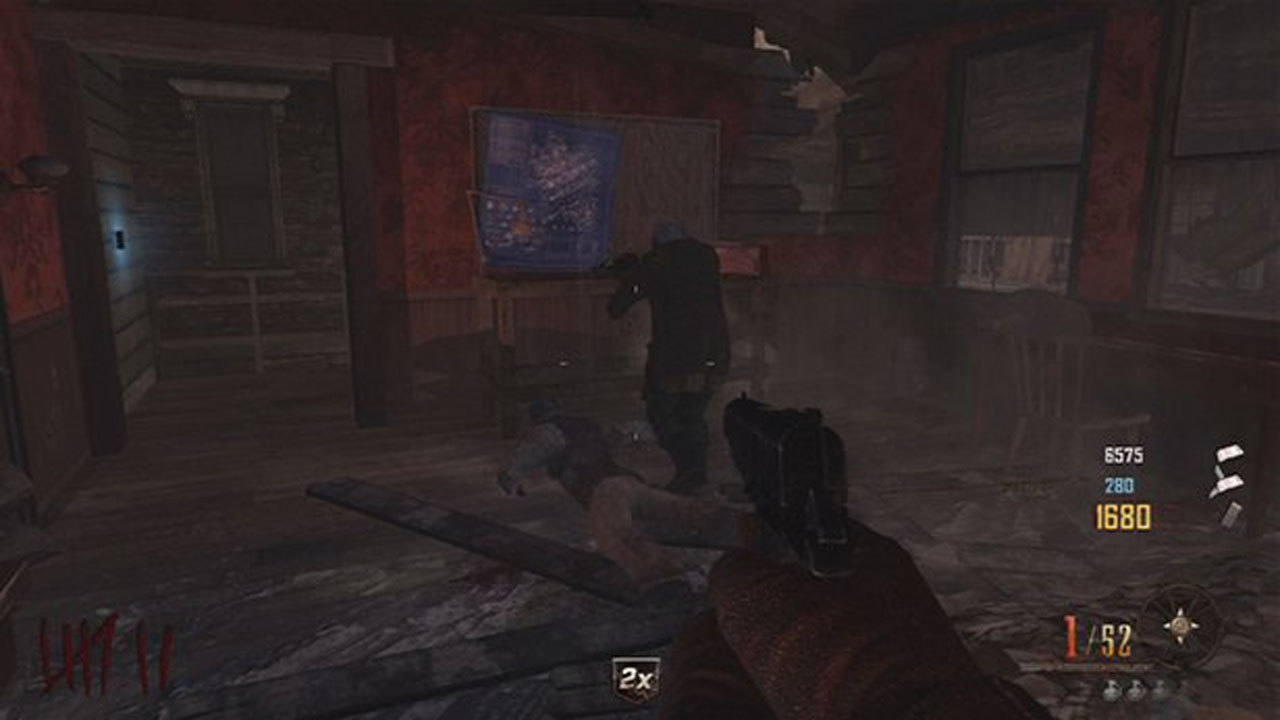
With there being four different buildables in Buried, there are of course four different work benches scattered around the town to build each item. The first can be found in the upstairs of the jail, directly across from the General Store. The second can be found in the Saloon, just to the right of the large main entrance. The third can be found in the courthouse, next to the mansion, on the left side when you enter it. For the fourth and final workbench, you can find it in the church which is right next to the courthouse. The bench will be on the left side as soon as you enter, right beside the stairs.
The Buildables
Like the other two zombie game types, there are numerous buildables that can be made by finding parts scattered about the area. To build the items you need to bring each of the objects parts to a work bench, and only one item can be built per workbench. Unlike the other versions however, all of the parts for the objects below can be found in one area, The General Store, and can even be built by finding just one part if you choose to do so. If you bring one part to a bench and have Leroy the giant follow you to it, you can give him some candy found in the candy store and he will then run off to retrieve all the other pieces and build it for you.
The Turbine
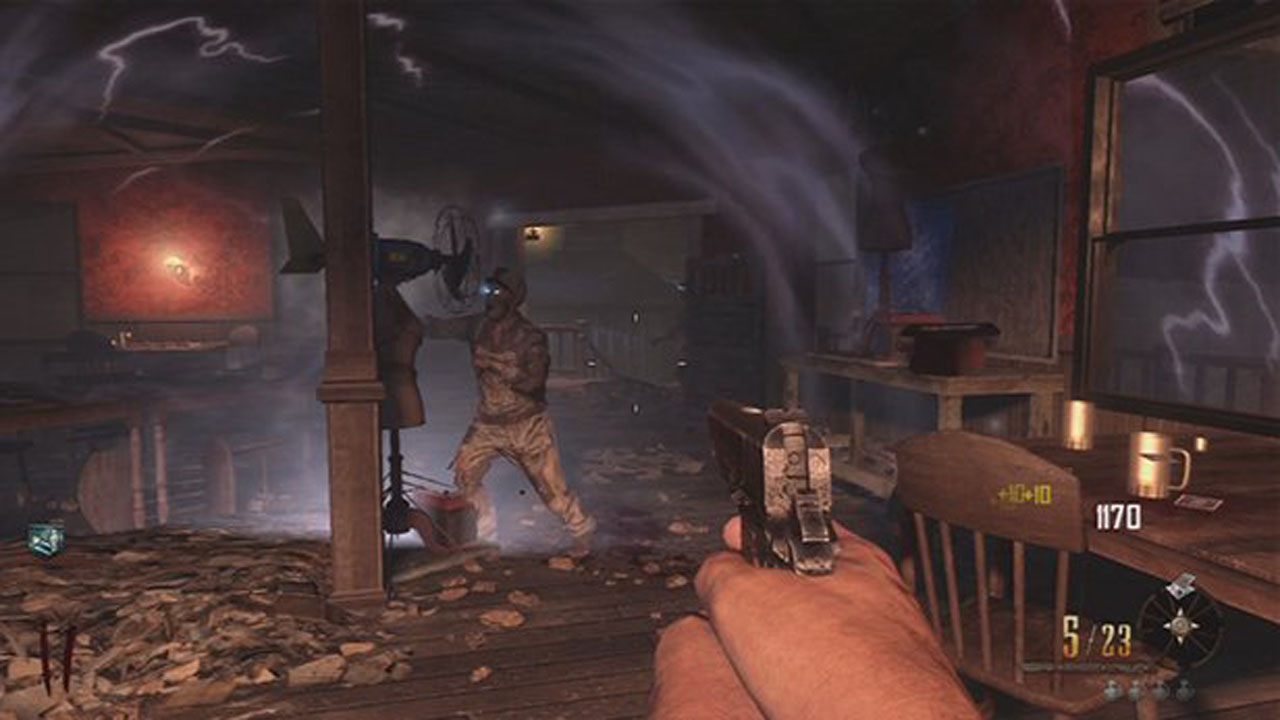
Just like the Turbine in TranZit, the Turbine here is made up of three parts; a fan, a mannequin, and a plane wing. Each of the parts are found on the first floor of the General Store, with the fan and mannequin found in the back room. Once built, the Turbine is used to power the Subsurface Resonator as well as attract zombies towards the Turbine itself.
Headchopper
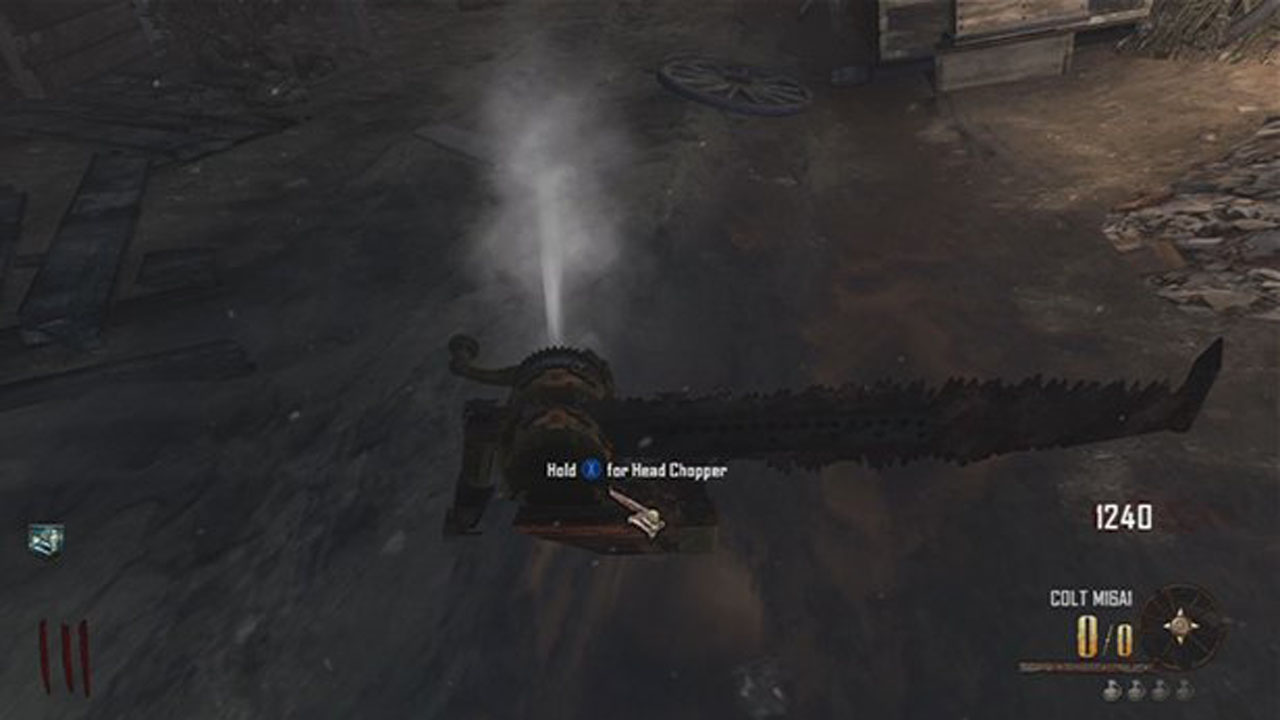
The Headchopper is made up of four parts: a saw blade, a lever, gears, and a stand. The parts are all found in the General Store with the stand in the back room and the saw in a wooden barrel. Once created, you can then use the chopper in a few ways. It can be placed on the ground, or it can be tossed against walls to be a true Headchopper. The blade of the machine will automatically activate when zombies are near, but be careful as it will also hurt you.
The Subsurface Resonator
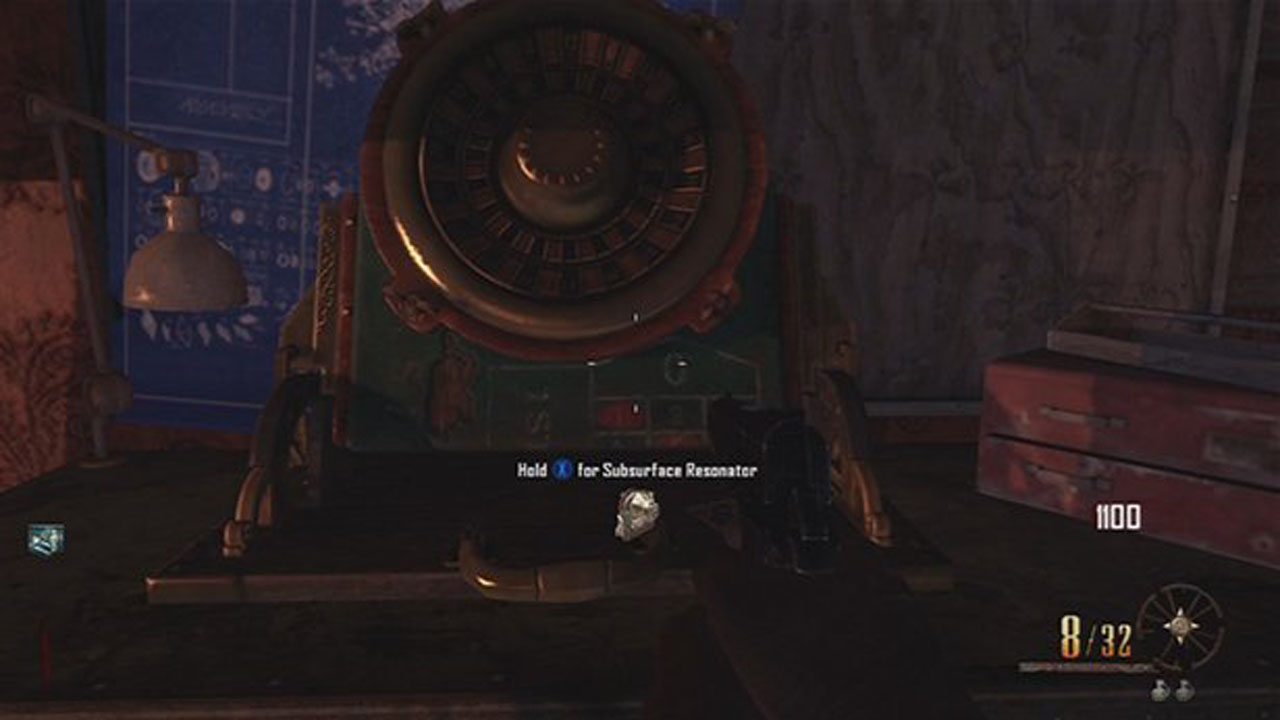
This Item can also be crafted from items found in the General Store. The items needed are the roulette wheel, a card table, a roulette table, and a pipe that is usually found right at the top of the stairs. Once crafted, the Subsurface Resonator can only be used in conjunction with the Turbine. When the Resonator is placed in front of the Turbine, it will send out a wave of sound that will blow apart any zombies that are close to it.
Trample Steam
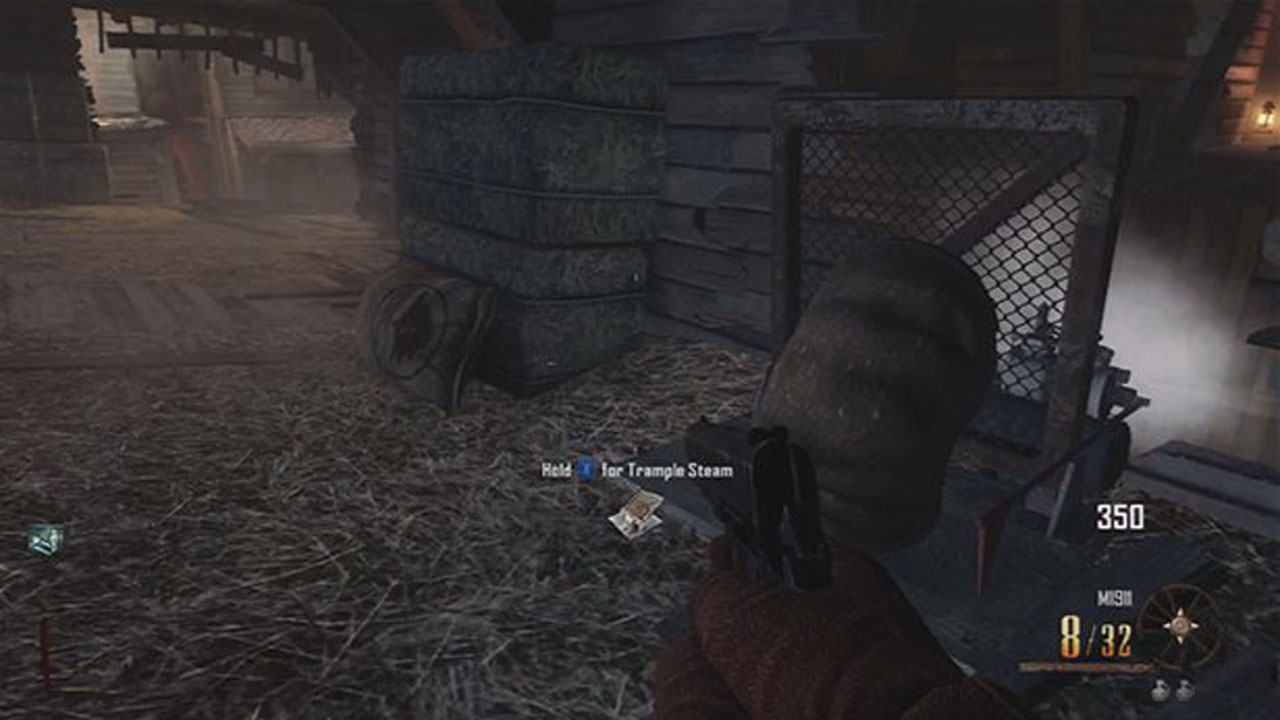
For the Trample Steam, you will need to find the bellows, a screen, a compressor, and a red flag. Each of these items are found in the General Store, although the screen and bellows are usually found on the second floor. Once built, you can then use the Trample Steam to cross gaps that are too far to be jumped, as well as clear lower walls that cannot be jumped over such as the fence in front of the Ghost House.
The Ghost House
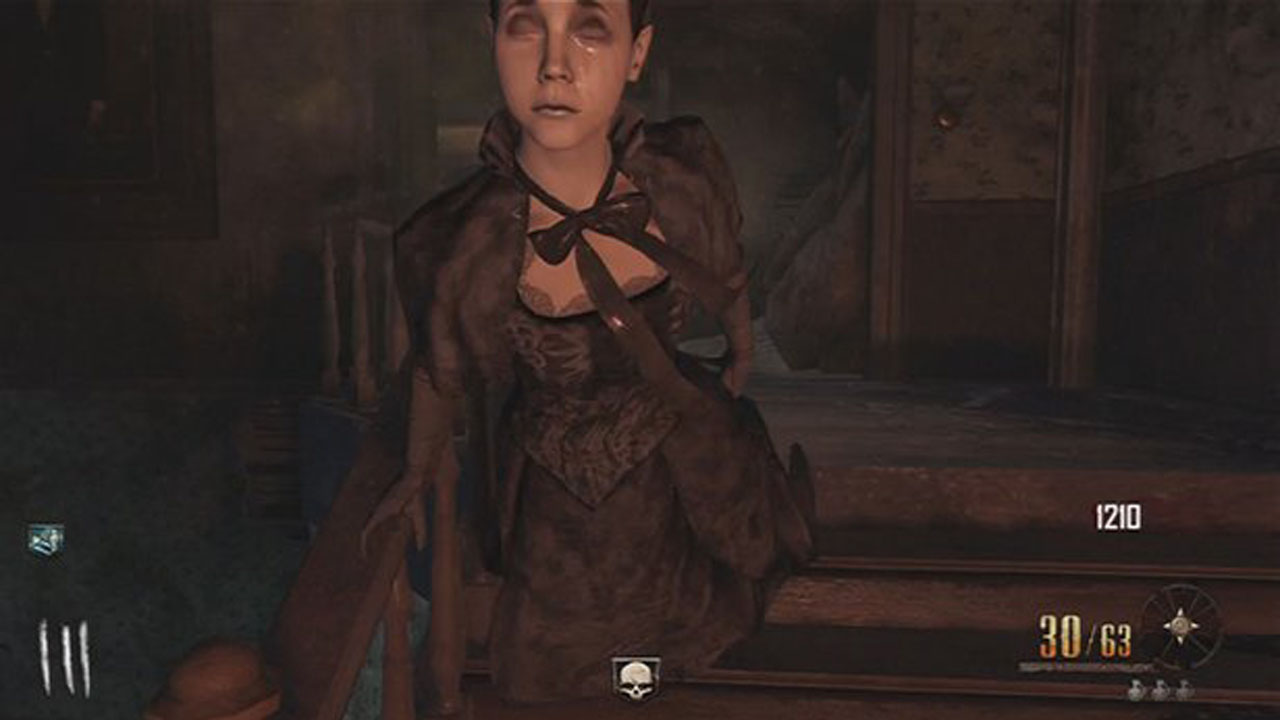
Once you have either passed through the candy store door or had Leroy break down the barrier outside of it, you will then be able access the other side of the town that has the church, the courthouse, and the haunted mansion in it. The haunted mansion has a few interesting things going on with it that we’ll get to in later sections, but for now, you will need Leroy to break down the barrier in front of the house and then you will need to pay 1250 to enter. Once inside, you can go up the stairs to the left where you will immediately see a floating ghost woman approach you. They are not strong, but if they do it hit you, they will take your points in 2000 chunks.
As you approach the back of the room atop the stairs, a bookcase there will move allowing you to enter a secret passage. Follow it along as more ghost women approach. Continue through the next hallway and when you round the corner, you will come to a large tree in a glass room. Drop down and exit the mansion through the opening on the right side. Be careful as you exit, as more ghost women will chase you out of the house. Once outside, you can then either enter the maze on the right side or return back into the house through the opening in the wall on the left side.
The Maze
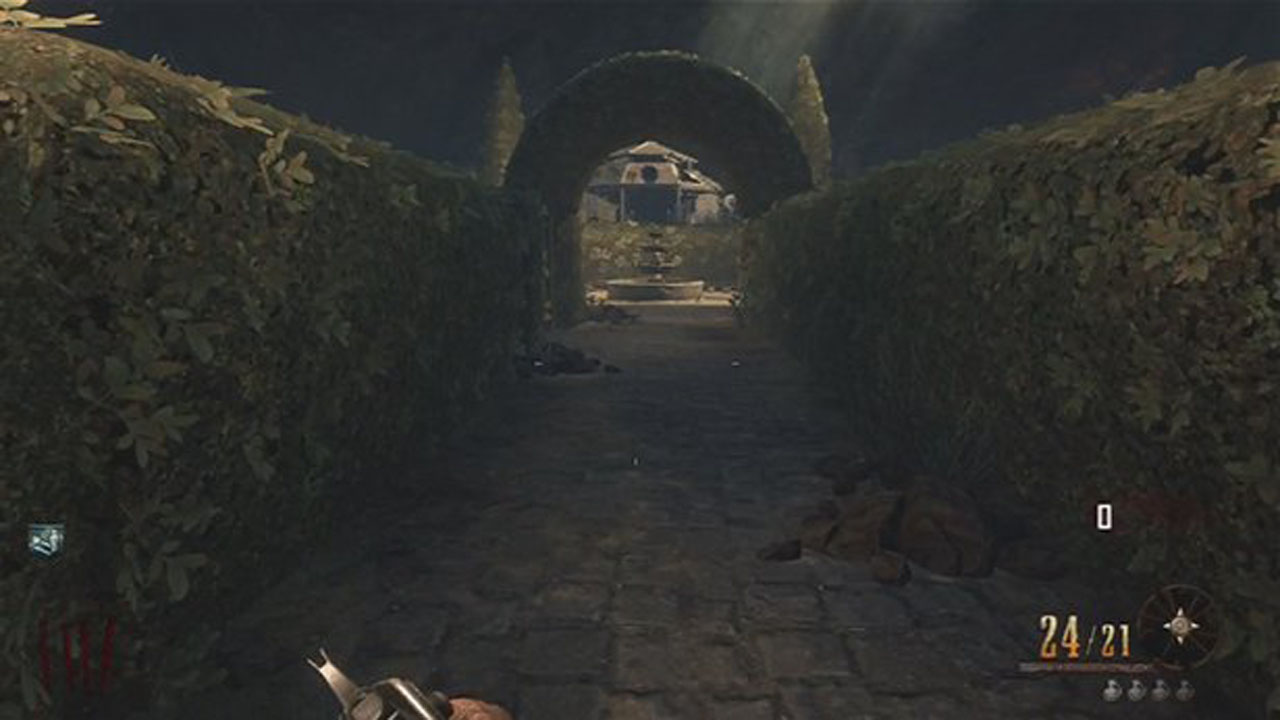
When you have reached the rear of the haunted mansion, there will be a large garden maze that you can enter. There are two things to find in the maze that are of use without much effort. The first is the gazebo that you can see the top of from outside the maze. When you reach the gazebo, go down the stairs and hop over the gap. Continue to the hallway and you will find the Pack-a-Punch machine there. The other place in the maze that you can find is the fountain in the center.
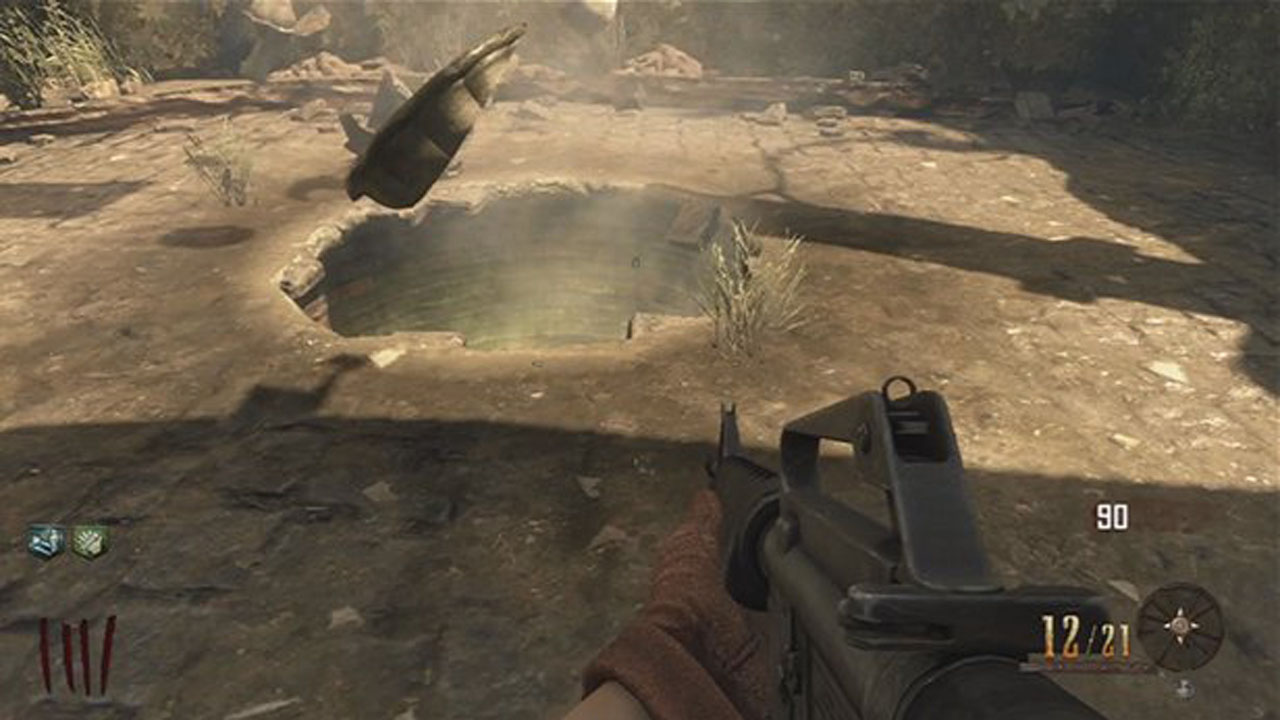
While the fountain won’t do much itself, if you have Leroy smash into the fountain at the front of the house, then the one in the maze becomes a bit more useful. Once the front fountain is destroyed, you can then break the fountain in the maze with either 4 grenades or a powerful gun. When it smashes, there will be a portal underneath it that will then teleport you back to the processing plant at the start of the game. It won’t take you to the exact same spot you started, but it will be the same area and allow you to return to the town without having to backtrack through the house again. Also keep in mind that each time you do go through the portal and return to the beginning, the maze will change its layout.
The Nav Table and Card
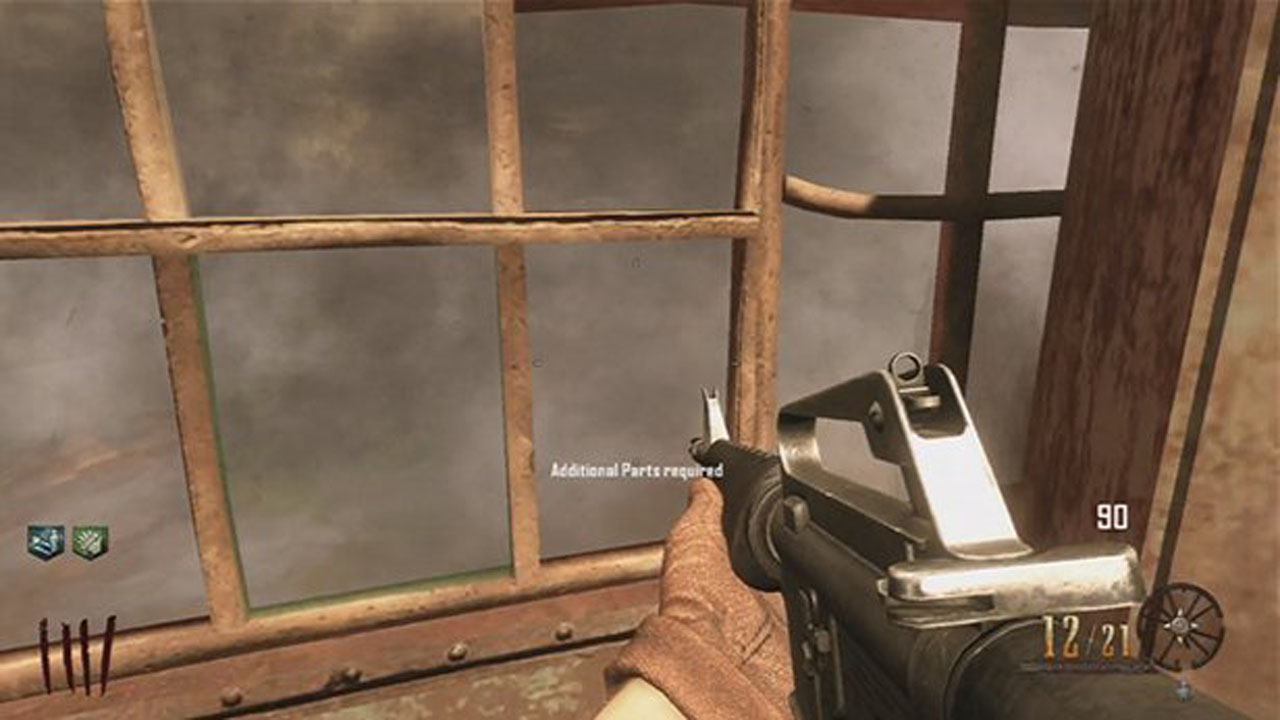
Like the other Call of Duty zombie DLC, there is also an included Nav Table and Nav Card that that can be found and put together. To find the pieces for the Nav Table, you can find three of them in the small area to the right of the Gunsmith that has a barrier in front of it. You can either have Leroy smash through the barricade, or pay 1250 to open the door through the barn. Either way, you will find the three of the four parts necessary in this little area, against the walls. The fourth part will be the meteorite which can be found right near where you need to put the table together. Before you start collecting the pieces for the Nav Table, you will need to make sure that the portal to return to the processing plant at the start of the round is open through the fountain in the maze. To get it open, Leroy will need to smash into the fountain in front of the mansion and then you will need to destroy the fountain in the maze with either 4 grenades or a powerful gun.
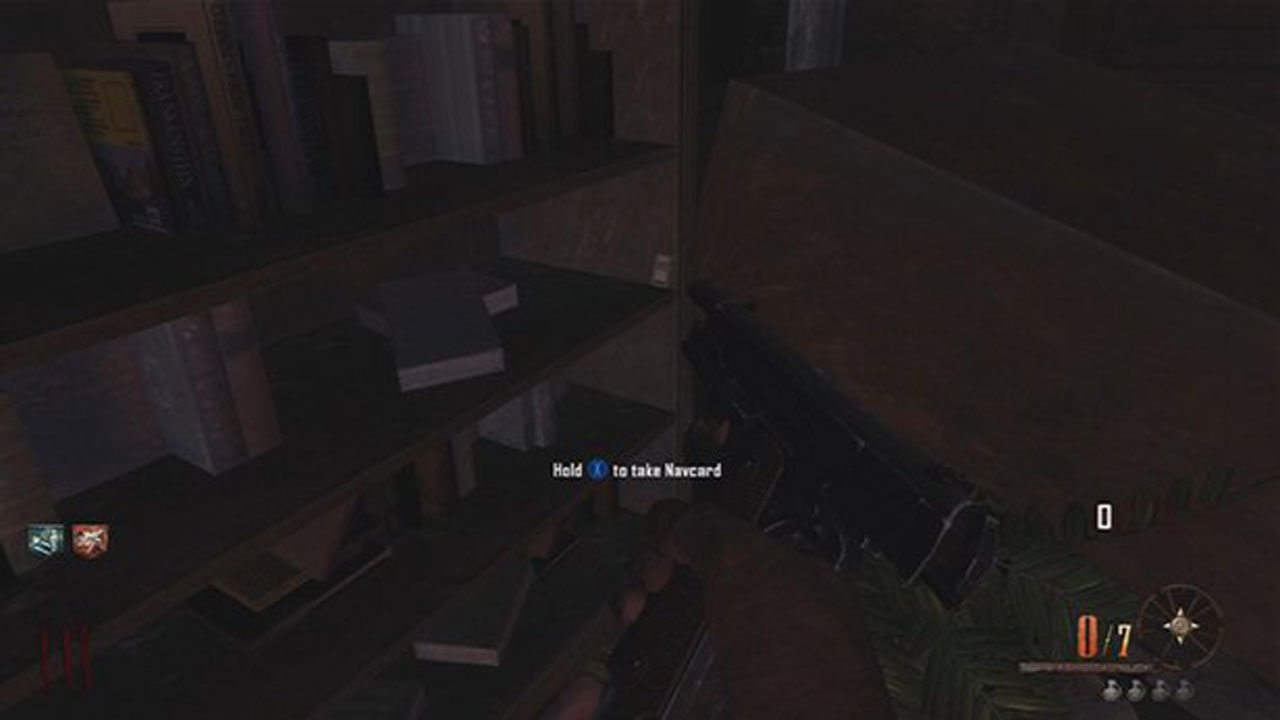
Once the portal is open, you can hop through and return to the start area, but on the lower level where the conveyor belt is. You can find the purple meteorite on the ground in front of an electrical panel, just to the right of the open windows. Pick it up and you can start to build the table there, to the immediate left of the electrical panel. Now you can drop back into the town and collect the rest of the pieces to build the rest of the table. To find the Nav Card, you will need to re-enter the mansion once you have passed through it, through the rear opening. Enter the house and go forward to the piano and then right towards the stairs. Before you reach the stairs, go right again and there will be a set of bookcases. Look on the far right of them and you will find the card sitting there.
Maxis Side Easter Egg
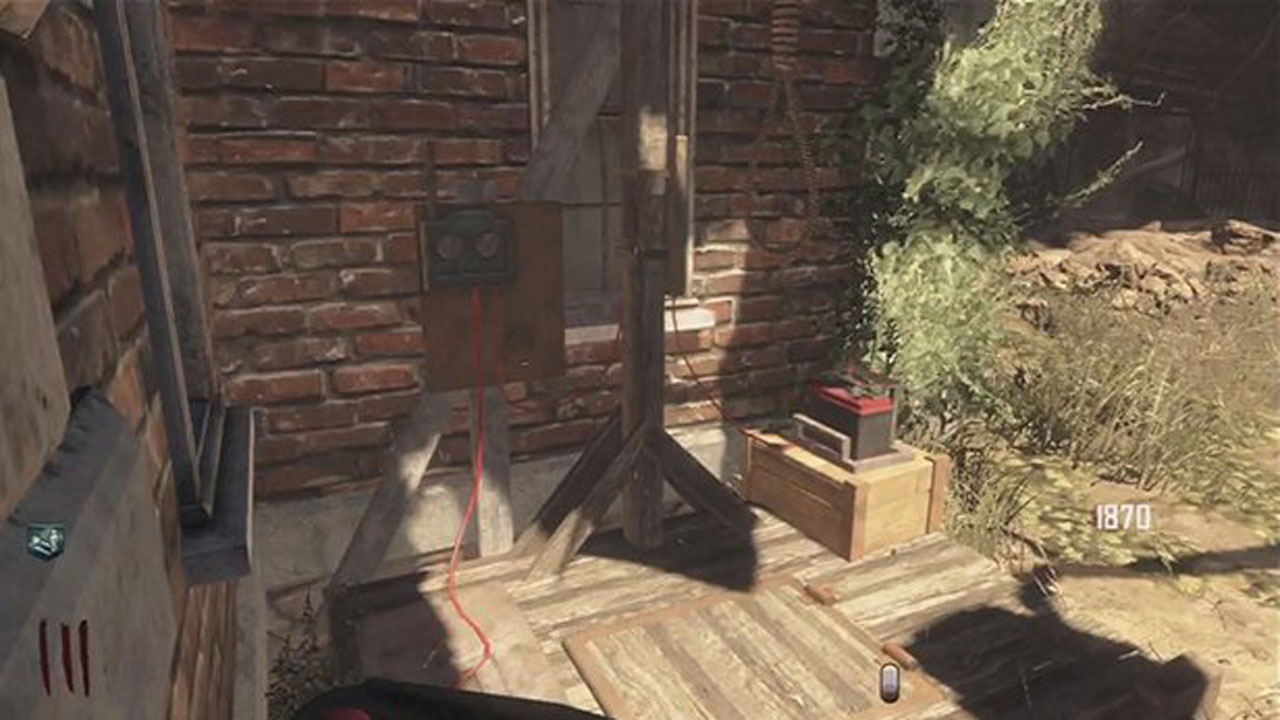
For the Maxis side of the easter egg there numerous steps that need to be followed and you will need to have four people in your group to be able to pull it off. To start things off, you will need to find all the parts for the gallows- the noose- that is found just outside the church. The four parts that are needed are the:
- The Lightbulb which is found on top of a box in the room above the jail cell
- The Antennae which can be found on the right side of the barn in the stable
- A spool of wire that is found in the Gunsmith shop next to hole that leads to bank
- The Battery which is found in the Church behind the podium
Once you have all four items and have placed them on the gallows, you will now need to find the 4 red orbs that are scattered around the map. These are located Between the Saloon and the Sweets Shop, in the tunnels above the Sweets Shop, to the left of the Courthouse, and at the rear of the Ghost House, to the left of the opening. You will then need to use a Turbine and a Subsurface Resonator to break them. Place the two buildables in front of each orb until they smash.
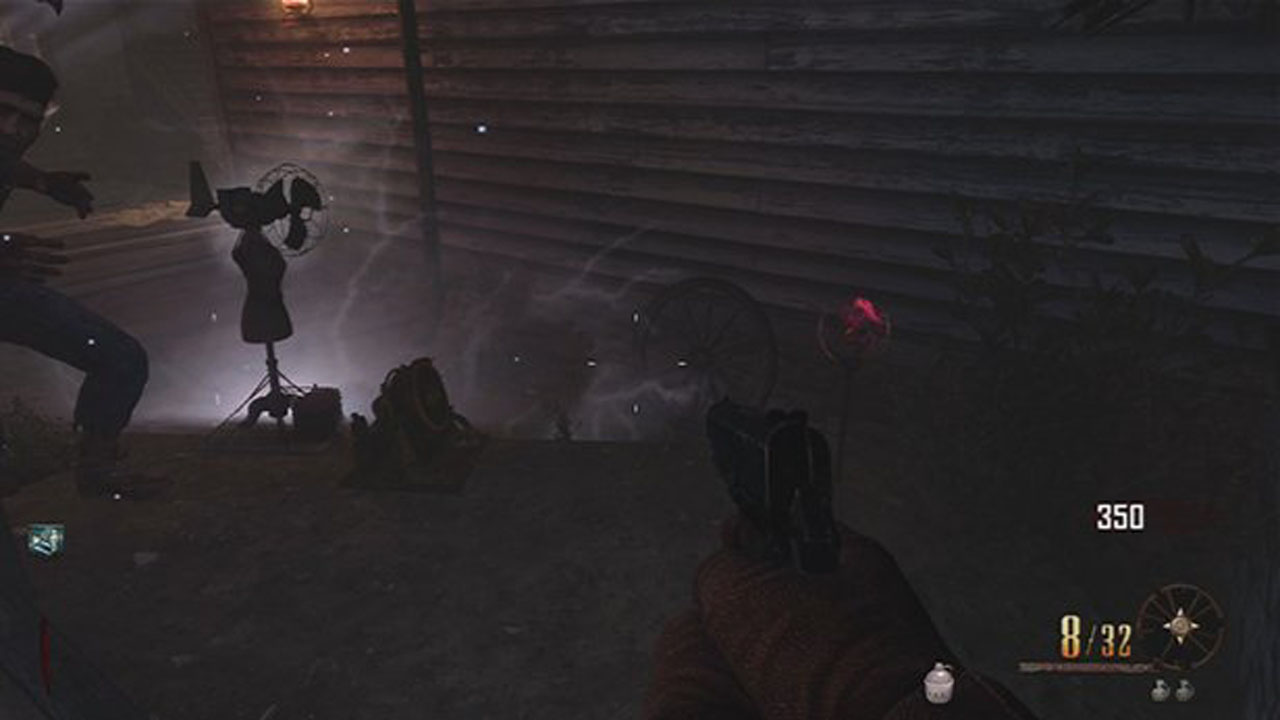
Once the orbs are broken, a lantern will then appear in the sky near the church and courthouse. To knock it down, you need to hit it with a grenade, so cook it for a few seconds before tossing it. Once you hit it, grab it and then you will need to kill zombies to fill the lantern with energy. Once maxis tells you it is ready, take the lantern to the roof across from the candy shop and a cypher will appear there. Here you will need to decipher a code using the PigPen Cipher that will tell you the three of the five mine signs that you will need to hit with the galvaknuckles.
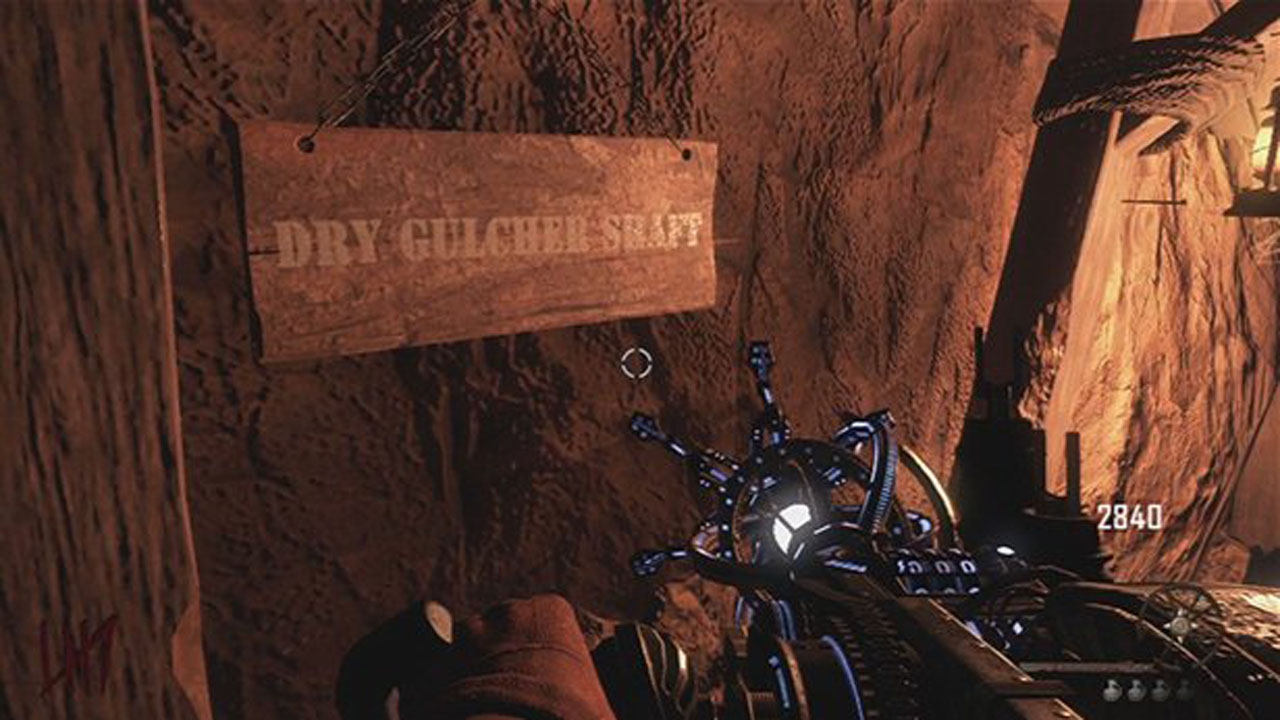
Enter the mines through the entrance on the second floor of the saloon and find the signs that the cipher spelled out. Hit them and they will then glow red. Once the third sign is hit, drop a time bomb and then you will need to follow the wisp that appears and make sure that it passes through zombies. Note that you need to have vulture-aid equipped to be able to see the wisp. The wisp will finally reach the first light on the gallows and light it up. When it does, use the time bomb to rewind time and repeat it again. Now both lights will be lit up.
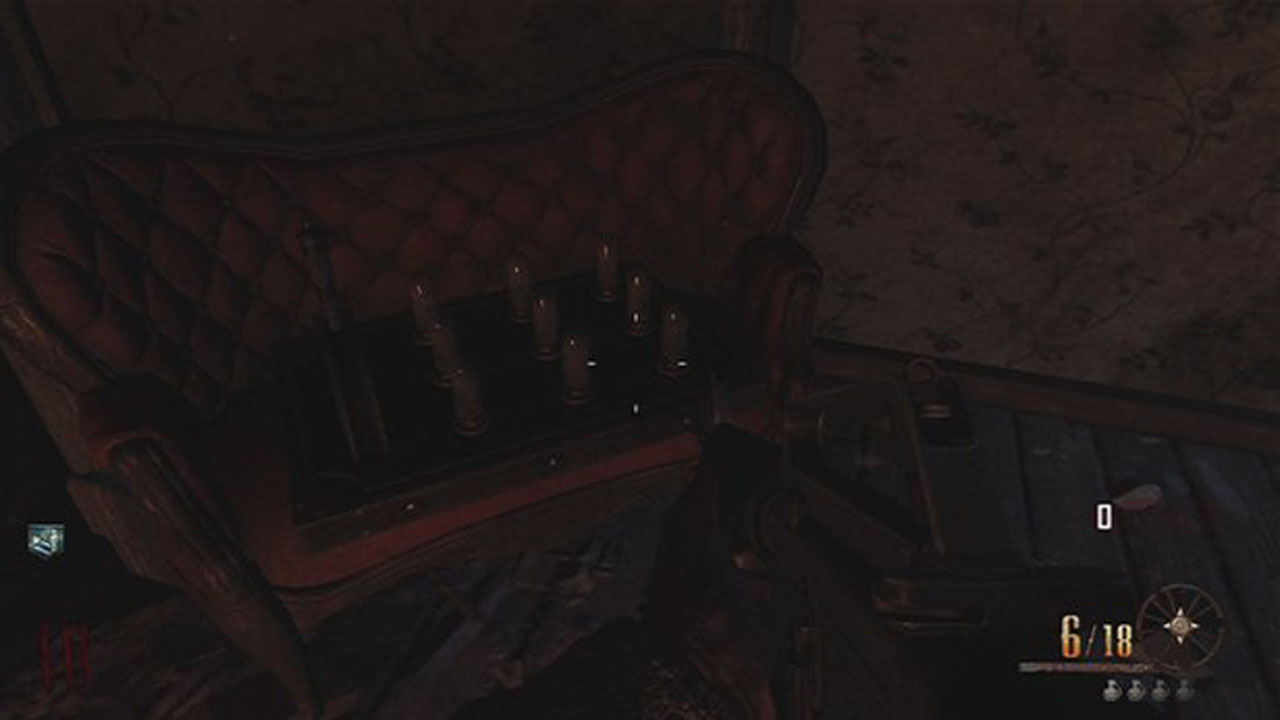
Next up, there is a light board inside the Ghost house that has nine lights and a lever on it that can be found just after you pass through the secret passage. One player will need to stand at the board while the other players go to the barn, sweets shop, and courtroom to find three bells in each. When the bells are rung in the correct order, the lights on the board will light up green. The row closest the lever are the bells for the sweets shop, the middle row is for the barn, and the last row is the bells in the court. Once all the lights are lit green, pull the lever and head back out to the front of the mansion.
If you haven’t already had Leroy smash the fountain in front of the mansion, you will need to do so now. Once it is broken, approach it and a prompt will appear to Make a Wish. When you activate it, music will start to play and pop-up targets will appear at the mansion, the saloon, the jail, and, sweets shop. All four players will need to be at the different locations and must hit all their targets. If everyone does it properly the easter egg will end.
Richtofen Side Easter Egg
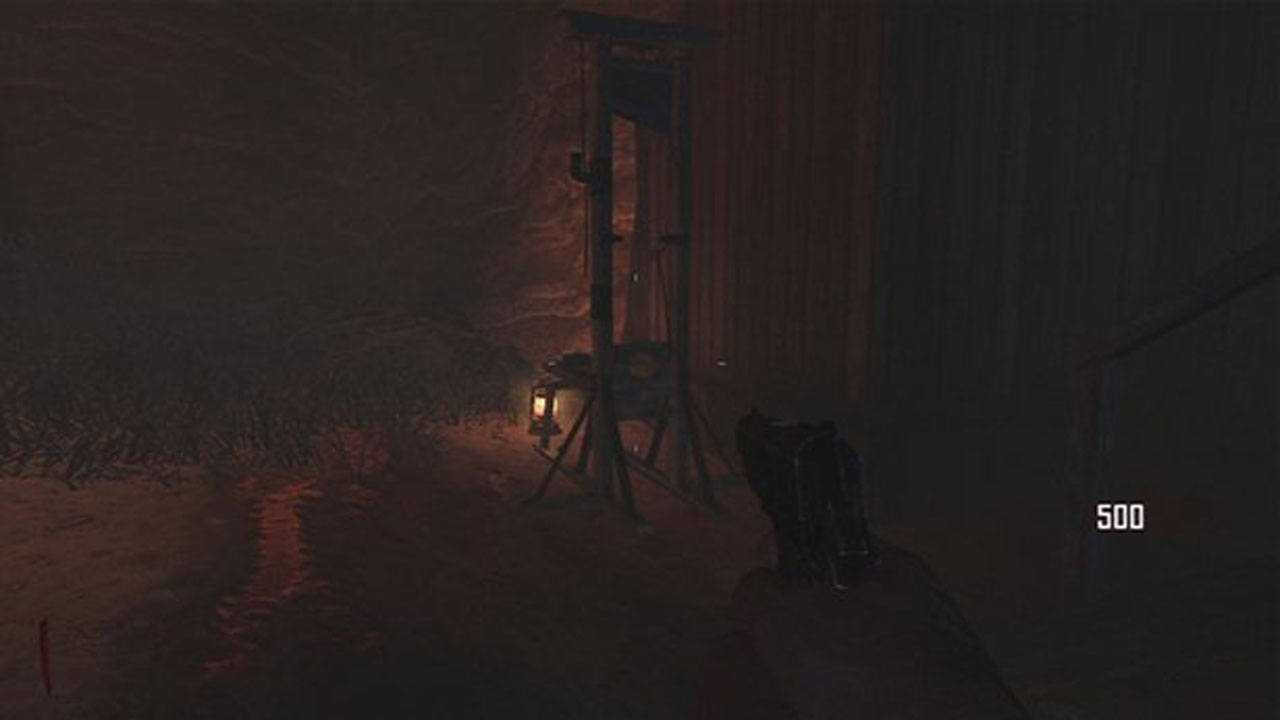
For the Richtofen side of the easter egg there numerous steps that need to be followed and you will need to have four people in your group to be able to pull it off. To start things off, you will need to find all the parts for the guillotine that is found just outside the saloon. The four parts that are needed are the:
- Red Crystal in the mine that can be accessed on the second floor of the saloon. When you enter the mine, make a left and hop over the gap
- The Antennae in the barn that is located on the right side in the center stable
- Spool of wire in Gunsmith shop next to hole that leads to bank
- The Dish on the walkway on second floor of Saloon
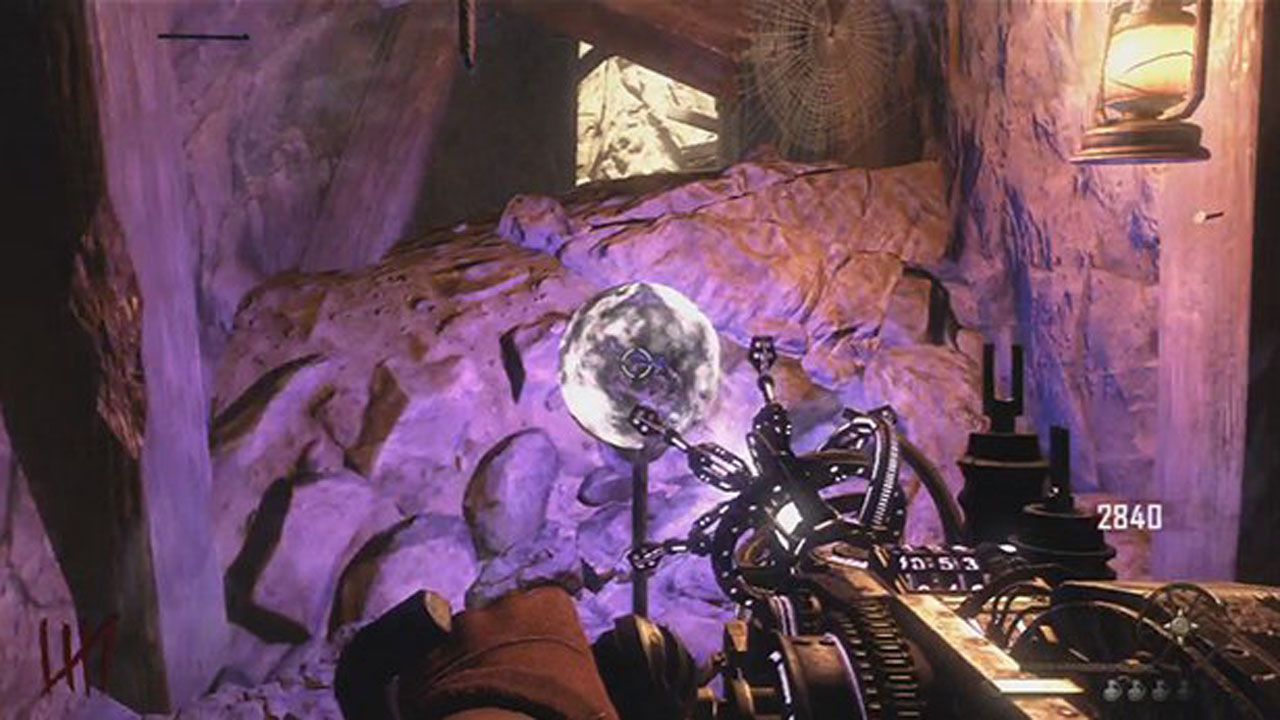
Once you have all four items and have placed them on the guillotine, you will now need to head to the Mystery Box and get yourself the Paralyzer weapon. Once you have it, you will then need to find the 4 red orbs that are scattered around the map. These are located Between the Saloon and the Sweet Shop, in the tunnels above the Sweet Shop, to the left of the Courthouse, and at the rear of the Ghost House, to the left of the rear opening. Use the Paralyzer on the orbs until they turn white and make a chime.
Once the orbs are lit, a lantern will then appear in the sky near the church and courthouse. To knock it down, you need to hit it with a grenade, so cook it for a few seconds before tossing it. Once you hit it, grab it and then you will need to head to the mansion and kill the ghost women to fill the lantern with energy. Once maxis tells you it is ready, take the lantern to the roof across from the candy shop and a cypher will appear there. Here you will need to decipher a code using the PigPen Cipher that will tell you which three of the five mine signs that you will need to hit with the galvaknuckles.
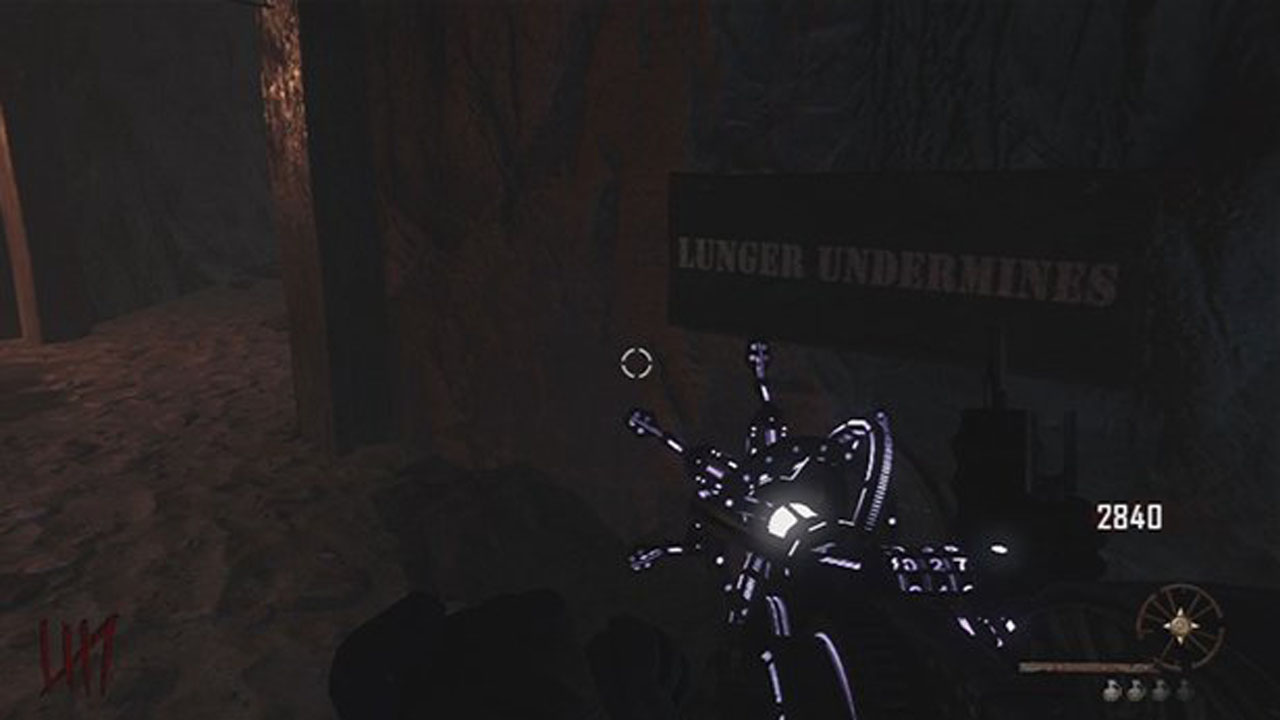
Enter the mines through the entrance on the second floor of the saloon and find the signs that the cipher spelled out. Hit them and they will then glow red. Once the third sign is hit, make sure you have a time bomb and then you will need to follow the wisp that appears and make sure that it passes through zombies. Note that you need to have vulture-aid equipped to be able to see the wisp. The wisp will finally reach the guillotine and a swarm of zombie along with it.
Kill the zombies and then place a time bomb on the guillotine and detonate it when all players are gathered around. Now you will enter an “Infinity Mode” where you will need to search for the four bodies of your fallen team to locate a lever. The bodies are in random locations, but they are always in the town somewhere and finding them within the 90 second time limit isn’t too difficult. Once you find the lever, use it on the guillotine once the infinity mode has ended.
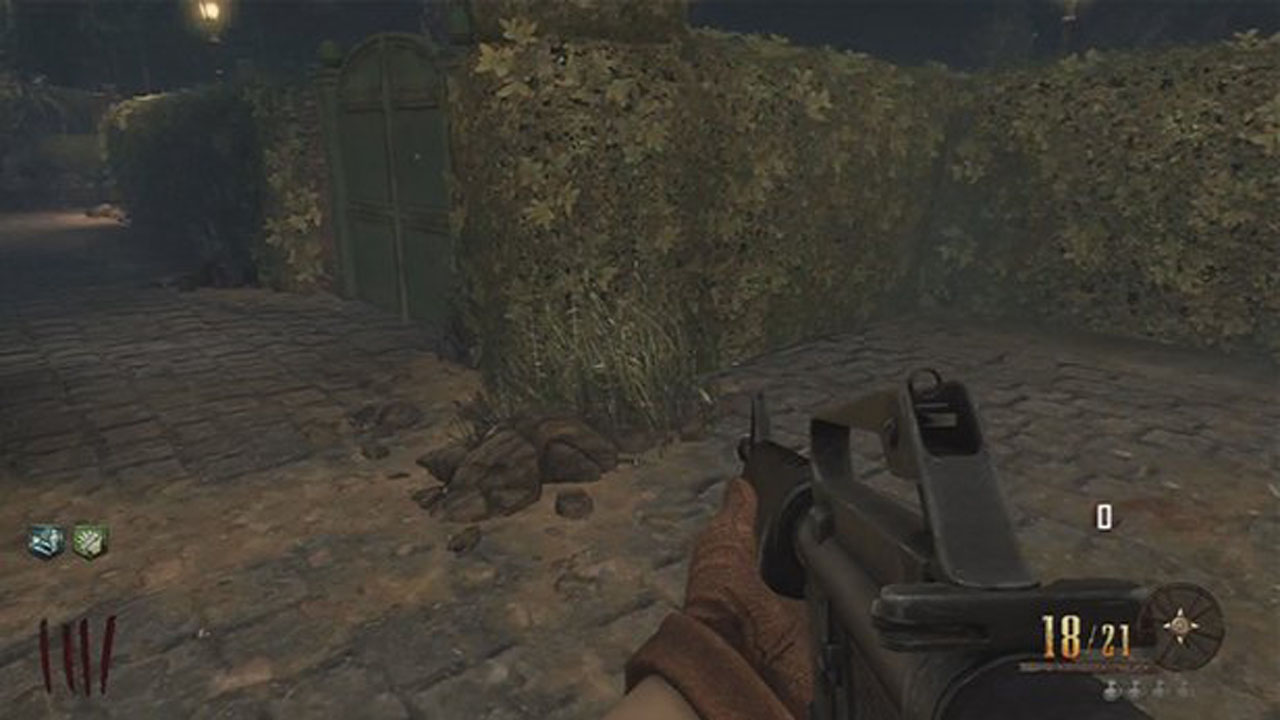
Next up, head to the maze in the rear of the mansion and you will notice that the green doors will have levers on them now with four different colors. They will be green, red, yellow, and blue. You need to pull all four of the levers in the correct order to hear Richtofen tell you that you have done it correctly. You will also know if the switch you hit is correct as it will spark. If the switch doesn’t spark, everyone will need to hop down the fountain and reset the maze and try again.
If you haven’t already had Leroy smash the fountain in front of the mansion, you will need to do so now. Once it is broken, approach it and a prompt will appear to Make a Wish. When you activate it, music will start to play and pop-up targets will appear at the mansion, the saloon, the jail, and, sweets shop. All four players will need to be at the different locations and must hit all their targets. If everyone does it properly the easter egg will end.
Weekly digests, tales from the communities you love, and more
Jeff McAllister is a freelance journalist who has contributed to GamesRadar+ over the years. You'll typically find his byline associated with deep-dive guides that are designed to help you scoop up collectibles and find hidden treasures in some of the biggest action and RPG games out there. Be sure to give Jeff a thanks in the comments while you're completing all of those tricky Achievements and Trophies.


