The best Rainbow Six Siege X Operators for beginners
If you're just getting started with the Rainbow Six Siege overhaul, we've got your back with the most beginner-friendly Operators
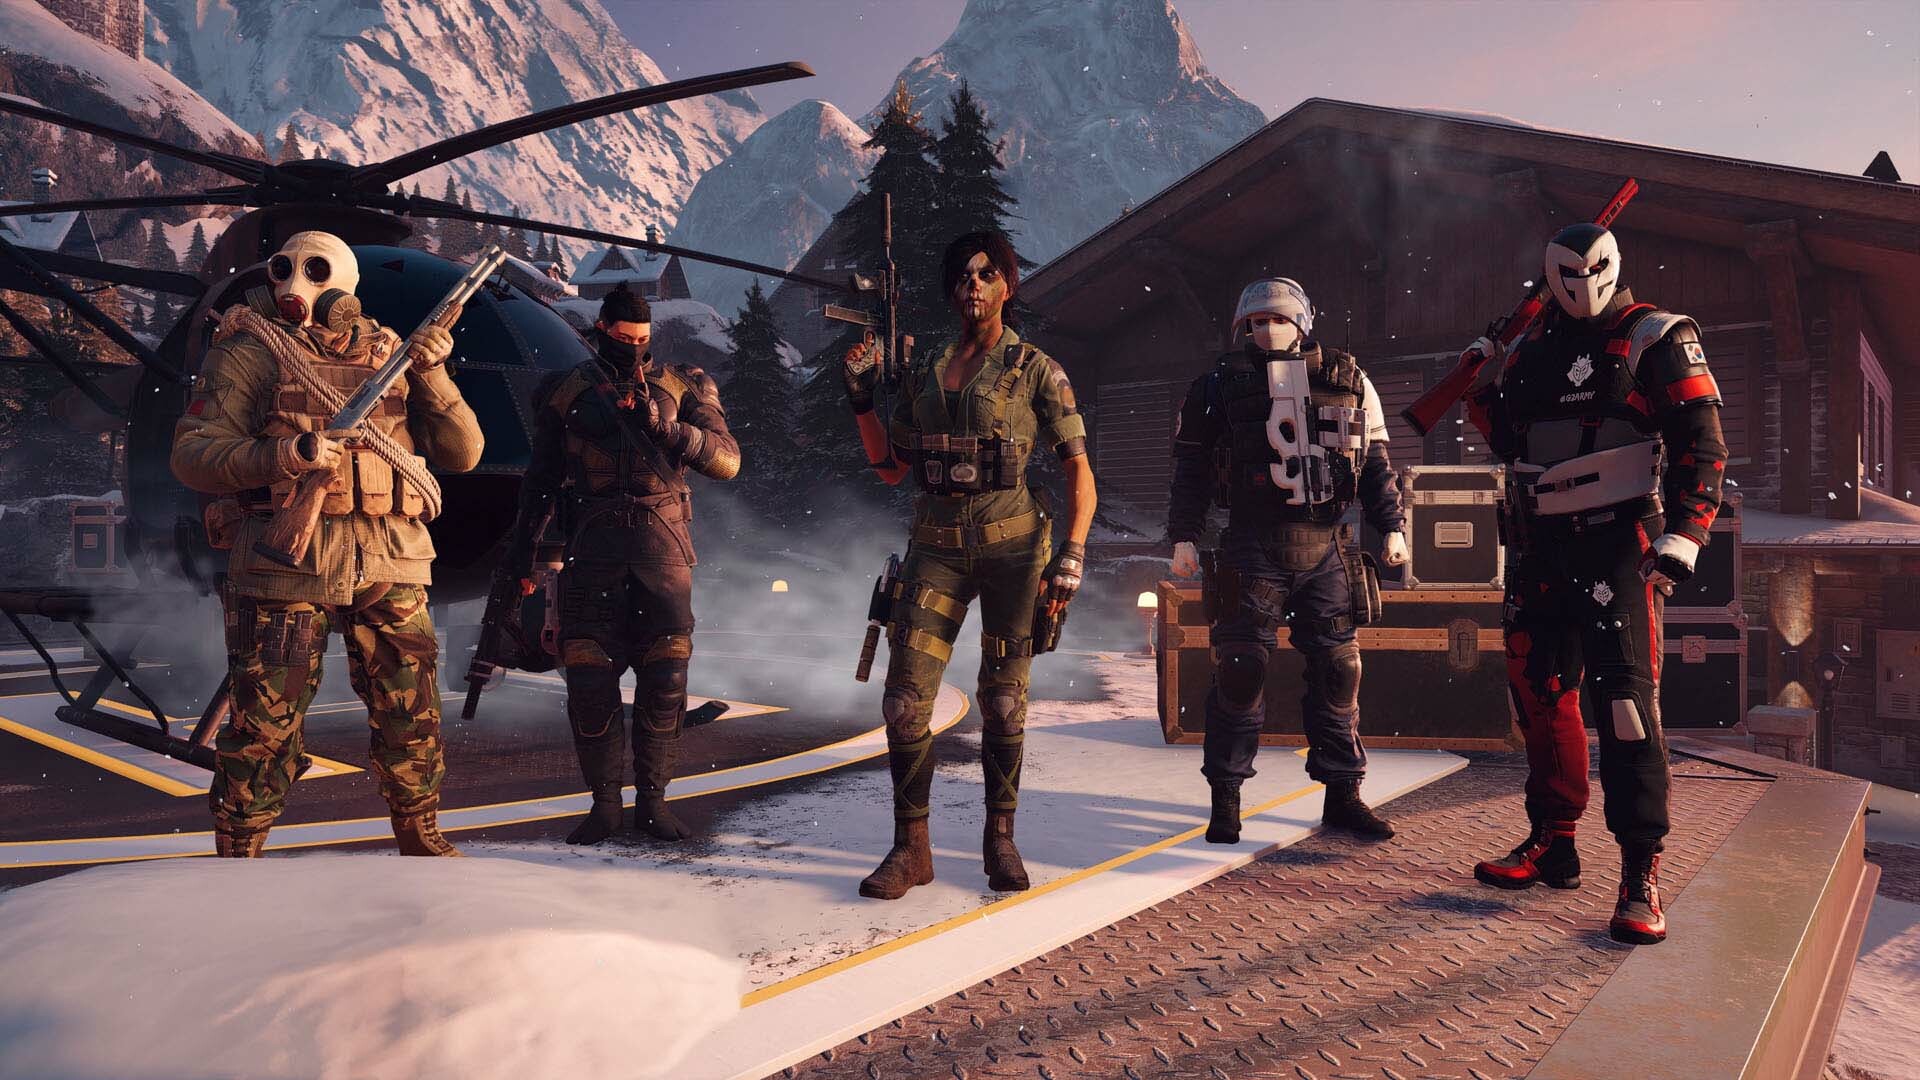
Rainbow Six Siege X, the huge rework of Rainbow Six Siege, has launched and it's changed a lot. One of the biggest changes is that it's now free-to-play, which means tons of new players will be streaming in through the proverbial doors, balconies, and windows of Siege for the very first time. If you're new to the game, it can seem extremely overwhelming, with tons of Operators to pick from, and a whole host of mechanics to get to grips with.
Don't let this put you off, though – persevere, and you'll find one of the best tactical shooters around. To help you stick with it, we've put together this comprehensive guide to the best Operators in Rainbow Six Siege X that you should play as a beginner. We'll cover both offensive and defensive Operators, giving you plenty to pick from whichever side you're on.
Want to know what we thought about the big RSS overhaul? Then check out our Rainbow Six Siege X review to see why we deemed it "Bigger, better, and more user friendly than it's ever been" and "it's the perfect time to dive in."
Best Attacking Operators in Rainbow Six Siege X for Beginners
Sledge (SAS)
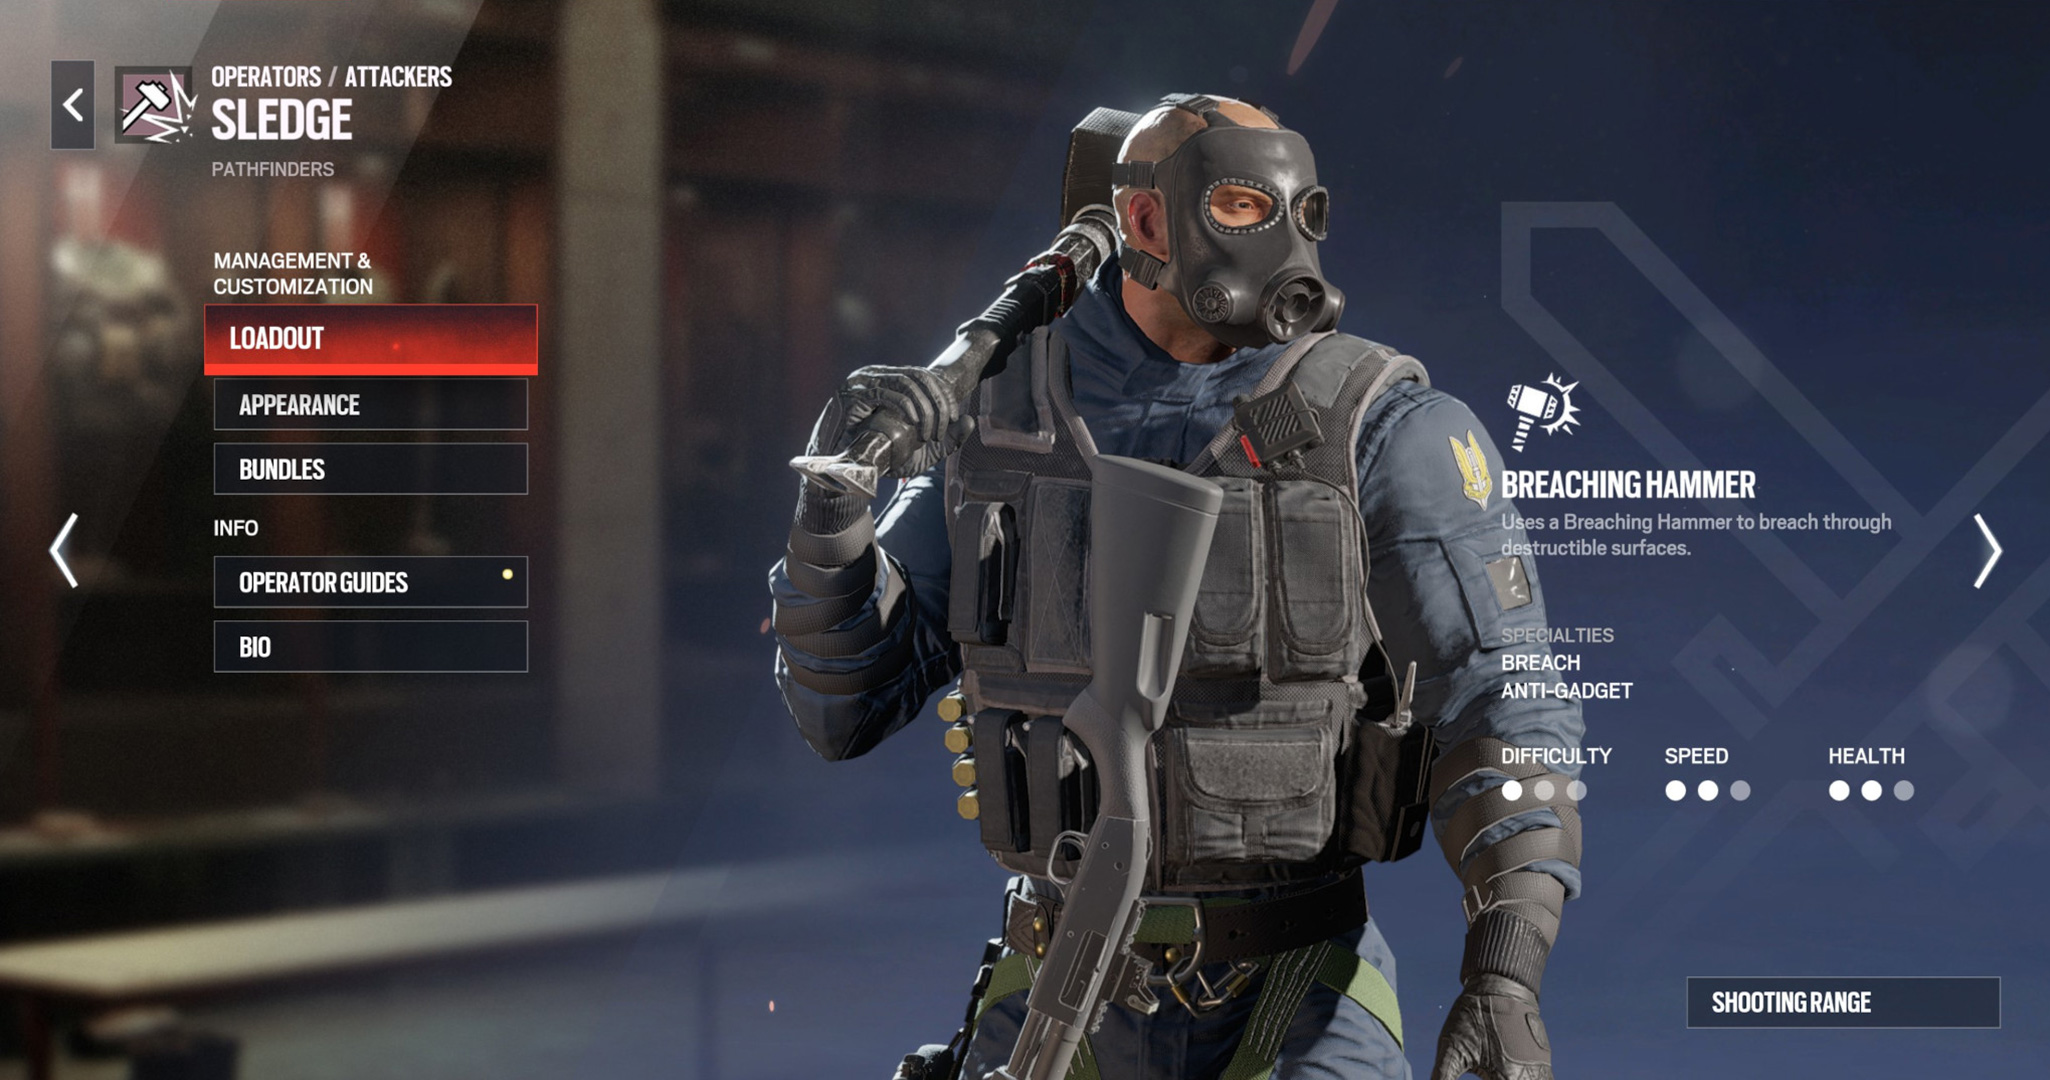
Unique Ability: Breaching Hammer
Loadout options:
- Primary: L85A2 assault rifle, M590A1 shotgun
- Secondary: P226 MK25 pistol
- Gadgets: Frag Grenade, Stun Grenade, Impact EMP Grenade
Sledge is a fantastic option for brand new players – he was nerfed a bit in previous seasons of Siege but now he's back in business with two speed and two health making him a well-rounded and balanced character. His unique ability isn't particularly difficult to understand, either. He has a massive sledgehammer, hence the name, which can smash through breakable surfaces with ease.
His weapons offer a decent variety of options, allowing him to take enemies out at range with his assault rifle or get in close with a shotgun. His gadgets, too, are easy to understand – two of them are pretty standard grenades as you'd find in any other FPS, while the impact EMP grenade allows him to temporarily take out electronic devices. All in all, he's a great place to start your Rainbow Six Siege X journey.
Thermite (SWAT)
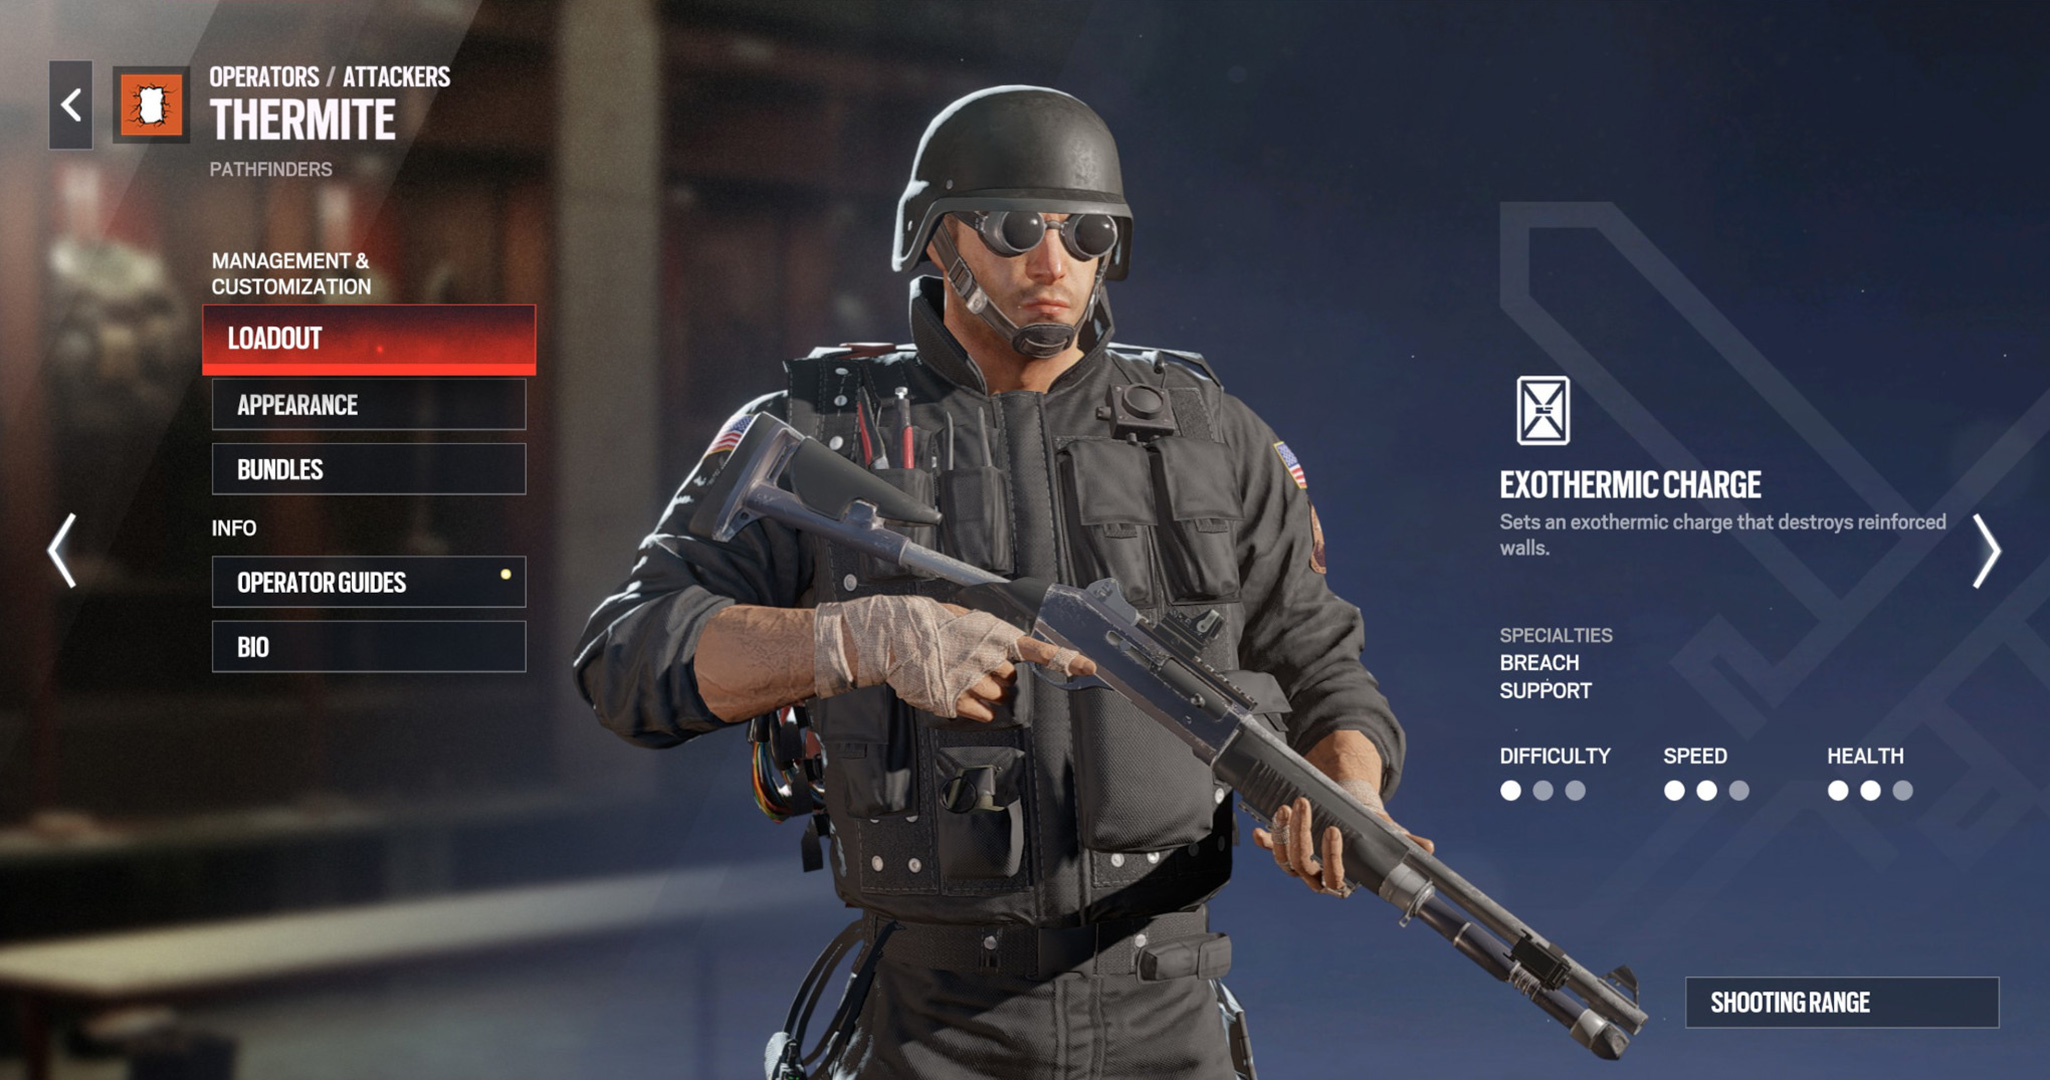
Unique Ability: Exothermic Charge
Loadout options:
- Primary: 556XI assault rifle, M1014 shotgun
- Secondary: M45 MEUSOC pistol, 5.7 USG pistol
- Gadgets: Smoke Grenade, Stun Grenade
Thermite is another brilliant option for new players who is also capable of turning the tide of battle. Thermite, as the name suggests, wields exothermic charges that can cut through reinforced walls, giving your team more breach options. He, like Sledge, is also very well-balanced in terms of stats. He has two speed and two health, so he's relatively quick on his feet and can take more shots before going down. We still wouldn't advise you to hang around in front of gunfire, however.
His weaponry is solid, too, with an assault rifle with a good rate of fire, counterbalanced by low destructibility potential. The semi-auto M1014 shotgun is also a fantastic option, and can be synergised with the exothermic charge for efficient and easy room clearances. In terms of gadgets, Thermite hews close to his SWAT past, and can carry either smoke or stun grenades.
Iana
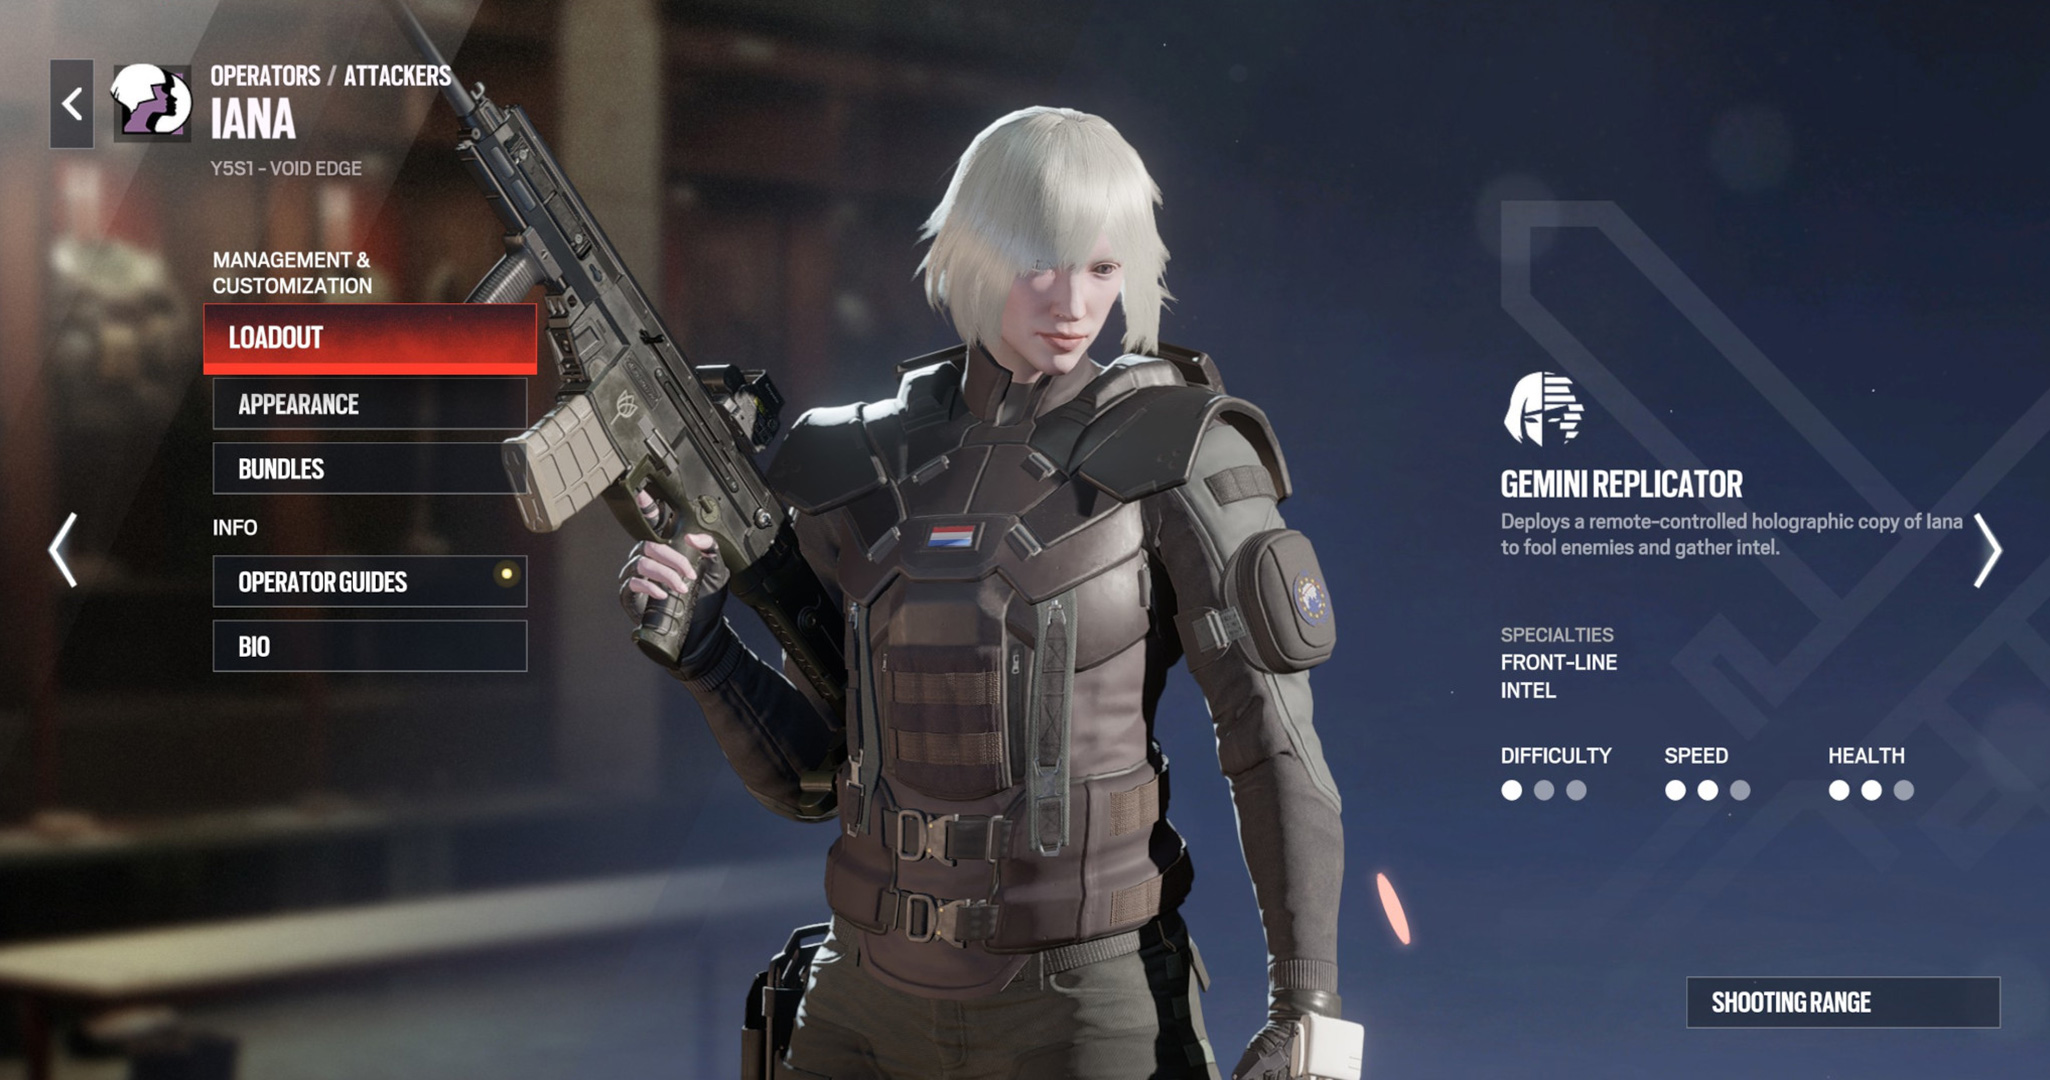
Unique Ability: Gemini Replicator
Loadout options:
- Primary: G36C assault rifle, ARX200 assault rifle
- Secondary: MK1 9mm pistol, GONNE-6 hand cannon
- Gadgets: Impact EMP Grenade, Smoke Grenade
Iana is a Dutch Operator who has an incredible unique ability – she can project a controllable holographic copy of herself to gather intel and draw enemy fire. This can be used to set up ambushes, find enemies, and more! It's super versatile and quite easy to grasp as well, making her ideal for new players. As with the other Operators who we've mentioned so far, she has two speed and two health, giving her a decent balance.
Her weaponry is excellent as well – you get a choice of two assault rifles as your primary. The G36C carries more ammo and fires quickly, while the ARX200 is a heavier rifle that is great for precision shots but which only has 20 bullets per magazine. Her secondaries are interesting as well. You get a standard but versatile pistol or a hand cannon, which fires explosive projectiles. If you're having visions of China Lake grenade launchers and blowing enemies to smithereens, then you'll be disappointed. However, the GONNE-6 is excellent at destroying gadgets, and has superb accuracy.
Zero (Fourth Echelon)
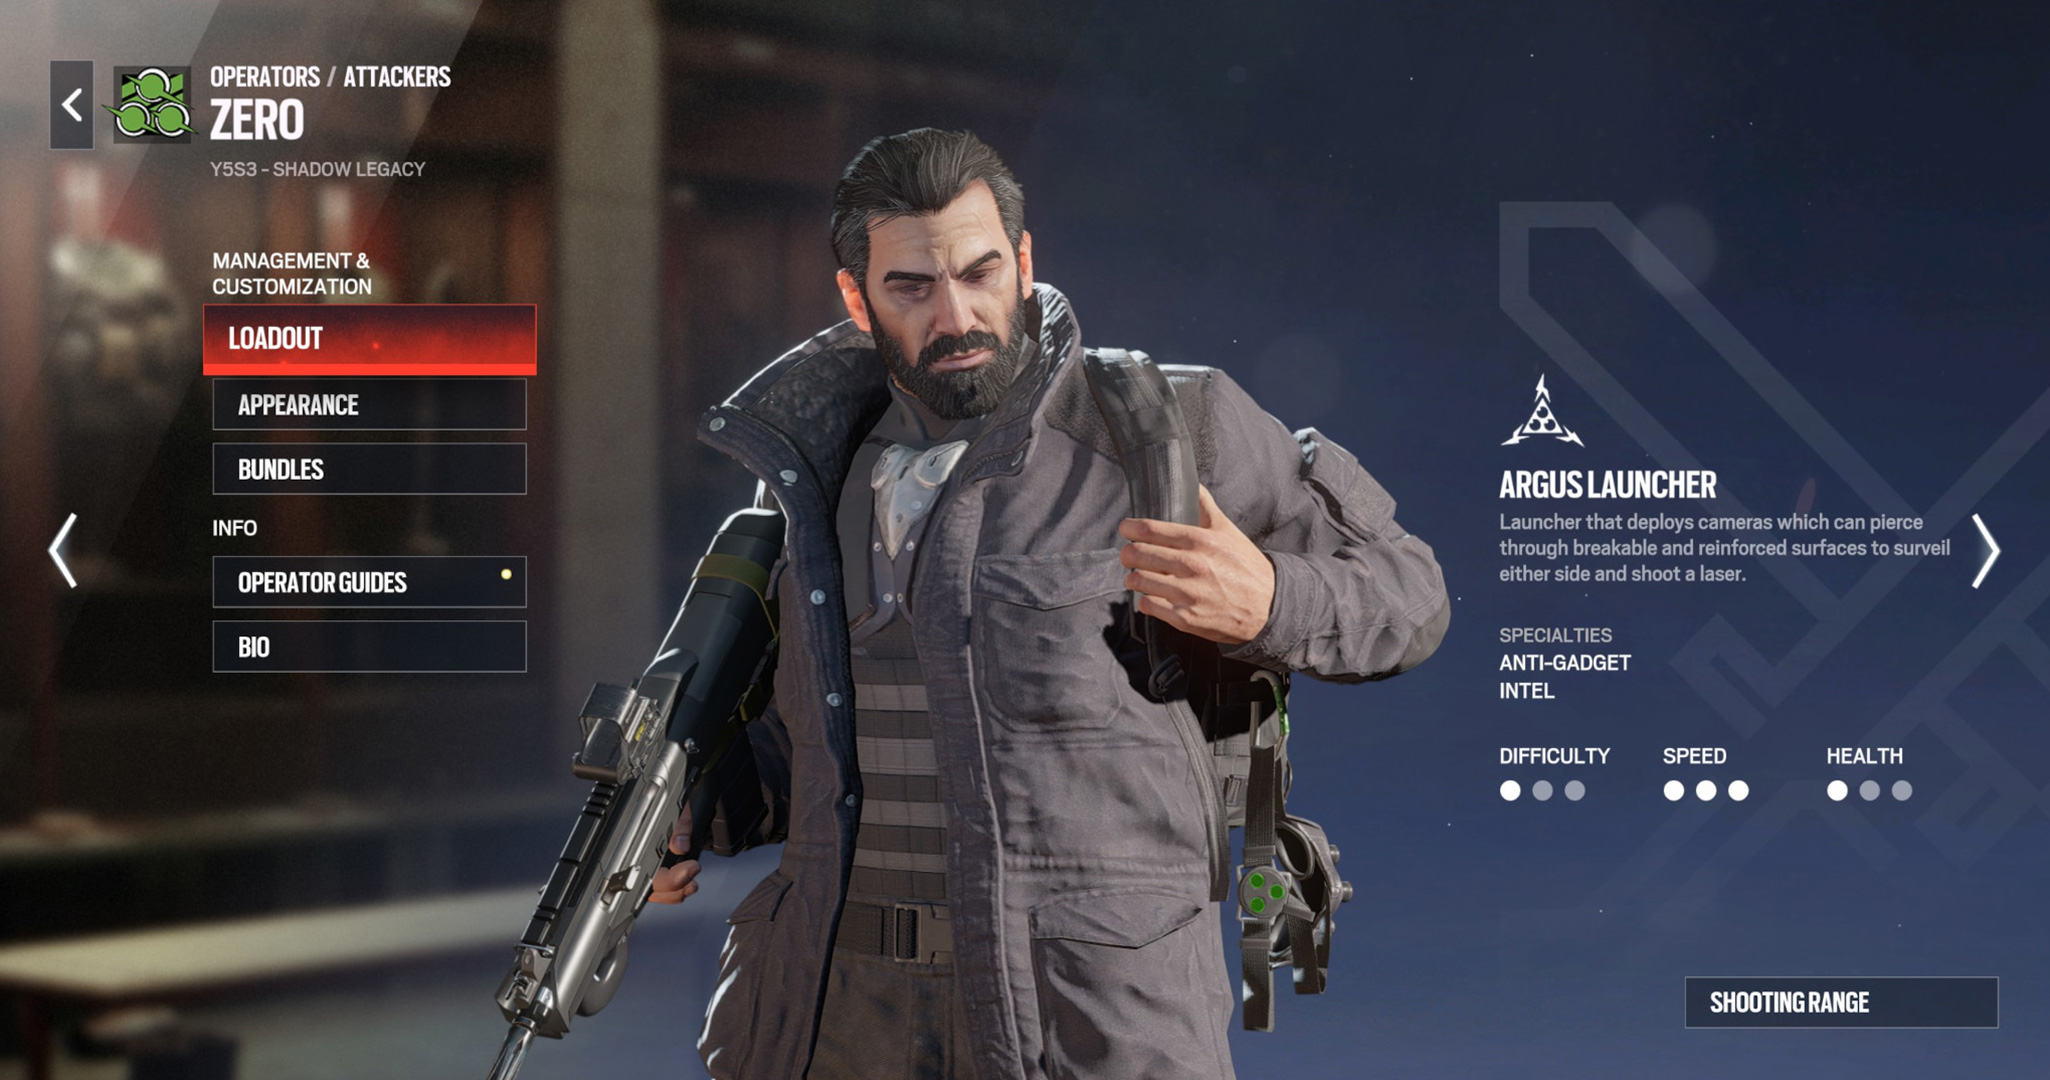
Unique Ability: Argus Launcher
Loadout options:
- Primary: SC3000K assault rifle, MP7 submachine gun
- Secondary: 5.7 USG pistol, GONNE-6 hand cannon
- Gadgets: Hard Breach Charge, Claymore mine
Zero is Sam Fisher. Yes, that Sam Fisher, from the Splinter Cell series, migrated over to another Tom Clancy property, but don't let that fool you into thinking he can't stand toe-to-toe with other Operators. Zero only has one health but this is counteracted by his three speed and powerful special ability. The Argus Launcher fires cameras that can punch through reinforced surfaces (in addition to standard breakable ones), as well as firing a laser that you can use to distract enemies, destroy devices, or even finish off a downed enemy (though this is very hard to pull off, as the lasers do a tiny amount of damage).
His armaments are solid, particularly the MP7 SMG. While it lacks in damage compared to the SC3000K assault rifle, it has a higher rate of fire and can carry more bullets to make up for it. In terms of his secondaries, Zero also packs the GONNE-6, much like Iana, as well as the 5.7 USG which can do very decent damage. His gadgets are extremely useful too, with the Claymore fantastic for use in tight corridors, while the Hard Breach Charge can punch a good-sized hole through reinforced surfaces.
Best Defending Operators in Rainbow Six Siege X for Beginners
Mute (SAS)
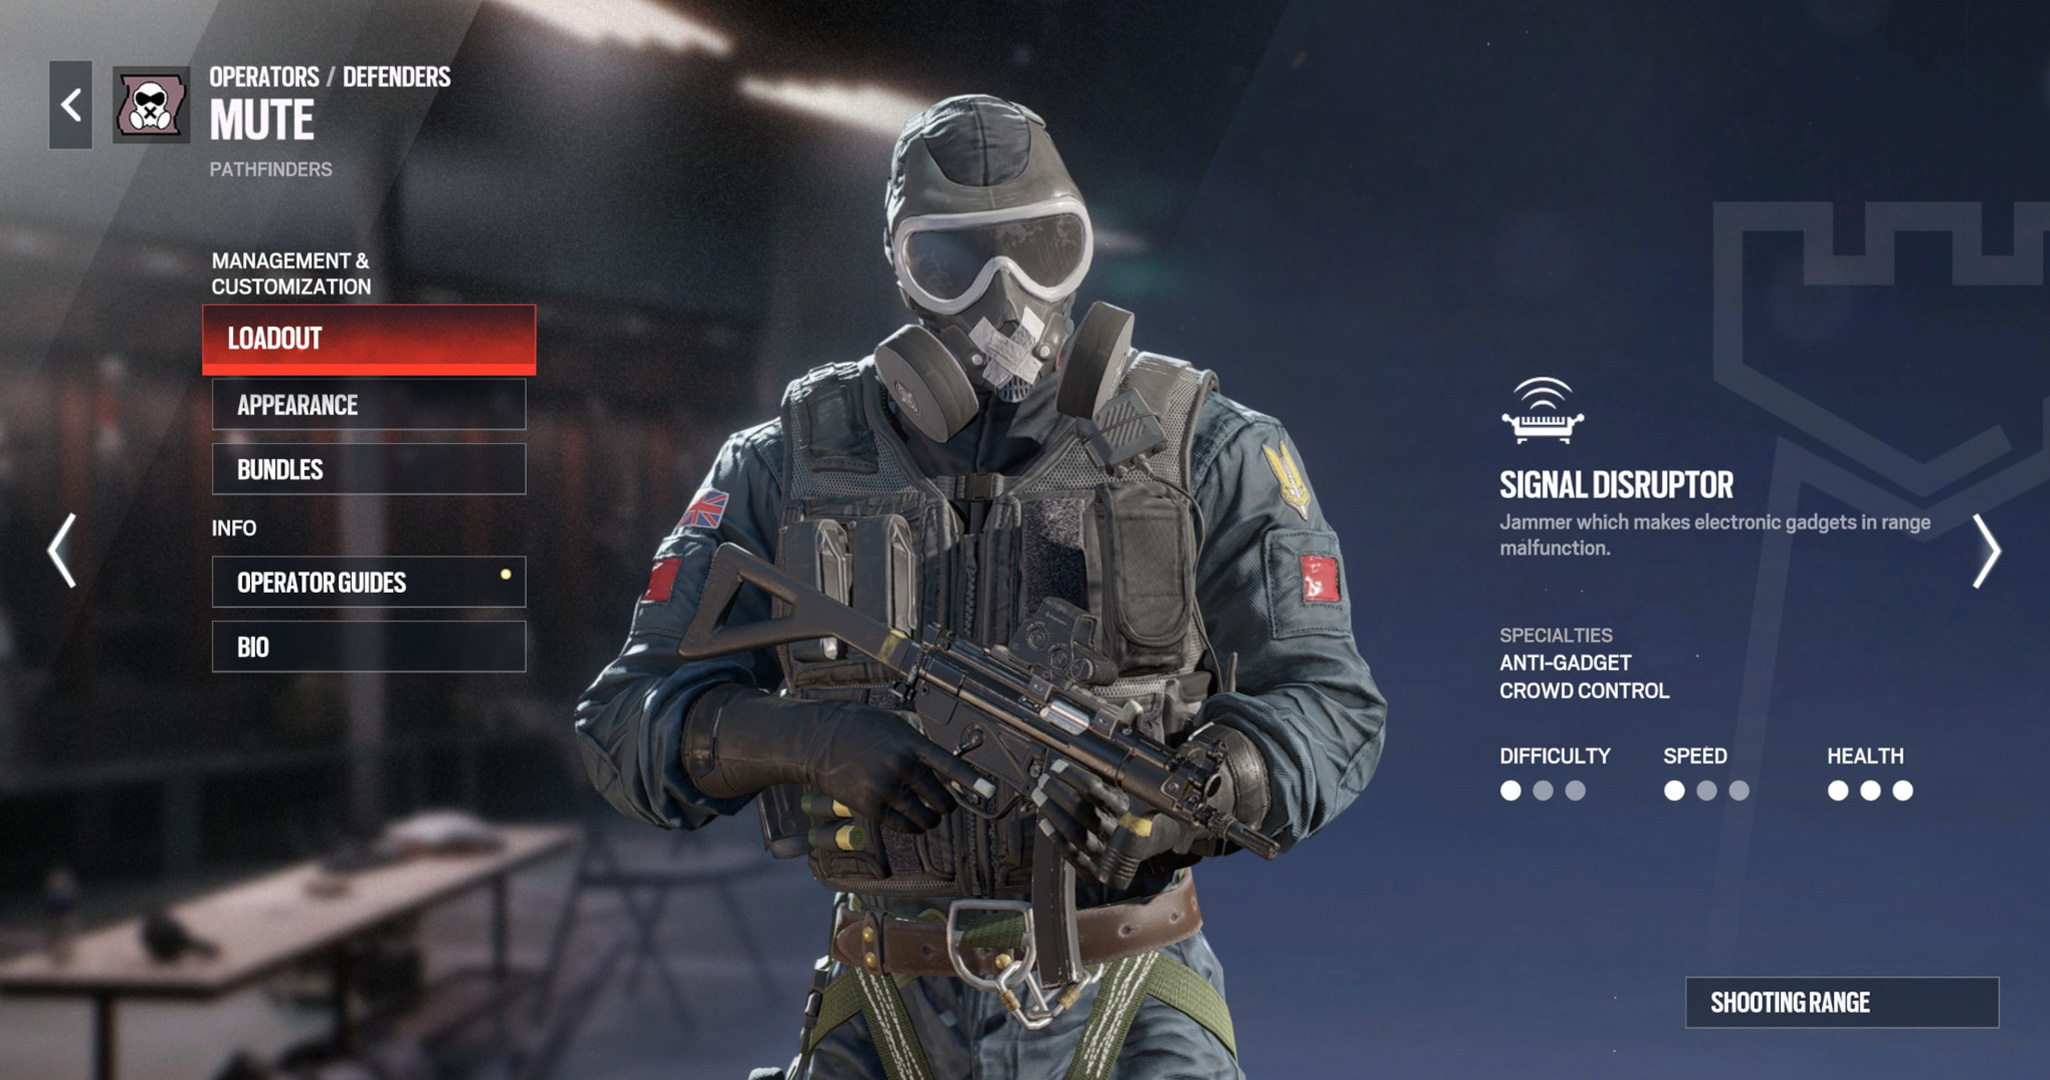
Unique Ability: Signal Disruptor
Loadout options:
- Primary: M590A1 Shotgun, MP5K submachine gun
- Secondary: SMG-11 machine pistol, P226 MK25 pistol
- Gadgets: Nitro Cell explosives, Bulletproof Camera
Mute is a fantastic and versatile defender whose unique ability is exceptionally useful. As his name implies, his signal disruptor ability can jam electronic devices, rendering the enemy team's drones useless. He's a tanky Operator, too, which isn't such a problem for defenders who are willing to set up kill zones, coming with just one speed but three health.
His weaponry boasts two solid options in the form of a pump-action shotgun and fast-firing submachine gun. While the shotgun does more damage and has a faster aim down sights (ADS) time, it's hard to beat the MP5K's rate of fire. If you prefer the shotgun, you could also consider equipping the SMG-11 as your secondary, which is effectively a bonus SMG with a small magazine. Alternatively, you can pack a punch with the P226 MK25. The gadgets are excellent as well – the bulletproof camera is exactly what it says on the tin, while the nitro cell explosives are fantastic remote-detonated plastic explosive charges.
Rook (GIGN)
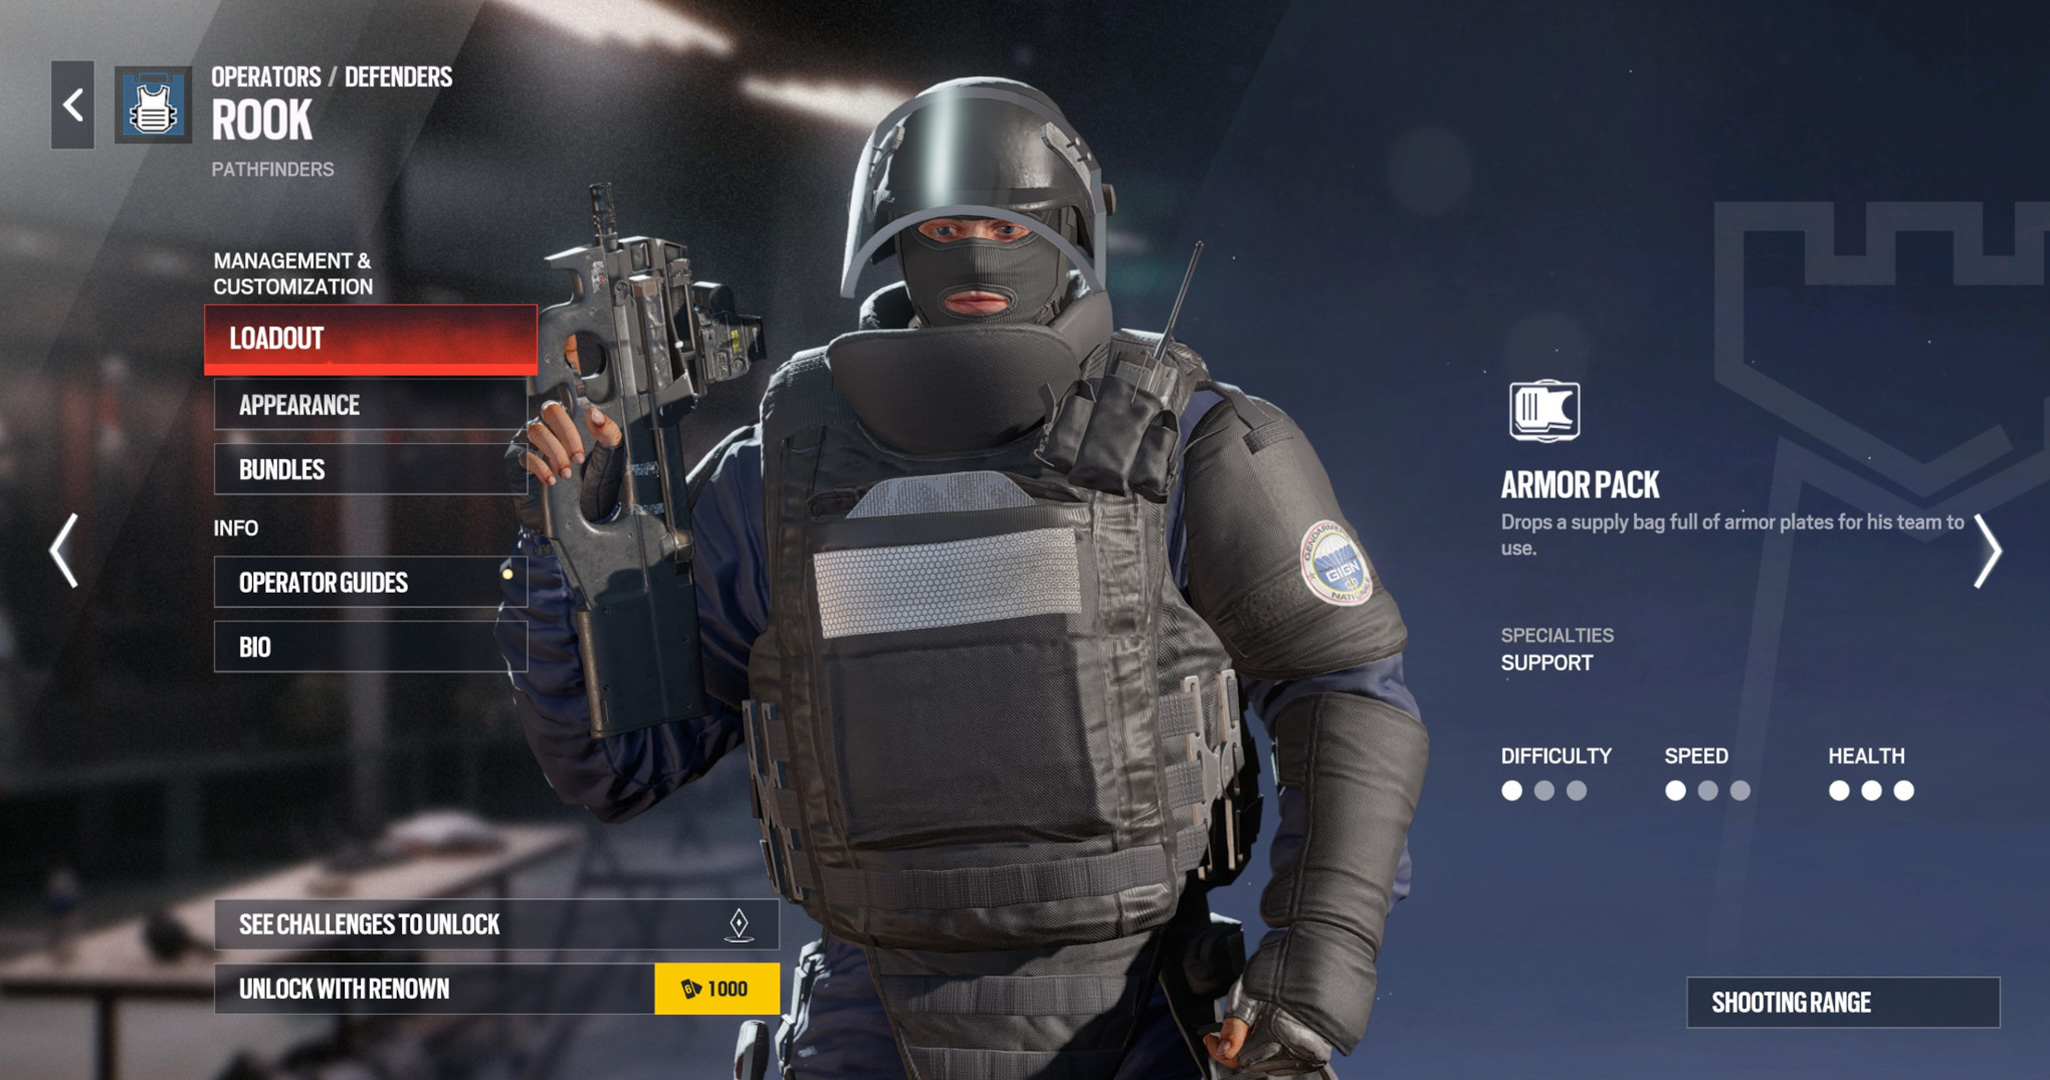
Unique Ability: Armor Pack
Loadout options:
- Primary: MP5 submachine gun, P90 submachine gun, SG-CQB shotgun
- Secondary: LFP586 pistol, P9 pistol
- Gadgets: Proximity Alarm, Impact Grenade, Observation Blocker
Rook is a French Operator and another tanky one, with three health and one speed. His special ability is invaluable for any team, giving him the ability to throw down armor plates for his team to use. While a little more mundane than some of the other special abilities that we've mentioned on this list, it's extremely helpful.
His weaponry offers a good range of damage and fire rate. The P90 fires fastest but has the least damage, the MP5 is a happy medium, and the SG-CQB shotgun is slow but hits like a truck. If you're going for high-damage loadout above all else, the LFP586 pistol is also well worth mentioning. It's a revolver that can only hold six shots, but hits very hard. If you'd prefer a more balanced approach, the P9 isn't bad either, doing less damage but holding 16 shots.
In terms of gadgets, the proximity alarm is fantastic for figuring out where enemies are, while the impact grenade is essentially an explosive tennis ball you can bean at people. The Observation Blocker, meanwhile, inhibits the view of enemy drones and CCTV, letting you do your devilish business in secret.
Kapkan (Spetsnaz)
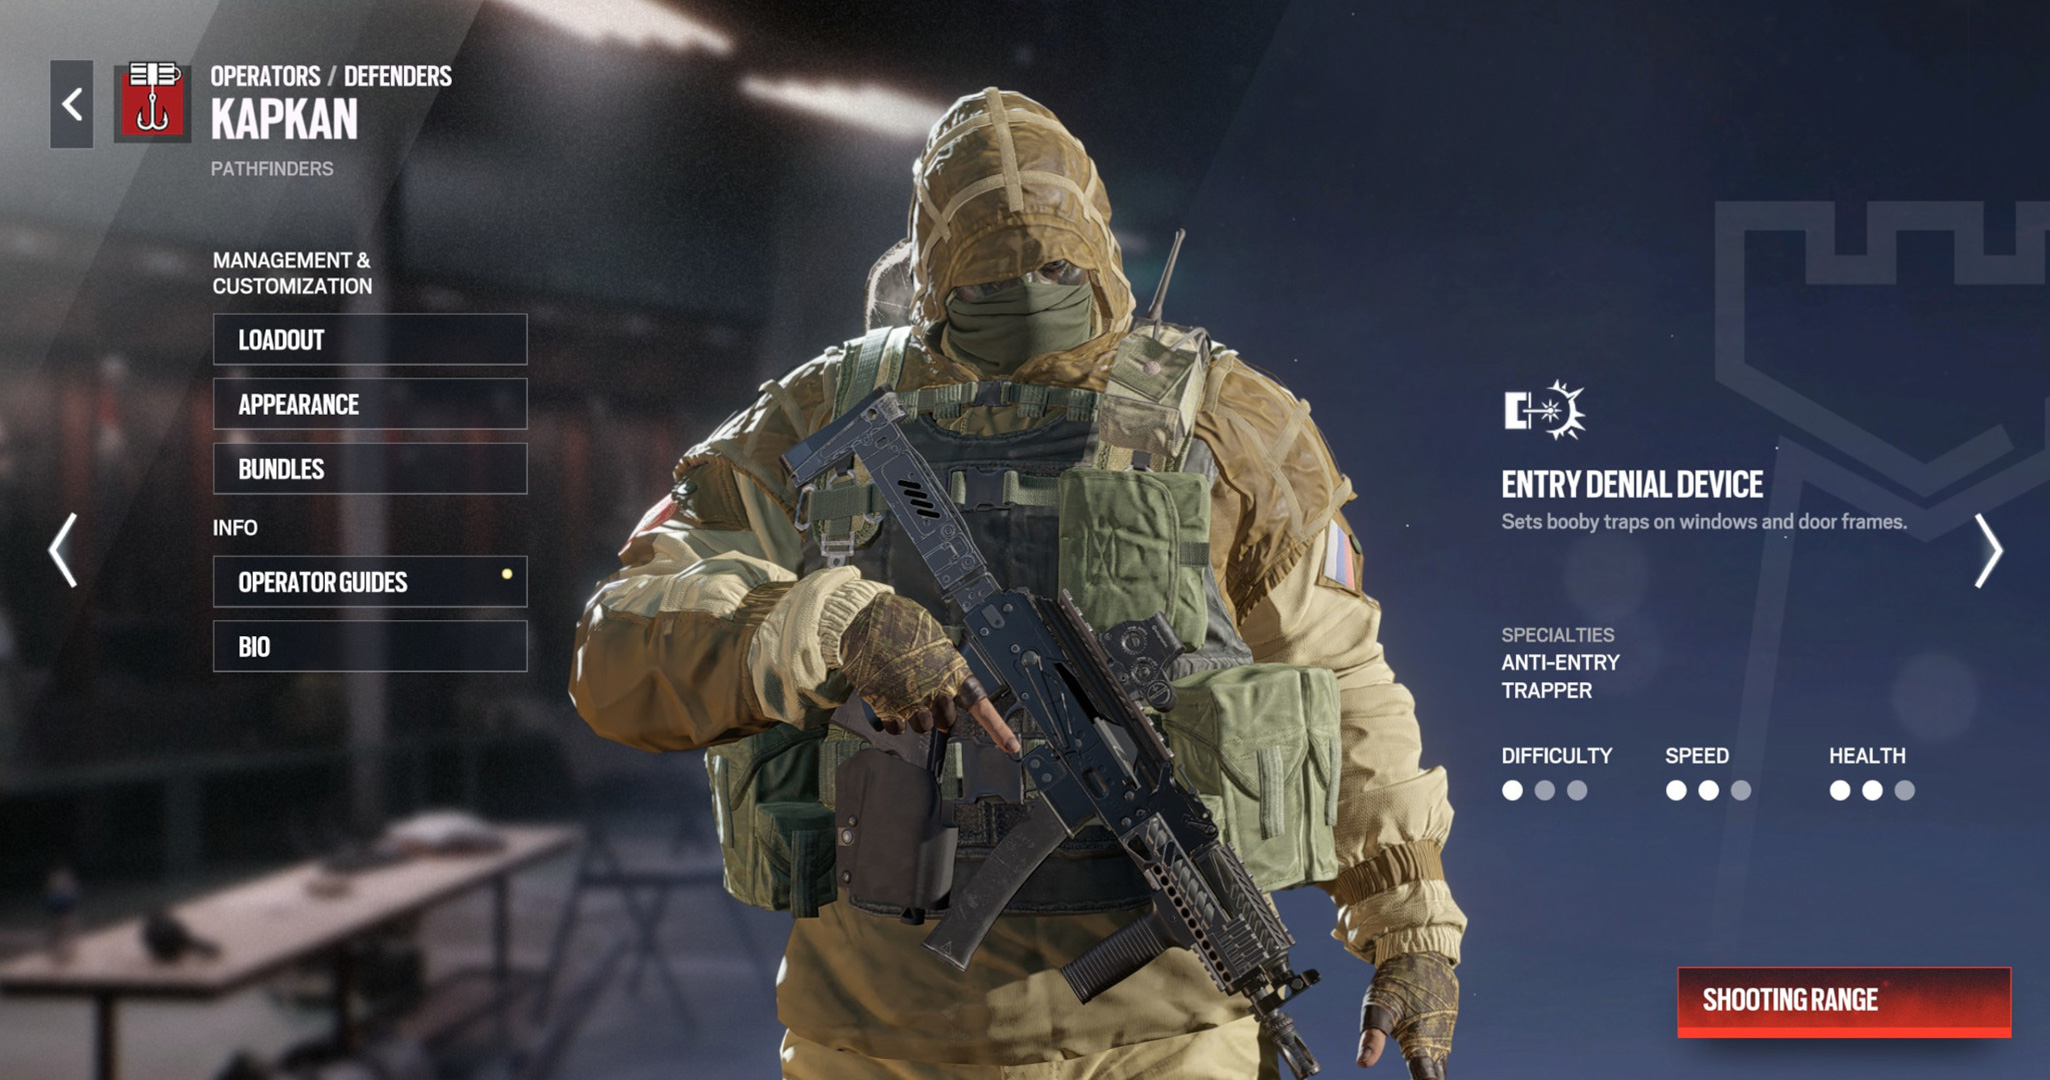
Unique Ability: Entry Denial Device
Loadout options:
- Primary: 9x19VSN submachine gun, SASG-12 Shotgun
- Secondary: GSH-18 pistol, PMM pistol
- Gadgets: Bulletproof Camera, Barbed Wire
Kapkan is an excellent, balanced Operator, with two speed and two health. What really makes him worth playing, however, is his Entry Denial Device. This ability allows him to lay laser tripwire traps across doorways and windows, which will trigger an explosive if tripped. The damage they do is quite significant and they affect anyone within a few meters, potentially allowing you to hit several enemies with one Entry Denial Device.
His primaries are solid – the SMG does decent damage and has an okay rate of fire, while the SASG-12 semi-auto shotgun sacrifices fire rate for pure power. It's mag-fed as well, giving you 10 shots before you need to reload. His two pistols give you a balanced option in the form of the GSH-18 or a heavier-hitting option in the PMM. His gadgets are good, too, with a Bulletproof Camera ideal for intel gathering and Barbed Wire for area denial and slowing down enemies.
So there we have it, a selection of the best Rainbow Six Siege X Operators for beginners, whether you're attacking or defending – now get out there and start fighting over that objective!
© GamesRadar+. Not to be reproduced without permission.
Weekly digests, tales from the communities you love, and more

Ever since getting a Mega Drive as a toddler, Joe has been fascinated by video games. After studying English Literature to M.A. level, he has worked as a freelance video games journalist, writing for PC Gamer, The Guardian, Metro, Techradar, and more. A huge fan of indies, grand strategy games, and RPGs of almost all flavors, when he's not playing games or writing about them, you may find him in a park or walking trail near you, pretending to be a mischievous nature sprite, or evangelizing about folk music, hip hop, or the KLF to anyone who will give him a minute of their time.
You must confirm your public display name before commenting
Please logout and then login again, you will then be prompted to enter your display name.


