The Legend of Zelda: A Link Between Worlds dungeon guide
Desert Palace
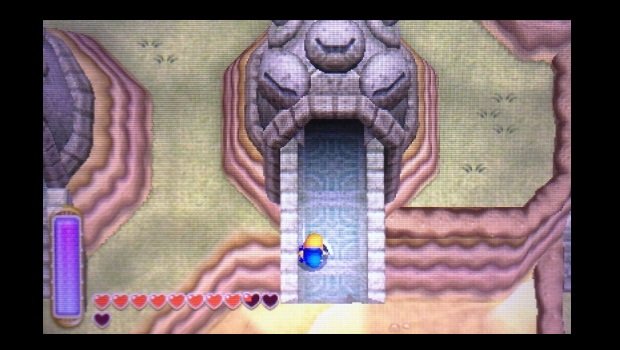
In the opening room, step to the end of the ledge. Use the Sand Rod to create a sand bridge and cross the gap. Take a left and use the Sand Rod again at the end of the ledge. Merge across the gap and open the chest for a Blue Rupee. Merge around the corner of the sand blocks to exit the room through the northern door.
In the next room, hop into the lower area and head northeast. Head up the stairs and move south. When you reach the laser-spitting statues, merge and head south to avoid damage. Exit through the door here.
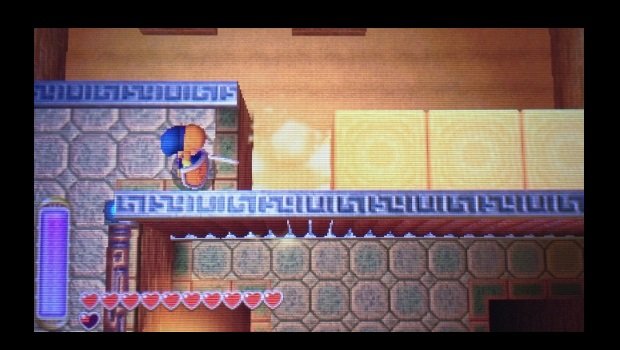
Head north and use the Sand Rod to cross east over the gap. Move a little ways north on this ledge, then turn west. You need to use a Sand Rod to create a path right between the four orb ledges. Do so, then run out there and quickly slash all four to remove a wall just south of you. Drop down and head that way; use the Sand Rod to create a shielding wall from the eye beam statues. Exit to the south.
In this room, head up the stairs to upper ledge. You need to move the three gargoyle statues onto the tiles up here. The first is easy, as it's on the same ledge. For the northernmost one, use the Sand Rod to make a bride to reach it, then drag it back onto the tile ledge. For the last one, push it onto the sand, then head back up the to the ledge. Use the Sand Rod to raise the sand, bringing the statue to your level. Place all three, then head through the door that opens.
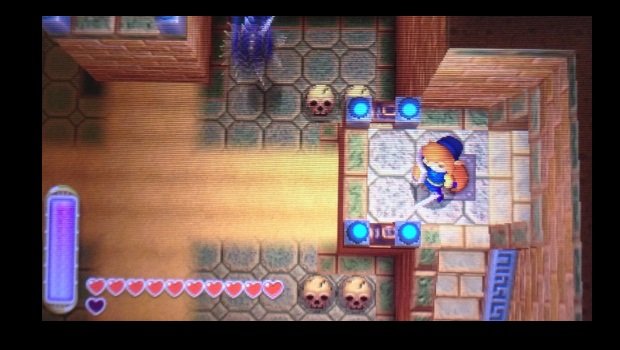
You're back in the opening room. Step on the switch to create a shortcut back here. Use the Sand Rod to cross the gap west, then head through the door.
In here, you've got an annoying enemy to best. Start by ripping him from the ground with a well-aimed Sand Rod block. Then, slash away his layers. As they bounce around the room, take out the head and each part to defeat the thing. This spawns a chest you can't get to yet, so exit through the north door.
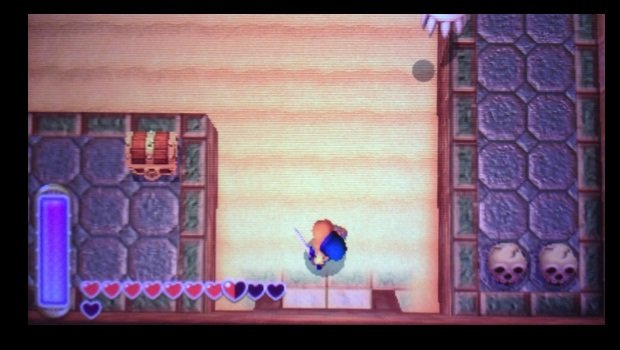
In this room are several enemies. The scorpion one will have to be yanked up with the Sand Rod before you can damage it. Drop off the north ledge, then head up the stairs and follow the ledge back south. Use the Sand Rod to cross the gap here; the chest contains a Monster Tail. Now use the Sand Rod to cross the gap north. Follow the path into the next room.
Open the chest in here for the Compass, then pull the handle. This dumps more sand into the previous room. Return and drop into the high sand to open the chest here for a Small Key. Use it to head through the locked door on the eastern wall.
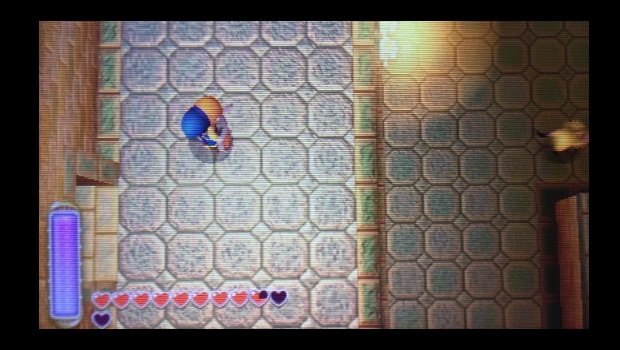
You're back in a familiar room, but on a higher ledge. Pull the handle just north of you to fill the room with sand. Use this in conjunction with the Sand Rod and pillars to reach the platform by where the sand is falling down. Step onto the switch here to slide a wall just east of you. Fire the Sand Rod west, then merge across the sand blocks onto the wall. Follow it to the ledge you just opened. Open the chest here for the Titan's Mitt. Now you can lift big boulders!
Return to the room with the chest you couldn't reach. Fire the Sand Rod south to reach the platform where the chest lies. Here, you can use your new Titan's Mitt to move the boulders and open the chest for a Small Key. Now clear the boulder by the locked door in this same room; head through with your key.
This hallway is just an exit out of the dungeon. Head out, then turn north. The cave here is actually the dungeon's second floor.
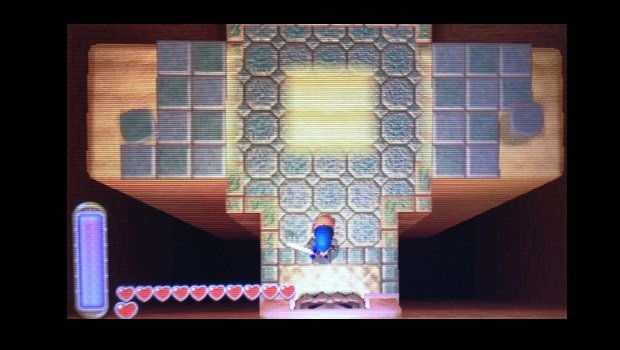
Immediately upon entering, tiles will fly at you. Keep your shield up until they settle. Two of the scorpion enemies will then appear. Use the Sand Rod to expose them, then take them out. This will spawn a warp portal and create a bridge to the next section of the room. Head over there and move up the stairs. You can use the Sand Rod to create blocks and merge to either side. Both are hallways full of enemies, and both lead to the same place. We're going to go right.
In the hallway, head north past the enemies. Head through the left door at the end of the hall. Open the chest in this connecting room for a Silver Rupee, then head back and through the right door.
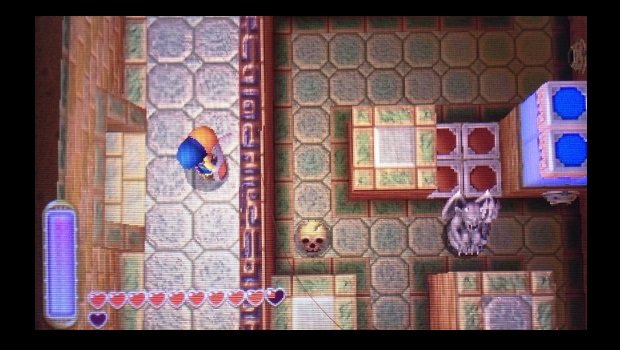
This next room is one big puzzle; head downstairs to start. Make your way south and stand on the left red platform, then slash the orb to raise yourself up. Use the Sand Rod to cross to the next ledge, then look south to spot a gargoyle statue. Use the Sand Rod to bring it to your level, then pull it into solid ground. The darts firing throughout the room can now continually hit the orb, keeping the red and blue platforms switching back and forth.
Use the southeastern set to reach a chest containing a Small Key. Now head to the northern pair of platforms. Ride them to the top right ledge and exit the door to the north.
Here's another large room. Head down the stairs and move the boulder to the right. There's a chest in the sand here. Dig it up with the Sand Rod, then open it for a Silver Rupee. Move west.
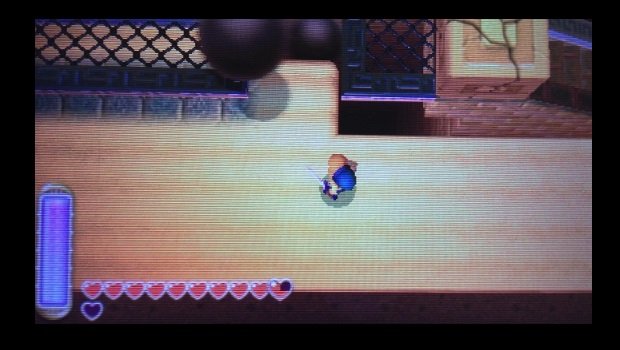
Over here are some rolling boulders; you need to use them to break the cracked blocks above. Plug the lower hole with the Sand Rod to destroy the first one. Head upstairs, and from here you can create a second set of sand blocks to send a boulder into the second cracked block.
Follow the path to reach the third boulder. Move the large rock from the second patch of sand, then get ready to move. As the boulder rolls, you have to plug the gaps with the Sand Rod as it moves east. Take it over all three gaps, and it will destroy one last block. This sends sand into the previous room. Before heading there, look for a hidden doorway along the southern wall. This leads to a little area with a boulder you can toss out of the way. Lift the chest underneath with the Sand Rod to grab a Silver Rupee from inside. Now return to the room newly filled with sand.
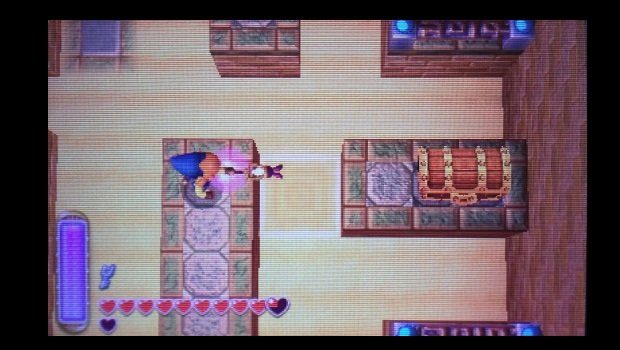
With more sand in the room, you'll be able to use the Sand Rod to reach the large chest in the center of the room. Open it for the Big Key. You can also head through the hidden doorway at the southern end of the room to find some fairies.
You now need to head to the hallways filled with enemies. If you backtrack and take the left hall, merge near the stairs to reach a hidden area. Clear out the boulder here, then raise the chest underneath with the Sand Rod to find a Silver Rupee inside. If you use the connecting room where the Silver Rupee was, you'll need to use the Sand Rod to move the eye beam statue out of the way. Either way, you'll end up at the locked door. Use your Small Key to head through.
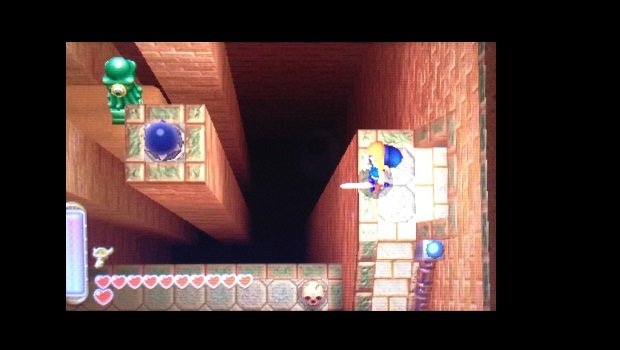
Head down the steps and toward the eye beam statue. When it starts its laser, use the Sand Rod to elevate it. As it rotates, it will hit all three orbs above and open a door. Head through that door.
In here is a large room where enemies will spawn. Take them all out to reveal a chest. Grab the Small Key from inside, then return to the previous room.
Head north to find a second eye beam statue. When it fires, use the Sand Rod to raise it to the blue and red orbs above. Stand on the matching platforms to your right; as the laser rotates, you'll eventually end up atop a raised red platform. Merge across the gap here to reach the locked door. Use your Small Key to reach the third floor.
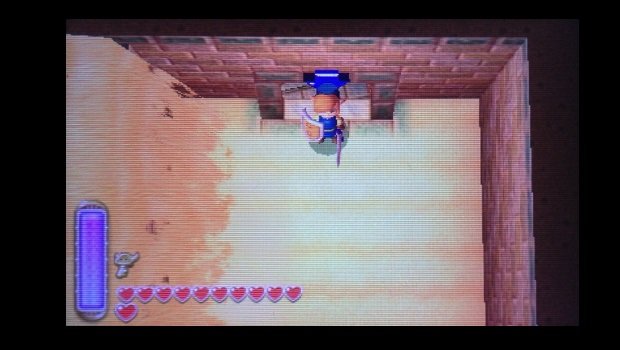
The western wall is constantly falling sand, but look for a place where you can slip through. On the other side is a chest with another Silver Rupee. Return and head through the south exit.
In this next hall is a lot of stuff you can’t do yet. Head through the closest door south.
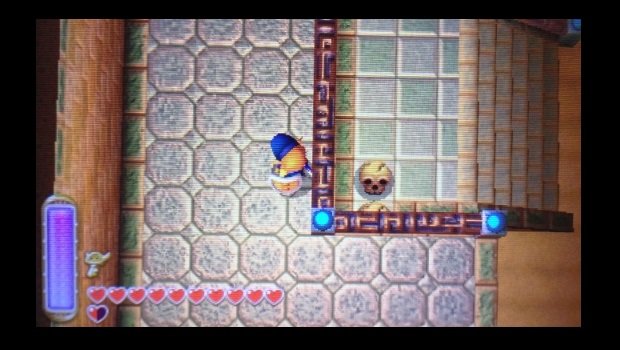
In this room is a sand pit and a few gargoyle statues. Use the Sand Rod to cross the gap, but be aware that the statues will attack as you cross (if you fall, just exit north and return up the stairs). On the ledge across the gap is a chest containing a Small Key. Grab it and exit.
Back in the long hall, head east. No, you can't reach the boss room yet, even though it looks like you can. Instead, use your Small Key to head through the locked door.
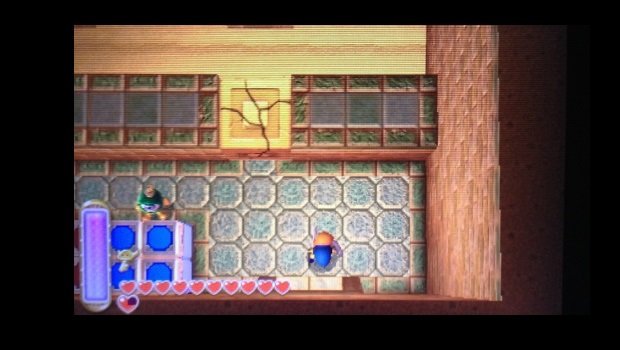
Use the walking bomb to blow through the cracked block here, then move into the sandy area. Blow through the northern block to reach a few Rupees, then blow through the block just to the left. There's a passageway here with more Rupees.
Your challenge now is to blow up the cracked blocks above. How do you do it? Stun a walking bomb near one, then use the Sand Rod to elevate it to the block's height. With the blocks cleared, the darts flying through the room can hit the blue/red orb above. This allows the corresponding platforms near the room entrance to continually shift. Use them to exit through the upper door.
Back in the long hall, pull the handle to flood the room with sand. Head across it and enter that boss room.
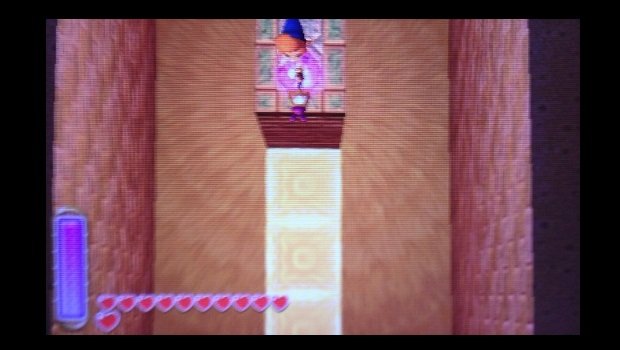
This "boss room" is actually just a sand pit. Use the Sand Rod to cross over, clearing the boulder out of the way. At the end of the chamber is another exit. Head outside, then merge through the wall out here to reach Lorule.
Drop down the ledges and head south to face the boss proper.
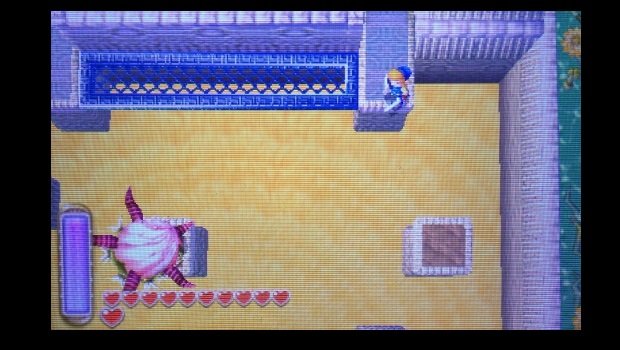
This boss is only tricky because of the reliance you need on the Sand Rod; keep moving to avoid falling into the pit. As the boss moves around, create blocks to reach him, and attack with your sword. After a few hits, he'll start spitting out some enemies. After a few more, he'll sprout some eyes and learn a new sand blast attack. Your strategy doesn’t change: create sand blocks to reach him, and keep hounding him with your sword. He'll go down without much trouble.
Weekly digests, tales from the communities you love, and more
Tony lives in Maryland, where he writes about those good old-fashioned video games for GamesRadar+. His words have also appeared on GameSpot and G4, but he currently works for Framework Video, and runs Dungeons and Dragons streams.


