
 Join The Community


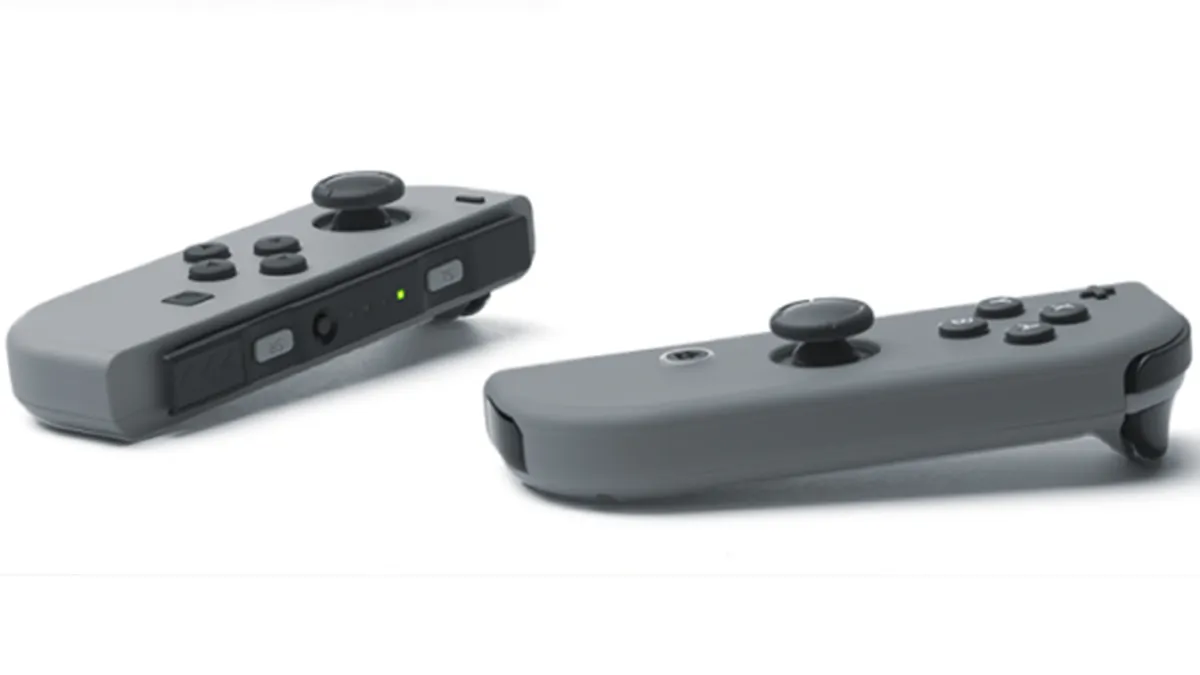
Nintendo Switch Joy-Con drift is a frustrating issue that can be a surprisingly common problem, causing thumb sticks to literally drift in one direction whatever you actually do with them. There are fixes but the actual cause can change depending on what the issue is, so not everything will work in every situation. But it's always worth trying what's available before you go out and buy another new Joy-Con altogether..
The key distinction is whether your Joy-Con drift is caused by a physical issue or something else, as this'll change what fixes you can use. Whichever the case, we've got all the options covered below, so exhaust these options before having to splash out on replacements.
1. Update and recalibrate your Joy-Con in System Settings

Head into Settings and you can update and recalibrate your Nintendo Switch Joy-Cons, which should be your first port of call if you're experiencing drift. It's the simplest, least invasive option so always start here before doing anything else.

Here's how to do it:
- Head into Systems Settings and click on Controllers and Sensors.
- Chose Update Controllers and hit A to start.
- Once that's done, head down the menu for the Calibrate Control Sticks option.

With the controllers up to date you're ready to start calibrating, which is the option underneath Updating. It'll let you click to choose a stick, and then see the input the Switch is receiving from it.

If something does look off, then you can pick the calibrate option. This will ask you to move the stick in certain directions on cue and rotate it, to try and re-centre it. Hopefully ironing out any kinks it might have developed.

If this recalibration routine doesn't fix things then there are other things you can do, but they enter into warranty invalidating territory, and can cost some money. So anything other than this is at your own risk.
Use switch and contact cleaner to clean out your Joy-Cons
Just to reiterate - once you start pulling apart bits of your Switch there's a chance you could cause damage or make things worse, so you're doing this at your own risk if you proceed.
If calibrating your Switch doesn't fix your Joy-Con drift, then the next option is to try and clean the contacts inside without opening anything up. To do this you'll need professional switch and contact cleaner specifically designed for cleaning electronic components. Don't try any old spray you have around the house - look specifically for the stuff made to clean electrical contacts.
As well as the proper switch and contact cleaner you'll need a small tool, like a tiny screwdriver or tweezers. Push the affected Joy-Con stick gently back and, using the tool, lift up the tiny rubber skirt around the base so you can see under it. Squirt the tiniest amount of cleaner into the gap you've made, release the rubber skirt and gently massage the stick in all the directions it can go in. Always use the least amount of cleaner possible, as you'll need to leave the Joy-Con to dry afterwards so you don't want it swimming in the stuff.
If you're lucky the cleaner will clear out any gunk and fluff from the contacts, and restore the Joy-Con to it's former, centred glory.
Want more Switch Joy-Con help? Check out how to charge Joy-Cons for Nintendo Switch here.

