-
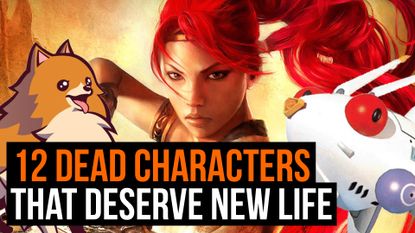 Features12 dead characters that deserve new life
 -
-
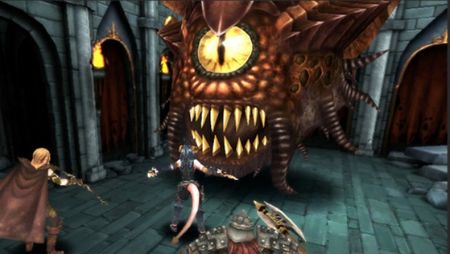 Features11 stupidly hard dungeons that (almost) made us rage quit
 -
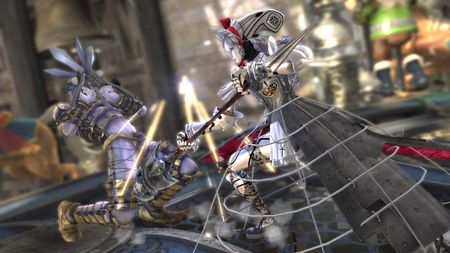 ActionGaming's 19 most impractical suits of armor: A metalworker weighs in
 -
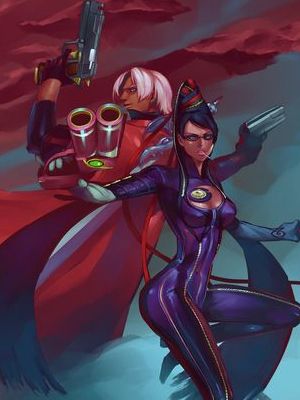 ActionHow Hulk inspired Prototype (and how 9 more spiritual successors that came to be)
 -
 ActionThe Top 7... longest videogame endings
 -
 RPGRPG Emo-Off
 -
 ActionKick-ass powers that game characters forgot they had
 -
 RPGFinally: Decent Lost Odyssey DLC
 -
 RPGLost Odyssey 'Triple Pack' up for download
 -
 ActionFive in-game deaths that actually made us sad
 -
 RPGMore Lost Odyssey in the works
 -
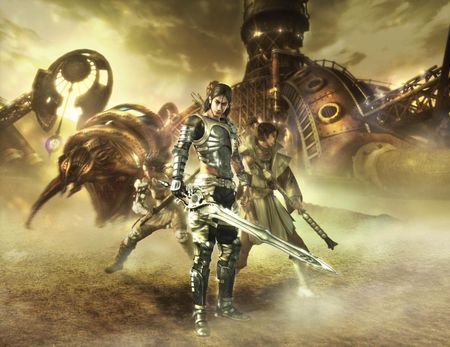
 RPGLost Odyssey review
 -
 RPGLost Odyssey - EXCLUSIVE hands-on
 -
 RPGXbox 360's RPG revival
 -
 RPGNew Lost Odyssey screens - found!
 -
 ActionAll the Write Moves
 -
 RPGSakaguchi lays into Kutaragi
 -
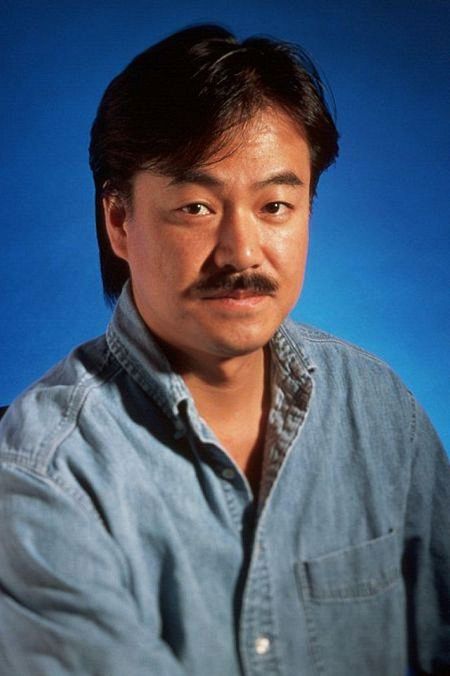
RPGHironobu Sakaguchi
-
 RPG"Final Fantasy should come to Xbox 360," says Sakaguchi
 -
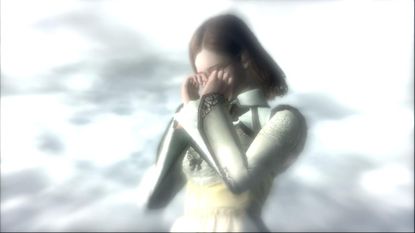
 RPGLost Odyssey - cutscene impressions
-


