-
 GuideThe Forge codes (June 2026) for free Rerolls, Luck Totems, and more
 -
-
 GuideAll free Monopoly Go dice links (June 2026) for free dice and more
 -
 GuideForza Horizon 6 Space Port and Track Toy Photo Challenge location
 -
 GuideFabled Legacy codes (June 2026) and how to redeem them for Gems, Dawnbreak Coins, and more
 -
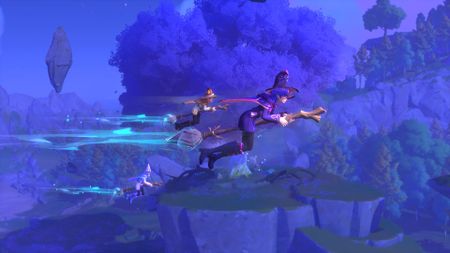
 GuideWhich Familiar in Witchspire should you choose?
 -
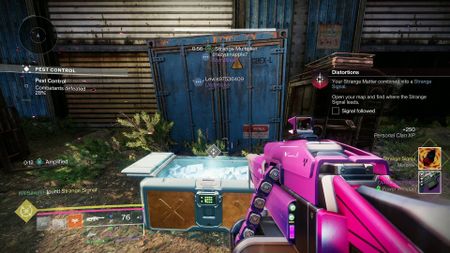 GuideWhat to do with the Destiny 2 Strange Signal and how to complete the Distortions quest
 -
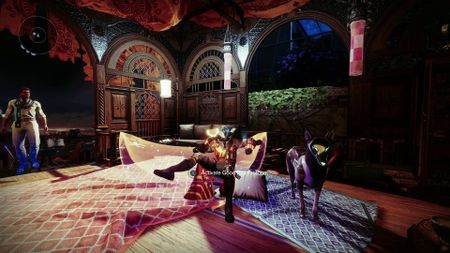 GuideWhere is Archie in Destiny 2 for the 'Can You Pet the Dog' Triumph?
 -
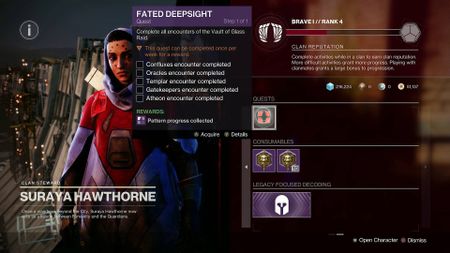 GuideHow to complete the For The Bird Triumph in Destiny 2
 -
 GuideWhich class in Witchspire should you pick?
 -
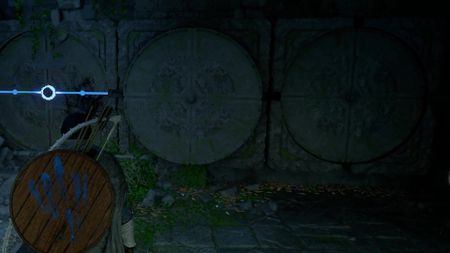 GuideCrimson Desert Secret of the Ancient Ruins puzzle solution
-


