-
 GuideAll Borderlands 4 Shift Codes (June 2026) and how to redeem for Golden Keys and Skins
 -
-
 GuideAll free Monopoly Go dice links (June 2026) for free dice and more
 -
 GuideFortnite Characters and how to find them
 -
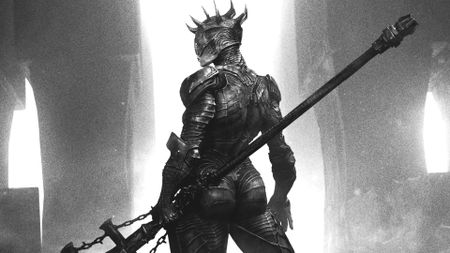
 GuideWhat is Gloom in Mortal Shell 2?
 -
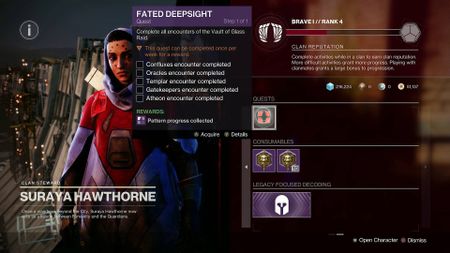 GuideHow to complete the For The Bird Triumph in Destiny 2
 -
 GuideWhere is Archie in Destiny 2 for the 'Can You Pet the Dog' Triumph?
 -
 GuideAll Shells in Mortal Shell 2
 -
 GuideRed Dead Redemption 2 Legendary Animals guide
 -
 GuideBest Mortal Shell 2 Seals
 -
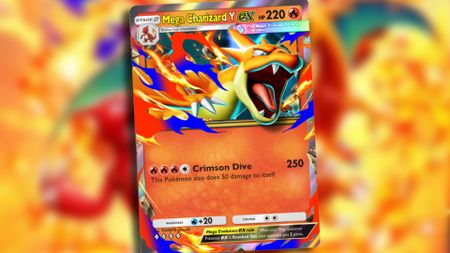 GuideBest Pokemon TCG Pocket Mega Charizard Y ex deck
-


